


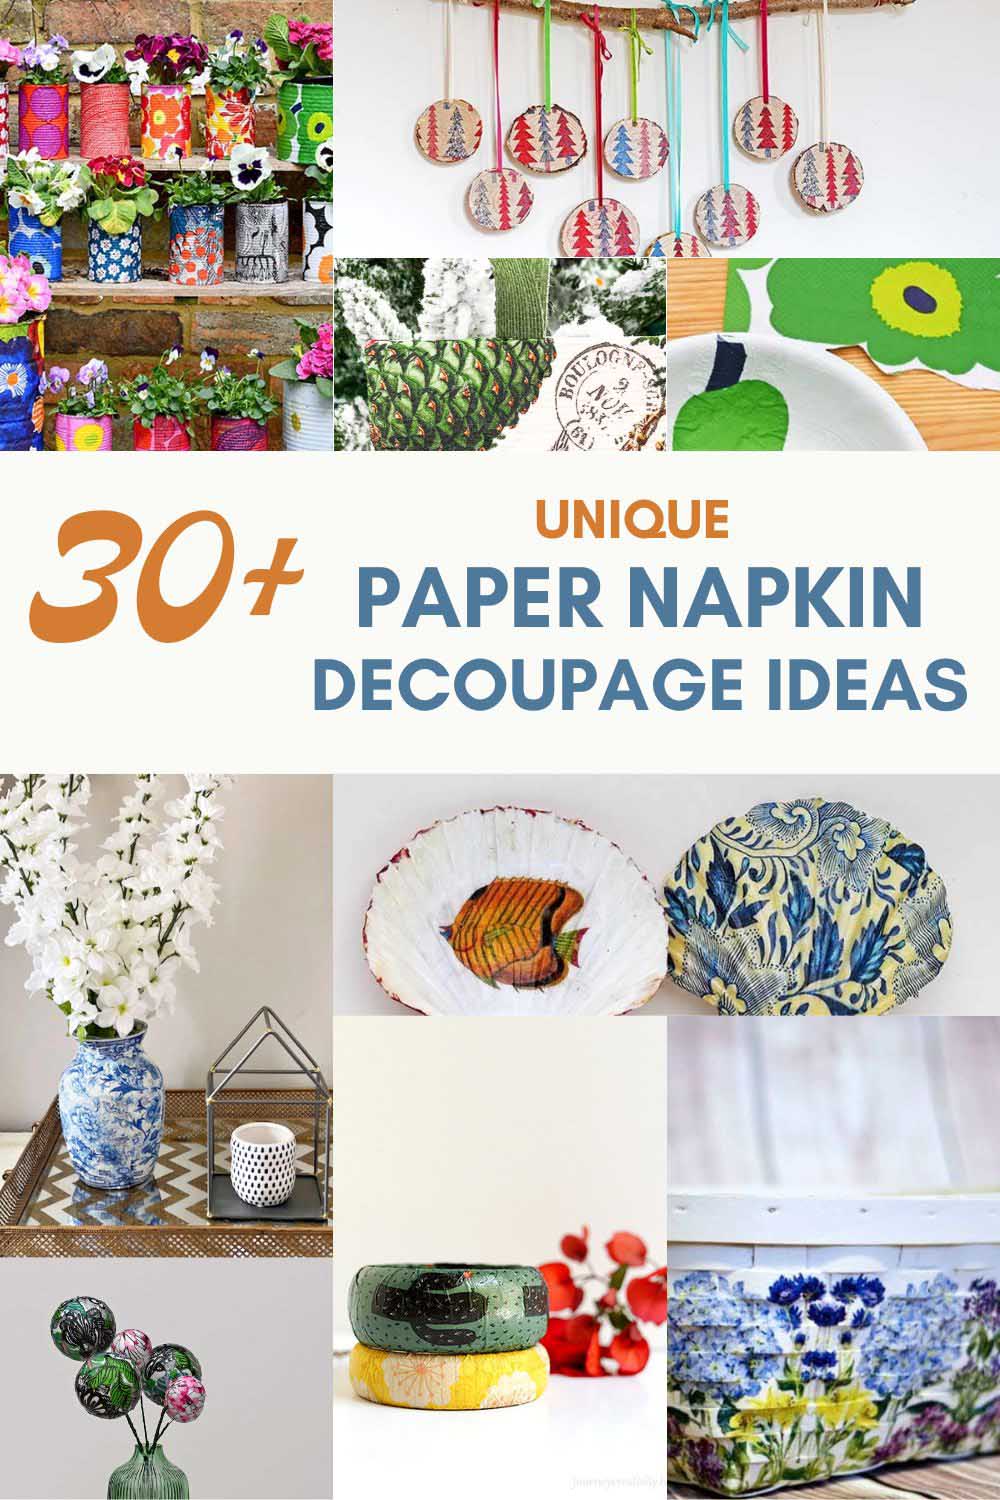
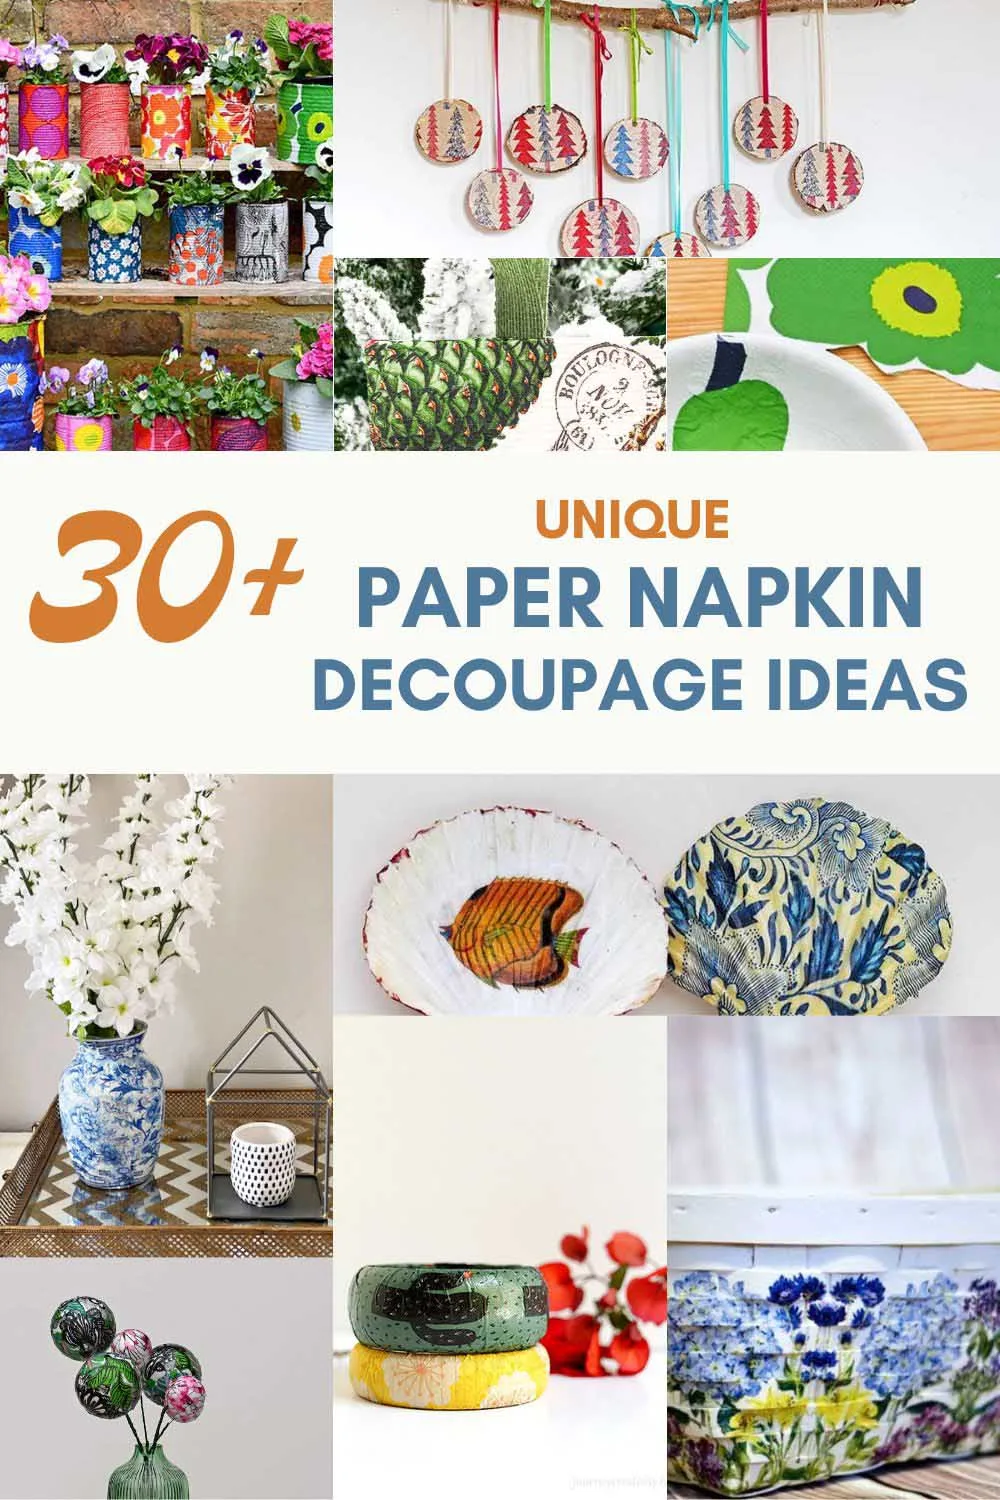
Inside: How to paper napkin decoupage onto any surface and get great results every time, with many great decoupage examples.
Decoupaging with paper napkins is so much fun! It’s a great way to transform plain surfaces into something beautiful and unique. It’s a very effective and easy upcycling technique.
The magic of paper napkins decoupage is impressive! It is one of my favourite crafting techniques, and I have used paper napkin decoupage on various projects.
I’ve transformed plain sneakers into designer shoes with napkins. I’ve created wonderful decorative planters for my garden using Marimekko napkins and empty tin cans.

Why Use Paper Napkins For Decoupage?
Many types of paper can be used for decoupage from old road maps, printed papers, and even wallpaper on furniture. Paper napkin decoupage has unique qualities that make it a better-suited decoupage material with specific crafts and upcycles.
- Paper napkins are affordable, especially compared to decoupage materials like speciality papers. They can even be purchased individually in online shops like eBay and Amazon. Often there isn’t a need to buy the whole packet.
- One paper napkin will go surprisingly far when decoupaging. I upcycled a bench with less than half a packet of Marimekko paper napkins.
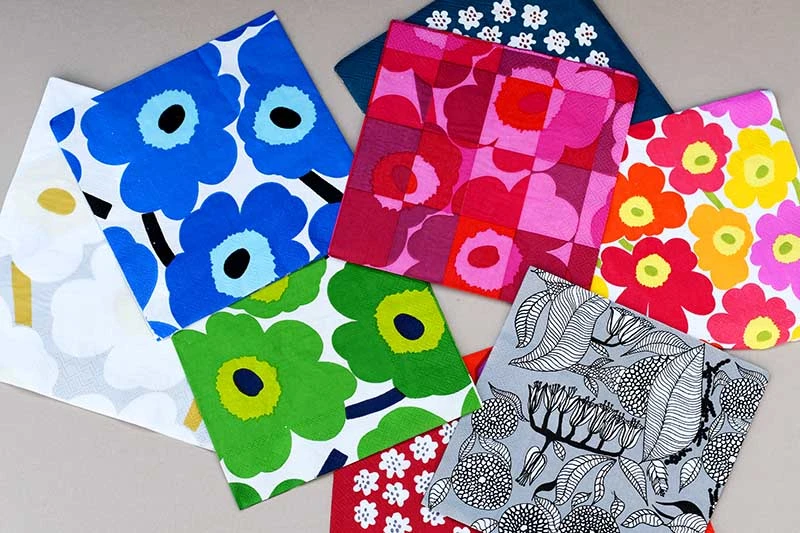
- Paper napkins come in various designs, from florals and polka dots to animals and abstract patterns. This makes finding a design that matches your style or project’s theme easy.
- Many designers, such as Marimekko and Cath Kidson, produce a paper napkin range, so getting that designer look with your upcycles is easy. I have used paper napkins to get that Marimekko designer look in my home by upcycling everyday objects from decoupaging wooden bowls and yoghurt buckets with Marimekko paper napkins.
- Paper napkins are thin and delicate, which makes them easy to work with and allows them to conform to curved or uneven surfaces without wrinkling or tearing.
- Paper napkin decoupage is so delicate that the decoupage can appear that the image has been printed onto the object. It is easy to wet and tear the edges of paper napkins to create a feather edge, making the decoupage look seamless.
- Versatile: Paper napkins can be used for various decoupage projects, from small crafts like boxes and frames to larger surfaces like furniture or walls.
- They are great for finishing off and adding decoration to paper mache crafts, such as these vintage teacups and Marimekko cacti.
- Paper napkin decoupage can be used instead of paint to update tired and dated objects such as planters and picture frames.

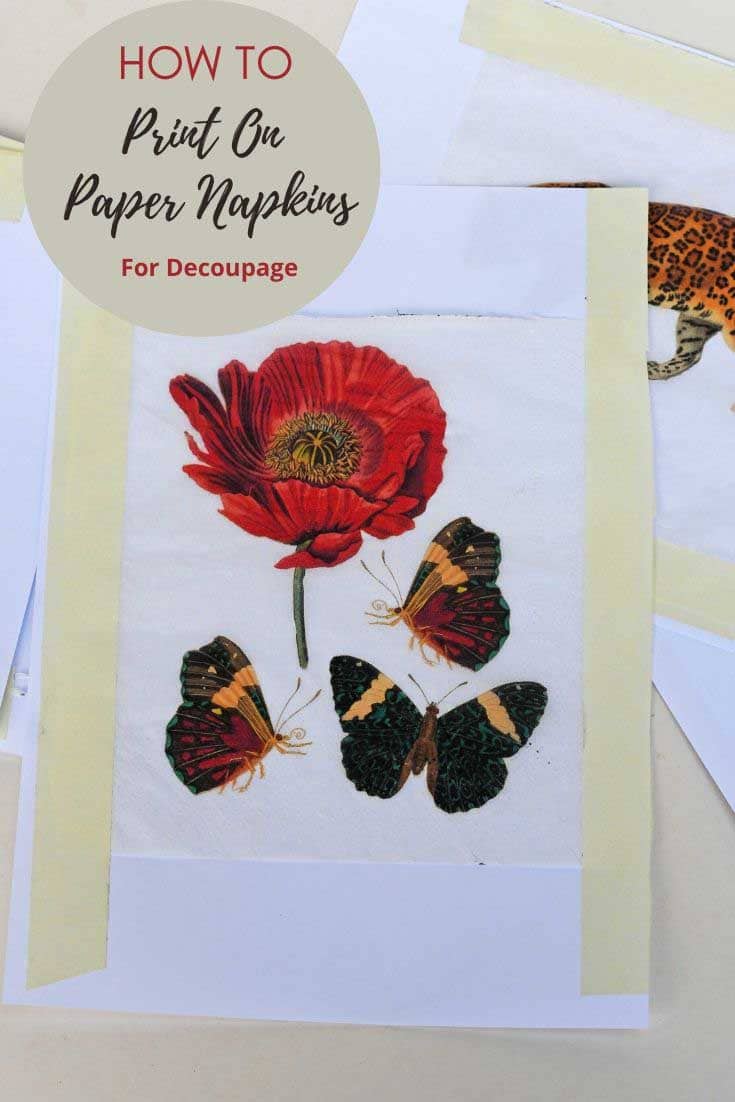
How To Print Onto Paper Napkins
Don’t worry if, for some reason, you can’t find the paper napkin design you need. It is possible to print your own on a home printer. This is great if you want a particular image or even print a photo onto a napkin.

I print on paper napkins for decoupage in the same way as I print on tissue paper.
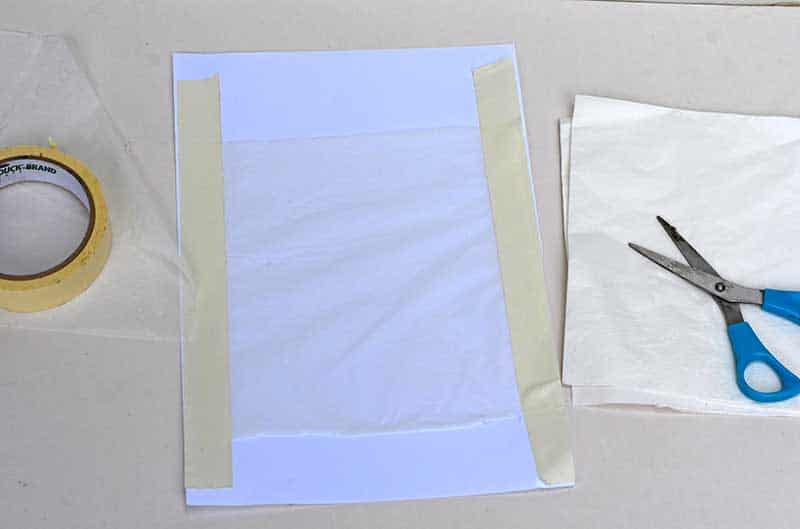
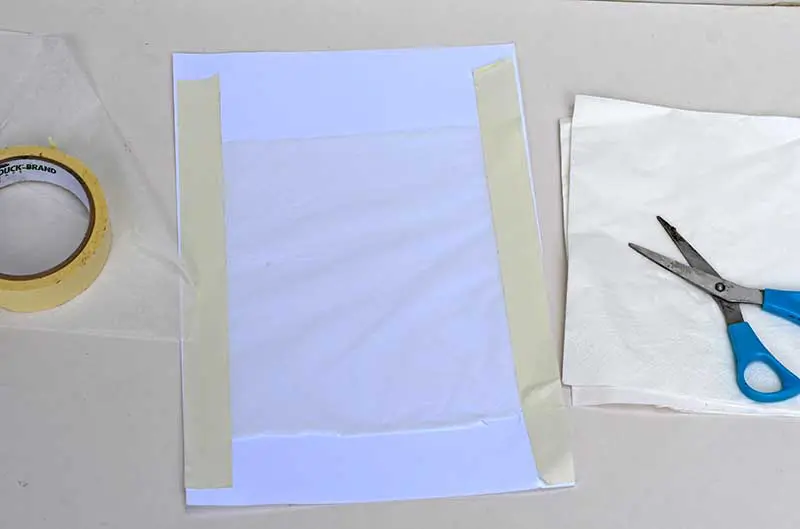
- Use a plain white paper napkin.
- Separate the three plys of the napkin and only use one.
- Cut the napkin to size and tape it to an A4 sheet of paper using masking tape.
- Make sure that the napkin ply lies taught on the A4 paper.
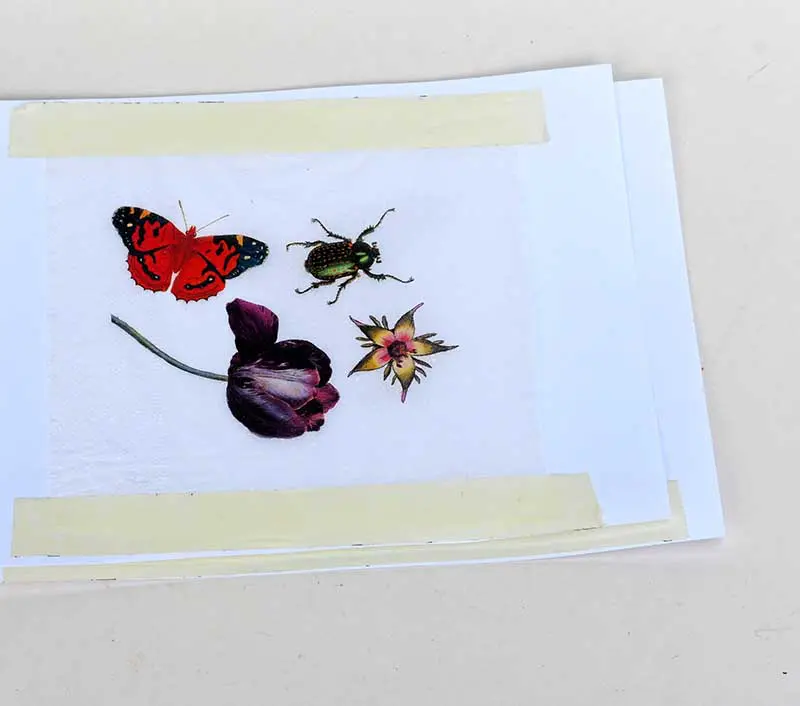
- Download the image you want to print onto the napkins. Sites such as Pictureboxblue are full of wonderful vintage images.
- Resize and arrange the images using a program such as Photoshop. Make sure that the images will fit on the printed napkin. Don’t forget to allow for the masking tape margin.
- Place the paper with the taped napkin into your computer’s paper feeder. Make sure it is the right way up before printing.
- Select the best quality print from the printer’s advanced menu settings. Then print your image.

What You Need For Napkin Decoupage
- Printed paper napkins, either shop-bought or own-printed napkins.
- Paper napkin decoupage glue such as Mod Podge
- Foam brushes and cling film (plastic wrap)
- Object to decoupage can be wood, plastic, glass, metal and even stiff fabric such as canvas shoes.
How To Decoupage With Paper Napkins
There are several ways of decoupaging with napkins, depending on what you are decoupaging.
Step 1: First, prepare the object you are going to decoupage. Paper napkins are very thin, which is part of their appeal, but they can also be a pain. The colour of what you will decoupage will likely show through. I recommend painting the object white.
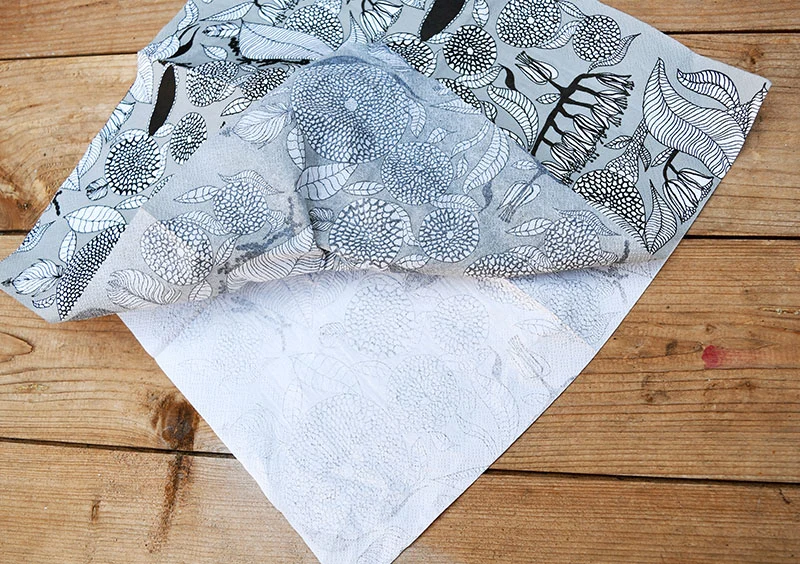
Step 2: The most crucial part is separating the paper napkin layers. Most paper napkins are 3ply thick. That is, they are made up of 3 different layers of paper. Only the top layer of the paper napkin is printed. The top layer is the one to use for the decoupage.
Separate the layers by rubbing the napkin between your thumb and forefinger in one corner. The layers should separate, and then you can gently pull the printed ply away from the rest of the napkin.

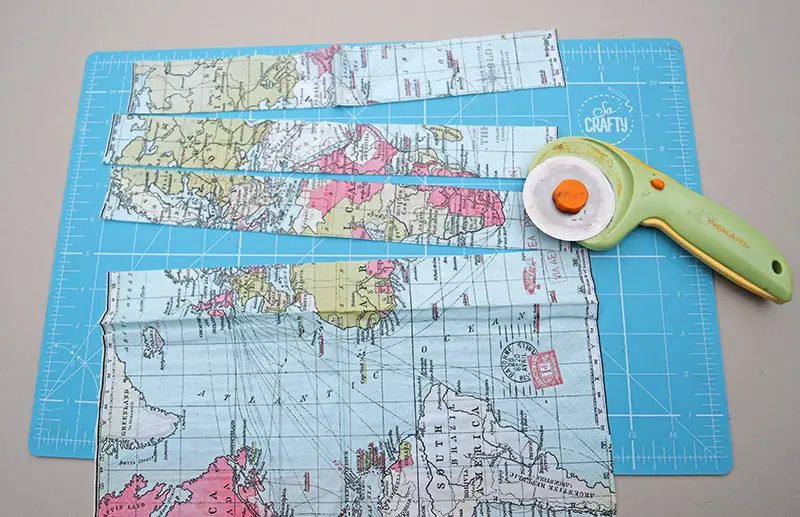
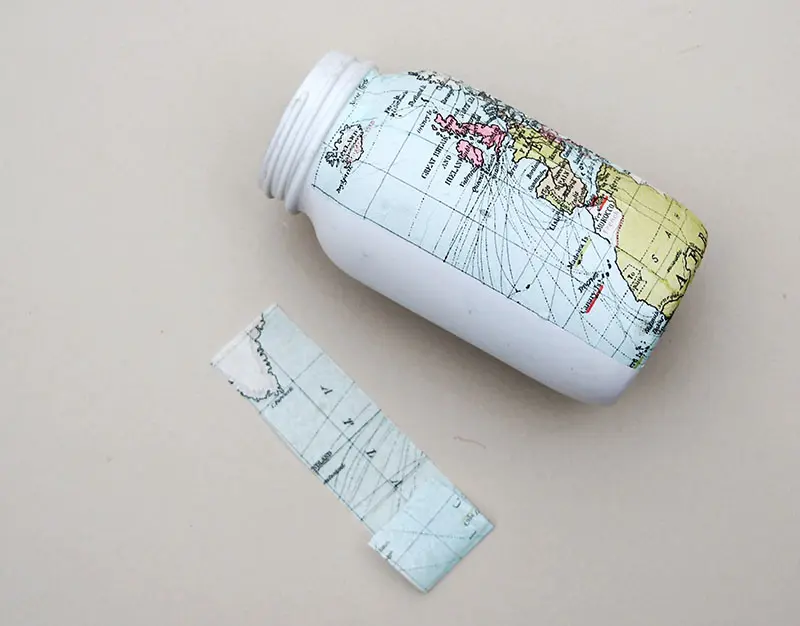
Step 3: The paper napkin can be feathered or cut, depending on your desired effect.
When decoupaging a mason jar for my map mason jar bank. I cut the paper napkin into strips and decoupaged them one by one into the glass. These strips helped the napkins cope with the curves without puckering up. I matched the map pattern on the napkin to seem like one continuous decoupage.
Use a brush to wet where you want to tear the napkin for a feathered edge. Then carefully, pull around the picture you want.
Cutting the napkins into a straight edge, a rotary cutter works better than scissors.


Step 4: As the paper napkin is so fragile, don’t apply the decoupage glue directly to the napkin. Apply it directly to the object to be decoupaged.
Cover the item with decoupage glue using a foam brush and lay the cut napkin on top of the glue. Use a clean foam brush to press the napkin firmly down. To smooth out any wrinkles, use plastic wrap (cling film), either layer it on top of the napkin or smooth it out with your hands.
A bunched-up plastic wrap ball can also be used as a sponge to smooth out bubbles.
Craftmunki has some excellent tips for avoiding wrinkles when decoupaging with paper napkins.
Step 5: Another way of decoupaging with paper napkins on a flat wooden surface is to lay the napkin onto a painted dry piece of wood. Then liberally apply the decoupage glue on top of the napkin. The glue will seep through the paper napkin and adhere to the wood. There is a good video demonstrating this method here.
Step 6: Finish off the decoupage by sanding away excess paper napkins from the edges, especially on wood. Then seel the decoupaged images by applying a final coat of decoupage glue on top of the paper napkin.
If the decoupaged object is outdoors, a waterproof sealer should be used for the final coat. You can even get a dishwasher-proof Mod Podge.
If you are looking for ideas of what to decoupage with paper napkins, check out this A to Z of upcycling ideas. And you’ll find many fantastic decoupage ideas here, including decoupaging with other materials.
As well as printing lovely images onto paper napkins to craft with, there is also a great tutorial on printing onto fabric at home.
Best Paper Napkin Decoupage Ideas
Paper napkins can be used to decoupage, wood, glass, ceramics, metal, plastic and even stiff fabrics. Here is a collection of a wide variety of paper napkin decoupage crafts and upcycles.

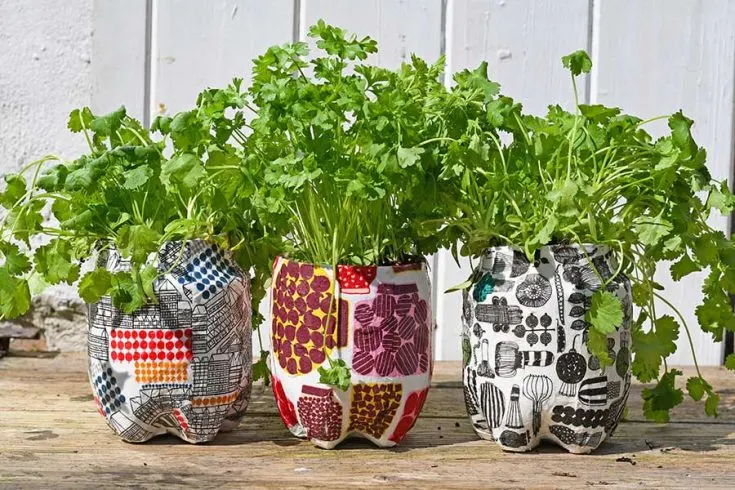
How To Make Cool Marimekko Plastic Bottle Planters
A great example of how to decoupage plastic soda bottles with paper napkins to make some designer herb planters.

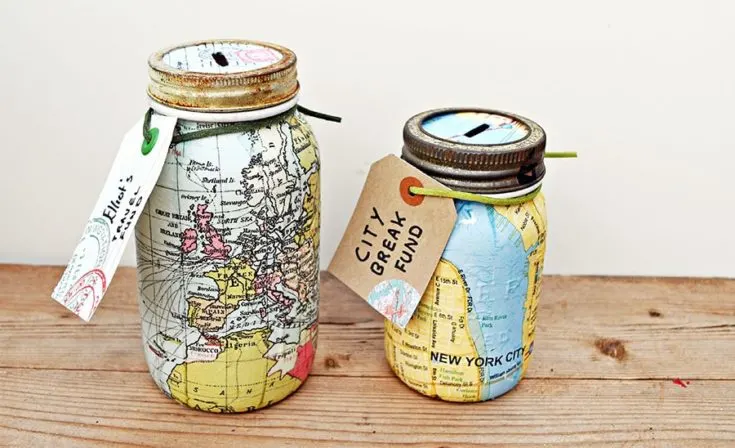
Make A Unique Map Mason Jar Bank For A Wonderful Gift
Clever use of map printed paper napkins decoupaged onto glass to make these cute map mason jar banks. Print maps of your favourite places onto blank paper napkins to personalize this upcycle.

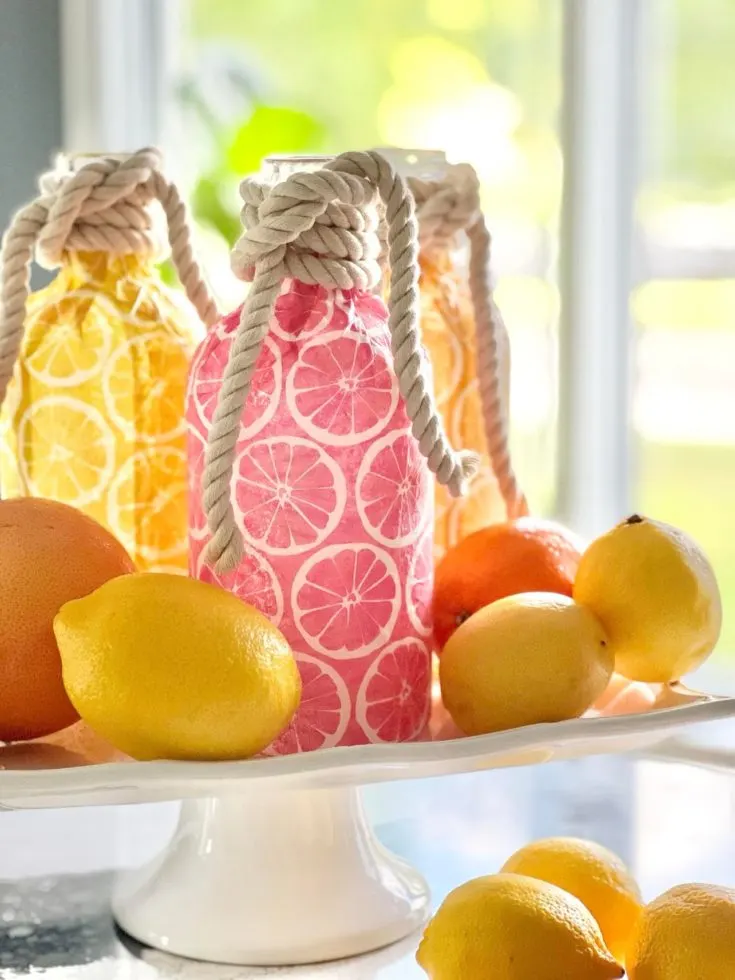
A Simple Decoupage Bottle Idea
Add summer fun to your table with these fruit slice decoupaged glass bottles.
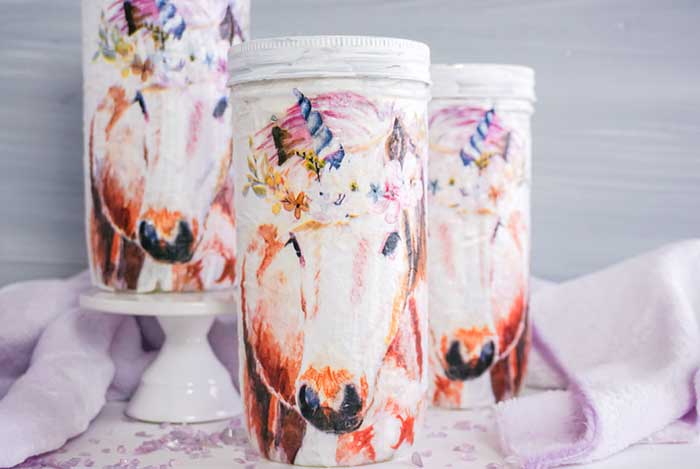
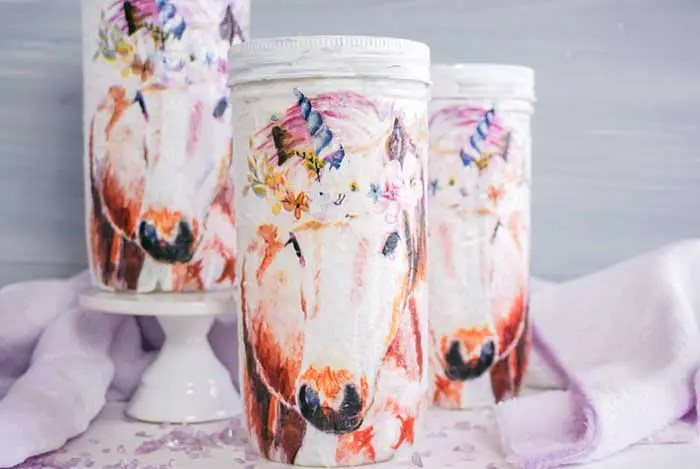
How to Decoupage With Napkins on Glass
Another glass jar paper napkin decoupage.
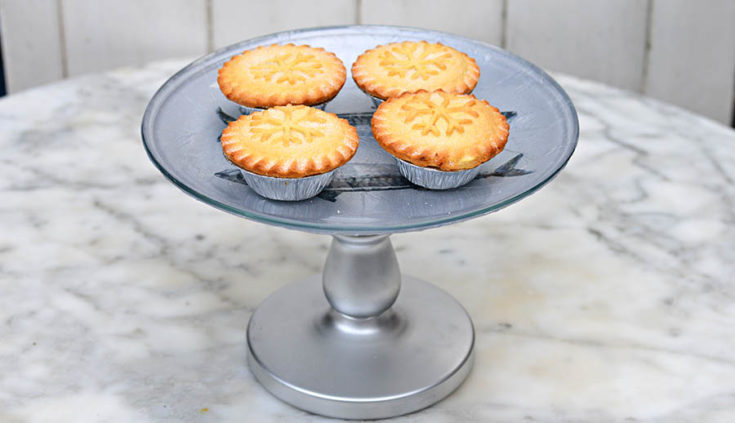
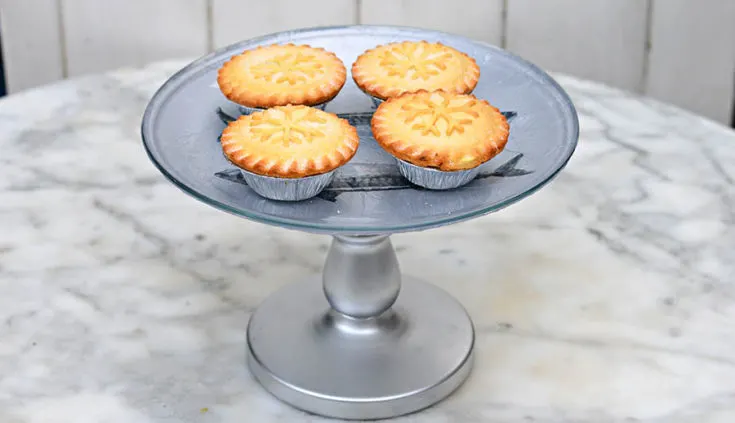
Easy DIY decoupaged IKEA cake stand
This is another glass paper napkin decoupage. This time the paper napkin is decoupaged under the plate so that it shows through the glass.

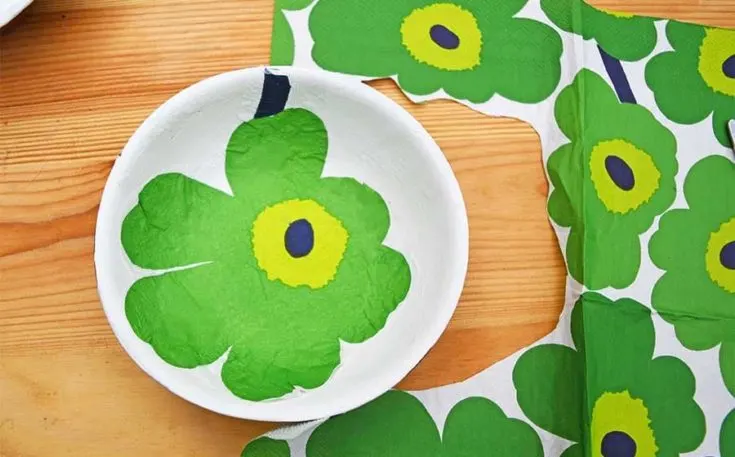
Easy Marimekko Decoupage on Wood Bowls
Simple wooden salad bowls are completely transformed with these bold Marimekko poppy paper napkins.

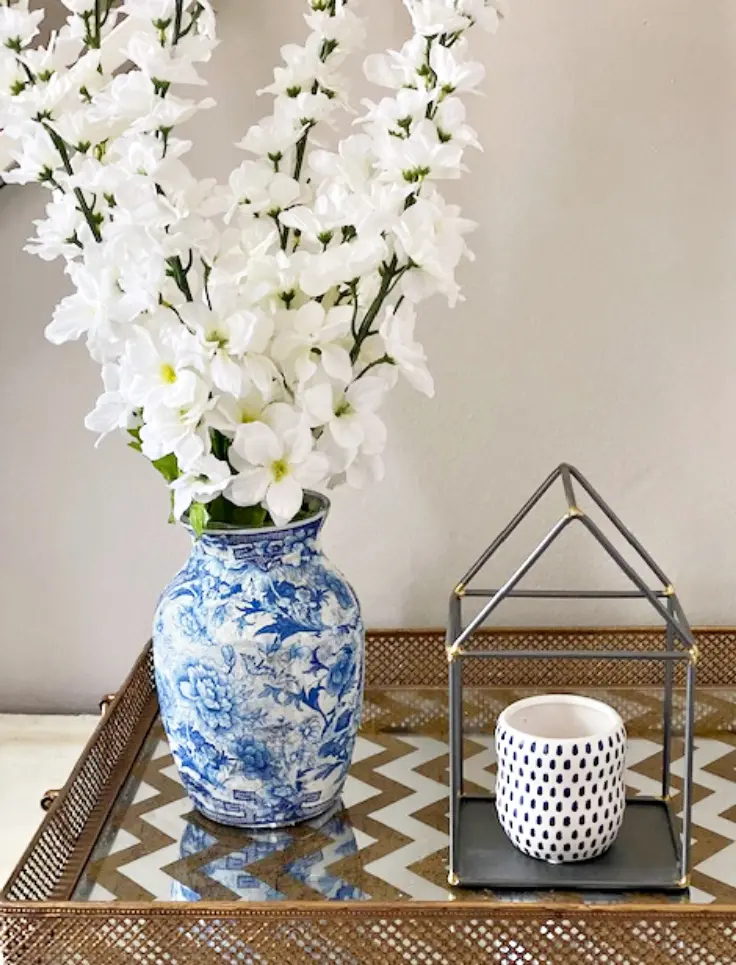
How To Make A Beautiful DIY Decoupage Chinoiserie Vase
Upcycle a vase into a stunning Ming vase with Chinoiserie paper napkins.

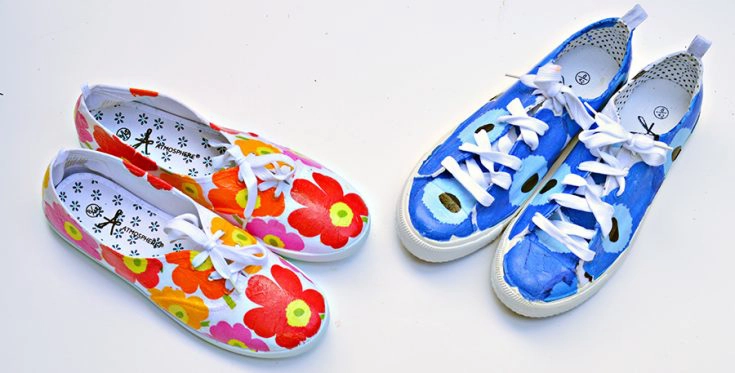
DIY Marimekko Shoes
Create some designer shoes out of cheap plain canvas sneakers with paper napkin decoupage.
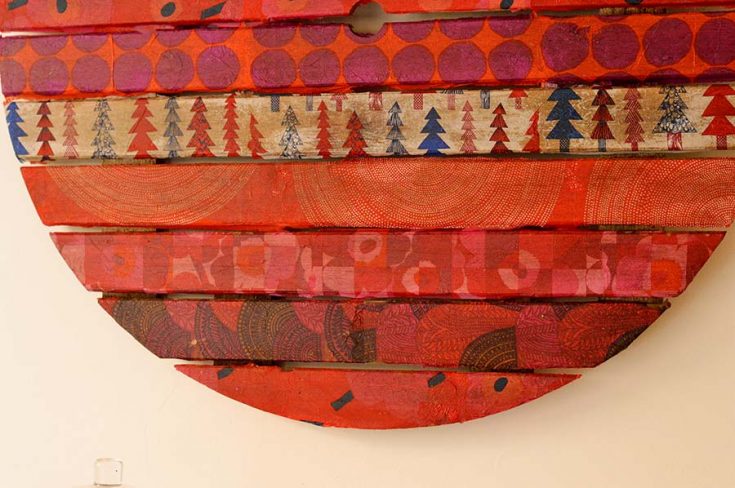

Unique Marimekko Christmas Wall Art Made From A Table Top
This was a fun way to show my love of Marimekko designs by creating some giant wall art by decoupaging an old wooden tabletop; Paper napkins are also great for decorating wooden boxes.
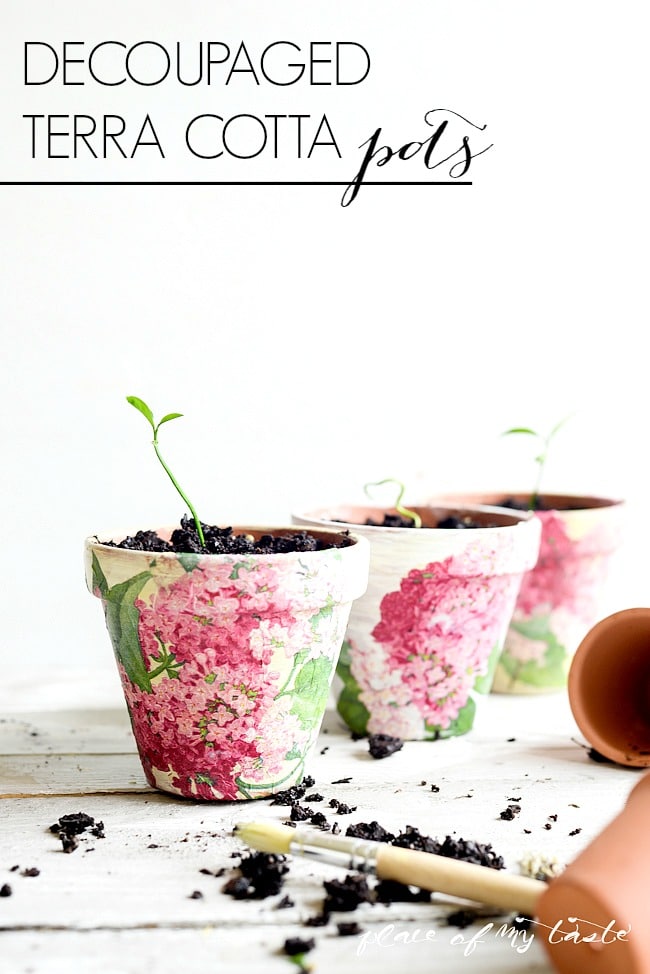
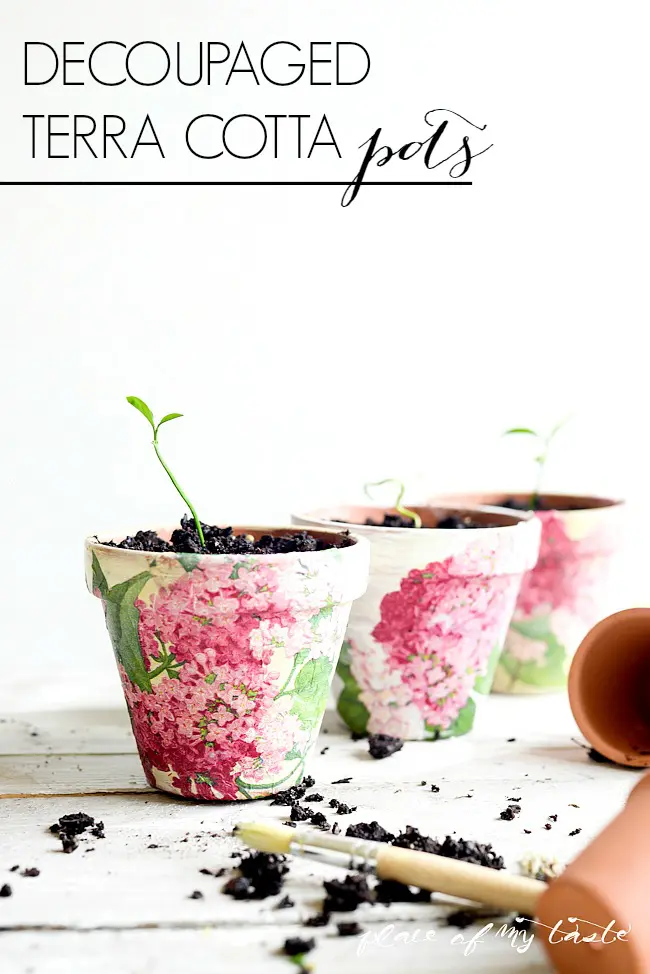
DECOUPAGED TERRA COTTA POTS
Paper napkins can be decoupaged onto ceramics to create some pretty plant pots.

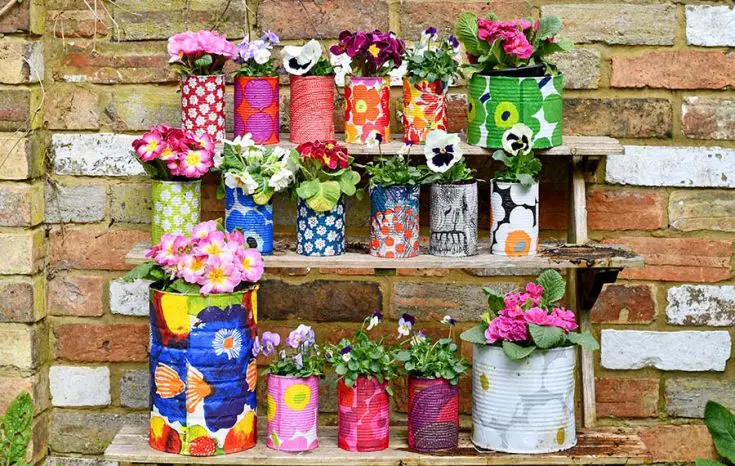
Easy Upcycled Marimekko Decorative Tin Can Planters
Don't worry if you don't have any plant pots to decoupage; you can create the same effect with these tin can planters.
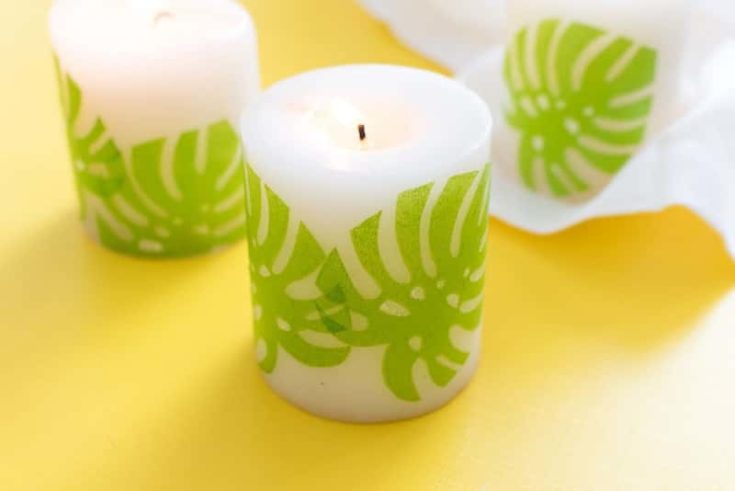

Mod Podge Candles with Tropical Napkins - Mod Podge Rocks
Even candles can be updated with the magic of paper napkins.
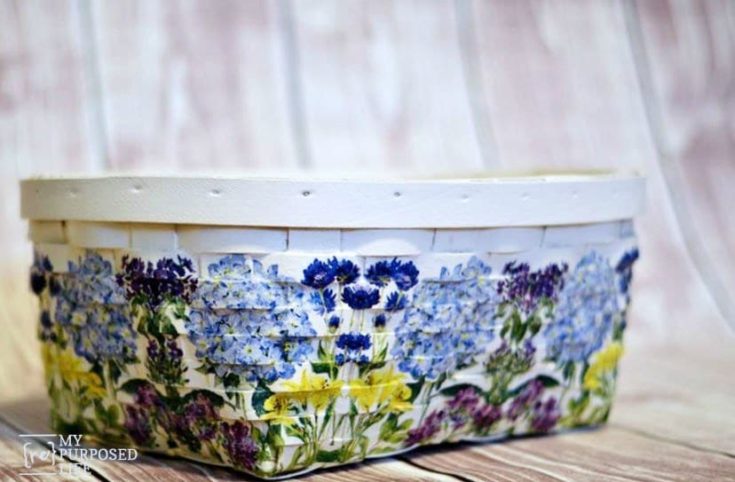

decoupage basket | hydrangea napkins
Because paper napkins are so thin and pliable they can even be used to decoupage a woven basket.

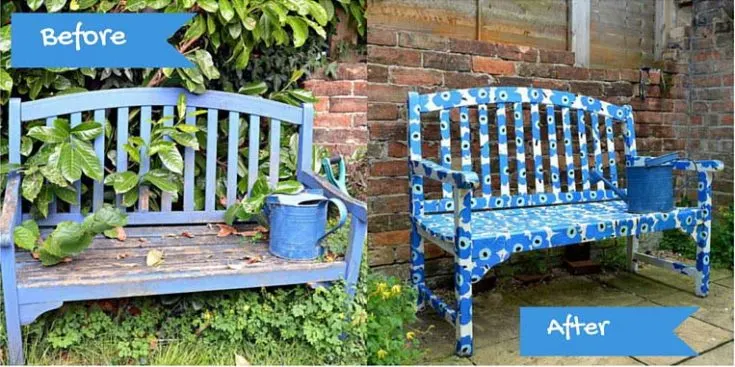
How to Make a Unique Marimekko Bench
It took a lot less paper napkins then you think to decoupage the whole bench.

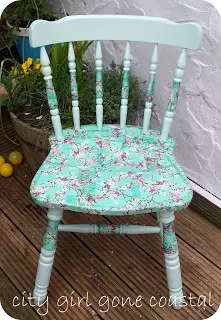
Decoupage Chair
If you don't fancy doing a whole bench, start off smaller with a chair. I love the colour and pattern.
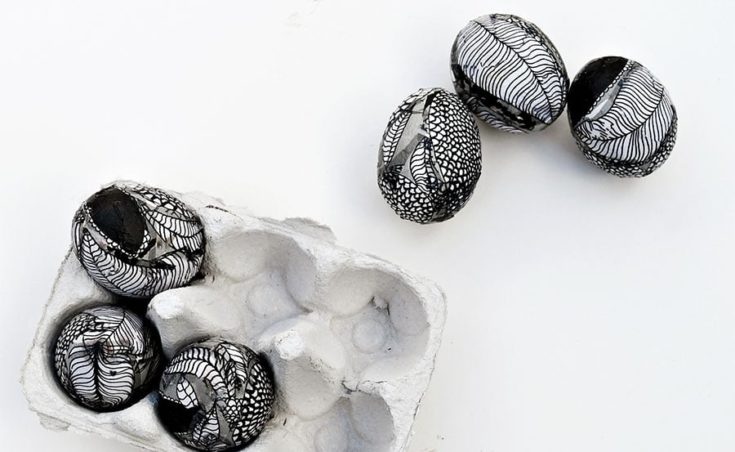
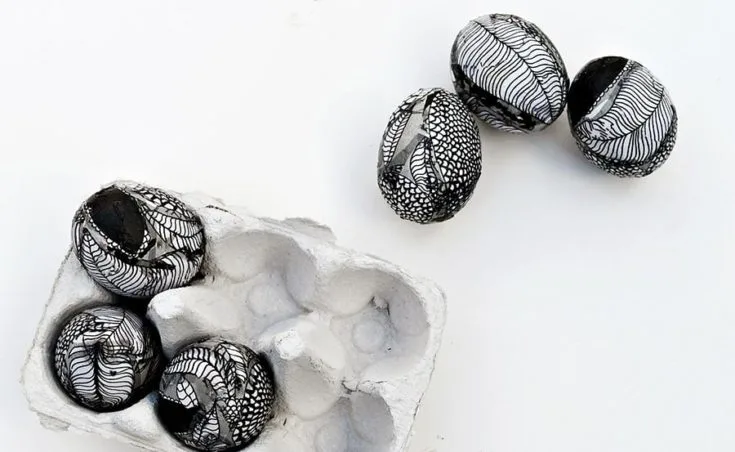
Unique Easter Egg Decorating With Marimekko
I love these designer Easter eggs made with Marimekko paper napkins.
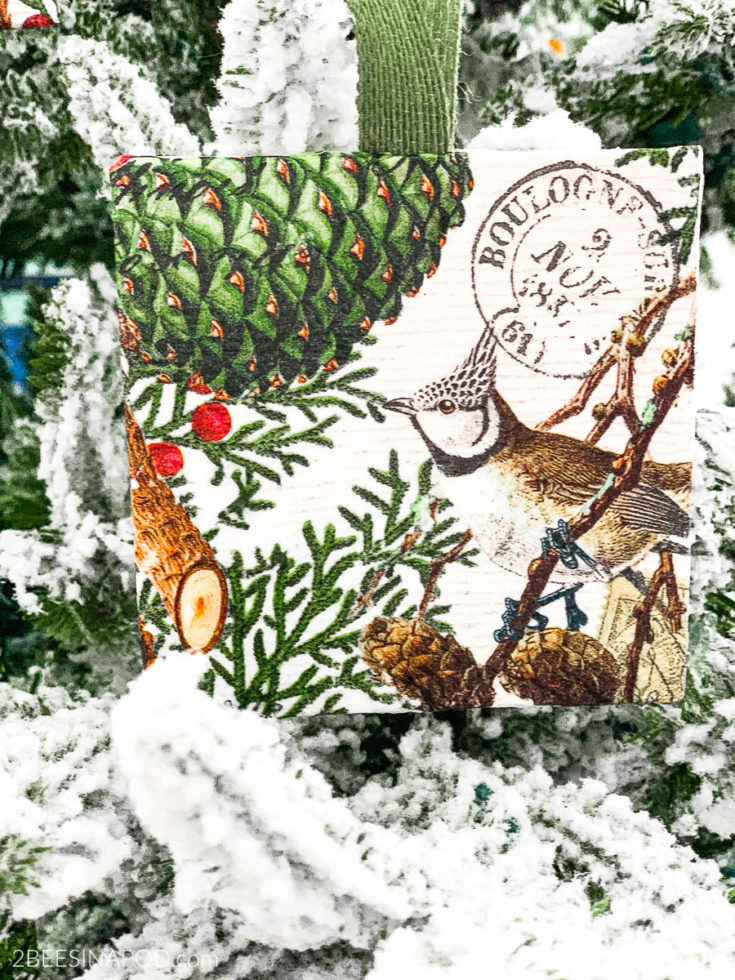
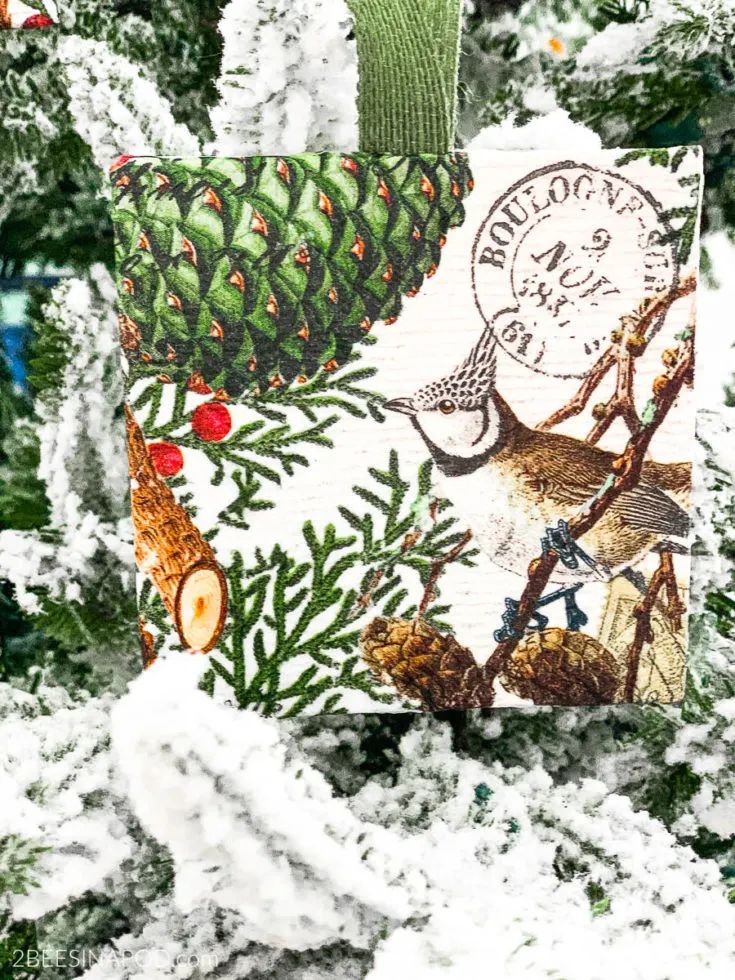
Art Canvas Decoupage Christmas Ornament - 2 Bees in a Pod
Use the right napkin and you can even make Christmas ornaments.
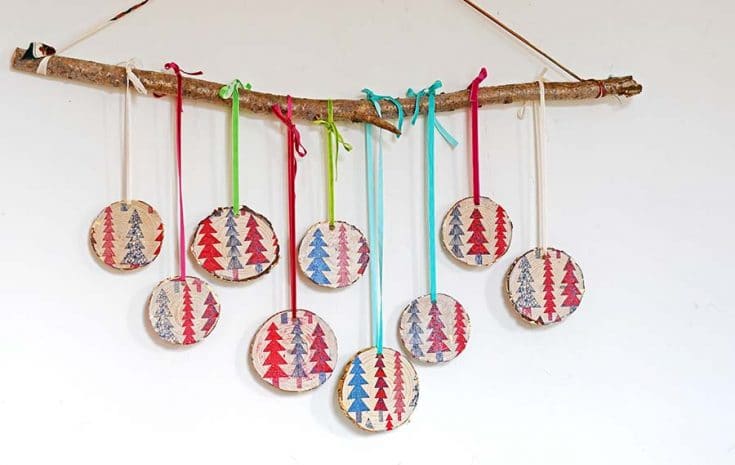
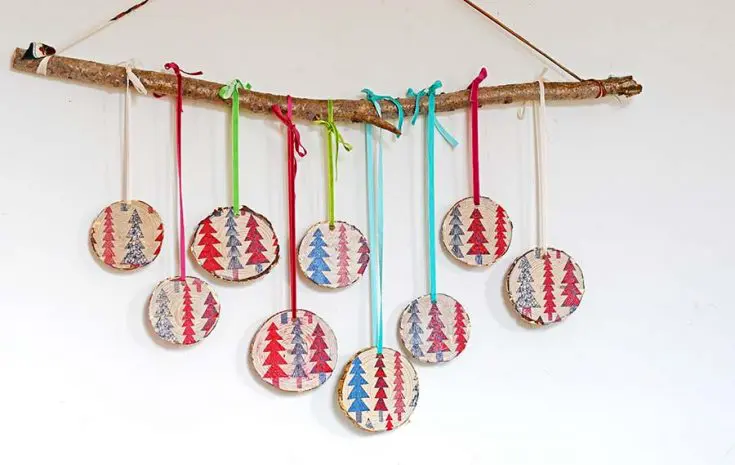
How to Make Gorgeous Nordic Christmas Decorations
Decoupage onto wood slices to make this adorable Nordic hanging Christmas decoration.
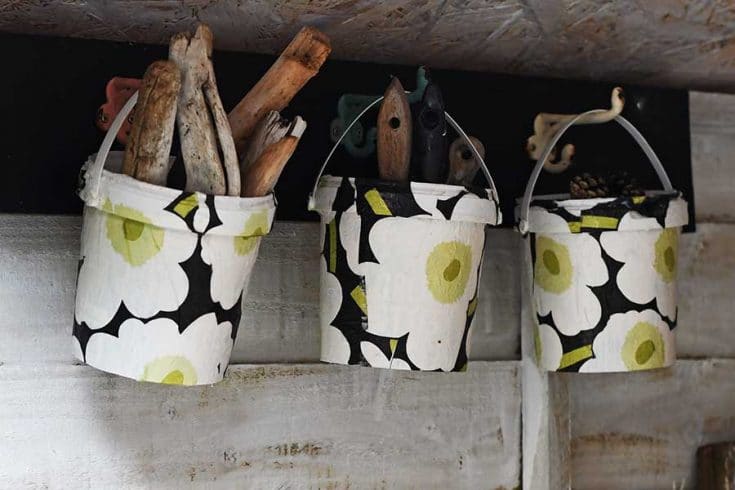

How To Make Handy Upcycled Hanging Bucket Storage
Another paper napkin decoupage upcycle. This time on large yogurt pails, they make stylish storage for the shed.
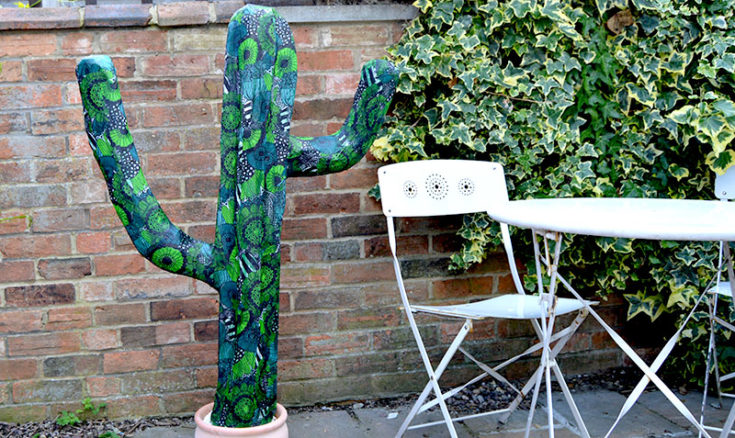

Easy DIY Giant Paper Mache Cactus
This fun giant paper mache cactus was finished off with paper napkins, to give it a special look.
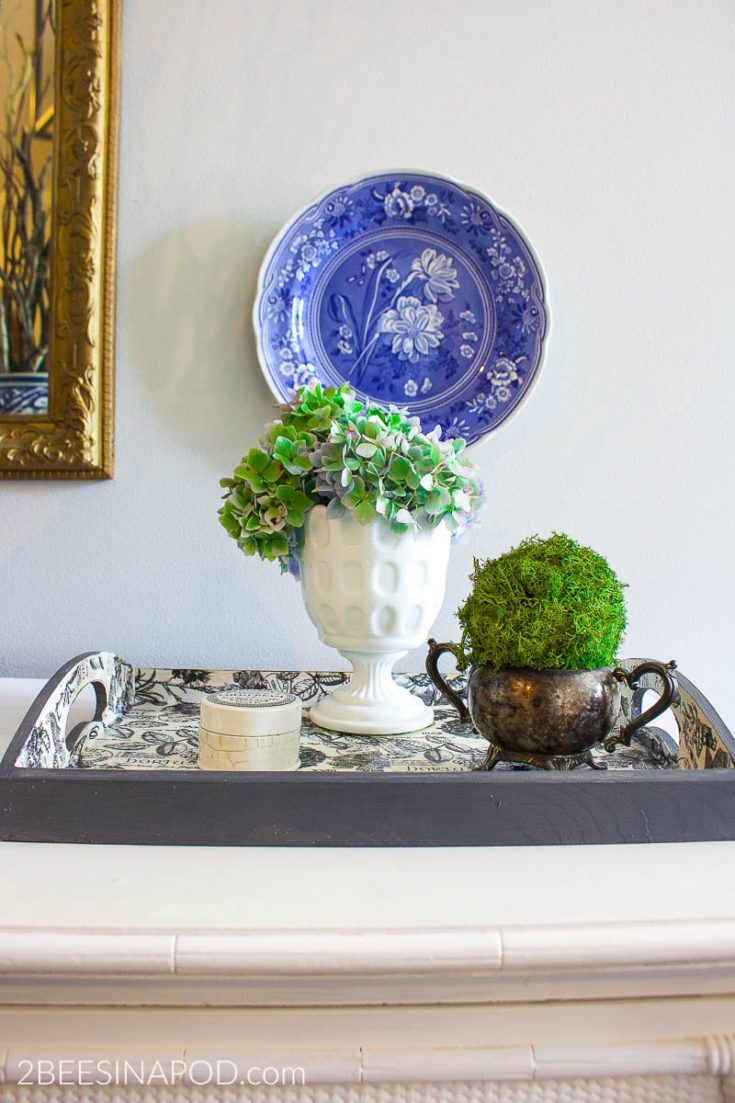

How to Decoupage with Paper Napkins and Make a Tray Look Fabulous
I love how the paper napkin decoupage really transformed this plain tray into something beautiful.

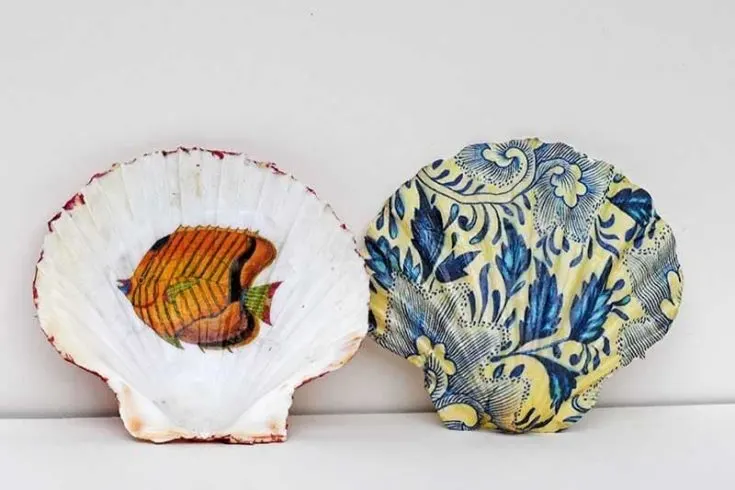
How To Make A Beautiful Decoupage Shell Dish
Decoupage seashells for a unique gift. Large scallop shells make lovely trinket dishes.

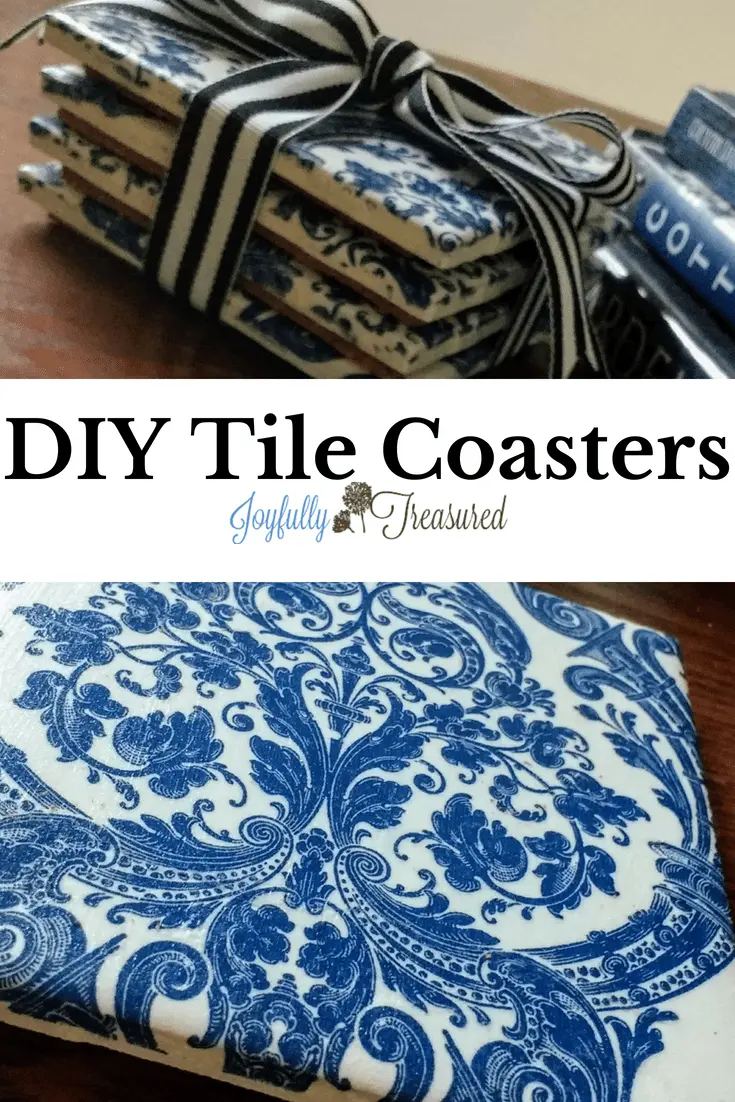
How to Make Coasters out of Ceramic Tiles and Napkins, Easy DIY Home Decor Craft
These tile coasters would make a lovely gift.


Book Page and Paper Napkin Clock Makeover
Another great use of Marimekko paper napkins, this time for a fabulous clock update.

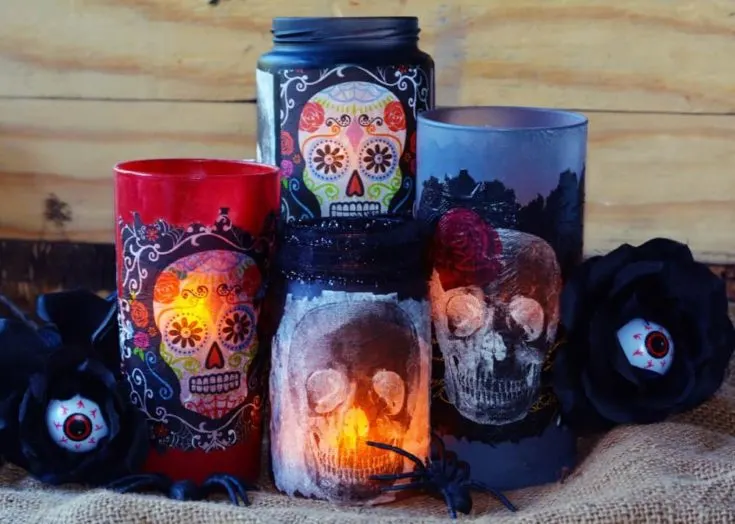
Day of the Dead Crafts: Decorative Luminaries
Use Day of the Dead napkins for some fun upcycled Halloween luminaries.

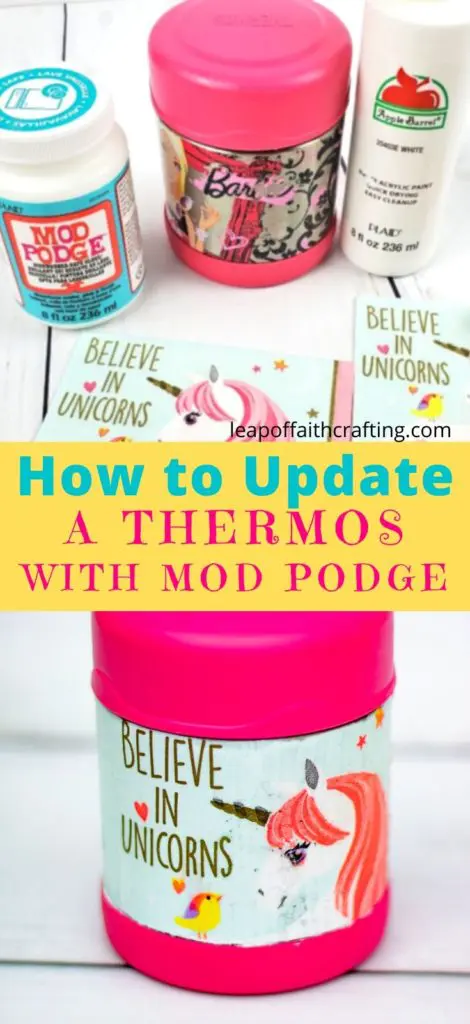
DIY Mod Podge Project: Upcycle an Old Thermos!
Give an old thermos a new lease of life with paper napkins.
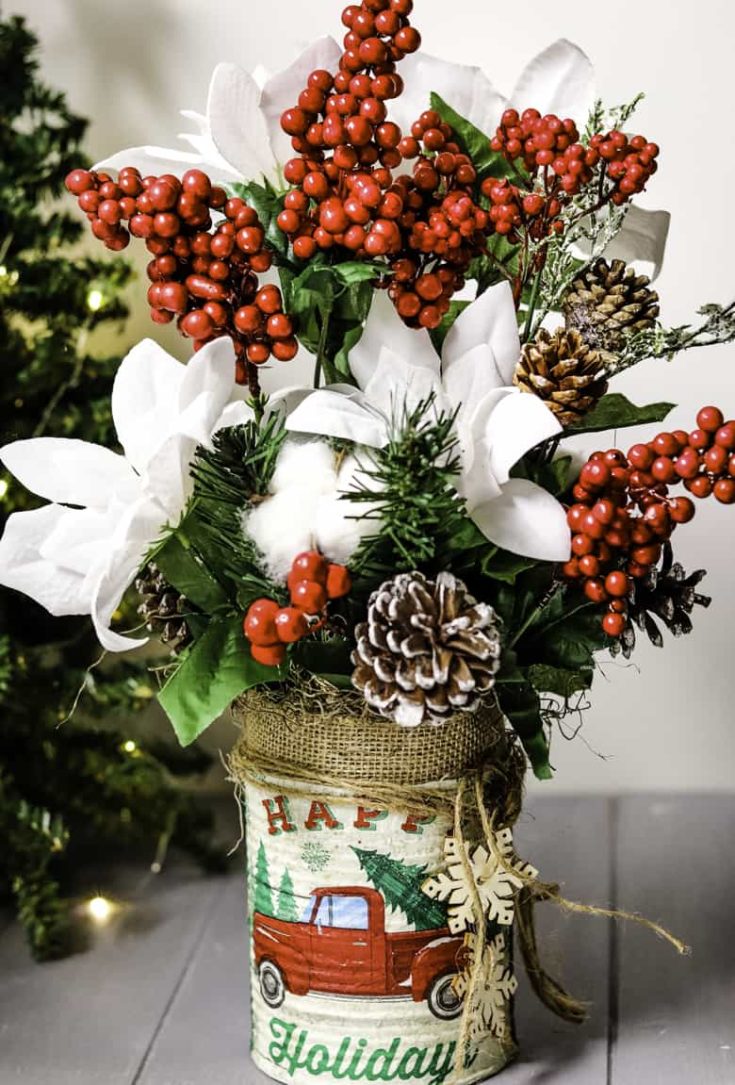

Rustic Farmhouse Floral Can Craft for Christmas
Another tin can decoupage transformation, this time for Christmas. Check out these other tin can Christmas crafts.

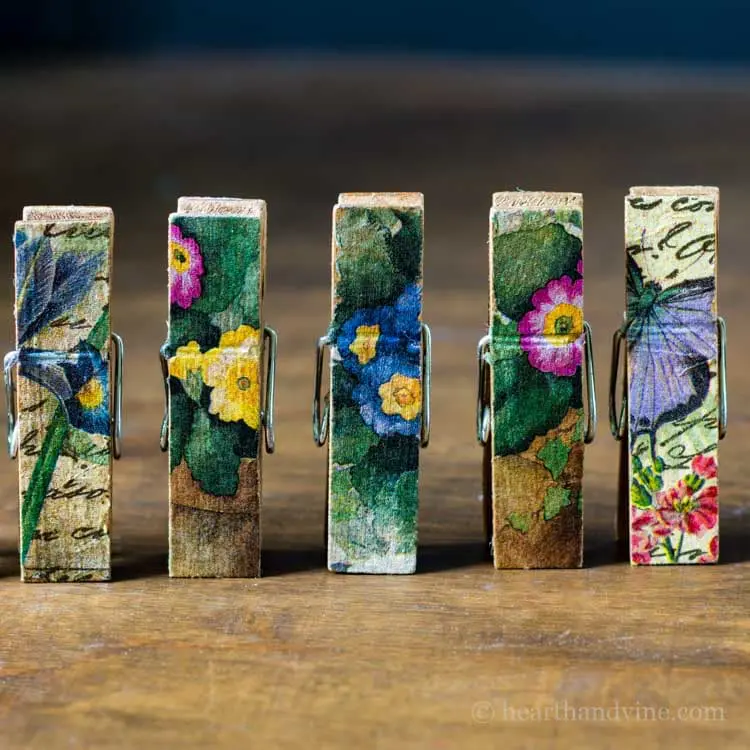
How to Make Colorful Magnetic Clothespins
I love these, who'd of thought clothespins could look so pretty.
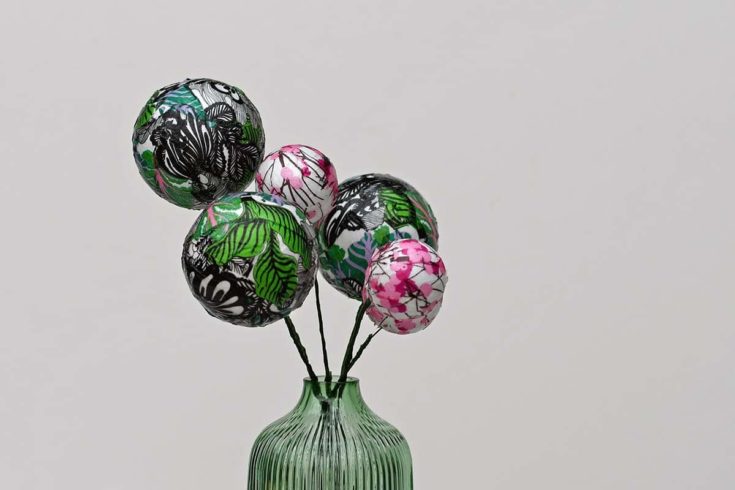
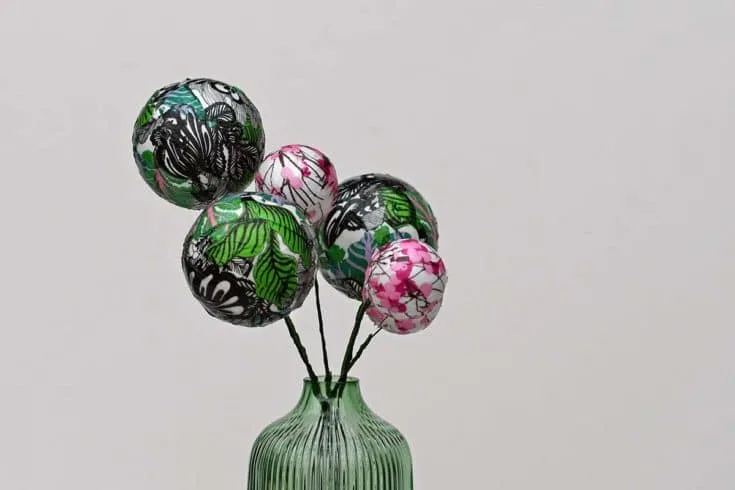
How To Make A Decoupage Baubles Decoration
This is a fun alternative Christmas decoration. Use Marimekko paper napkins to make some decoupage bauble flowers.
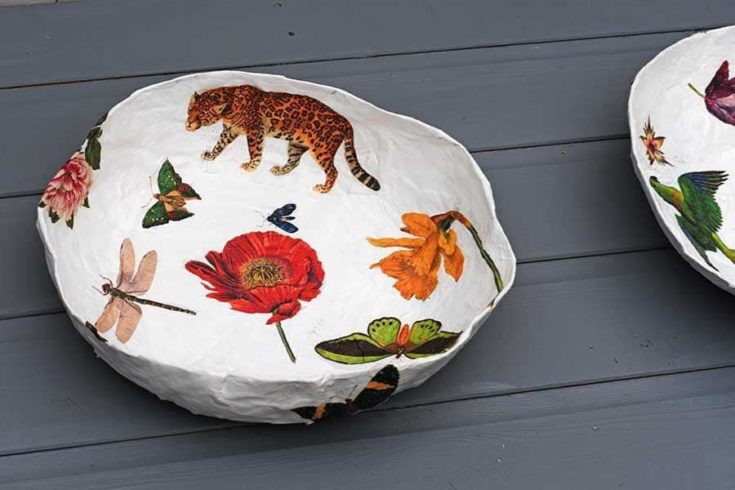

How To Make A Paper Mache Bowl With Decoupage
It's the decoupaged vintage nature images that transform these paper mache bowl. Includes free printables of the images to use.
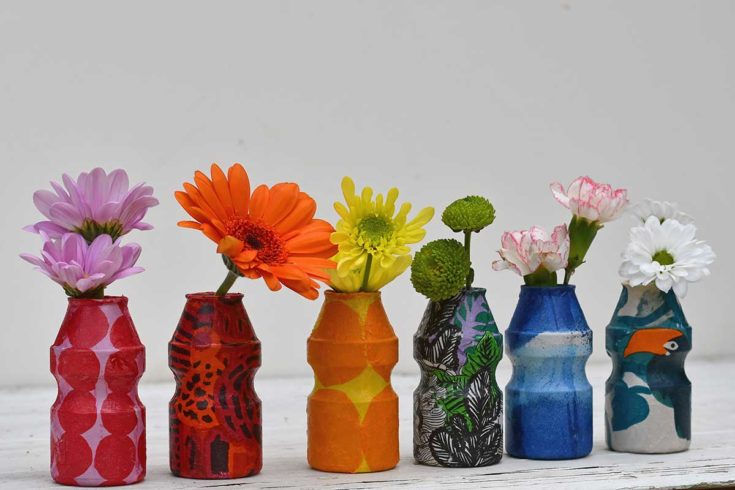

How To Make Cute Upcycled Mini Bud Vases
Decoupage some mini plastic bottles (Yakult), to create a colourful mini flower bud display.
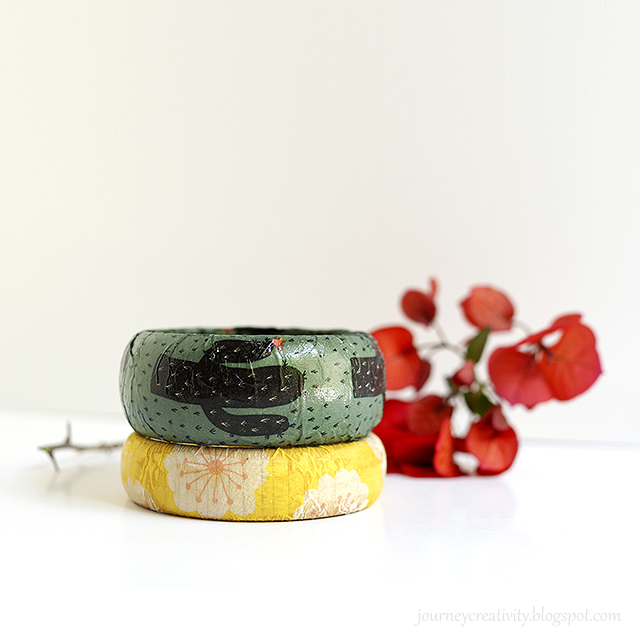
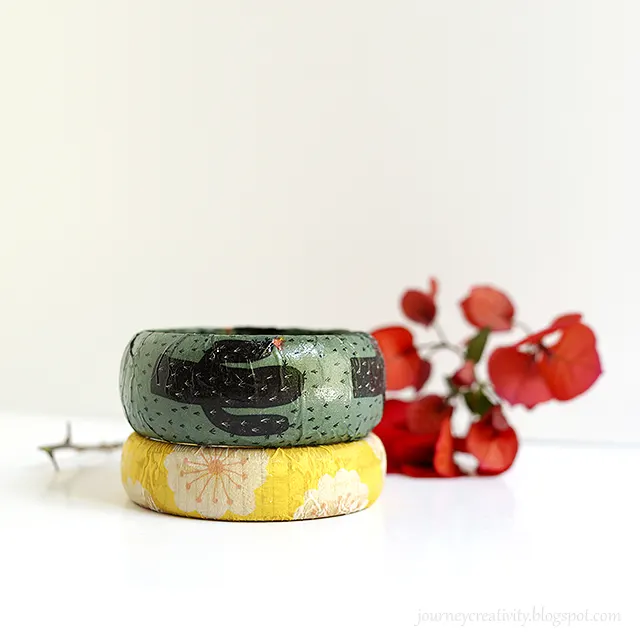
Wooden bangle bracelets
Upcycle bracelets by decoupaging them with paper napkins to match your outfit.
Fabric is another fun material to decoupage with; check out this amazing Kaffe Fassett decoupaged vase.
For other craft types and technique tutorials, check out the tips for sewing on paper, by hand or with a sewing machine. Also, ensuring you have these craft essentials is a good idea.
Robin Black
Sunday 6th of June 2021
I have been searching for fabric to make a kitchen valance and the only thing I really like is a paper napkin I found. Have you ever decoupaged a paper napkin on fabric? I was wondering if I could decoupage the napkin onto the fabric and then cut out the triangles I want to use as a valance? Would this work and be somewhat pliable? Thank you
Claire Armstrong
Sunday 6th of June 2021
To decoupage fabric, I would first cover the fabric in Mod Podge and leave it to dry. This will stiffen the fabric, I would then decoupage the napkins on top of this fabric as you would other objects. This will alter the feel of the fabric and make it stiffer but it will still be pliable. I would practice on a small piece first to see if it would work for your needs. I hope that helps.
Angela Brown
Thursday 1st of April 2021
Gosh I love this!
Claire Armstrong
Friday 2nd of April 2021
Aww, thank you so much.
Marita Kavanaugh
Wednesday 17th of March 2021
Wow thank you for this! As a beginner about to start decoupaging I found this very helpful. I was wondering if it would work if I used a napkin that is stencilled along the edges, would the stencil show up?
Claire Armstrong
Wednesday 17th of March 2021
Thank you, I'm glad you have found it helpful. I'm not sure about the stencil but it's worth giving it ago.
Vickie
Saturday 9th of January 2021
A fantastic, detailed outline crafted to inspire those of us that want to take supplies in hand and give this a whirl. I sure wish I found it before I paid 35 bucks to watch a live online class 😁
Claire Armstrong
Saturday 9th of January 2021
Thank you, Vickie. I'm glad you found it helpful. Crafting should be fun and free!
Michelle Leslie
Tuesday 30th of June 2020
Oh my goodness Claire. I don't think I've ever come across an article with so much information about mod podging with napkins/serviettes. It's like a one-stop-shop for all you need to know. Thanks so much
Claire Armstrong
Tuesday 30th of June 2020
Thank you, Michelle. I’ve had plenty of practice especially with Marimekko paper napkins.