
DIY Kimekomi Christmas Baubles with Denim – No Sewing!
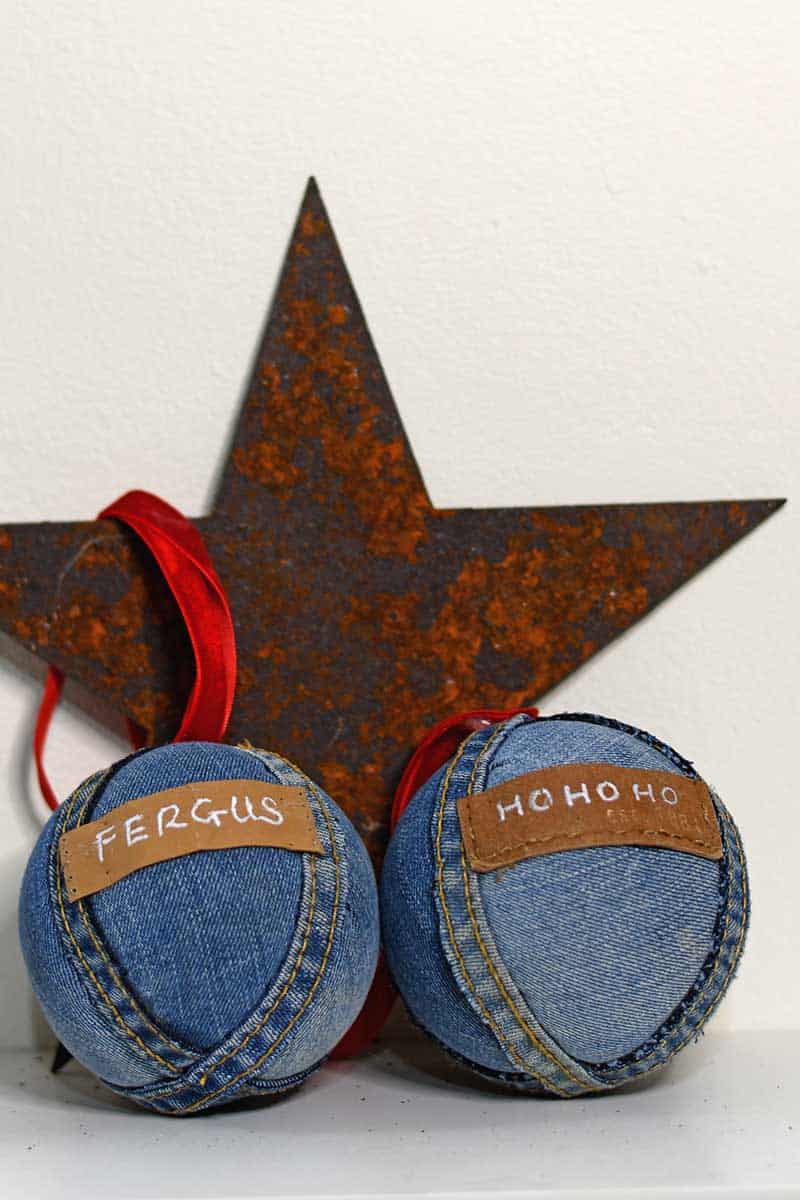
Who knew an old pair of jeans could make such lovely Christmas baubles? These DIY denim Kimekomi ornaments are a fun, no-sew Christmas craft made with soft denim scraps, old jeans seams, and even leather labels. I personalised mine for an extra-special touch.
Every Christmas, I set myself a little challenge: find a new way to turn an old pair of jeans into a Christmas decoration. I've been doing this since 2017, when I made my first tabletop denim Christmas trees using jeans seams and belt loops.
Since then, I've made everything from denim patchwork stars to belt loop medallion ornaments. You'd think I'd have run out of ideas by now, but apparently, there's always another bit of an old pair of jeans waiting to become a Christmas decoration!
This year's addition is a set of denim Kimekomi Christmas baubles, and I love how they've turned out. Kimekomi is a traditional Japanese craft technique in which you tuck pieces of fabric into grooves to create decorative patterns. People often use it to make beautiful fabric-covered dolls and ornaments. Naturally, I thought, why not try it with denim?
I used an old pair of my son Fergus's jean shorts, which made these baubles a little more special. I even rescued part of the leather jeans label to make him a personalised Christmas ornament.
The best bit? No sewing is involved, and those lovely double-stitched jeans seams get another chance to shine.
What You'll Need to Make Denim Kimekomi Baubles
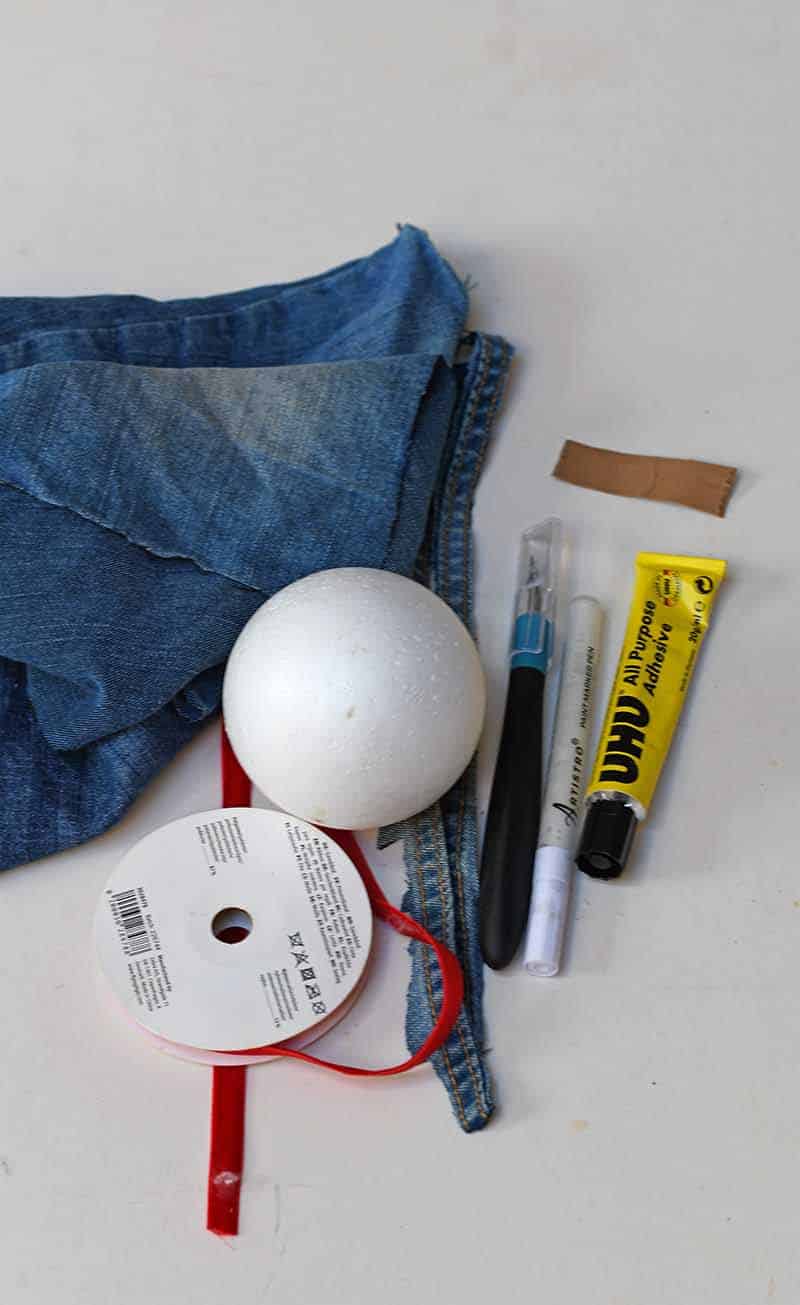
- Old jeans or denim shorts – preferably soft, lightweight denim
- 8cm polystyrene balls (diameter)
- Craft knife
- Black marker pen
- Thread for measuring
- Small, sharp scissors
- Bone folder or another flat, blunt tool
- Fabric glue or strong craft glue
- Dressmaking pins
- Double-stitched seams cut from old jeans
- Leather jeans label
- Acrylic paint marker
- Red ribbon for hanging
A quick denim tip: This project isn't ideal for your thickest, toughest jeans. Soft, well-worn denim tucks into the grooves more easily. Thinner fabric from old shirts or lightweight, well-worn jeans also works well.
How to Make Kimekomi Ornaments
Step 1: Divide the Polystyrene Ball into Sections: Start with an approximate 8 cm polystyrene ball (about large bauble size). I wanted a simple four-panel design, so I used a length of thread to help divide the bauble into four equal sections.
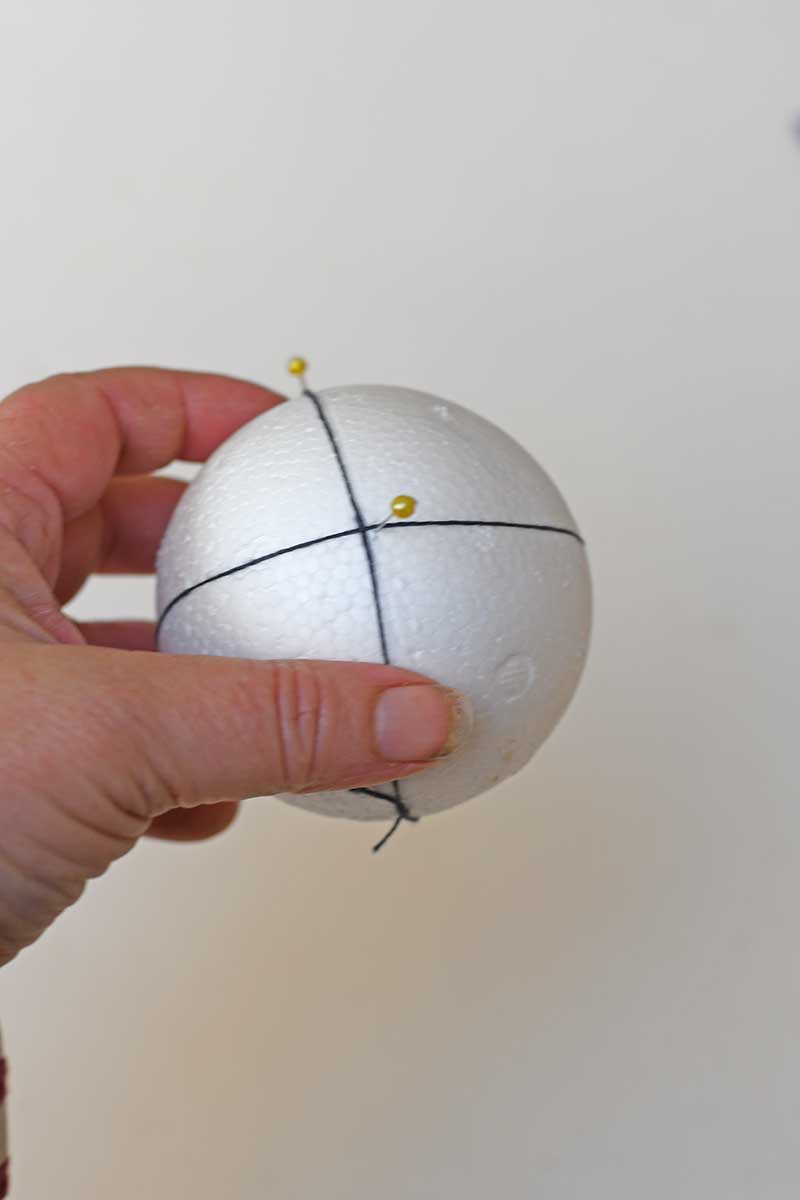
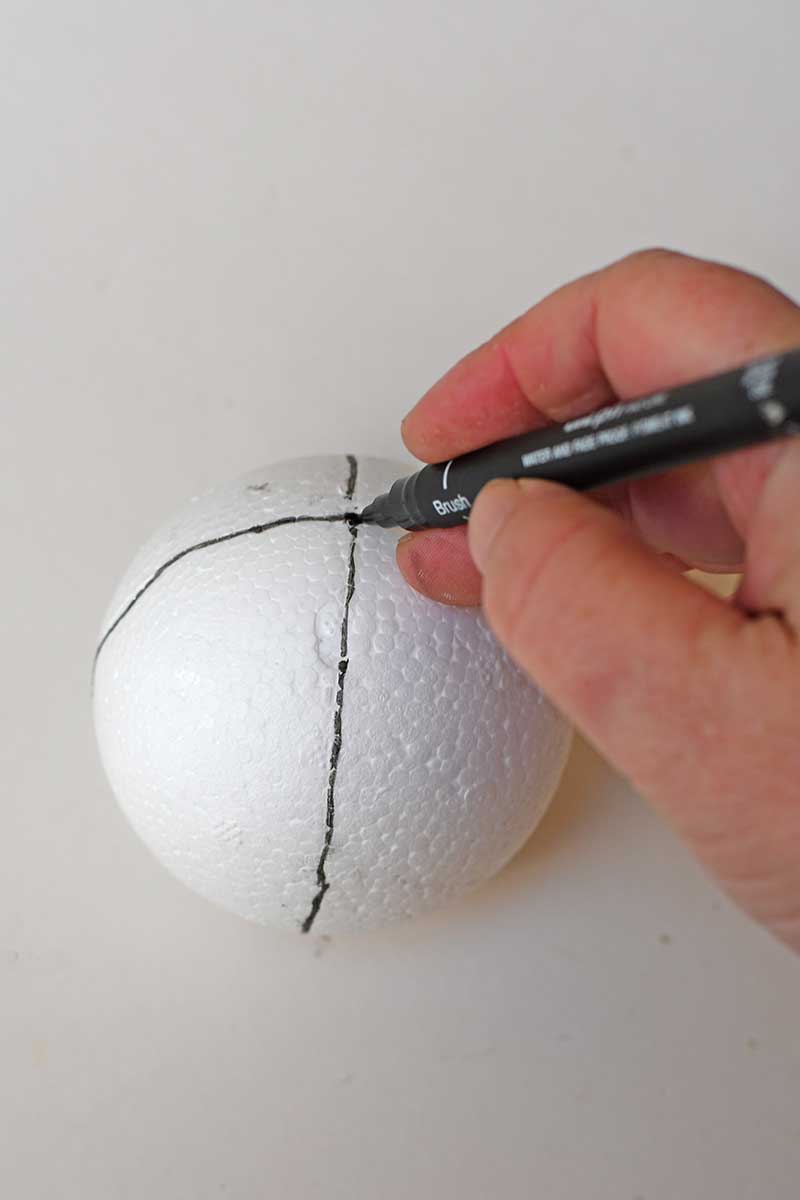
Once I was happy with the spacing, I marked the lines with a black pen, running from the top to the bottom of the ball. You should end up with four roughly equal curved segments, a bit like the sections of an orange.
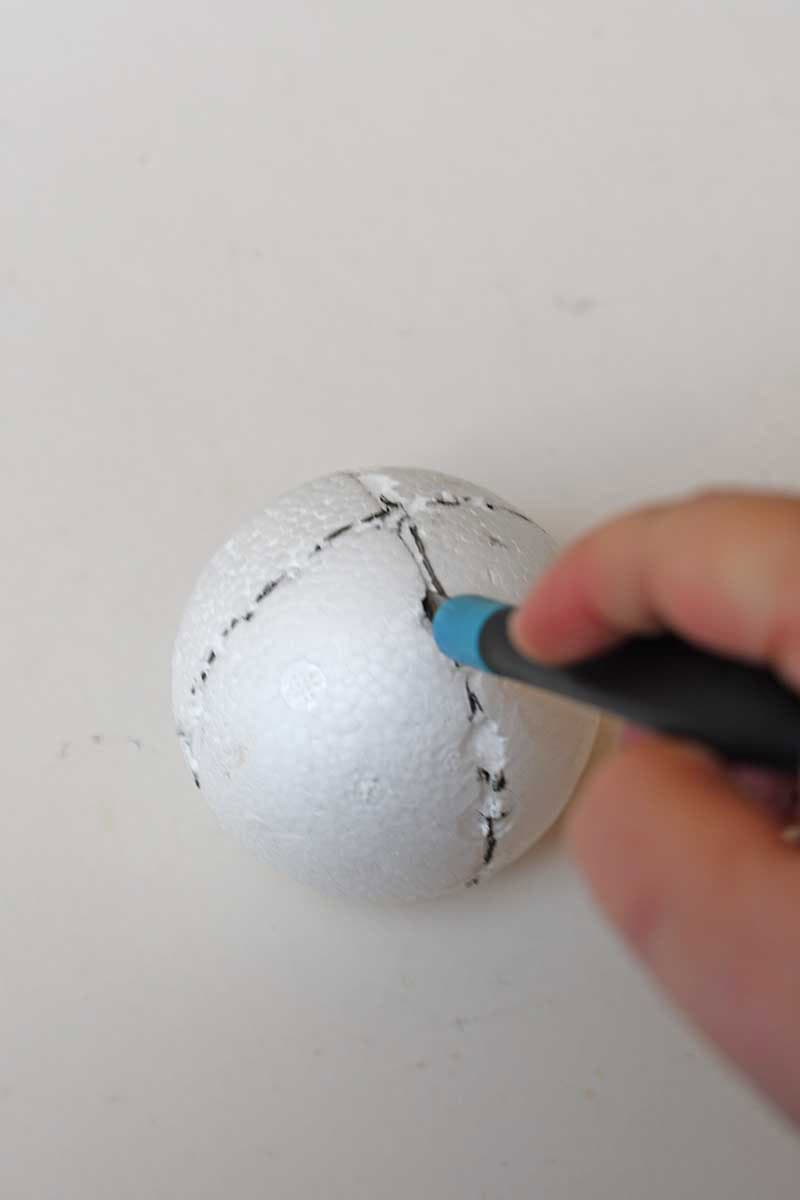
Step 2: Cut the Grooves: Using a sharp craft knife, carefully score along the pen lines to make grooves in the polystyrene. These grooves are where you'll tuck the denim edges to hold the fabric in place. Make them deep enough to grip the fabric, but don't cut all the way through the ball!
Step 3: Cut the Denim into Pieces: Cut your old jeans or shorts into pieces about 50% larger than each of the four segments. Don't worry about cutting perfect shapes at this stage. It's easier to work with a little extra fabric and trim it as you go. I also liked mixing slightly different shades of denim to give the baubles a subtle patchwork effect.
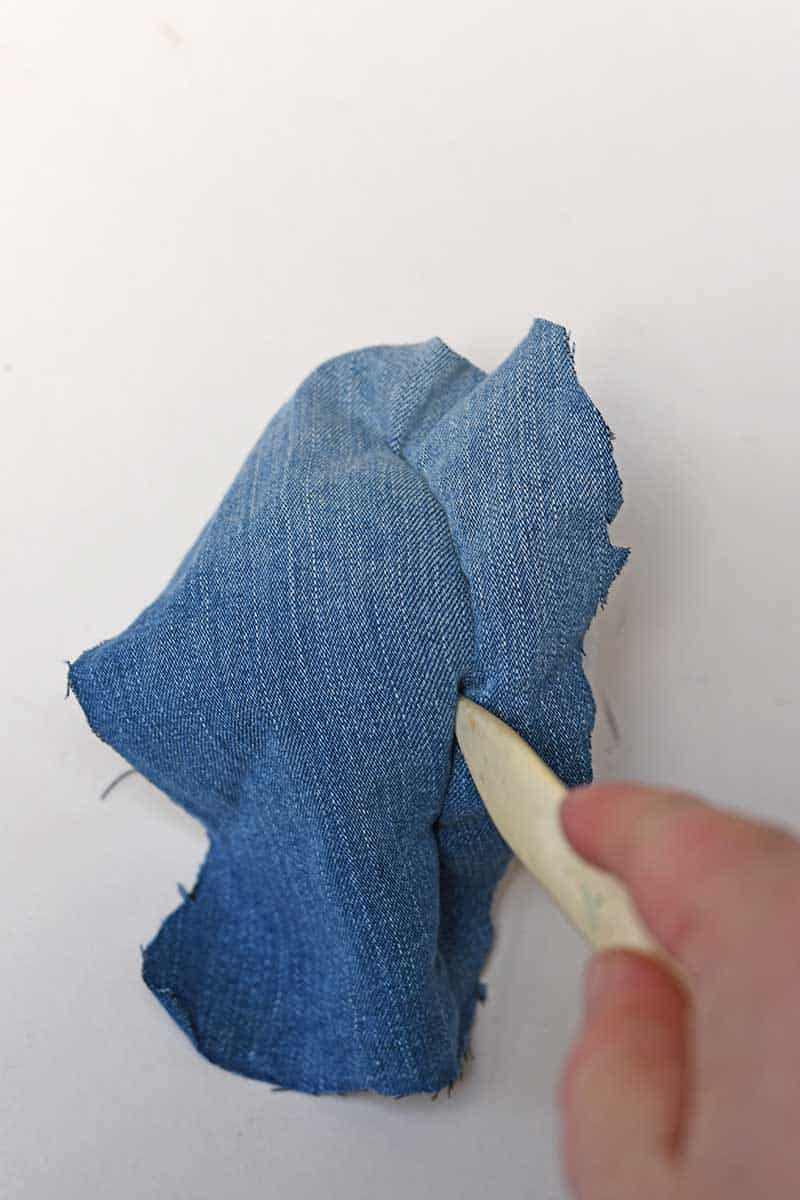
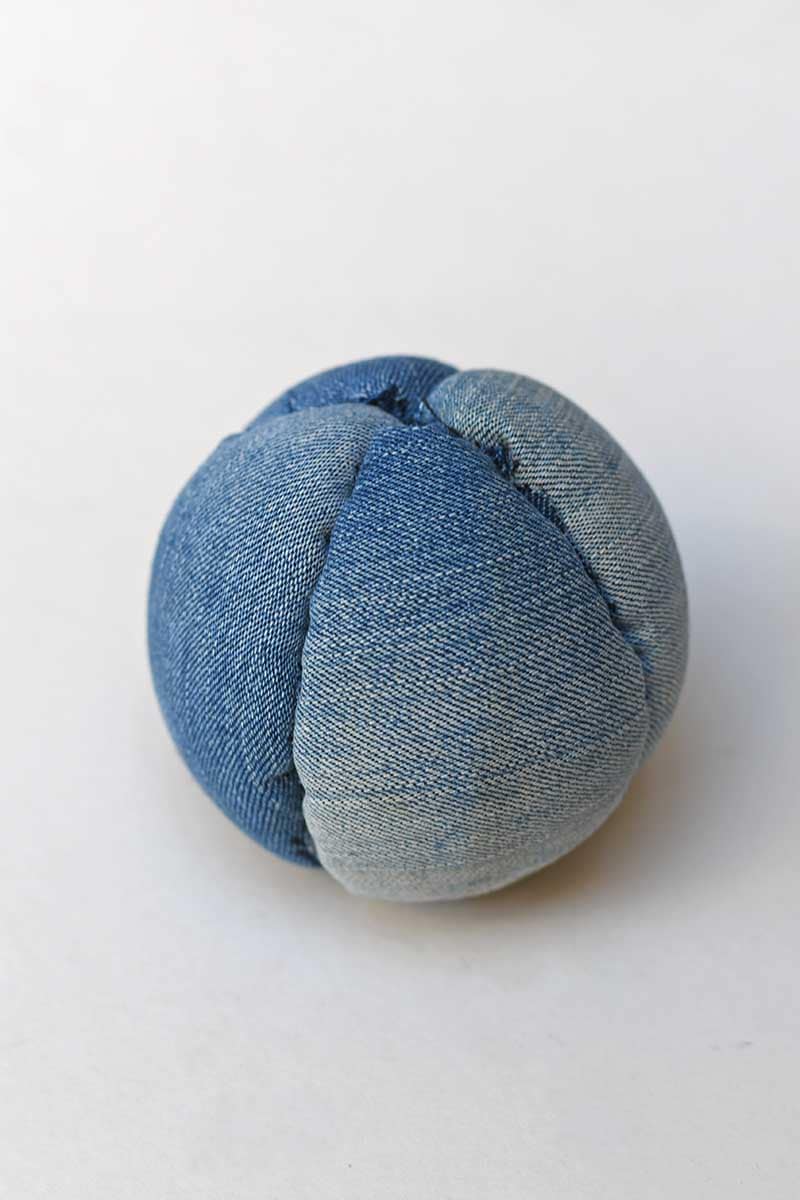
Step 4: Tuck the Denim into the Grooves: Now for the satisfying bit! Place your first piece of denim over one section of the ball. Using a bone folder or another thin, blunt tool, gently push the fabric edges into the grooves.
Work a little at a time, smoothing the denim over the curved surface as you go. Once the fabric is tucked in securely, carefully trim away the excess with small, sharp scissors. Then tuck any loose fabric into the grooves again.
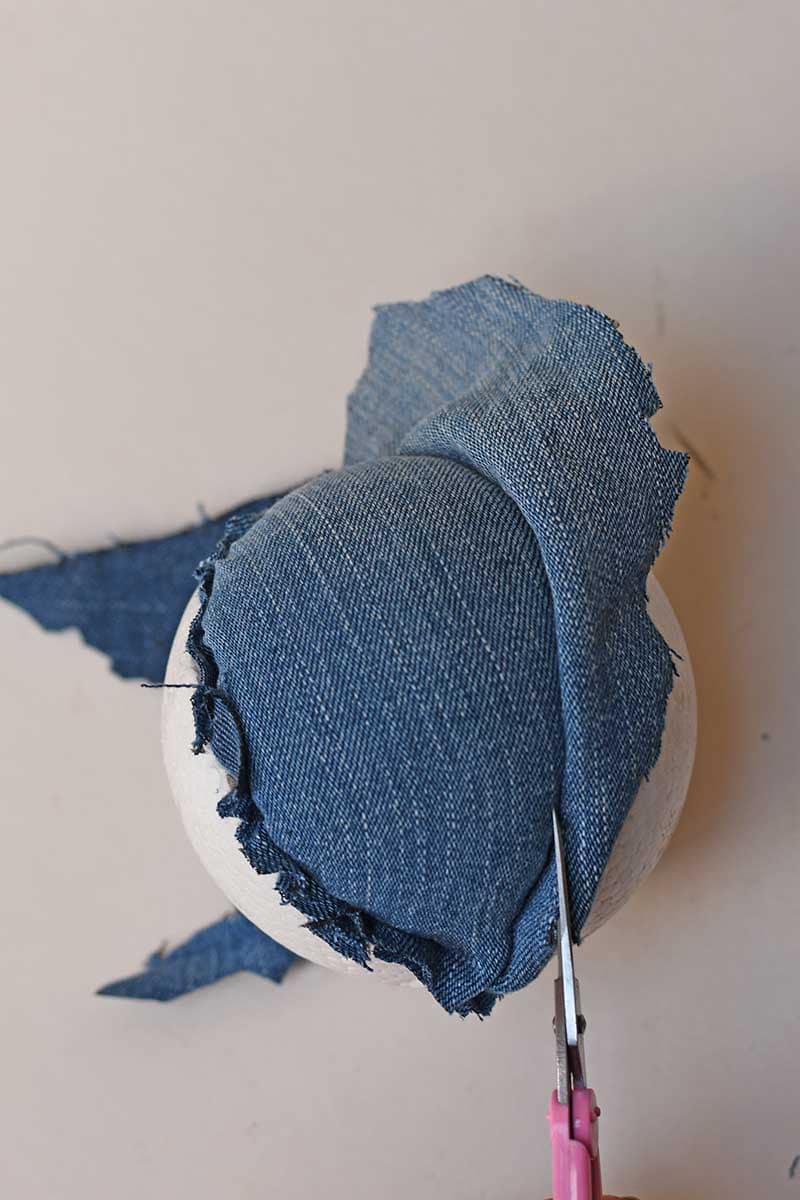
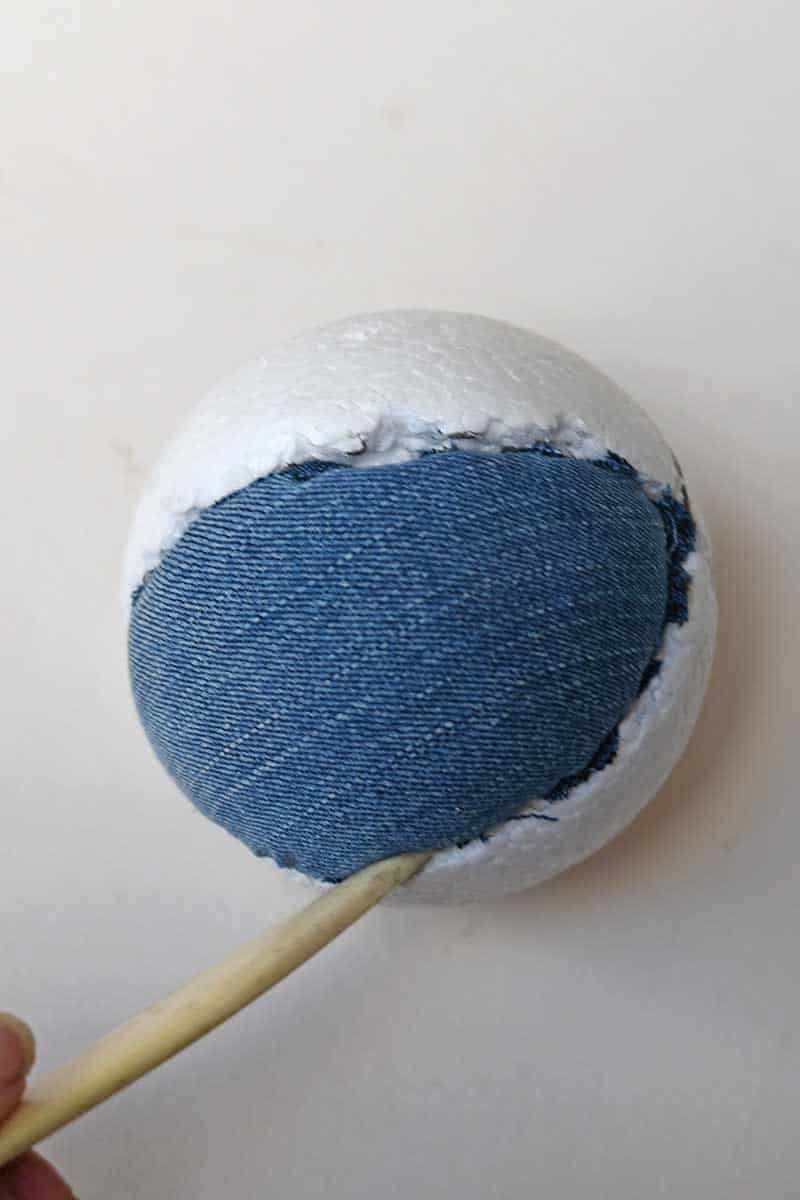
Step 5: Cover the rest of the ball: Repeat for the remaining three segments until the entire ball is covered.
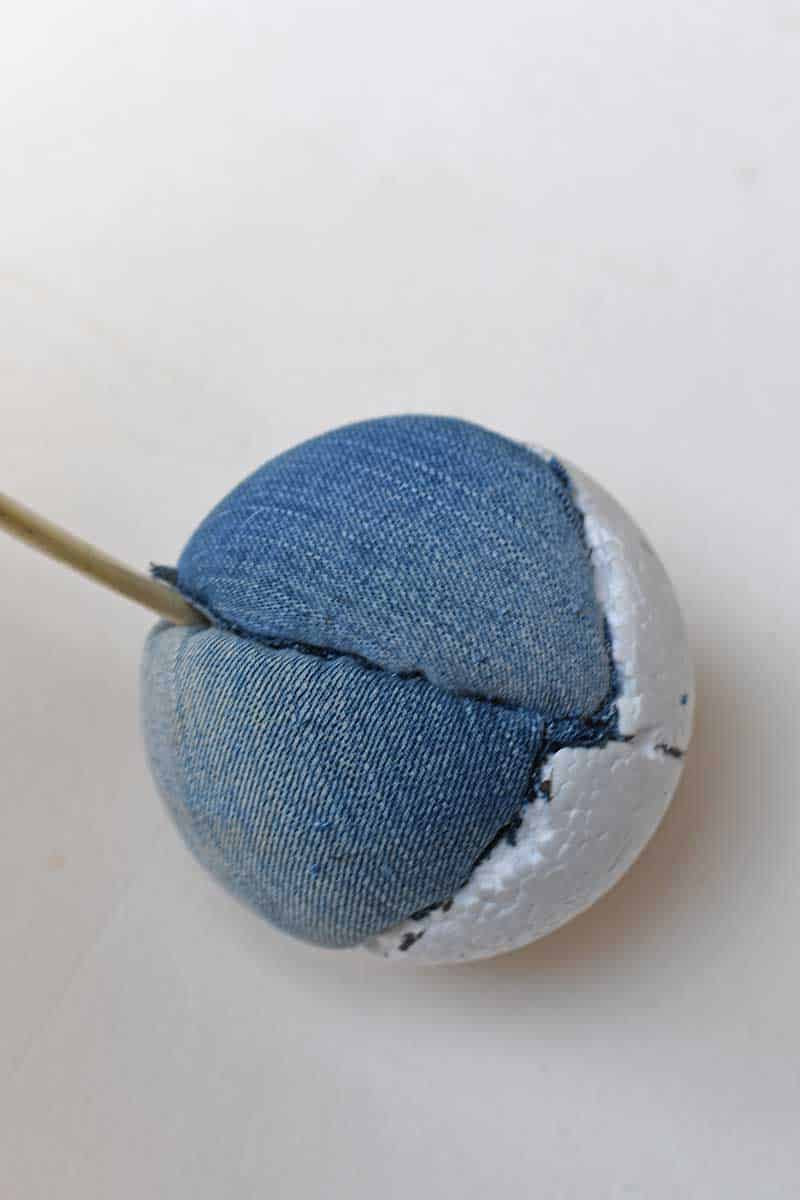
Tip: Don't pull the denim too tightly, or it can be difficult to get a neat finish. Soft, worn denim is much more forgiving than stiff fabric.
Finishing Off The Denim Baubles
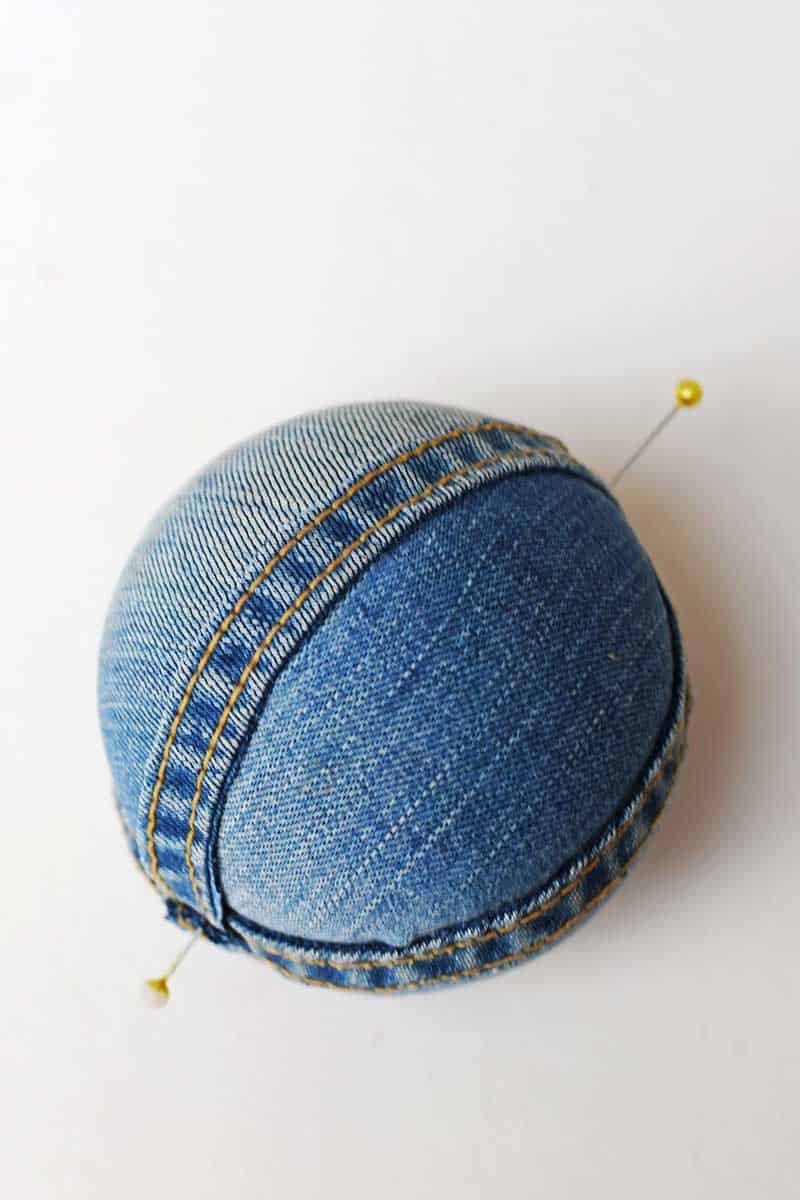
Step 6: Cover the Grooves with Jeans Seams: This is where the baubles really start to look like denim decorations rather than ordinary fabric-covered balls. Cut lengths of the double-stitched seams from your old jeans. I glued these around the bauble, following the grooves where the four denim sections meet.
The seams hide any slightly untidy fabric edges and give the ornaments a lovely raised, stitched finish.
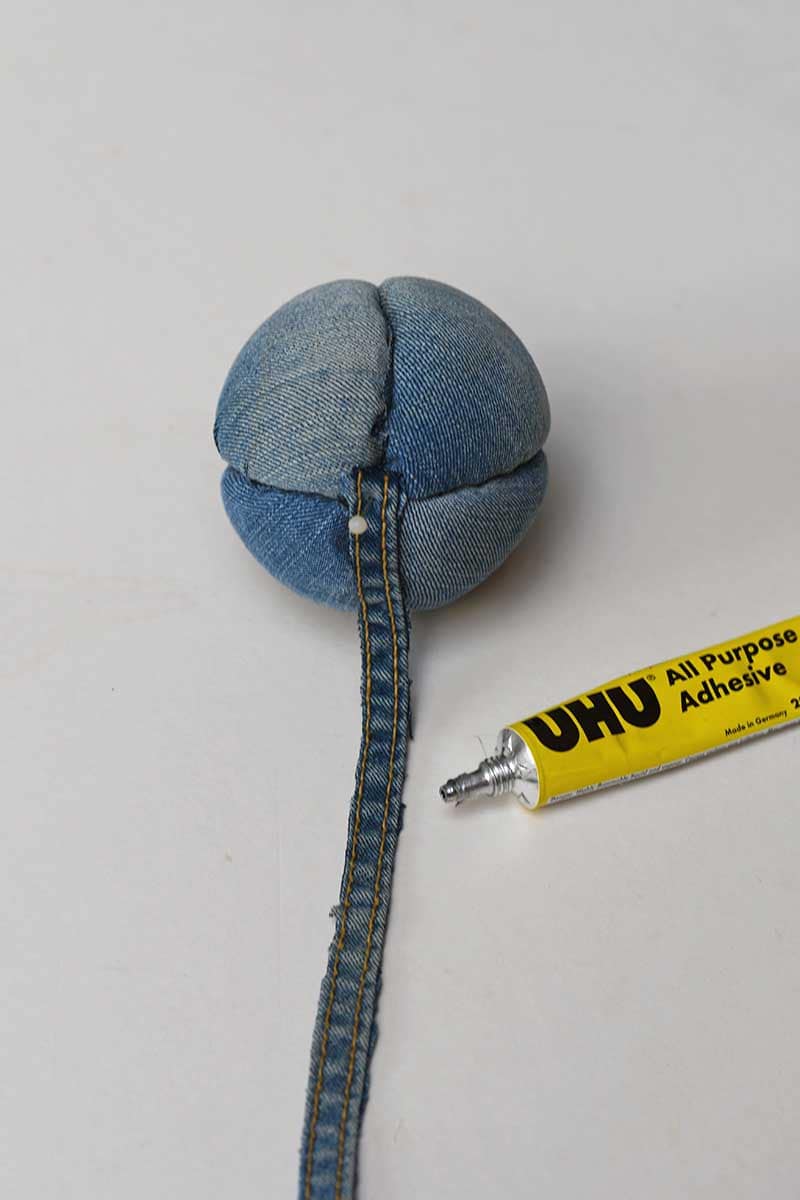
I used a few dressmaking pins to hold the seams in place while the glue dried. It's also a great way to use those chunky seams that are often left over from other denim crafts.
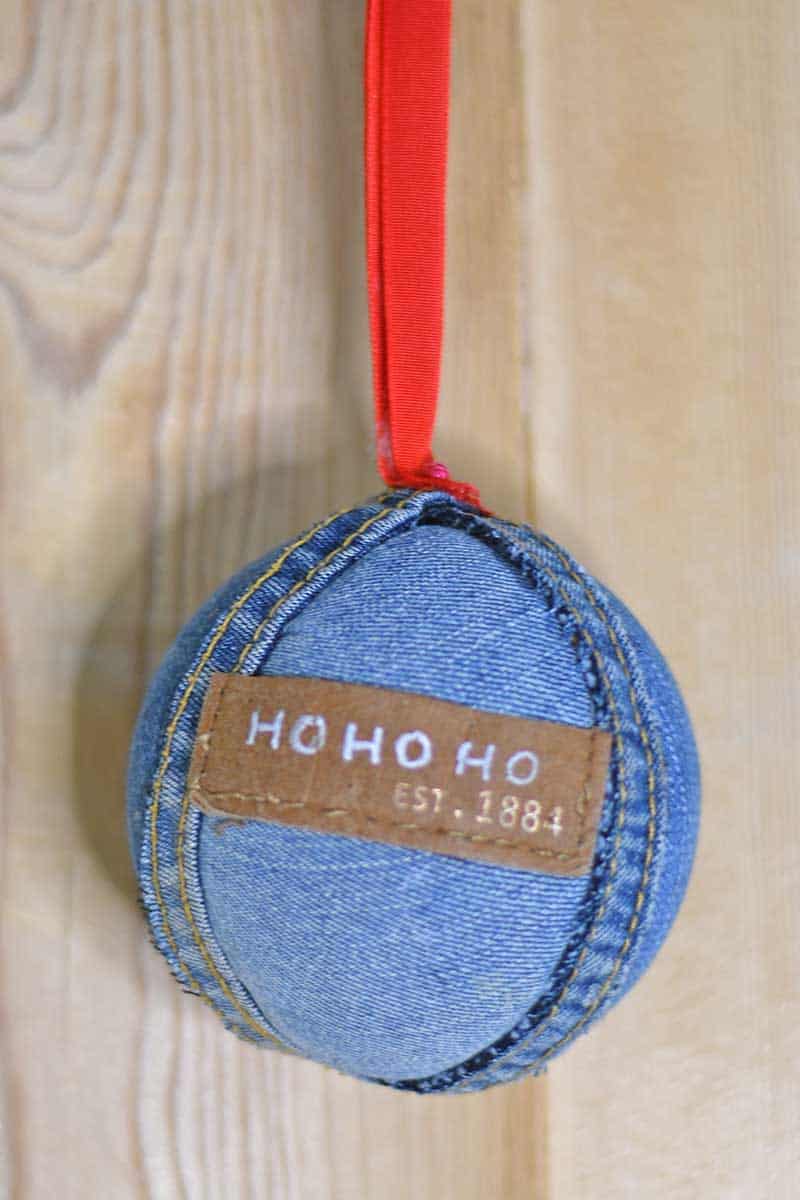
Step 7: Add a Personalised Jeans Label: I couldn't resist making one of the baubles a little more personal. As the denim came from an old pair of Fergus's shorts, I cut a piece of the leather jeans label and wrote his name on it using an acrylic paint marker. Then I glued the label onto the front of the bauble.
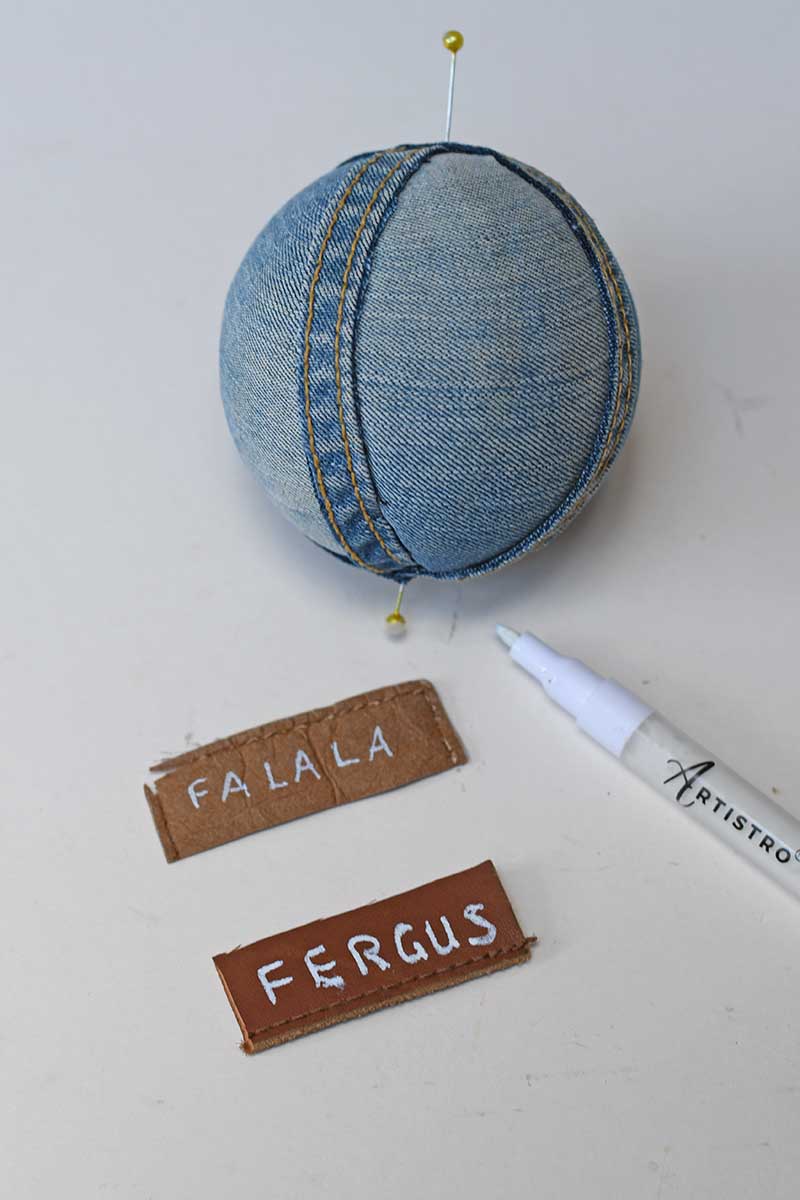
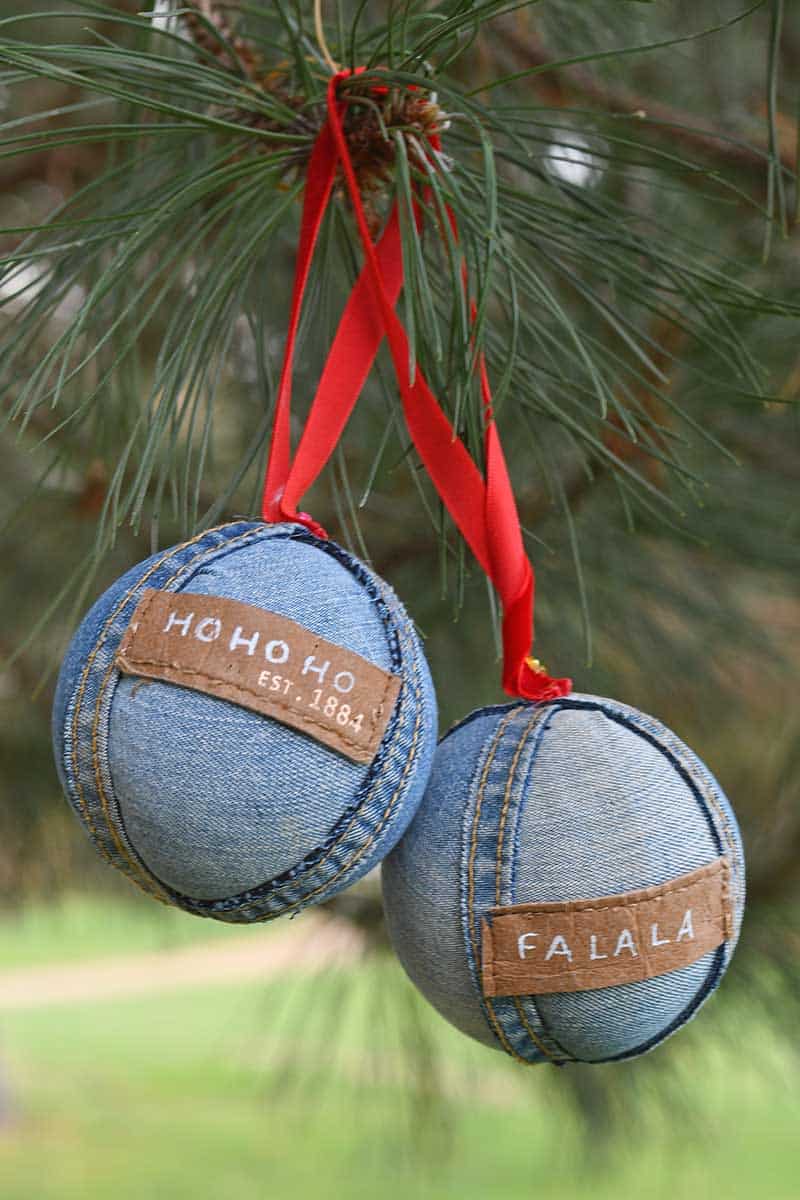
For the other ornament, I went for something a bit more Christmassy with a fun festive word like HO HO HO or FA LA LA. You could also add a family name, initials or the year.
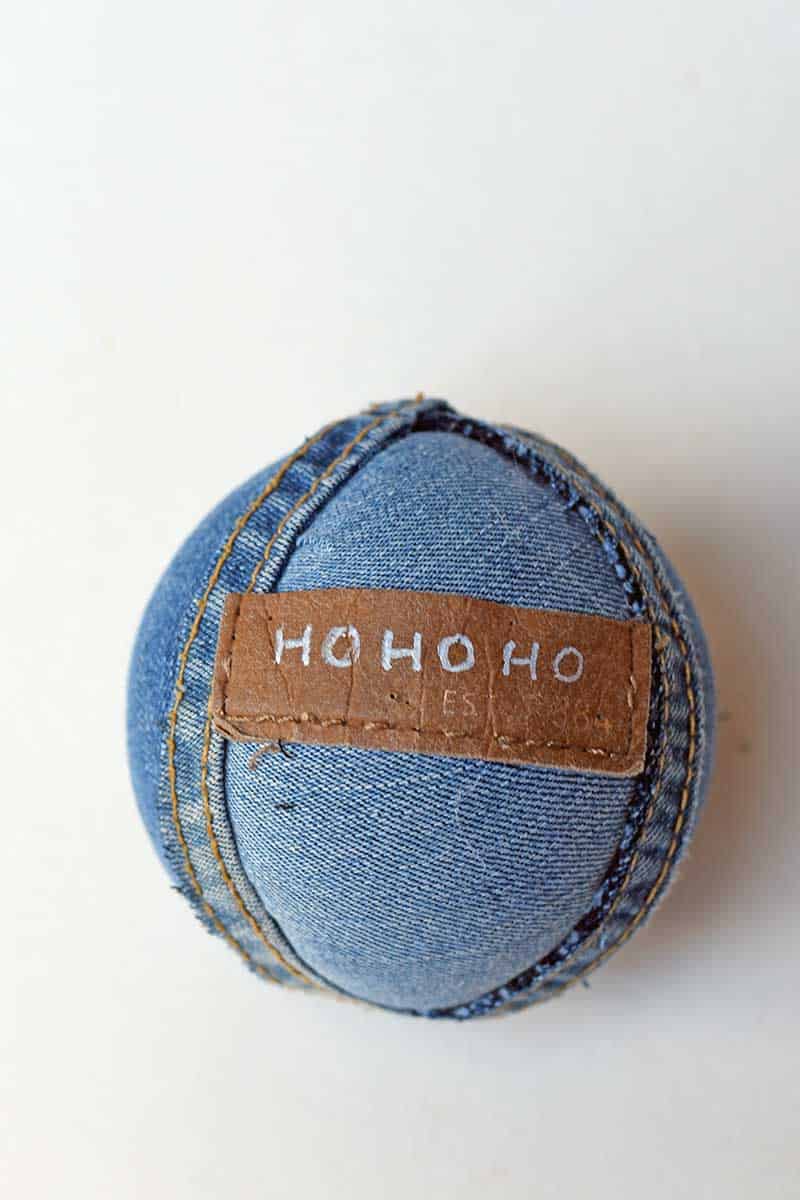
I love that the original jeans label becomes part of the decoration rather than ending up in the bin.
Step 8: Add the Hanging Ribbon. Finally, I attached a piece of red ribbon to the top of each bauble for hanging. The red looks lovely against the indigo denim and adds just the right amount of Christmas colour. And that's it! An old pair of denim shorts has been transformed into a couple of rather smart Christmas baubles.
A Few More Ideas for Your Denim Baubles
Once you've made one, it's tempting to experiment with different designs. You could try combining light and dark denim, using contrasting jeans seams or making a whole set with family names. Old leather jeans labels, belt loops and even metal jeans buttons could make fun finishing touches.
And although I've kept mine to four sections, you could experiment with six panels for a more traditional patchwork Kimekomi look. Just remember, the more sections you add, the fiddlier the fabric tucking becomes!
These make lovely personalised Christmas gifts, especially when made from jeans with a bit of family history.
More Christmas Crafts from Old Jeans
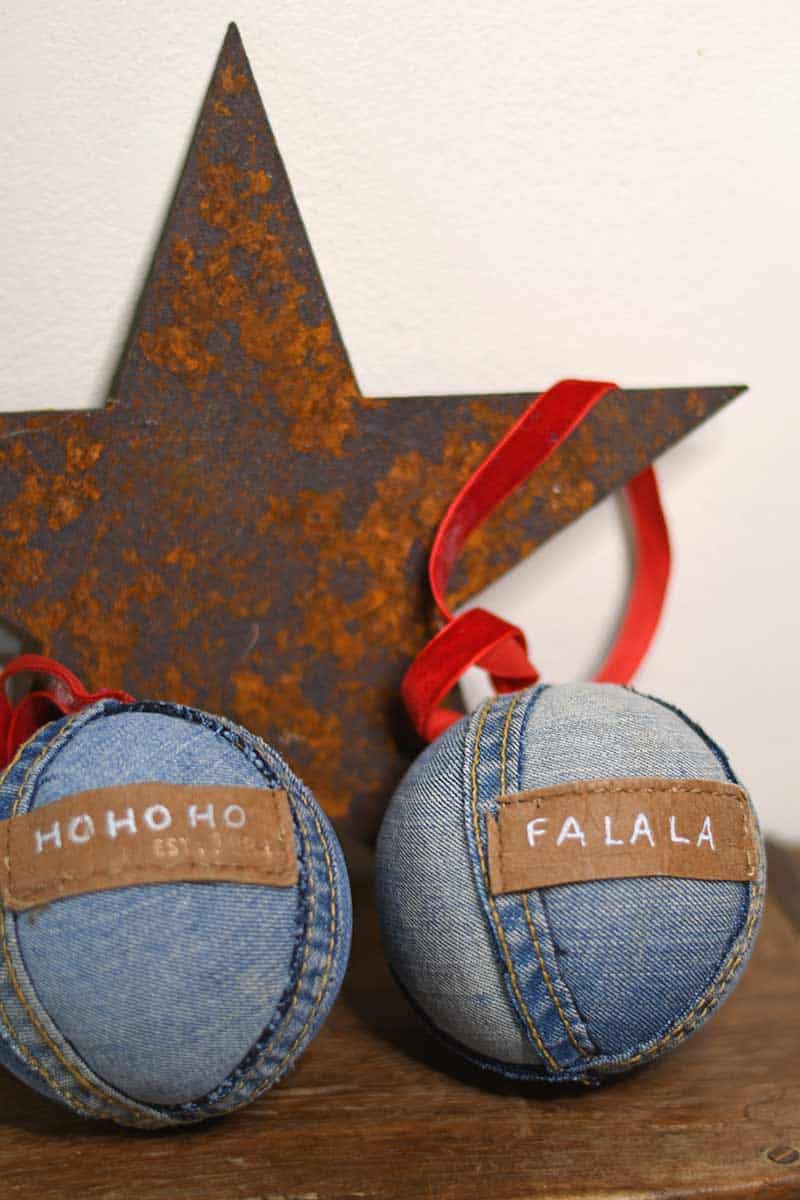
I rather like that Fergus now has a Christmas decoration made from his old shorts. It's a little keepsake with a story behind it, which is one of my favourite things about upcycling. And after making denim Christmas decorations every year since 2017, I'm still finding new ways to use those old jeans!
If you fancy trying another type of denim bauble, you could adapt my fabric decoupage Christmas ornaments, swapping the patterned fabric scraps for small pieces of soft denim in different shades of blue. I haven't tried it yet, but I think it could look rather lovely.
For more inspiration, check out my collection of favourite denim Christmas decorations, from rustic stars to Scandi-inspired ornaments. Or browse my bigger roundup of upcycled Christmas ornaments for more ideas to turn everyday rubbish into festive treasures.
Now I need to think of next year's denim Christmas craft. Surely there can't be that many parts of an old pair of jeans I haven't used yet!
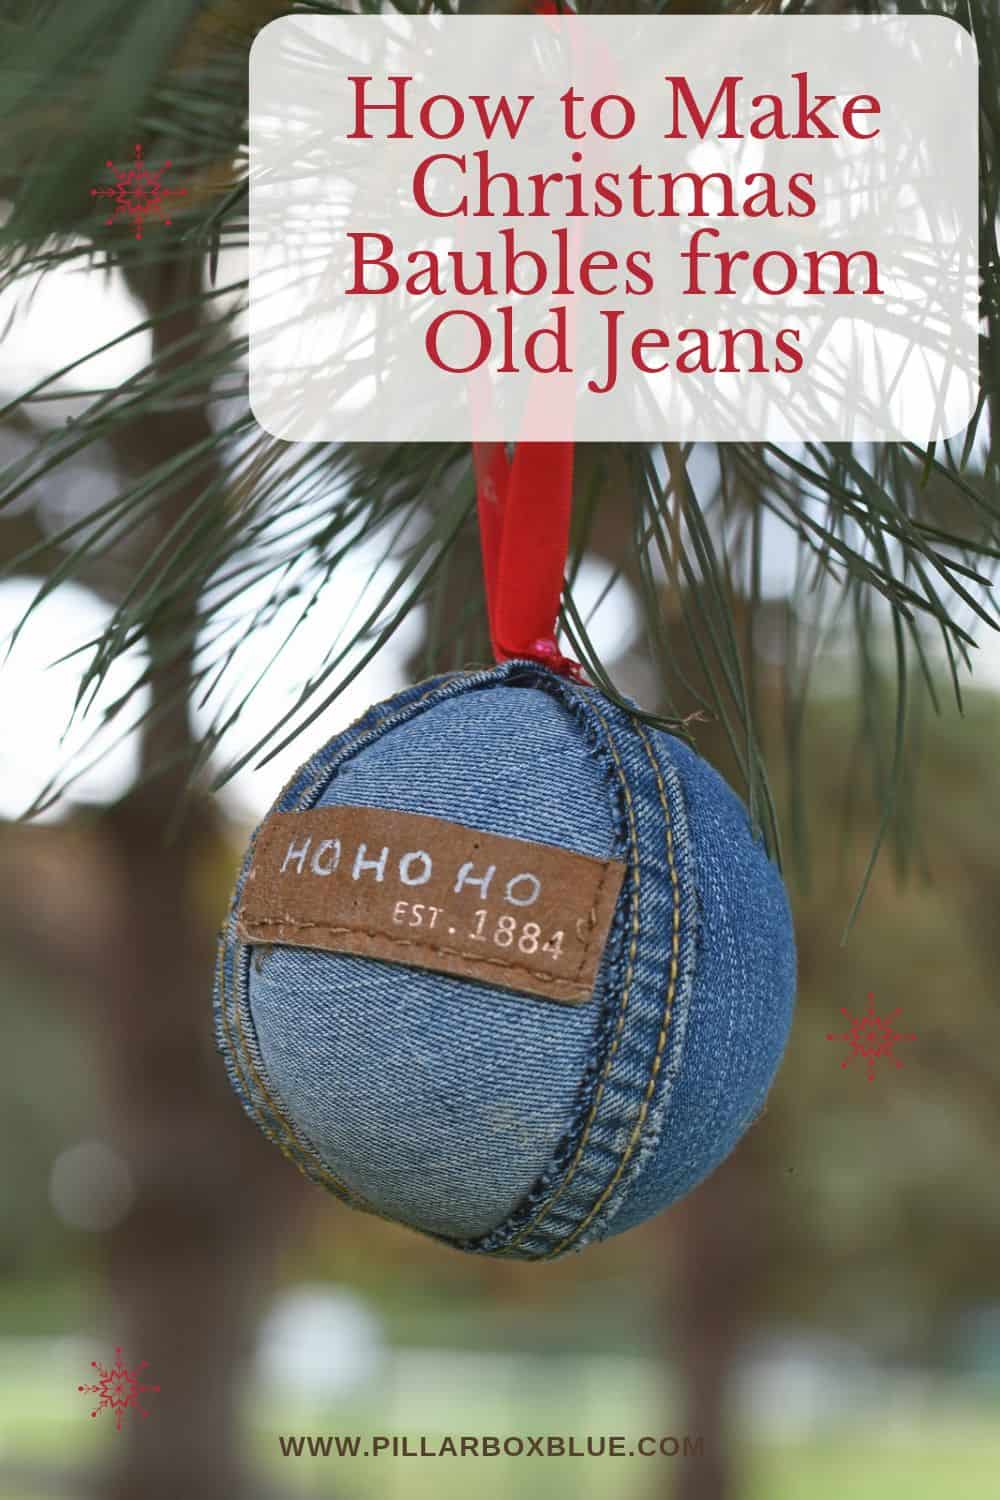
DIY Denim Kimekomi Christmas Baubles

Give old jeans a festive second life with these easy no-sew Kimekomi Christmas baubles. Using soft denim scraps, recycled jean seams and leather labels, you can make unique handmade ornaments with a personal touch.
Materials
- 8cm polystyrene balls
- Soft, lightweight denim from old jeans or shorts
- Double-stitched jeans seams and leather jeans label (optional)
- Fabric or strong craft glue and dressmaking pins
- Red hanging ribbon
Tools
- Thread and black marker pen
- Craft knife and small sharp scissors
- Bone folder or flat blunt tool
- Acrylic paint marker
Instructions
1. Mark Four Sections
Use thread to divide an 8cm polystyrene ball into four equal segments. Mark the lines from top to bottom with a black pen.
2. Cut the Grooves
Carefully score along the marked lines with a craft knife, creating grooves deep enough to hold the denim edges.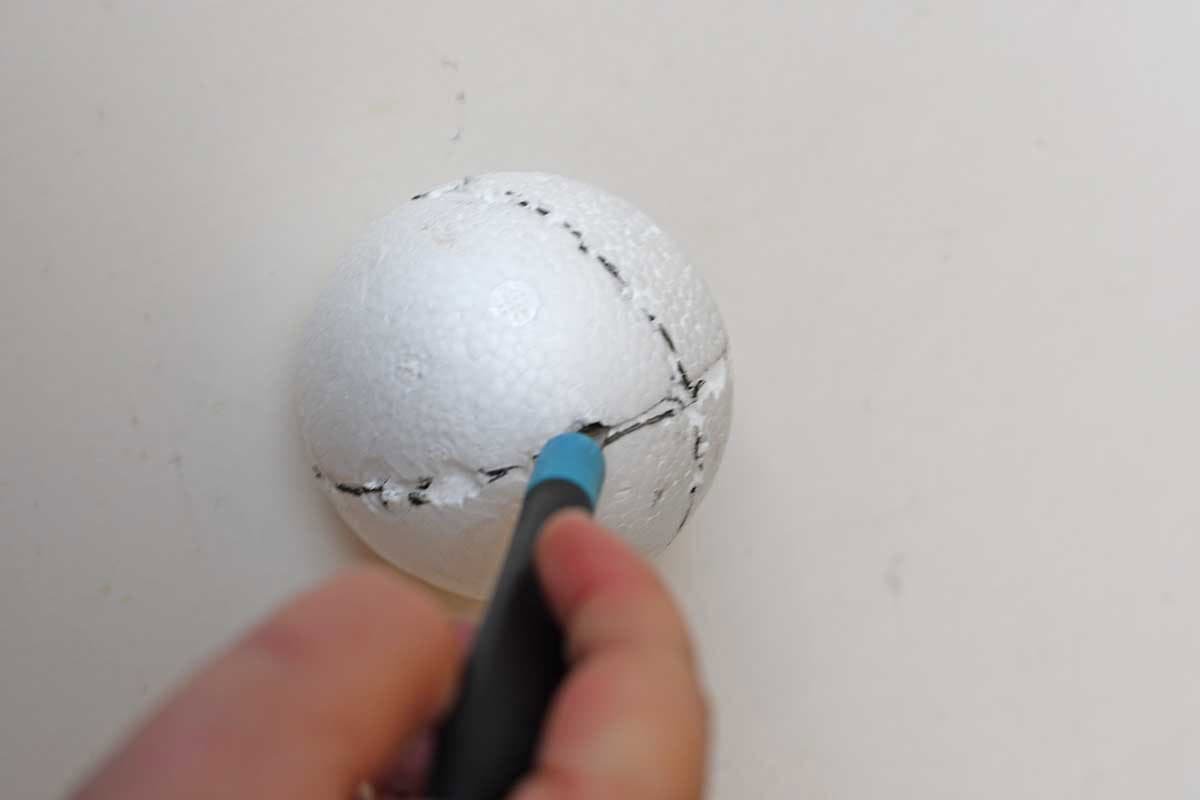
3. Prepare the Denim
Cut four pieces of soft, worn denim slightly larger than the ball's segments. Thin denim works best for this craft.
4. Tuck in the Fabric
Cover one segment with denim and use a bone folder to push the fabric edges into the grooves. Trim excess fabric with sharp scissors. Repeat until all four sections are covered.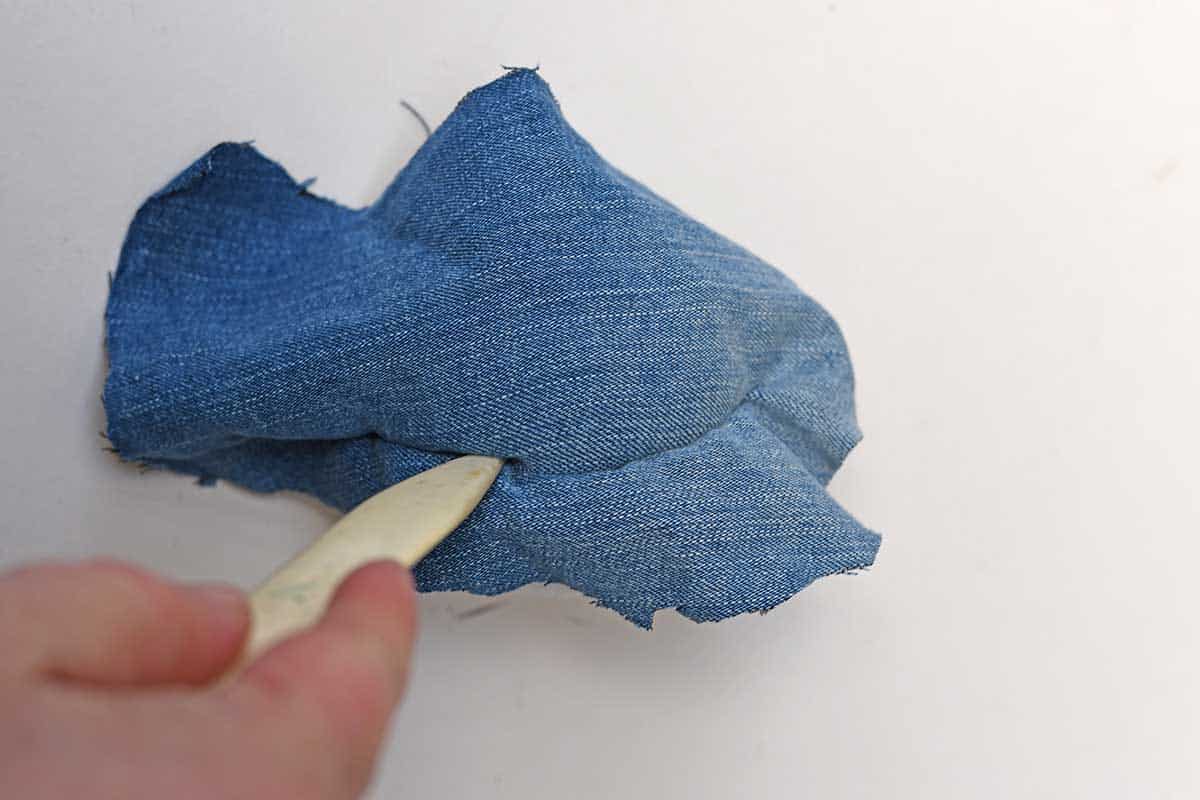
5. Add the Jeans Seams
Cut double-stitched seams from old jeans and glue them over the grooves to hide the fabric edges. Use pins to hold the seams while the glue dries.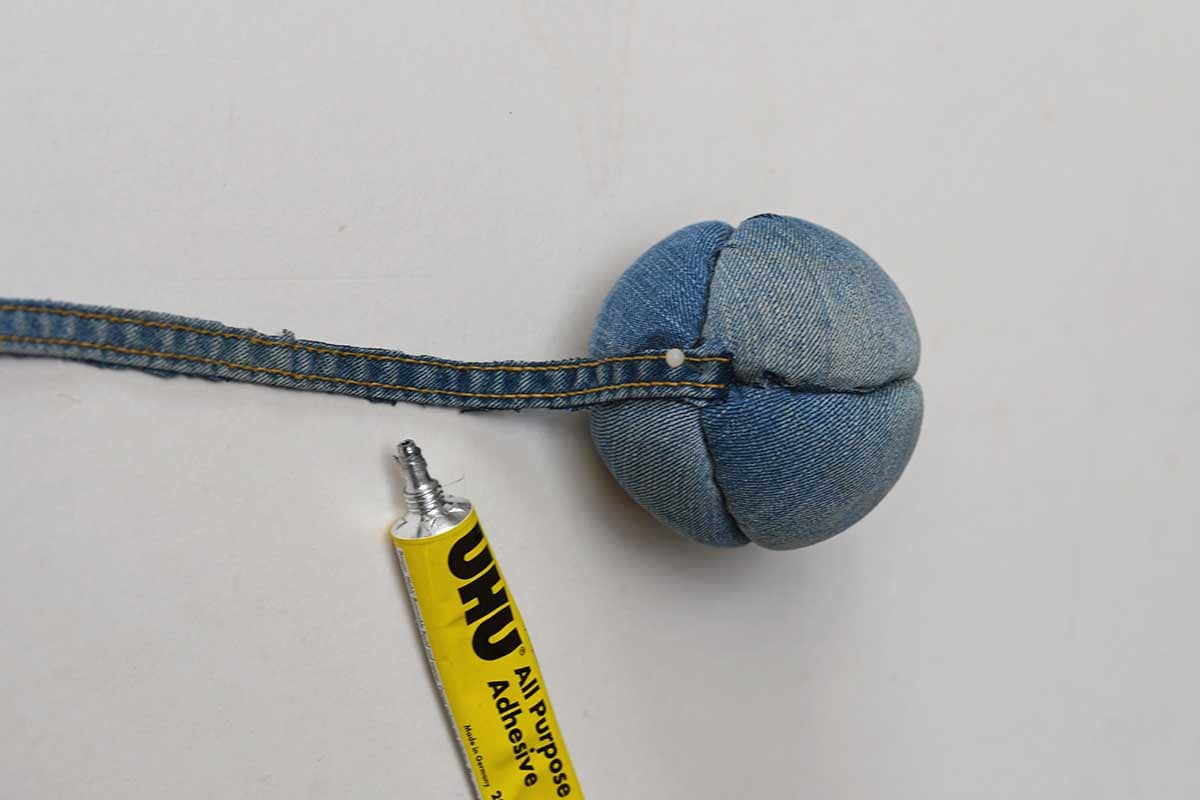
6. Personalise the Bauble
Write a name or festive word such as HO HO HO or FA LA LA onto a piece of recycled leather jeans label using an acrylic paint marker. Glue the label to the front.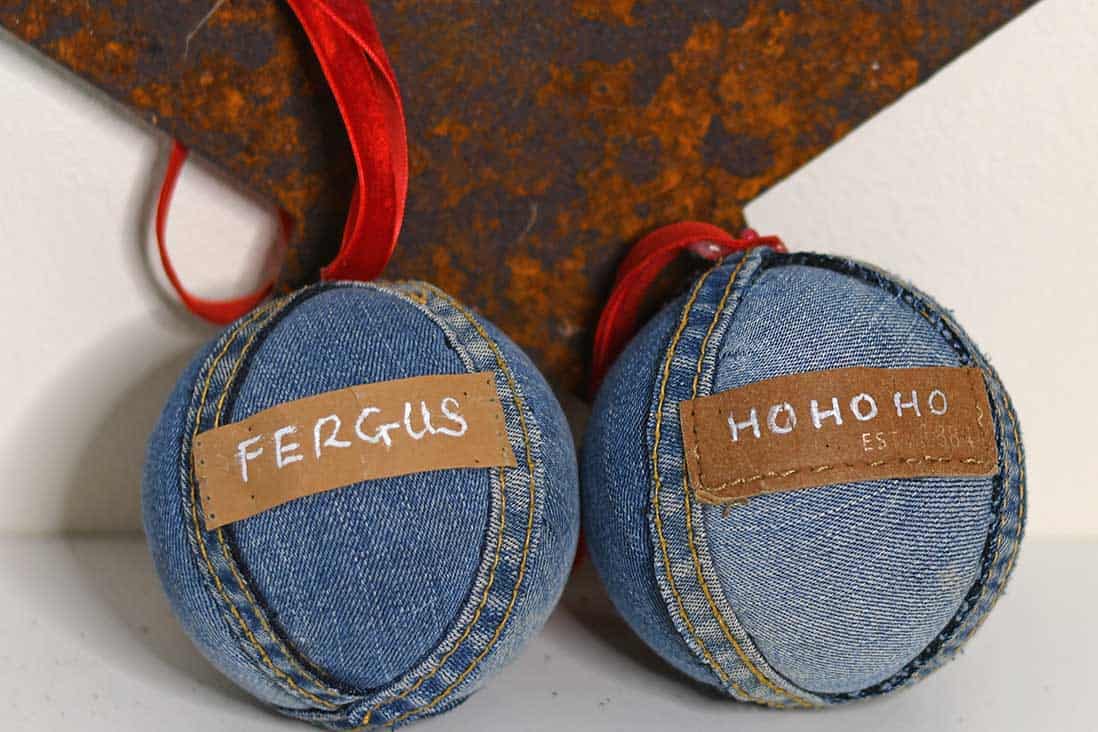
7. Attach a Hanging Ribbon
Glue a loop of red ribbon to the top of the ornament. Allow everything to dry before hanging your new denim bauble on the Christmas tree.
Notes
Best denim: Use thin, soft, well-worn denim rather than stiff, heavy jeans fabric. It tucks into the grooves much more easily.
Decorative finish: Keep those double-stitched seams and leather labels! They're perfect for giving the baubles a distinctive denim look.
Personalisation: Add names, initials, a Christmas message or the year to make keepsake ornaments.



I'd love to see you share this at my link party also, if you're interested: https://lifetalesbooks.blogspot.com/p/calling-fellow-bloggers.html The current one is open until Thursday.
Thank you and thanks for the invite.
That's amazing that you've made Christmas ornaments from jeans for so long! I'm impressed. And I can't believe this is a no-sew project. Brilliant. It's darling. Pinning to save and share. Visiting from the Busy Monday link party.
Thank you so much. Yes, they are so easy to make; it's such a fun technique.