
Combine air-dry clay and seashells to create a charming and practical paint palette—a simple beach-inspired DIY seashell craft project.
There’s something lovely about walking on the beach with no plan—just the waves, the breeze, and the joy of spotting pretty shells. I’ve just come back from visiting my parents on the Portuguese coast, and as usual, I came home with a handful of seashells. I wasn’t sure what I’d do with them at first.
Then it hit me—why not turn them into something useful?
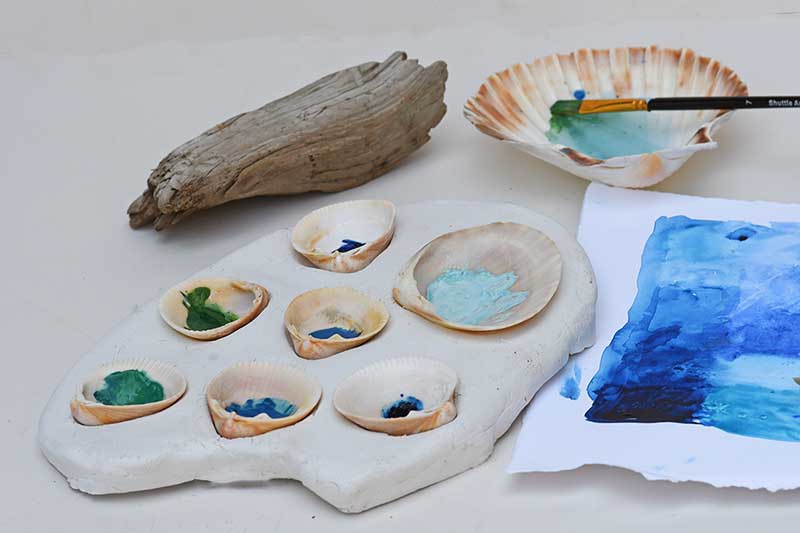
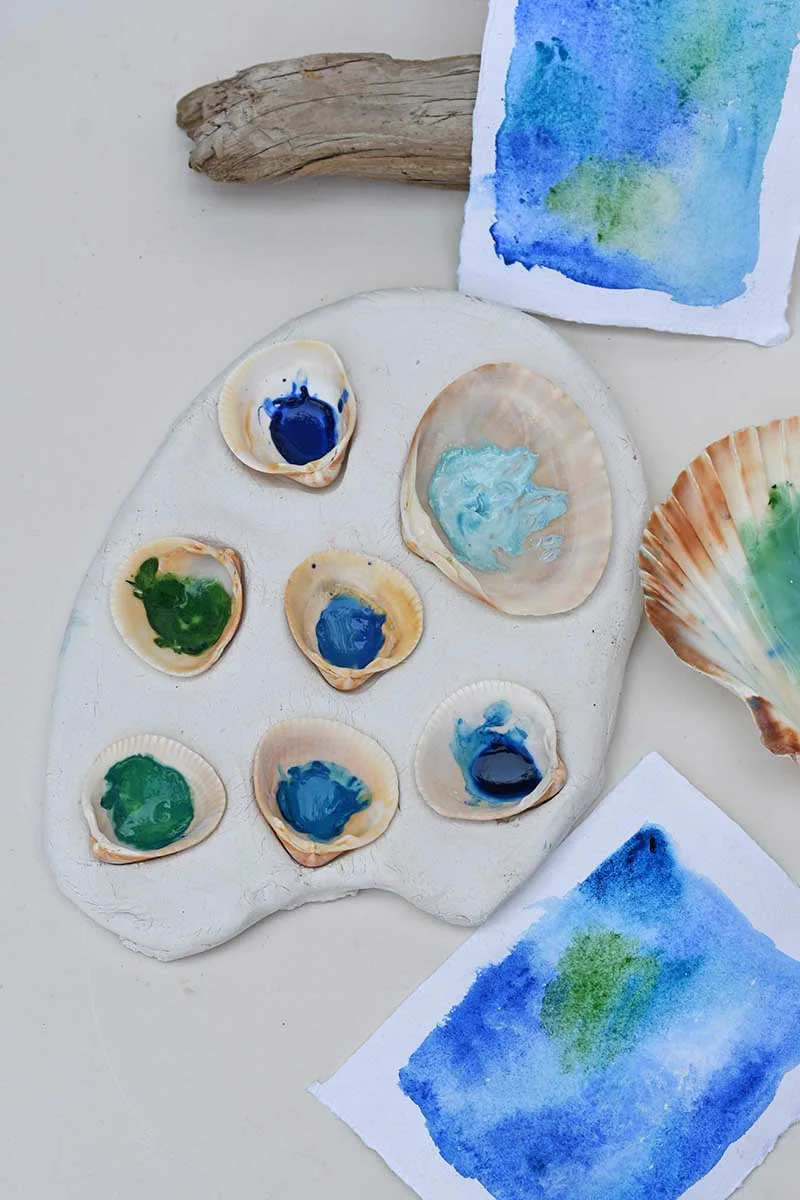
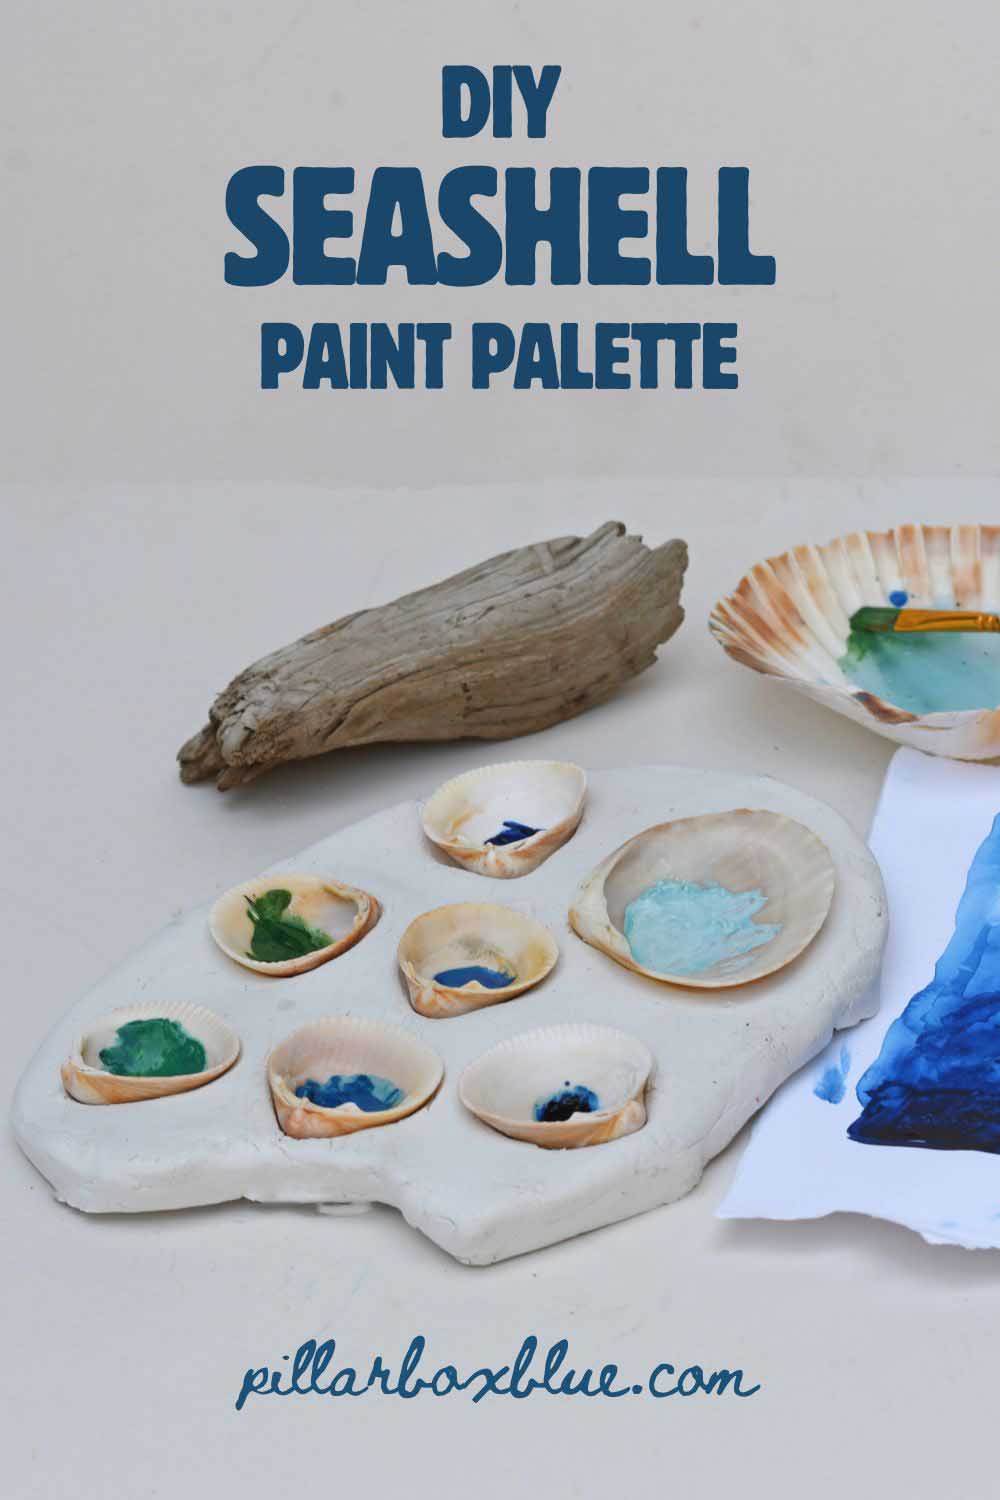
I love watercolour painting, so I used the shells to make a DIY paint palette. I embedded them in air-dry clay, letting each shell become its little paint well. It’s simple to make, looks beautiful, and feels like a mini piece of the beach right on my art table.
If you’re after a fun summer craft or a way to remember a seaside trip, this one’s worth a go.
Materials Needed
We’re a participant in the Amazon Services LLC Associates Program, an affiliate advertising program designed to provide a means for us to earn fees by linking to Amazon.com and affiliated sites. As an Amazon Associate, I earn from qualifying purchases.
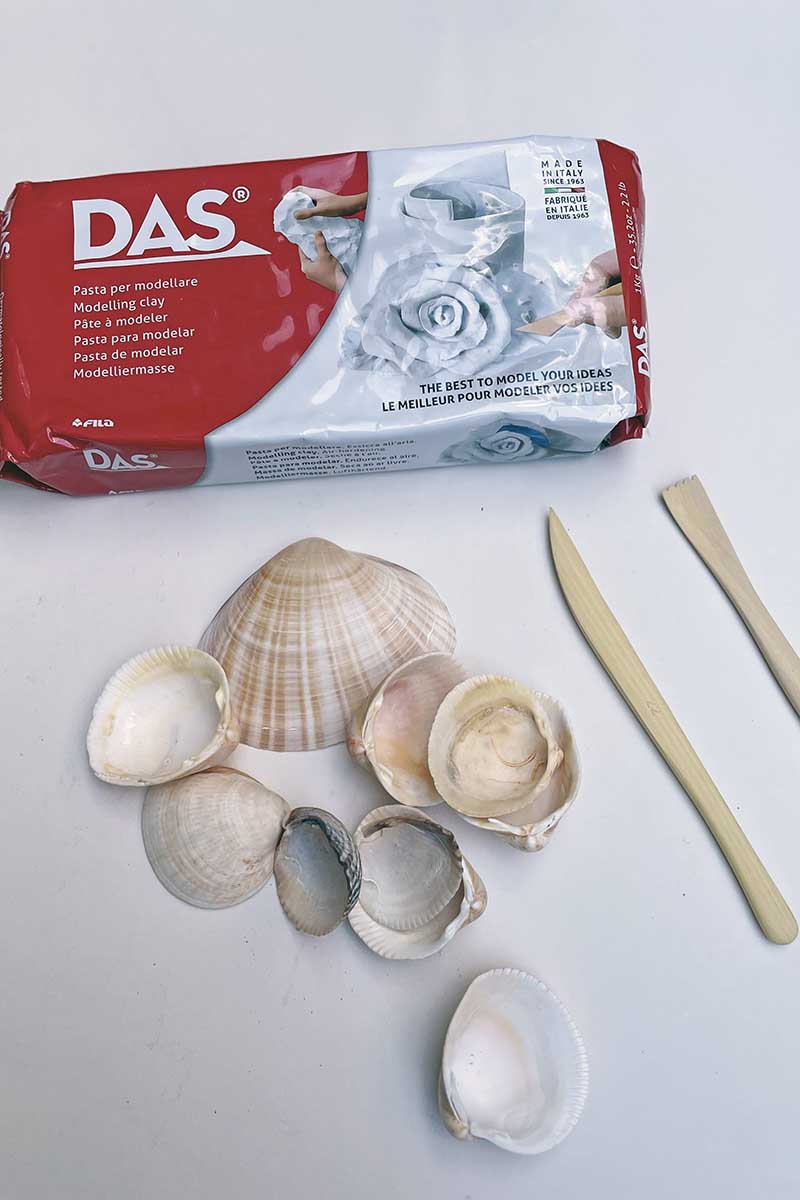
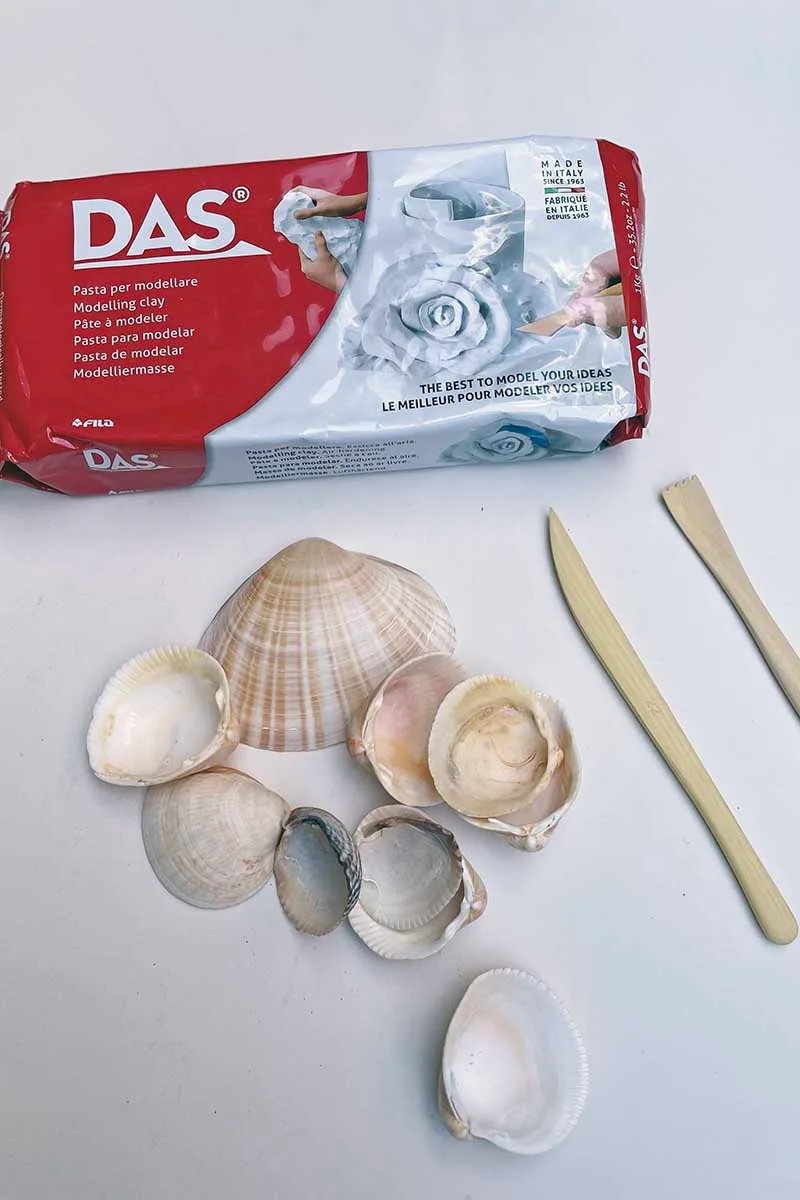
- Air-dry clay – I used an air-dry clay that whitened as it dried.
- 6-8 Seashells (washed and completely dry). If you don’t live by the sea, you can buy seashells online for crafting.
- Rolling pin or glass jar
- Strong glue
- Craft knife or old butter knife
- Waterproof sealer – you can use one specifically for clay or an acrylic spray. (see section below)
- Optional: sandpaper, paints, or stamps to decorate the clay
How to Make a DIY Seashell Paint Palette
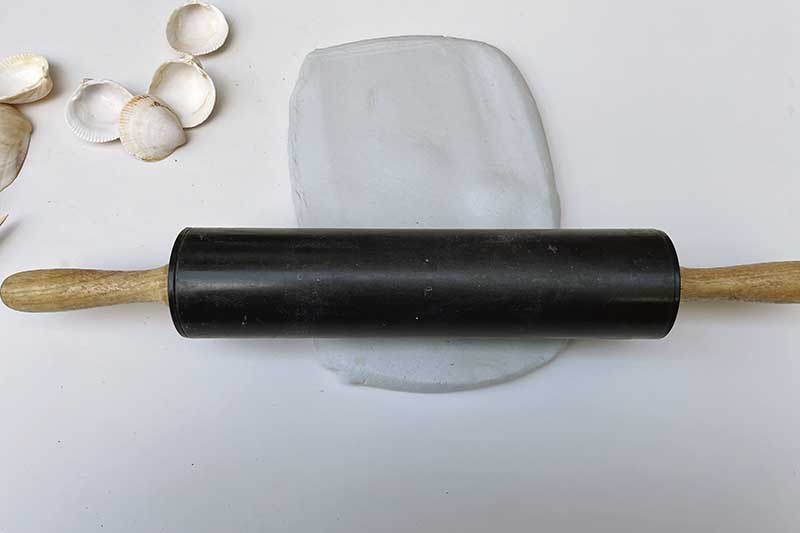
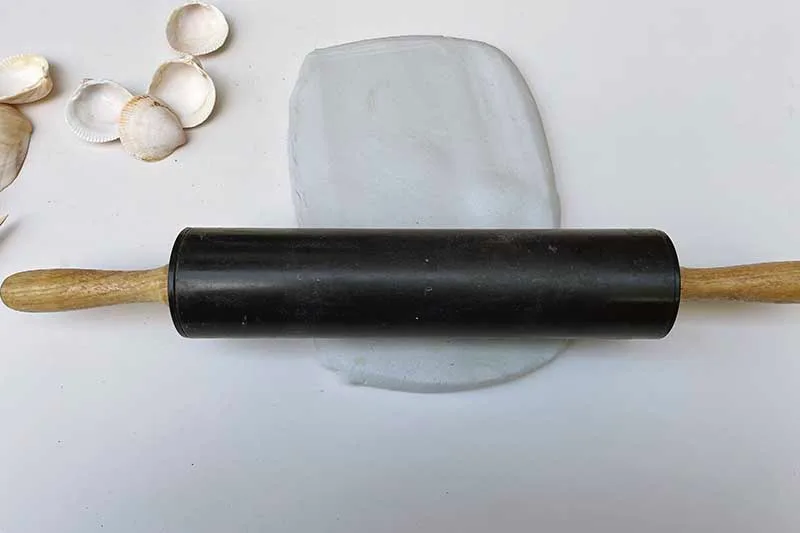
Step 1. Roll Out the Clay: Take a lump of air-dry clay and roll it out to a thickness of about 1.5 cm. It needs to be thick enough to hold the shells firmly, but not overly bulky. Roll it out on a chopping board or a sheet of baking paper to keep things tidy and make cleanup easier.
Now’s a good time to think about the shape of your paint palette. I opted for a classic kidney shape, so I rolled my clay to match that outline roughly. Feel free to get creative—keep in mind how the shells will sit in the final layout.
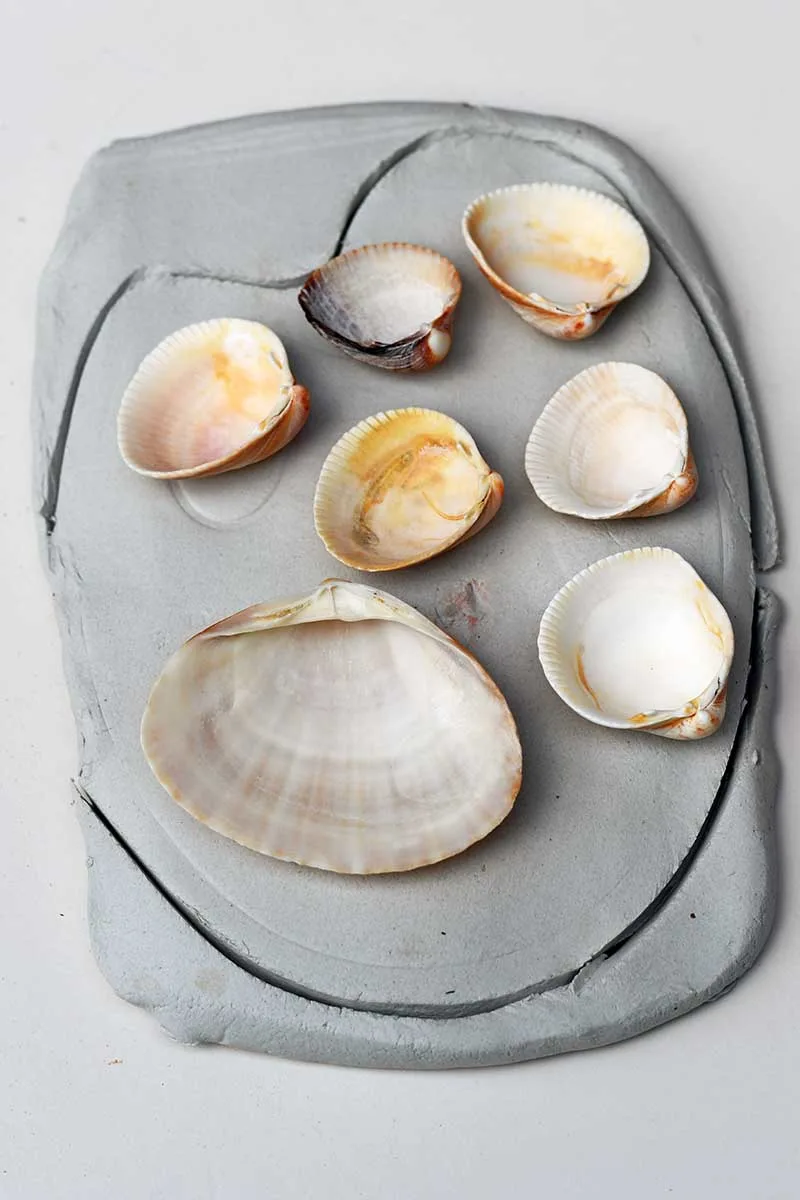
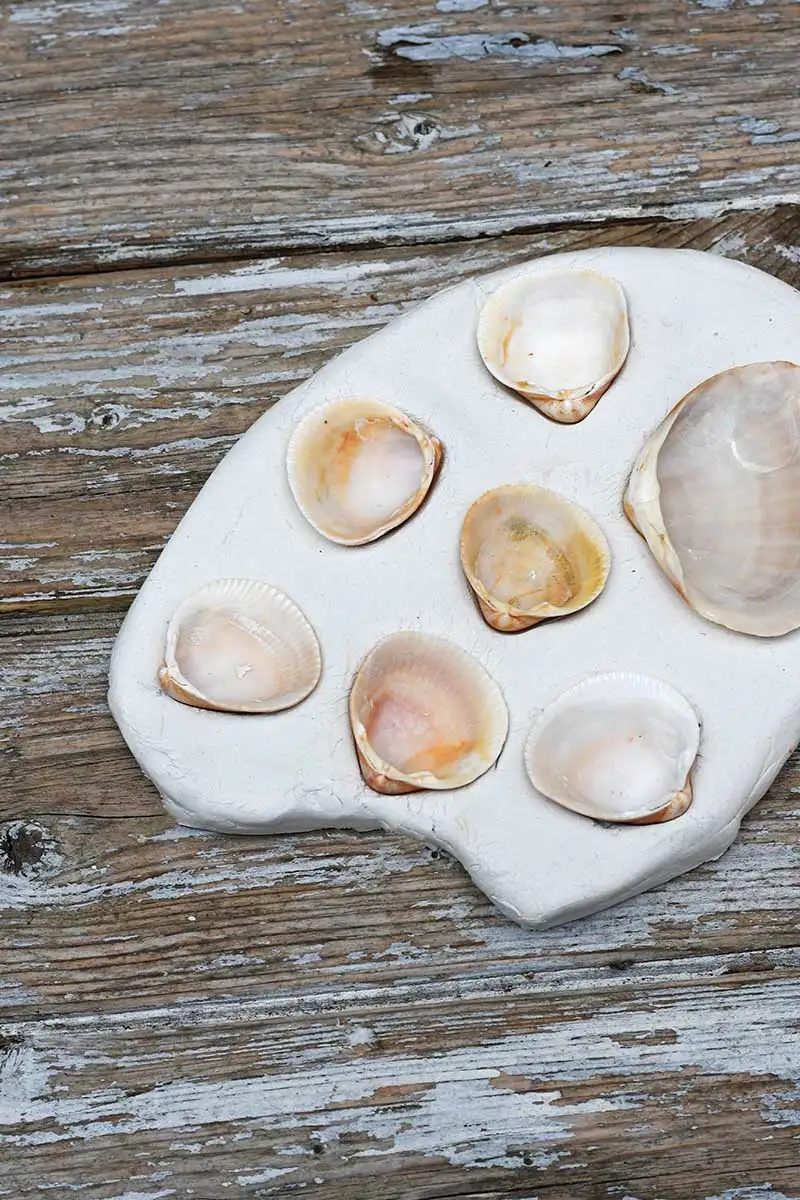
Step 2. Arrange the Shells: Next, press the shells into the clay, cupped side up, so they’ll act like little paint wells. Move them around until you’re happy with the layout. You can go for a circle, a crescent, or even a random cluster. Whatever looks good to you.

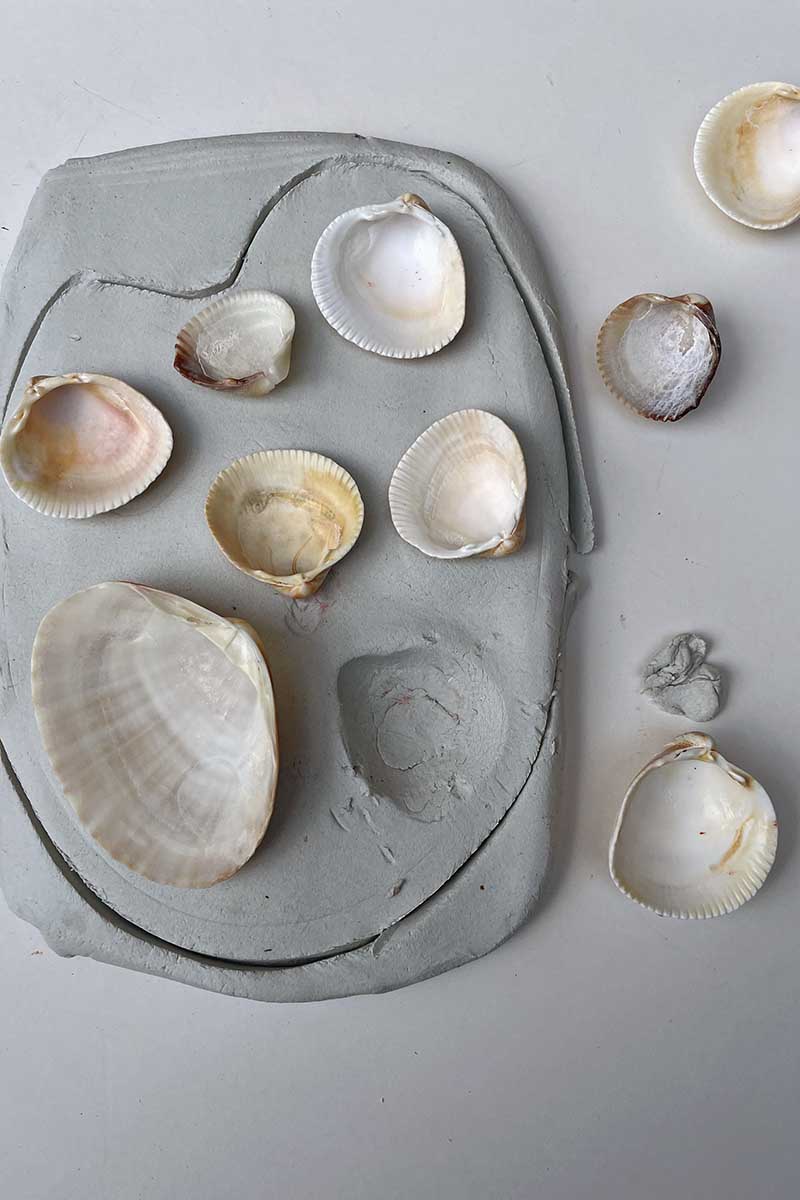
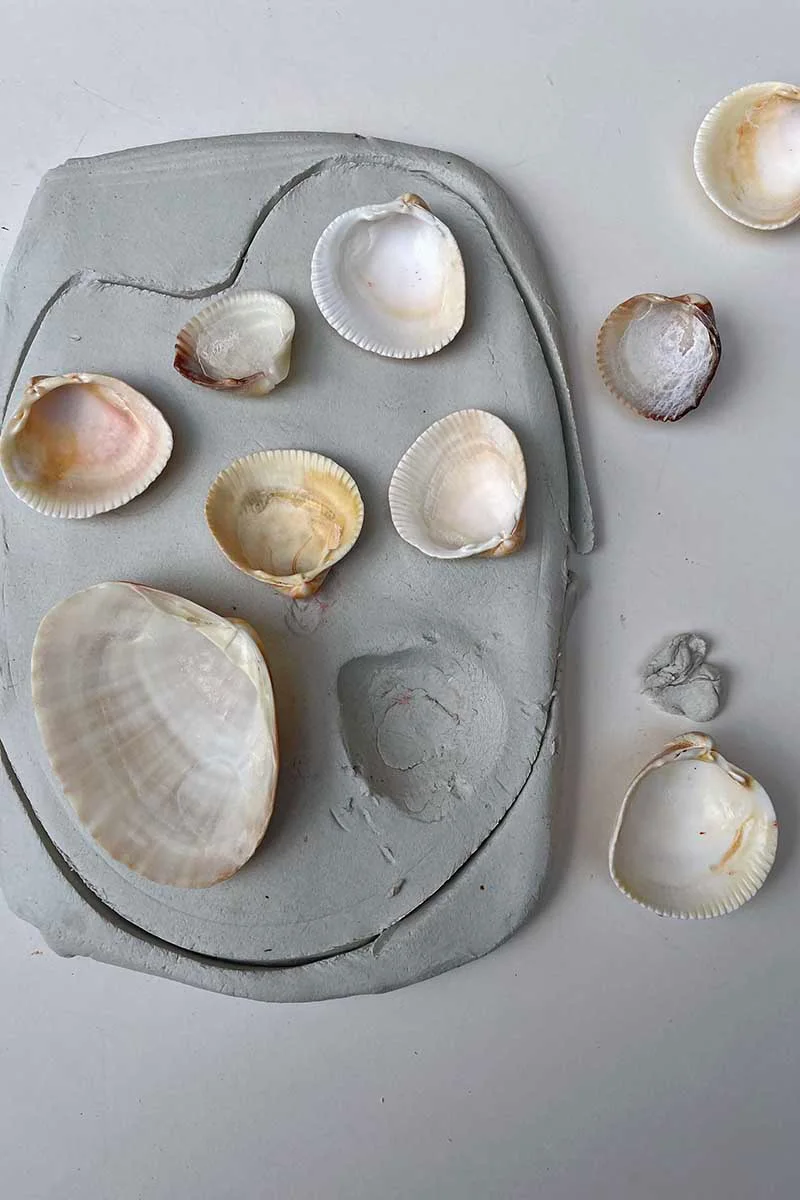
Step 3. Cut Around the Shape: Lift each shell and, using a knife or clay tool, scrape away some of the excess clay under the shell. Then place the shell back onto the well and push it down firmly so that it is almost flush with the top of the clay slab.
Step 4. Smooth It Out: Gently smooth the edges with your fingers and tidy up any rough bits. If you want to add extra texture or press in some little decorations (like tiny shells or beads), now’s the time.
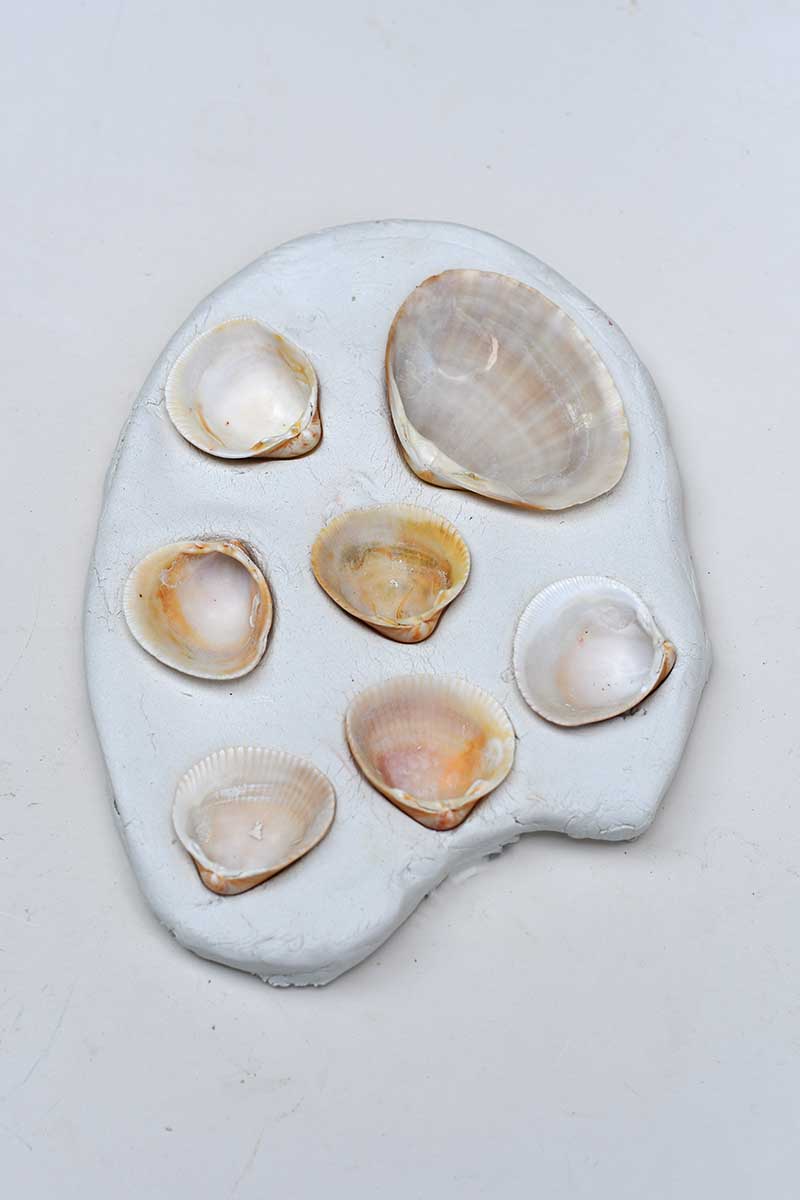

Step 5. Let It Dry: Leave the entire piece to air dry, which can take a couple of days, depending on the clay and its thickness. I made my seashell paint palette on a sunny day, so I popped it outside in the sun for two days, flipping it occasionally to help both sides dry evenly. However you dry it, make sure it’s completely dry all the way through before sealing—any moisture left inside could cause problems later.
The clay will go from grey to white as it dries and will also become lighter.

Step 6: Ensuring the seashells are secure: Once the palette was completely dry, I noticed a few of the seashells had loosened slightly as the clay contracted. To fix this, I added a small dab of strong glue to the base of each loose shell and pressed it back into place. Let the glue dry thoroughly before moving on to sealing.
Sealing the Paint Palette – Tips for a Water-Resistant Finish
To make your seashell paint palette water-resistant, it’s essential to seal it well. I used a clear acrylic spray, applying two light coats and letting each one dry completely. This gives a smooth, even finish that repels water.
You can also use a brush-on sealer like Mod Podge Clear (make sure it’s the waterproof version) or a water-based polyurethane varnish. These provide a slightly thicker coat and work well if you prefer not to use spray indoors.
Whatever sealer you choose, make sure to cover every surface—top, bottom, and edges. Unsealed areas can absorb moisture and weaken the clay over time.
Tips:
- Always let the clay dry completely before sealing—rushing the process can cause cracks or peeling.
- Apply thin coats rather than one thick one.
- Work in a well-ventilated space or outdoors, especially with sprays.
This won’t make your palette completely waterproof, but it’ll hold up well to regular use with watercolours. Just don’t soak it or leave it sitting in water.
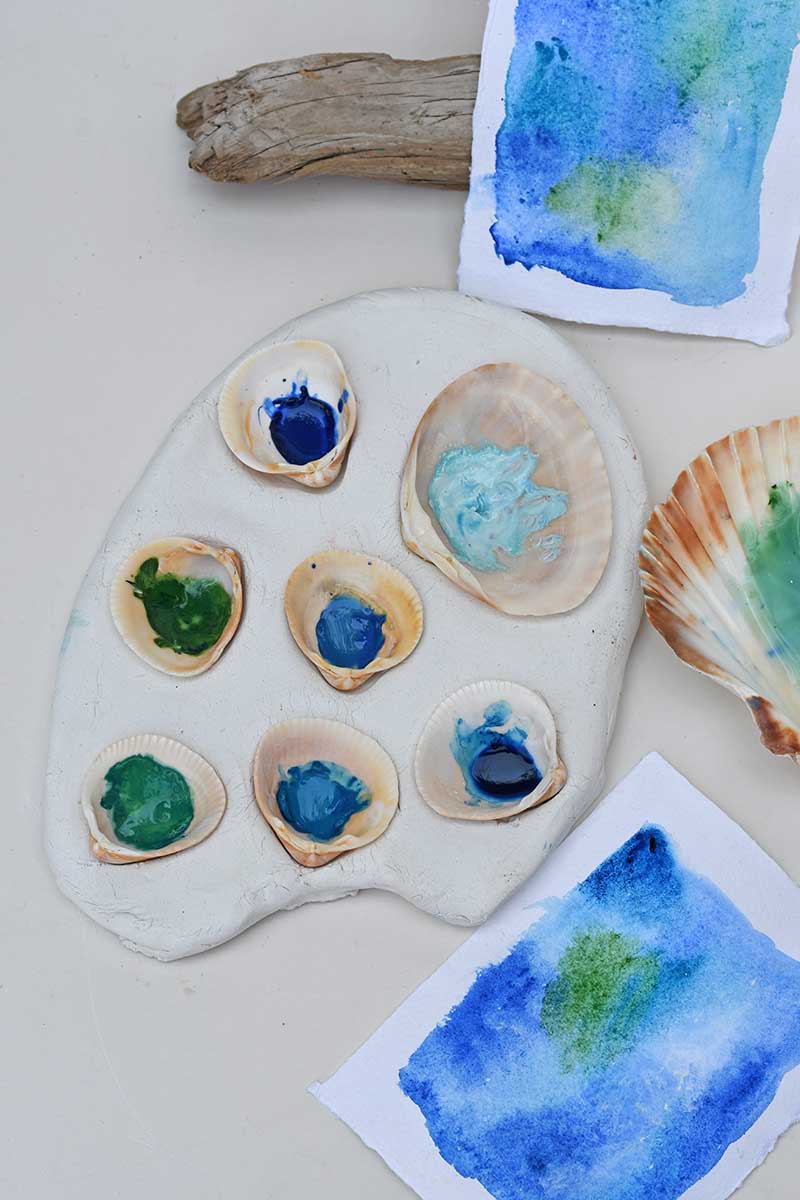
A Lovely Summer Keepsake
This DIY palette is not just cute and practical—it’s also a little reminder of warm summer days by the sea. Whether you use it for painting or enjoy how it looks on your desk, it’s one of those crafts that feels both special and soothing to make.
And if you’re loving the air-dry clay vibe, don’t stop here! I’ve got loads of other summer clay crafts you might enjoy.

Want More Seashell Crafts?
If you have any leftover clay and scallop shells, you can use them to make this handy coastal-themed napkin holder.
If you’ve brought home a pile of shells from the beach and want more ideas, I’ve got you covered there, too. Check out some of my other coastal crafts:
- Decoupage Seashells
- Shell Ring Dish
- Scallop Shell Bookends
- Glamorous Oyster Shell Ornament
- Oyster shell candles
- Map Seashell keepsake
There’s just something about shells that makes them perfect for home decor and handmade gifts.