


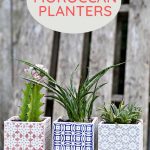
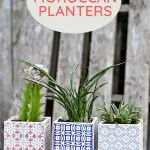
Create stylish tile planters in just 10 minutes! This quick and easy tutorial shows you how to transform simple tiles into chic, modern planters perfect for adding a touch of greenery to any space.
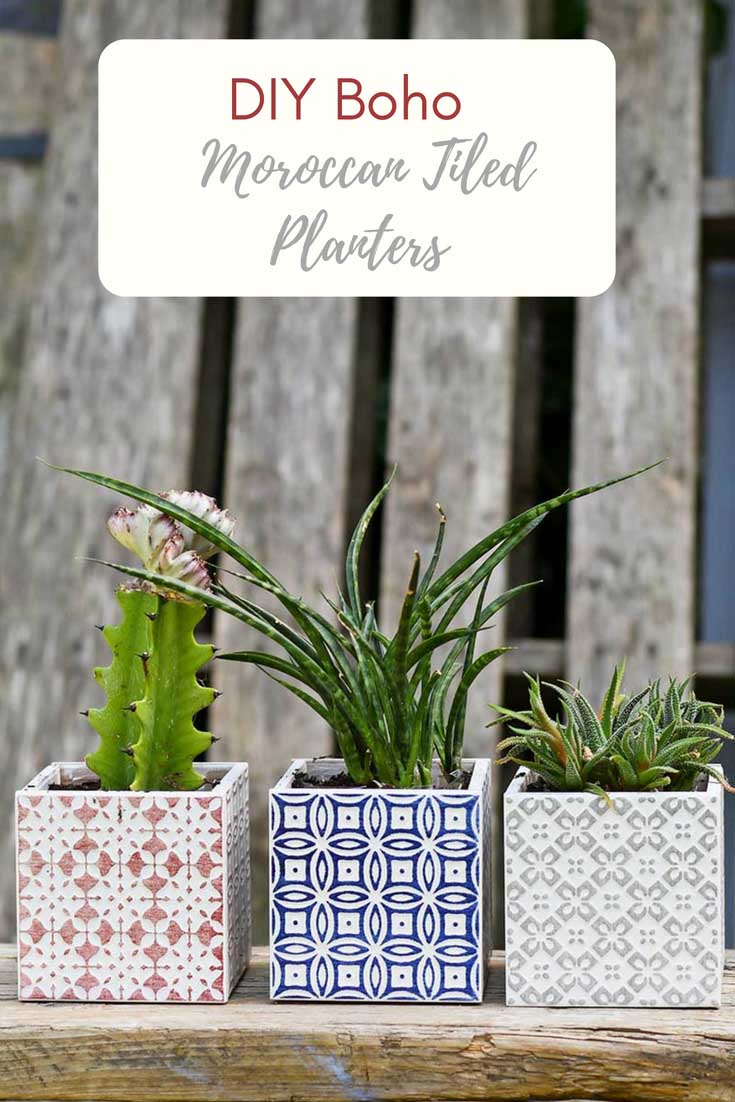
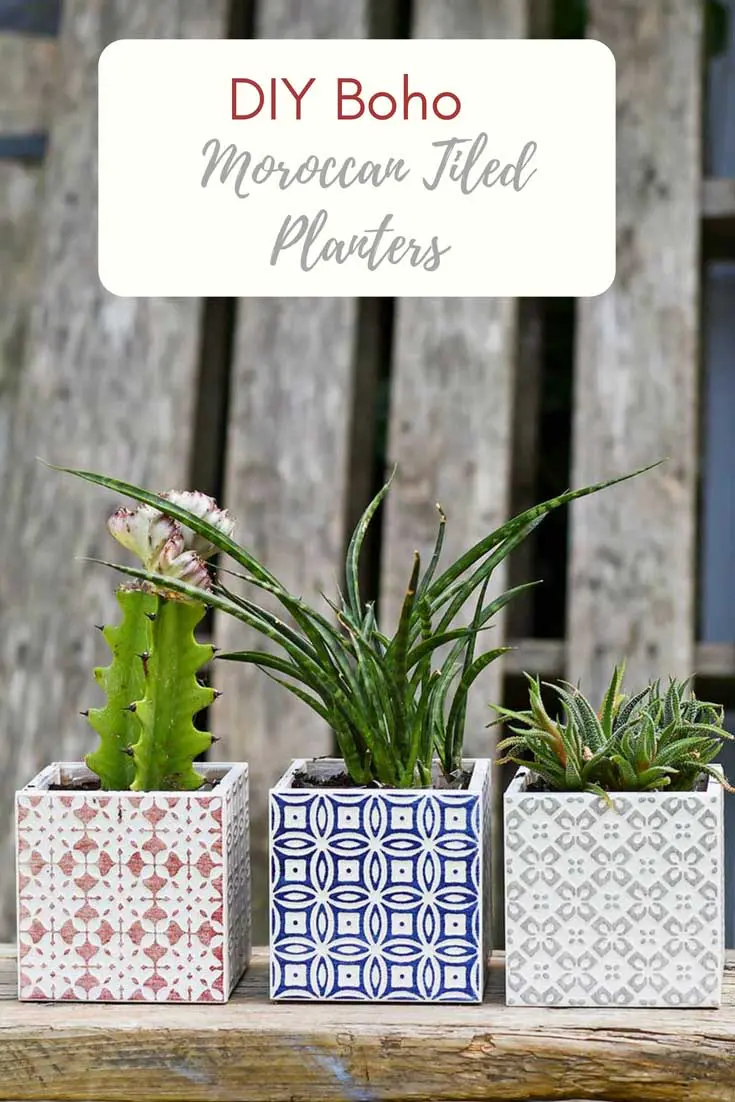
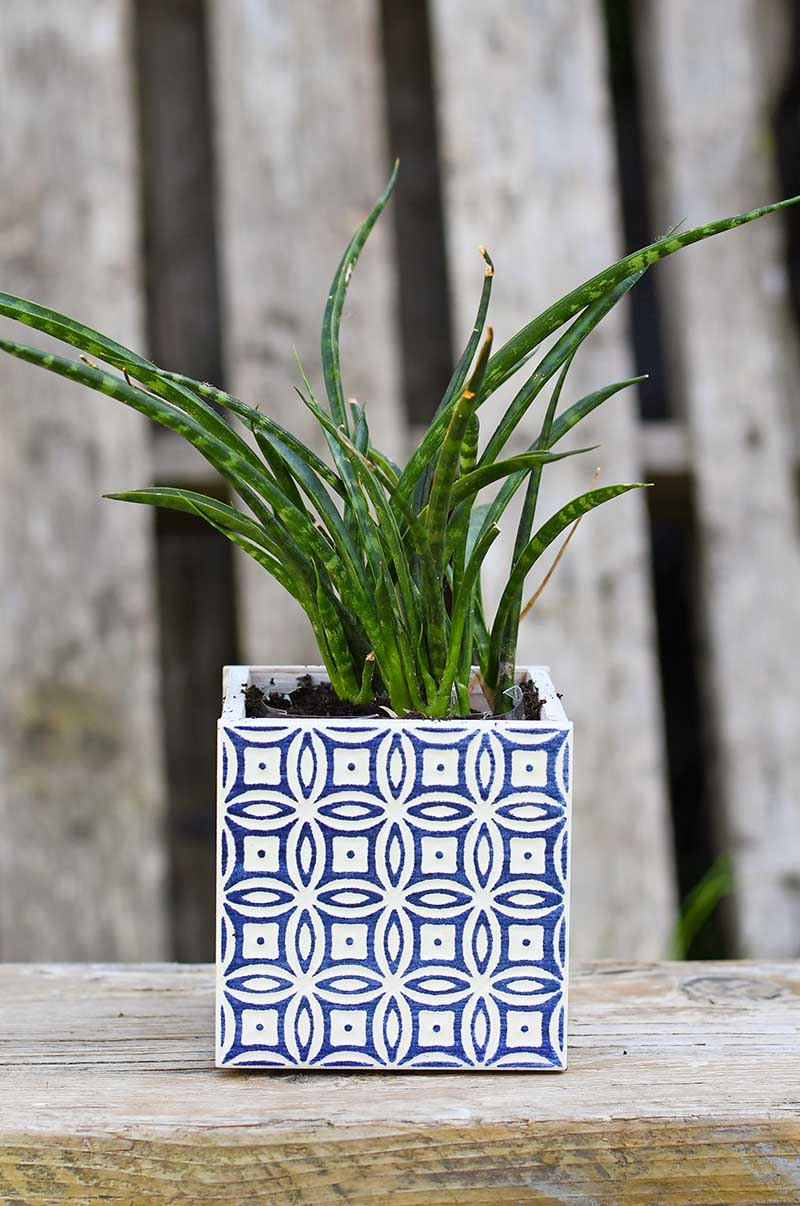
I love it when you have a great idea that actually works! That’s exactly what happened with these gorgeous tile cubed Moroccan planters.
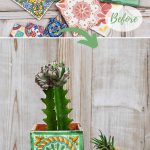
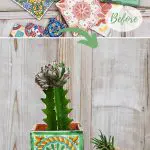
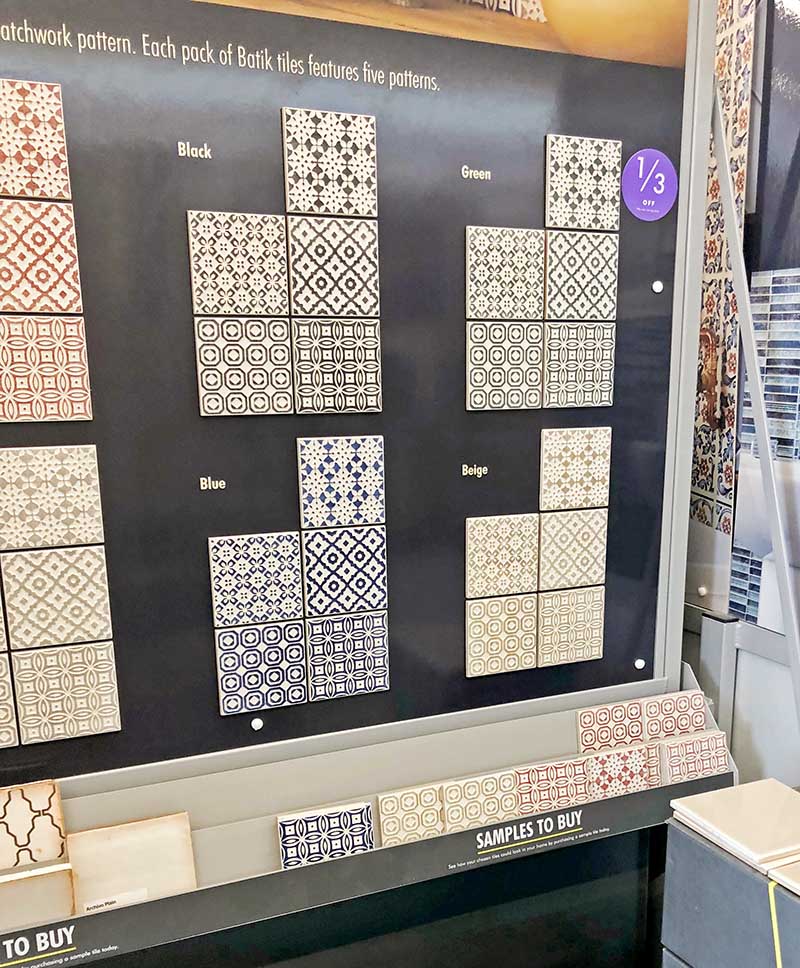
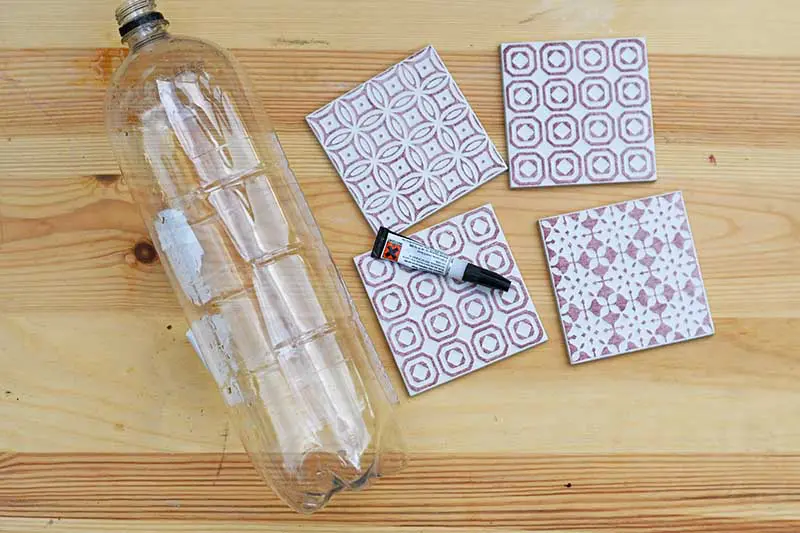
A few weeks ago, I popped into my local tile store and spotted some lovely Moroccan-style tiles.
The samples were only 30p (40cents), I could resist buying a handful of them. I thought perhaps I’d tile a table or something in the garden.

I do have a thing about the patterns on Moroccan tiles, and I have used a Moroccan tile stencil to make a colourful, boho-painted wood pallet garden in the past.
Super Simple to Make Squared Tiled Moroccan Planters
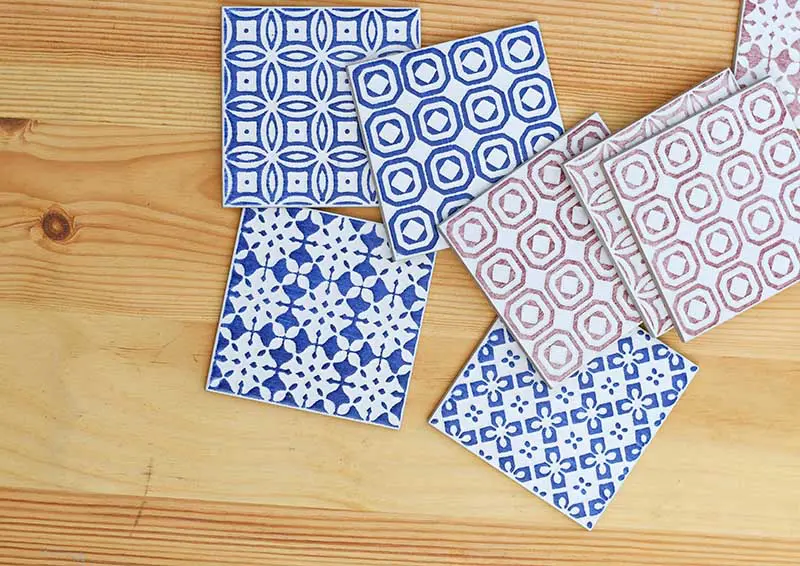
Initially, the Moroccan tiles lay around on my craft table for a few weeks being used as coasters. When I suddenly got the idea of making them into cubed planters. Initially, I thought I’d have to tile them to an existing wooden box.
However, I couldn’t be bothered to do that and thought perhaps I could just stick them together on their own.
Good old superglue! It stuck the tiles together like magic. All I needed to do was make a simple planter insert from an old soda bottle. As I did with the indoor herb garden I made.
I was so chuffed with how these gorgeous tile planters turned out that I dashed back to the tile store to pick up more tiles to make more!
Whilst I was there I also checked out the other tile samples for more planter ideas.
We’re a participant in the Amazon Services LLC Associates Program, an affiliate advertising program designed to provide a means for us to earn fees by linking to Amazon.com and affiliated sites. As an Amazon Associate, I earn from qualifying purchases.
What You Need To Make Tile Planters
- Moroccan style tiles – I got mine from Tops Tiles in the UK, but I’m sure you will find something similar in your local tile shop. You will need 4 for each Moroccan tile planter.

- Superglue
- 2-litre plastic soda bottle – I used an old Pepsi bottle.
- Scissors

How To Make Cubed Moroccan Tile Planters
When I say this craft took under 10 minutes it was probably more like 5. Well, the second one only took that long once I’d worked out what to do.
Step 1: Gather the 4 tiles you want to use for the cubed planter. Lay one face down and apply a strip of super glue to the rough edge.

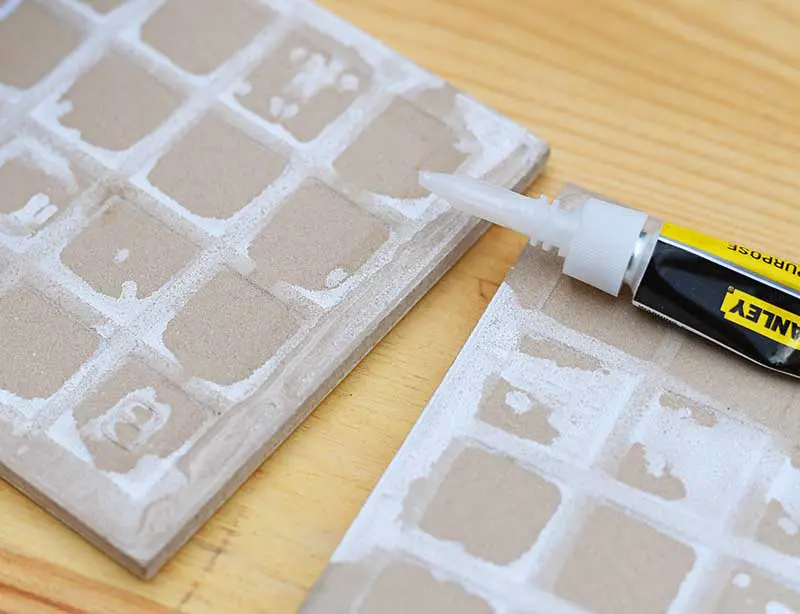
Step 2: Quickly grab another tile and place it standing up on this edge (at a 90-degree angle). Hold it in place straight as the glue dries.
This should take about 30 seconds.

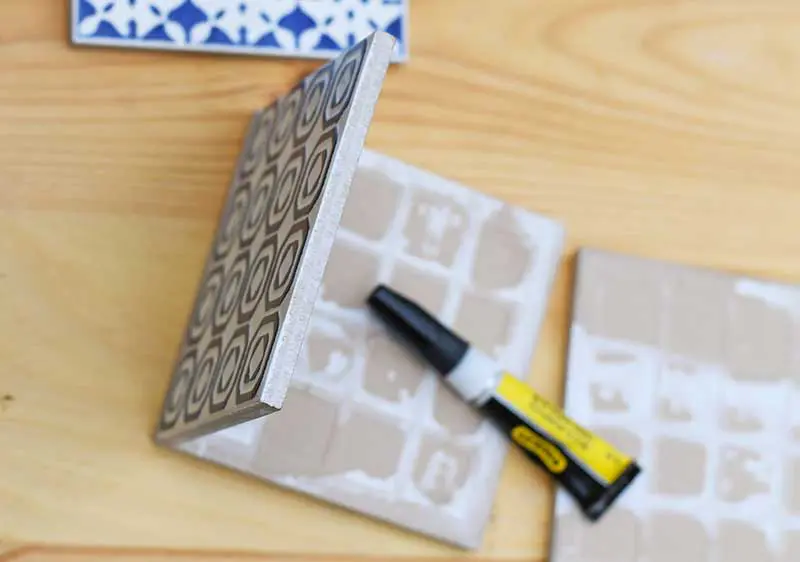
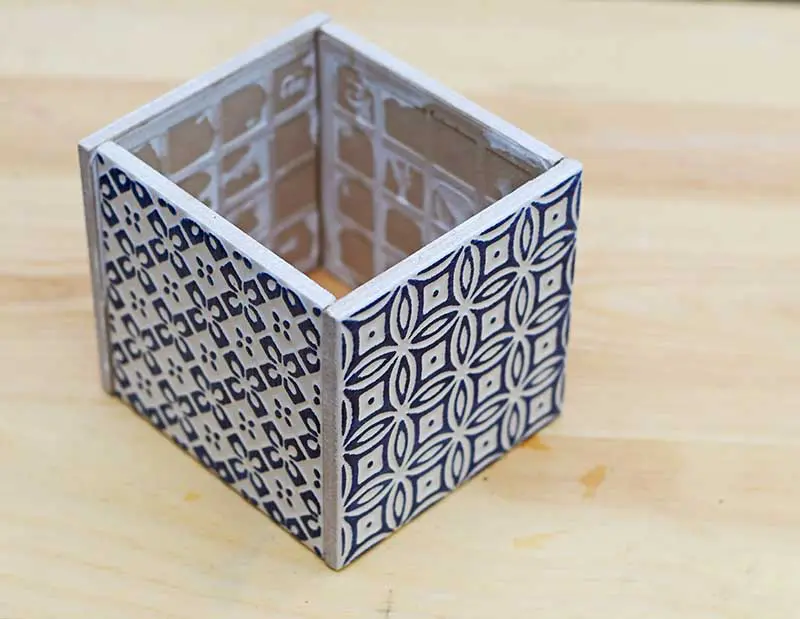
Step 3: Then, repeat the last stage with another tile on the opposite edge.
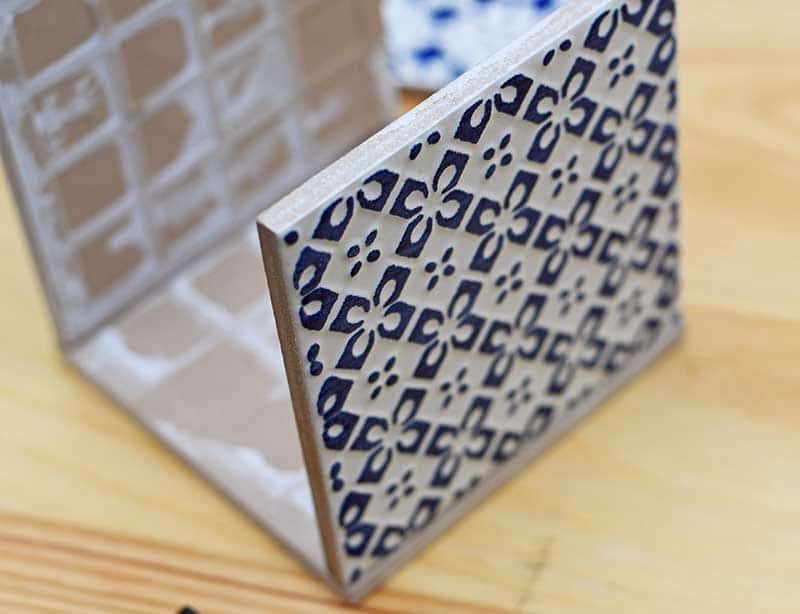

Step 4: Finally, glue the fourth tile across the top of the 2 perpendicular tiles to form a cube.
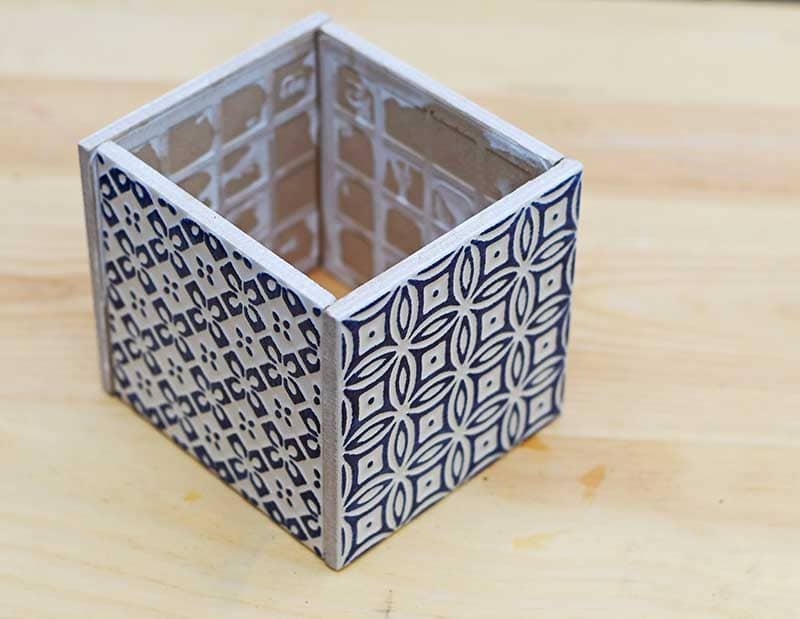
Step 5: Now, you may think that the cube will make a lousy planter as it lacks a base to hold the soil.
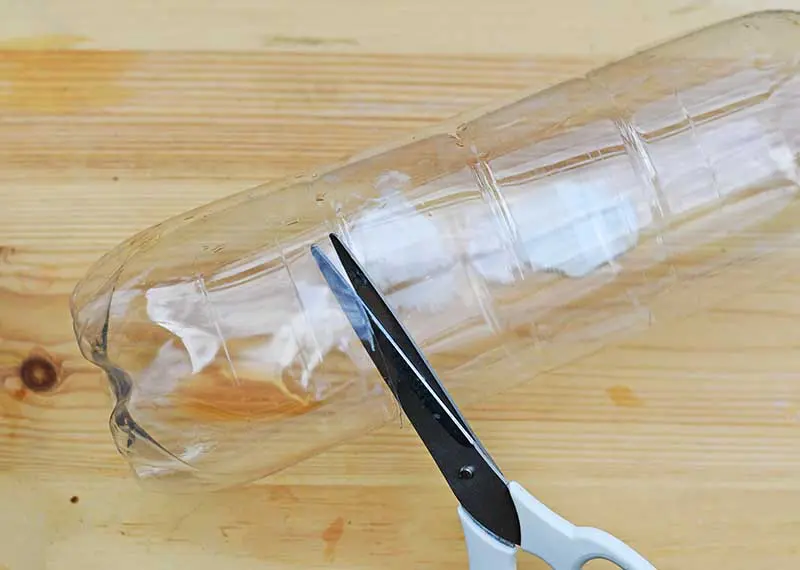
That is where the soda bottle comes into its own. Cut the base off the soda bottle so that it is just a few millimeters shorter than the height of the tiled planter.
You should be able to easily cut the plastic bottle with a pair of sharp scissors.

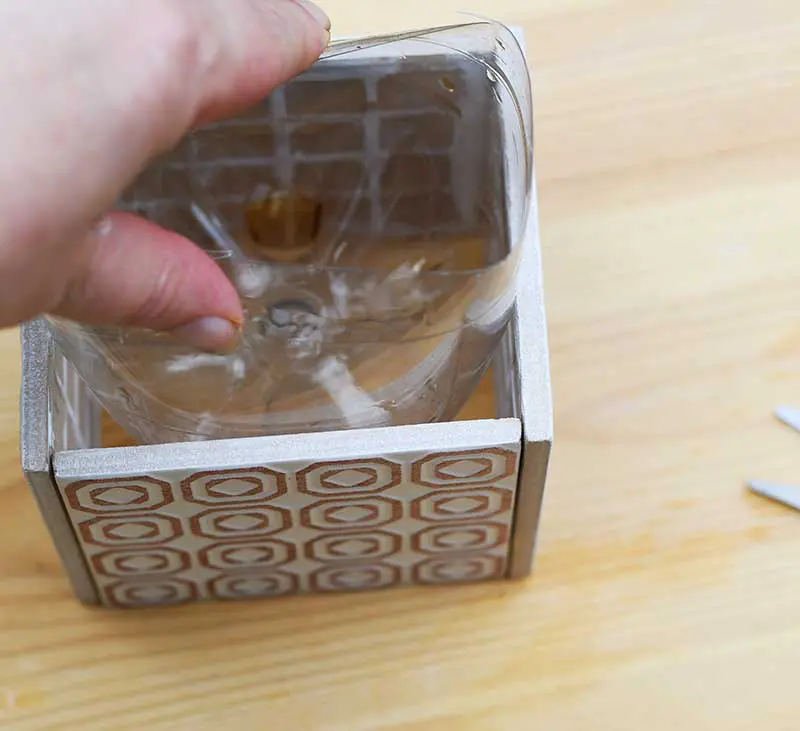
Step 6: Next, gently squeeze the plastic bottle base into the tiled cube. You will find that the bottle fits snuggly and stays in place when the planter is lifted.

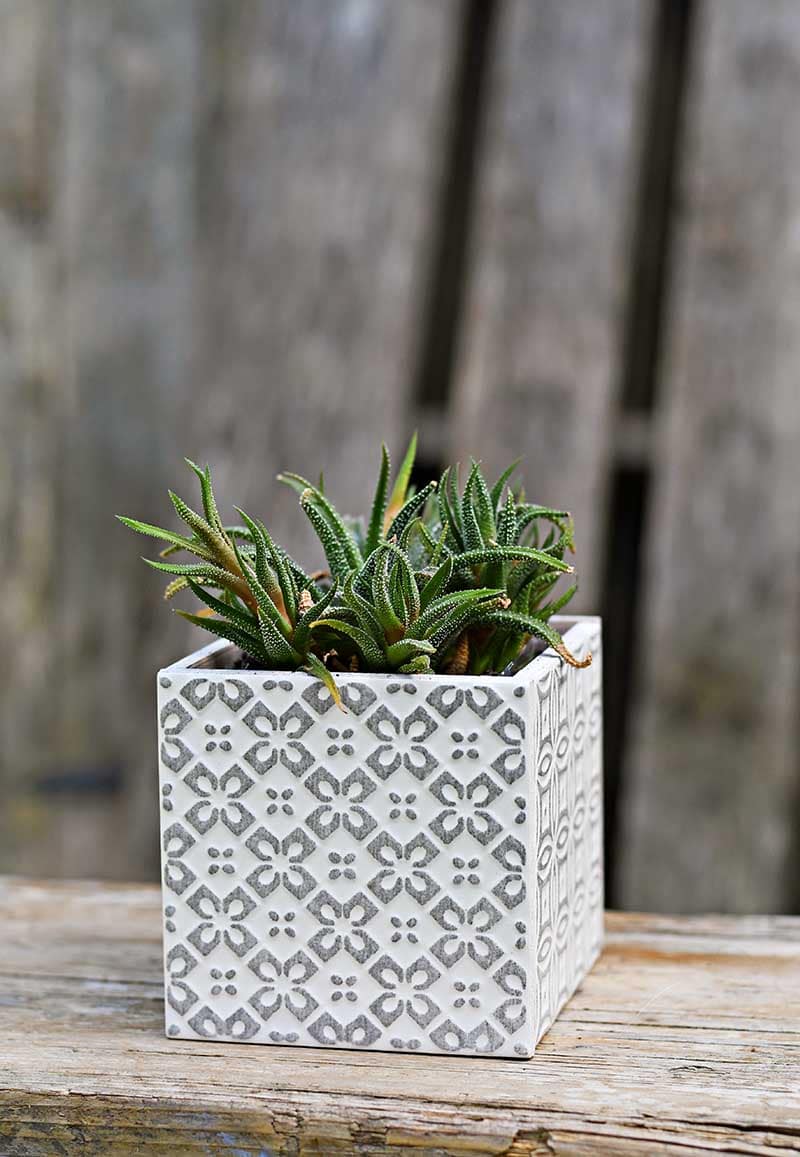
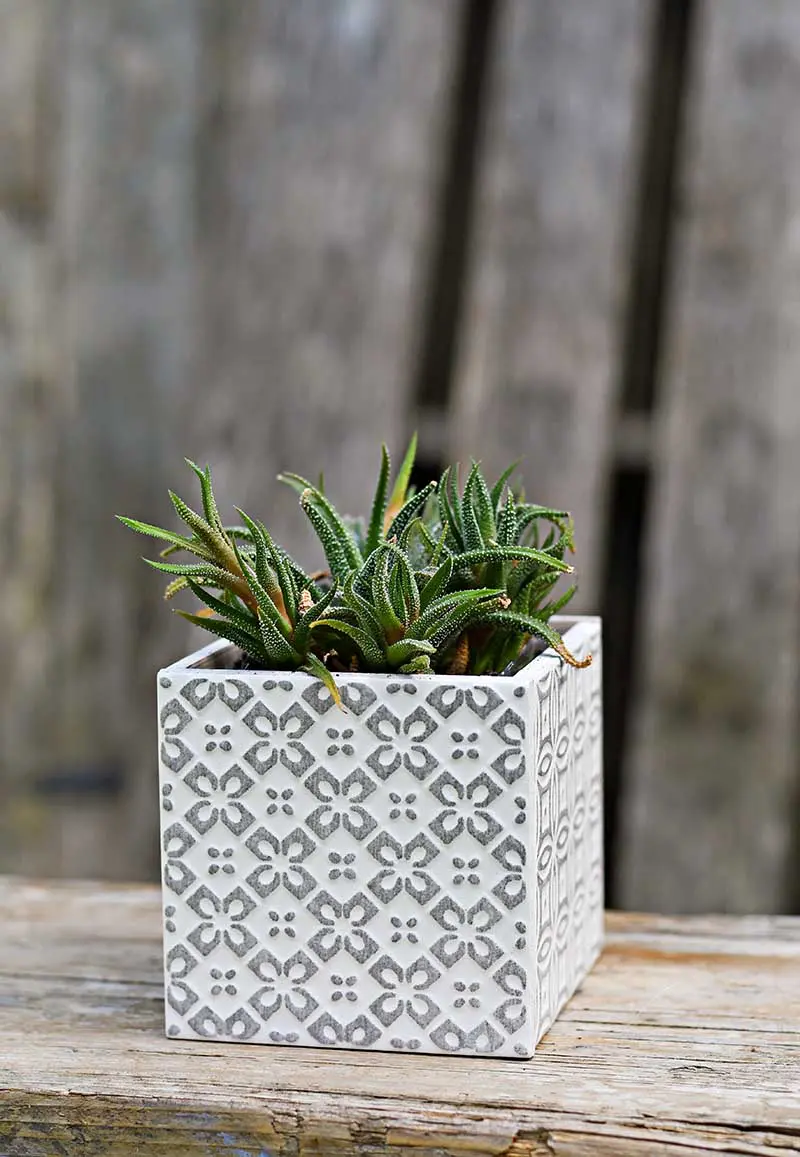
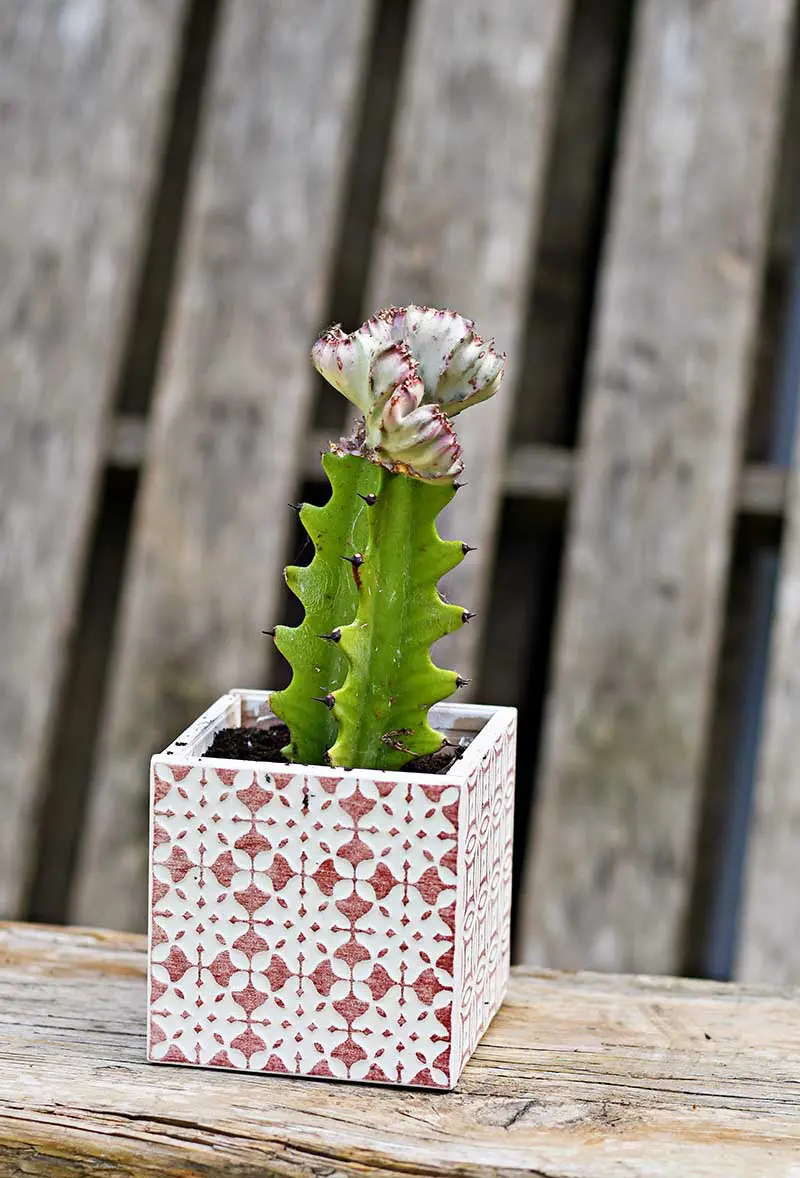
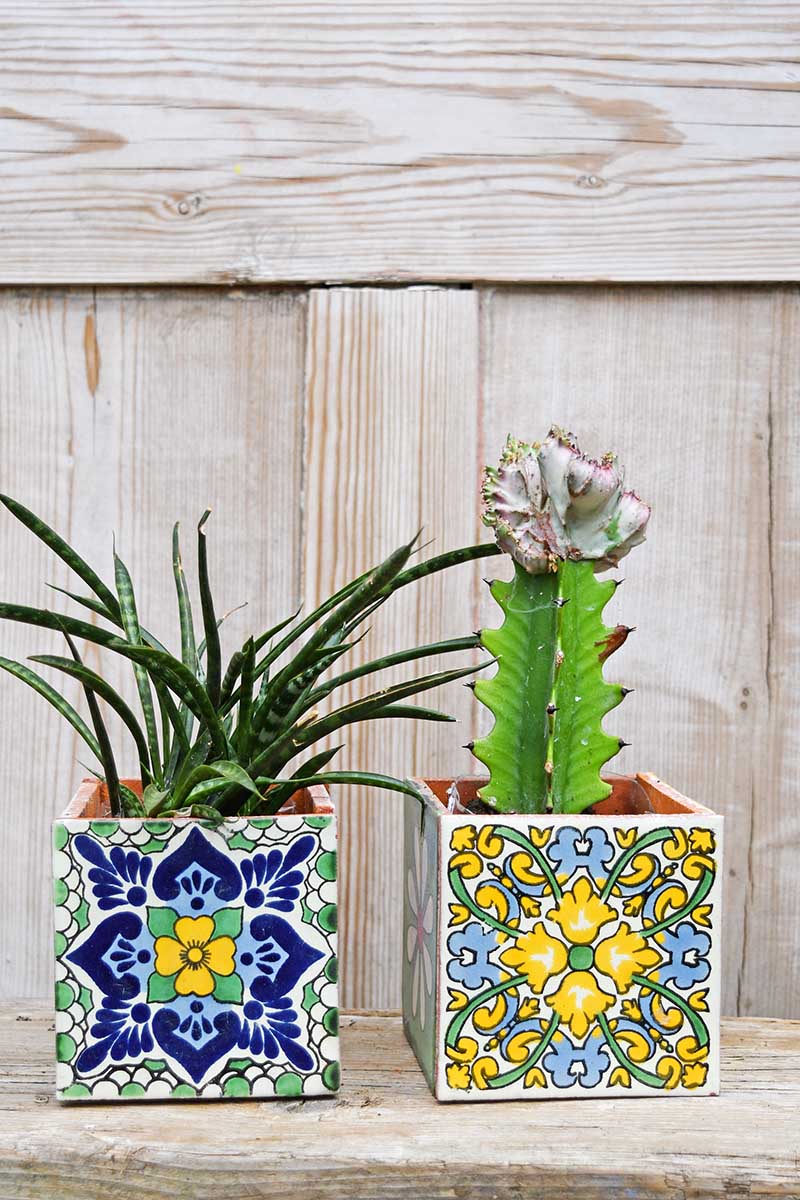
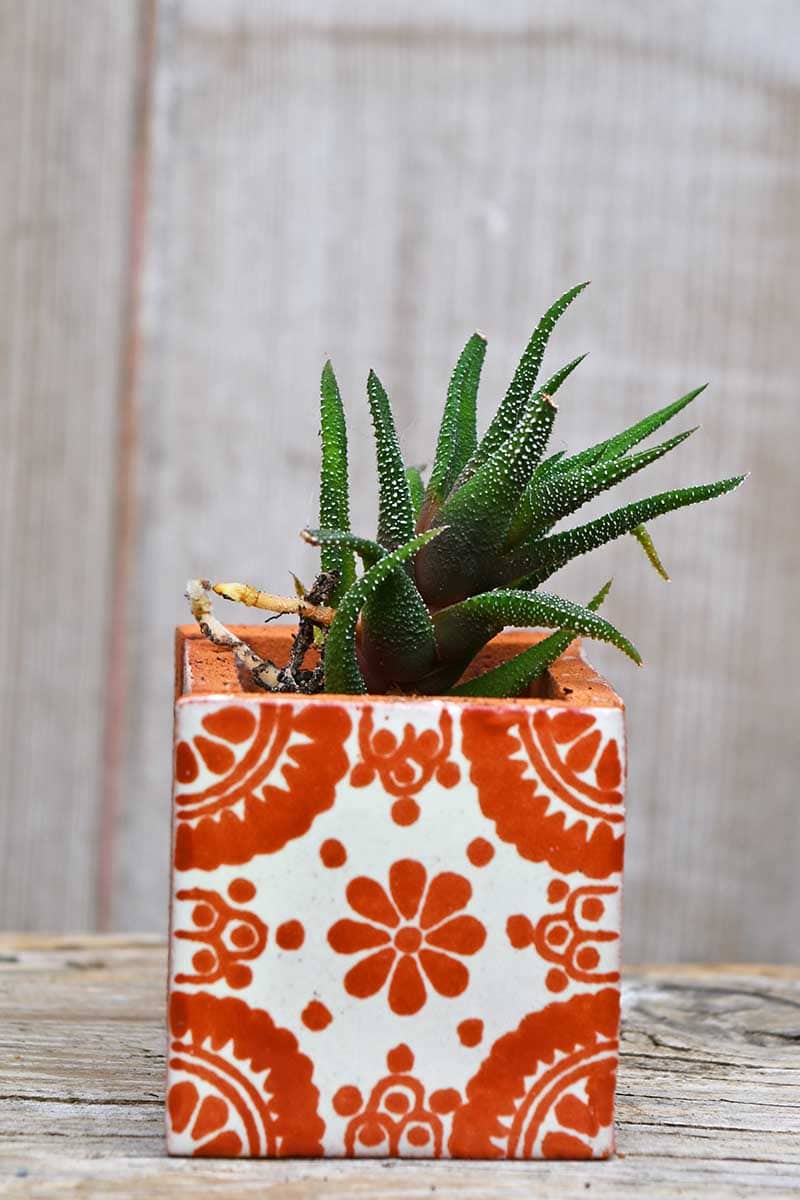
Step 7: All that is left to do is to plant your plants. I think that as these tiled planters have a Boho Moroccan feel about them, they are perfect for succulents and cacti. Who doesn’t love a succulent?

As I said at the beginning I loved how this planter turned out. So I returned to the tile shop to get more samples to make more Moroccan Planters in different colors.
I also loved that it only took me 5 minutes to make each one.

These square Moroccan tiled cubes don’t have to be turned into planters; they can also be used as storage pots. Perhaps in a craft room with pens or in the bathroom with makeup brushes etc.


Whilst on my return visit to the tile shop, I noticed loads of other wonderful tiles that caught my eye, so I’m on the lookout to make some more crafts for my home out of old tiles.
This project is also a great way to use up any spare tiles you have leftover from your home improvement projects. Perhaps you’ve tiled a DIY splashback in your kitchen. You could use the spare tiles to make a matching cubed utensil holder.
If you’re looking for an idea of how best to show off these wonderful ceramic tile planters. I made some tiered DIY plant shelves which would show them off wonderfully.
They will also look good on the dining table with my Moroccan stenciled denim table runner. I might use those as utensil holders.
Mexican Tile Planters
Not long after making these ceramic Moroccan planters, I found some fabulous Mexican tiles really cheaply. I just couldn’t resist making Mexican tile planters to go with these Morrocan ones.
I loved the colours of the Mexican tiles. They were so vibrant and sunny that they really brightened up my home and garden.

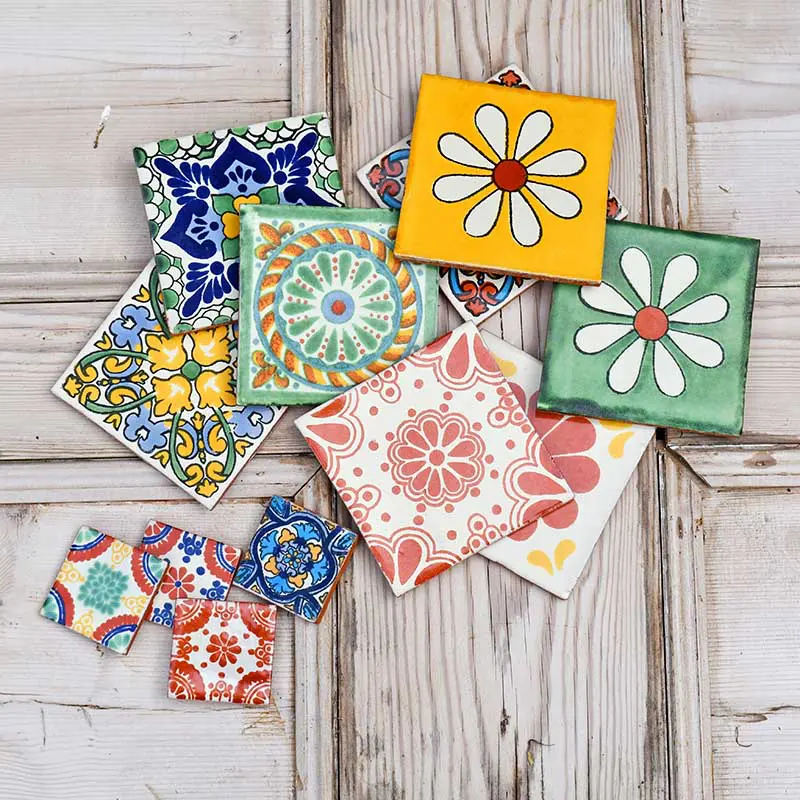
There were even some small Mexican tiles which I also used to make cute tiny planters with. The method was the same as with larger ceramic tile planters, but I used a smaller soda bottle for the insert.
The Mexican planters would go really well with these Frida Kahlo crafts and DIYs and these other fabulous DIY Boho craft ideas.
With these planters, you get four different planters for the price of one. They have four different patterned tiled sides. So every time you fancy a change of colour or pattern, just turn the cubed planter 90 degrees for a different look.


Other Tile Planters
If you can’t find the right kind of tiles for your planters, you can always decoupage some plain tiles with the print you want. There is a tutorial on how to decoupage tiles here and how to use them as coasters or planters.
I’m a big fan of potted plants in my garden and home, and I’m always looking for new ideas. I’ve turned broken ceramics into a fabulous mosaic wall planter.
Another unique way to make planters is to use old cups and candlesticks as I did with these rainbow repurposed planters.
Last summer I made some decorative tin can planters, using the wonderfully bright and colorful patterns of Marimekko.
I’ve even made humble tin cans look like unique Oriental Ming vases with some clever decoupage.
These planters are featured in the best 50 garden upcycling ideas.
Ceramic Tile Moroccan Planters


These gorgeous tile planters are so easy to make and only take five minutes. I made mine with sample Moroccan style tiles. However, you can make them with any tile pattern you want. Mexican tiles make great planters too.
This craft is also a good way to use up any leftover tiles from other DIY projects.
Materials
- Four patterned ceramic tiles of the same size. The patterns and colors can be different as long as the tiles themselves are exactly the same size.
- Superglue
- Large empty soda bottle
Tools
- Scissors
Instructions
- Choose which four tiles you want to use for each planter.
- Apply superglue along the inside edge of one of the Moroccan tiles.
- Quickly get another Moroccan tile and stick it to the glue at right angles. Hold the tile down for at least 30 seconds whilst the glue dries.
- Repeat with the other two tiles until you make a ceramic cube. The tile cube will be open at the top and bottom.
- Next, get an empty plastic soda bottle. Using a pair of scissors cut the bottom of the bottle so that it is just a couple of millimeters shorter than the tiles.
- Gently squeeze the cut plastic bottle and place it inside the tile cube. The bottle should fit snuggly, so much so that it won't slip out of the cube. The pressure should keep it in place.
- Finally, plant succulents into the plastic bottle.
Notes
These Moroccan tile cubes were used as planters but they would also make attractive and useful storage pots, They would look good in a bathroom, kitchen or study.
You’ll find more summer crafts here.
Benoifer.Suratia
Thursday 17th of July 2025
Vibrant tile planters, bright idea to use soda bottles which anyway end up as thrash! Inspired to make them. Thank you!
Judy
Saturday 14th of December 2024
they look great.
Claire Armstrong
Sunday 22nd of December 2024
Thank you
Elizabeth Gan
Tuesday 2nd of May 2023
Fantastic idea! Thanks for sharing!
Claire Armstrong
Tuesday 2nd of May 2023
Thank you
5 DIY Planters For Your Lake House
Friday 18th of March 2022
[…] Photo courtesy of Pillar Box Blue […]
Dee Braddock
Tuesday 15th of February 2022
I love these planters. Simple and beautiful. Will they hold up outdoors year round? I am at the age that I am tired of lugging my pots in and out of the garage for the winter. Thank you for the inspiration.
Claire Armstrong
Tuesday 15th of February 2022
Thank you, yes as they are made from tiles the planters are weather resistant and can be left outside all year round.