How To Make Whimsical Air-Dry Clay Jellyfish With Beaded Tentacles
I’ve always been fascinated by jellyfish. Growing up by the sea in Hong Kong, there were certain times of the year when the water seemed to be full of them.
They came in all sorts of shapes and sizes, including some rather cute little domed jellyfish covered in colourful spots. Even the aquarium at Ocean Park has a special jellyfish display, which is always quite magical to walk through.
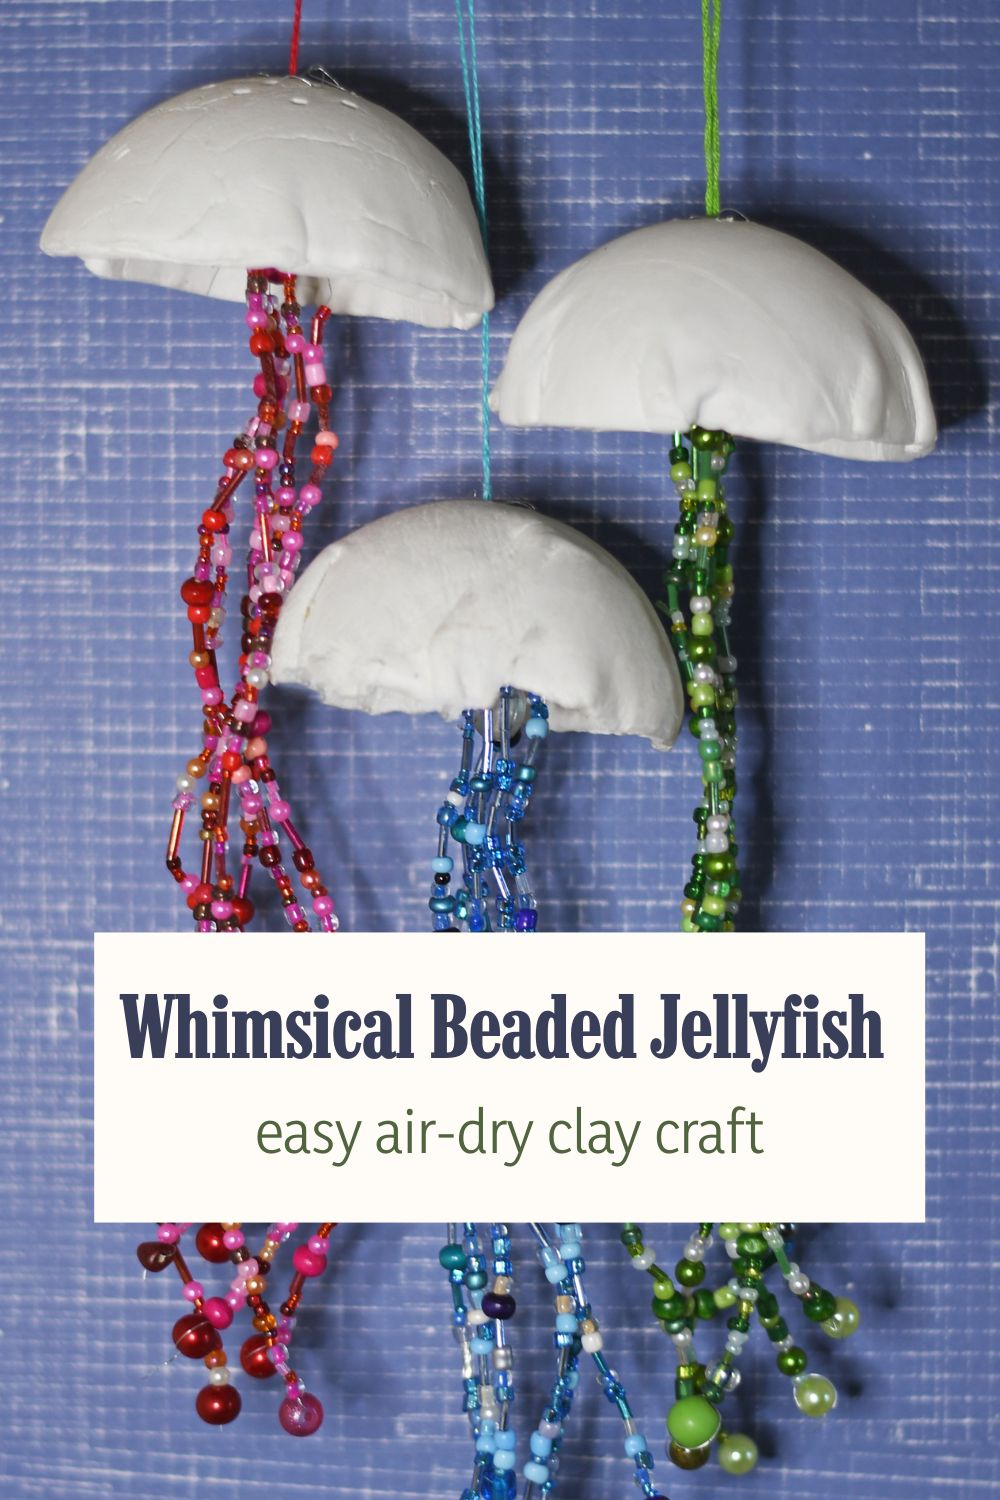
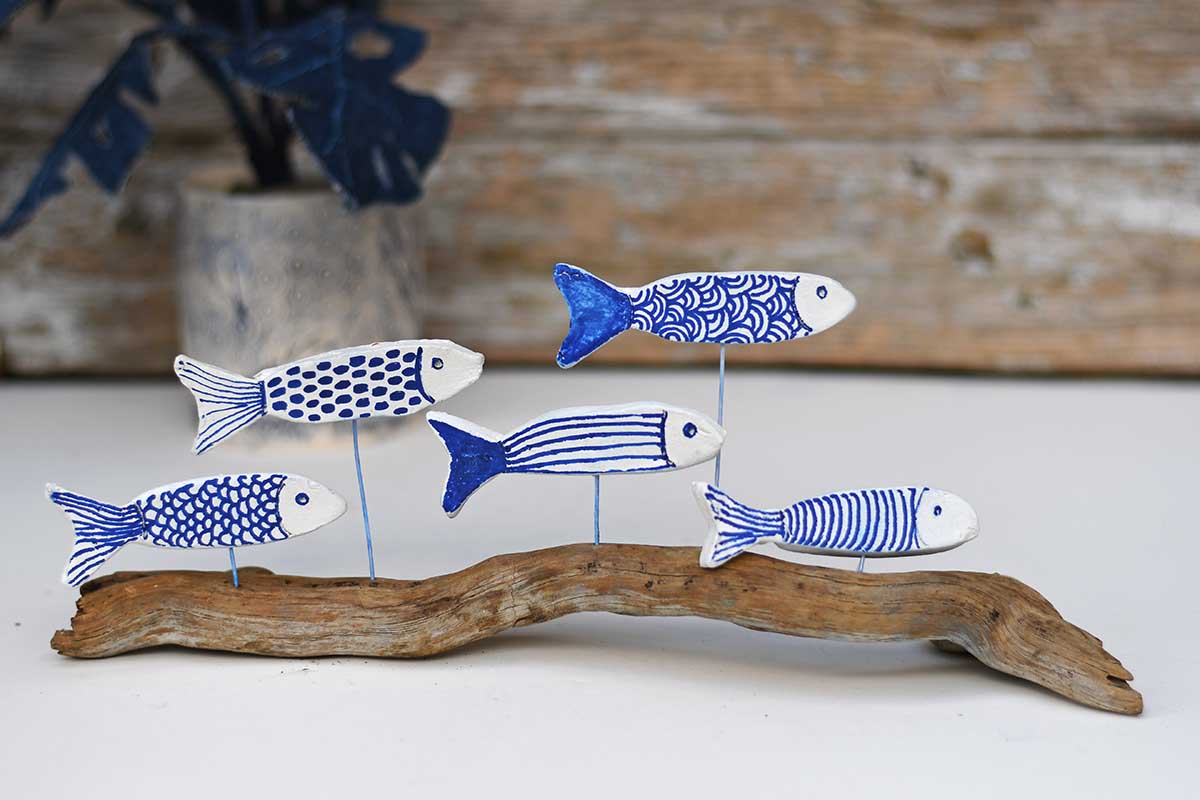
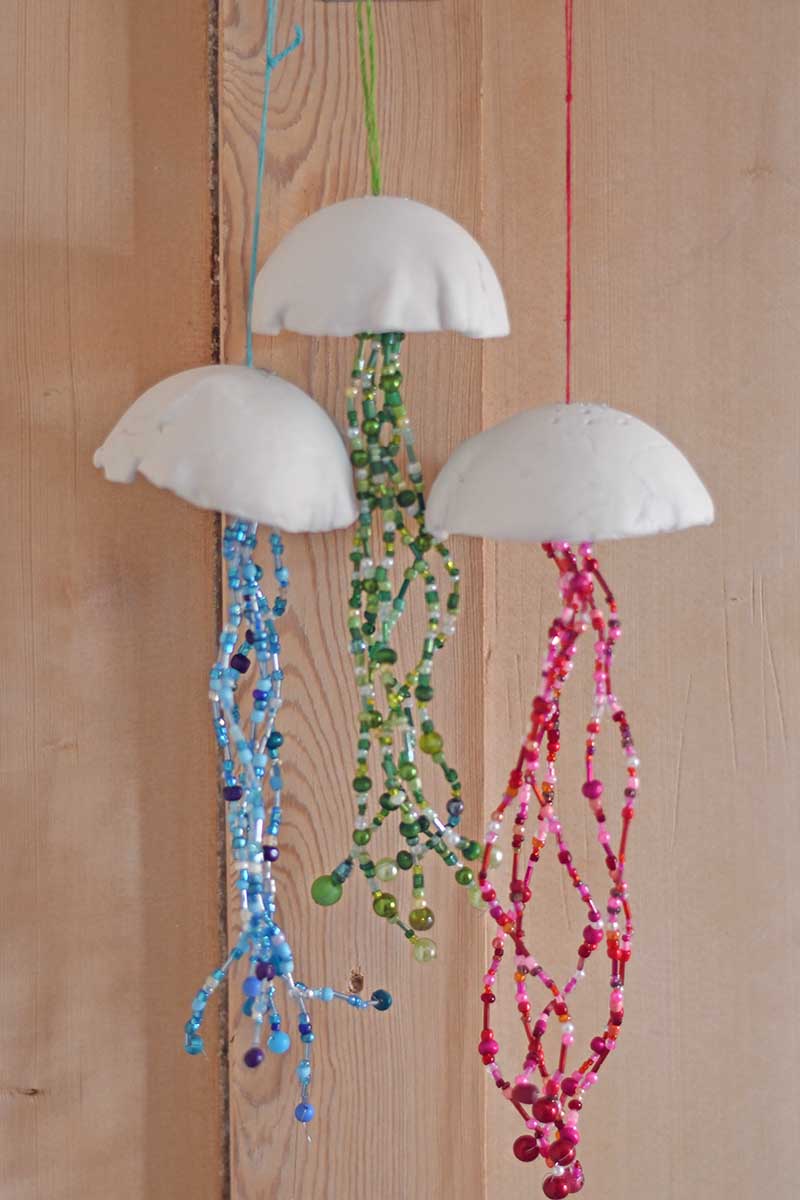
I'd already turned my jellyfish obsession into a set of colourful fabric jellyfish, but when I found myself with some leftover clay from making my air-dry clay sardines, I couldn't resist making a few more. This time they have simple white clay bodies and long, wiggly tentacles made from colourful seed beads; finally giving my ever-growing bead stash a purpose!
They're incredibly easy to make, look right at home in coastal décor and, if you ask me, make wonderfully quirky Christmas tree ornaments too. Because who says jellyfish are just for the seaside?
What You Need
We're a participant in the Amazon Services LLC Associates Program, an affiliate advertising program designed to provide a means for us to earn fees by linking to Amazon.com and affiliated sites. As an Amazon Associate, I earn from qualifying purchases.
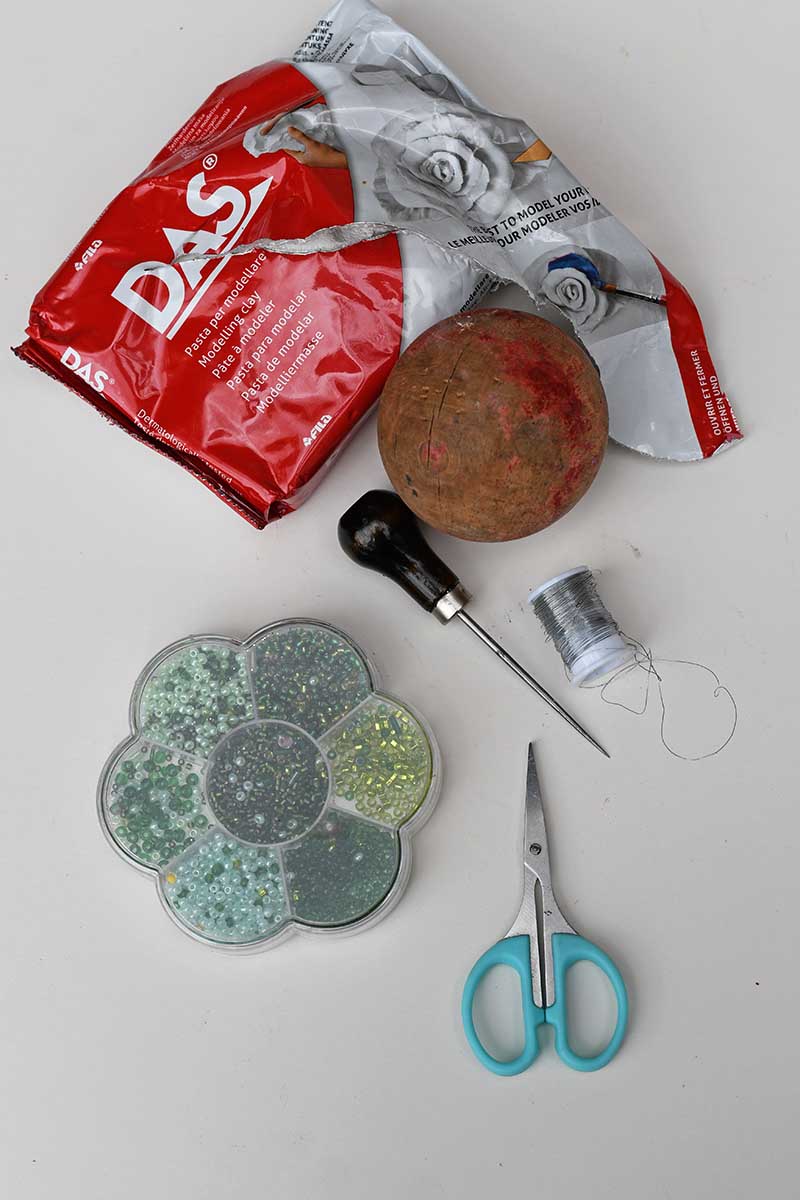
- Air-dry clay
- Rolling pin, small bowl or round template & knife
- Small ball, bauble or rounded object - to mould the clay
- Awl, skewer or large needle
- Fine jewellery wire thin enough to thread seed beads.
- Assorted glass seed beads
- Scissors & sandpaper
- Paint or varnish, optional
How to Make Air-Dry Clay Jellyfish
Making The Clay Body
Step 1: Roll Out the Clay: Take a small amount of air-dry clay and roll it out evenly.
The clay needs to be thick enough to hold its shape and support the beaded tentacles, but not so thick that the finished jellyfish becomes heavy. Around 5mm thick should work well.
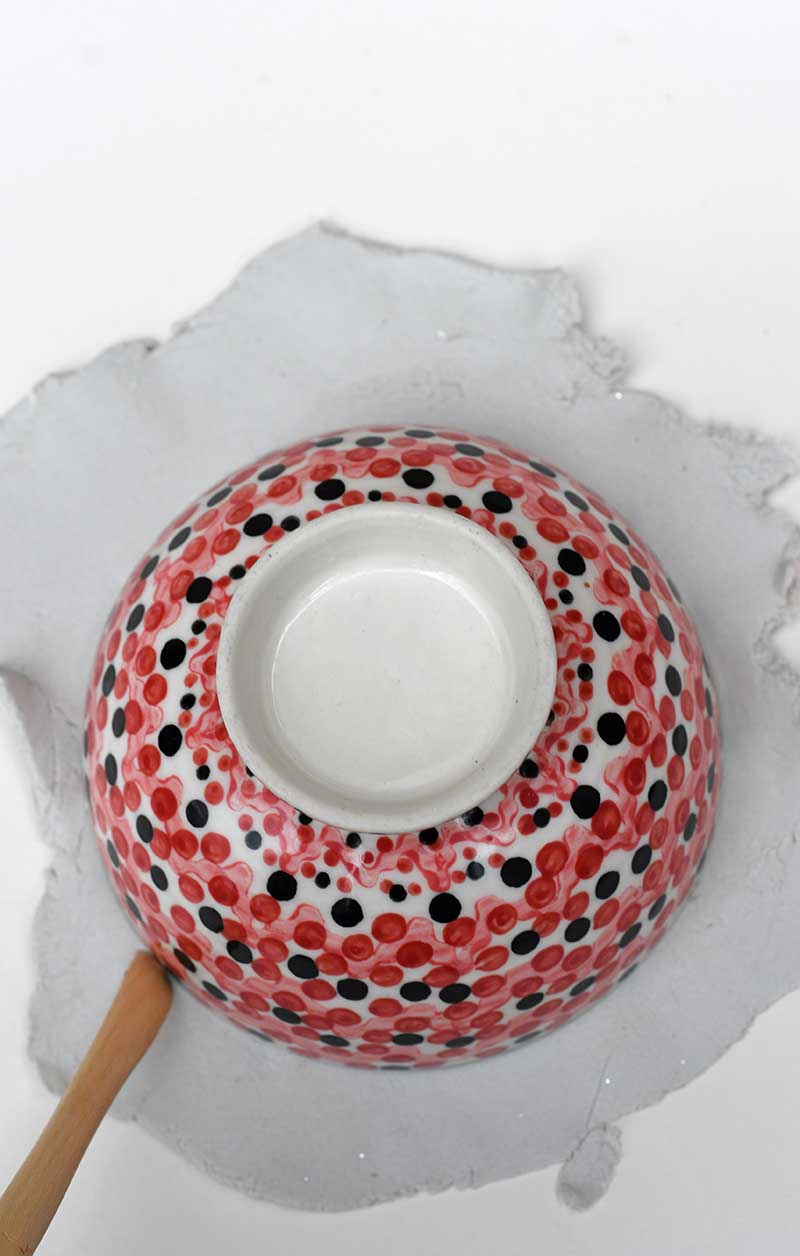
Step 2: Cut Out a Circle: Place a small bowl or another round object onto the rolled clay and cut around it with a craft knife. Smooth the cut edge with a damp fingertip to remove any rough or cracked areas.
The size of your circle will determine the size of the jellyfish. Mine were small enough to hang easily but large enough to hold six beaded tentacles.
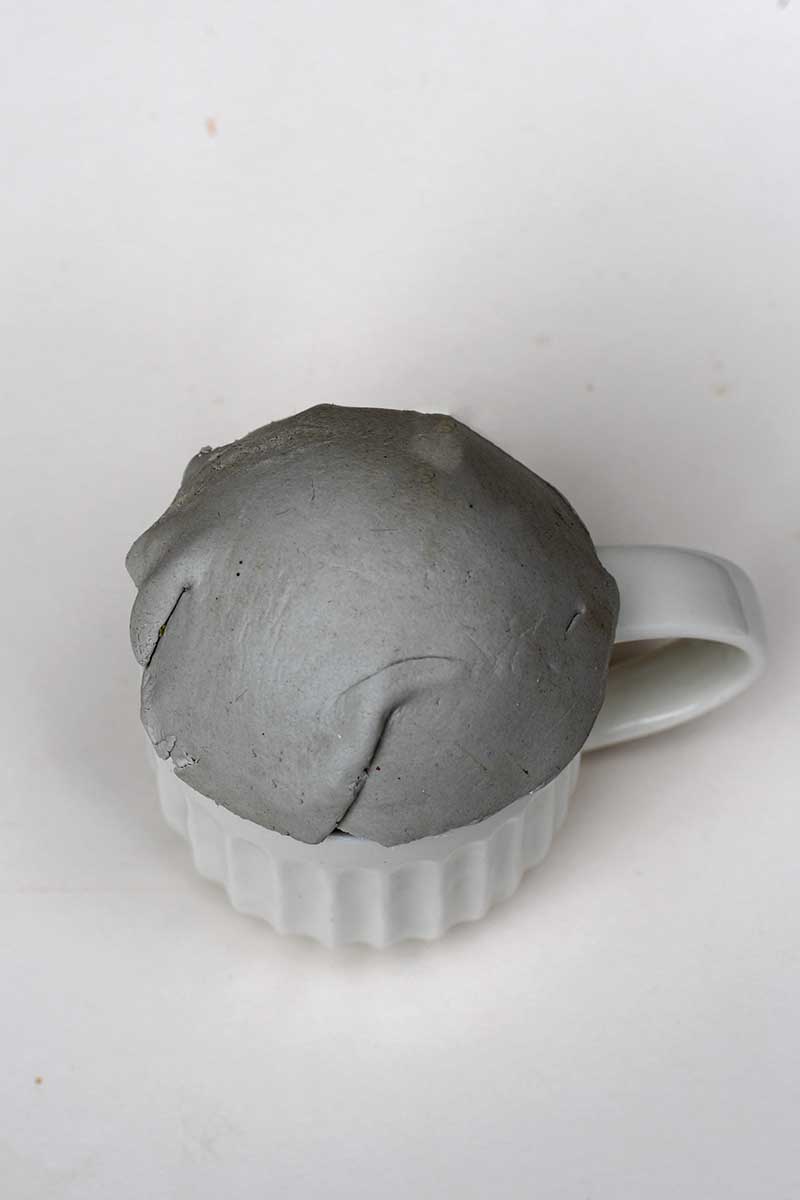
Step 3: Shape the Jellyfish Dome: Carefully lift the clay circle and place it over a ball, round ornament or another dome-shaped object. Gently mould the clay around the curve without pressing it down too firmly. You want to create a shallow dome; don't worry if there are a few creases in the shape; this adds to the jellyfish.
Leave the clay resting over the shape while it dries. Check that it can be removed easily and that the clay has not become stuck to the surface.
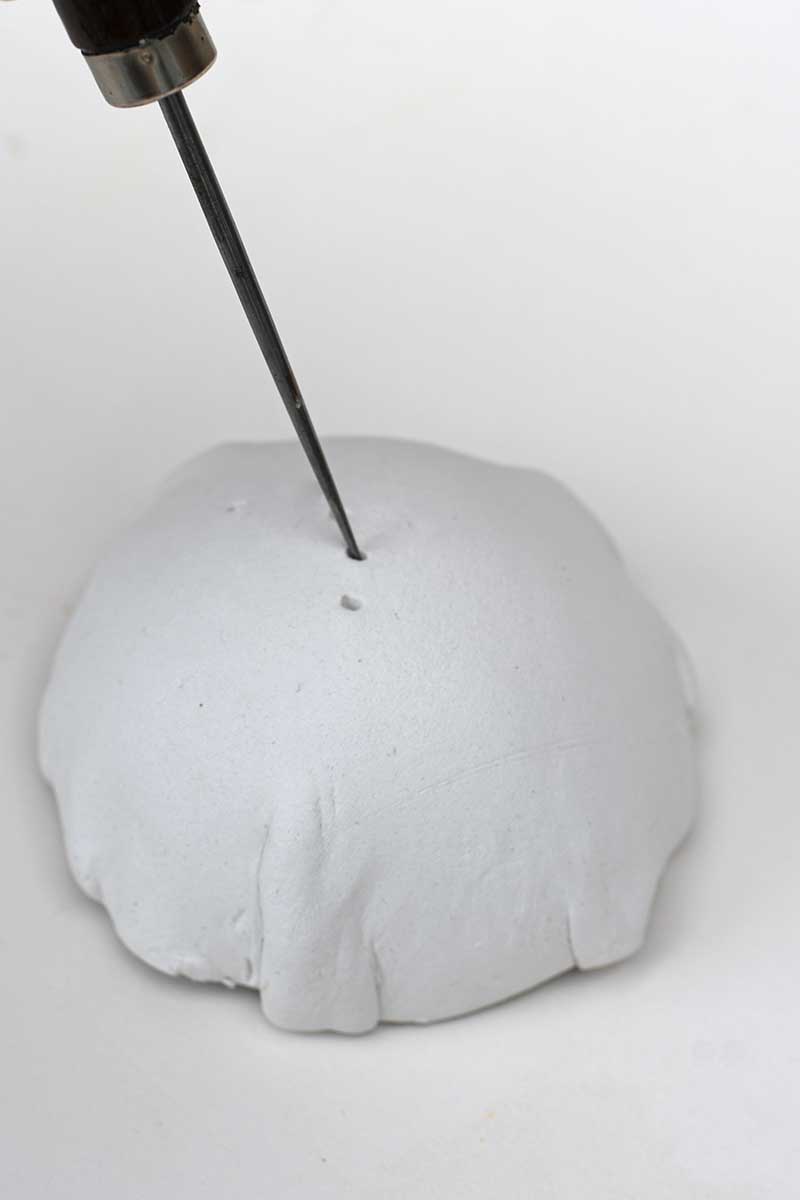
Step 4: Make the Holes: After the clay has dried for a while and hardened, use an awl, skewer, or large needle to make holes for the tentacles.
I made five to six holes spaced around the top of each jellyfish dome. The holes need to be big enough for the jewellery wire to pass through.
Step 5: Leave the Clay to Dry: Allow the jellyfish bodies to dry completely. The drying time will depend on the clay, the thickness and the temperature of the room.
Once dry, carefully remove each dome from its mould. Lightly sand the edges and any rough patches with fine sandpaper.
I left my jellyfish bodies white and unvarnished because I liked the soft, raw finish of the clay. It provides a lovely contrast to the shiny glass beads. You could paint the domes with spots, stripes or wavy patterns. A coat of clay varnish or glaze would also give them a shiny ceramic appearance.
Making the Beaded Tentacles
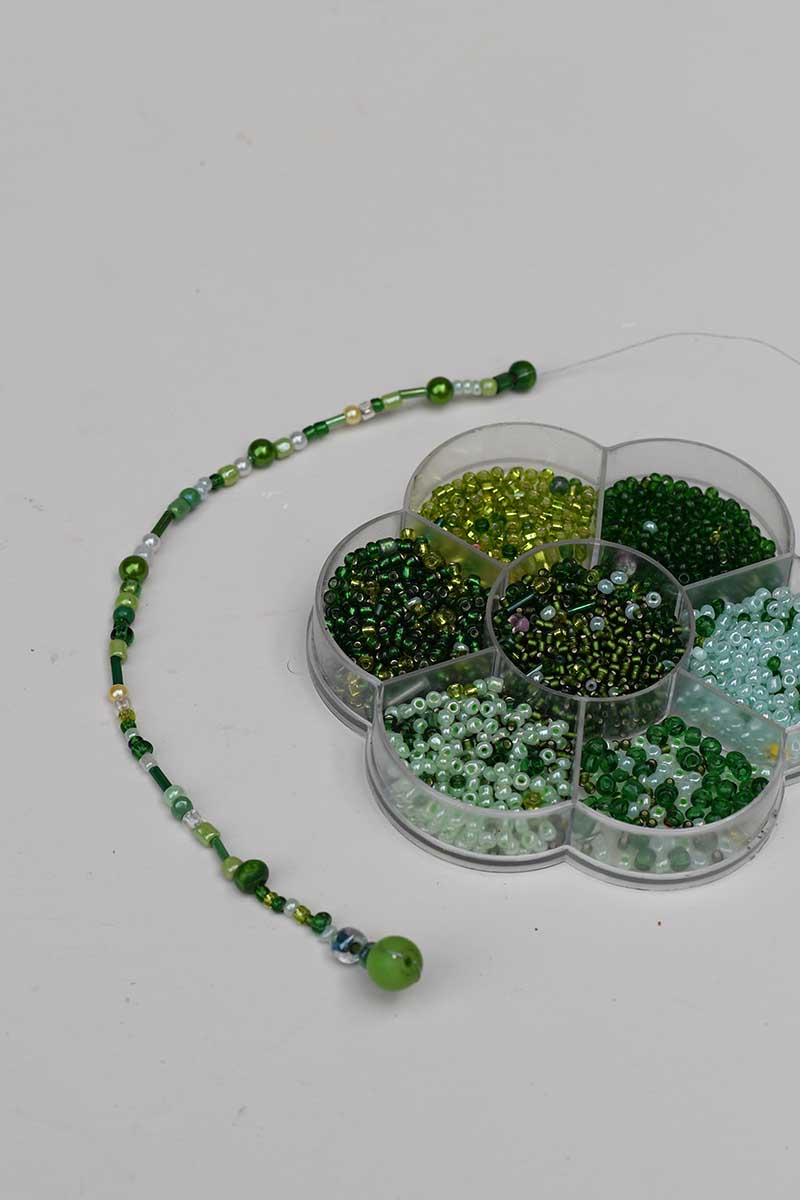
Step 6: Make the Beaded Tentacles: Cut six lengths of fine jewellery wire for each jellyfish, about 25 cm long: approximately 15cm for the beaded tentacles and the other spare wire for attaching.
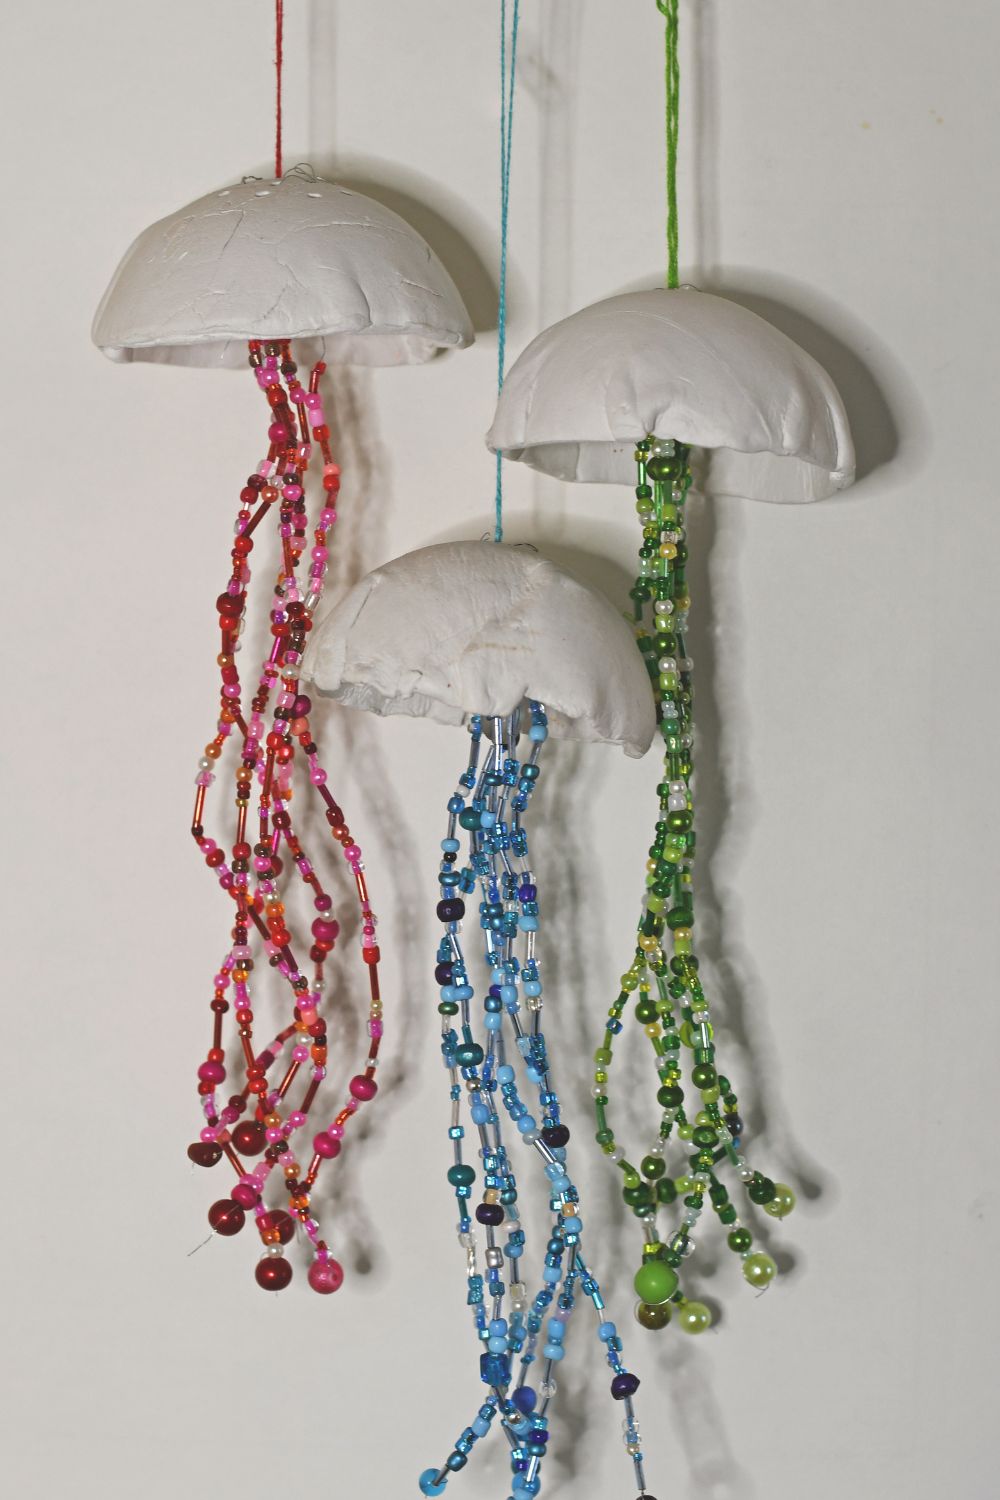
Attach a larger stopper bead at one end of the wire, then thread assorted glass seed beads one by one. I used shades of green for one jellyfish, reds and pinks for another, and blue beads for the third. You could mix all the colours or use whatever beads you already have.
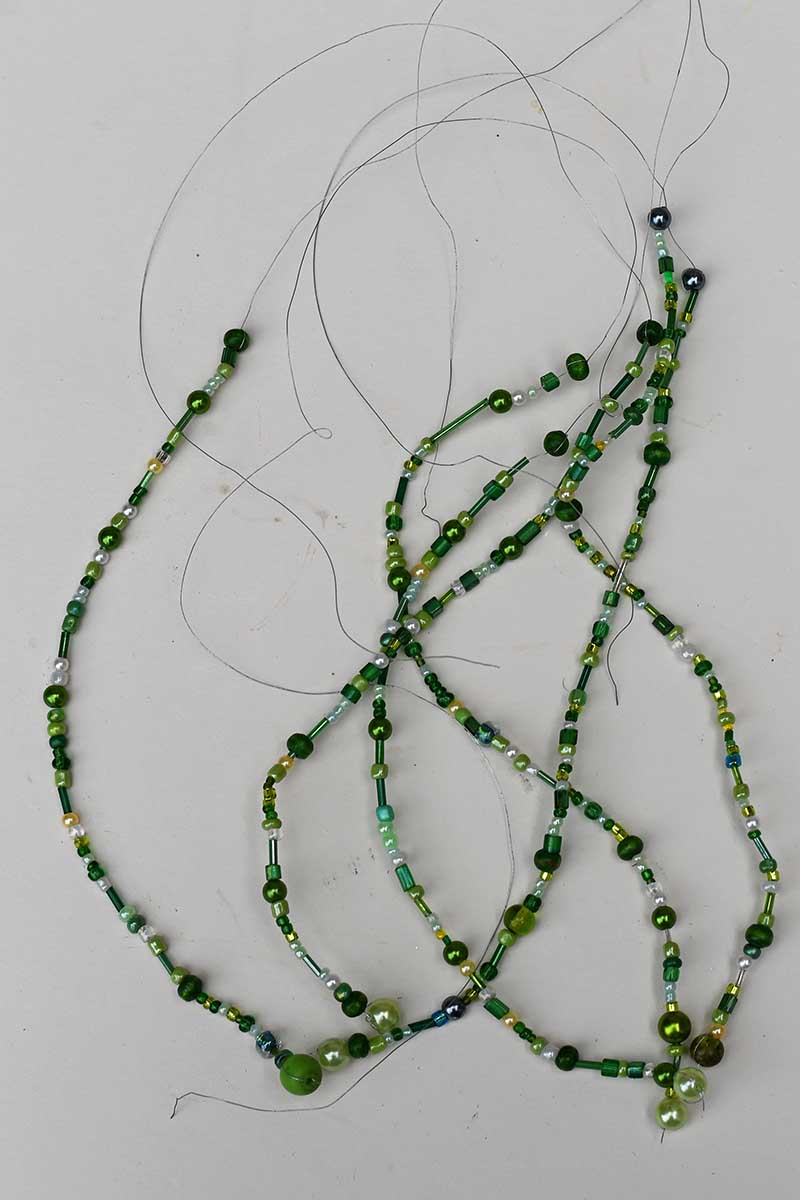
Step 7: Attach the Tentacles: Thread the bare end of each beaded wire through one of the holes in the clay dome. Bend or twist the wire securely on the inside so it cannot slip back through the hole. Trim any excess wire with scissors.
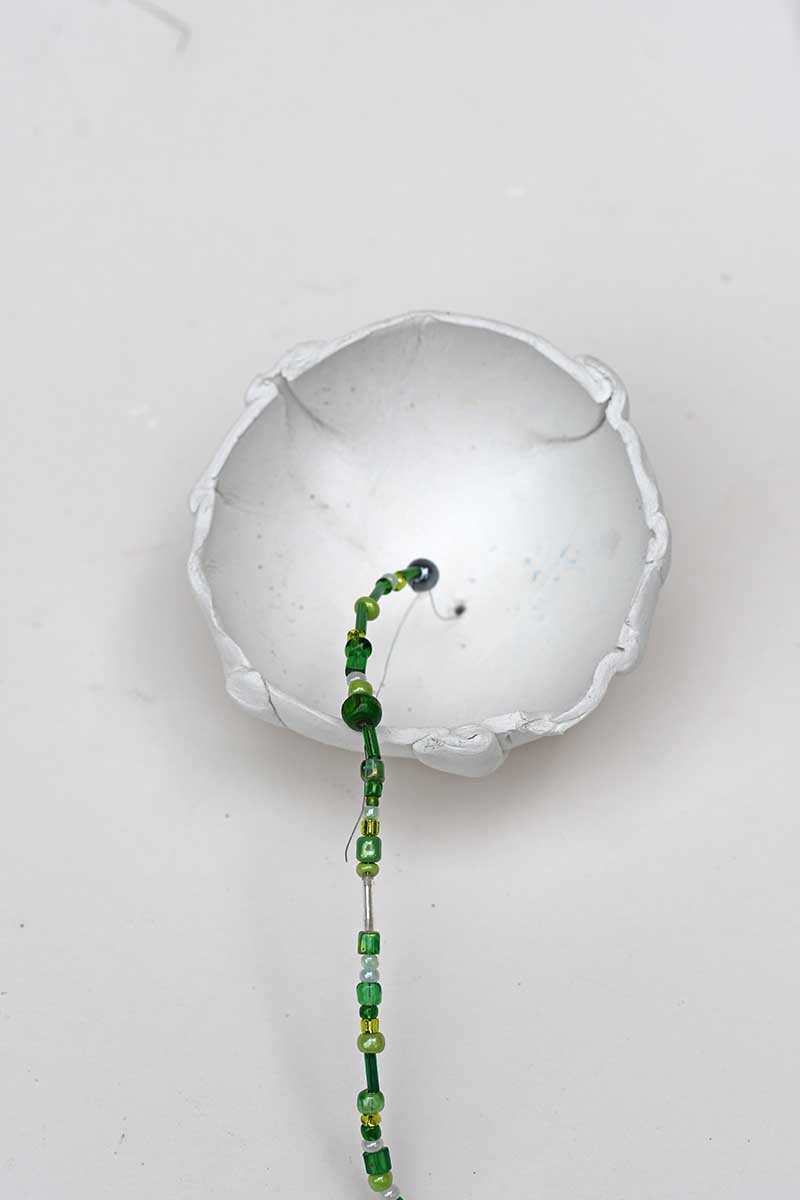
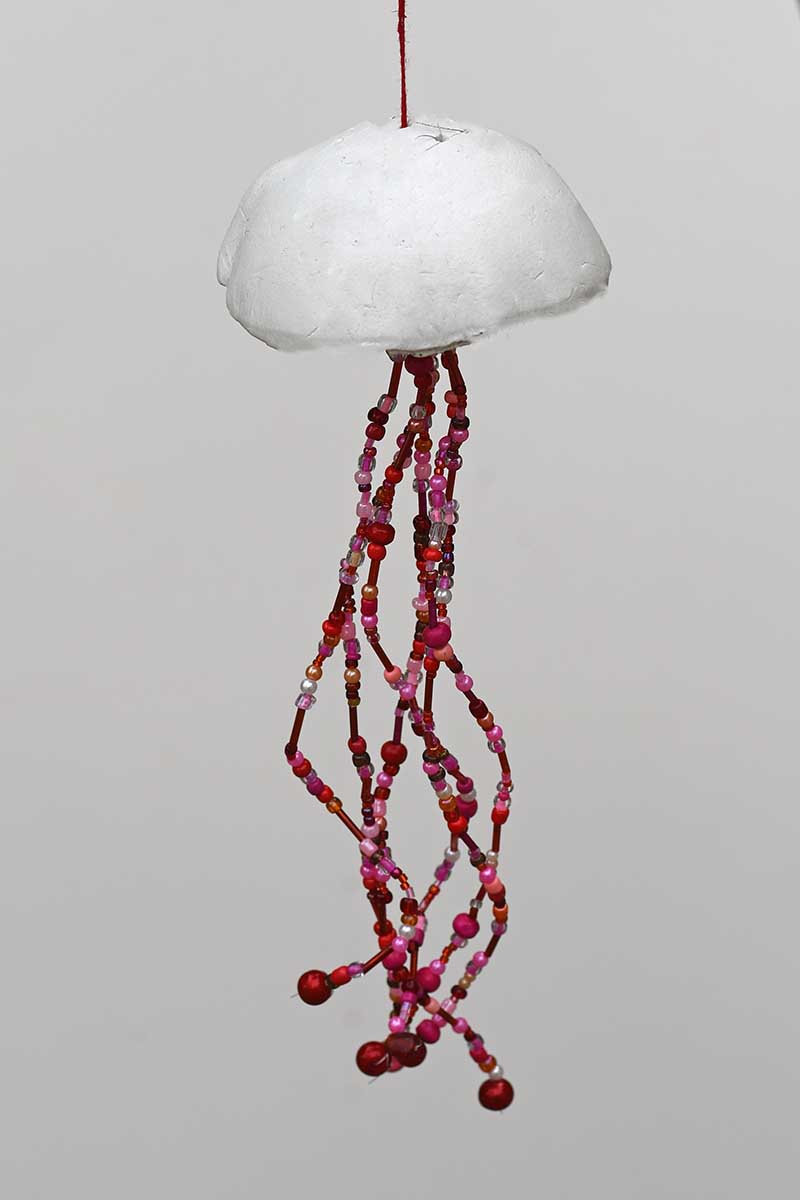
Repeat until all six tentacles are hanging beneath the jellyfish. Arrange the wires so that the beaded tentacles curve and twist in slightly different directions.
Step 8: Add a Hanging Loop: Use a length of strong thread to make a loop at the top. Check that the weight is evenly balanced before hanging the jellyfish. You may need to adjust the position of the tentacles slightly so that the clay dome hangs straight.
Final Thoughts
I love crafts like this that make the most of what you already have. A leftover lump of air-dry clay, a handful of seed beads hiding at the bottom of a craft box, and suddenly you've got a little jellyfish happily floating around your home.
If you're in a coastal crafting mood, these jellyfish look lovely displayed alongside my DIY scallop shell concrete bookends. They share the same relaxed seaside feel and are another fun way to bring a little coastal charm indoors.
And if, like me, you always seem to have a small piece of clay left after a project, don't let it go to waste. My embroidered clay pendants are perfect for using up those last little scraps, turning them into colourful handmade jewellery.
Looking for more inspiration? Have a browse through my collection of spring and summer air-dry clay ideas. There are plenty more easy projects to keep your clay stash busy, from coastal-inspired makes to floral decorations and other seasonal crafts.