
Inside: A step-by-step DIY to make personalized snow globe Christmas ornaments for the tree or as gifts.
My three boys are all grown up but haven’t grown out of their love of snow. We don’t get much snow where I live, but when we do, the family Whatsapp group chat suddenly comes alive with shared pictures and excitement.
The boys are coming home for Christmas. I’ve made each of them personalized snow globe Christmas ornaments to reflect their love of snow days.
I can’t wait for them to spot them on the tree, along with all the other upcycled Christmas ornaments.
These snow globe ornaments are easy to make and cost almost nothing as they are made from repurposed household materials. These include upcycled tuna cans and repurposing old Christmas cards.
(There is a printable how-to card for this craft at the end of the post.)
We’re a participant in the Amazon Services LLC Associates Program, an affiliate advertising program designed to provide a means for us to earn fees by linking to Amazon.com and affiliated sites. As an Amazon Associate, I earn from qualifying purchases.
Materials Needed For Mini Snow Globe Ornaments
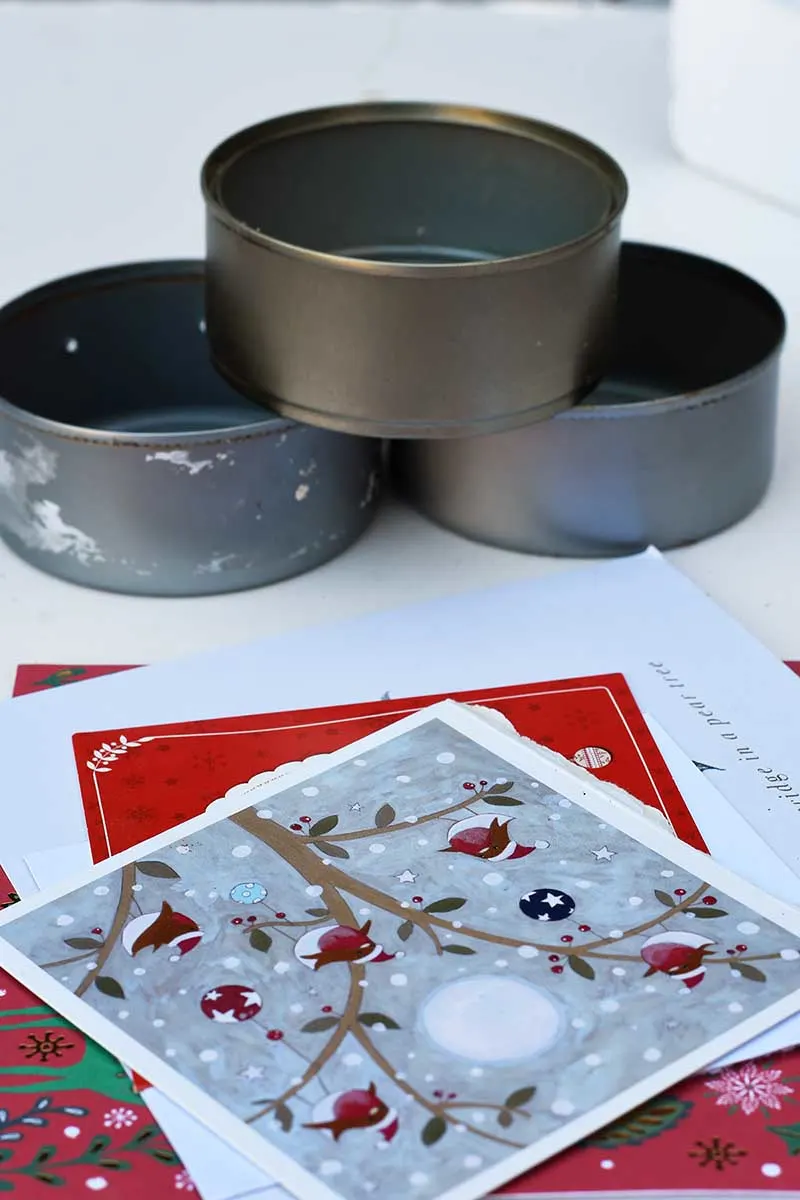
- Small round tin cans, such as tuna cans.
- Old Christmas cards – Or old magazines with Christmas pictures
- Acetate sheets or similar transparent plastic sheet
- A small piece of white polystyrene packaging to make small polystyrene balls
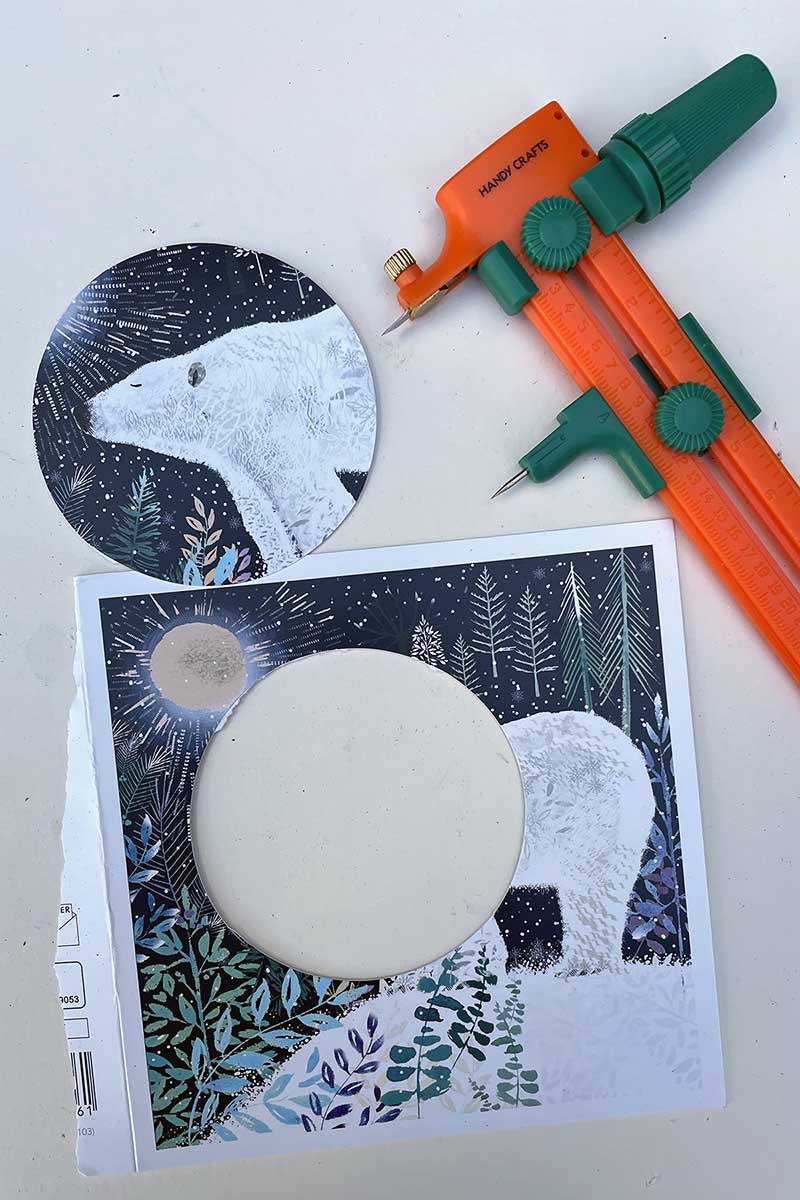
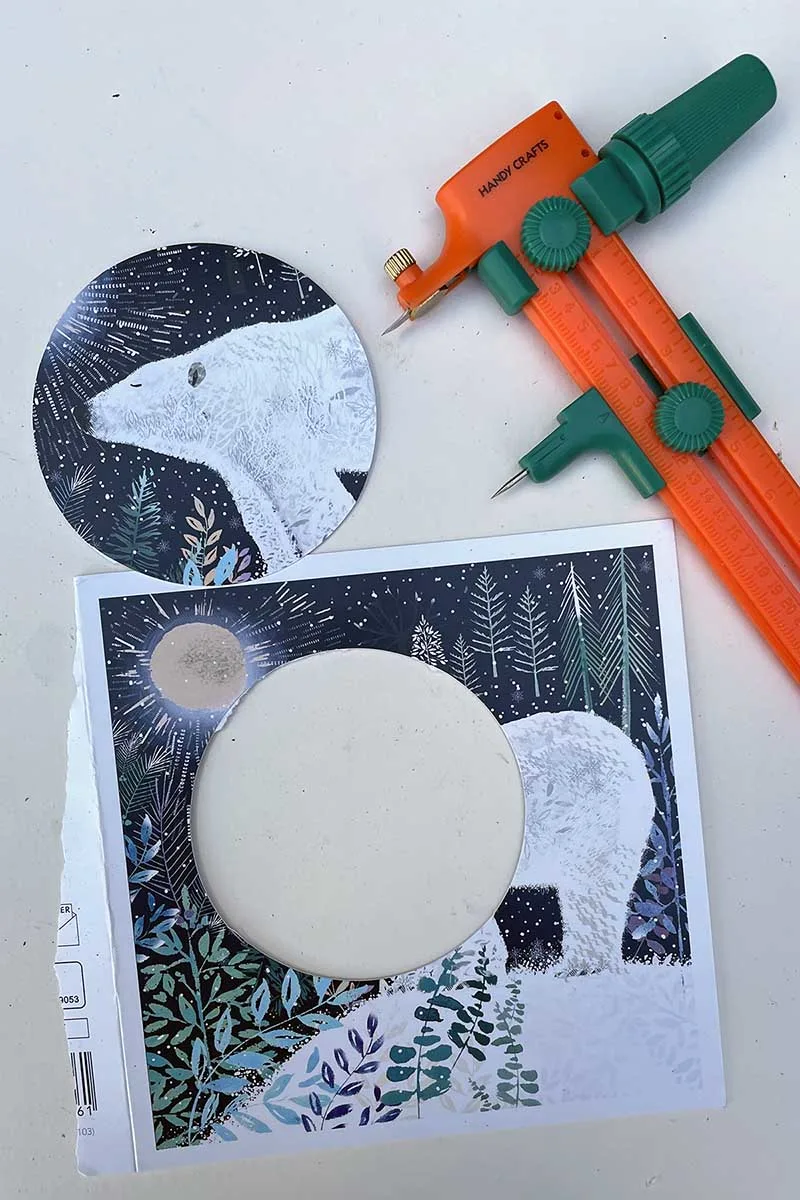
- Compass paper cutter (but scissors will be OK)
- Double-sided foam tape and a hot glue gun
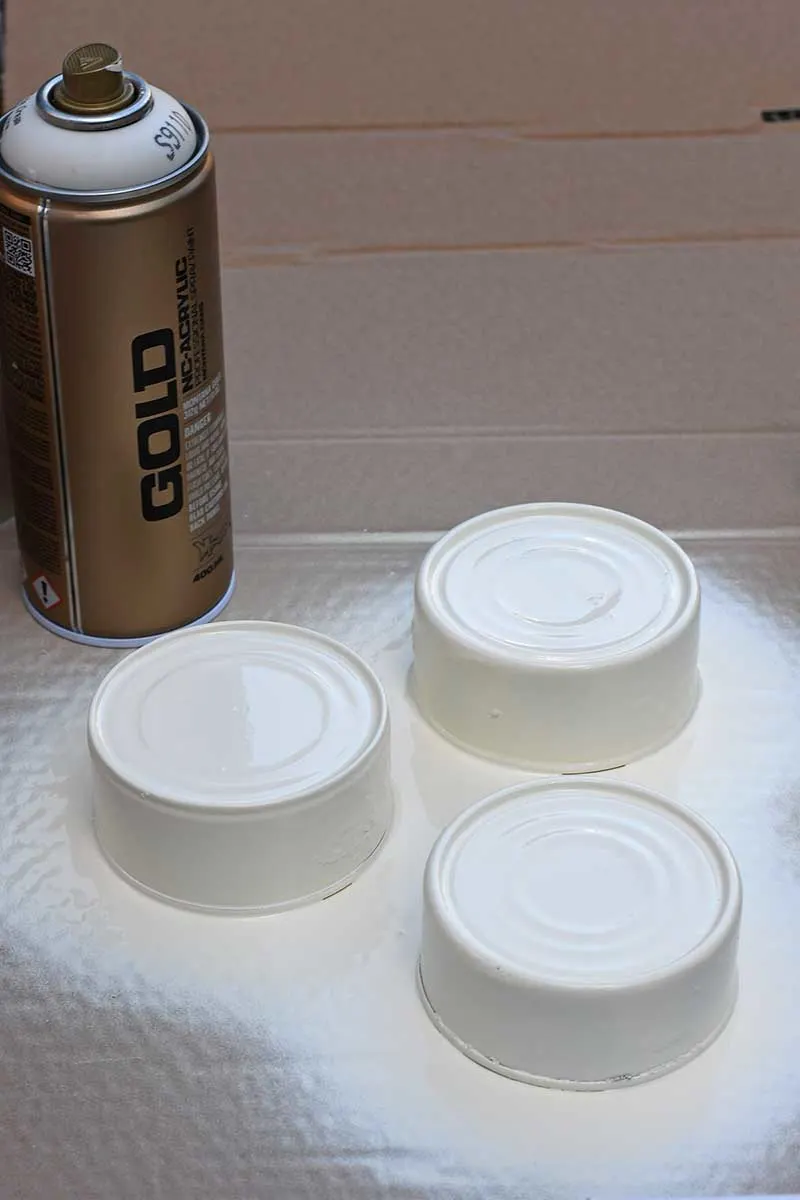
- Montanna Gold Spray Paint
- Velvet ribbon and Bakers Twine
- Bradawl Tool – or sharp metal skewer.
- Wooden letters (4-6cm high) and sharpies

How To Make Personalized Christmas Ornaments
Step 1: Remove all the labels from the tin cans and spray paint them inside and out. I sprayed my upcycled tuna cans cream, but other Christmas colours, such as green and red, would also look good.

Step 2: Sort through your old Christmas cards and choose ones with images that you would feel make a good background. This is another chance to personalize the Christmas ornaments by selecting a picture that reflects who the decoration is for.
For example, I chose a polar bear for my oldest son, who’s a massive fan of David Attenborough’s Frozen Planet Wild Life Documentary. For the middle son, a British Christmas scene outside Buckingham Palace and a winter skating scene for the youngest, who loves Ice Skating.
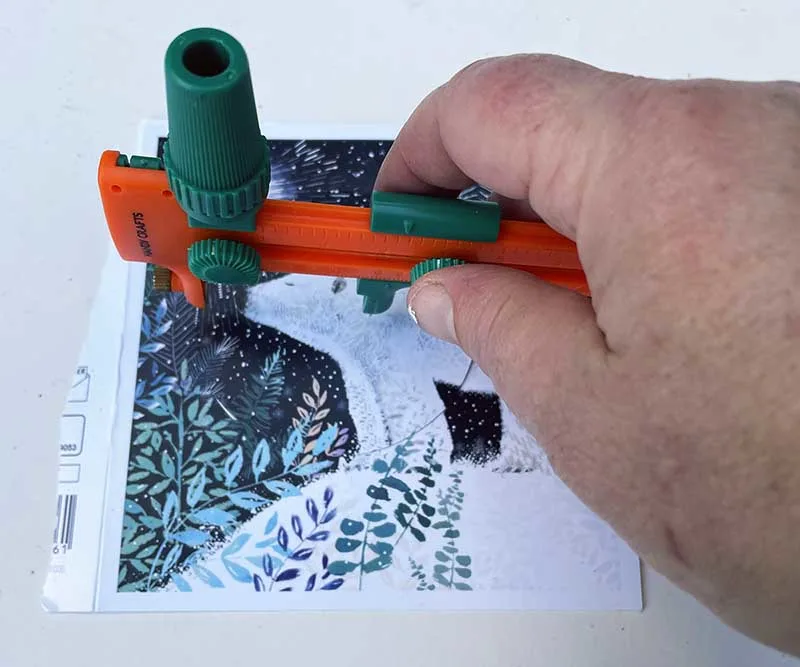
Measure the inner diameter of the Christmas card, set your compass cutter to this, and cut out the bit of the Christmas card you want.
Another way is to draw around the tin can on the Christmas card and then use scissors to cut it out.
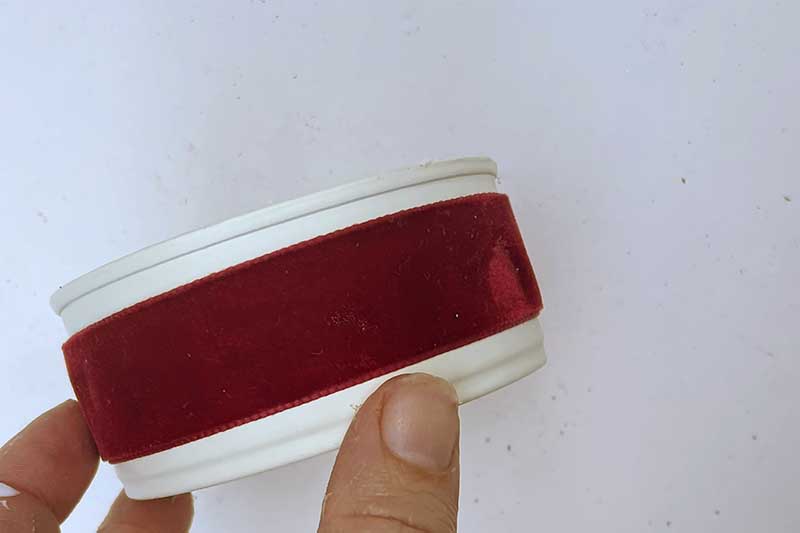
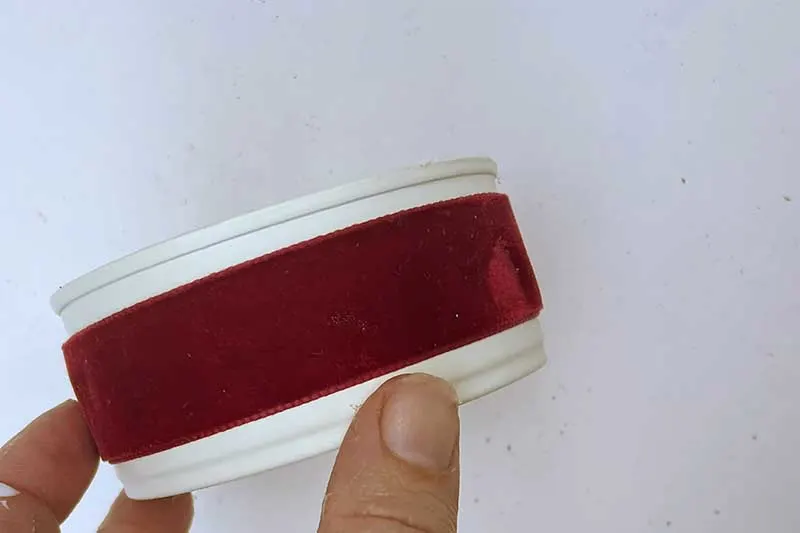
Step 3: To make the tin cans more festive, I glued velvet ribbons around the outside of each one. I matched the ribbon colour with the colours in the Christmas cards used for the background.
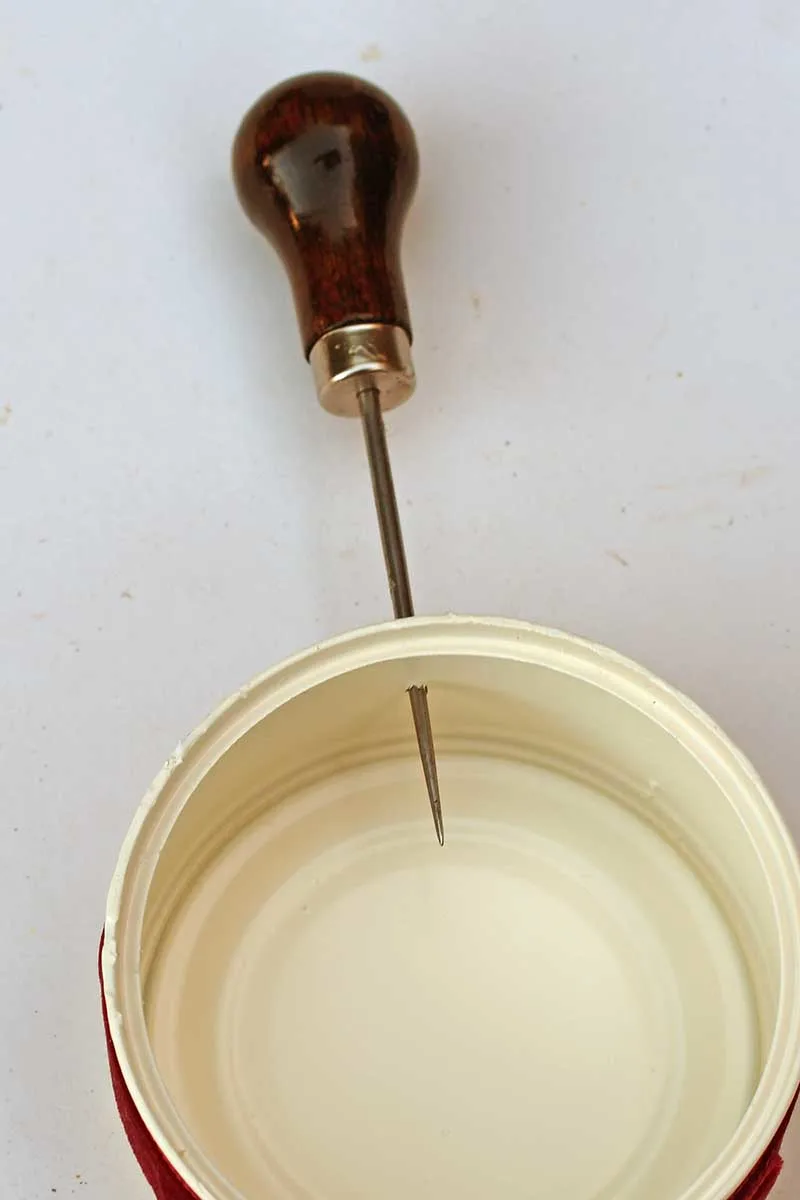
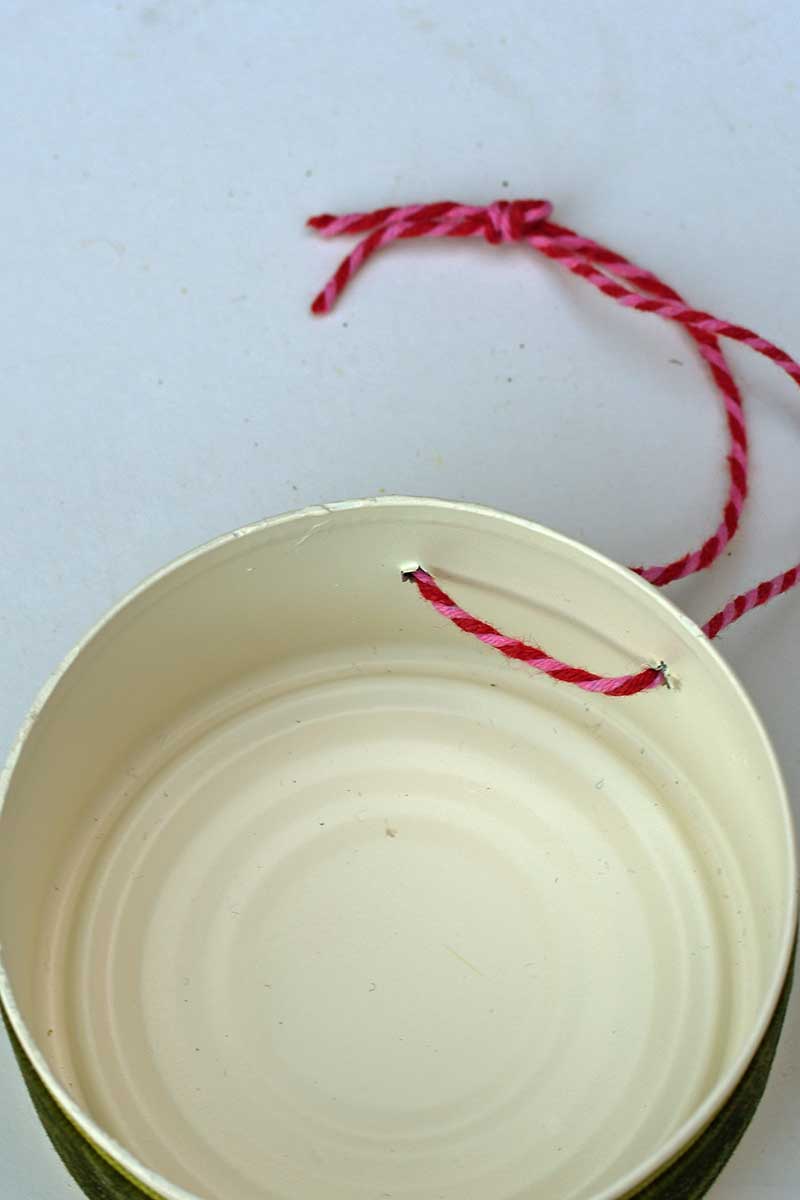
Step 4: Use a bradawl to punch holes into the sides to hang these snow globe ornaments on the tree. Thread baker’s twine through the holes to form a hanging loop.


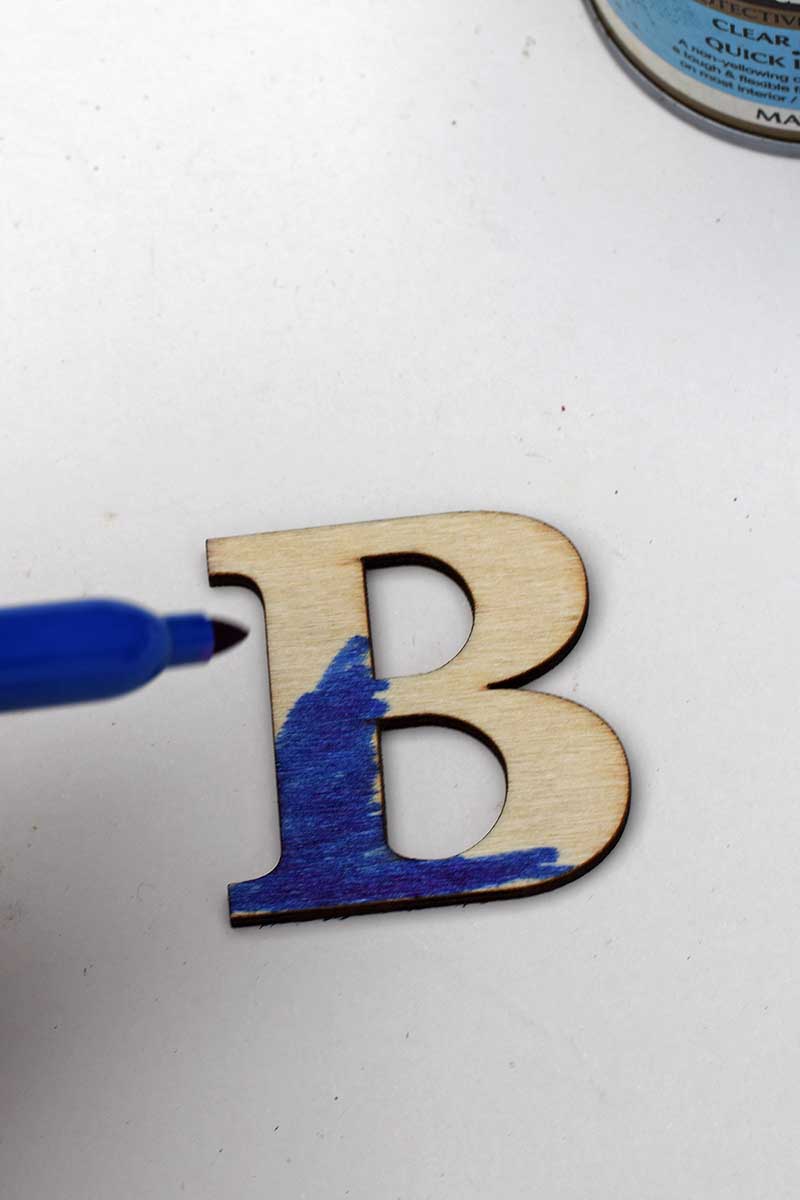
Step 5: To personalize the Christmas ornaments, I used a wooden letter initial for each of my sons. And I coloured the letters with Sharpies to match the velvet ribbon.

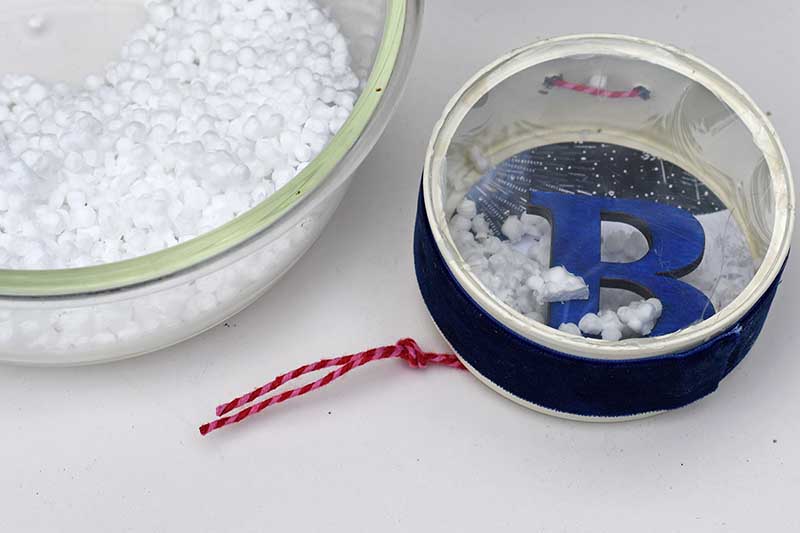
Step 6: I crumbled polystyrene packaging into little balls to make snow for the snow globe ornaments.


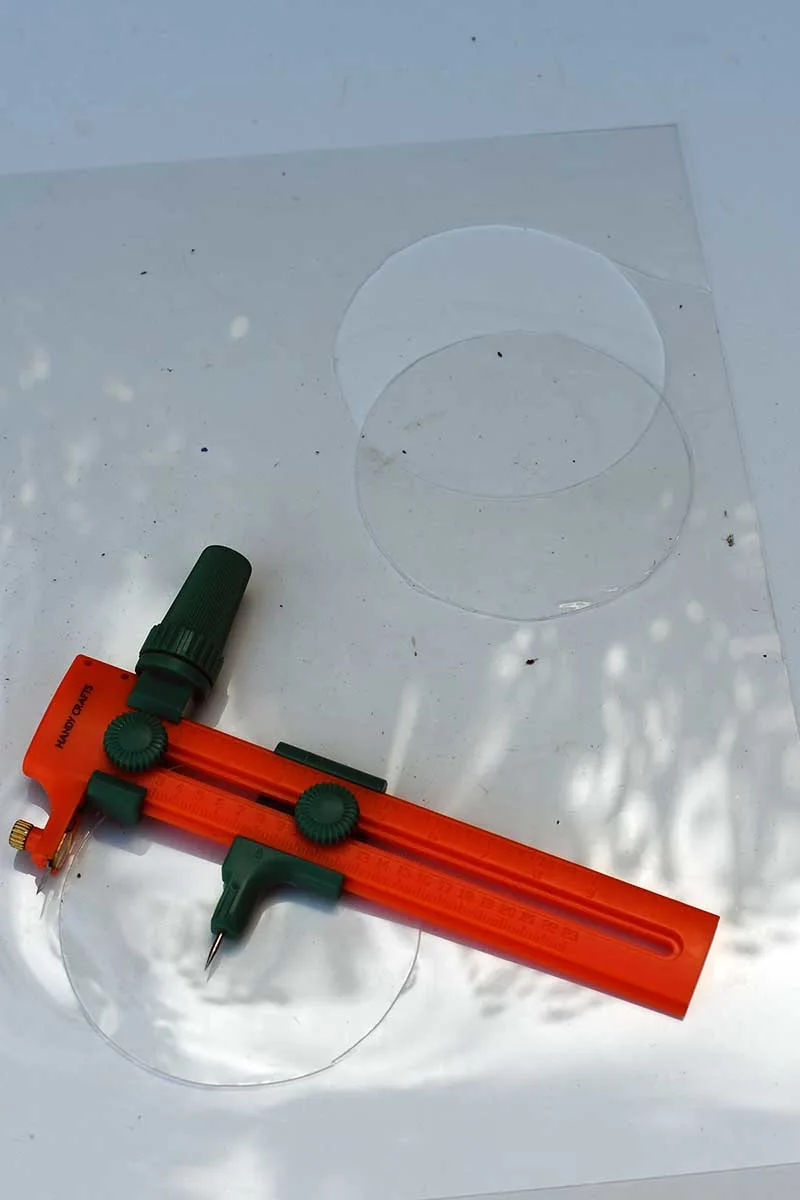
Step 7: Use the compass cutter to cut clear plastic round lids for the ornaments from a sheet of acetate. You should be able to get at least three tops from one sheet.

Putting the Snow Globe Together
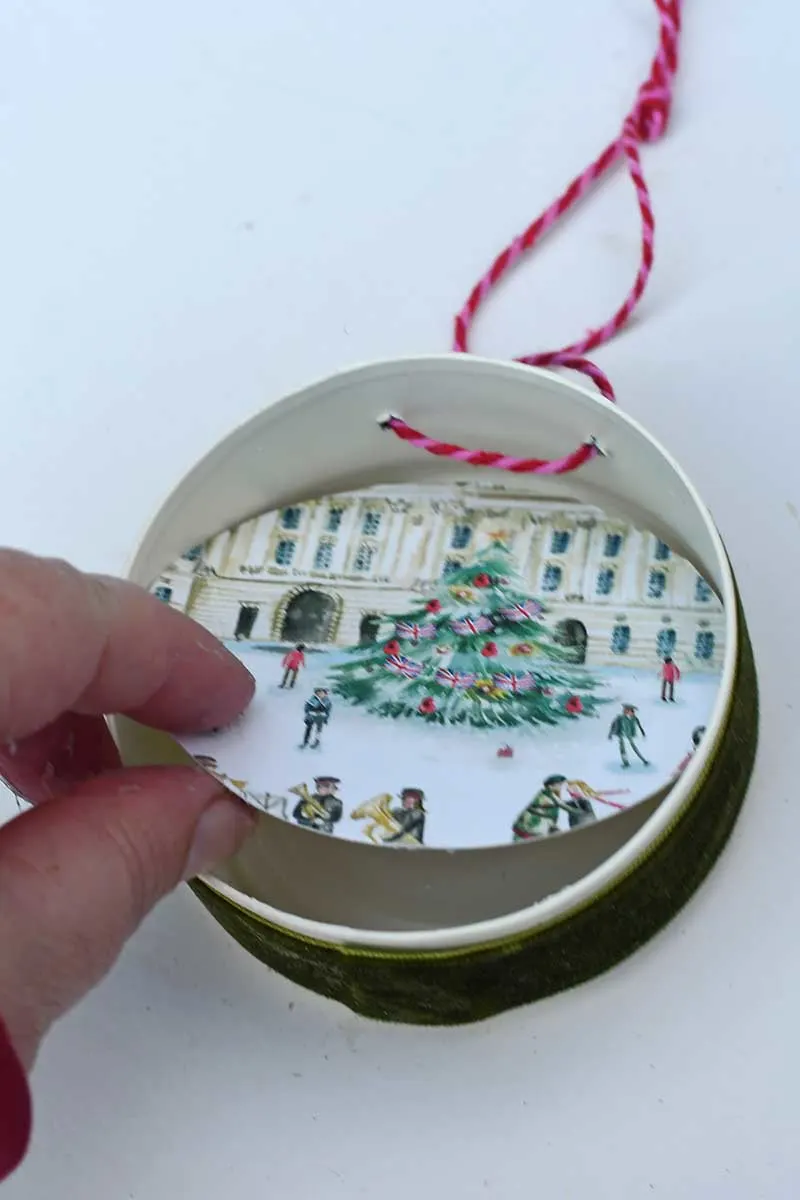
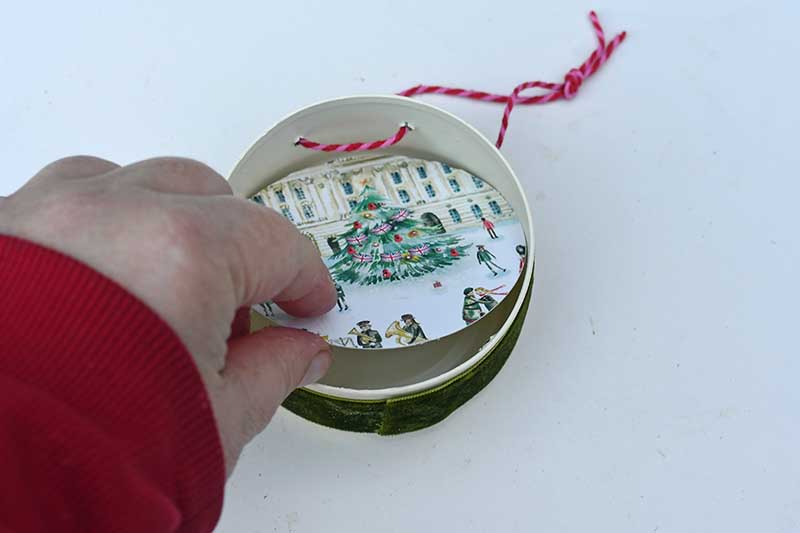
Step 8: Use double-sided foam tape to stick the Christmas card round into the base of the tuna can.

Step 9: To make the personalized Christmas ornaments personal, glue the chosen monogrammed letter into the side of the tuna can. Place the letter so that it stands up in front of the background.
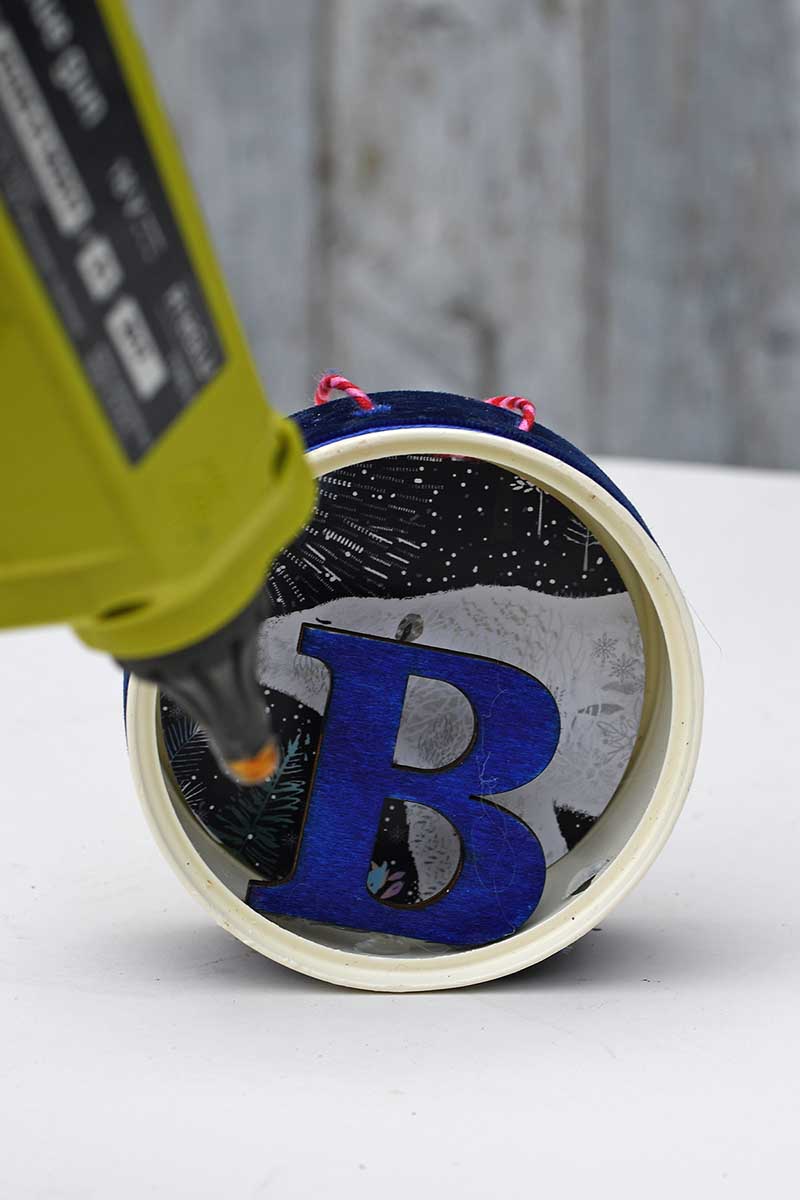
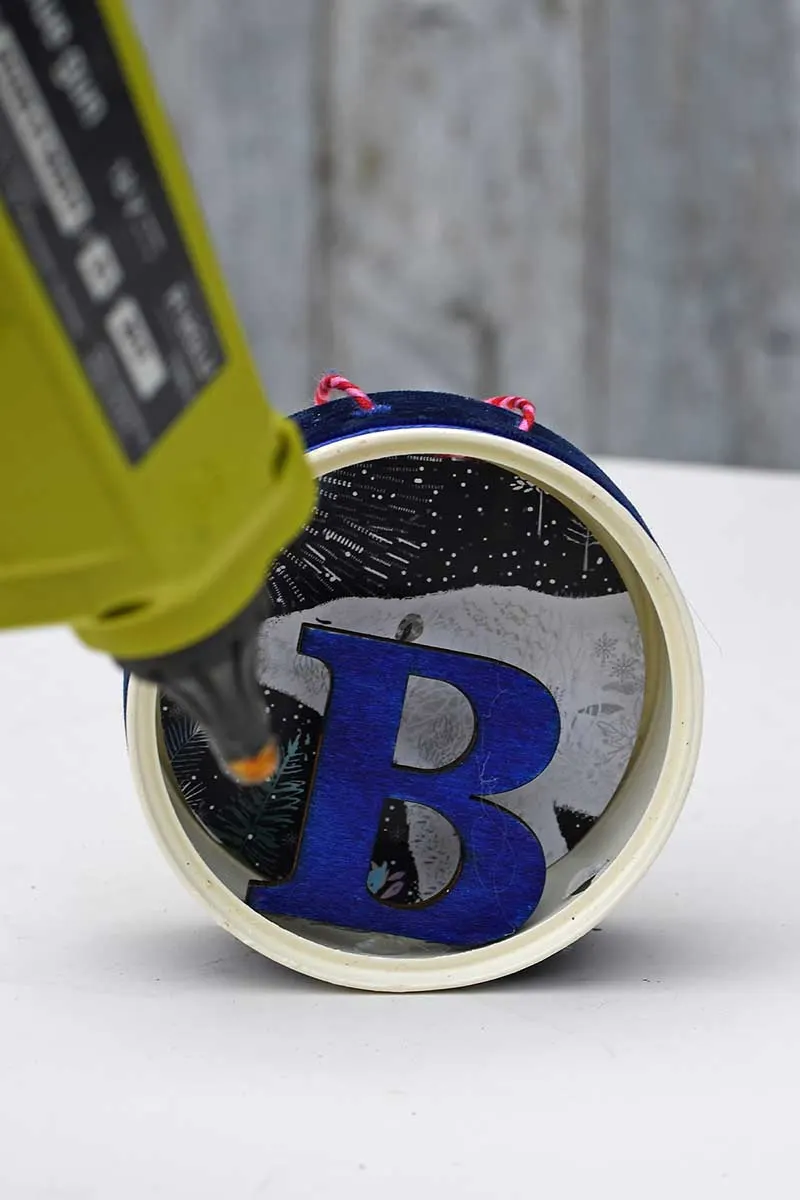
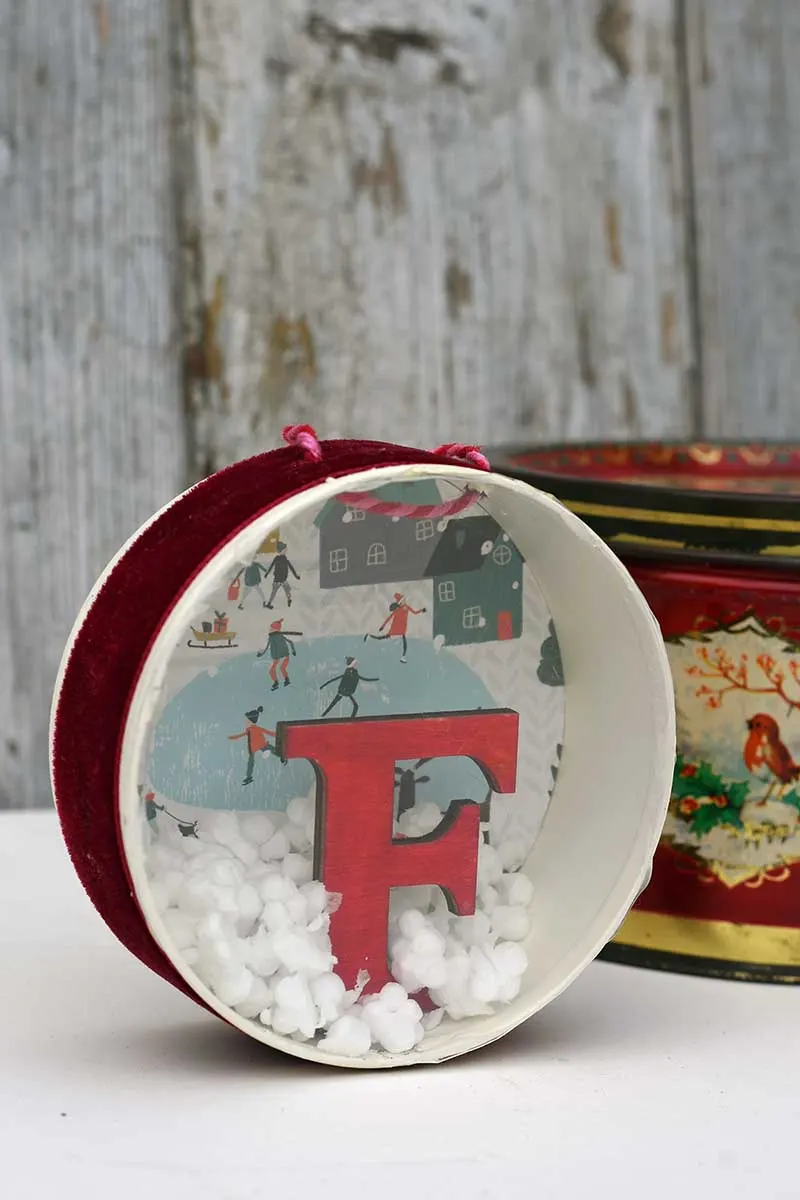
Step 10: Finish these snow globe ornaments by adding the snow. And then, glue the acetate round to the top of the tin can using a hot glue gun.

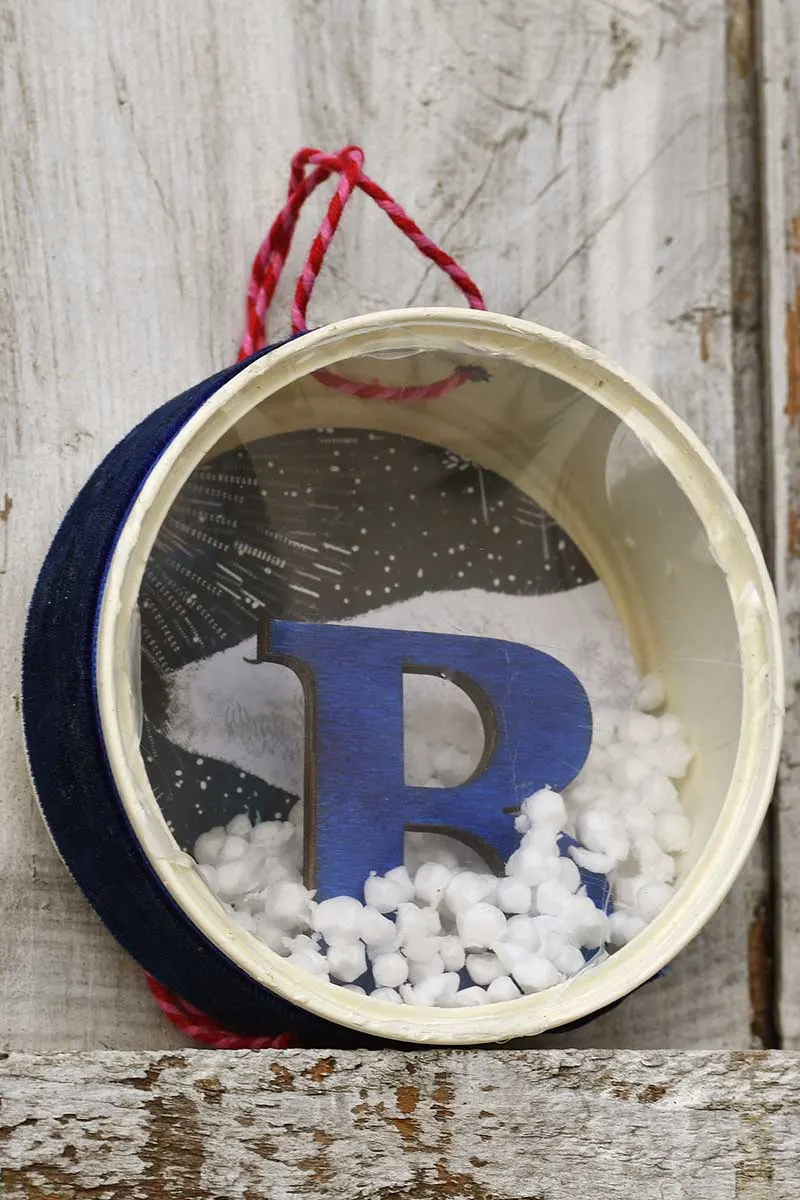
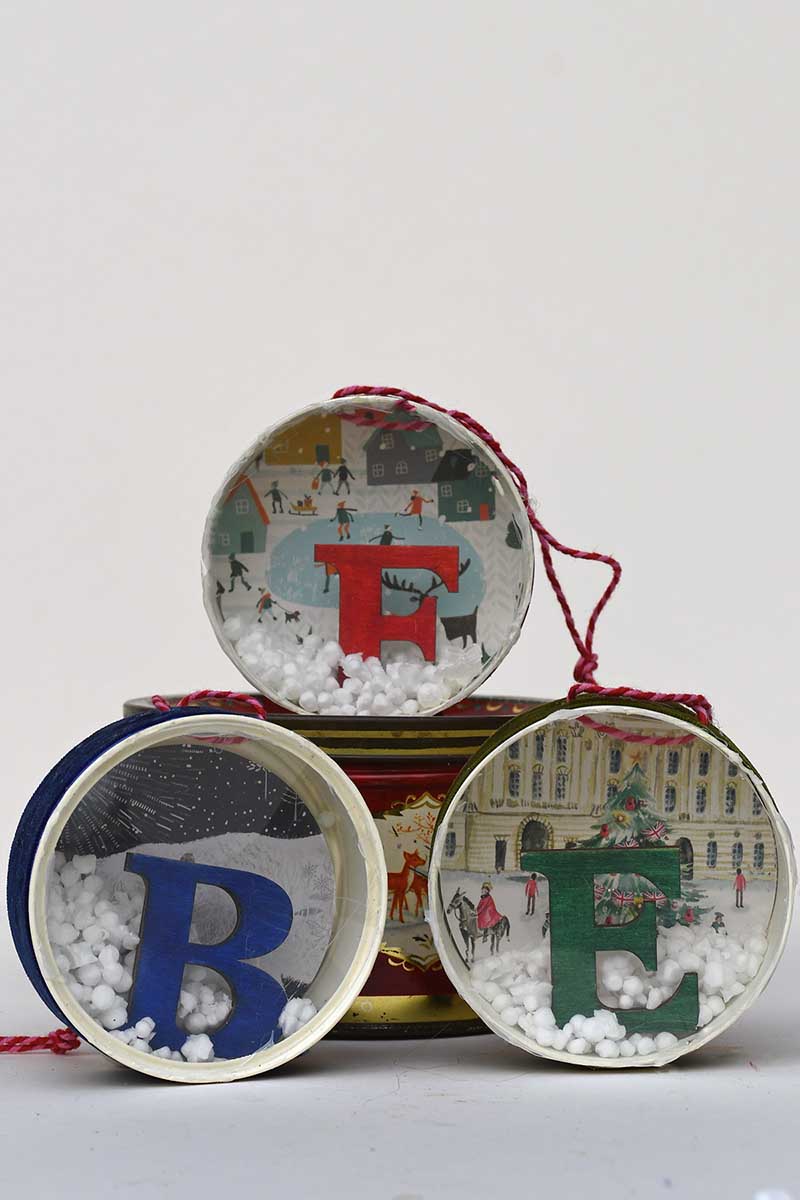
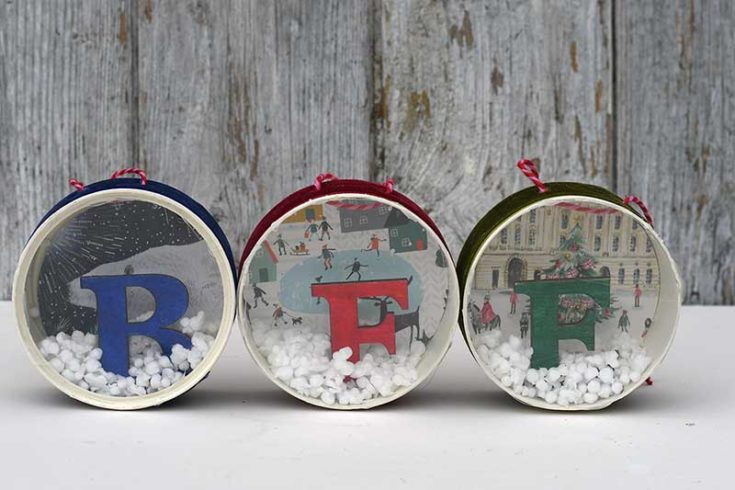
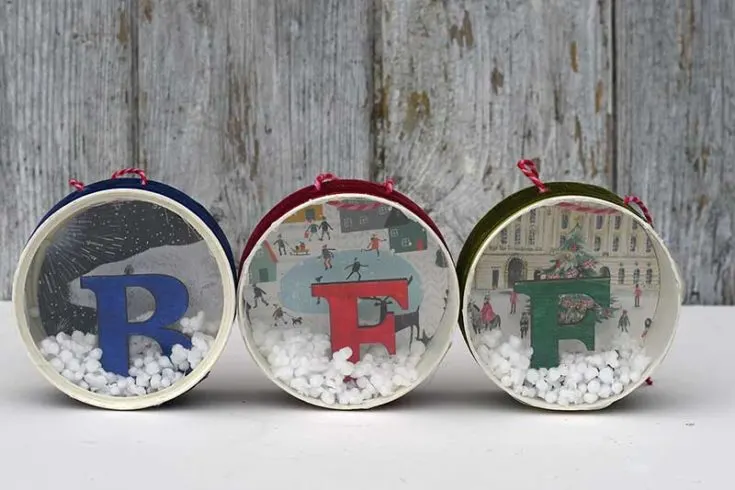
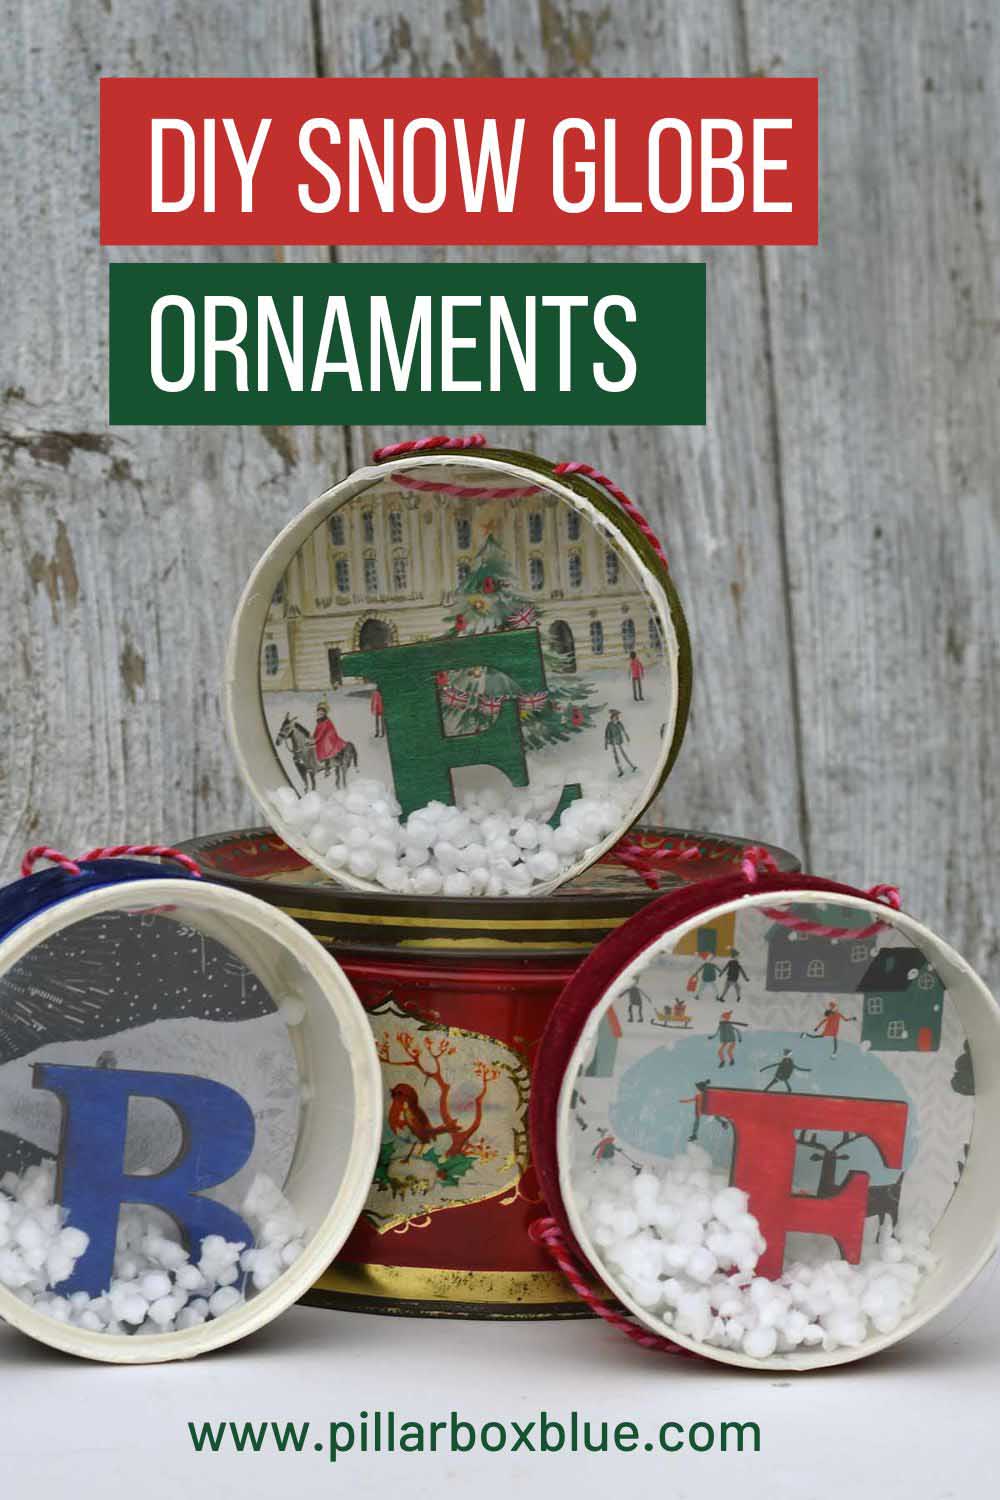
The Finished Personalized Christmas Ornaments
Ben’s ornament is blue with a polar bear and the letter B.

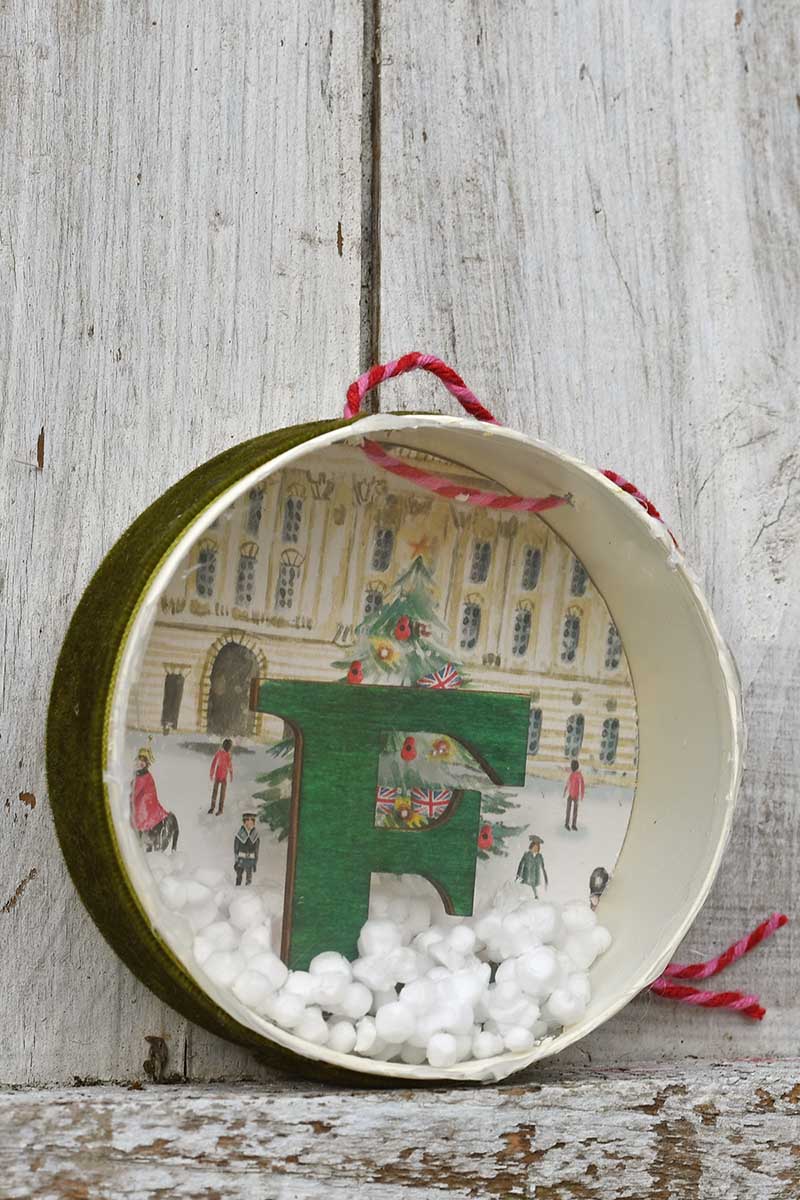
Elliot’s snow globe ornament is green with a picture of a Christmas tree outside Buckingham Palace.

Fergus’s personalized Christmas ornament is red with a festive ice skating scene.

I can’t wait to put these snow globe ornaments on the tree. The boys will love that they have a personalized one each. I think it will also tickle them that they are made from upcycled tuna cans, as they all make a lot of tuna melts on the panini press when home.

Other Upcycled Ornaments
Other upcycled Christmas ornaments to make out of old tuna cans include these beautiful butterfly ornaments or even these sardine can ornaments. Larger tin cans can be used to create decorative dioramas like this Circus. You’ll find many more upcycled tin can ideas and tin can Christmas crafts here.
If you still have plenty of Christmas cards left, they can be cut and folded into a beautiful Christmas card ornament or check out these other craft ideas for old Christmas cards.
Or you could decorate a tuna can and add an illuminated pine cone Christmas tree.
You will find plenty more fun Christmas craft ideas for adults here.
How To Make Personalized Snow Globe Christmas Ornaments
Upcycle some small tin cans and old Christmas cards into Christmas ornaments for the tree. Personalize them by adding a wooden monogrammed letter.
Materials
- Small tin cans _like the round tuna ones
- Old Christmas cards or Christmas pictures from a magazine
- Velvet ribbon & bakers twine
- Spray paint
- Double-sided sticky tape and glue
- Wooden letters 5-6 cm in hight
- 1 sheet of acetate or similar clear plastic sheet
- Small piece of poystyrene
Tools
- Compass paper cutter or scissors
- Bradawl
- Sharpies
Instructions
- Spray paint the tin cans inside and out,
- Glue velvet ribbon around the outside of the tin.
- Use the bradawl to punch two holes into the side of the tin can and add baker's twine for hanging.


- Chose the Christmas picture you want and cut it out with the compass cutter to fit the inside of the tin.

- Cut a lid for the tin can out of the acetate.
- Colour in the personalized wooden letter with Sharpies. I choose the initials of my son's name for the letter.
- Crumble the polystyrene into little balls of white snow.
- Use double-sided tape to stick the Christmas card to the back of the ornament.

- Glue the wooden letter inside the tin can to stand up.
- Add a tablespoon of the polystyrene snow and then glue on the acetate lid.
Pin this project!

Audrey
Saturday 3rd of December 2022
So cute very nice project but I wonder about the snow. I would’ve liked to have seen an iridescent or white snow not Styrofoam. It is very obvious that it’s Styrofoam. Takes away from the look of the project. Otherwise very nice
Claire Armstrong
Monday 5th of December 2022
Thank you. You could try something else for snow, but I had they styrofoam to hand so decided to use that.
creativejewishmom/sara
Tuesday 1st of November 2022
Fabulous craft, dreaming of doing this with a dreidel or menorah for chanukah, now with your simple tutorial maybe it could happen! thanks as always for your contributions to craft schooling sunday!
Claire Armstrong
Tuesday 1st of November 2022
Thank you so much and thanks for hosting.
Meagan-Decorative Inspirations
Wednesday 26th of October 2022
This is such a cute idea for Christmas gifts.
Claire Armstrong
Wednesday 26th of October 2022
Thank you, yes they would make lovely personal gifts.
Marlene Jonew
Tuesday 25th of October 2022
They are quite cute. But I would make mine with no initial. Just the cute pic in background. Will give these a try for sure. Thank you.
Claire Armstrong
Wednesday 26th of October 2022
Thank you, they would look good, too, without the initial if you don't want one.
Michelle
Monday 24th of October 2022
Using polystyrene balls for snow is absolutely genius, Claire. What a lovely idea.
Claire Armstrong
Monday 24th of October 2022
Thank you. The only trouble is wants you start crumbling it, the little white balls go everywhere 🤣