DIY Air Dry Clay Fish For Coastal Home Decor
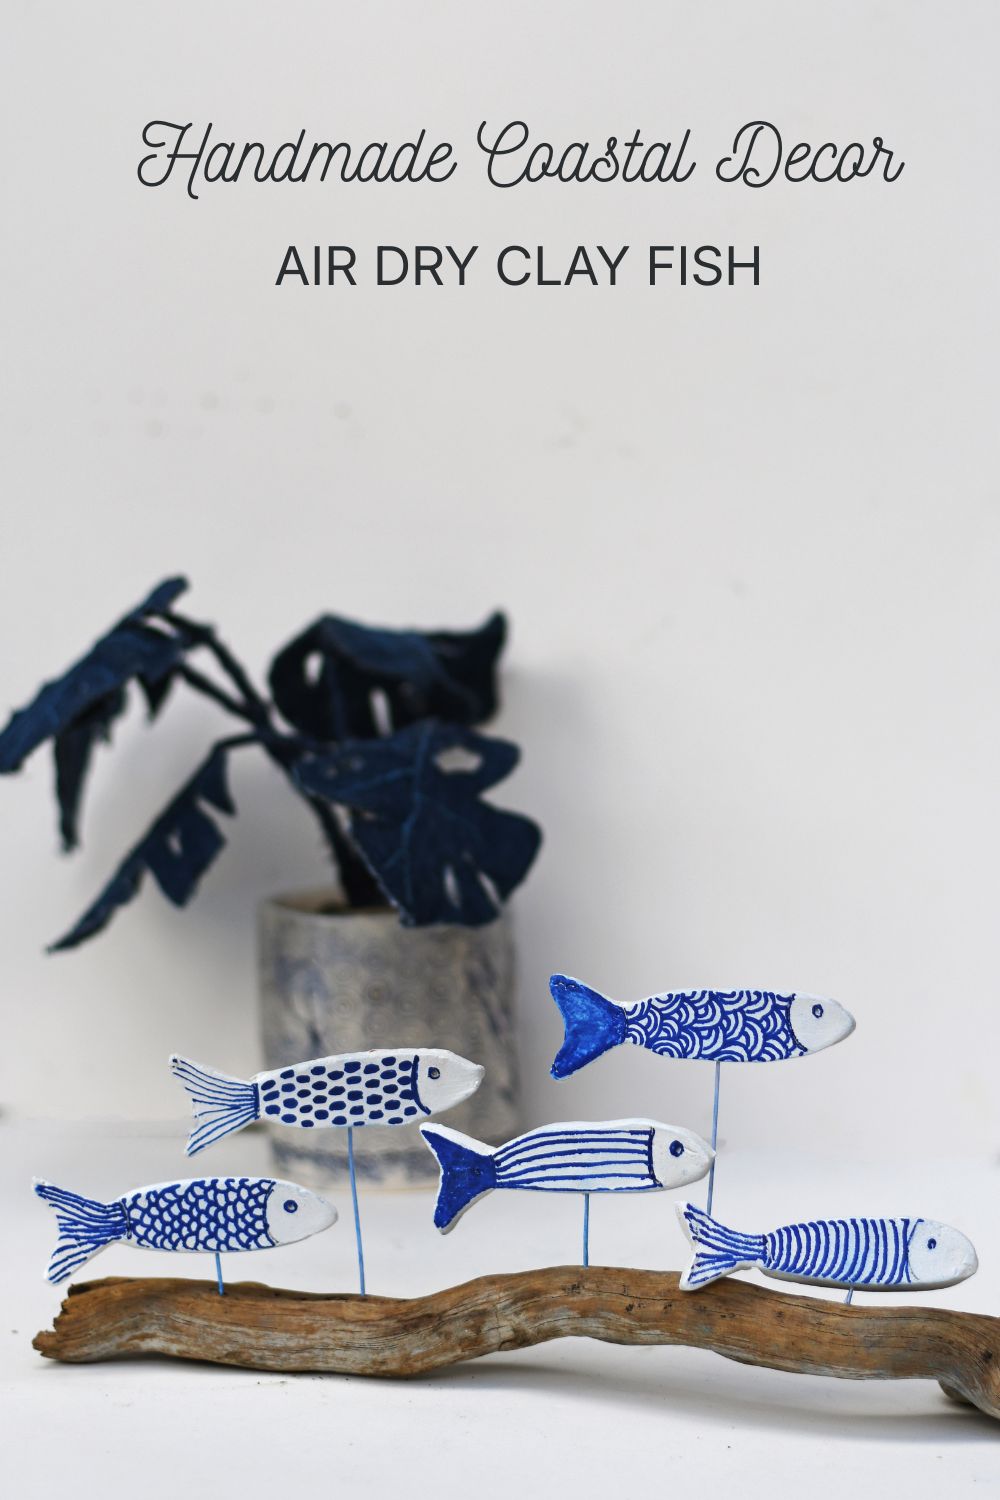
Love coastal crafts and Portuguese-inspired decor? These air dry clay fish are decorated with blue-and-white azulejo-style patterns and mounted on driftwood to create a swimming school of sardines. This easy air dry clay project makes unique coastal wall art.
Every year we head to Portugal to visit family, and every year I seem to come home inspired by something different. Sometimes it's the food, sometimes it's the coastline, but more often than not, it's the beautiful blue-and-white patterns that cover everything from buildings to pottery.
Another thing you can't miss in Portugal is sardines. They appear on shop signs, souvenirs, ceramics and artwork throughout the country. Over the years, I've brought home countless photos of decorative sardines painted with traditional azulejo-style patterns, and this summer, I finally turned that inspiration into a craft project.
These air dry clay fish are decorated with simple blue-and-white designs inspired by Portuguese tiles and mounted on a piece of driftwood, so they appear to be swimming together as a shoal. It's an easy project that combines two of my favourite things: crafting with air dry clay and bringing a little piece of Portugal home.
If you enjoy working with clay, don't forget to check out my collection of summer air dry clay crafts, where you'll find plenty more seasonal projects to try.
We're a participant in the Amazon Services LLC Associates Program, an affiliate advertising program designed to provide a means for us to earn fees by linking to Amazon.com and affiliated sites. As an Amazon Associate, I earn from qualifying purchases.
Materials Needed
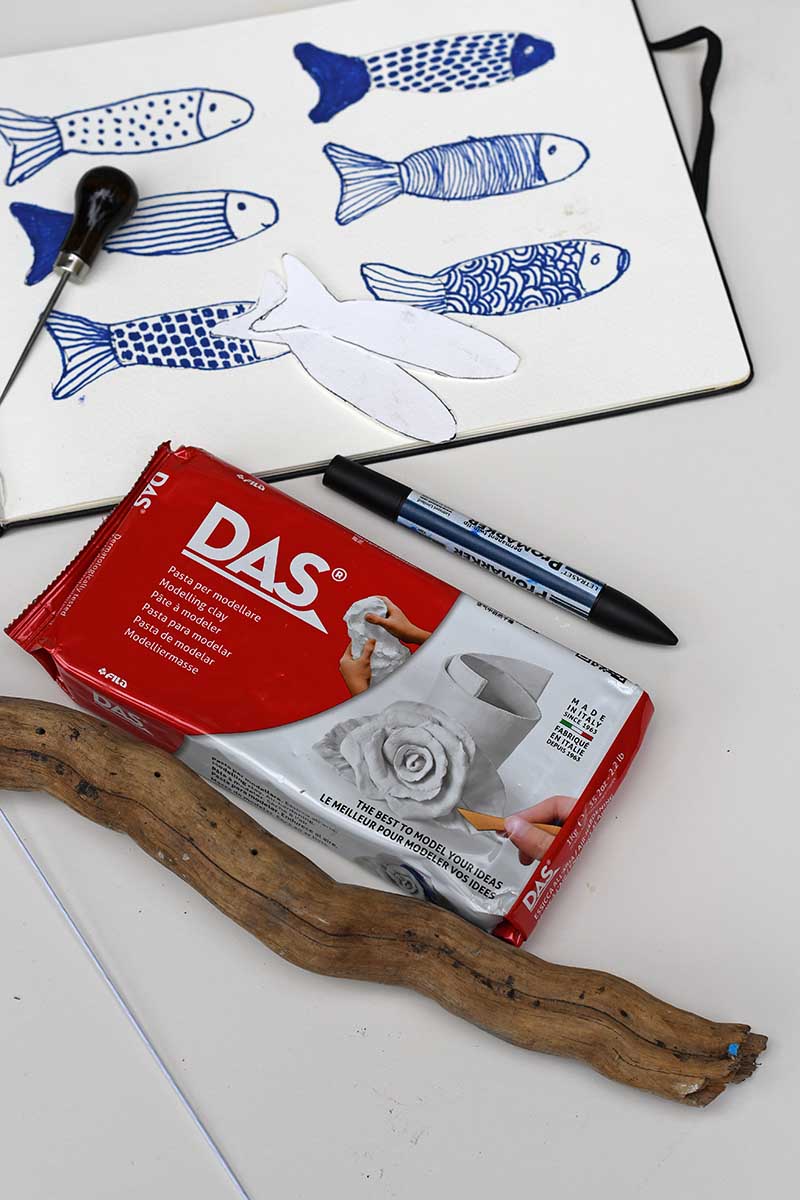
- Air dry clay
- Sardine template
- Rolling pin, two wooden guide sticks
- Craft knife, ball stylus, embossing tool and Bodkin, awl or skewer
- Fine sandpaper
- Blue paint pens
- Stiff floristry wire
- Piece of driftwood
- Strong craft glue
- Optional air dry clay glaze
How To Make Air Dry Clay Fish
Step 1: Roll the air-dry clay between two wooden guide sticks. The sticks act as spacers, ensuring the clay is rolled to an even thickness throughout.
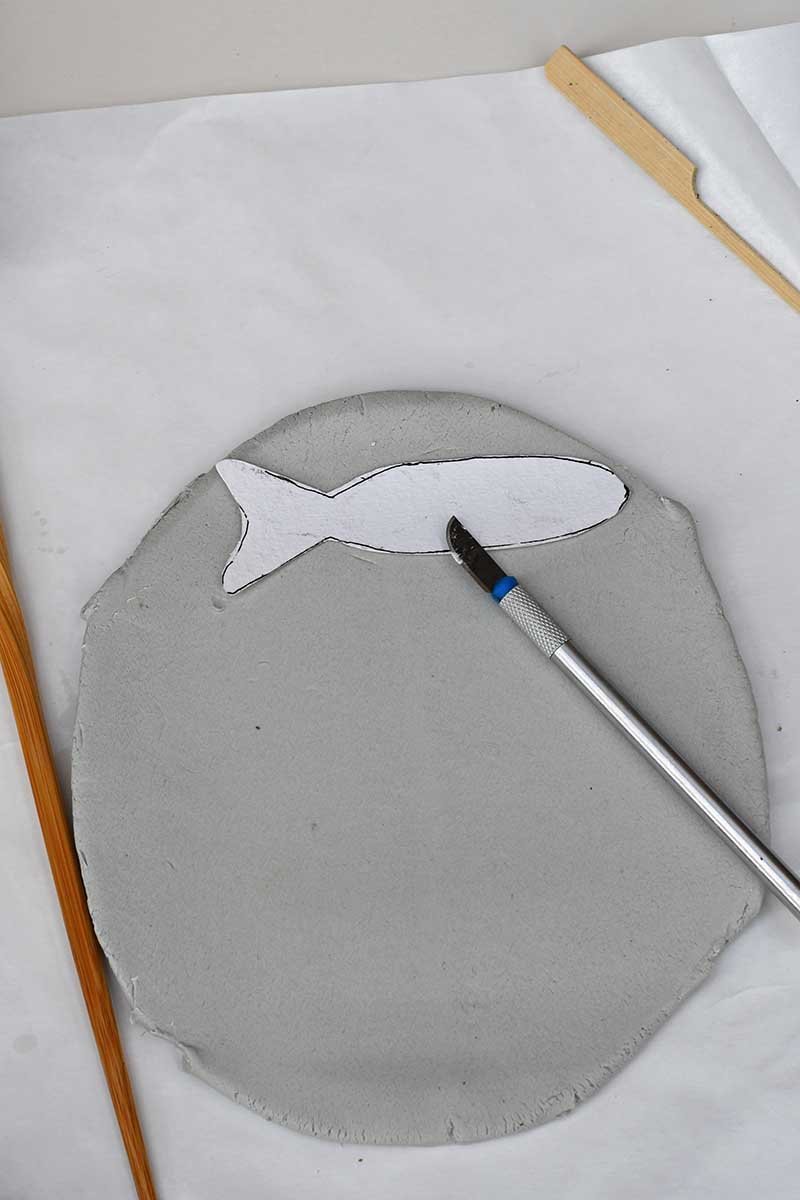
Using the sardine template, cut out five fish shapes with a craft knife.
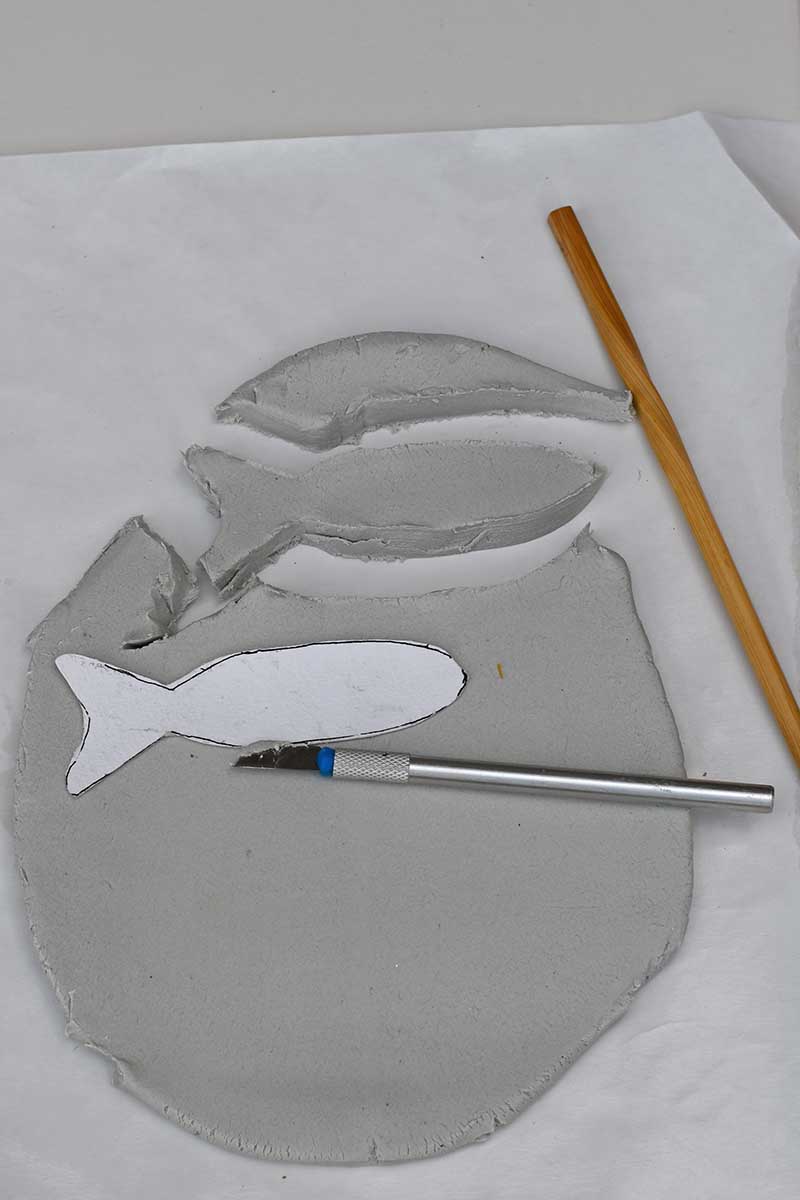
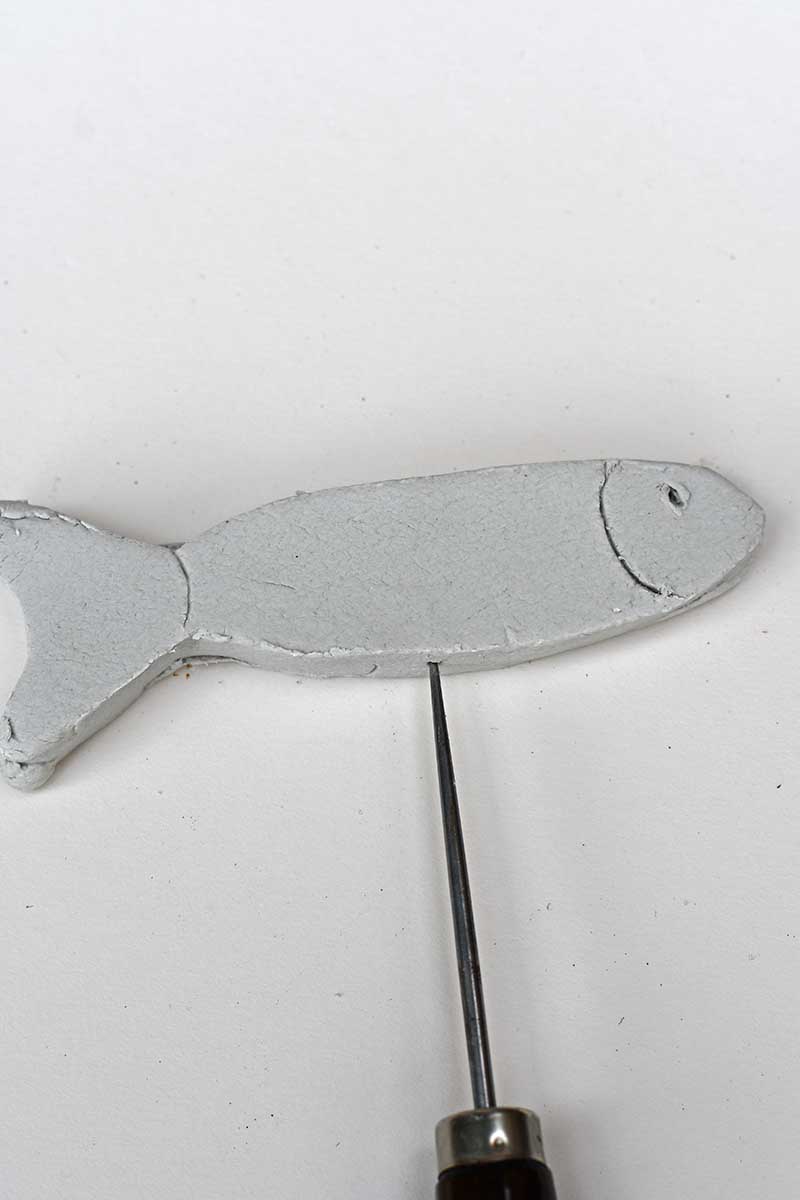
Step 2: Add the Fish Details: While the clay is still soft, use a ball stylus to press an eye into each fish. Lightly score lines to mark the head and tail sections. These simple details help give the fish a decorative sardine look without requiring lots of sculpting.
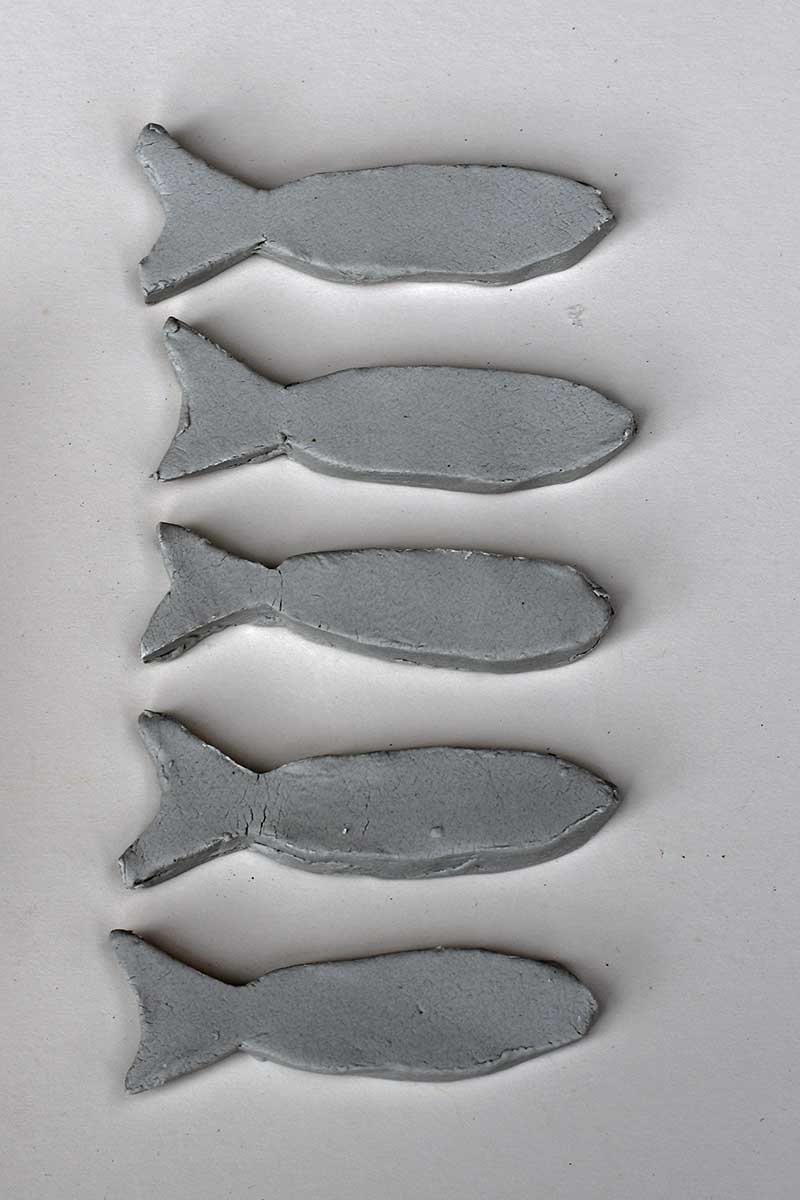
Use a bodkin or awl to pierce a hole through the side of each fish. This hole will be used later when attaching the mounting wire.
Leave the fish to dry completely according to the manufacturer's instructions.
Step 3: Sand Smooth: Once the clay fish are fully dry, lightly sand them to remove any rough edges and fingerprints. This simple step makes a huge difference and gives the fish a much cleaner finish.
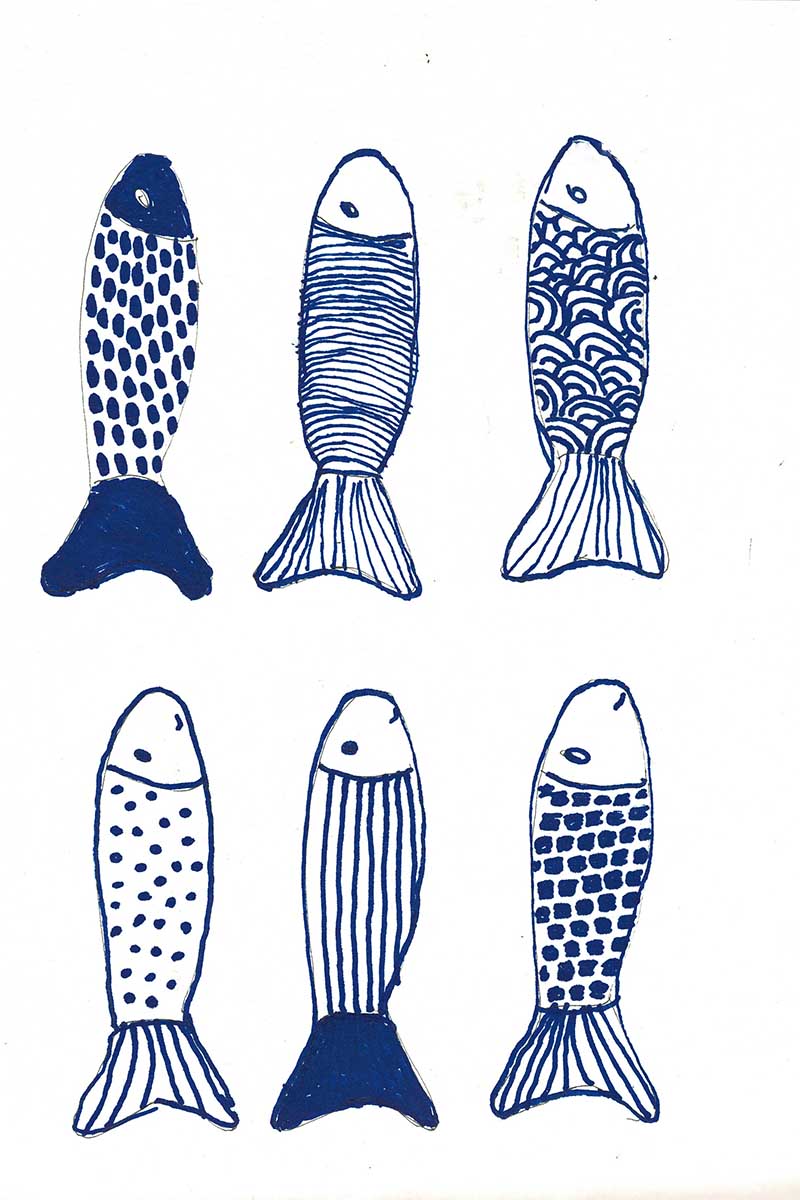
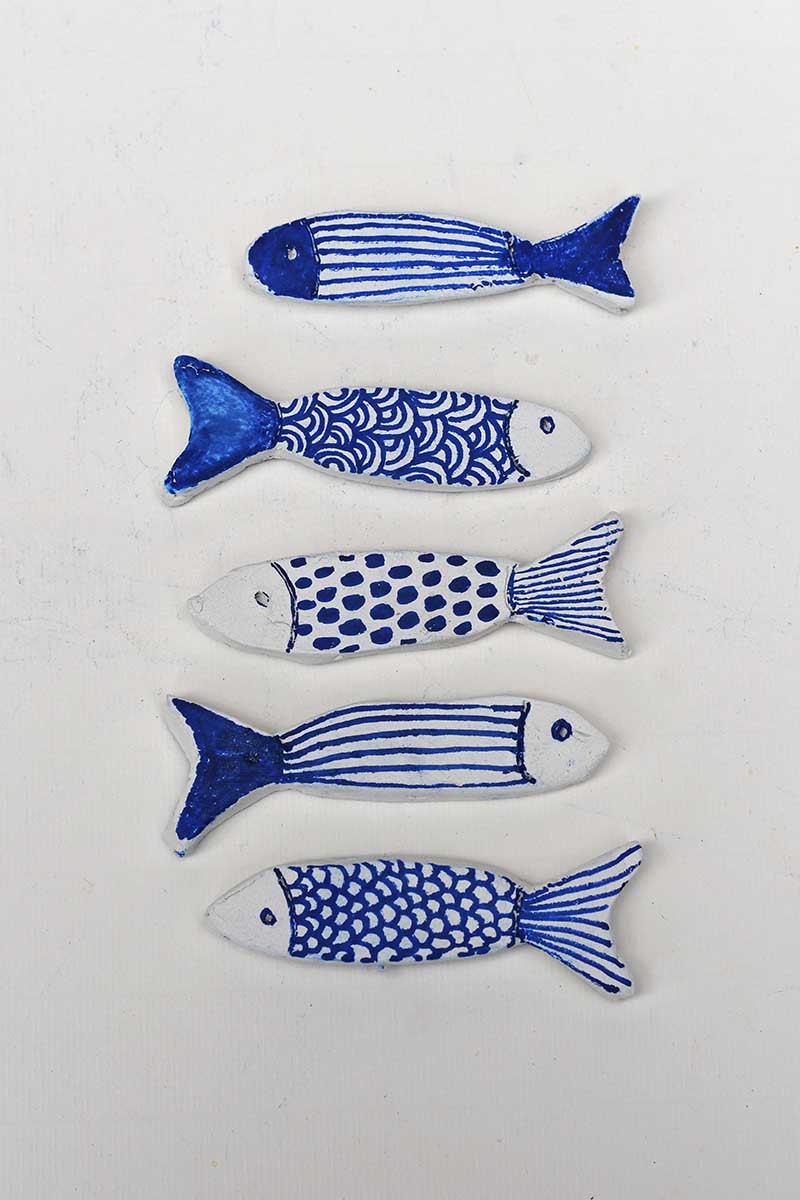
Step 4: Decorate the Air Dry Clay Fish: Using blue marker pens, decorate each fish with a different pattern inspired by traditional Portuguese azulejo tiles. I gave each fish its own personality. Some have stripes, others have scales, spots, waves and geometric tile-inspired designs. Keeping to a blue-and-white colour palette helps create that unmistakable Portuguese feel.
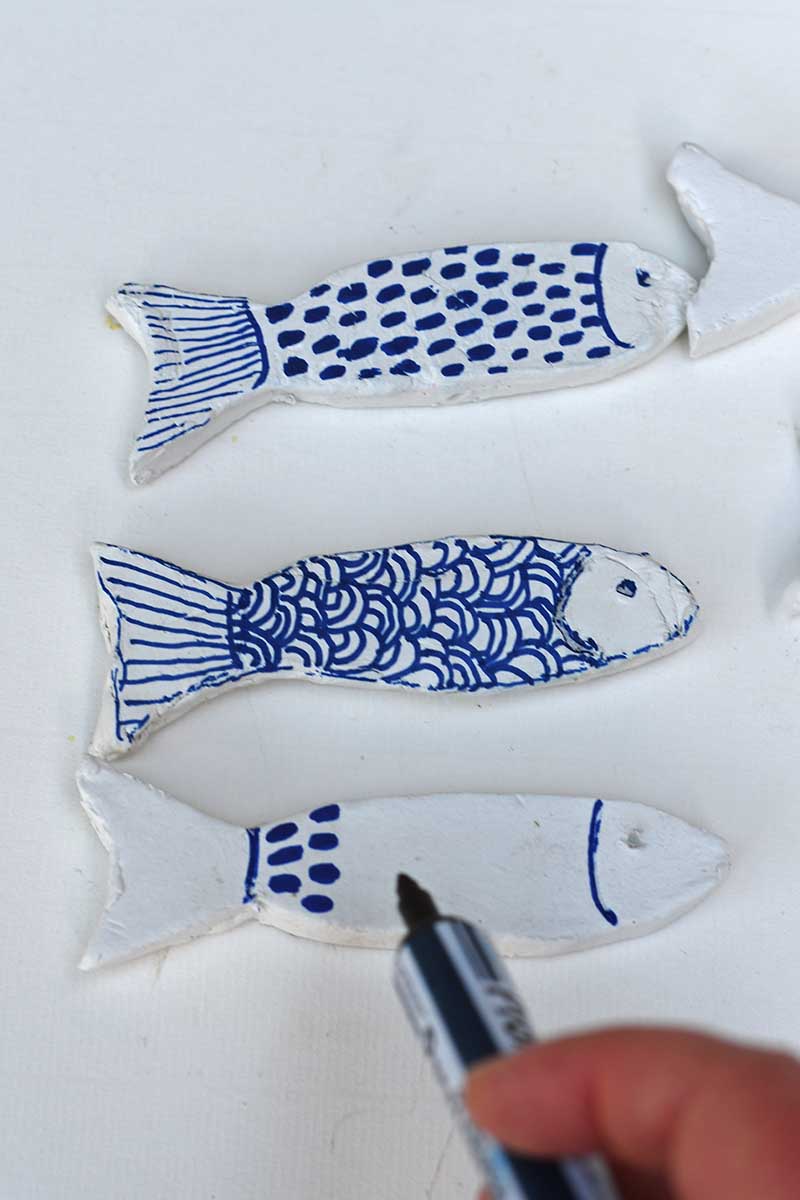
Allow the paint to dry completely before handling.
Step 5: Mount The Fish:
Cut several lengths of stiff floristry wire, each slightly different. Insert the wire into the holes in the fish and secure with a small amount of glue if needed.
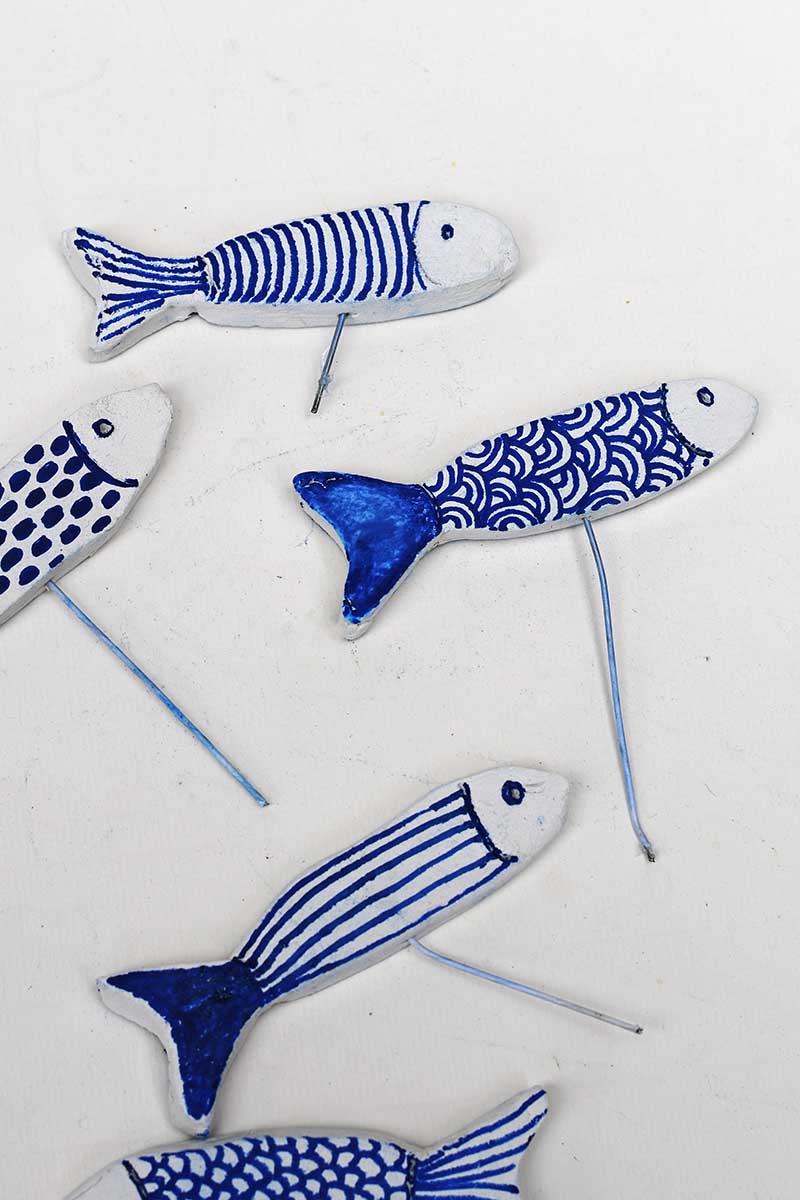
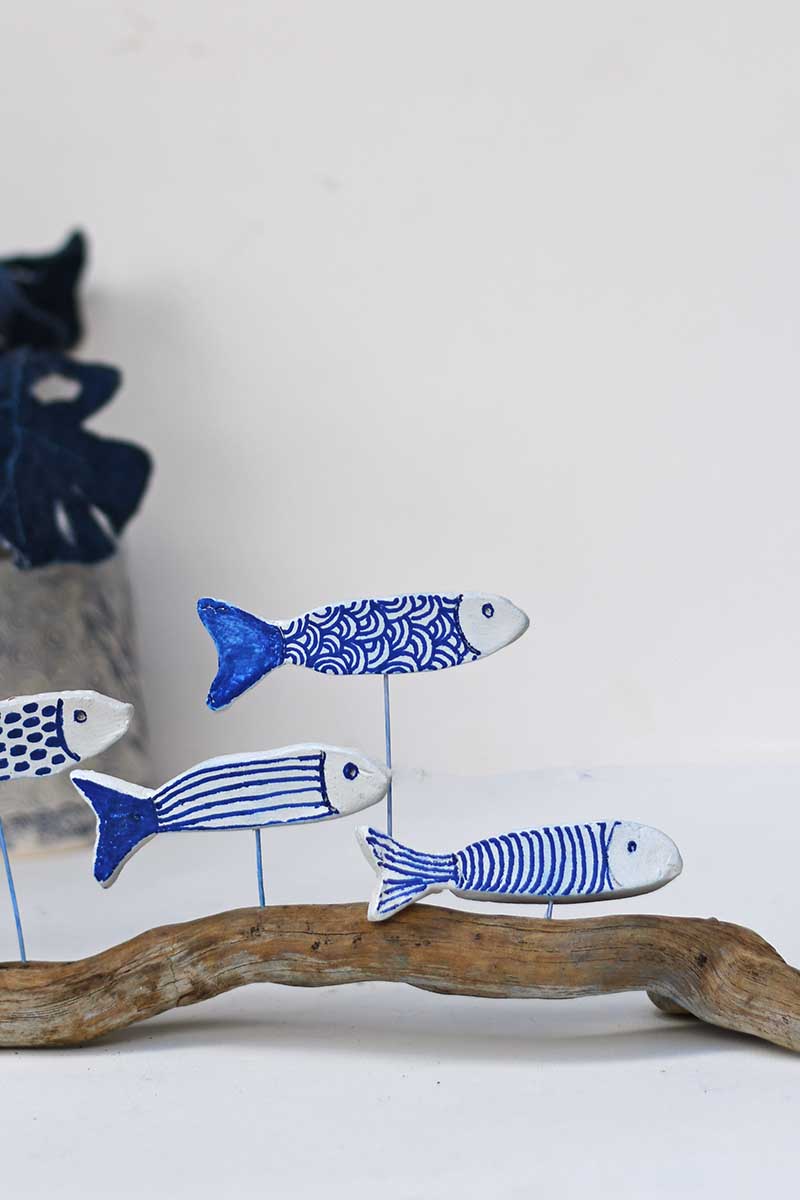
Attach the other ends of the wires to a piece of driftwood. Position the fish at varying heights and angles so they resemble a small school of sardines swimming through the water.
Step 6: Finish The Display
If you'd like the fish to resemble glazed ceramics, apply a coat of air dry clay glaze once the paint is dry.
I decided to leave mine unvarnished because I liked the soft matt finish. The matt clay works beautifully against the weathered driftwood and feels a little more like a piece of folk art than polished pottery.
Styling Your Air Dry Clay Fish
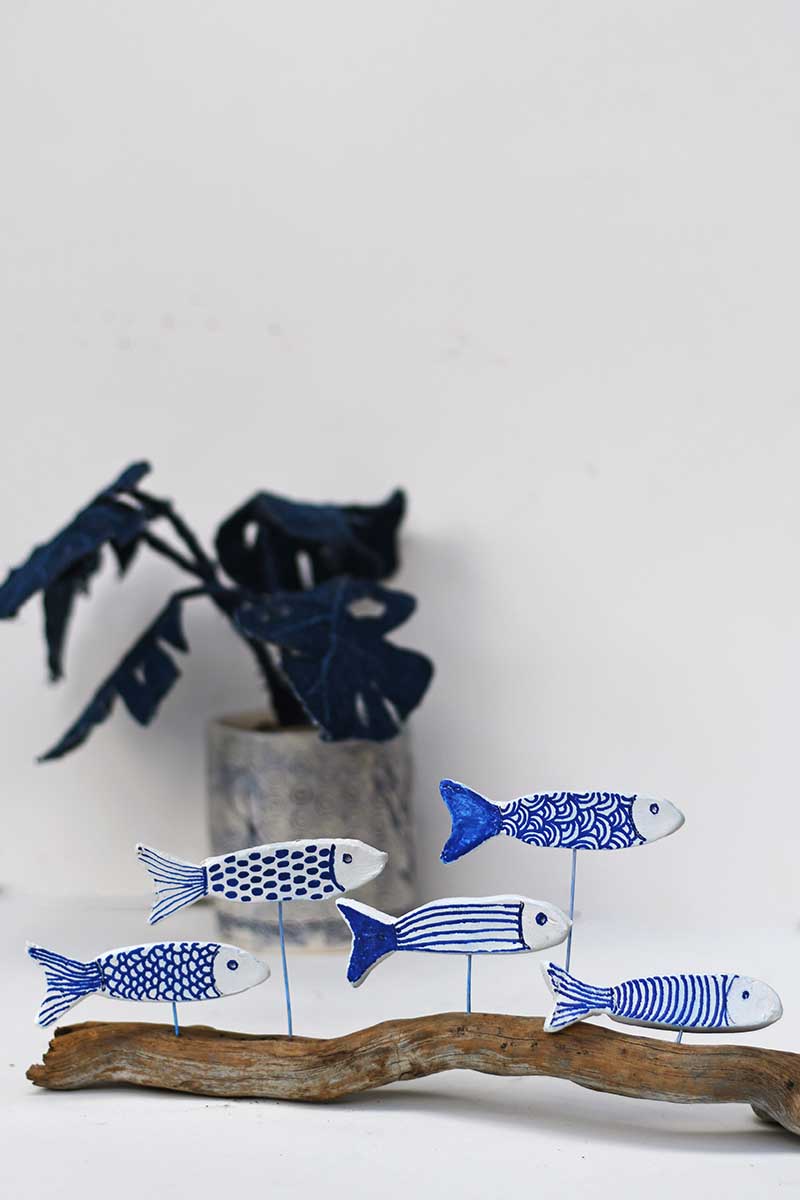
The finished sculpture looks wonderful displayed on a shelf or mantelpiece. Mine sits alongside my scallop shell concrete bookends, and together they create a lovely coastal-inspired display that reminds me of summer holidays by the sea. Because the fish appear to float above the driftwood, the piece has a sense of movement that makes it interesting from every angle. It would look equally at home in a living room, hallway, bathroom or beach-themed guest room.
I think that's what I love most about this air dry clay fish project. Every time I look at it, I'm reminded of family visits to Portugal, wandering past blue-and-white-tiled buildings, browsing little ceramic shops, and spending time by the coast.
Not every holiday souvenir needs to come home in a suitcase. Sometimes it's even better when you make it yourself.
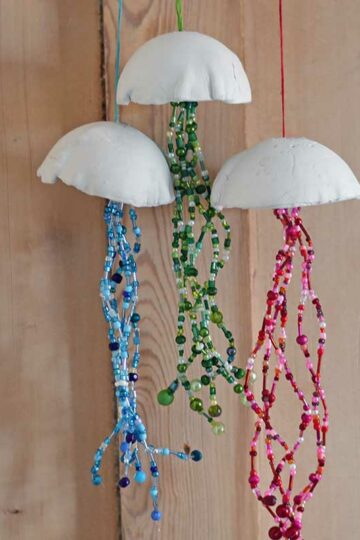
If you're drawn to sea-inspired crafts, you might also enjoy my denim Koinobori windsocks, which were inspired by traditional Japanese fish streamers, or my whimsical fabric jellyfish craft, another project that captures movement in a fun and creative way.
And if you're looking for more warm-weather inspiration, my collection of summer crafts for adults is packed with colourful projects inspired by nature, travel and the seaside.
DIY Air Dry Clay Fish Shelf Decor

Inspired by the decorative sardines and beautiful blue-and-white azulejo tiles found throughout Portugal, this easy air dry clay craft transforms a piece of driftwood into a charming coastal display. The hand-painted fish are mounted on wires at different heights, so they appear to be swimming together above the driftwood, creating a unique piece of shelf or mantel decor inspired by family holidays by the sea.
Materials
- Air dry clay
- Fish template
- Rolling pin
- Wooden guide sticks
- Sandpaper
- Blue paint pens
- Floristry wire
- Driftwood
Tools
- Rolling pin
- Wooden guide sticks
- Sandpaper
- Blue paint pens
- Floristry wire
Instructions
Step 1
Roll out the clay between two wooden guide sticks and cut out five fish shapes using a template. 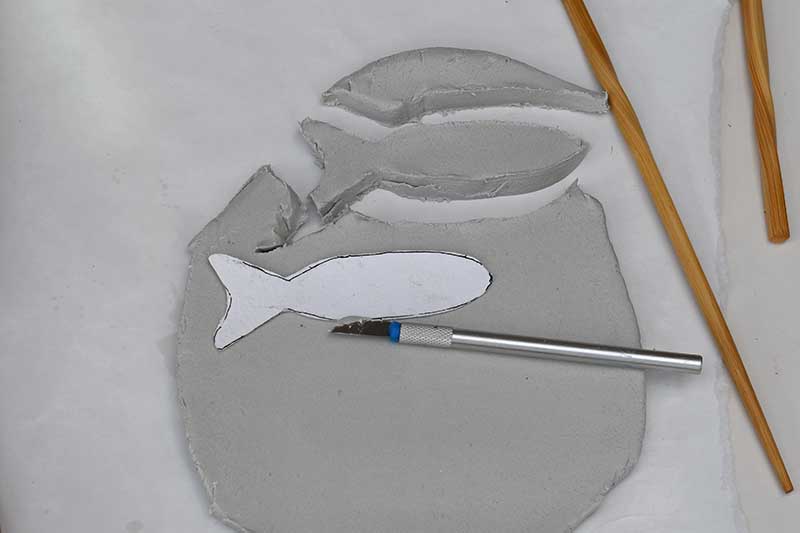
Step 2
Score an eye and head detail into each fish. Pierce a small hole in the side for the mounting wire.
Step 3
Allow the fish to dry completely, then sand smooth.
Step 4
Decorate each fish with blue and white Portuguese tile-inspired patterns using paint pens.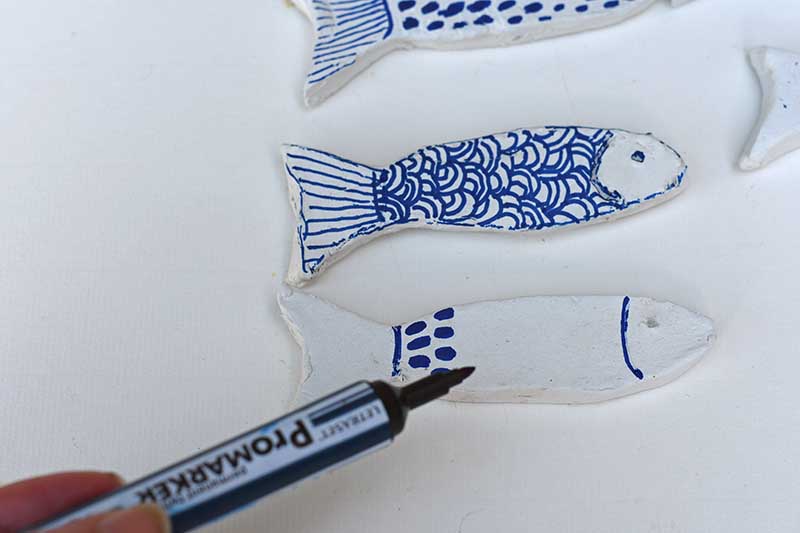
Step 5
Attach the fish to different lengths of floristry wire and secure them to the driftwood.
Step 6
Arrange the fish at varying heights so they resemble a swimming school of sardines gliding above the driftwood.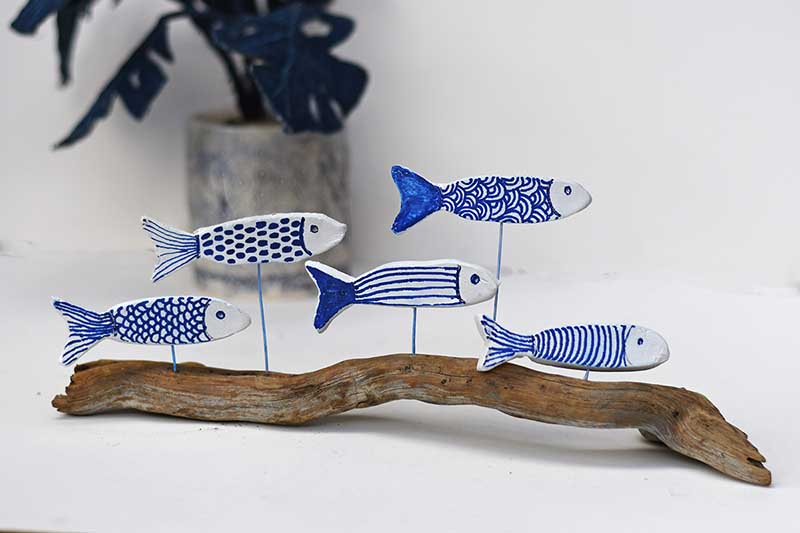
Notes
A charming piece of Portuguese-inspired coastal decor that's perfect for displaying on a shelf, mantelpiece, bookcase or side table.