
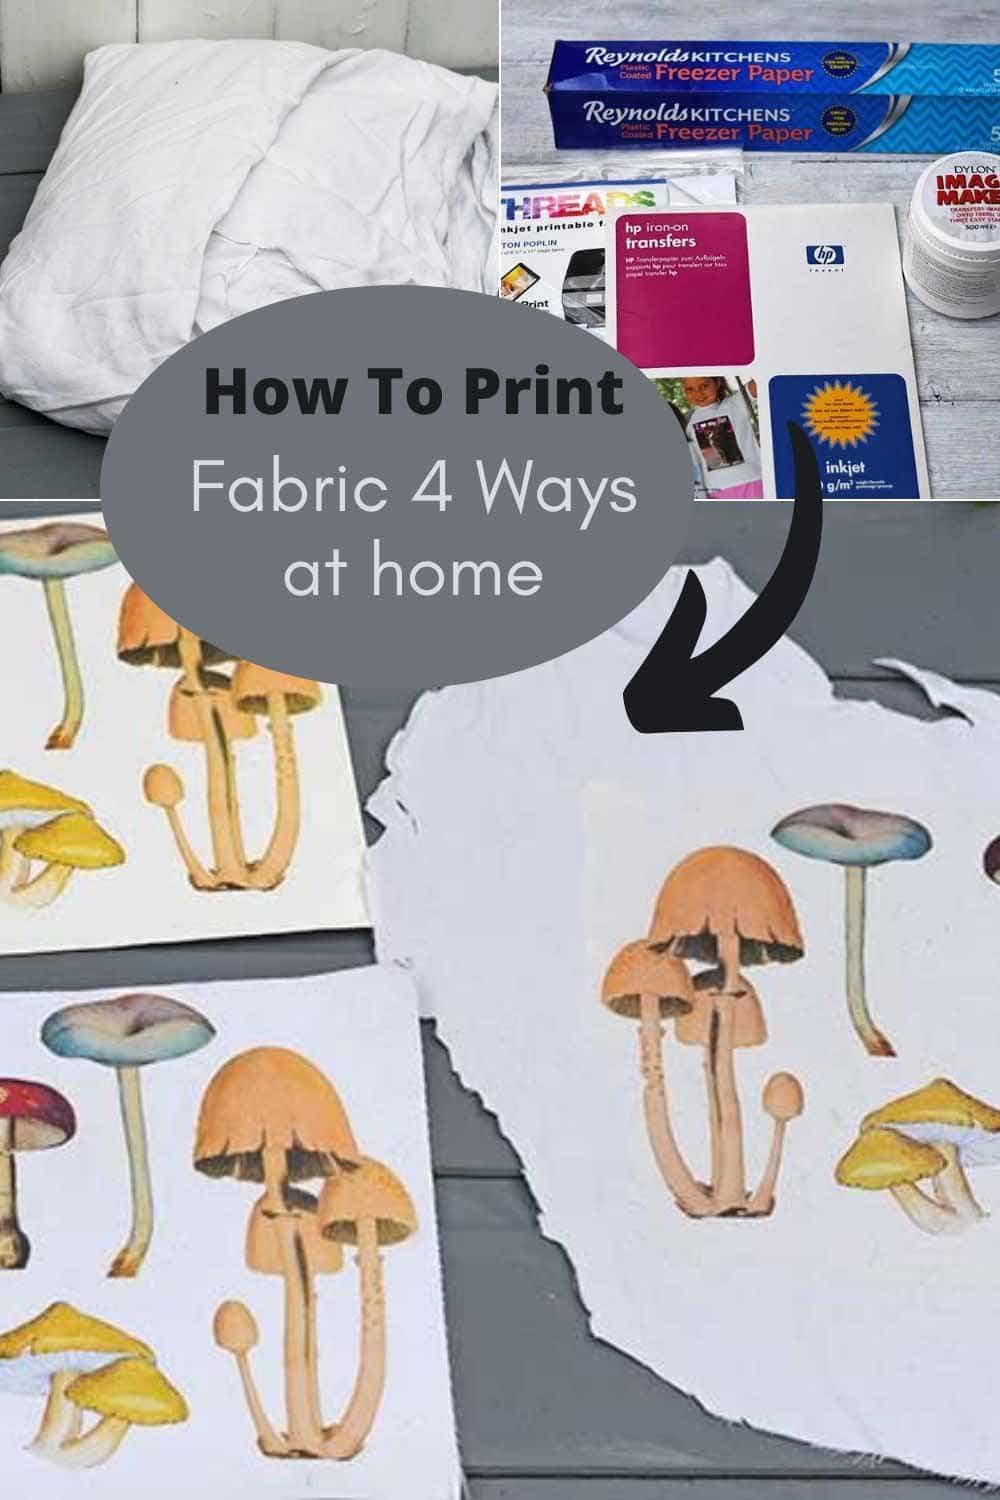
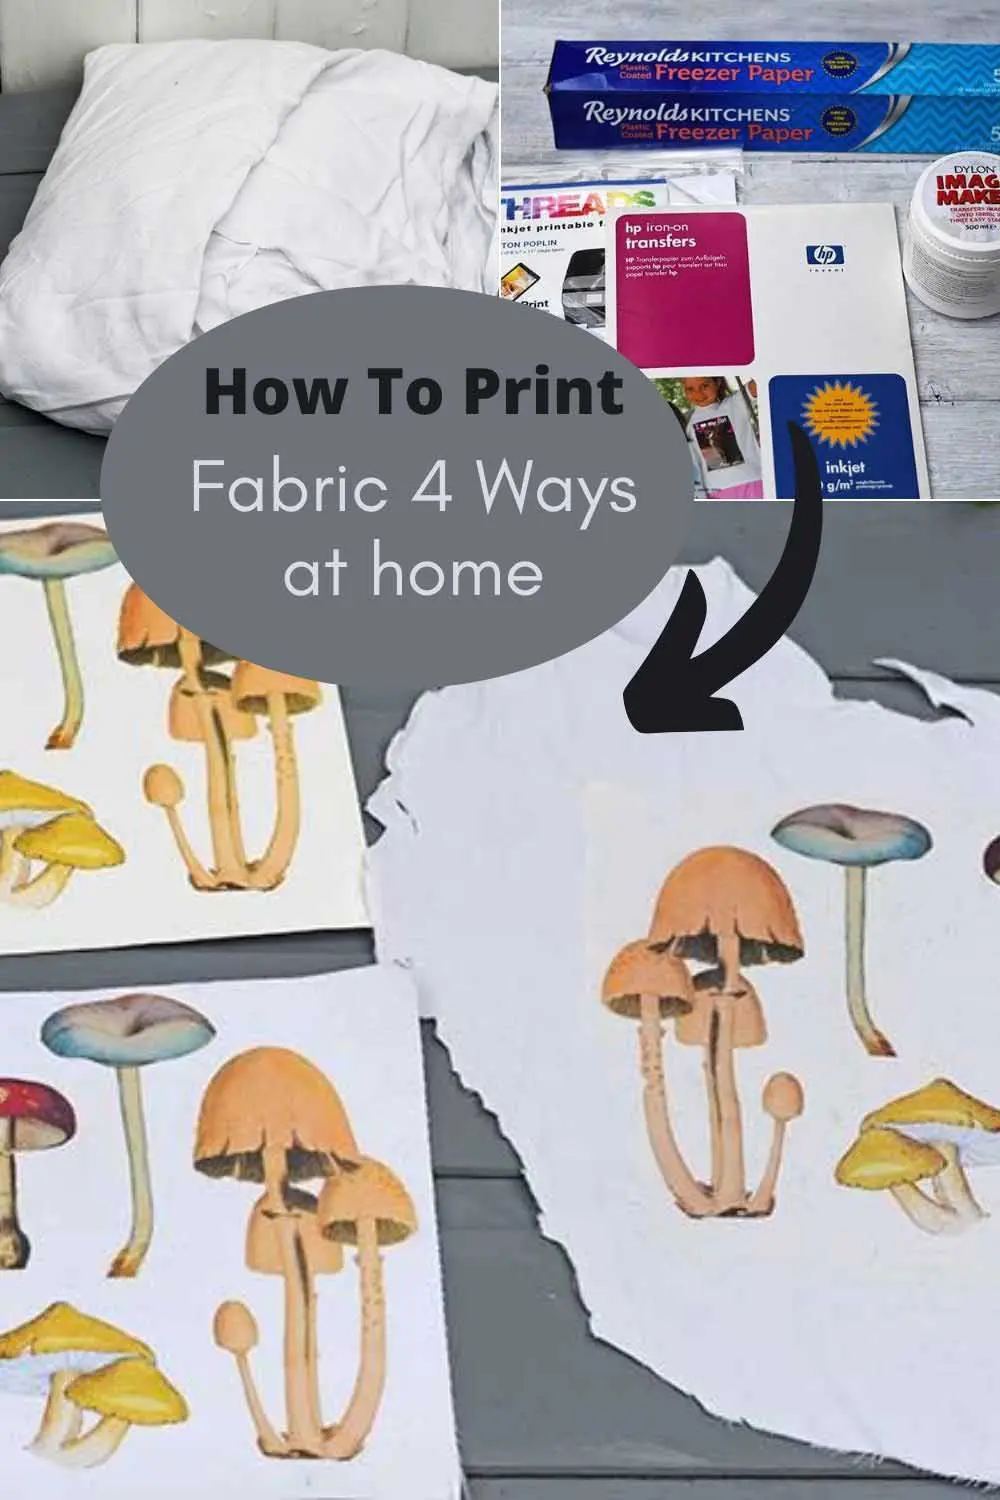
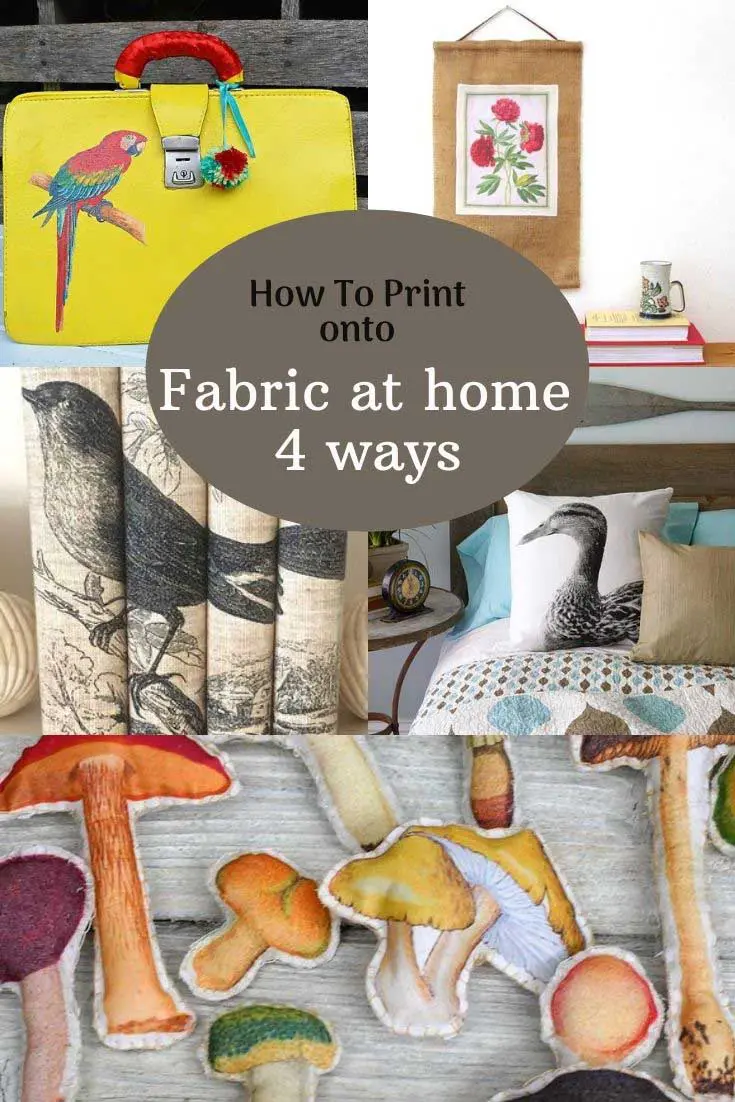
Discover easy home tutorials for printing on fabric with four different methods. Explore creative craft ideas and step-by-step guides to personalize your fabric projects—from clothing to decor!
In this post, I’ll show you how to print on fabric at home using the stuff you already have. There are four different methods you can use, and I will discuss each one with all the pros and cons.
Three of the fabric printing methods involve using a home inkjet printer. I have printed on paper napkins and tissue paper with my inkjet printer. Did you know you can also print onto fabric with a home office printer?
Printing on fabrics is a great way to upcycle old fabrics, such as bedsheets, to make fun crafts like fabric mushrooms. You can also personalize your crafts by printing photos onto the fabrics.
We’re a participant in the Amazon Services LLC Associates Program, an affiliate advertising program designed to provide a means for us to earn fees by linking to Amazon.com and affiliated sites. As an Amazon Associate, I earn from qualifying purchases.
The Different Ways of Printing On Fabrics at Home
The four methods of printing discussed here are:
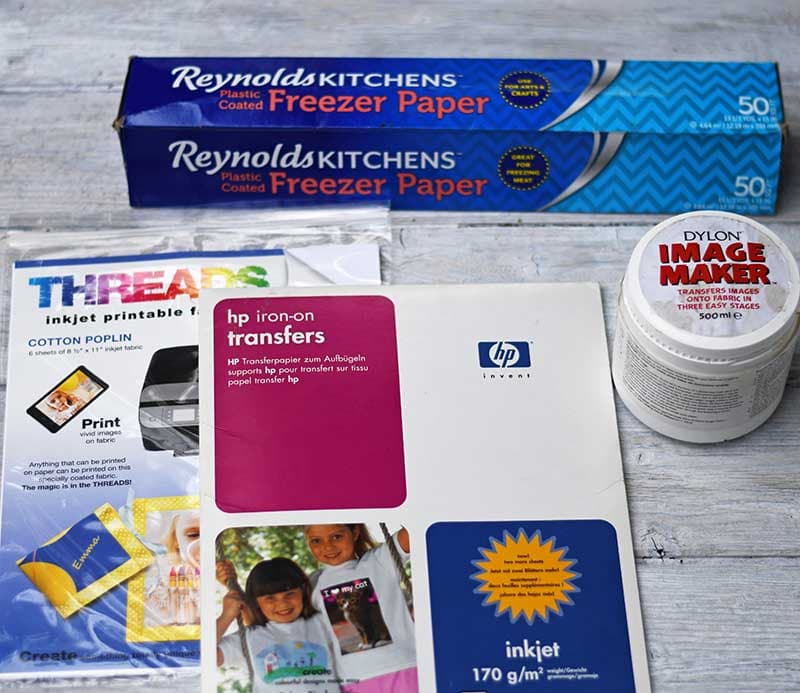
- Freezer paper printing
- Printable fabric sheets
- Iron on transfer paper
- Image Transfer Fluid

1. Freezer Paper Fabric Printing Method
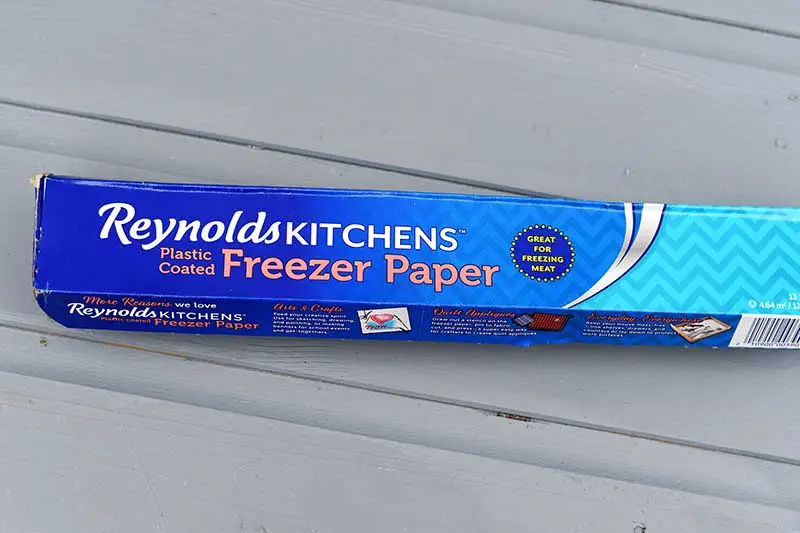
For this method of printing on fabric at home, you will need freezer paper (plastic-coated). This method is suitable for thin fabrics such as linen or even old bedsheets.

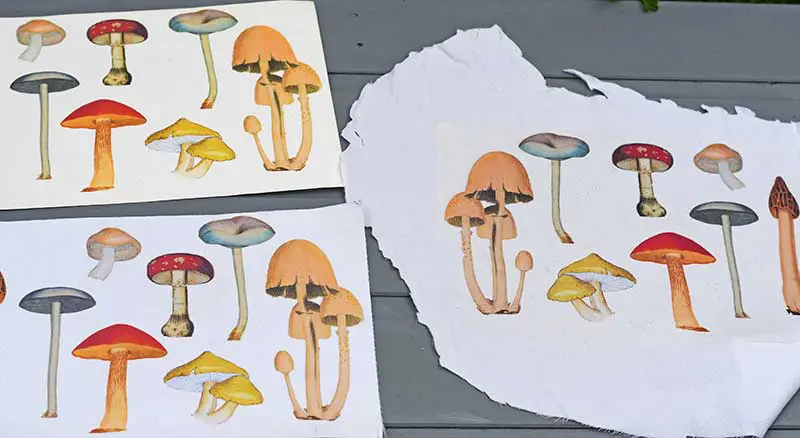
Step 1: Choose your fabric, which should be thin enough to print on a home printer. Lighter-coloured white or cream fabrics are best, too.
Lay the fabric you want to print on top of freezer paper. Make sure that the plastic-coated side of the paper is in contact with the fabric. Then, with a hot iron, iron the fabric until it sticks to the paper.
Step 2: Using a rotary cutter and mat, cut the freezer paper-backed fabric to the size of computer paper (A4).
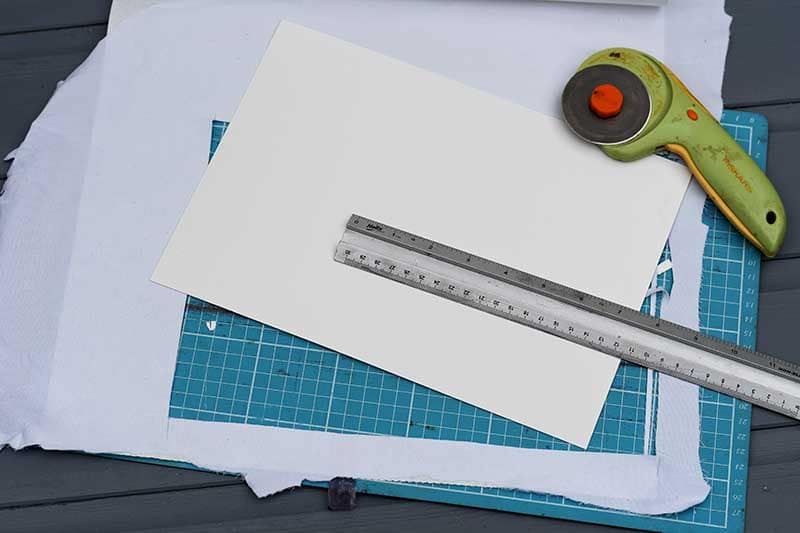
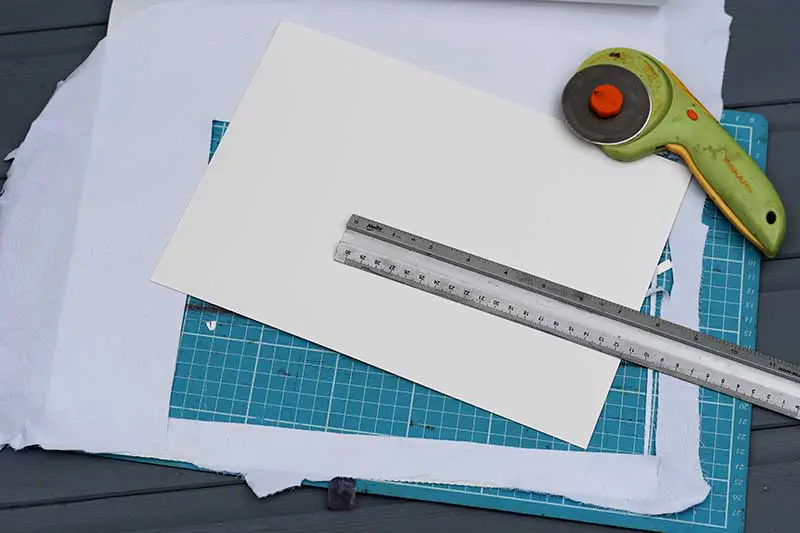
Step 3: Next, feed this paper into your inkjet paper feeder. Ensure the image prints on the fabric side, not the freezer paper side.
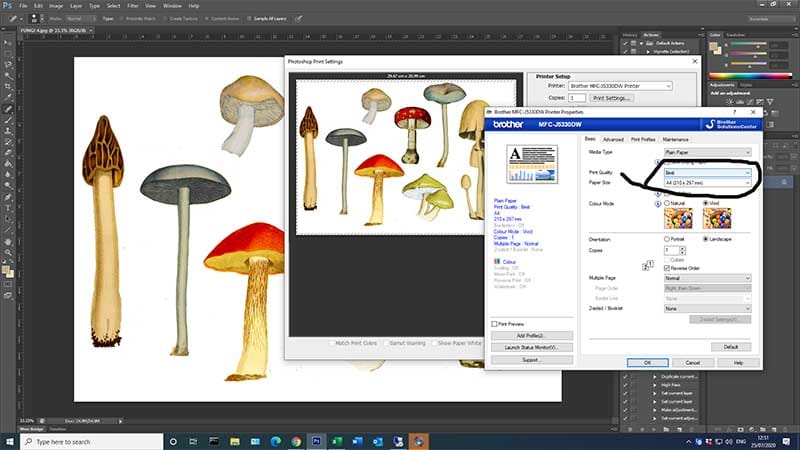
Step 4: Print as normal from your computer, but go into the printer’s advanced menu settings and choose the best-quality print option.

Step 5: Pull away the freezer paper backing once the image is printed onto the fabric.


The Pros and Cons of Freezer Paper Fabric Printing
PROS
- Can print on upcycled fabrics such as old bedsheets
- No film is added to the fabric, so it maintains its texture.
- Cheap as all you need to buy is freezer paper
Cons
- The fabric used has to be thin enough to go through the printer
- You can only print as big as your printer, so A4 or A3 (if you have a large printer).
- It only really works well with light-coloured fabrics.
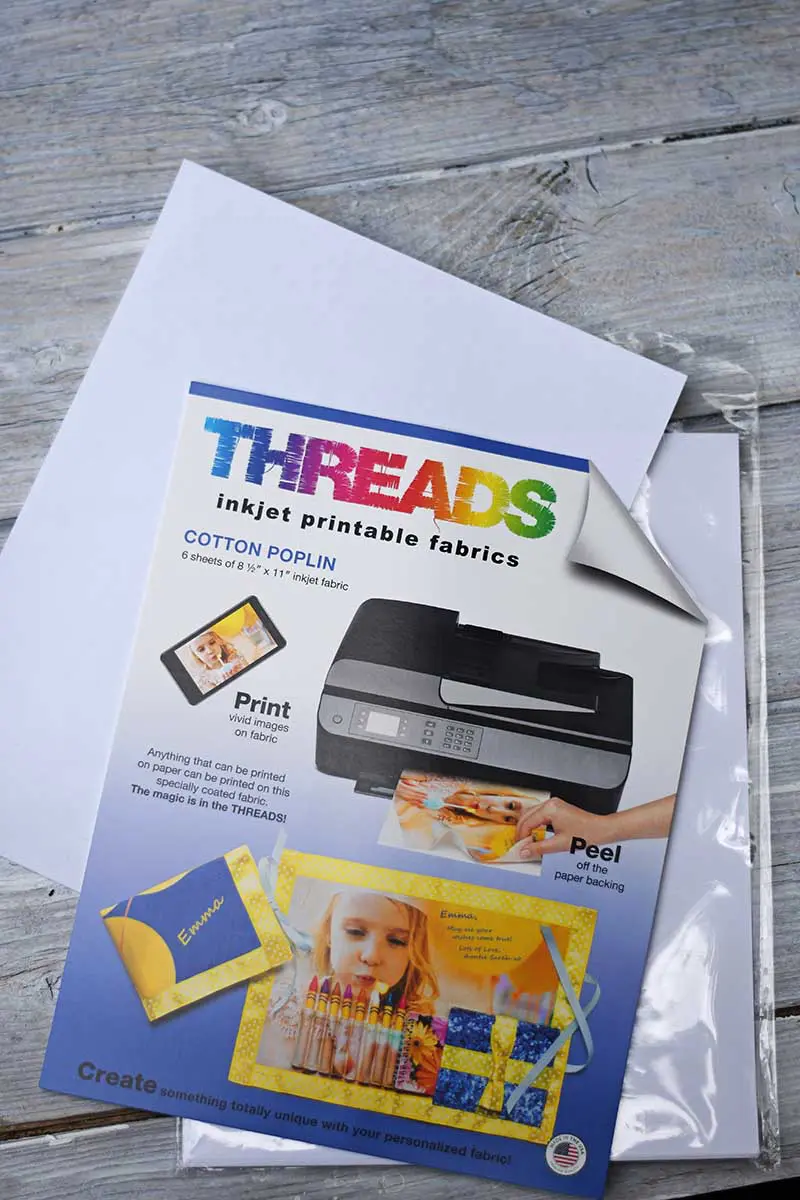
2. Printable Fabric Sheets
This method of printing onto fabric at home has to be the easiest. It is basically the same as the freezer paper method. However, the work has already been done for you, as the printable fabric sheets come preprepared for the computer.

The Pros and Cons of Fabric Printer Paper
PROS
- Easy as ready to go, no prep needed.
- No film is added to the fabric, so it maintains its texture.
- A sticky back version is available.
Cons
- Only one type of fabric to choose from
- Can only print A4
- More expensive than using your fabrics
3. How To Print With Iron-on Transfer Paper
The next two printing fabric methods are transfers, which means the images are transferred onto the fabric via a medium.

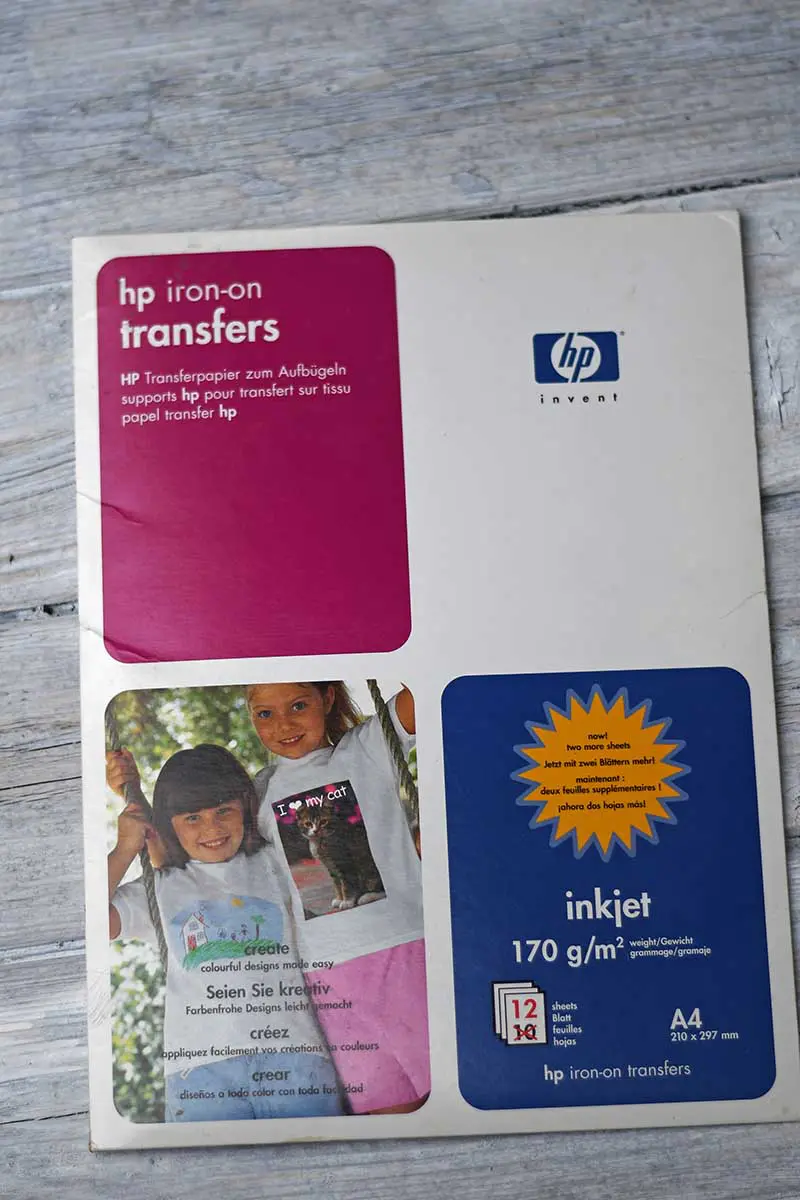
Step 1: Iron-on transfer paper comes in two different varieties, one for light-coloured fabrics and the other for dark-coloured fabrics. Choose the paper depending on what colour fabric you want to print on.
Step 2: Place the paper in the printer paper feeder. Make sure you put the paper on the right side for printing. This will be marked on the paper.
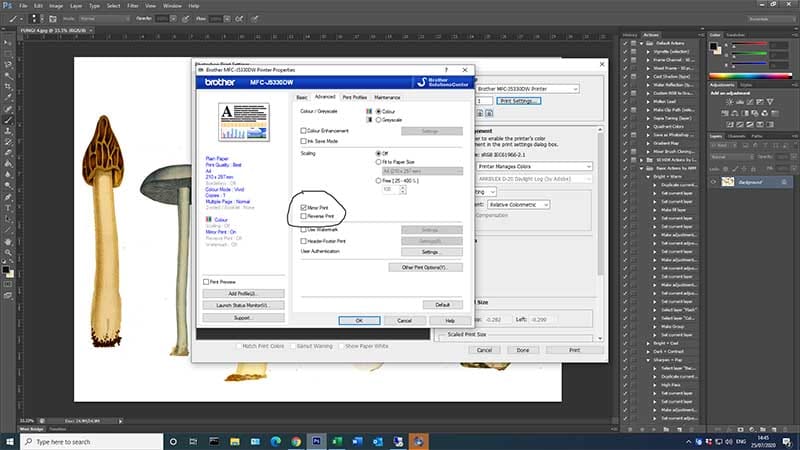
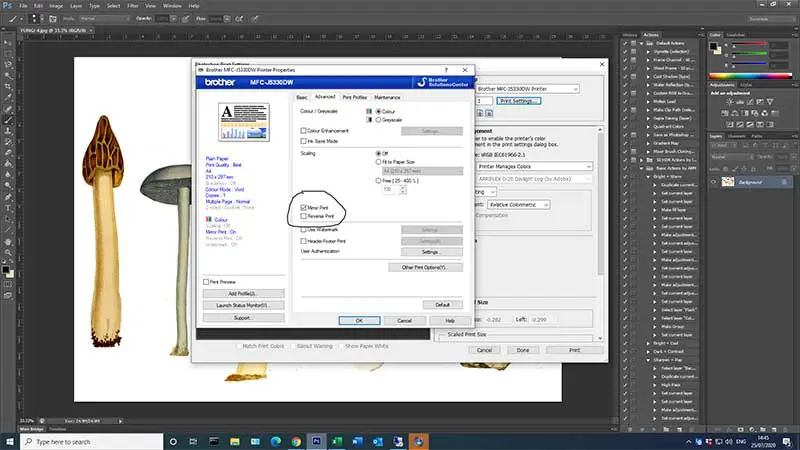
Step 3: In the advanced printer menu, select the best quality print as with the other fabric printing methods. This time, select the mirror print box in the menu settings. This will print a mirror image of the picture.
Step 4: Next, trim the printed-out image close to the edge of the image you want. Then, heat an iron to the hottest setting and switch off the steam settings.
Step 5: Place the image face onto the fabric and press down with the iron. The length of time you iron depends on the instructions that come with the iron on transfer sheets. However, it is about 20 seconds per section.


Step 6: Leave the paper to cool for about a minute, then peel away the paper backing.


Pros and Cons of Iron On Transfer Paper
Pros
- Can print on a greater range of fabrics. I have even used transfer paper to print on leather.
- Vibrant colours
- Can print on dark materials
Cons
- Iron-on paper can be expensive.
- The print applies a film to the fabric. This stiffens the fabric and alters the feel.
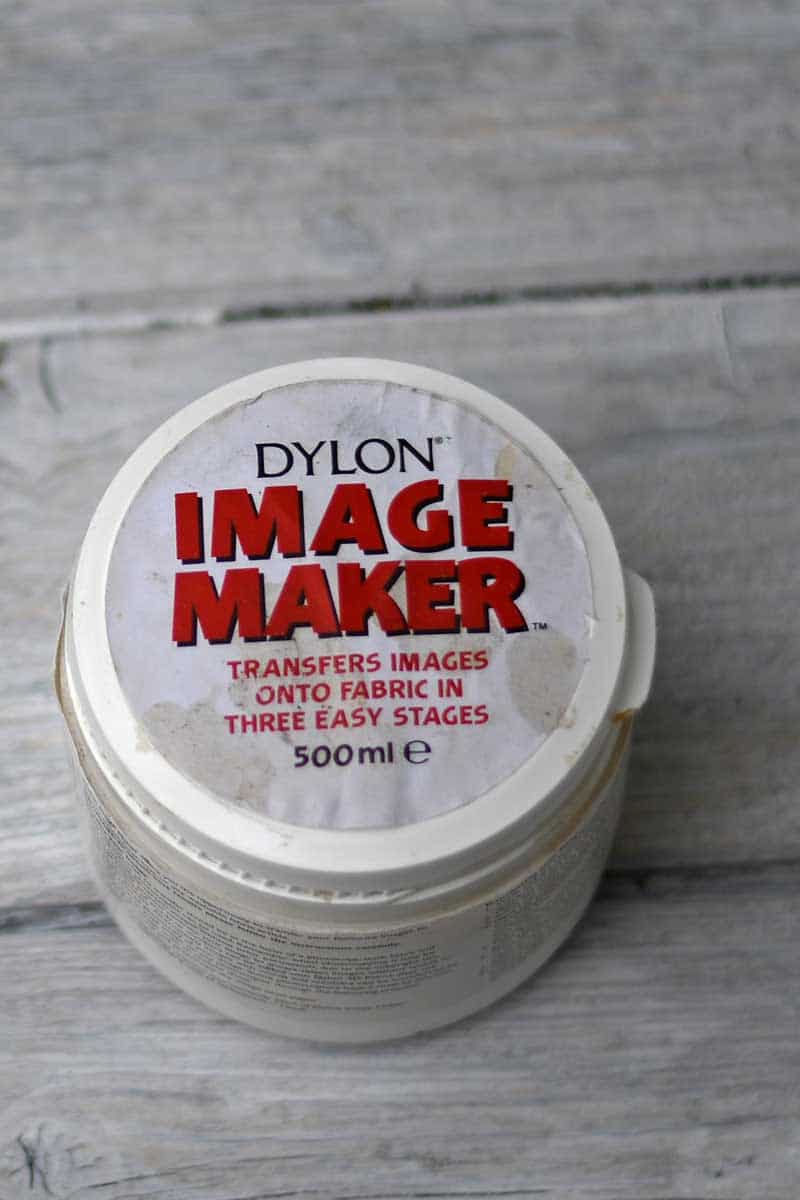
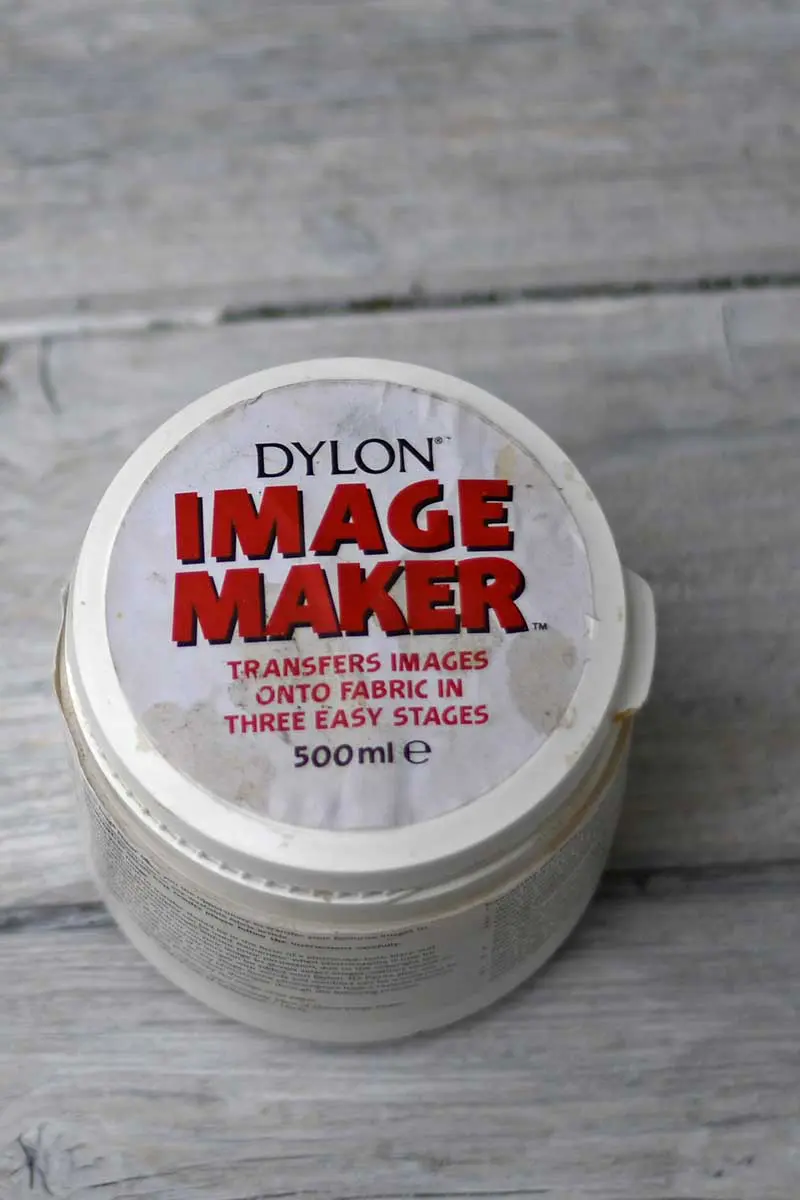
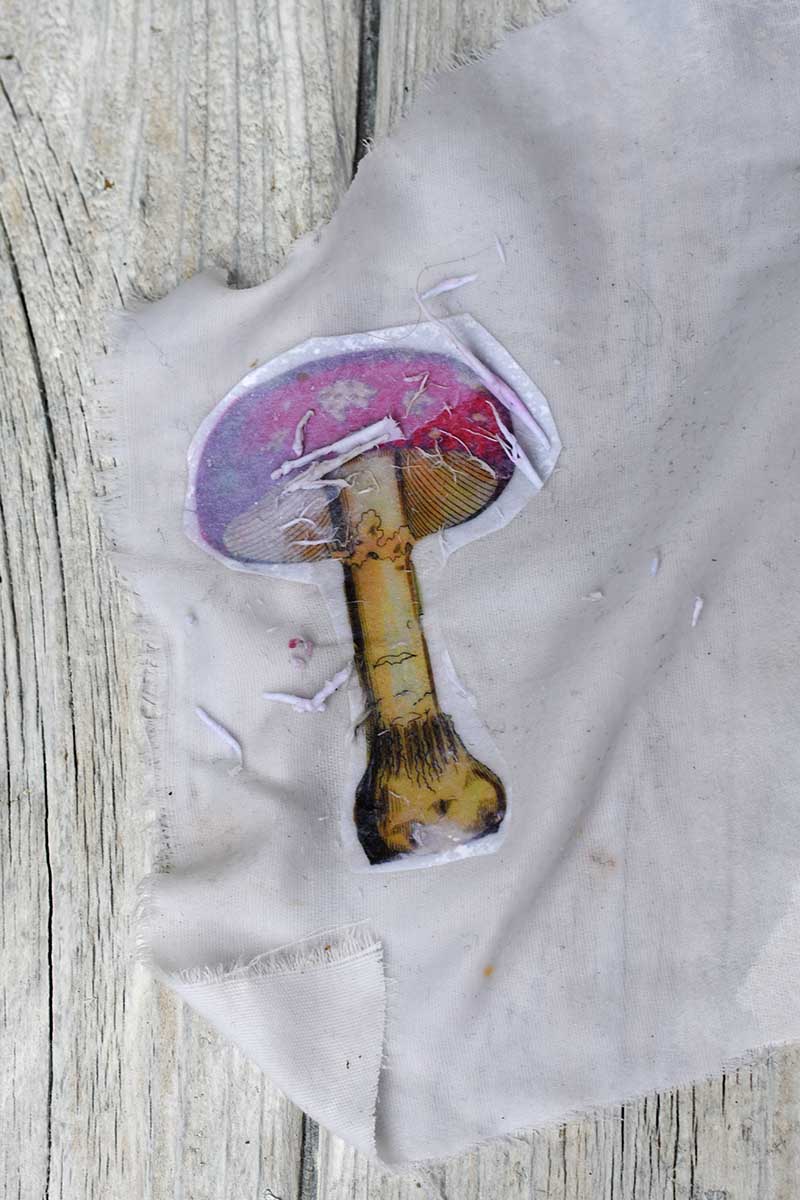
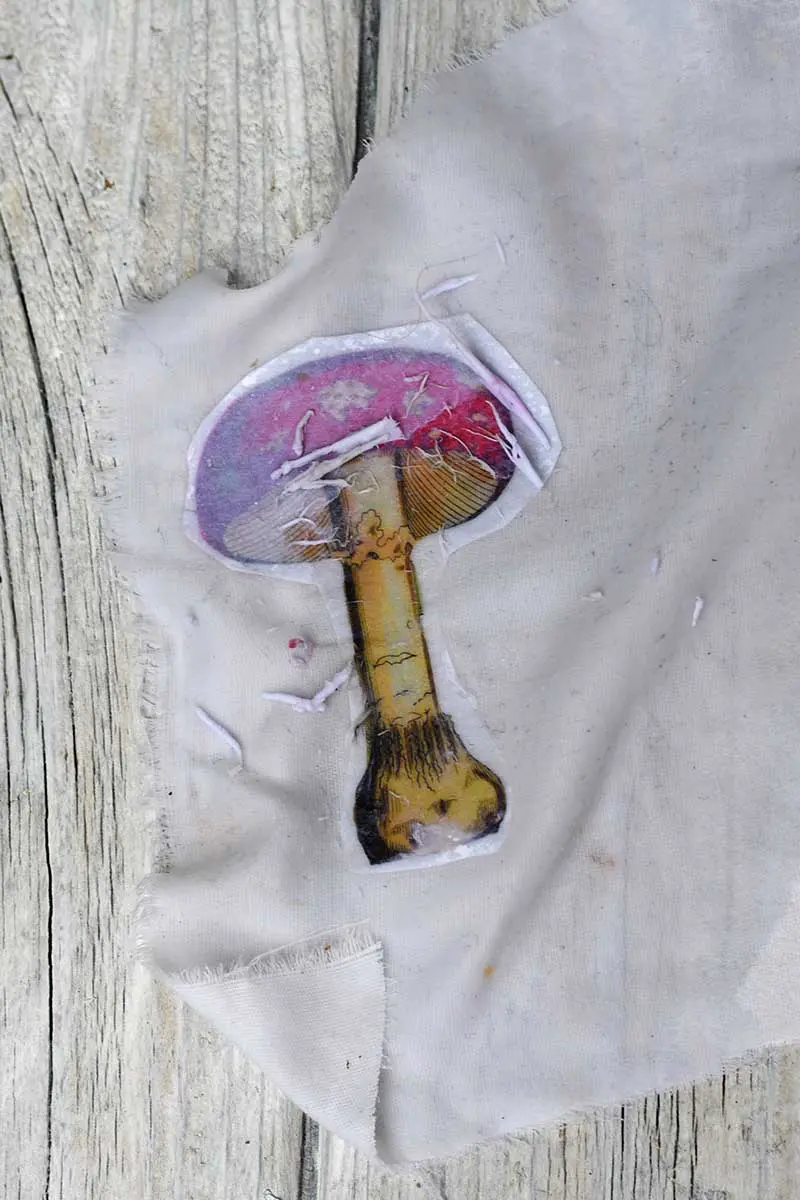
4. How To Print With Image Transfer Medium
There are several different mediums you can use to transfer images. I have used Dylon Image Maker but there are other products that work just as well such as Mod Podge Photo Transfer.
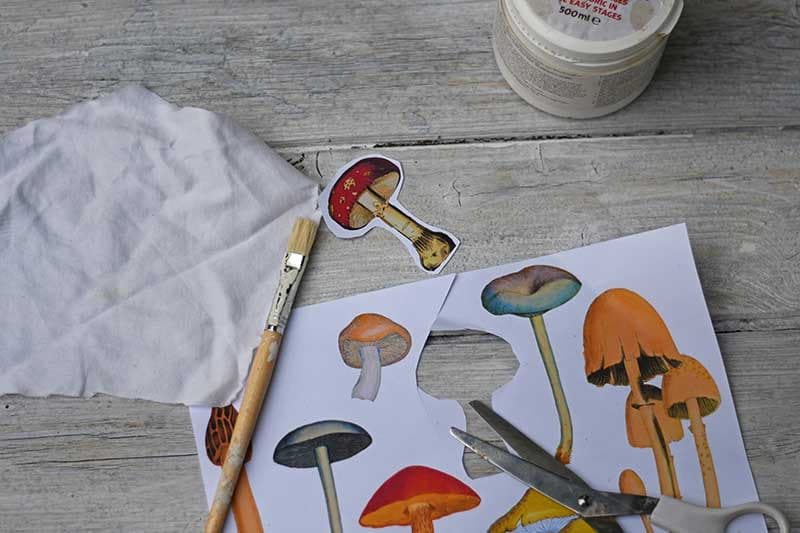
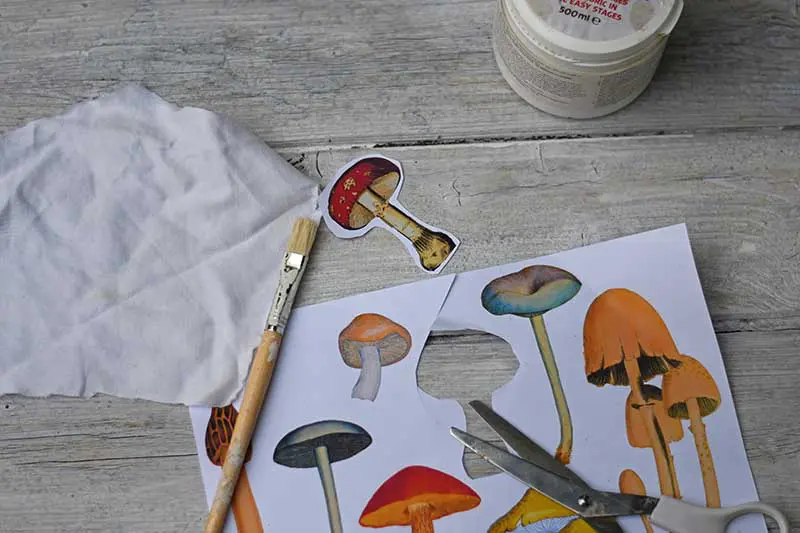
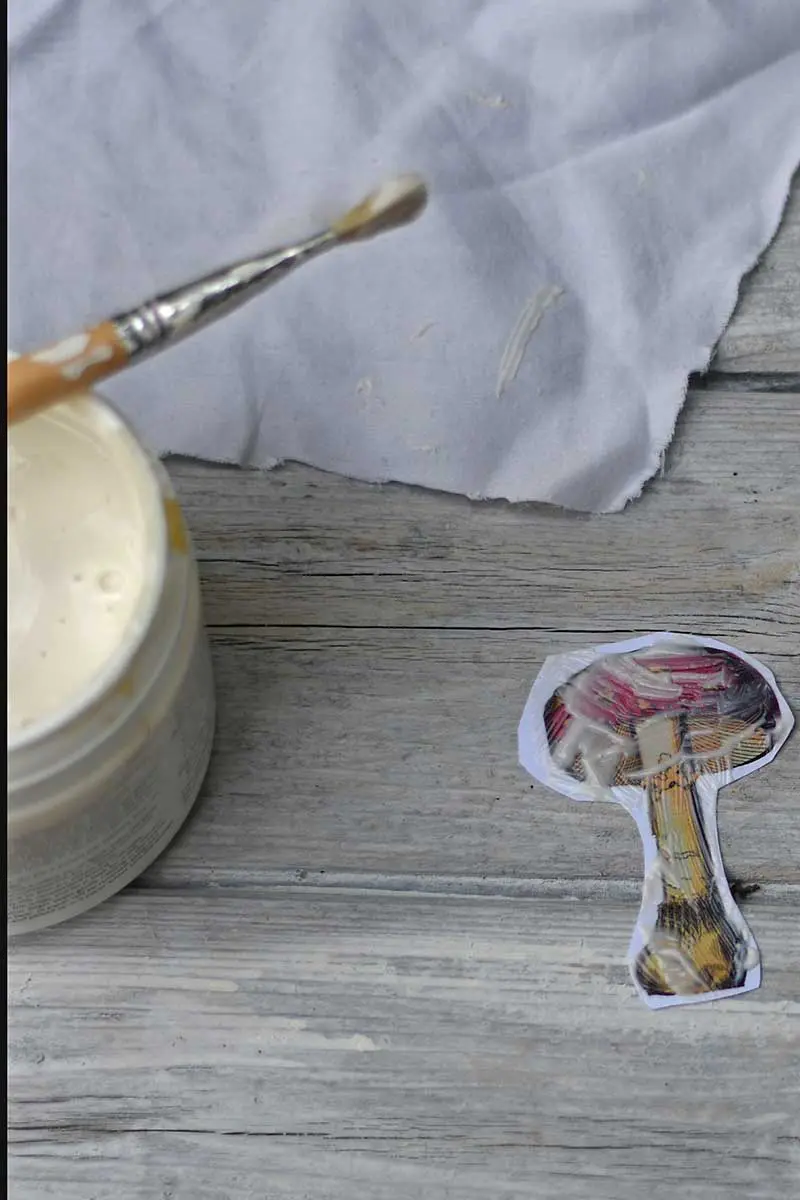
Step 1: This is another transfer method of printing, meaning you will need a mirror image copy of the picture you want to transfer. Follow the instructions on the packet.
Step 2: The methods for all the transfer mediums are very similar. First, cut out the mirror image you want to print onto the fabric.
Step 3: Place your image face up on a protected surface (as the medium may leak). Brush the face of the image with an image medium. You want a thick layer so the image becomes opaque.
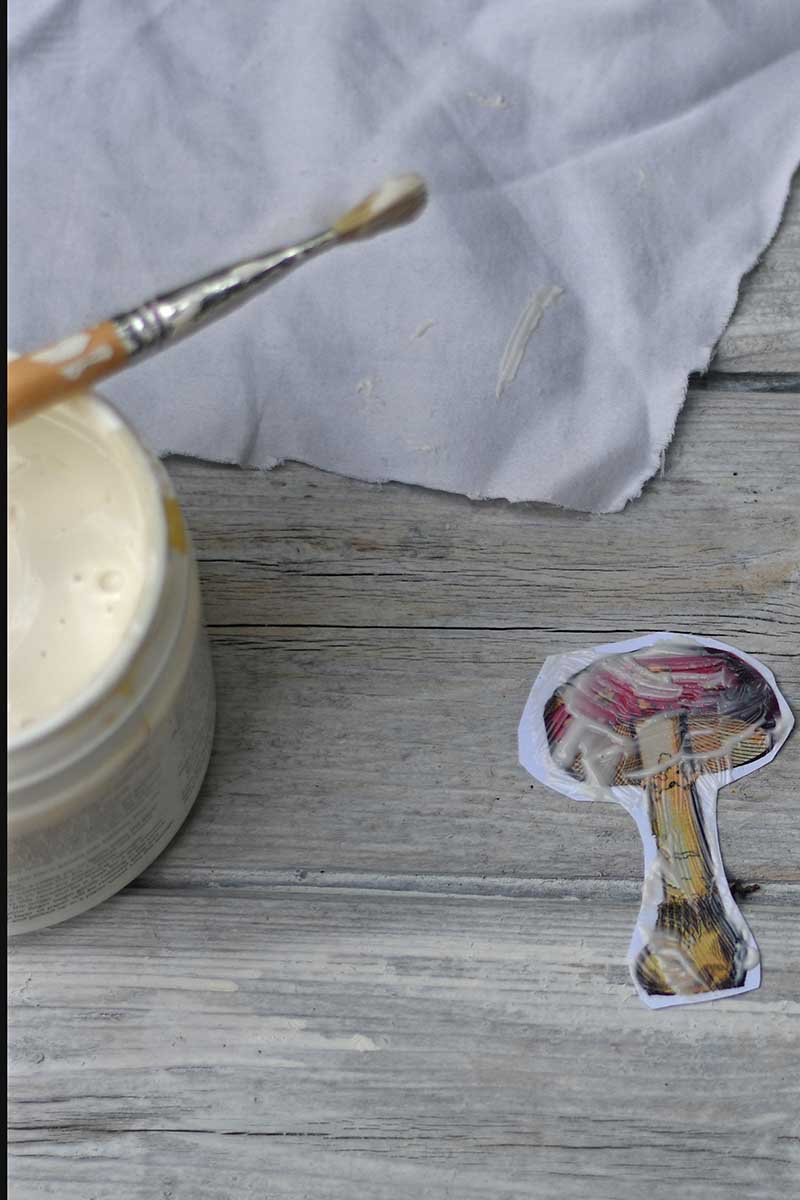
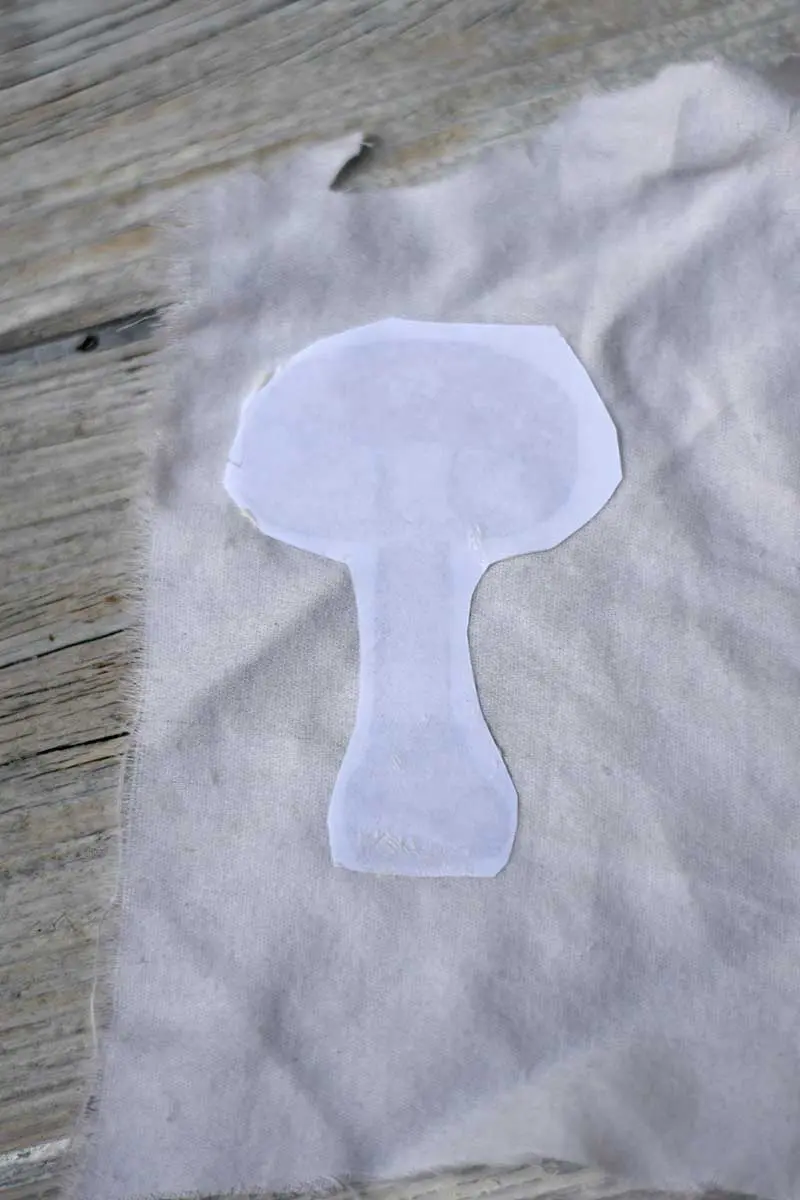
Step 4: Place the image face down on the fabric where you want it to print.

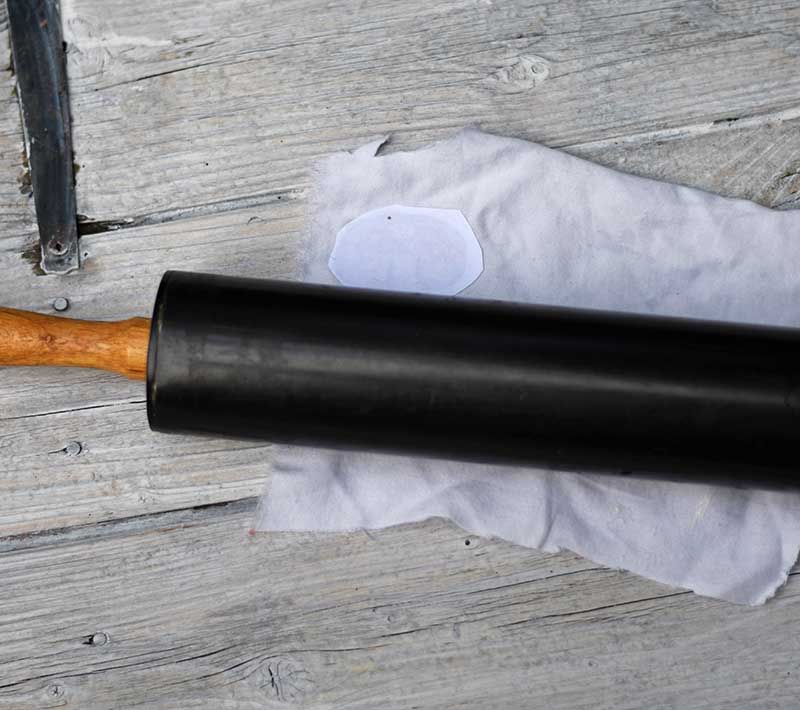
Step 5: Next, roll over the paper with a rolling pin to eliminate and any creases or bubbles. Then, leave the image to dry for at least 4 hours.

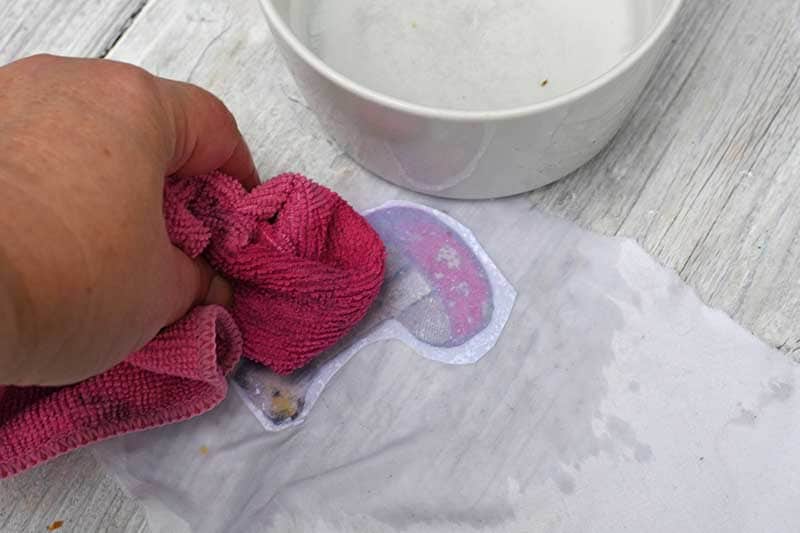
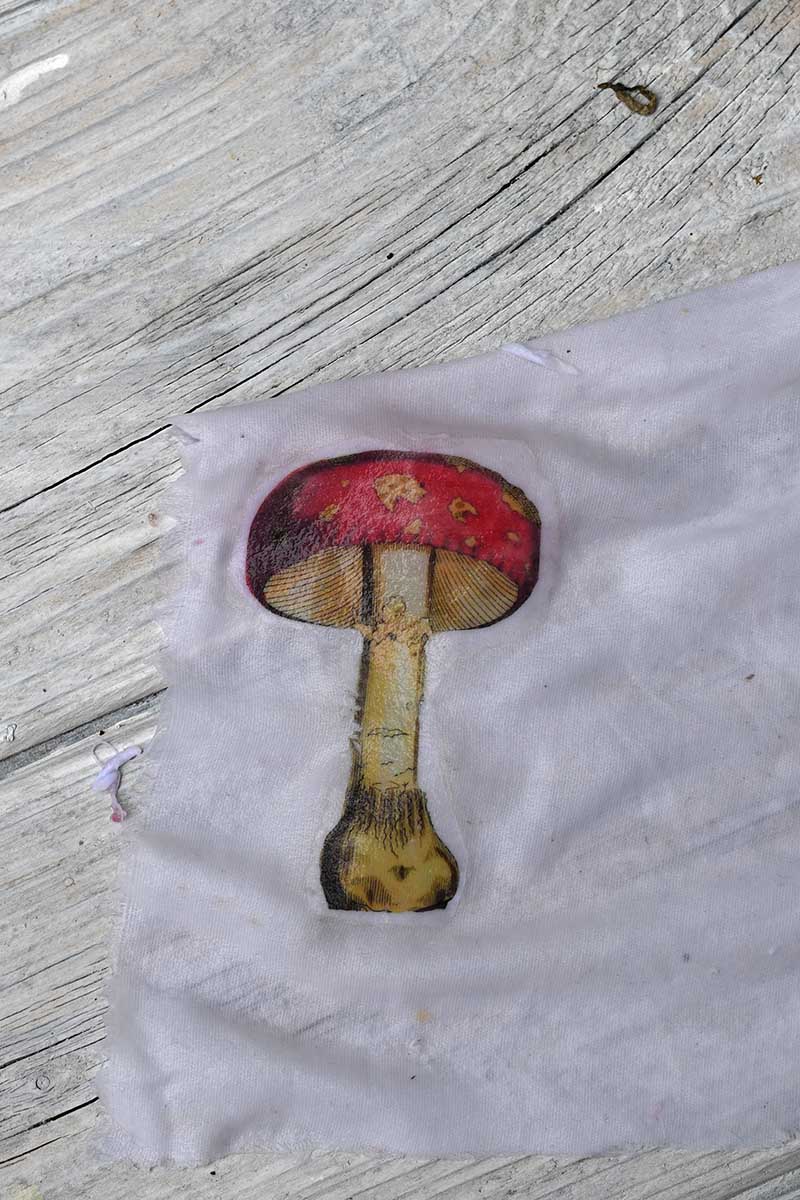
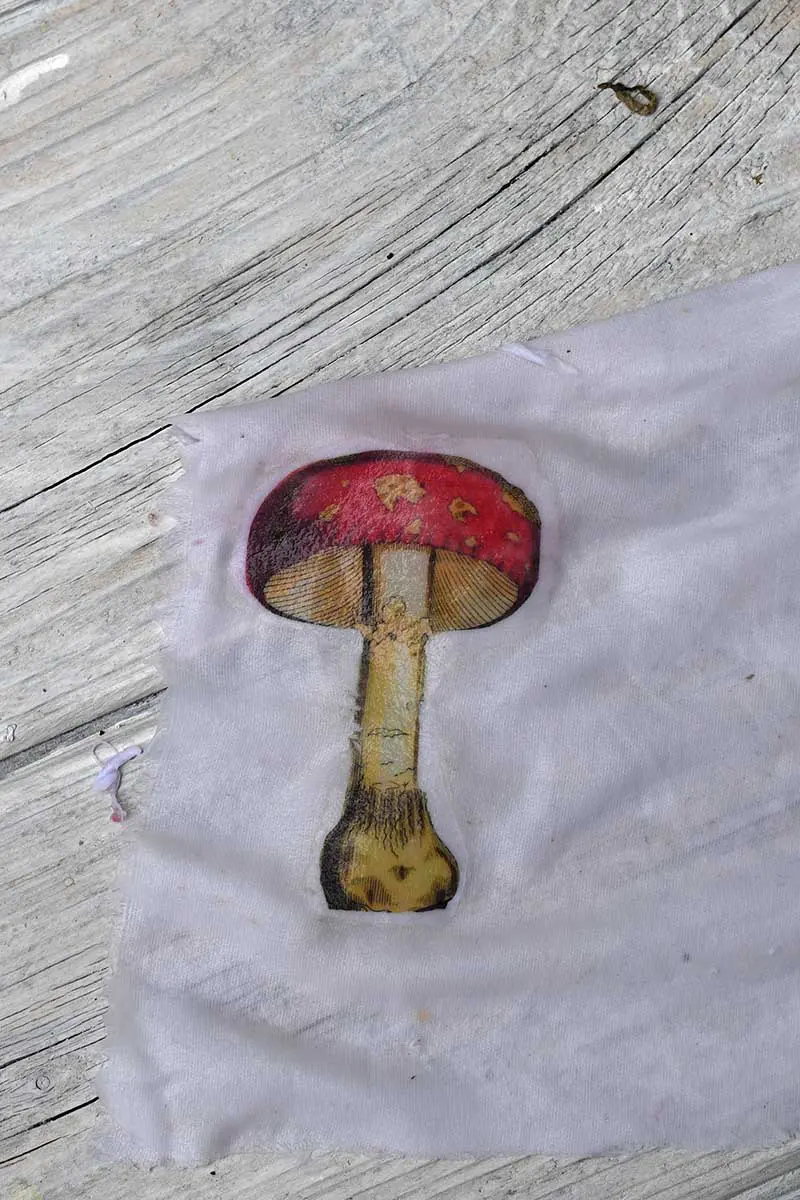
Step 6: After the medium has fully dried, soak the back of the paper with a sponge of water for about 2 mins. Then, carefully rub away the paper. The image will now be transferred to the fabric.

Pros and Cons of Using Transfer Medium
Pros
Cons
- Can print on a big range of fabrics from cotton to leather. I’ve even used the paste to print on wood.
- Can print on darker materials
- Takes a longer time than other methods. As you have to allow for drying time.
- It applies a film to the fabric, stiffening and altering the feel.
- The image is not as vibrant as with other methods.
Which Print-At-Home Method Is Best
I’ve listed the pros and cons of each fabric printing technique. The quality of the printed images was similar between them all. The iron-on transfer was the most vibrant, but it did alter the feel of the fabric.

The fabric printer sheets were the quickest and easiest printing method, but they were also the most expensive. The freezer paper method was great for upcycling fabrics.
With both the transfer methods, iron-on and medium, you can print on a greater range of fabrics. The transfer medium is especially useful as you can also use it on wood, and I’ve even printed on rocks with it. However, the medium was by far the longest process.
How To Print On Fabrics: Practical Craft Ideas
Explore our exciting roundup of unique crafts using home fabric printing techniques. Discover how to elevate your DIY projects with personalized prints on everything from tote bags to custom apparel. Perfect for crafters of all levels seeking to add a personal touch to their creations!
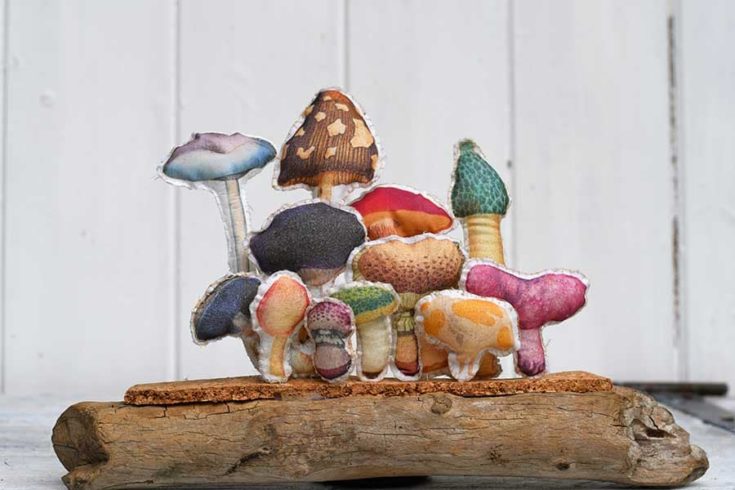

How To Make A Cute Fabric Mushroom Display
This super cute whimsical mushroom display is made by printing on to bedsheets using the freezer paper method.
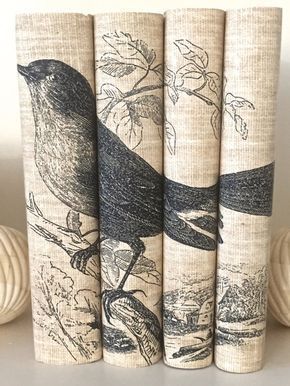

DIY Fabric Covered Books
This is an adorable craft that uses the iron-on fabric method.
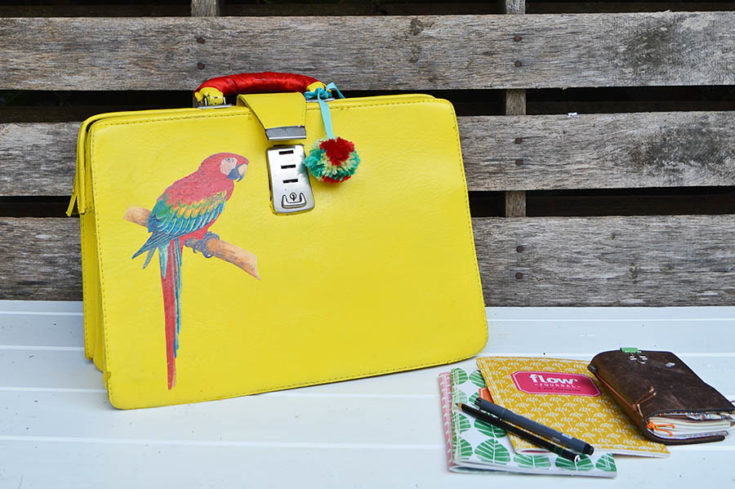

How To Make An Upcycled Leather Bag With Paint and Print
Turn a boring old leather briefcase into a vibrant bag using a printed parrot iron-on transfer.

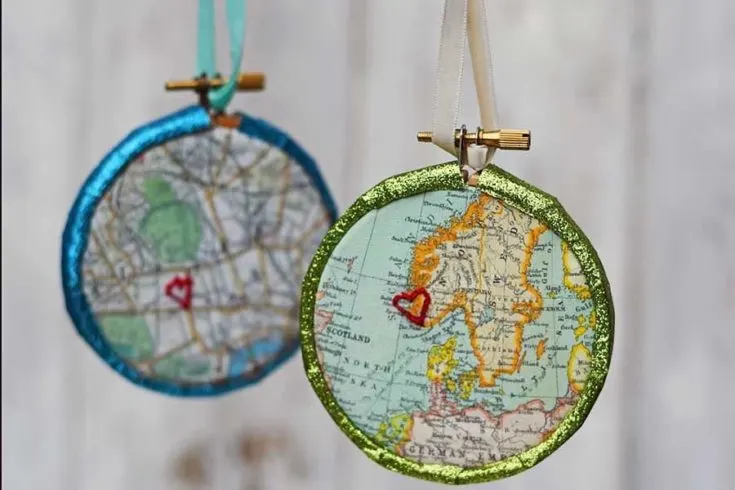
How To Make A Personalized Embroidered Map Ornament
This is a fun way to use home-printed fabric. Print maps and embroider on them to make cute personalized Christmas ornaments.
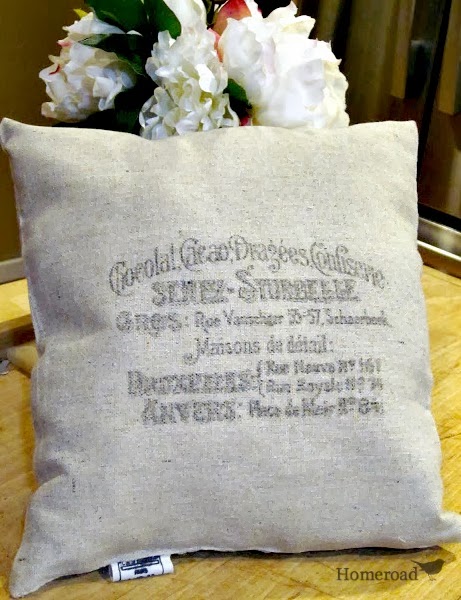
Mod Podge Photo Transfer to Fabric
How to print on to your own pillows at home using Mod Podge as a fabric medium.
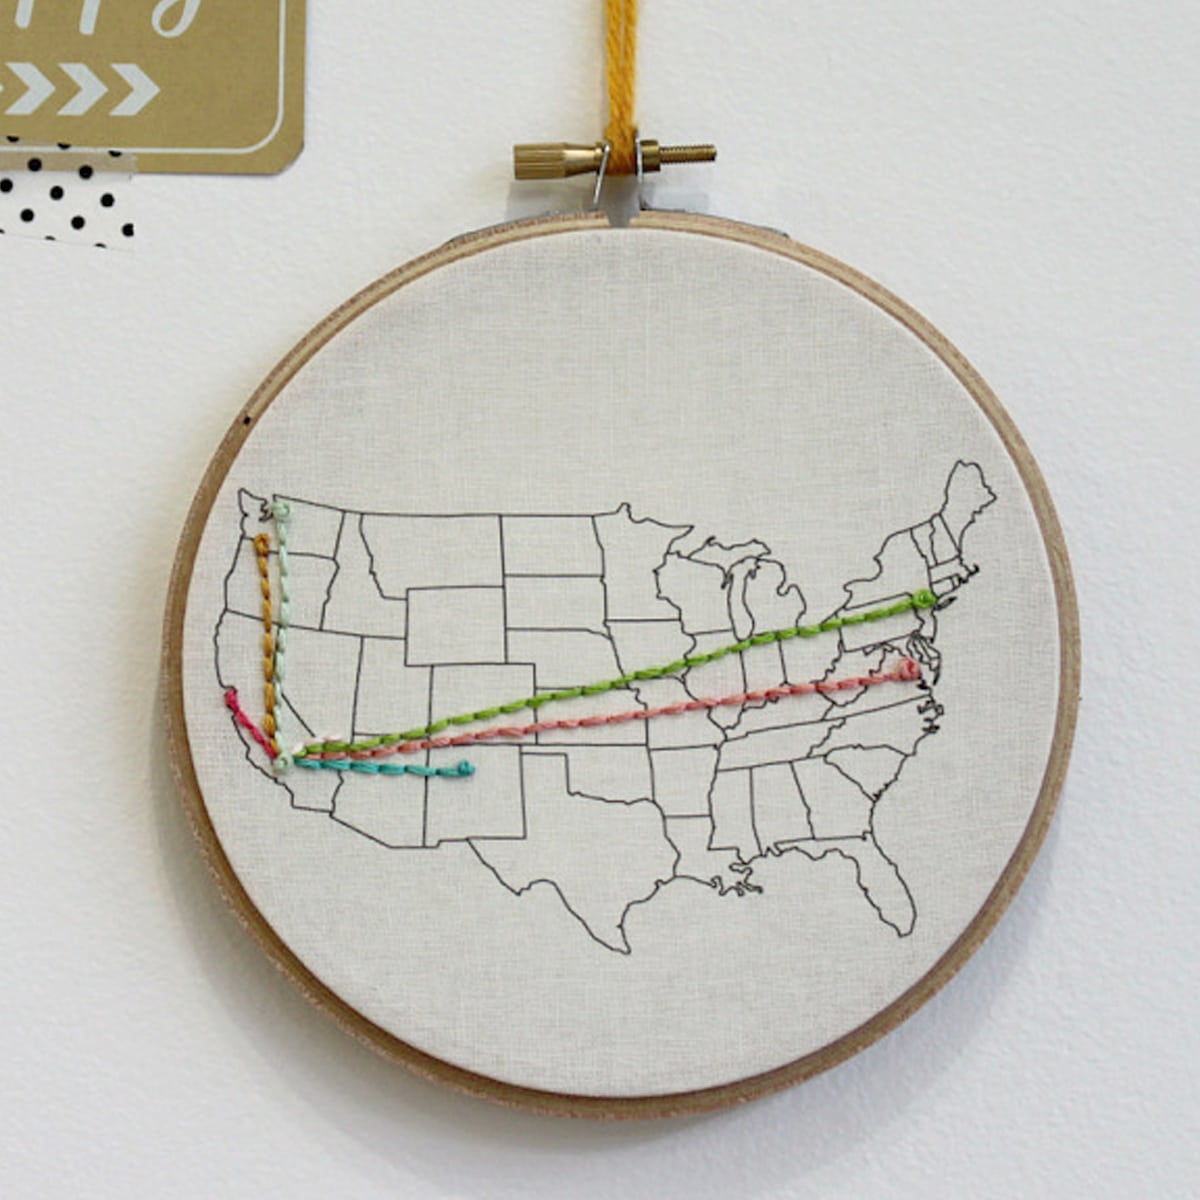
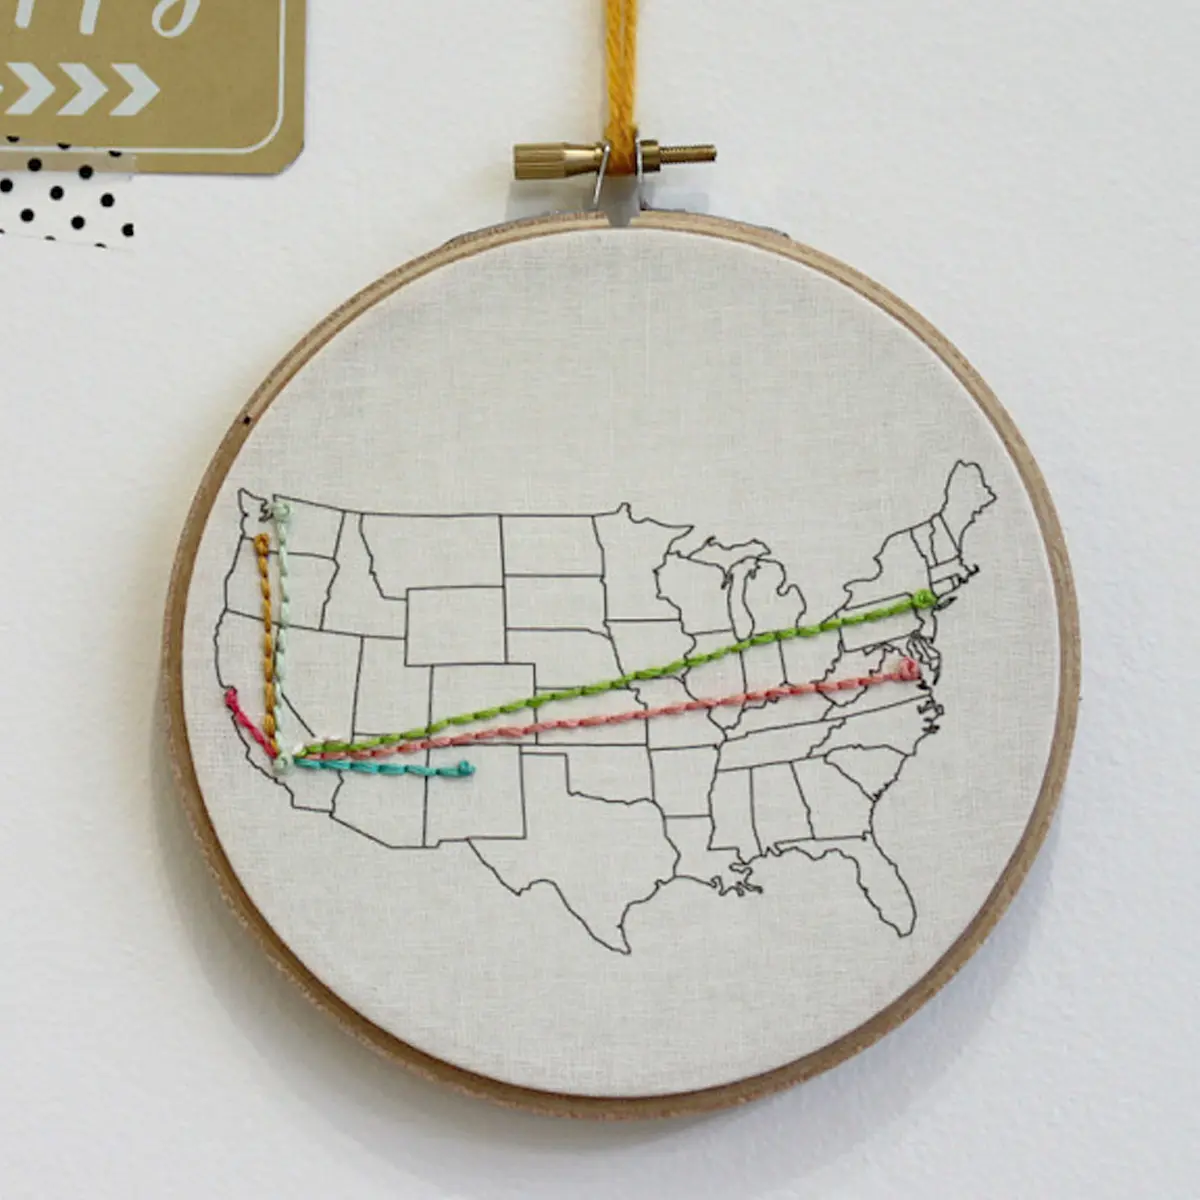
how to print on fabric with an inkjet printer and make embroidered map art
The map for this gorgeous piece of embroidery art was printed onto the fabric using the freezer paper method.

Fundas para cojines con im�genes transferidas
This tutorial shows you how to print onto fabrics with iron-on transfer for images larger than A4.

Transfer Methods & Cute Little Pillows
This collection of cute little pillows were made by printing directly onto the fabric using a home printer.
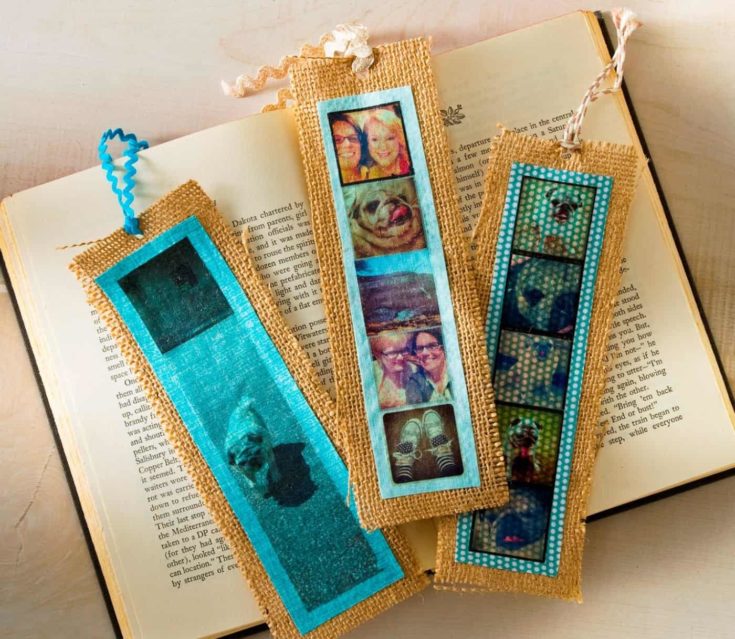

Easy Burlap Personalized Photo Bookmarks
These adorable DIY bookmarks would make a lovely personalized gift. They are made using the iron-on transfer method.
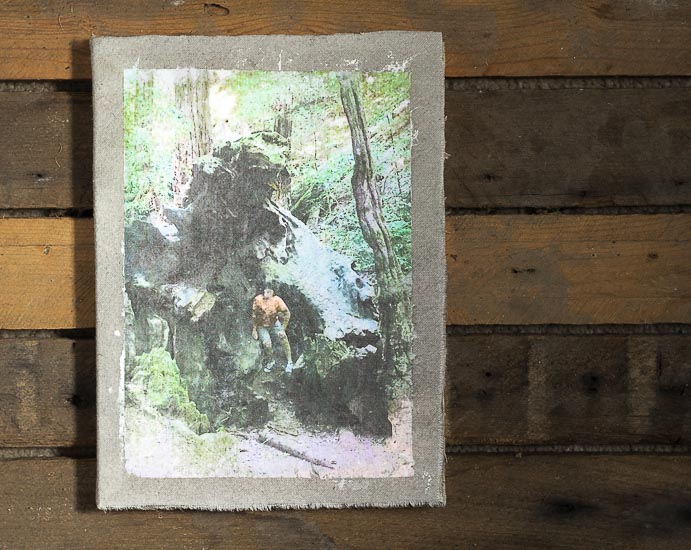

Fabric Photo Transfer Notebook Easy Tutorial
Another great gift idea using photos, a personalized notebook. The image transfer medium was used for this craft.


DIY Summer Reading Book Bag + free printable
Jazz up an old tote bag into a cool reading bag with a printed iron-on transfer.
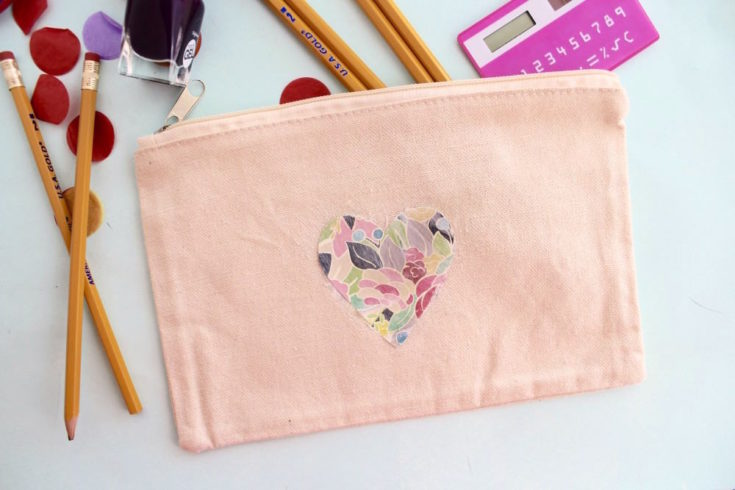

Transfer Paper to Fabric with This Cool Tutorial
Jazz up a plain pencil case with an image transfer using a medium.
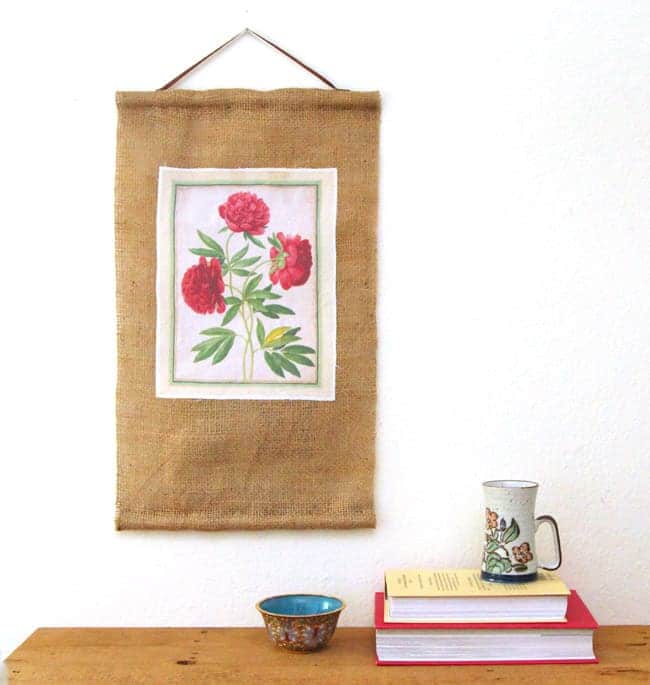

How to Print on Fabric + DIY Coffee Bean Bag Art Scroll
This banner cutely uses vintage floral images. It was made using the freezer paper printing method. Find more botanical crafts here.

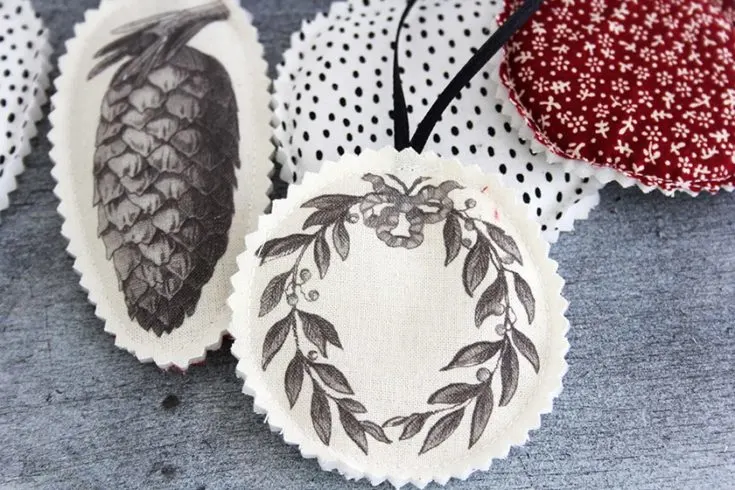
Kinderersicherer Baumschmuck
I love these vintage image Christmas ornaments made with the freezer paper printing method.

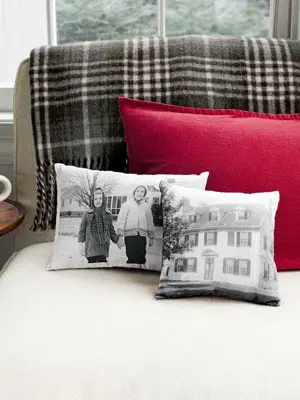
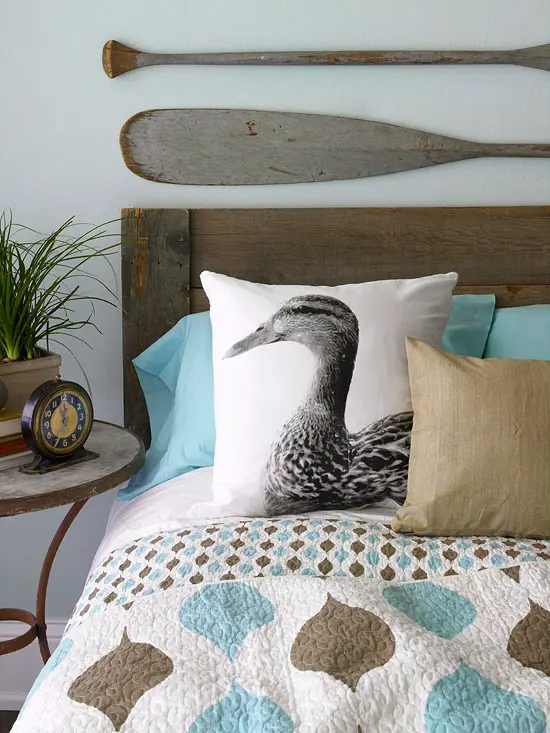
DIY | Vintage Photo Pillows
Old photos are a great thing to print onto fabric to make personalized gifts, such as these photo pillows.
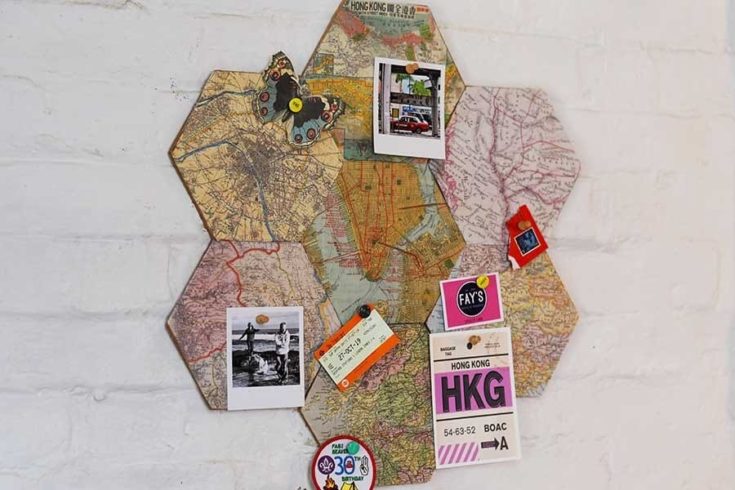

How To Make A Personalized DIY Map Cork Board
This personalized corkboard is covered in maps printed onto fabric sheets.
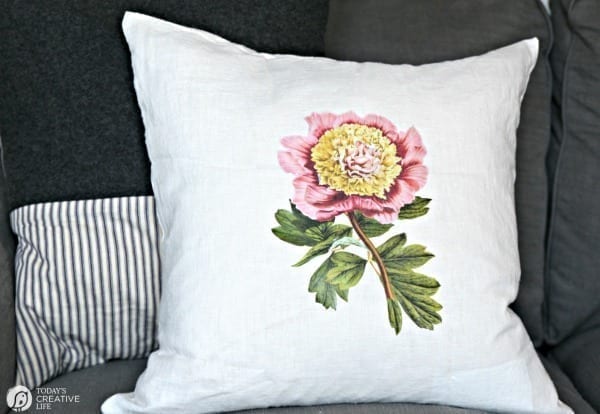
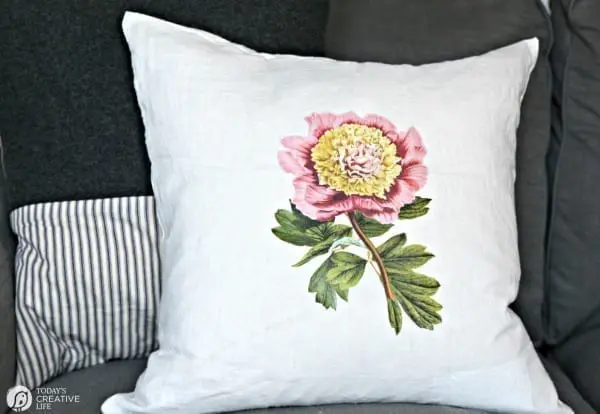
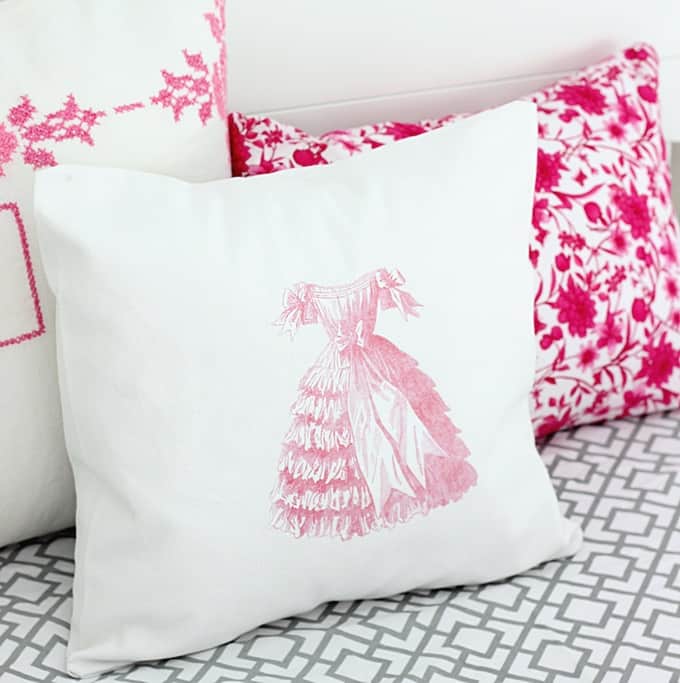
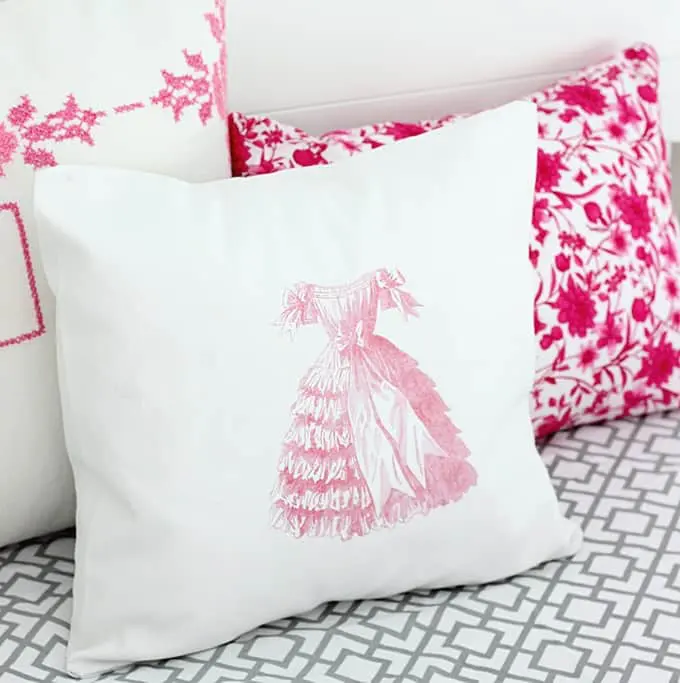
DIY Home Decor with Iron On Transfer Sheets
Iron-on transfer paper can be used to create beautiful home decor accessories, like this customized pillow with a beautiful vintage floral illustration.
One of my favourite things to print onto fabrics is vintage images, especially flower illustrations and other wonderful botanical drawings. There are many wonderful free vintage images and maps on Pictureboxblue, which would be great for printing onto fabric.

Jane Campbell
Monday 20th of June 2022
Thank you so much for the detailed instructions. I used the freezer paper method to print the details for the top of a sewing machine needle sorting cushion. It worked beautifully.
Claire Armstrong
Monday 20th of June 2022
You're welcome. I am glad to hear that your project worked out beautifully.
Naush Samama
Monday 28th of September 2020
Congratulations Claire, your post will be featured in our Meraki Link Party today. Thank you so much for linking with us. Naush
Claire Armstrong
Monday 28th of September 2020
Thank you so much I look forward to seeing it.
Cecilia
Sunday 27th of September 2020
What pretty results from each technique! Thanks for sharing your tutorial at Vintage Charm!
Claire Armstrong
Monday 28th of September 2020
Thank you so much, printing on fabric at home opens up so many craft possibilities.
Jo (a Rose Tinted World)
Monday 21st of September 2020
Love these ideas. Will pin for later.
Claire Armstrong
Tuesday 22nd of September 2020
Thank you so much and thanks for the share.
Michele Michael
Saturday 19th of September 2020
Great tutorial. I pinned to my printables board which btw includes many of your posts. Thanks for posting at Funtastic Friday.
Claire Armstrong
Saturday 19th of September 2020
Thank you so much and thanks for the share!