
How to Do Paper Embroidery with Sashiko-Style Heart Patterns
Paper embroidery, but make it sashiko. These hand-stitched paper hearts use simple running stitches and handmade sashiko patterns, making them an easy and satisfying paper embroidery project for beginners. Ideal for Valentine’s Day cards, gifts, and decorations.
If you like crafts that are soothing, slightly obsessive, and involve making lots of tiny, pleasing holes in paper, you’re in the right place. These sashiko-inspired embroidered paper hearts are stitched onto watercolour postcards with a simple running stitch, making them an easy, relaxing beginner paper embroidery project.
If you’ve enjoyed my paper embroidery vase craft or other embroidered paper projects, you’ll love this one too. Once you start designing the patterns, it’s hard to stop. Circles turn into waves, lines become hexagons. Before you know it, you’re planning colour combinations and future hearts. They’re perfect for Valentine’s cards, handmade decorations, or stringing into a cheerful little garland you’ll want to keep up all year.
Why Sashiko Is Perfect for Paper Embroidery
Traditional sashiko embroidery uses a simple running stitch to create bold geometric patterns. That simplicity makes it ideal for stitching on paper, where fancy stitches can weaken the surface.
For this project, I stitched hearts onto watercolour paper postcards, which are sturdy enough to hold the thread but still easy to punch holes into.
You can:
- Keep things minimal with classic red thread
- Experiment with colour
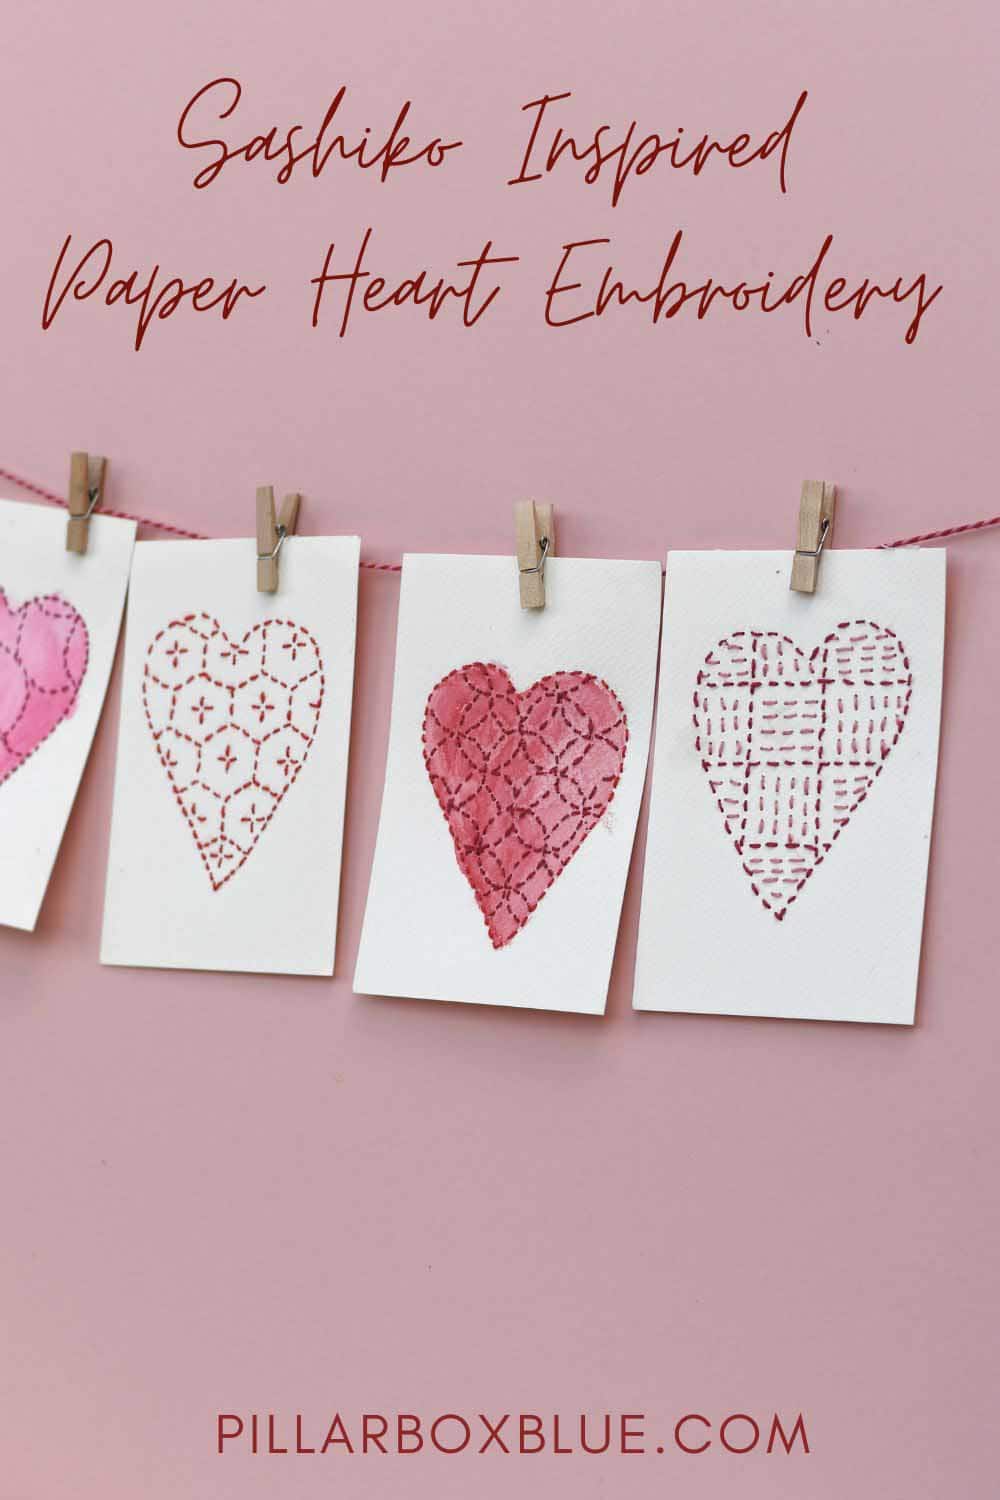
- Or add a soft wash of watercolour before stitching for extra depth
What You’ll Need
We're a participant in the Amazon Services LLC Associates Program, an affiliate advertising program designed to provide a means for us to earn fees by linking to Amazon.com and affiliated sites. As an Amazon Associate, I earn from qualifying purchases.
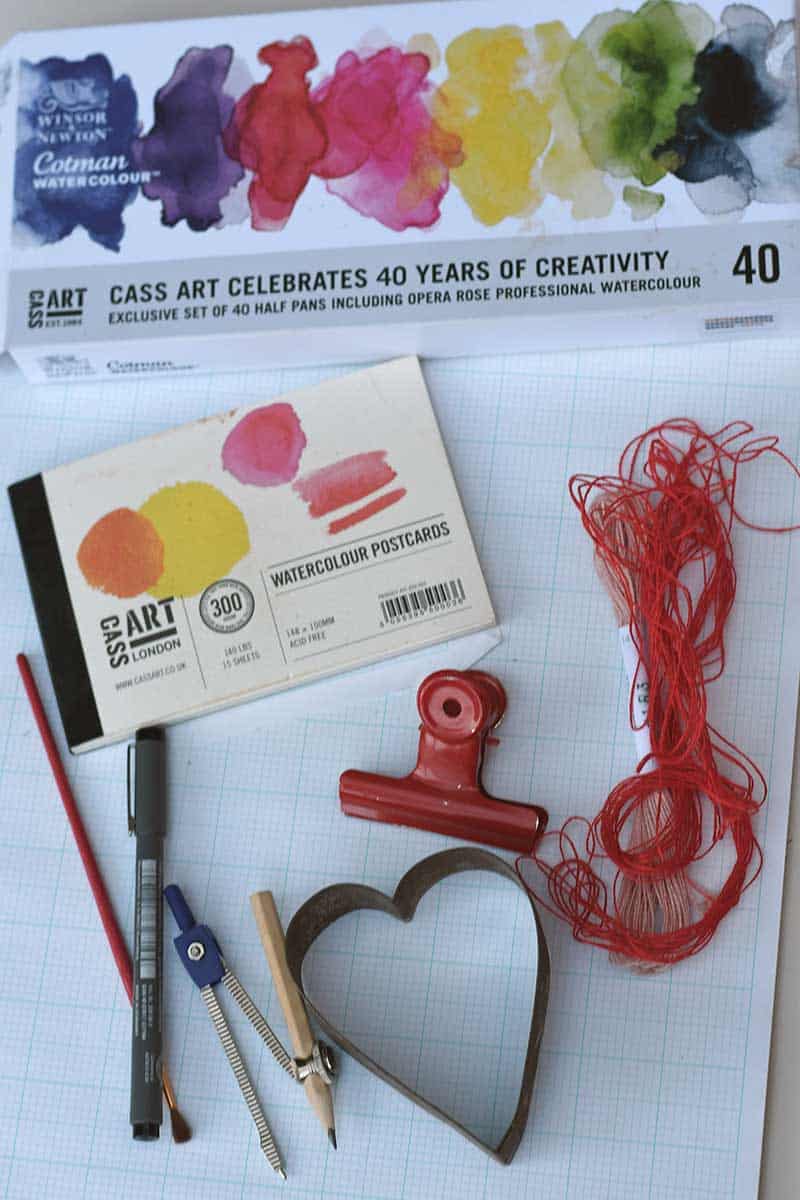
- Watercolour paper postcards (or thick watercolour paper cut to size)
- Embroidery needle (use the same size for punching holes and stitching)
- Embroidery thread (I used red, but anything goes)
- Foam board or thick cardboard
- Bulldog clip
- Heart-shaped cookie cutter
- Graph paper
- Ruler and compass
- Pencil
- Cork or a small piece of balsa wood (optional, for a needle handle)
- Watercolours (optional)
How To Make Sashiko Paper Embroidery
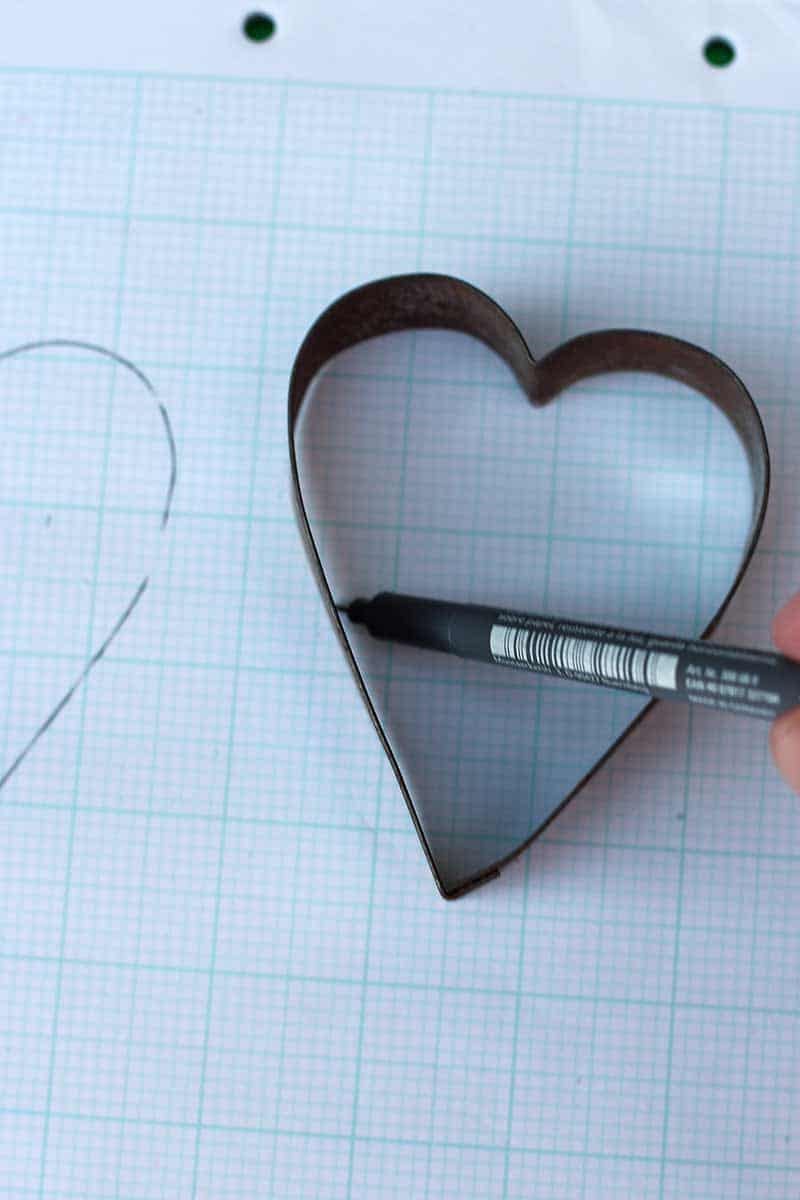
Step 1: Design Your Paper Sashiko Patterns: Start by drawing around a heart-shaped cookie cutter onto graph paper. This gives you a clear boundary to work within.
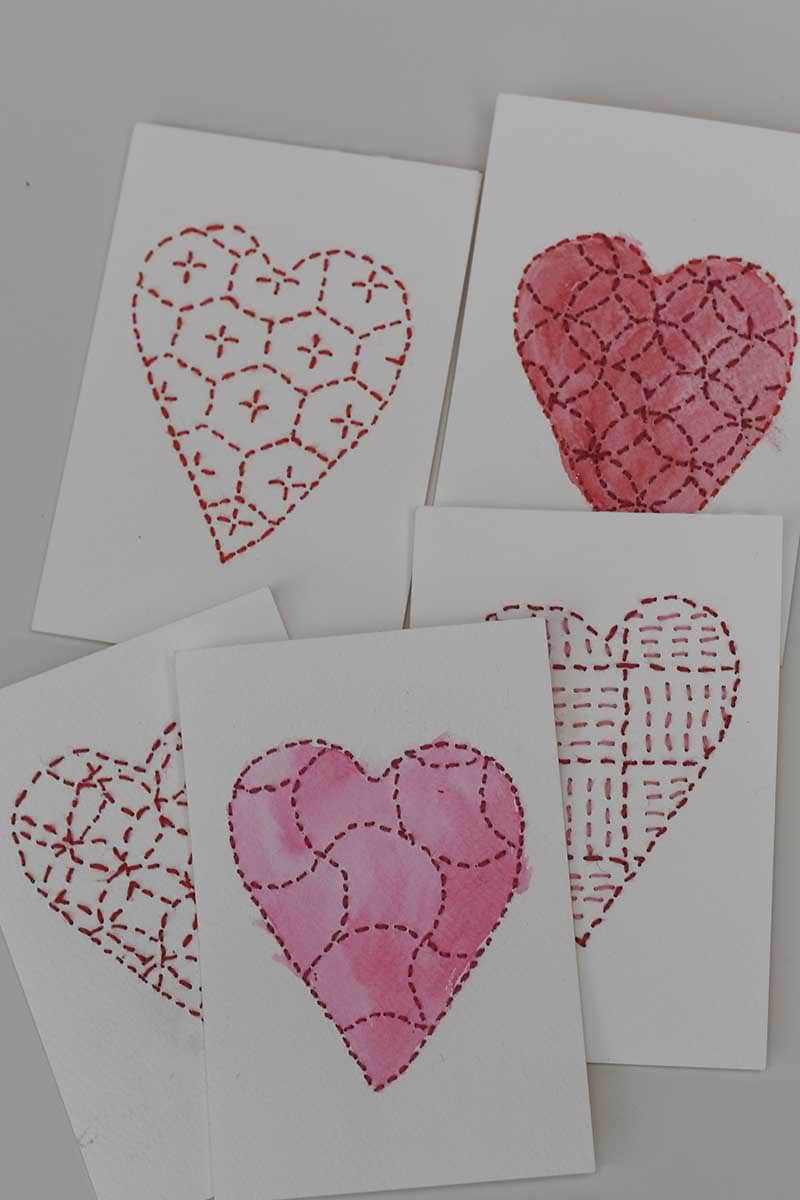
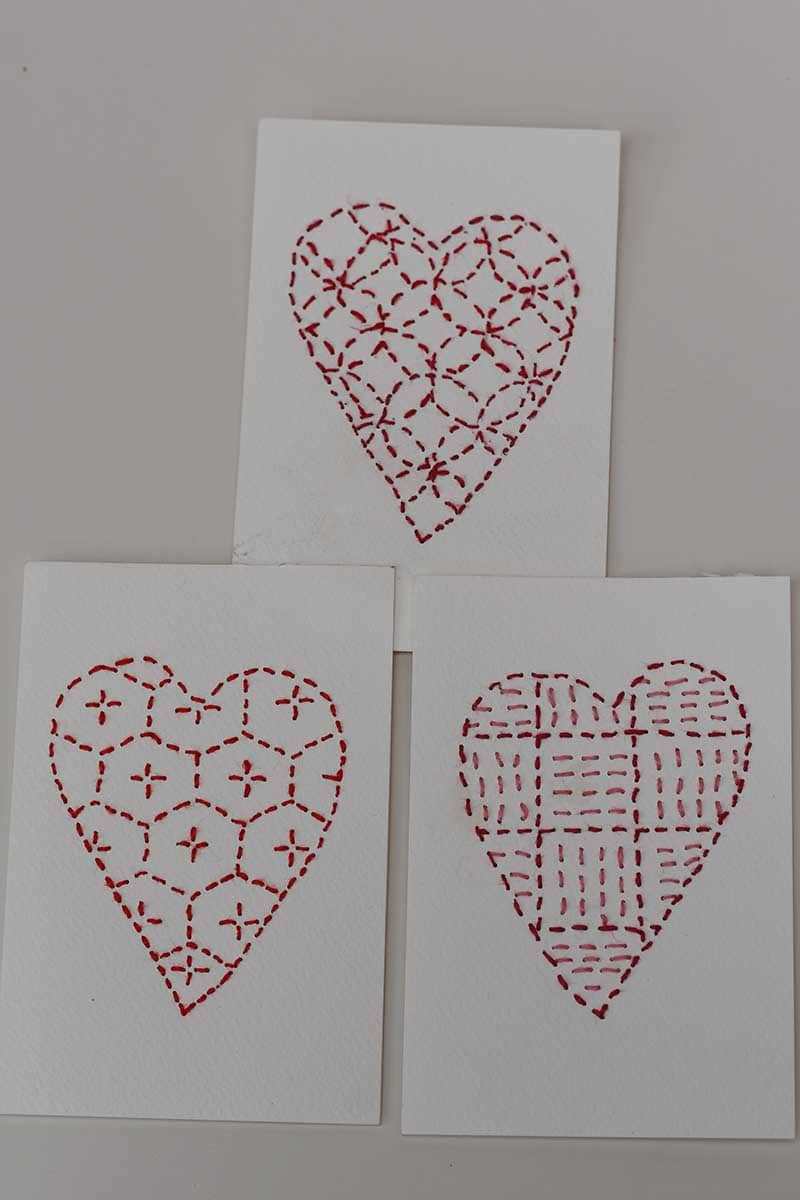
Using a ruler and or compass, design your sashiko-style patterns inside the heart. I made several different designs, including:
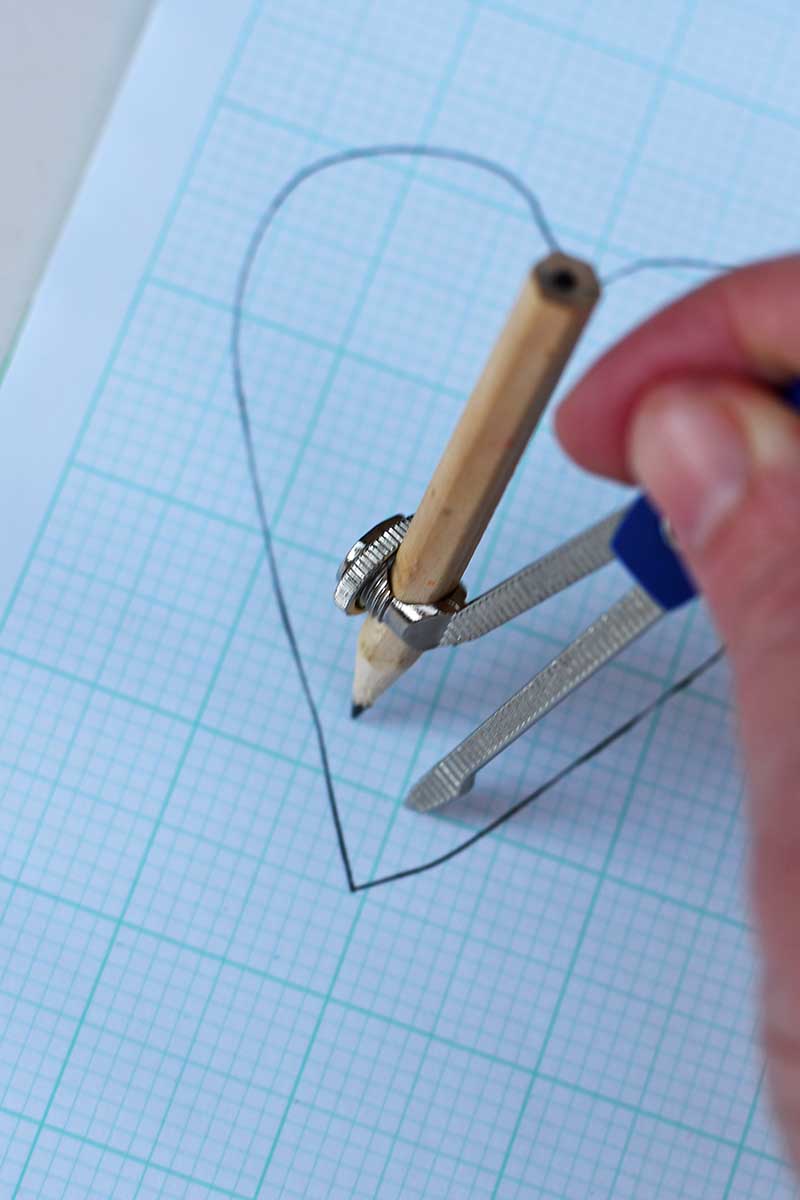
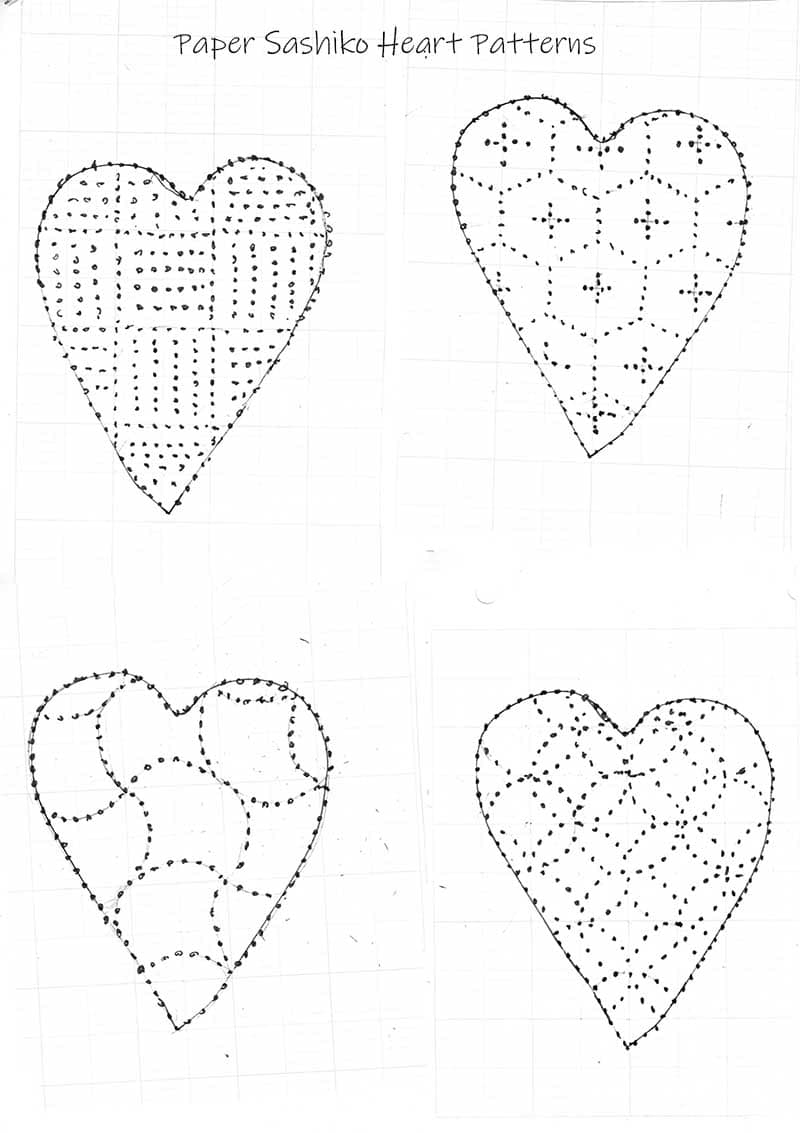
- Overlapping circles
- Simple geometric stripes
- Wavy crossing curves
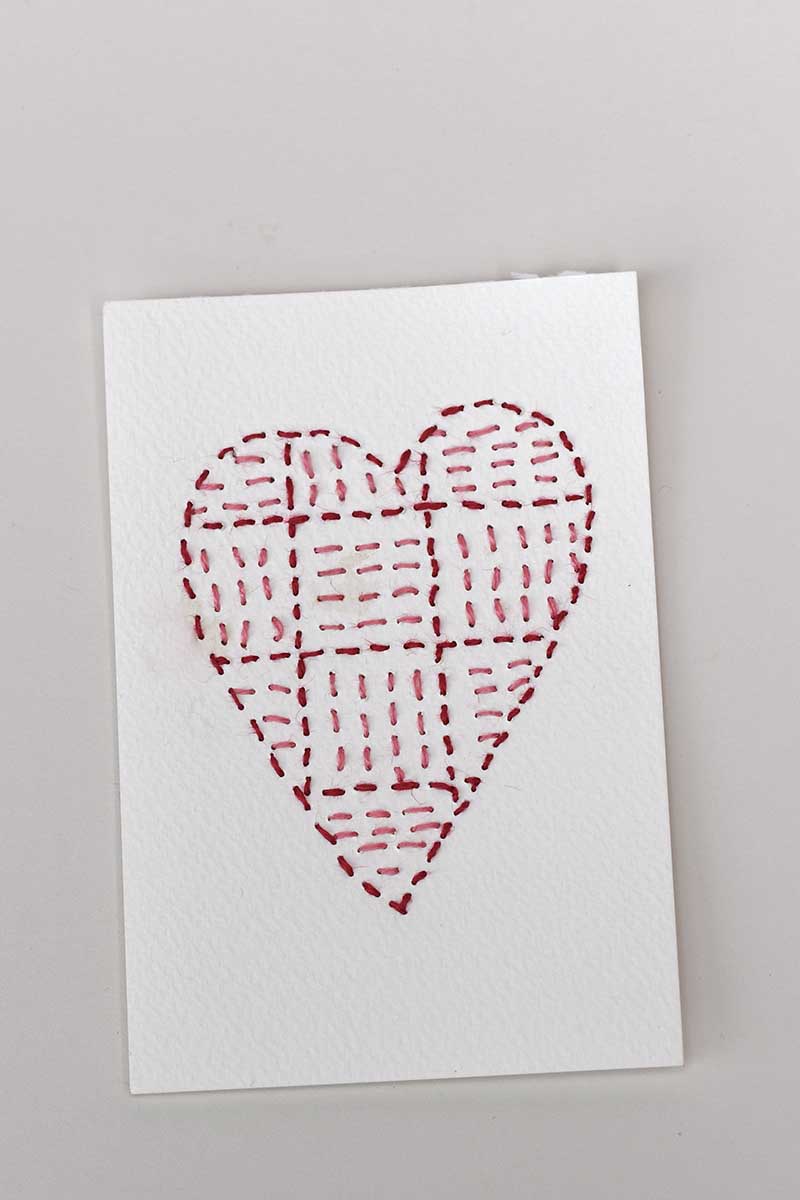
- Hexagons with a small cross in the centre
Don’t overthink it; sashiko patterns are meant to feel rhythmic rather than perfect.
Step 2: Transfer the Pattern to Paper: Place your pattern on top of a watercolour postcard, then position both on a piece of foam board. Hold everything firmly in place with a bulldog clip.
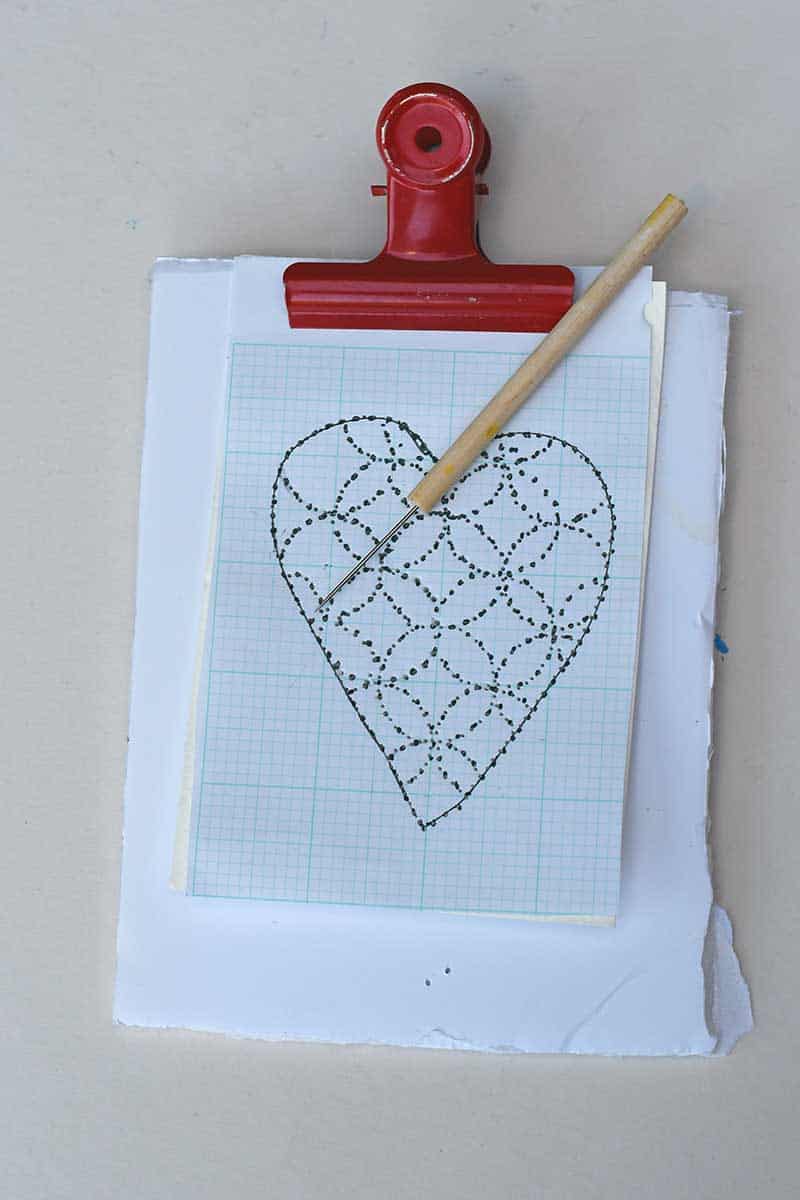
Using your needle, punch holes through the paper following the pattern lines.
- Space holes roughly 3–5 mm apart
- Punch holes all the way around the edge of the heart, too
Top Tip: If the needle feels awkward to grip, push the eye end into a cork or a small piece of balsa wood to make a mini handle.
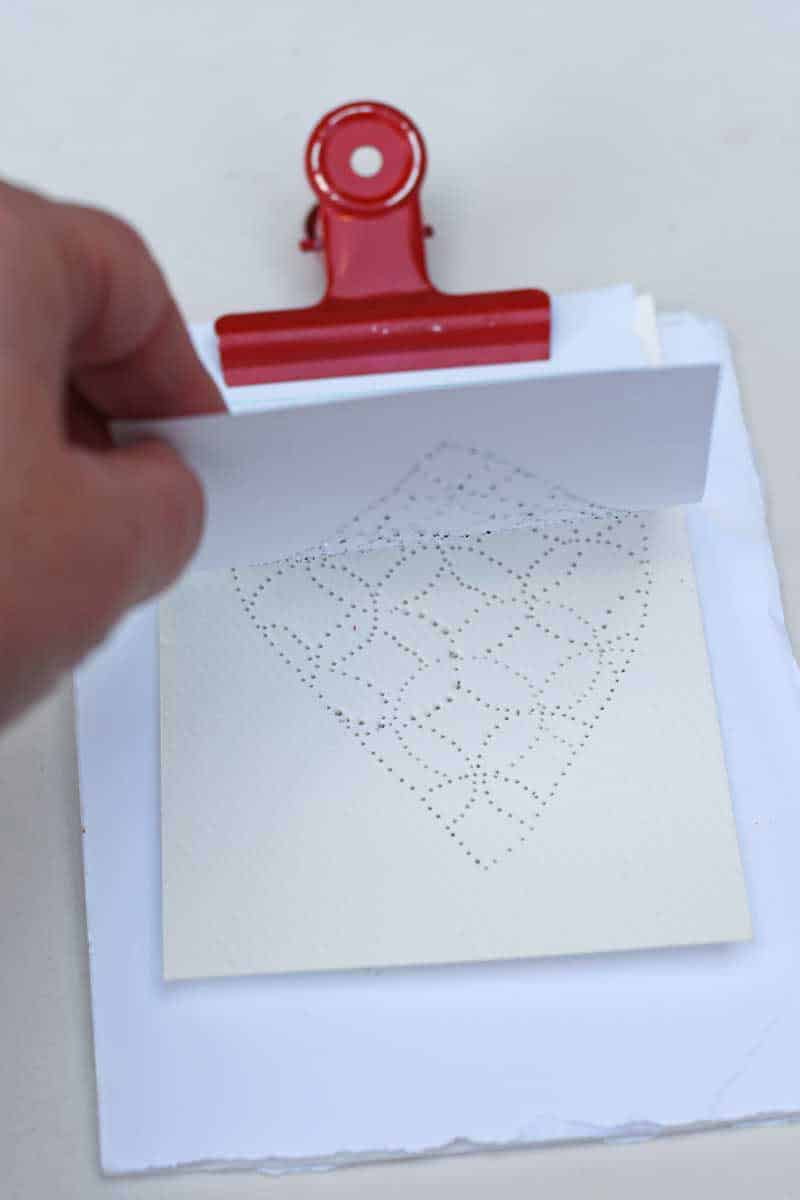
Step 3: Add Optional Watercolour: For a few of the hearts, I painted inside the heart shape with a light wash of pink or red watercolour before stitching.
Let the paint dry completely before moving on; damp paper and thread are not friends.
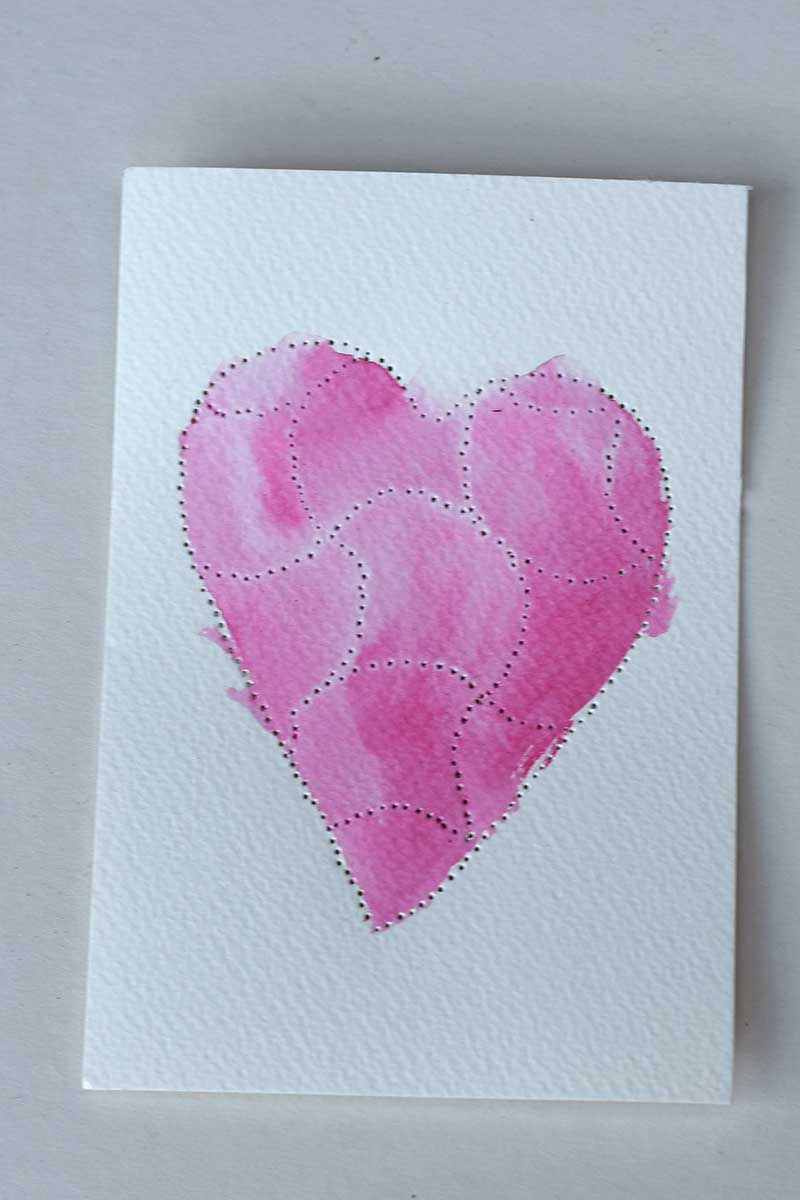
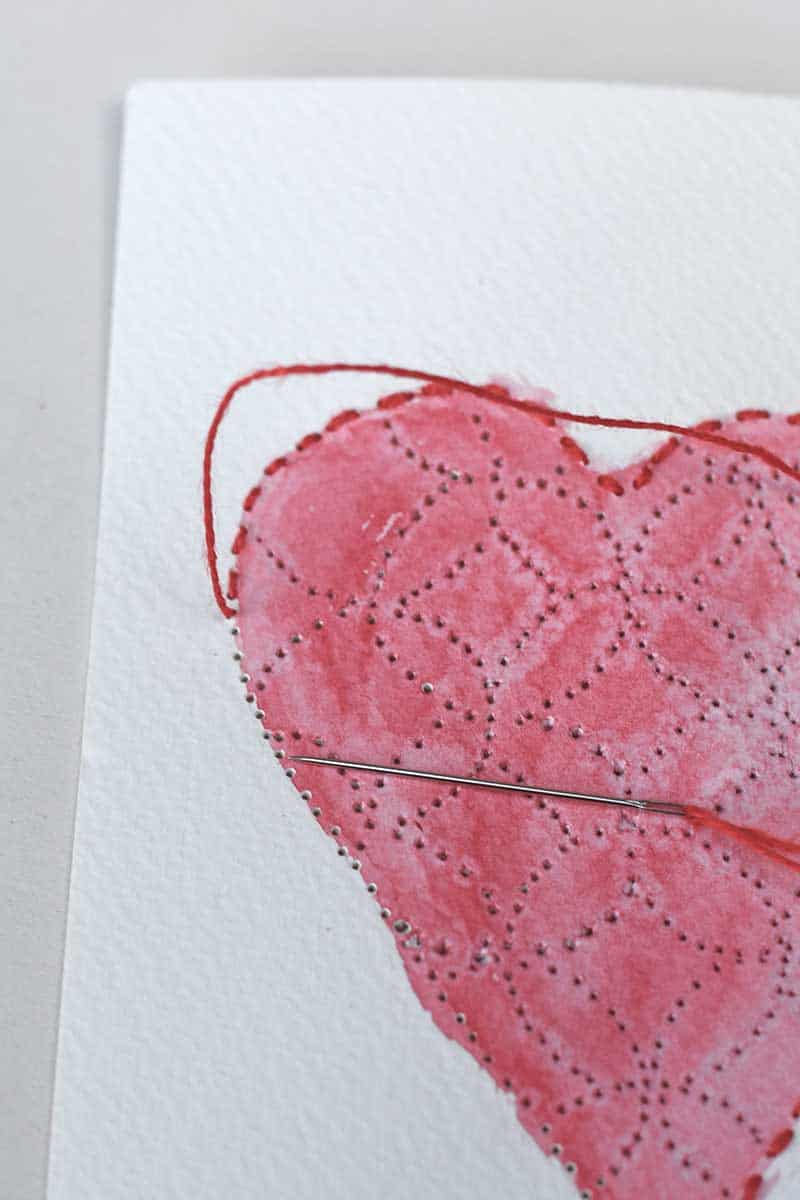
Step 4: Stitch the Paper Hearts: Thread your needle and tie a knot at the end.
Using a simple running stitch, follow the pre-punched holes around the pattern.
- Keep the stitches even but relaxed
- Finish with a knot on the back of the paper
Because the holes are already punched, this step is very calming and beginner-friendly.
Have Fun Experimenting Try:
- Different thread colours
- Metallic embroidery floss
- Black paper with white stitching
- Larger or smaller hearts
Paper embroidery is wonderfully forgiving, and sashiko patterns make it especially playful.
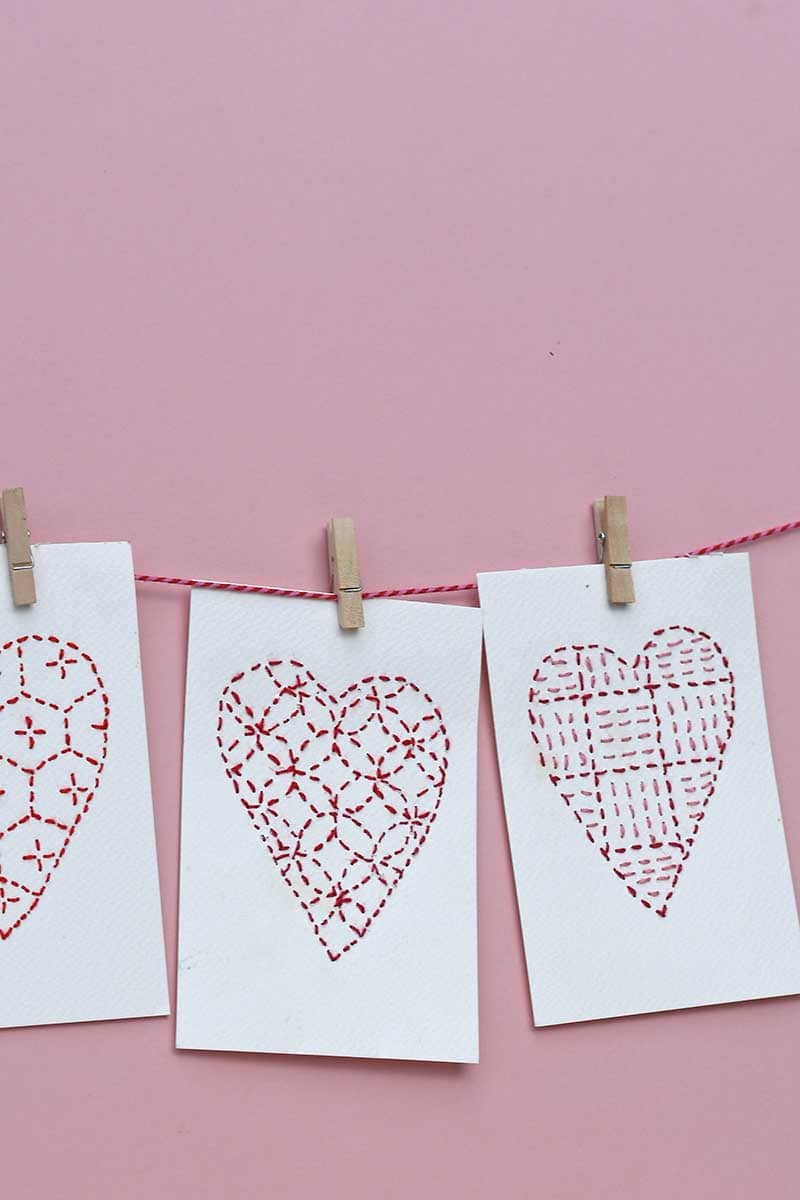
Displaying The Paper Embroidery Hearts
Once finished, your stitched hearts can be used in lots of ways:
- String them together as a heart garland
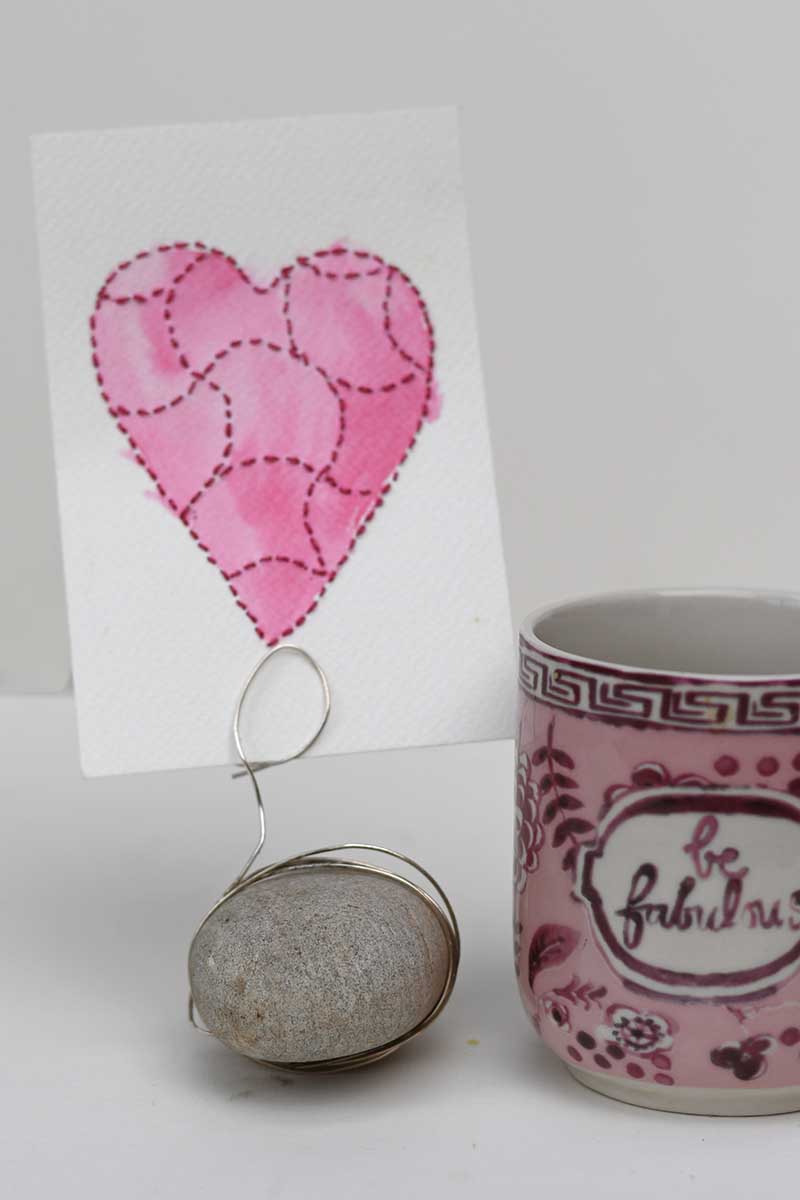
- Display them in a wire photo holder (wire wrapped around a stone with a spring clip works perfectly)
- Use them as handmade Valentine’s cards or gift toppers
You can also design your own sashiko patterns or use mine as a starting point. There are loads of sashiko pattern ideas online, too. Pinterest is a brilliant place to fall down that rabbit hole.
How to Design Simple Sashiko Stitch Patterns
Designing your own sashiko patterns is much easier than it looks, and it’s one of the most enjoyable parts of this paper embroidery craft.
Start with graph paper. The grid helps keep your designs balanced and evenly spaced, which is perfect for sashiko’s calm, repetitive style. Draw your main shape first (in this case, a heart), then build the pattern inside it.
Sashiko patterns are usually based on:
- Straight lines
- Repeating shapes
- Symmetry
Begin with something simple, like parallel stripes, crossing lines, or a basic grid. From there, you can layer shapes — overlapping circles, waves that cross over each other, or hexagons with a small cross in the centre, all work beautifully.
Think of each stitch as a dot on the paper. When designing, imagine where the needle will go in and out, keeping the spacing between stitches roughly even. Patterns look best when the stitch rhythm stays consistent, rather than perfectly precise.
Final Thoughts (and a Fun Twist)
Once you’ve stitched one paper heart, it’s very hard not to start planning the next: different patterns, different colours, maybe just one more. And if you find yourself enjoying the rhythm of punching holes and filling them with stitches, the same techniques work brilliantly on air-dry clay too.
If you fancy experimenting, have a look at my embroidered air-dry clay pendants and clay hearts for a fun, tactile alternative to paper.
If you’re fully in a heart-making mood, you might also enjoy browsing my roundups of paper heart Valentine crafts and Valentine crafts for adults, both packed with creative ideas that go beyond the usual pink-and-glitter clichés.
And for traditional fabric, Sashiko, check out these denim bookmarks, which would make a lovely gift.
Sashiko Paper Heart Embroidery

This paper heart embroidery tutorial shows you how to stitch sashiko-style patterns onto watercolour paper using a simple running stitch. A fun beginner paper embroidery craft for Valentine’s Day cards, garlands, and handmade decorations.
Materials
- Watercolour paper postcards (or thick watercolour paper)
- Embroidery thread (red or colour of choice)
- Foam board or thick cardboard
- Graph paper
Tools
- Embroidery needle
- Bulldog clip
- Heart-shaped cookie cutter
Instructions
1. Design the Sashiko Pattern
Draw around a heart-shaped cookie cutter onto graph paper.
Using a ruler and compass, design a simple repeating sashiko-style pattern inside the heart.
2. Prepare the Paper
Place the pattern on top of a watercolour postcard.
Position both on a foam board and secure with a bulldog clip.
3. Punch the Holes
Using your embroidery needle, punch holes along the pattern lines.
Space holes approximately 3–5 mm apart.
Punch holes around the edge of the heart shape too.
Tip: Push the eye of the needle into a cork or balsa wood to make it easier to hold.
4. Optional Watercolour
Paint inside the heart shape with a light wash of watercolour.
Allow to dry completely before stitching.
5. Stitch the Heart
Thread the needle and tie a knot at the end.
Use a simple running stitch to follow the punched holes.
Finish with a knot at the back of the paper.
6. Display
Use the stitched hearts as cards, string into a garland, or display in a wire photo holder.
Notes
Try designing your own sashiko patterns
Black paper with white stitching also works beautifully
LOVE THIS so much and great to see you on craft schooling sunday! Been doing lots of cross stitch and now it is time to try sashiko, maybe even on paper now that you've inspired me!
Thank you so much. It's fun stitching on paper.
Oh they are so cute!! Thanks for joining in on Home Matters Linky Party! I will be featuring your post this week! #HomeMattersParty xx
Thats so awesome thank you look forward to seeing them.
These are so pretty! They look so fun and relaxing to make. I'm happy to be featuring this post tomorrow at Thursday Favorite Things. 🙂
Thank you, they are a fun relaxing craft - the sort you can do whilst watching the TV.