
Brilliant DIY LED Deer Christmas Decoration
Brilliant DIY LED Deer Christmas Decoration
LED Deer: This is a simple, but brilliant diy illuminated wall art project. I made this for the fraction that it would cost to buy something similar from an upmarket interiors store.
Christmas lights add sparkle to your decorations in those dark winter evenings. I love walking into an illuminated home, it all adds to the magical feel of this time of year.
Christmas string lights have evolved considerably in the last few years. When I was a kid the only Christmas string lights you could get were those tacky green plastic ones you put round the tree. Now you can get lovely copper wire lights, that are sleeker, brighter and a thousand times more stylish.
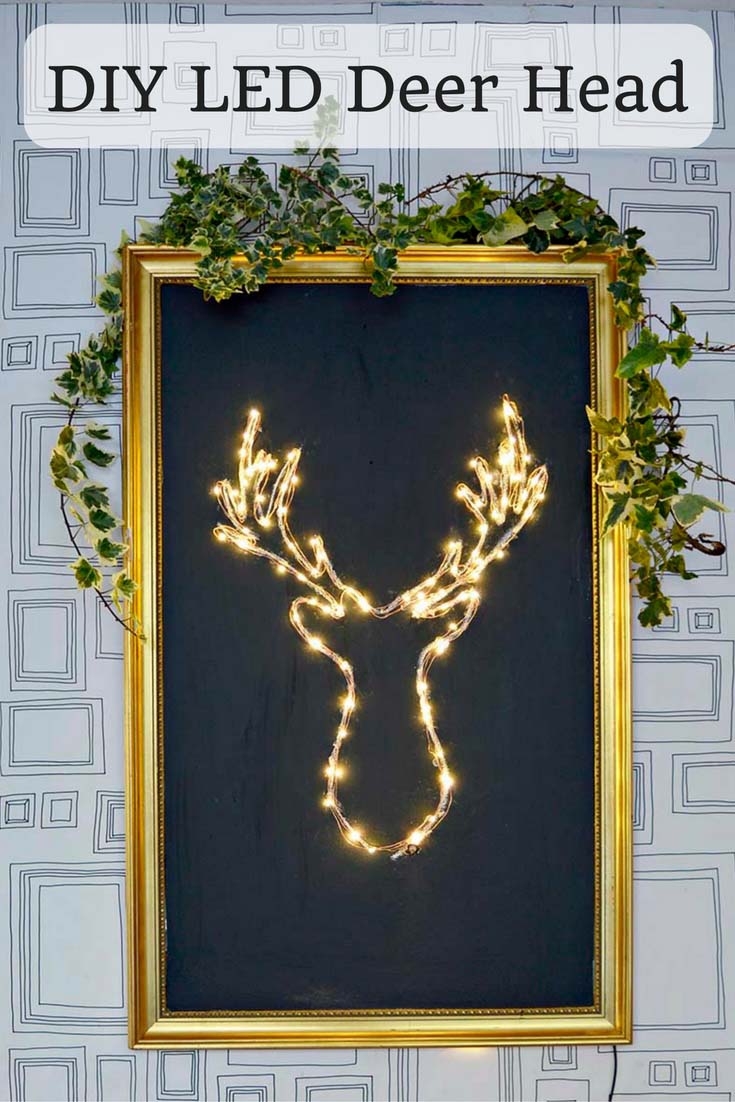
I wouldn't have attempted this DIY illuminated Christmas decorations with the old lights, it just wouldn't have looked good. However I'm in love with the new copper wired LED lights, so many Christmas decoration possibilities.
Warning the led lights come with a remote control, which you should not let fall into the wrong hands. The lights aren't always soothing, especially when my son insists on putting the lights on a fit inducing disco flashing mode instead of my favoured gentle soothing dimmer mode.
As with my Photo Frame Chalkboard Display I need to include the following disclaimer, before I receive a the usual backlash I seem to get whenever I upcycle old picture frames.
Disclaimer: I promise that no original artwork was harmed in the making of this DIY project. The picture used was a print. If it was an original painting, I would have sold it at auction and would currently be drinking Champagne contemplating my retirement 🙂 .
What you need to make an LED Deer Christmas Decoration
This post contains amazon affiliate links for your convenience. Click here to see my disclosure policy.
-
- Old picture frame - I was very lucky and got mine for free, my local junk shop were chucking it out. Garage sales are good places to find frames like this.
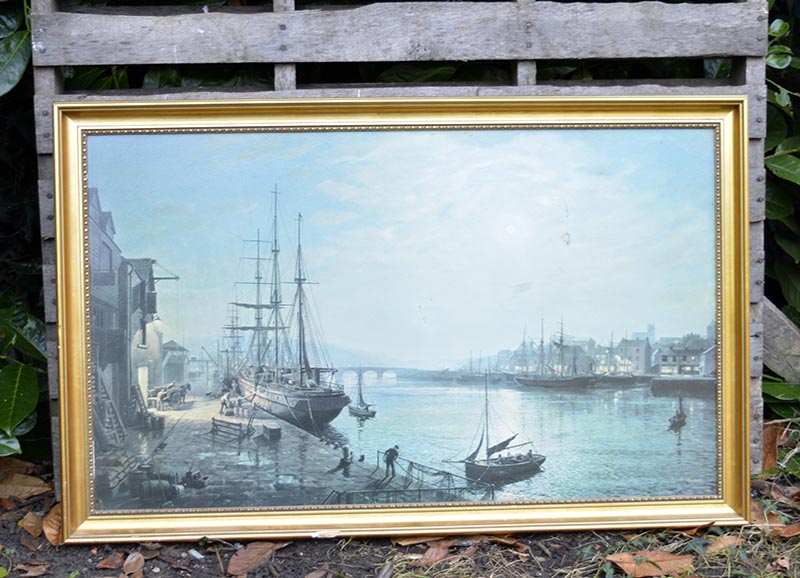
-
- LED Copper String lights - I used these 33ft long ones
- Sticky Glue dots
- Chalkboard paint
- Masking tape
- Chalk
- Drill
- Deer head silhouette - There are lots of printable deer head silhouettes on pinterest just search and choose the one you like. I use the one provided by "Made in a Day" for their deer head pallet project.
How to make an LED Deer Head Christmas Wall Decoration
-
- I was lucky as my picture frame was in relatively good nick. The frame itself was a gold colour with a red fleck. As I felt this was kind of Christmassy colours I left the frame as it was. However I did paint over the picture (note a print and not original artwork) with chalkboard paint.
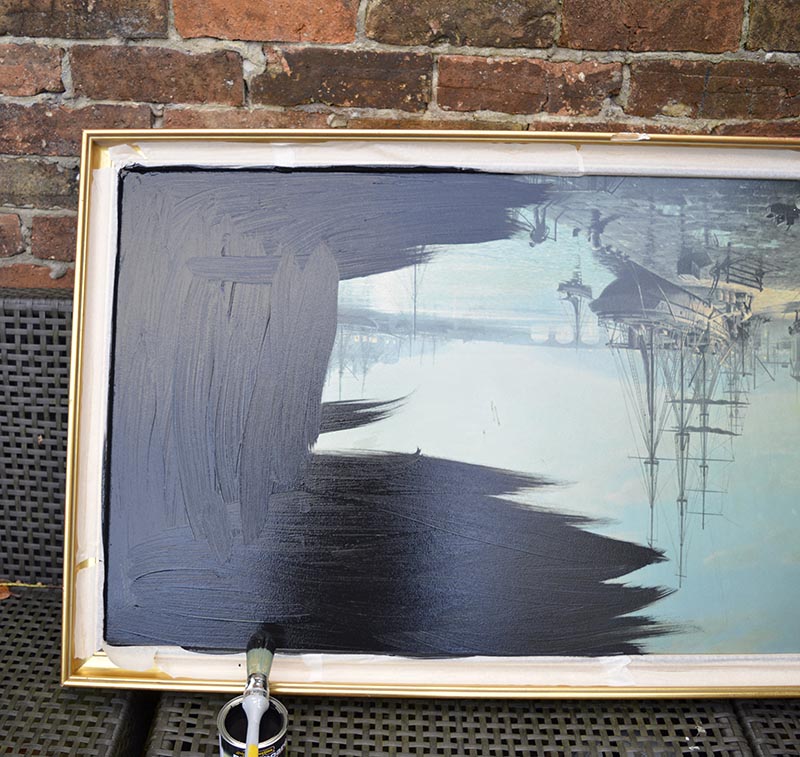
- I was lucky as my picture frame was in relatively good nick. The frame itself was a gold colour with a red fleck. As I felt this was kind of Christmassy colours I left the frame as it was. However I did paint over the picture (note a print and not original artwork) with chalkboard paint.
-
- Print out the deer silhouette of your choice. The size will depend on the size of the frame. My frame was rather large so I printed out my deer head onto several pages of A4 paper. If it's easier for you you could get your local print shop to print it out for you onto one large piece of paper.
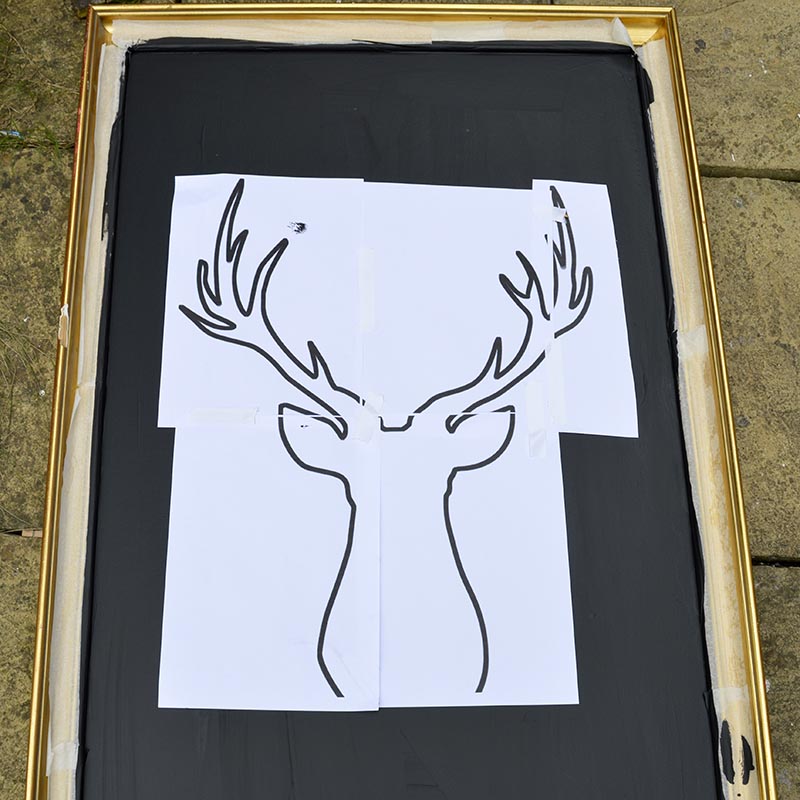
- Print out the deer silhouette of your choice. The size will depend on the size of the frame. My frame was rather large so I printed out my deer head onto several pages of A4 paper. If it's easier for you you could get your local print shop to print it out for you onto one large piece of paper.
-
- To transfer my deer head image I used a neat little chalk transfer trick. Turn the deer silhouette over and rub chalk over the thick outline. Then turn the paper over and with a pen with a lid on, firmly trace round the deer head outline.
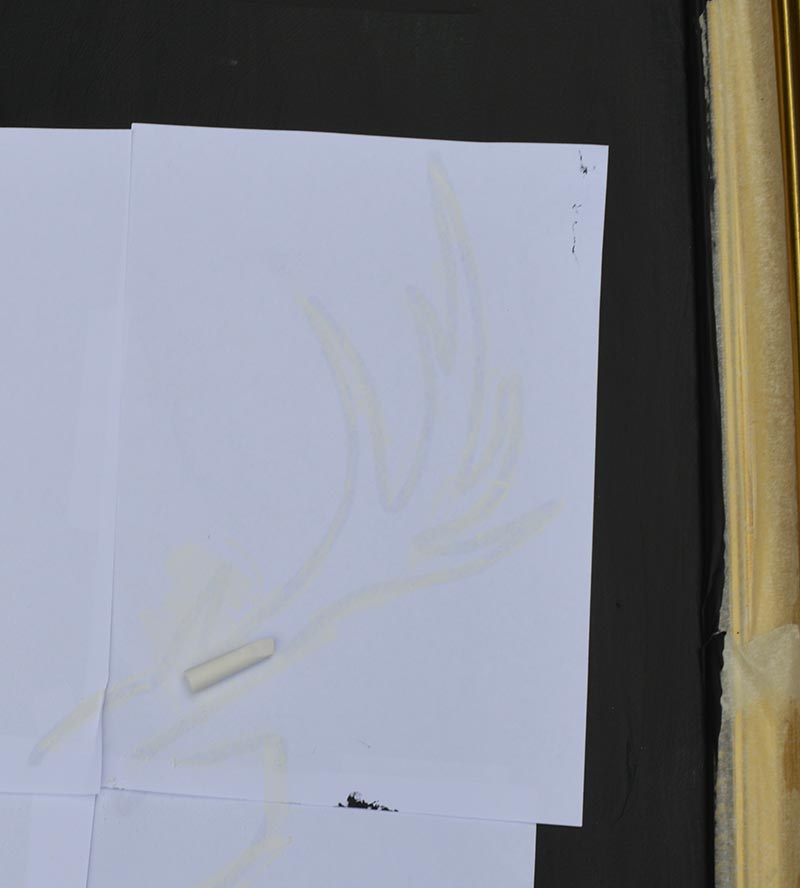
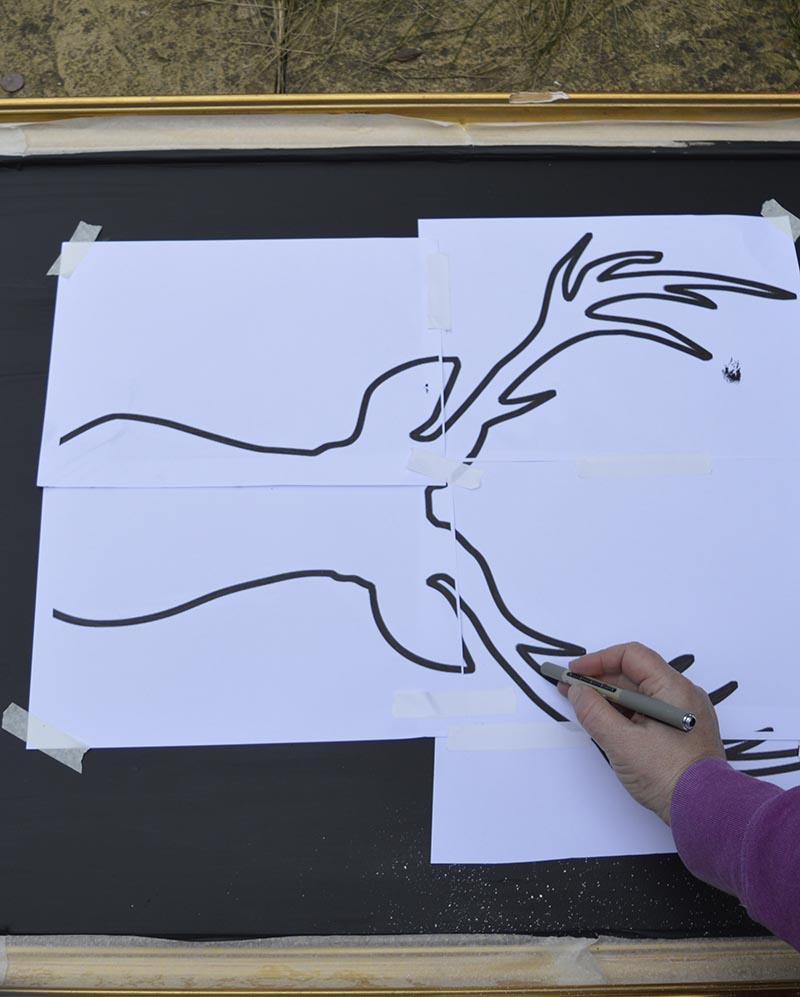
- When you lift up your paper you should have a nice chalk outline of your deer silhouette. Just go over this again with chalk to neaten it up and remove any excess chalk.
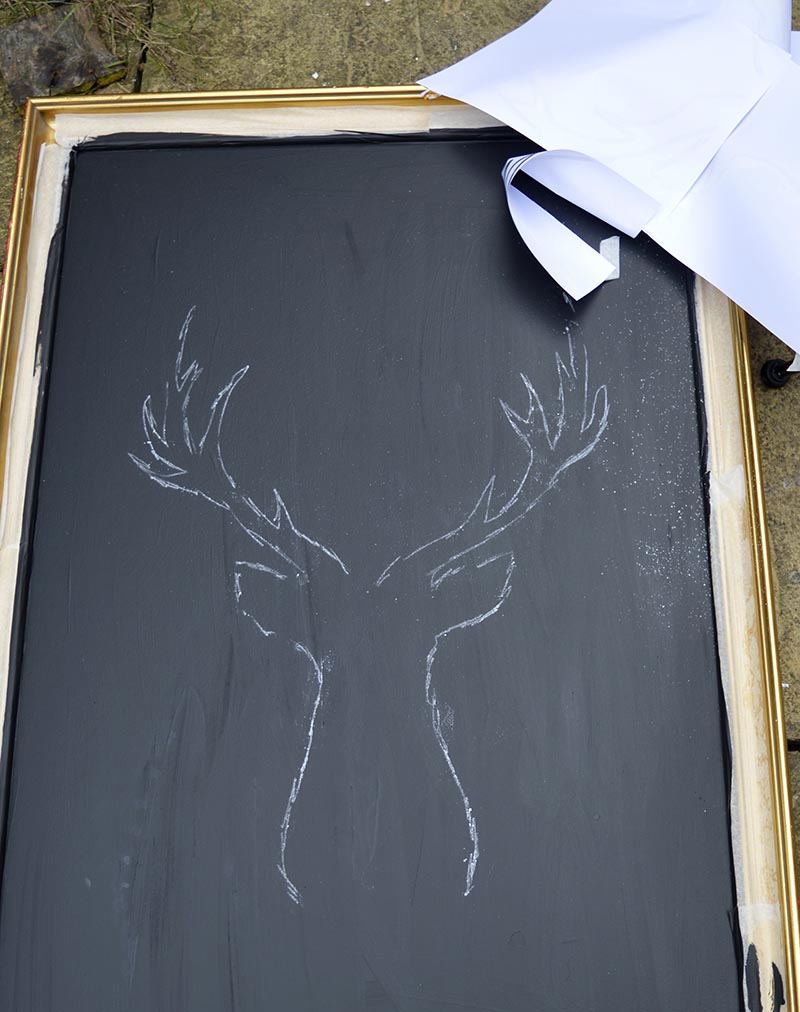
- To transfer my deer head image I used a neat little chalk transfer trick. Turn the deer silhouette over and rub chalk over the thick outline. Then turn the paper over and with a pen with a lid on, firmly trace round the deer head outline.
Adding the lights to your LED Deer Head
- Now you are ready to add your lights. Drill a small hole on the base of the deer head and feed through the end of your copper light string.
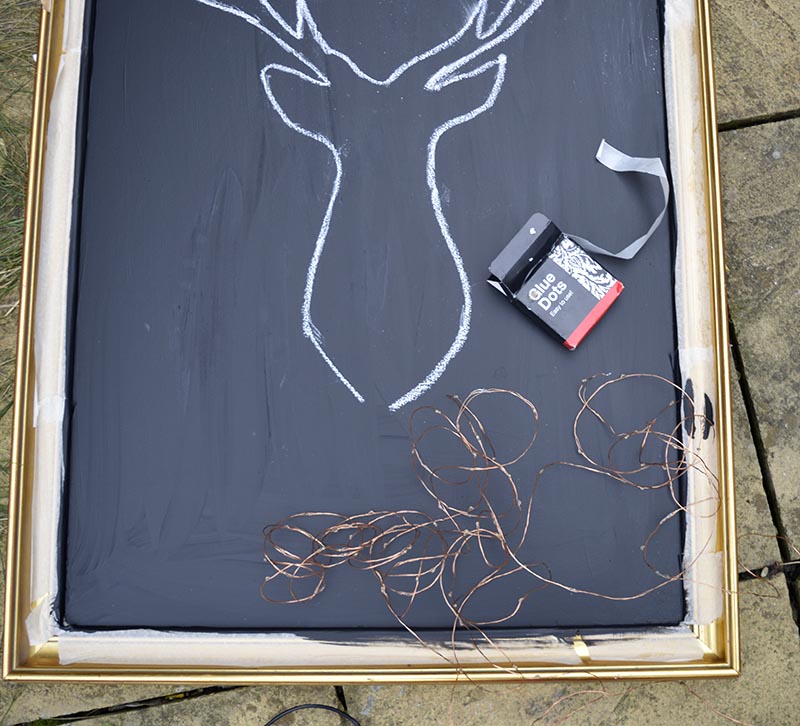
- Using the clear sticky glue dots, stick your copper wired lights to the chalked outline. I had enough copper wire to go round the head silhouette three times.
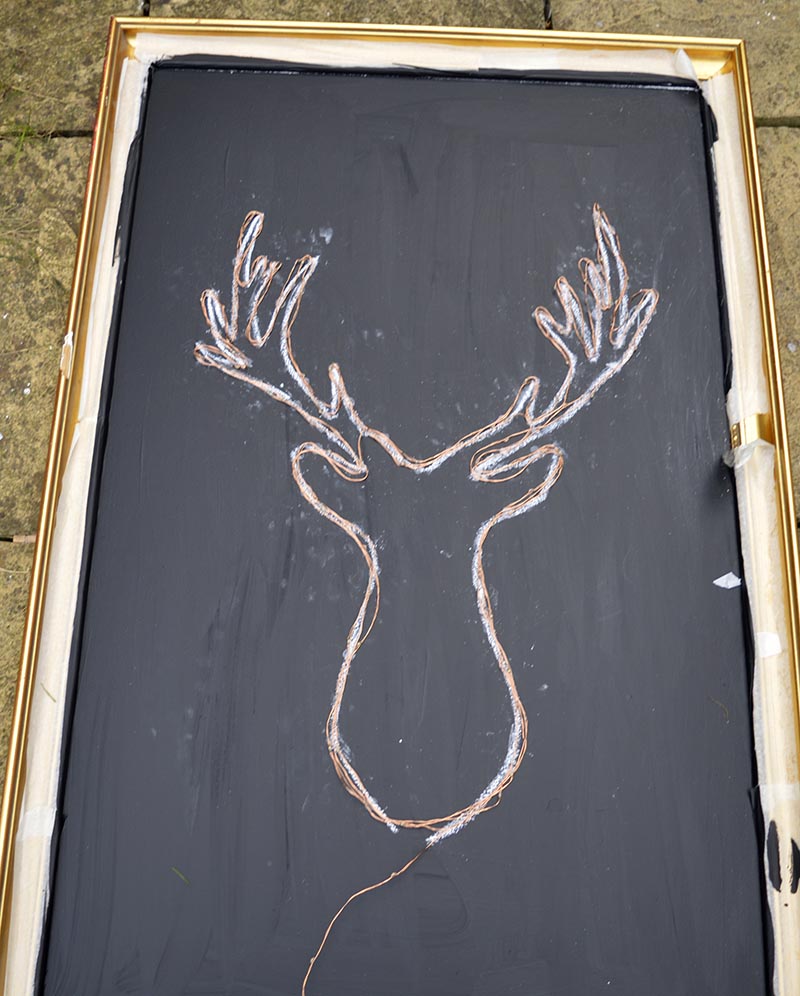
The LED Deer head is now ready to hang and add some brilliance to your Christmas decor. Just make sure you have control of the remote so you can ensure your lights are on a calming setting.
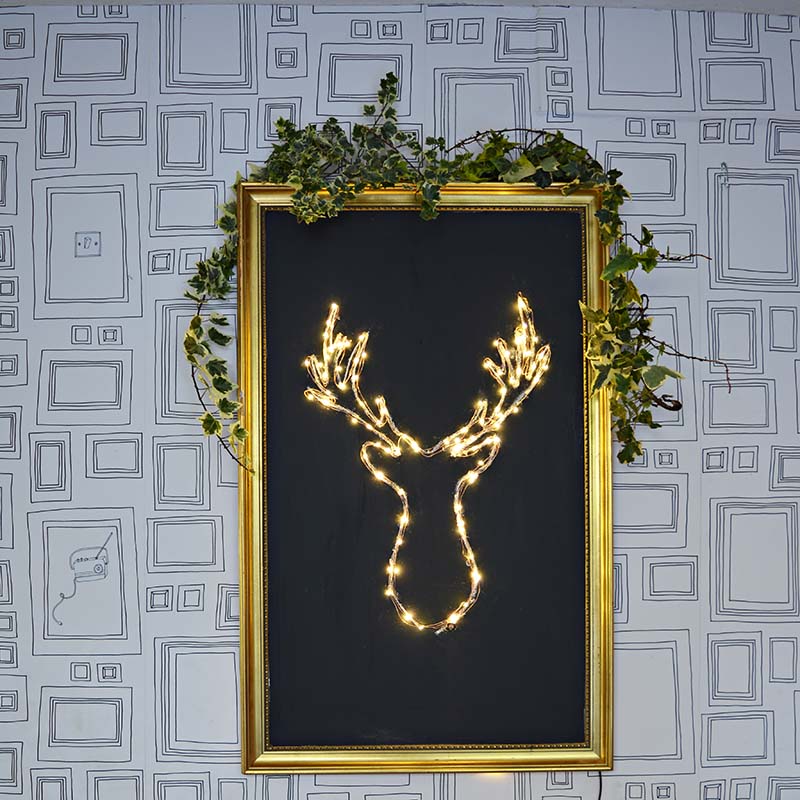
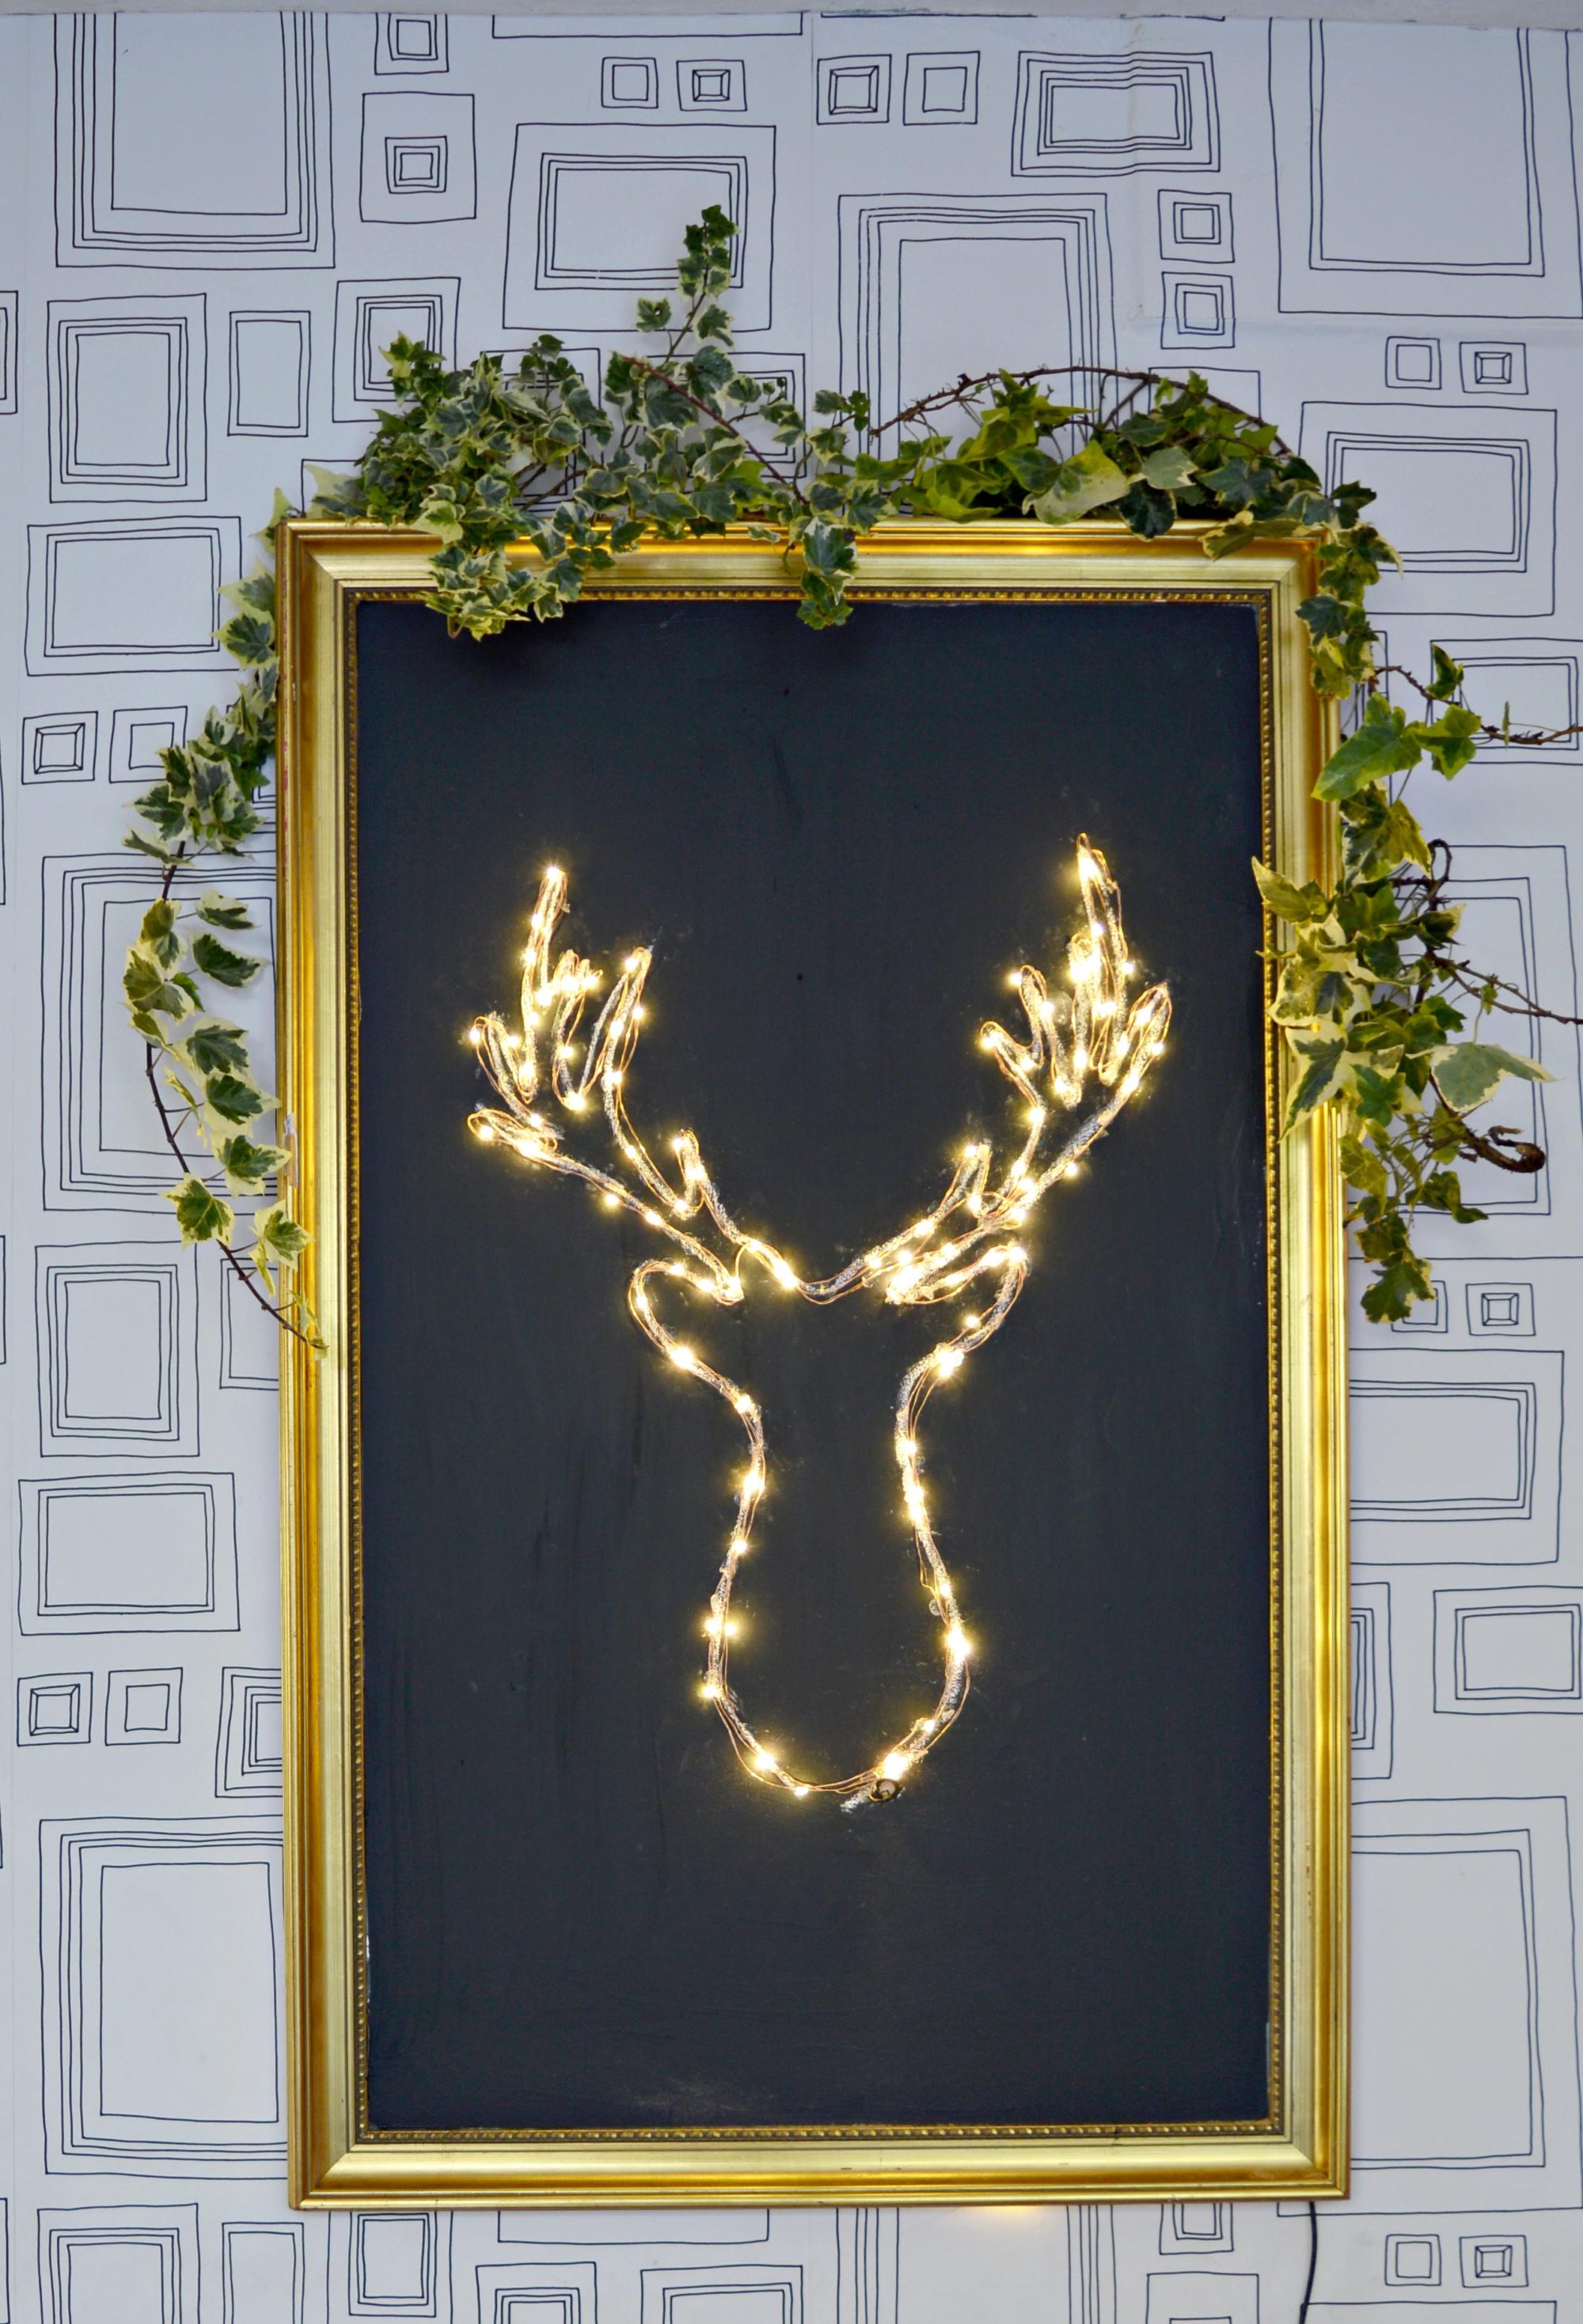
If deer heads are not your thing. You can of course make your DIY Led Christmas decoration in any shape you want, a tree perhaps, or a star for an all year round decoration. I will be making another one with the next frame I find, next time I might attempt a pineapple just for fun.
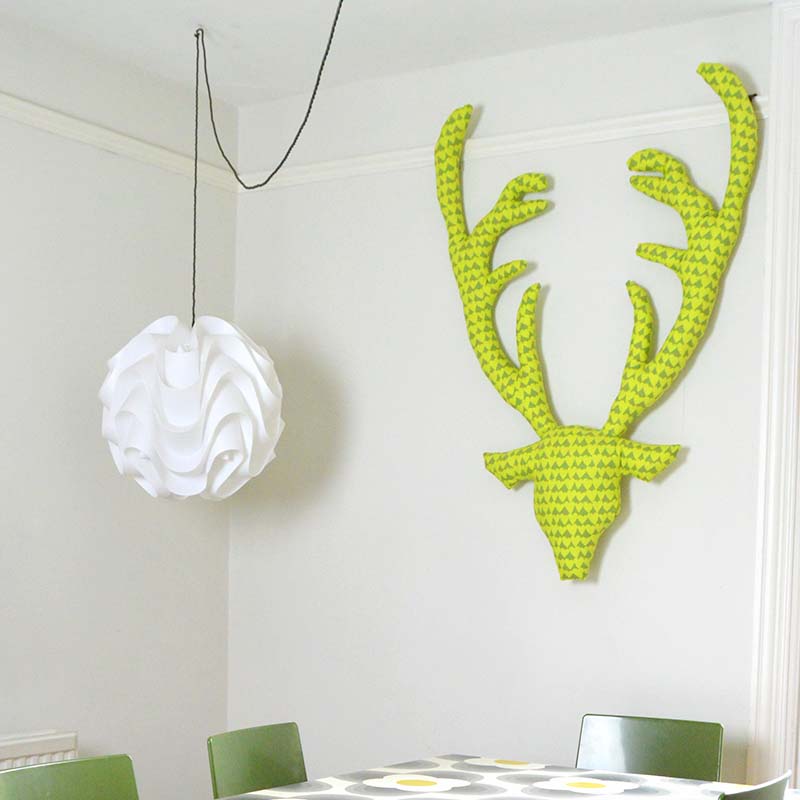
If you liked this you might like to check out my diy fabric stags head decoration.
Awesome idea! 🙂
Cheers !
That is genius! I am so adding this to my must do list. I appreciate the heads up about the disco feature that light spasm makes my eyes twitch. LOL
Thanks, yes keep the lights remote away from the kids.
This is so cute! I love this idea!!! Thanks for sharing at the Peaches+Link Link Party!
Thank you so much.
There are copper wired Christmas lights?!?!?! I need to get out of the house more.......
This is really cool, by the way.
I found this in a link party scanning ALL of the crafts and yours was the only one that popped out.
Thank you! Yes those copper wired lights are amazing and very reasonable, I have bought a few sets.
Can we still sip champagne while basking in the illumination of the deer head? Very cute project!
Thank you, we can sip champagne anytime we like.
Reindeer Amazing! Have never seen anything like this before even in the store!
Thank you so much!
Great project - pinned and shared
Thank you.
Beautiful !!!!!
Anna
Thank you very much.
This looks so easy and fun! Thanks for sharing on the Pleasures of the NW's DIY party!
It is, thank you.
Wow I'm so in love with this Claire! Great thinking and really clever idea!
Thank you Medina. I really enjoyed making it and love having it on the wall.
Great project! Thanks for the tutorial.
Thank you and your welcome.
WOW! This is so dang cute!
Cheers and thank you !
I love this Claire!!! And those lights are fantastic! I just bought some yesterday ! LOVE
Thanks, the lights are great so many possibilities.