
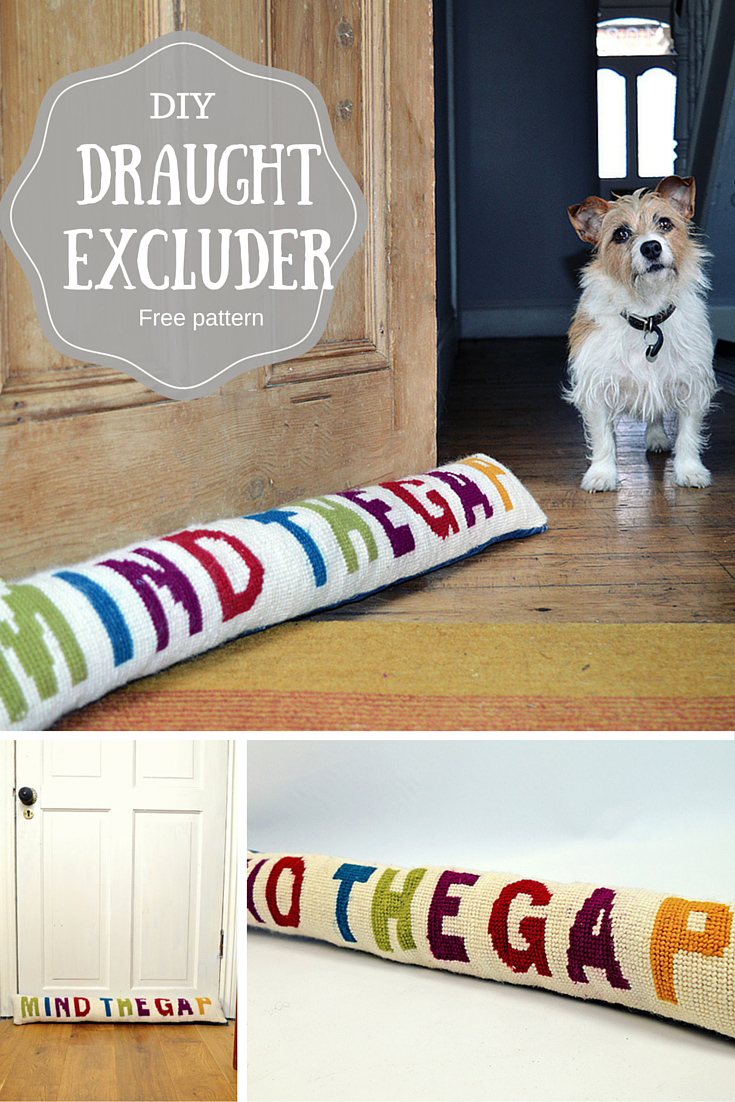
Funky Colourful DIY “MIND THE GAP” Draught Excluder
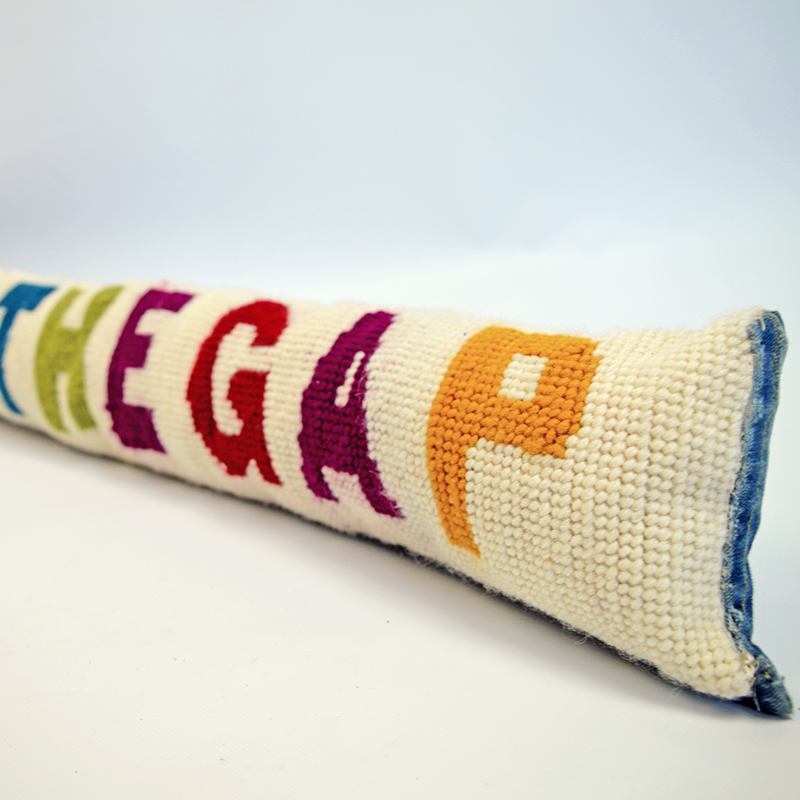
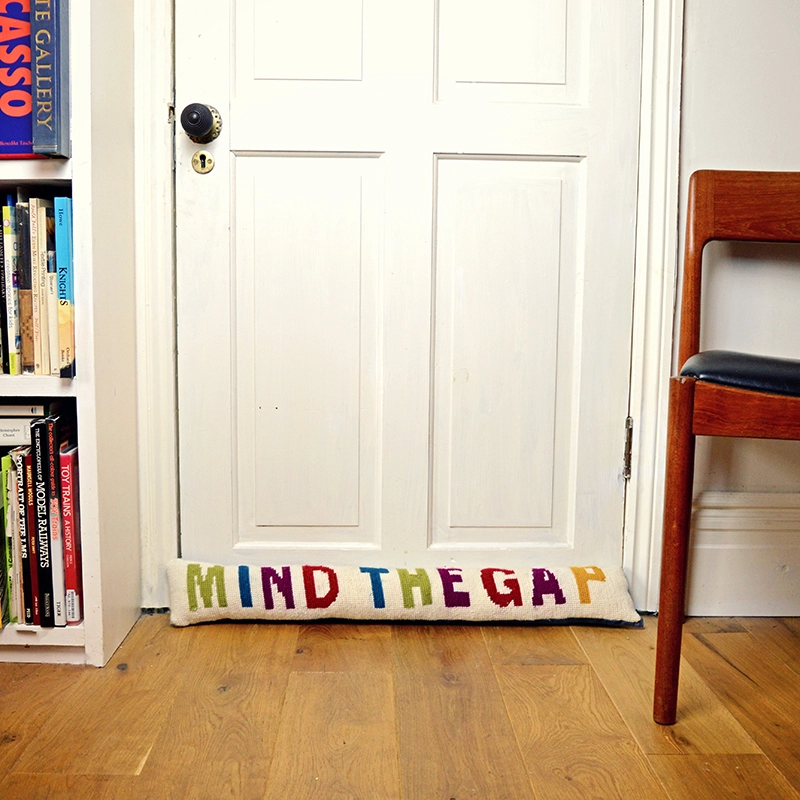
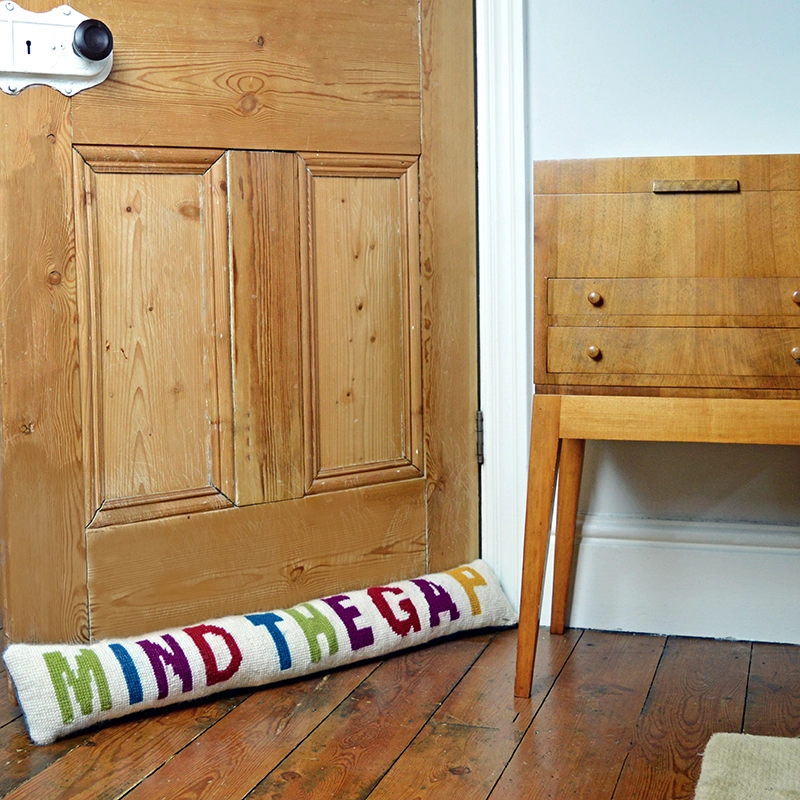
The price I pay for living in an old victorian house is the draughtiness, the doors and windows are so old they don’t quite fit as snuggly as they should. To keep the cold at bay I make draught excluders. I have made a funky colourful draught excluder stitched on one side with some playful typography “Mind The Gap” and backed in denim.
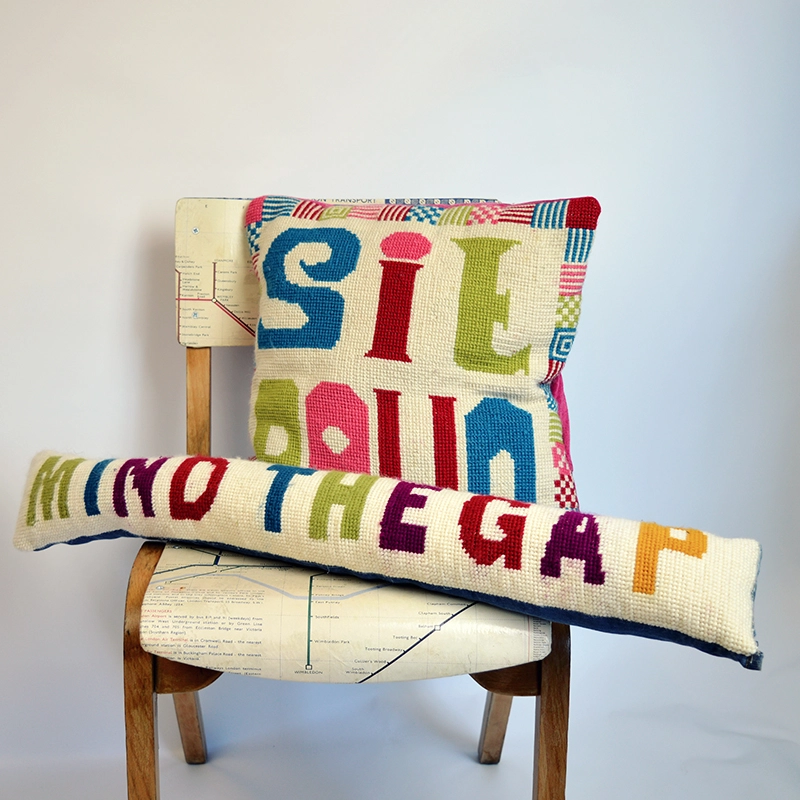
I love using puns and words with personal significance with my DIY crafts. I made a “Sit Down” cushion, not only is Sit Down by James our wedding song but it’s an apt phrase for a cushion. “Mind the Gap” is an audible and visual warning you will hear all the time on the London Underground and I thought this would be great for a draught excluder. Also it would compliment the Tube Map chair I made last summer.


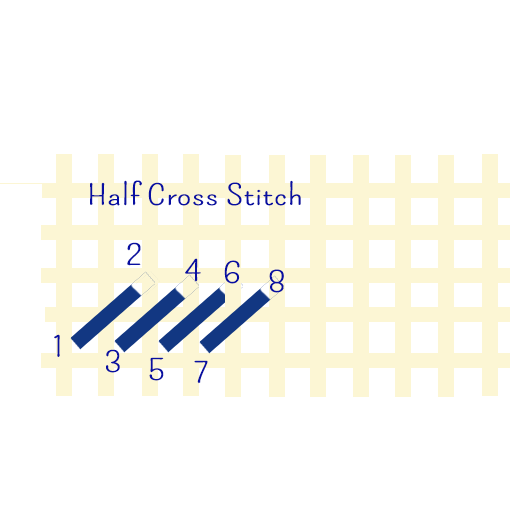
Now you maybe thinking that cross stitch takes too long and is too much of a faff for a draught excluder, however I used supersized and half stitch cross stitch for this project. Not only did this make it super easy, it really speeded things up.
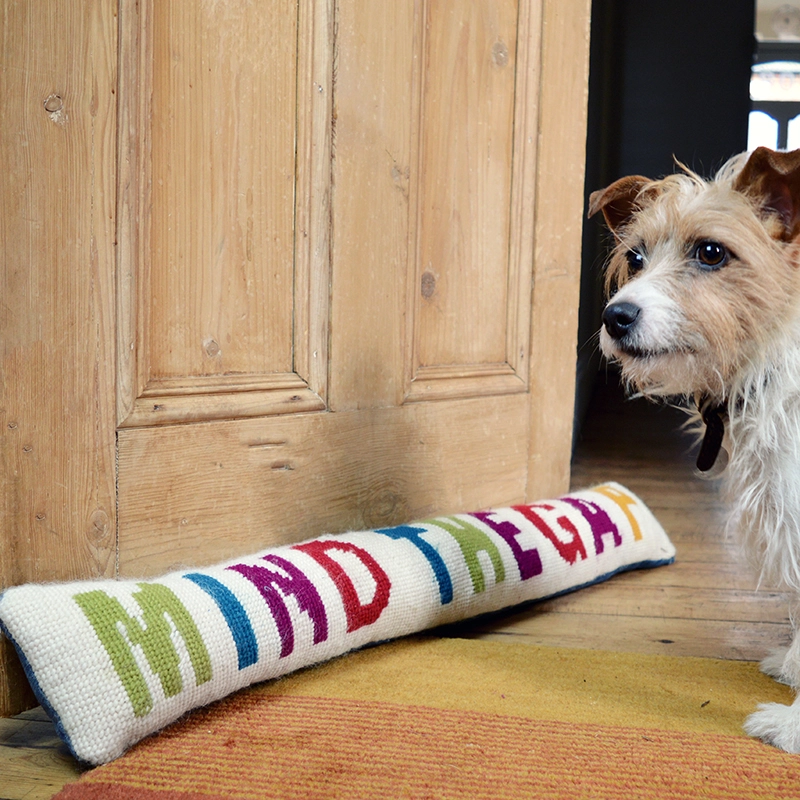
“Mind the Gap” Cross stitched draught excluder
What you need
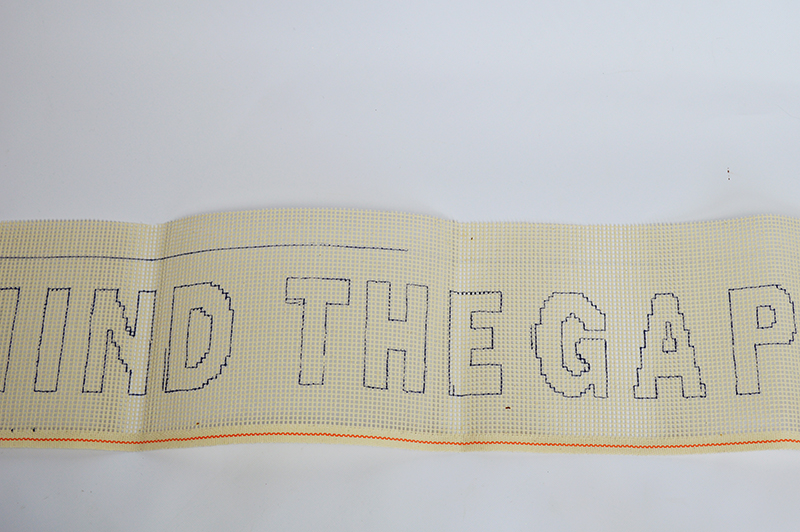
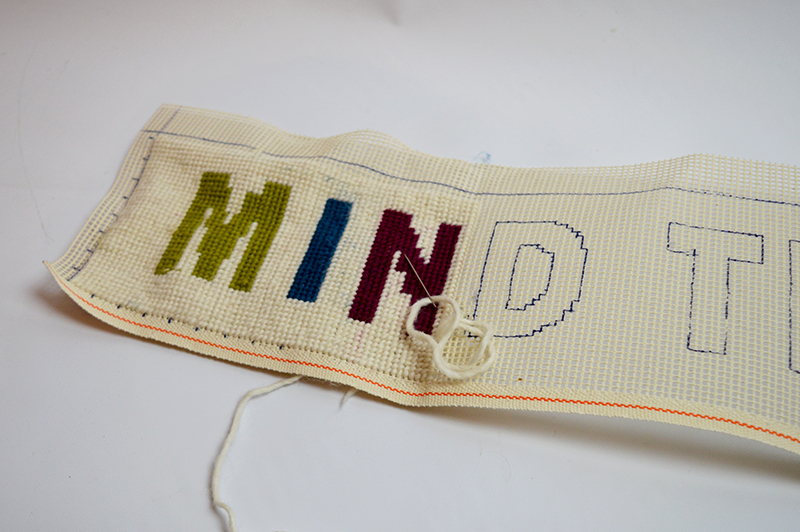
Print out your pattern and transfer or copy it to your canvas. Doing this saves a lot of time as you don’t have to keep counting stitches to work out where you are. Using your DK wool stitch the pattern with a simple half stitch, make sure that all your stitches go the same way.
How to turn your cross stitch into a draught excluder
What you need:
-
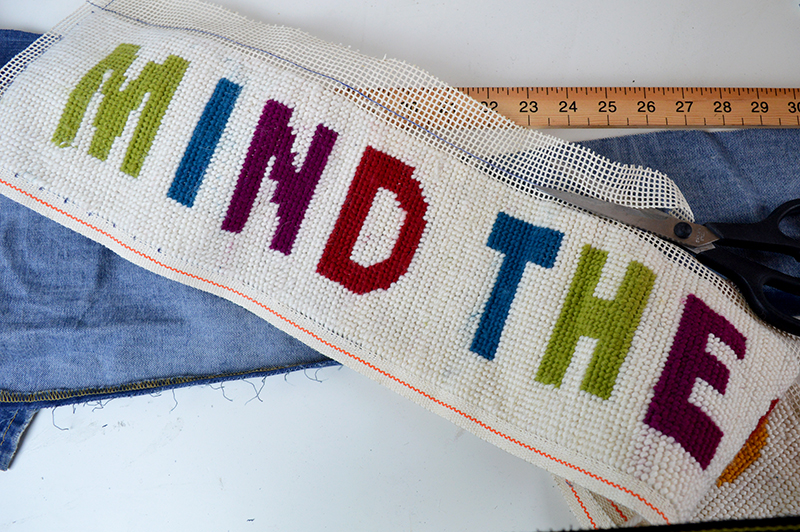
Once your cross stitch is finished cut the excess canvas leaving a margin of at least 1cm all the way round. Then cut your denim or fabric backing to the same size as your cross stitch.
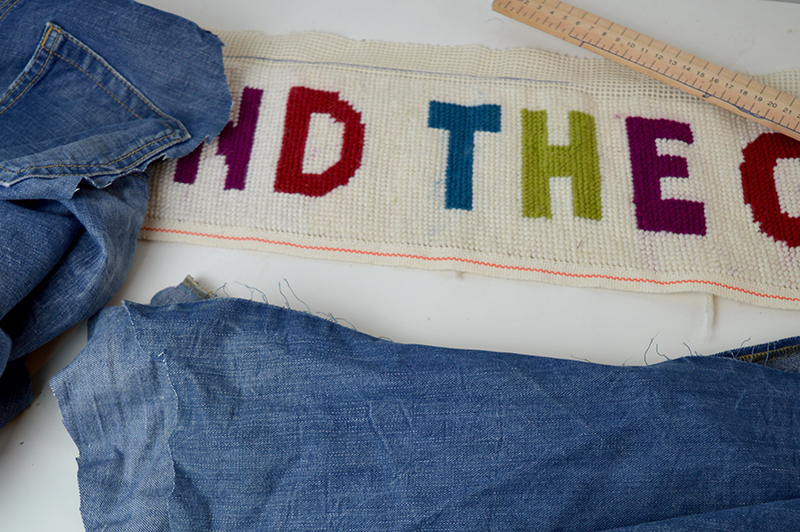
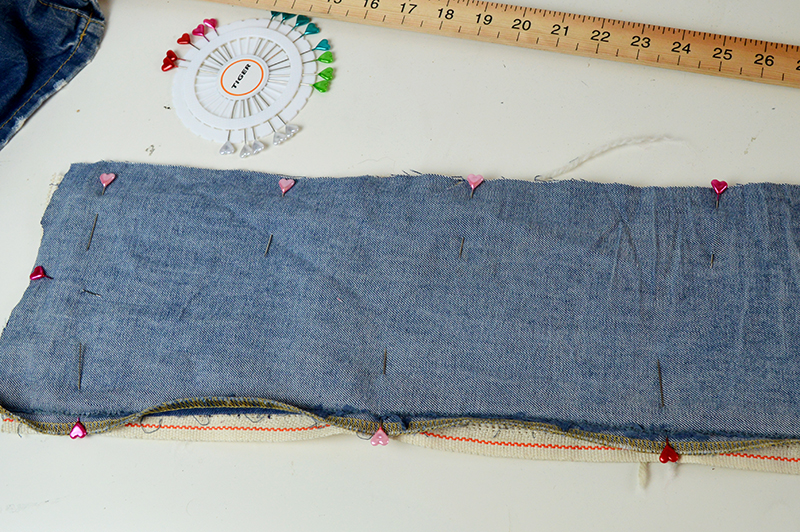
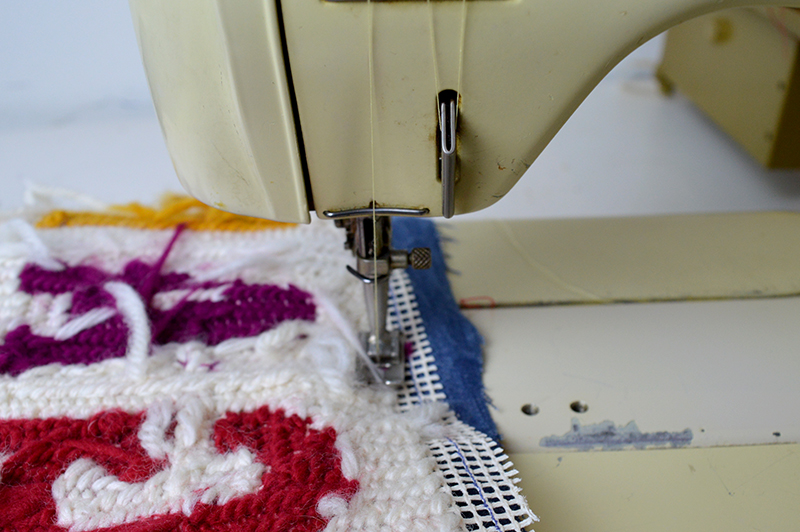
Pin your denim backing and your cross stitch right sides together. Leaving one end open, sew together to the edge of the cross stitch. You can either do this with a sewing machine or by hand.
-
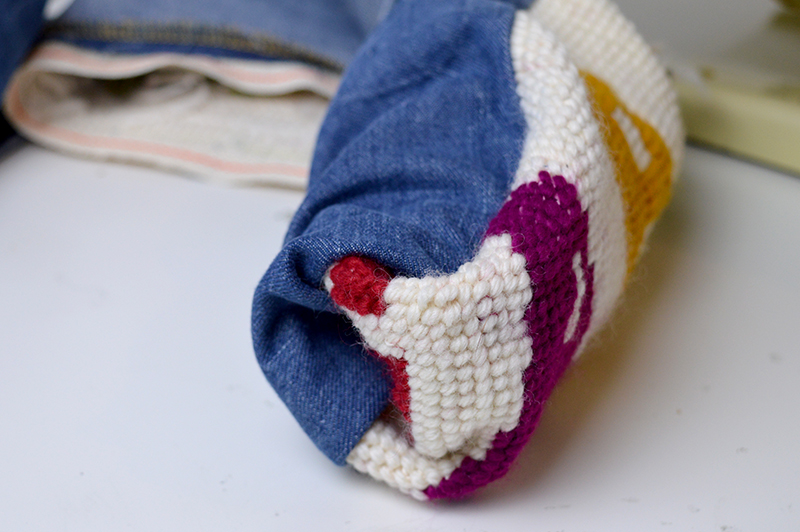
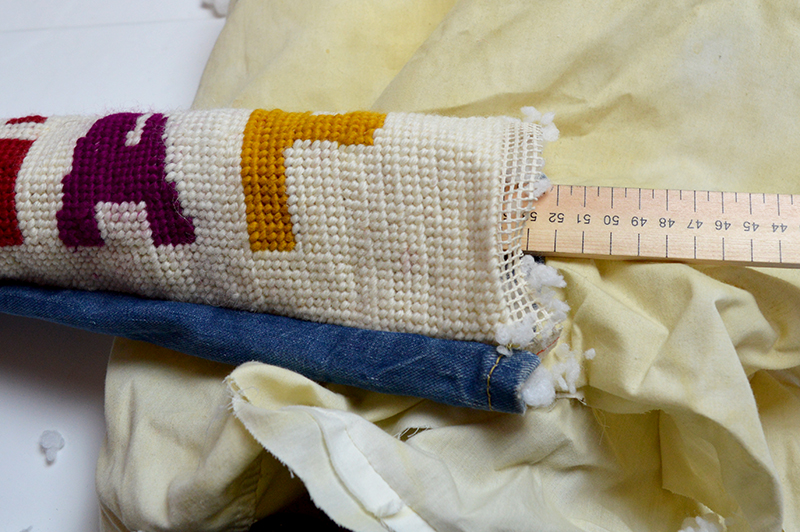
Using the open end turn the draught excluder right side out. This will be a little tricky and you may need a long ruler to help you.
-
Stuff your draught excluder, you will need something to push the stuffing fiber right down to the end. Once firmly stuffed stitch up the open end.


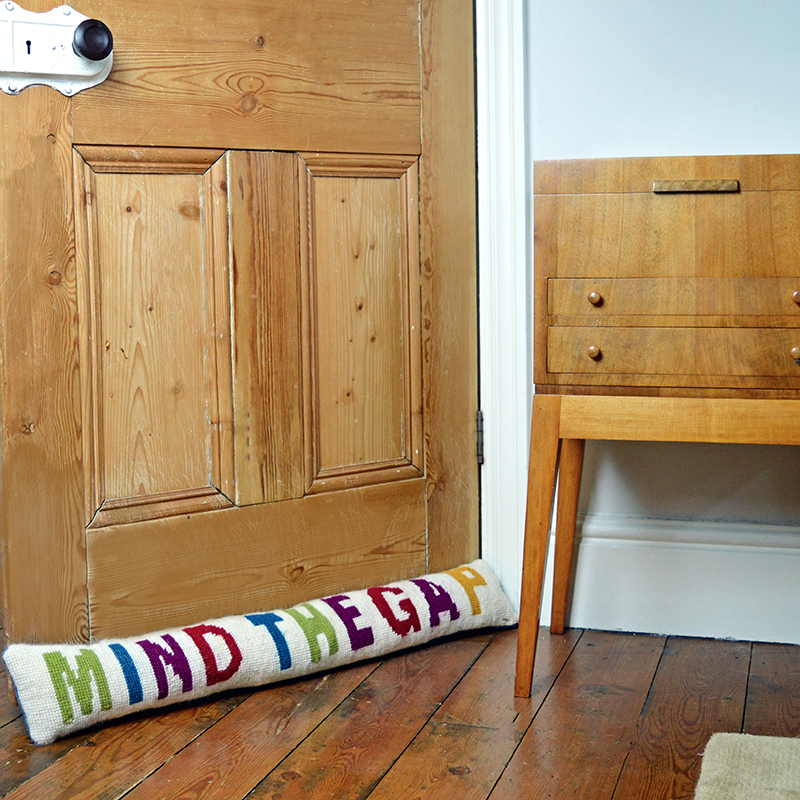
Not only are the doors draughty in my house, but I still have the original sash windows which though lovely don’t stop the wind. I therefore make smaller draught excluders for these too. These I fill with rice, or lentils to provide a bit of weight which also stops the windows rattling in the wind.
This post contains amazon affiliate links for your convenience. Click here to see my disclosure policy.
Kathryn Clark
Saturday 5th of February 2022
I loved making this, managed to get some moquette fabric for the back and should have made it bigger but making another for a friend.
Claire Armstrong
Saturday 5th of February 2022
Thank you, that is love to hear. I'm sure your friend will love it.
Party in Your PJs #91 - Bumblebreeblog
Wednesday 3rd of February 2016
[…] Funky Colourful DIY “MIND THE GAP” Draught Excluder […]
Super Mom - No Cape!
Friday 29th of January 2016
What a great project! It's always fun when we can take something we love to do and turn it into something useful.
Thanks so much for linking up to this week's Stitchery Link Party. Aloha hugs!
Claire Armstrong
Friday 29th of January 2016
Thank you, glad you like it !
cinti
Friday 29th of January 2016
Love this, you are so clever. Off to check out the rest of your blog x Cinti
Claire Armstrong
Friday 29th of January 2016
Cheers ! i hope you like the rest of the blog.
Anna
Wednesday 27th of January 2016
That's fun, I love the cushion and the chair too. And the dog :)
Claire Armstrong
Wednesday 27th of January 2016
Thanks ! The dog's called Lottie and just happened to walk into the frame whilst I was taking the photo.