
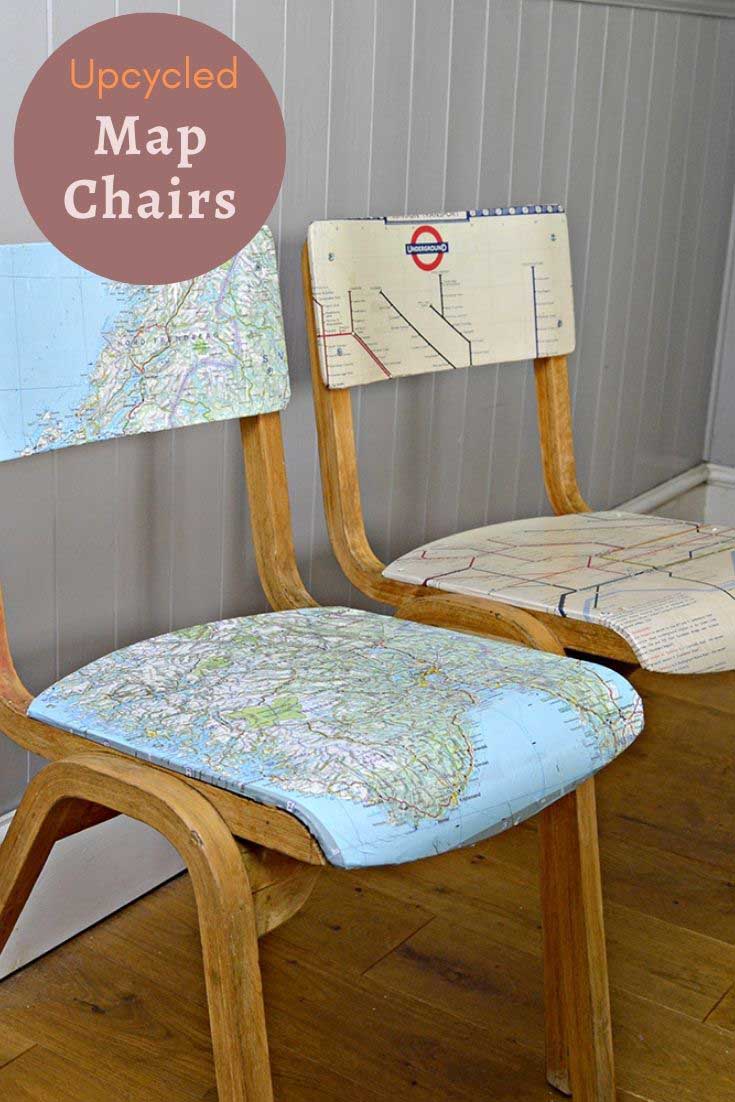
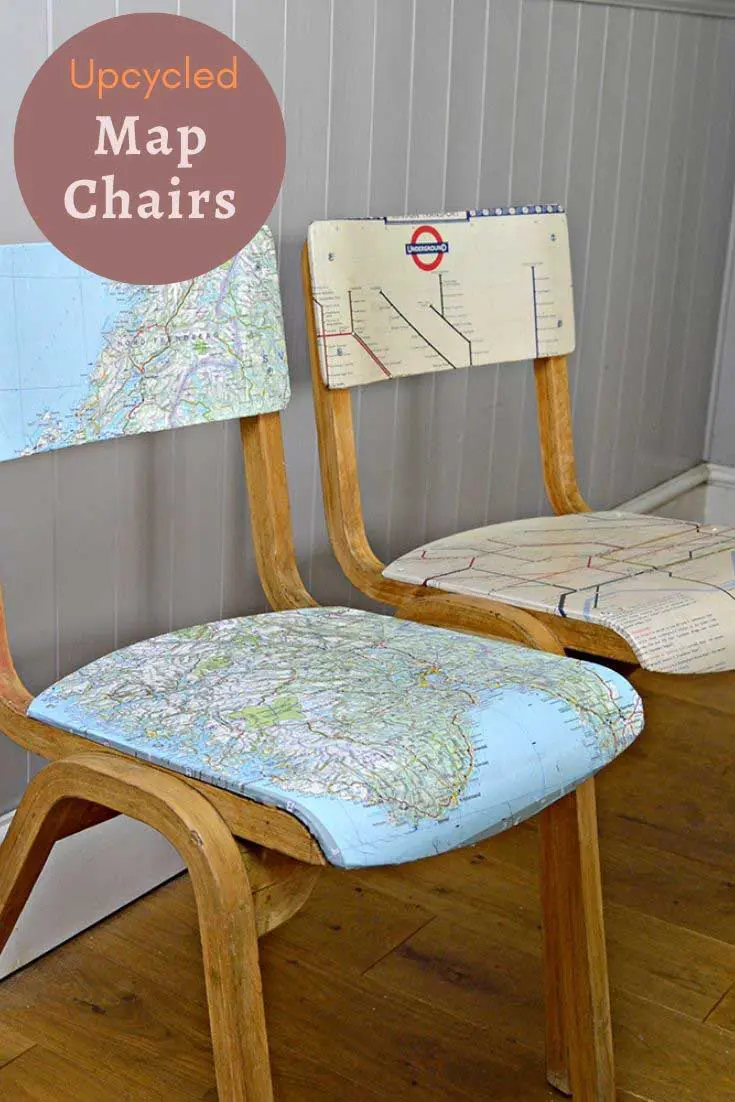
These gorgeous map chairs are really easy to make for very little cost. They are also extra special, as I made them with maps that have great sentimental meaning.
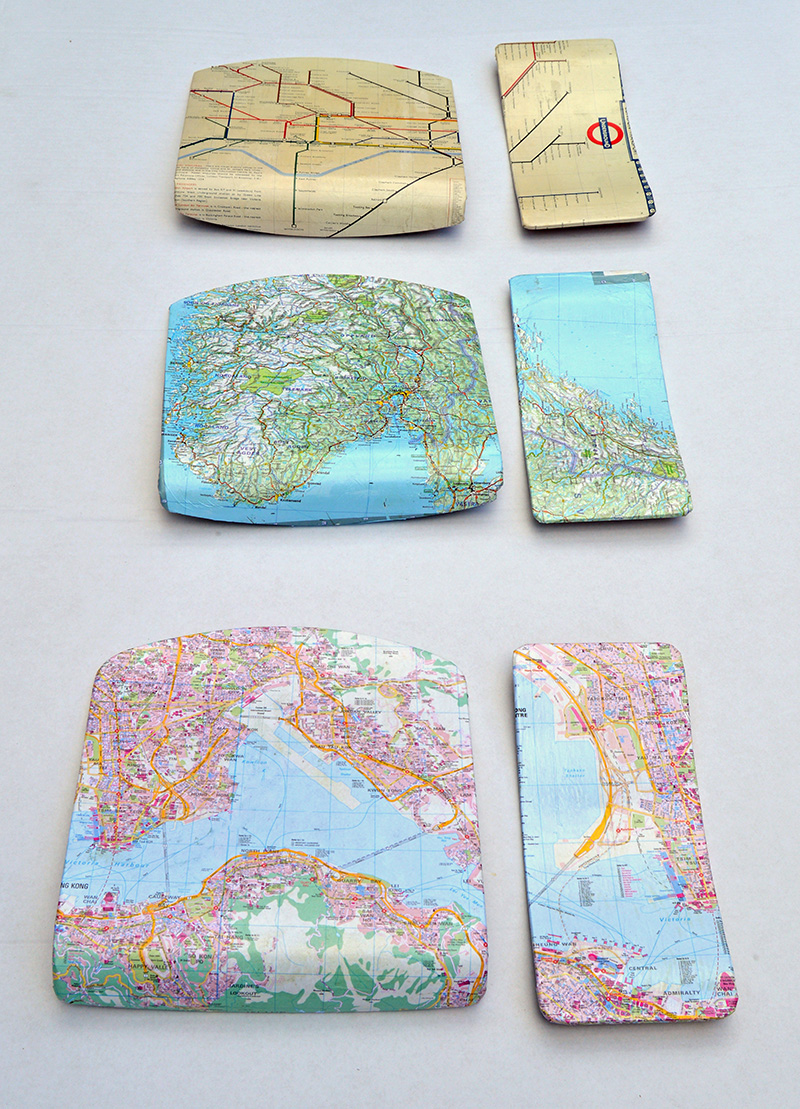
My husband’s family is from Norway and my kids love the country so I made one map chair with a Norwegian roadmap.
Hong Kong is a special place full of magical memories for me, as I was born and brought up there. Therefore I used a Hong Kong street map for another chair.
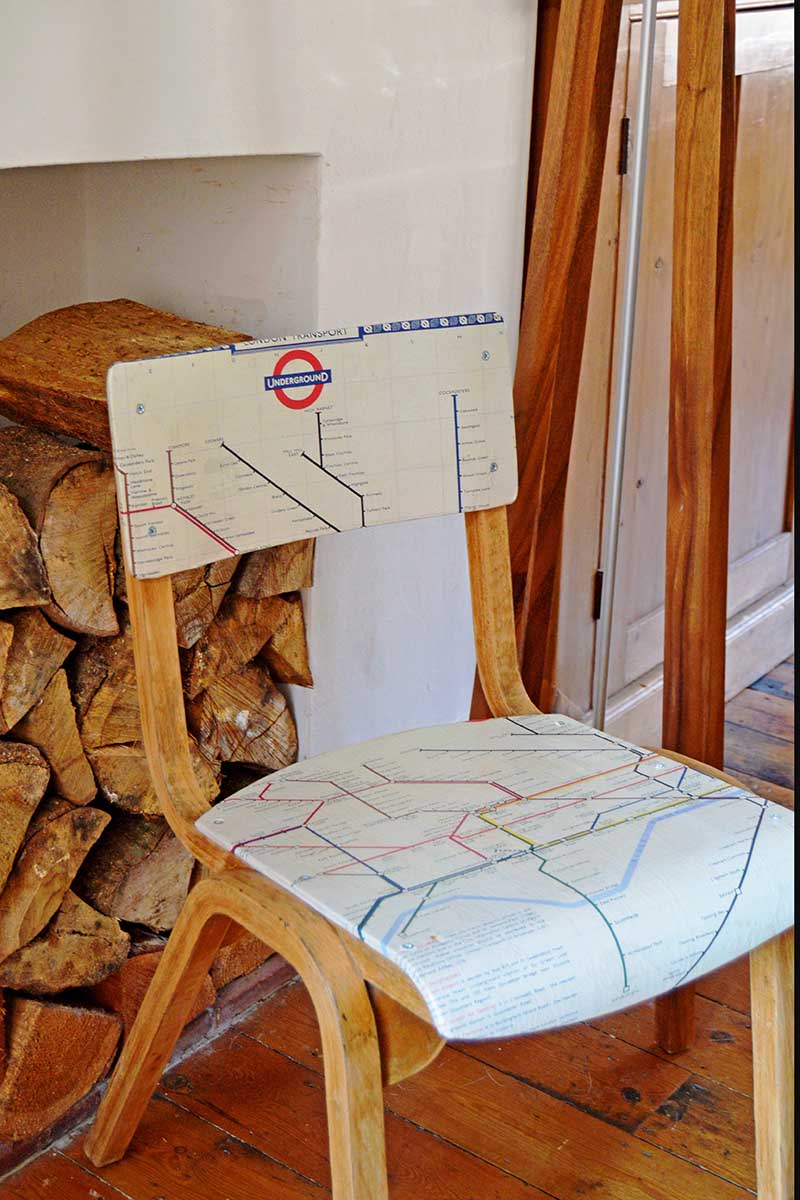
Finally, for the third chair, I used a London tube map, as I love London having lived, studied and worked in the city.
We’re a participant in the Amazon Services LLC Associates Program, an affiliate advertising program designed to provide a means for us to earn fees by linking to Amazon.com and affiliated sites. As an Amazon Associate, I earn from qualifying purchases.
How to Make Personalized Map chairs
I’m fortunate in that I have a junk shop at the bottom of my road. Plus I live around the corner from an auction house. It’s easy for me to find old chairs.
The chairs I used here actually came from my local scout hut, where I’m a Beaver leader.
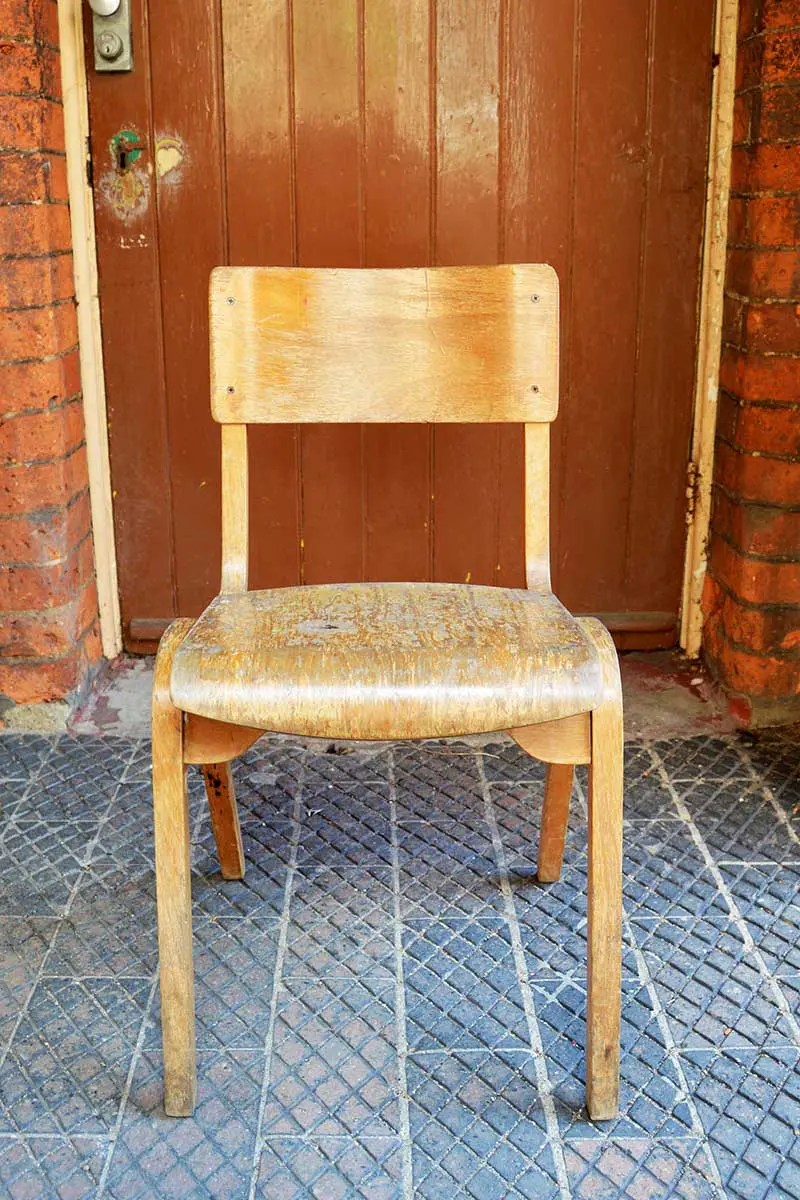
As the chairs are going to be covered in maps, they don’t need to be in the best of condition. That means hopefully you should be able to pick some up very cheaply from your local second-hand store.
Any map can be used to cover decoupage the chairs. However, you might want to personalize your chairs by using a map local to you, or a map of a favorite holiday destination.
The London underground chair was made using 2 sheets of Cavallini tube map wrapping paper. There is a very vintage London tube map you can download for free here.
What you need to make the map chairs
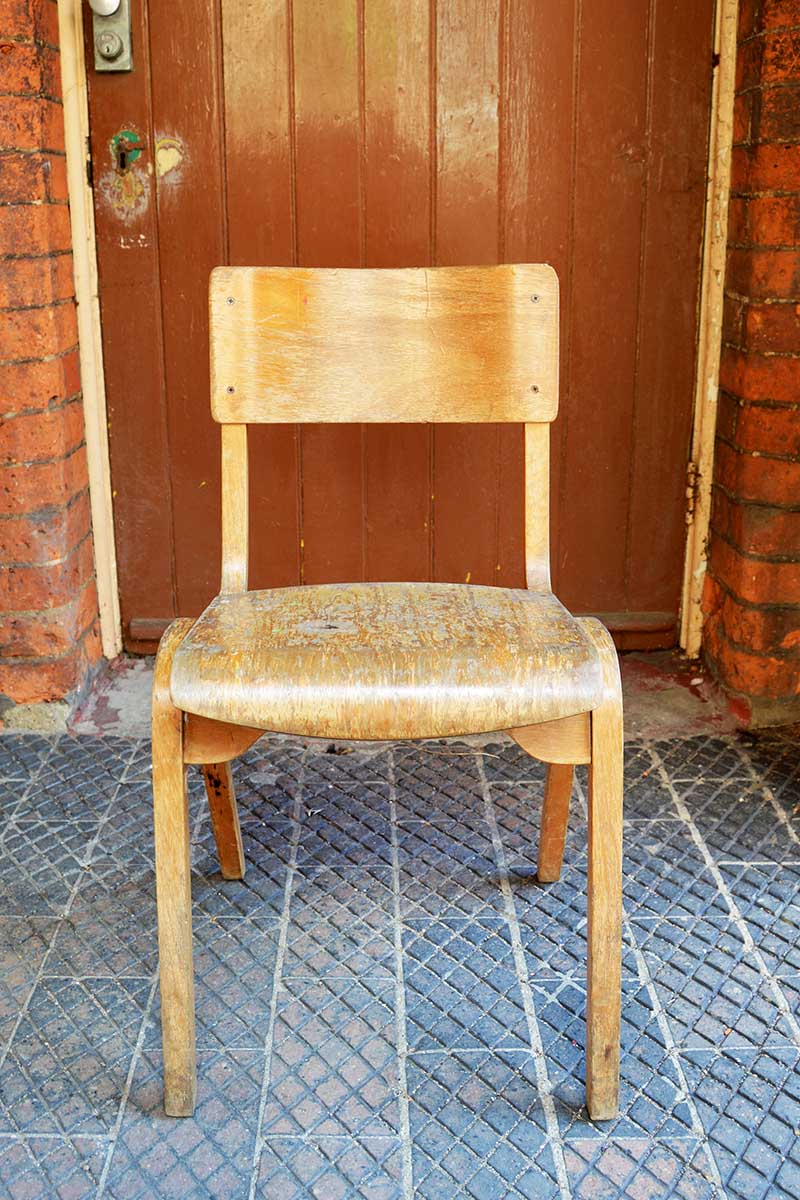
- Old school chair, or any chair with wooden seat and back
- Maps – can be road maps, street maps or even wrapping paper with a map print
- PVA glue or Mod Podge
- Brush for glue
- Sandpaper
- Scissors, scalpel
- Waterproof varnish
- Screwdriver
How to make map chairs
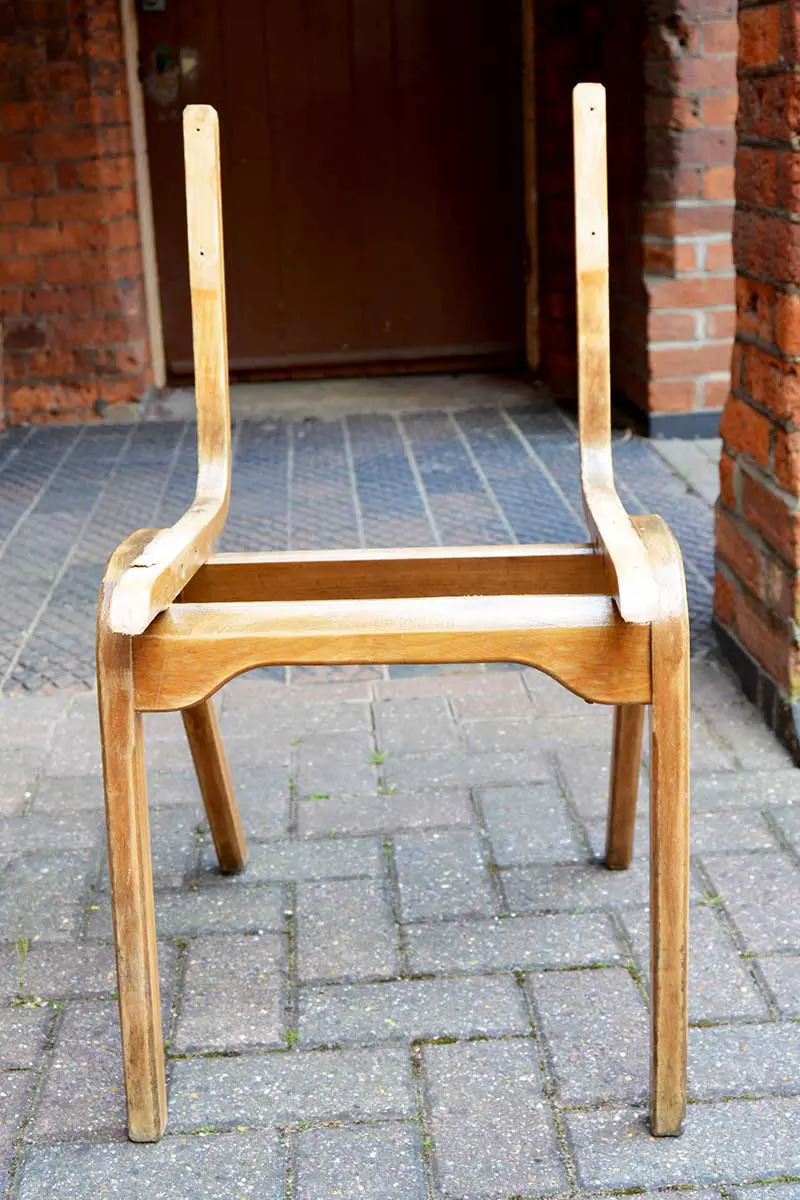
1.. Firstly, dismantle the wooden chairs, as much as you can. If possible remove the seat and back.
Don’t worry if your chair won’t dismantle. It will still be possible to decoupage it, but it may be a little more tricky.

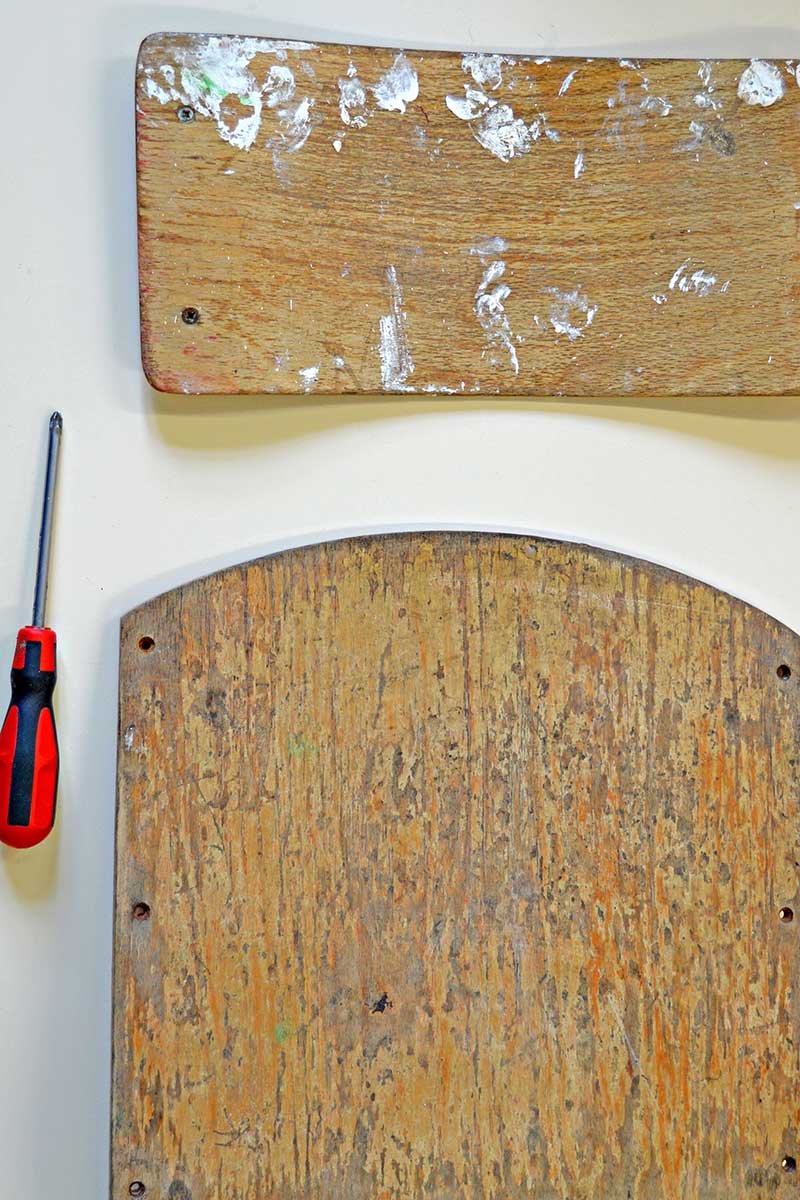

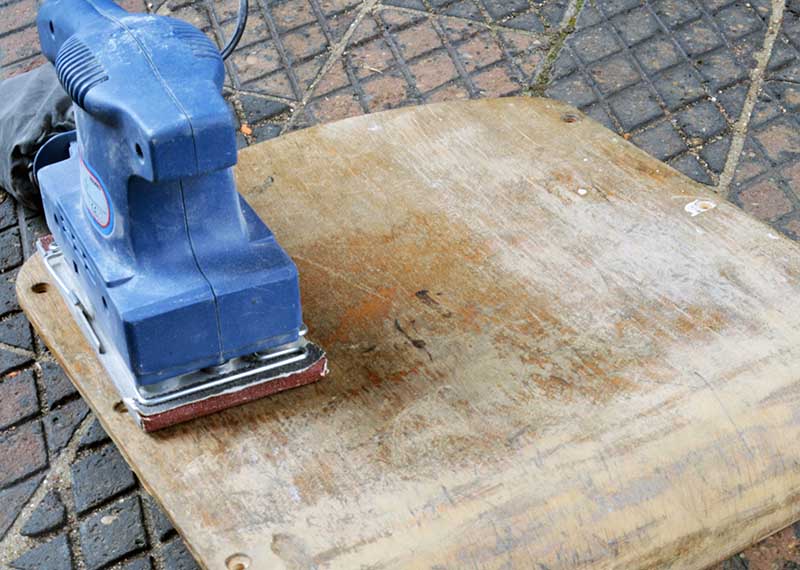
2. Next, sand the wood to be decoupaged, to provide a key and smooth it. An electric sander will speed up this process.
Once they have been sanded wipe down the chairs to clean and remove any dust or dirt.
Buff the other wooden parts of the chair with a 50/50 mixture of olive oil and vinegar. This will give them a good clean and shine.

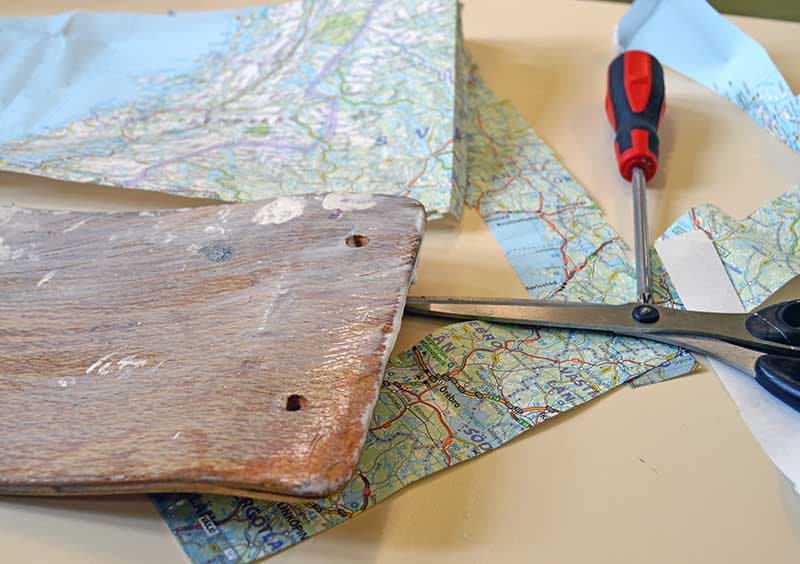
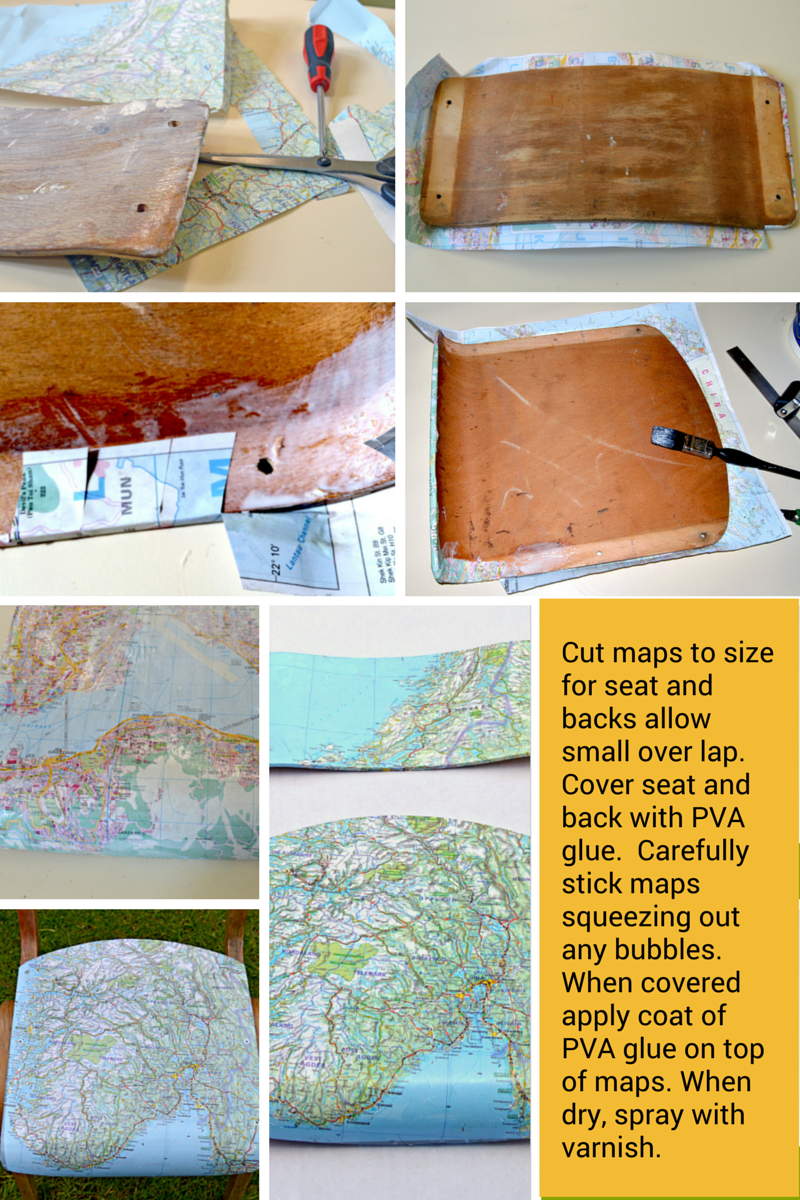
2. Cut the maps to size for both the chair back and seat. Allow for a small overlap.

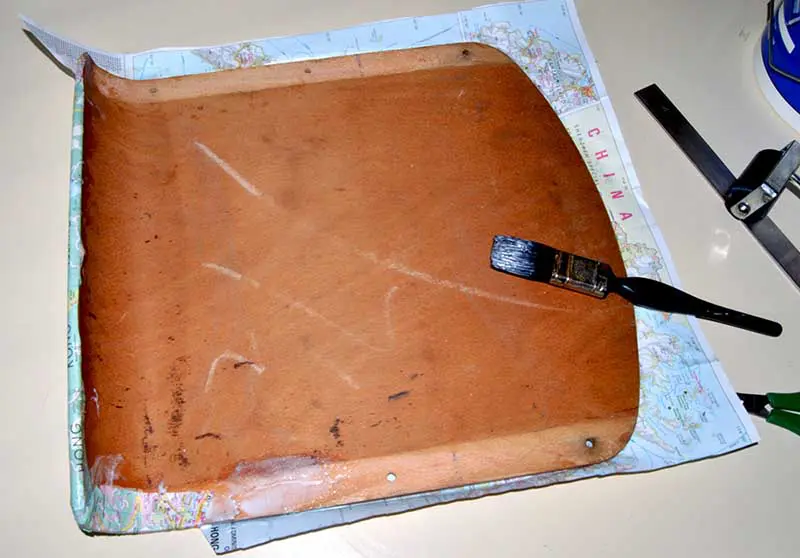
3. Next, cover the surfaces of the chair to be decoupaged evenly with decoupage glue. Use a wide brush for this.
Carefully place the map on top of the glue. Squeeze out bubbles with a small wallpaper roller or by gently running an edge of a credit card over the surface. I covered the screw holes with the map.


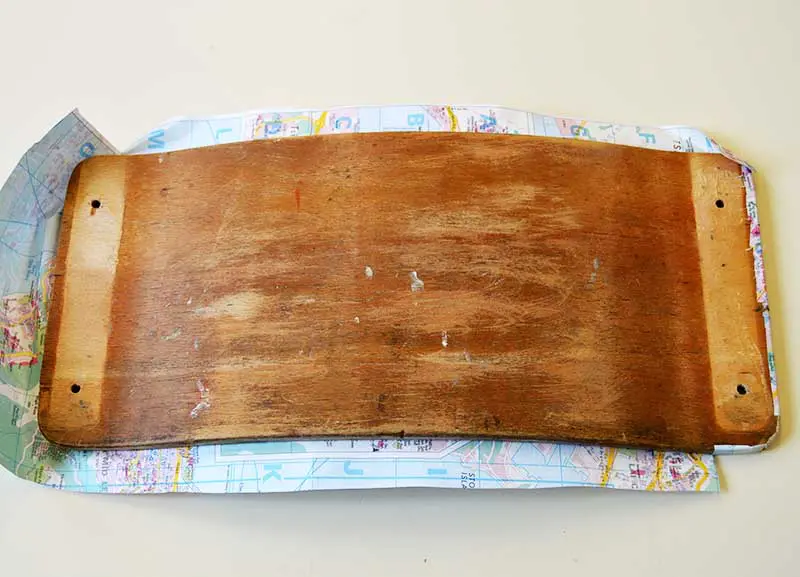
4. When wrapping the map around the edge of the chair you will find it easier if you cut small slits into the maps, especially around curved edges.
An excess map can be trimmed with wallpaper scissors as you go along. As the underside of the chair was not going to be visible, I did not have to be too neat with the map trimming.
However, it was different with the map on the seatback. I had to make sure it neatly fitted to the edges. I didn’t want any of the map to be visible from the back.

5. Next, when the decoupaged maps have dried, cover them with another layer of PVA glue. Don’t be alarmed by the fact that this will make the maps look milky. When the glue dries it will be come clear.
This coat of glue is to act as a protective varnish on the chairs. I repeated this process to give my chairs two coats of PVA varnish.
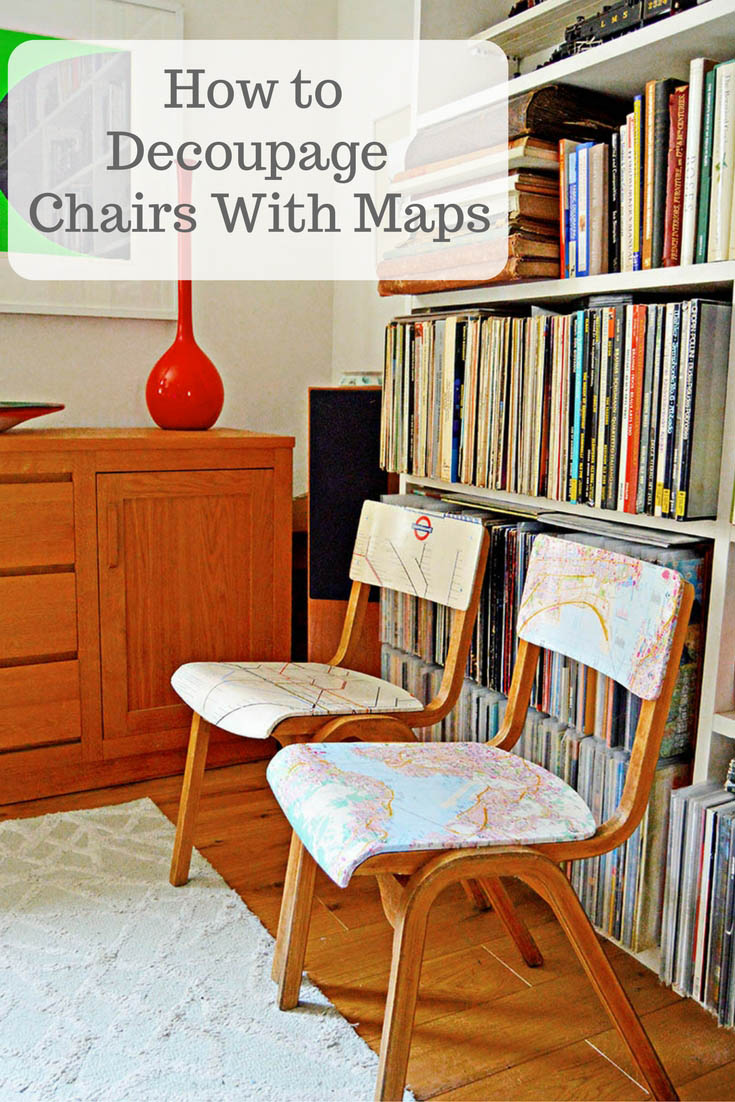
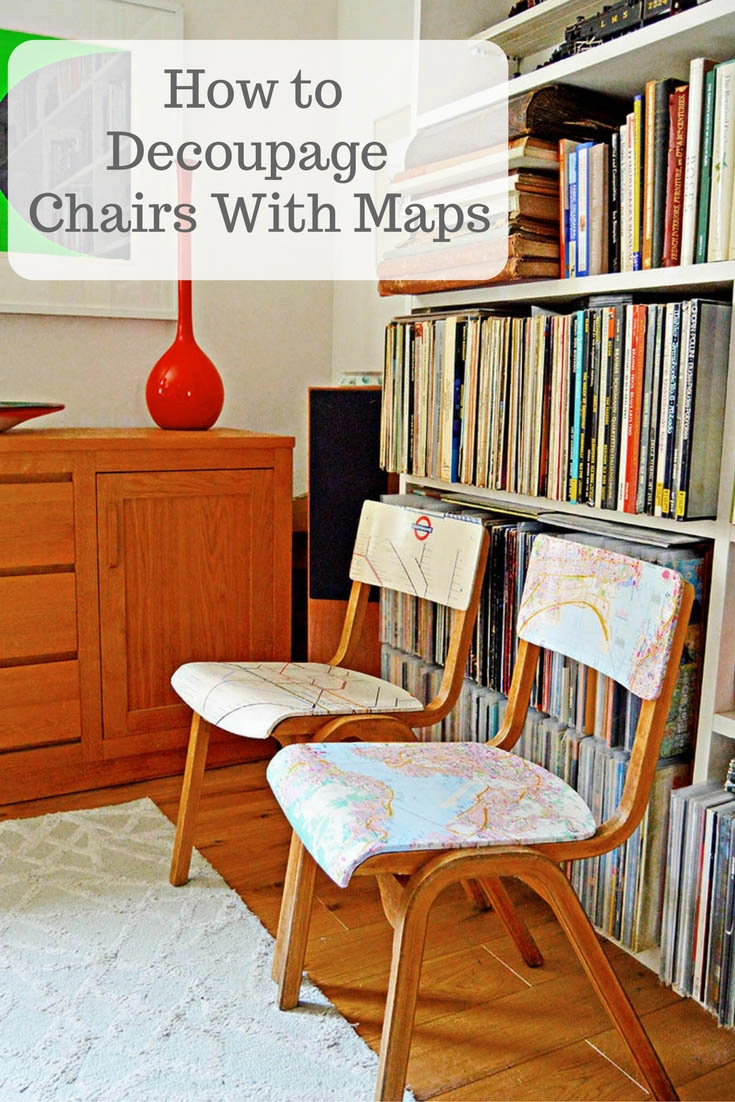
The chairs have now been in my dining room for five years and are used every day. They still look really good. The PVA varnish coats have done their job of protecting them.
6. Finally, when all dry, locate original screw holes now covered with paper. Pierce through the maps and screw chairs back together.

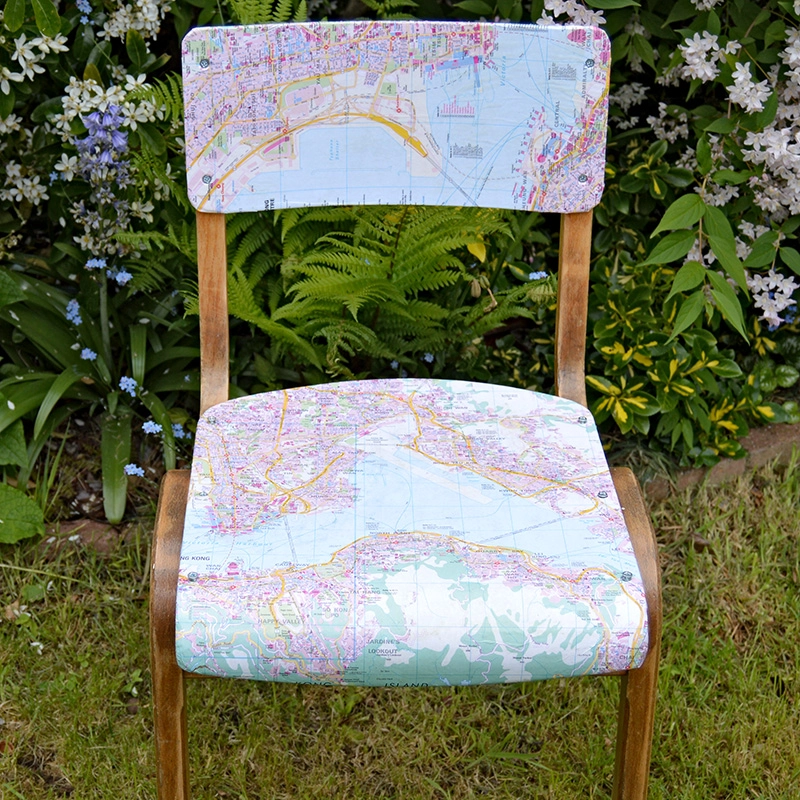
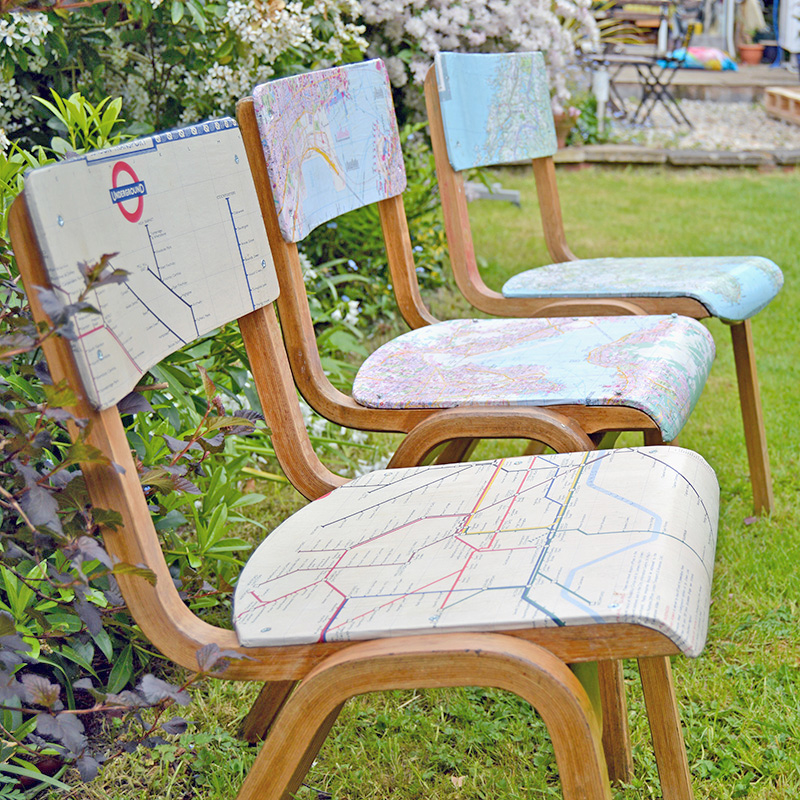

I love these chairs and may make some more for my dining room. The Hong Kong map chair has the most sentimental value for me. But aesthetically, I think the London Underground Map chair is my favourite.
If you have upholstered seat pads on your dining room chairs you can always upcycle them with a map tea towel.

I have uploaded some free printable vintage maps that you can also download and use to upcycle your own chairs or any other map craft you may want to try. I also have a tutorial for some easy DIY map art that can be made with road maps, that would look great with these chairs.
You might want to check out some of my other Map upcycles:
Brilliant Vintage Map suitcase
Upcycled Map Magnetic Board
IKEA Hack – Map Table
Easy Map Table Mats
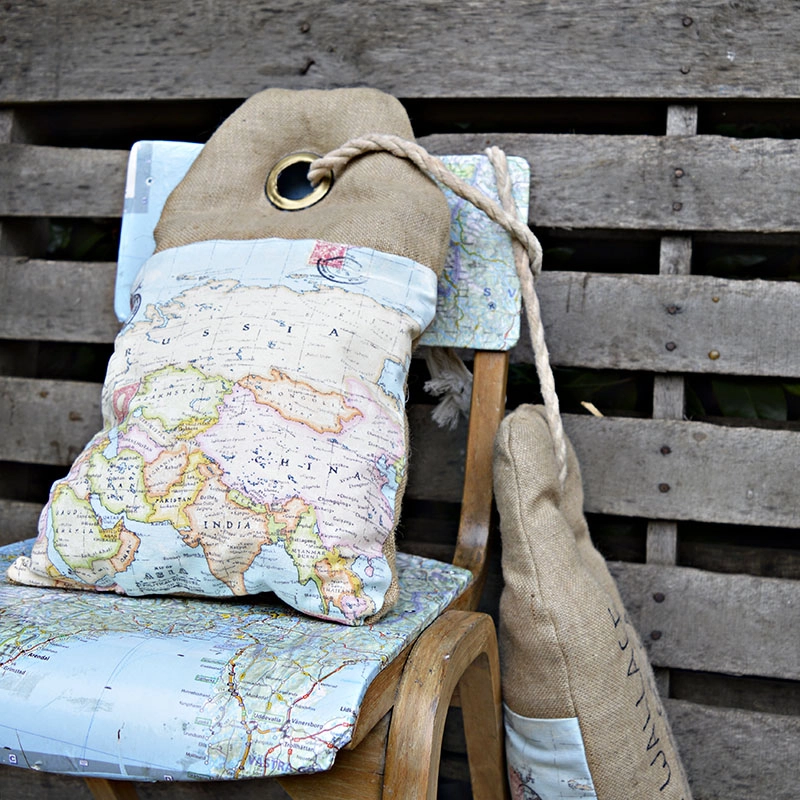
The chairs match the map luggage burlap pillows I have also made for my home.

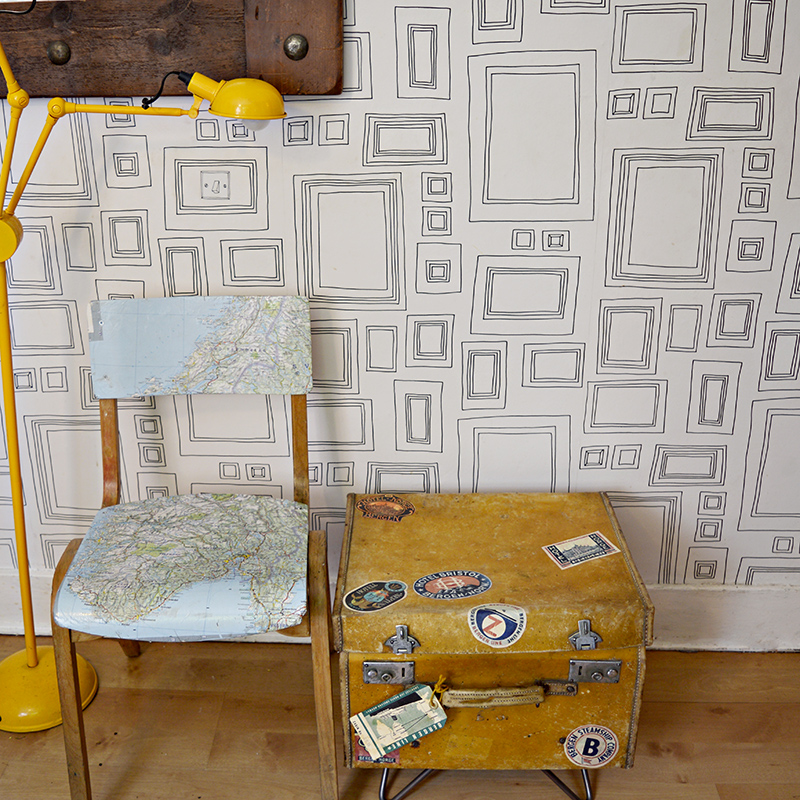
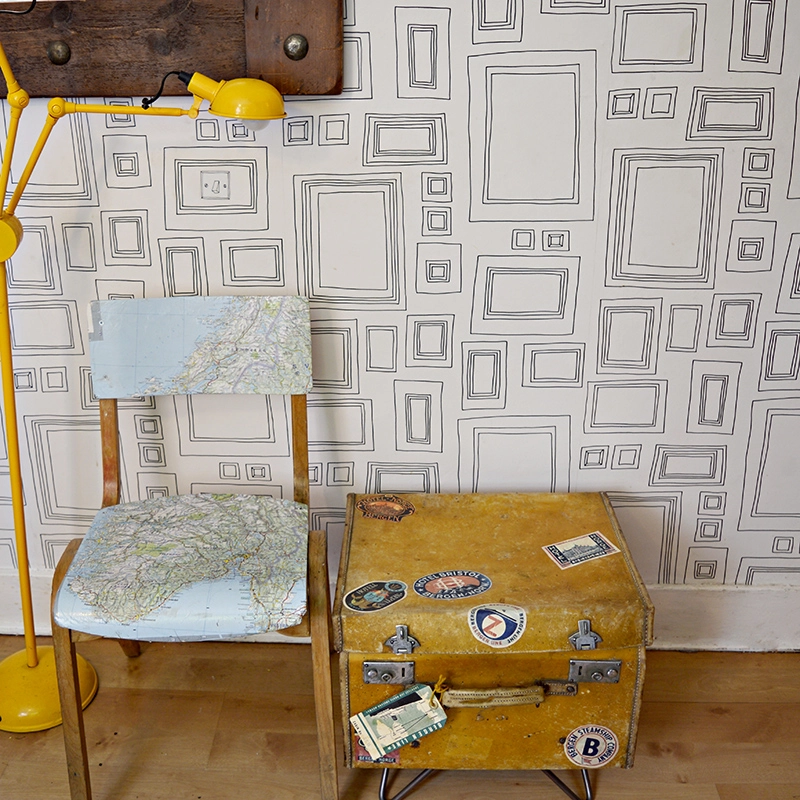
They also match the old suitcase side table I made for my husband. Especially, the Norwegian map chair as it compliments the Norwegian travel stickers on the old suitcase.
How To Make A Map Chair


Old school wooden chairs can be turned into cool and unique furniture by decoupaging them with maps. Make the upcycled furniture all that more special by using maps of your favorite places.
Materials
- Old wooden chairs- these old school chairs are very common so you should be able to find one in your local junk shop or on eBay
- Old maps, use road maps, map gift wrap or even download them for free from the site.
- PVA glue or Mod Podge glue basically a good white glue suitable for decoupage
Tools
- Sander
- Screwdriver
- Brush
- Scissors
Instructions
- First, dismantle the wooden chair as much as you can this will make it easier to decoupage.
- Sand the bits of the chair that are to be decoupaged to smooth them and to provide a key for the glue.
- Clean the rest of the chair with a 50/50 mixture of olive oil and vinegar.
- Cut the maps to size, allow for a small overlap.
- Brush the seat and back with glue. Then place the maps onto the glue.
- Push the maps down and push any air bubbles to the edge. Use a roller or a credit card for this.
- Fold the map around the edges. Make small nips on the map as you fold. Cut any excess map away.

- Cover the decoupaged map with another layer of 2 layers of glue. Let the first layer dry before adding a second.
- Finally, screw the chair back together again.
This chair upcycle featured under C in the A to Z of clever upcycling ideas.


Suzanne Reith
Tuesday 13th of April 2021
Love, love, love this and am definitely going to have a go. Would like to politely point out that there are so many advertisements bouncing around, and inserted between the text that I lost the plot three times and had to go back and re-find my way. A problem on all sites, that needs to be addressed methinks. Anyway, bravo and thanks for the great idea.
Claire Armstrong
Tuesday 13th of April 2021
Thank you, Suzanne, I have tweaked the ads settings hopefully that will make it a more readable experience.
Tina Batori
Friday 28th of February 2020
What about the backs of the chairs? Did you leave those plain with the just little bits coming over from the front? I'm thinking I may also put a map on the back.
Claire Armstrong
Saturday 29th of February 2020
The maps just covered the front of the chairs and lipped round the sides but I cut them with a paper knife before they reached the back. It all looks very neat.
Arlene Cole
Monday 16th of October 2017
Thank you for another wonderful idea. I have an old wooden chair I've been saving for a project, and a box of old maps I've been saving for decoupage projects I've never gotten around to. Now I have a goal. I will definitely submit photos after my project is done, which won't be until after the Christmas holidays. I'm very excited now. Many thanks again!
Claire Armstrong
Tuesday 17th of October 2017
Thank you, I'd love to see it. Put your photos on my facebook page so everyone can see them.
21 Ways to Upcycle a Chair -
Wednesday 4th of October 2017
[…] about old maps just grabs me, especially foreign maps. I love what Pillar Box Home did with old maps and old chairs! She has a fantastic tutorial too. Be sure to go check it […]
Meg
Monday 31st of July 2017
Do you think this would work on plastic chair?. I have at least a hundred maps and can not part with them. I would love to use this idea on a plastic chair I use in my tutoring business. Thanks for any input.
Claire Armstrong
Monday 31st of July 2017
I think it could work on plastic chairs too. Maybe use Mod Podge glue, and try it on a small section first to make sure the maps stick.