
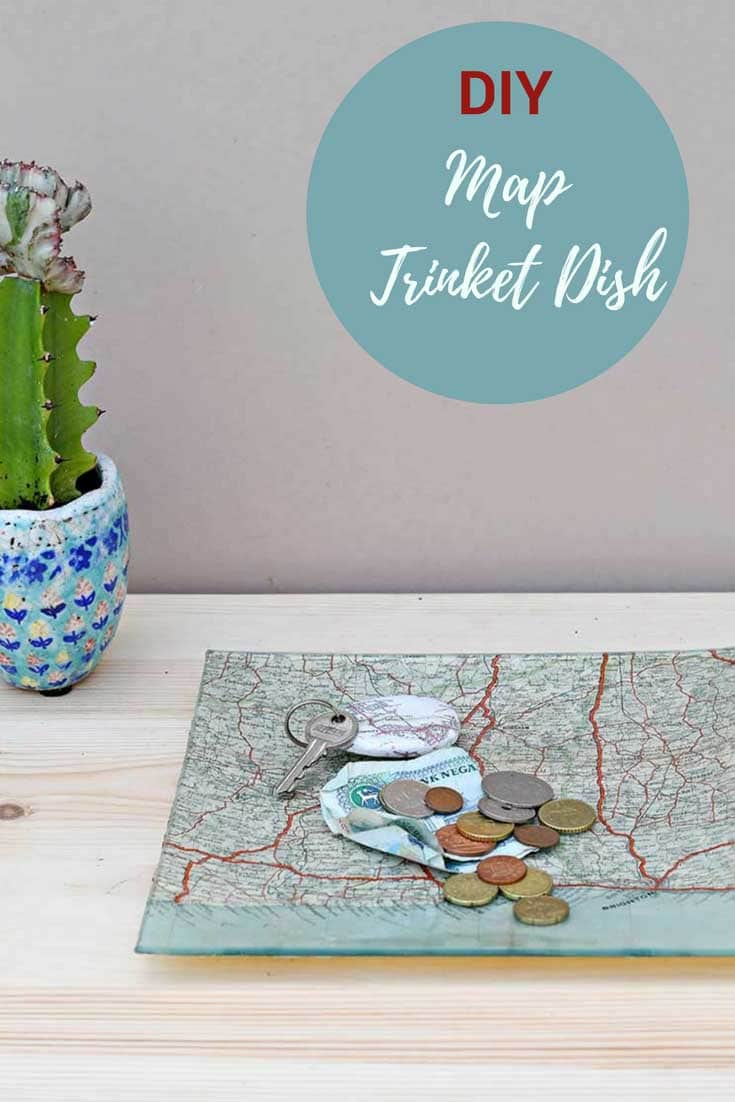
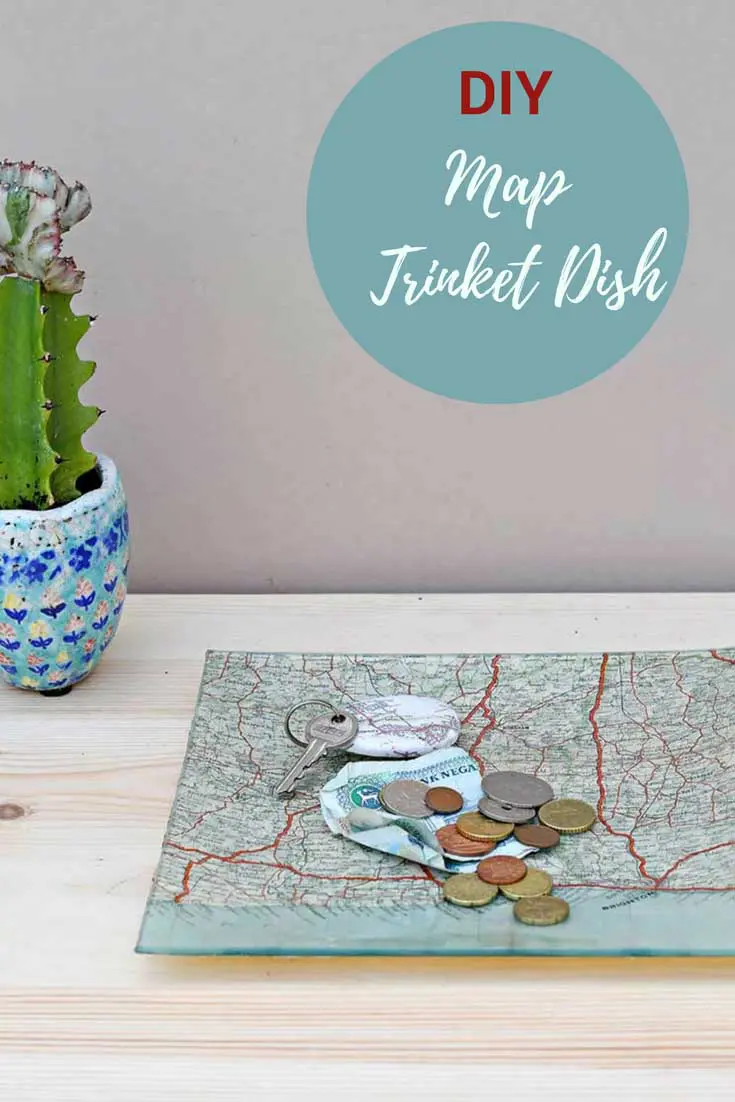
Turn a simple glass tray into a meaningful keepsake with this personalised map decoupage project. Choose a map of a special place—your hometown, favourite holiday spot or dream destination, and transform it into a stylish, handmade gift he’ll love.
It’s my hubby’s birthday soon, and I never know what to get him. Because if he wants it, he goes and buys it. I like to make my gifts wherever possible, and that’s when I came up with the idea of making him a map decoupage glass tray for his bedside table.
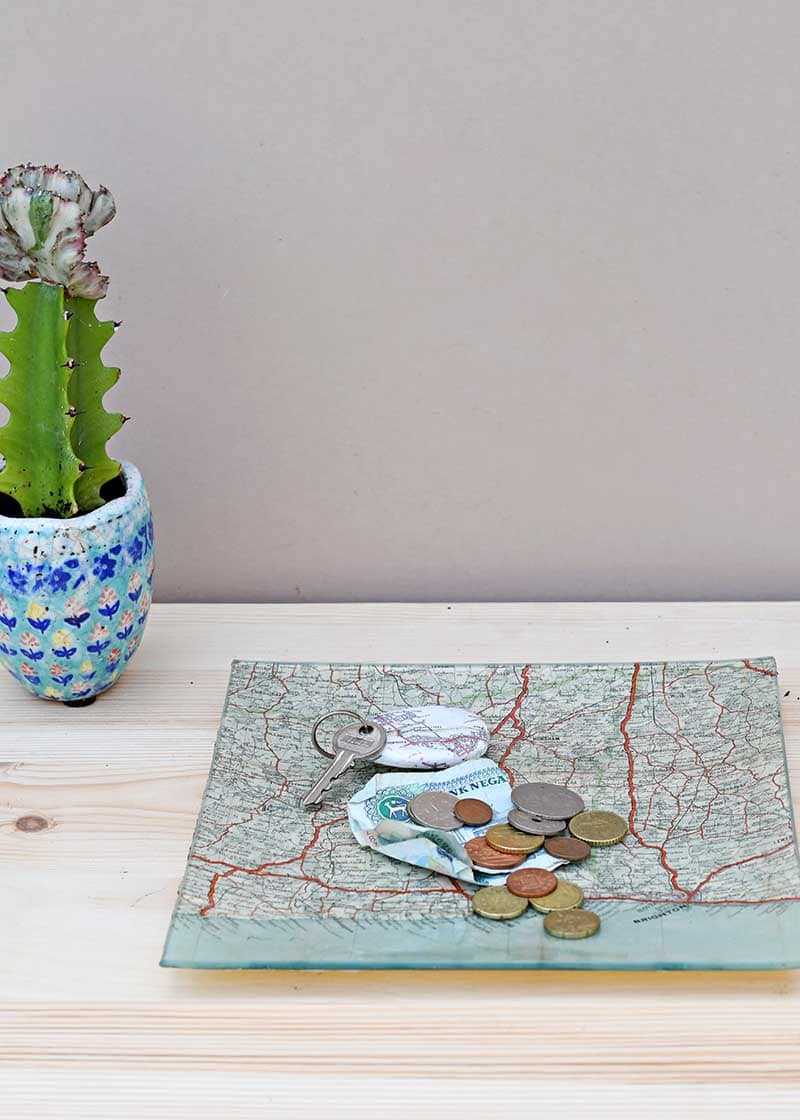
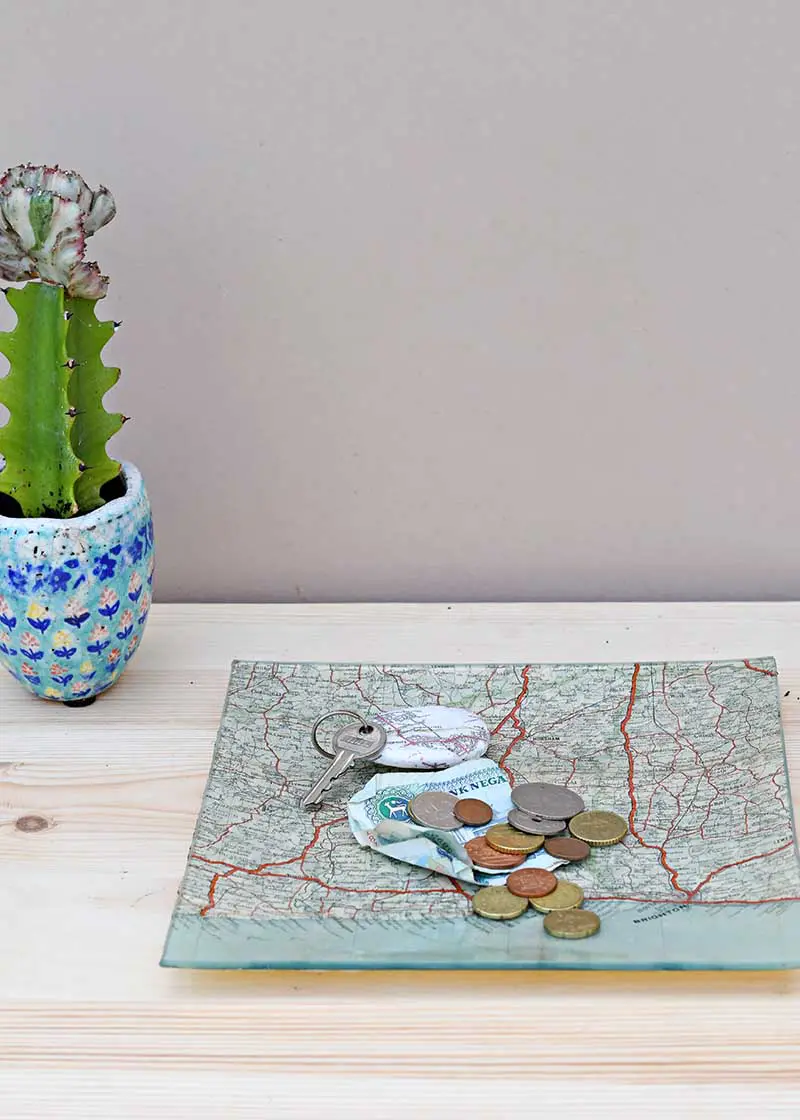
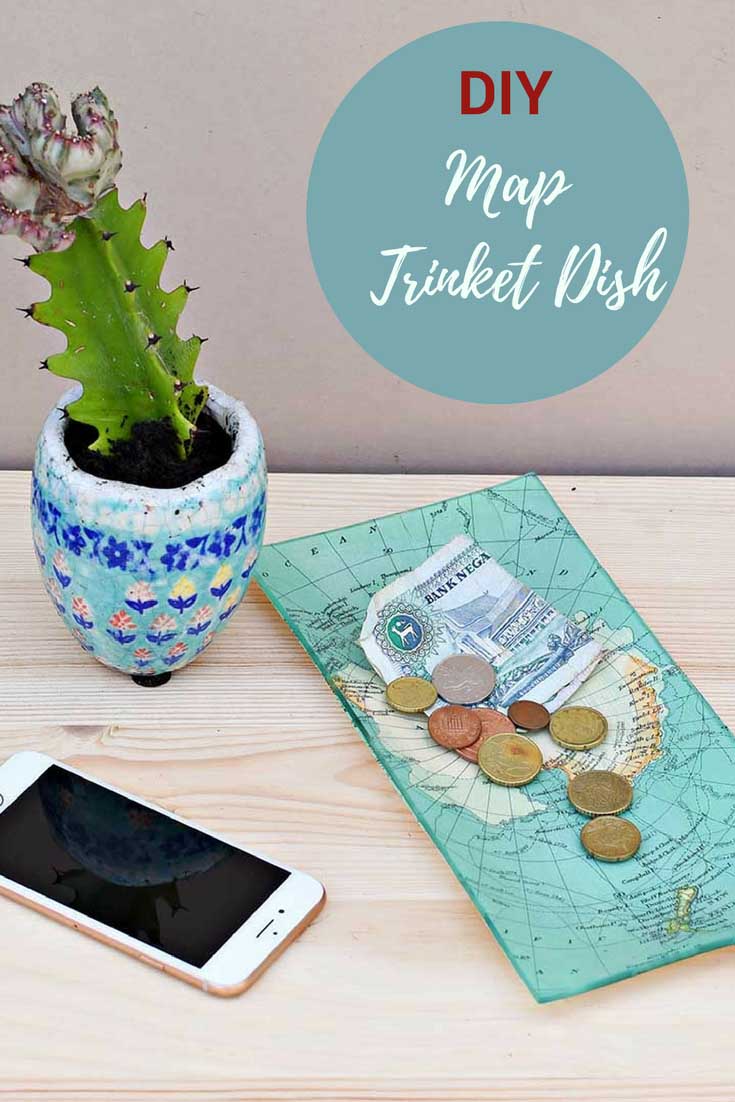
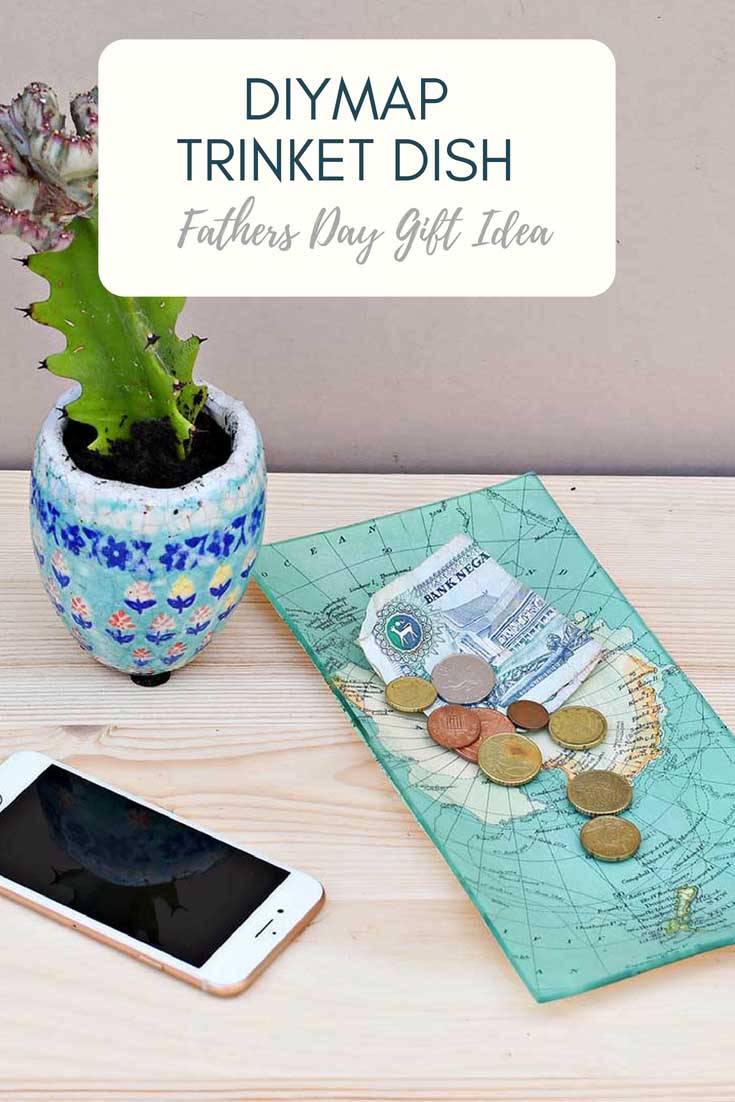
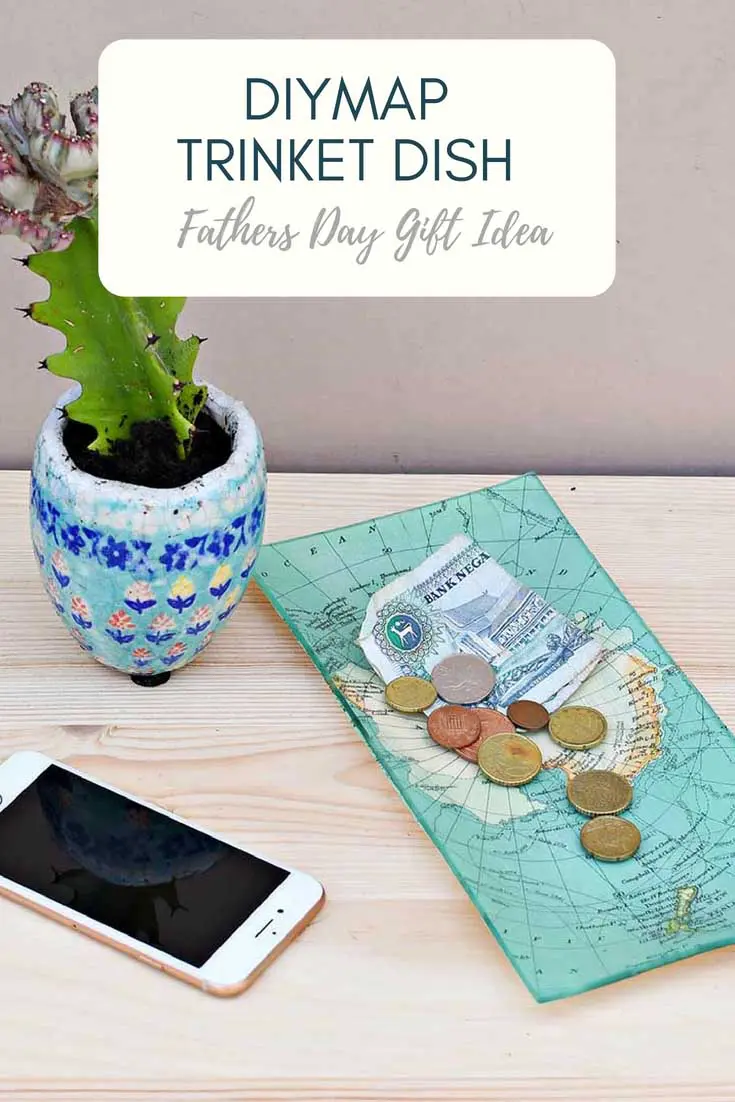
When Paul gets ready for bed, he empties his pockets and puts the contents on the bedside table. If he had a glass trinket dish to put all this stuff in, it would be less likely to get knocked off the table.
Using Road Maps For A Decoupage Glass Tray
I admit a glass trinket dish is a boring present, but if you personalise it with a map of somewhere special, it becomes something a bit more special.
That’s the magic of decoupage craft; it can turn something from meh to wow, even with glass decoupage.
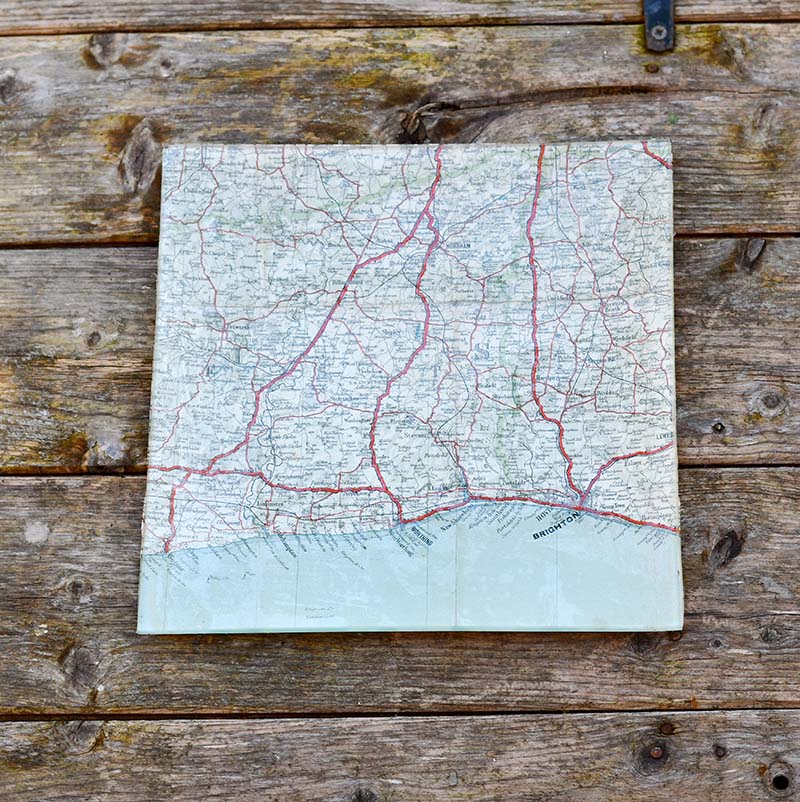
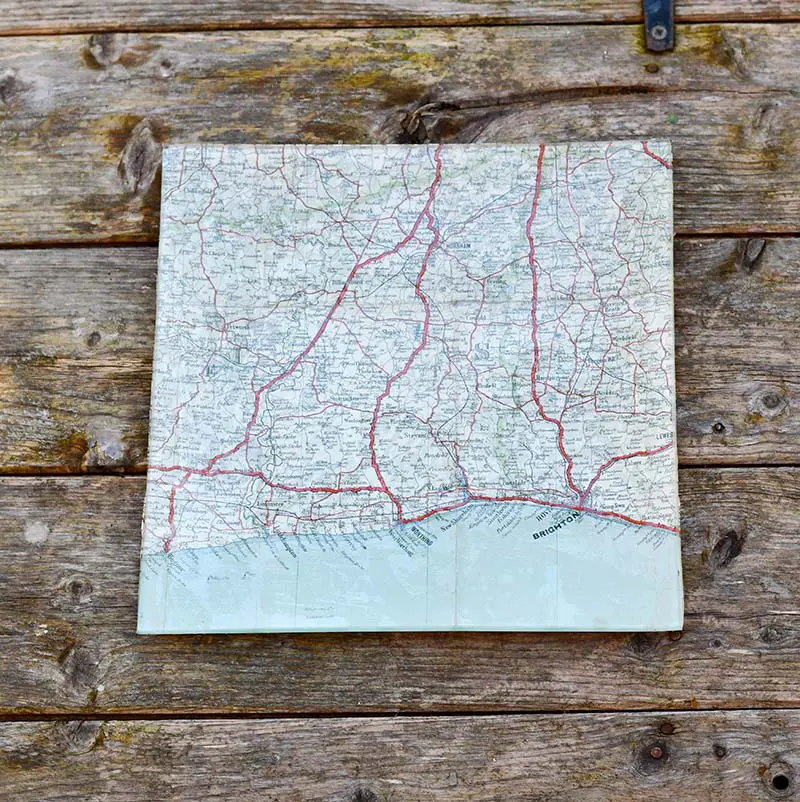
In my collection of old roadmaps, I just happened to have one of the South Coast of England. Paul has often talked about moving to Brighton one day, so I used that map for this decoupage glass tray.
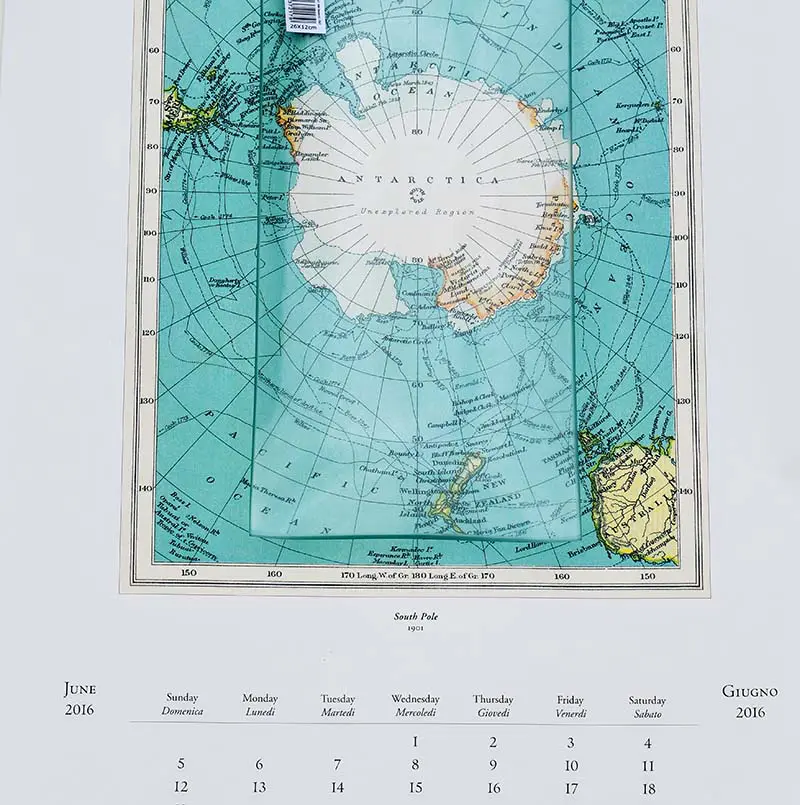
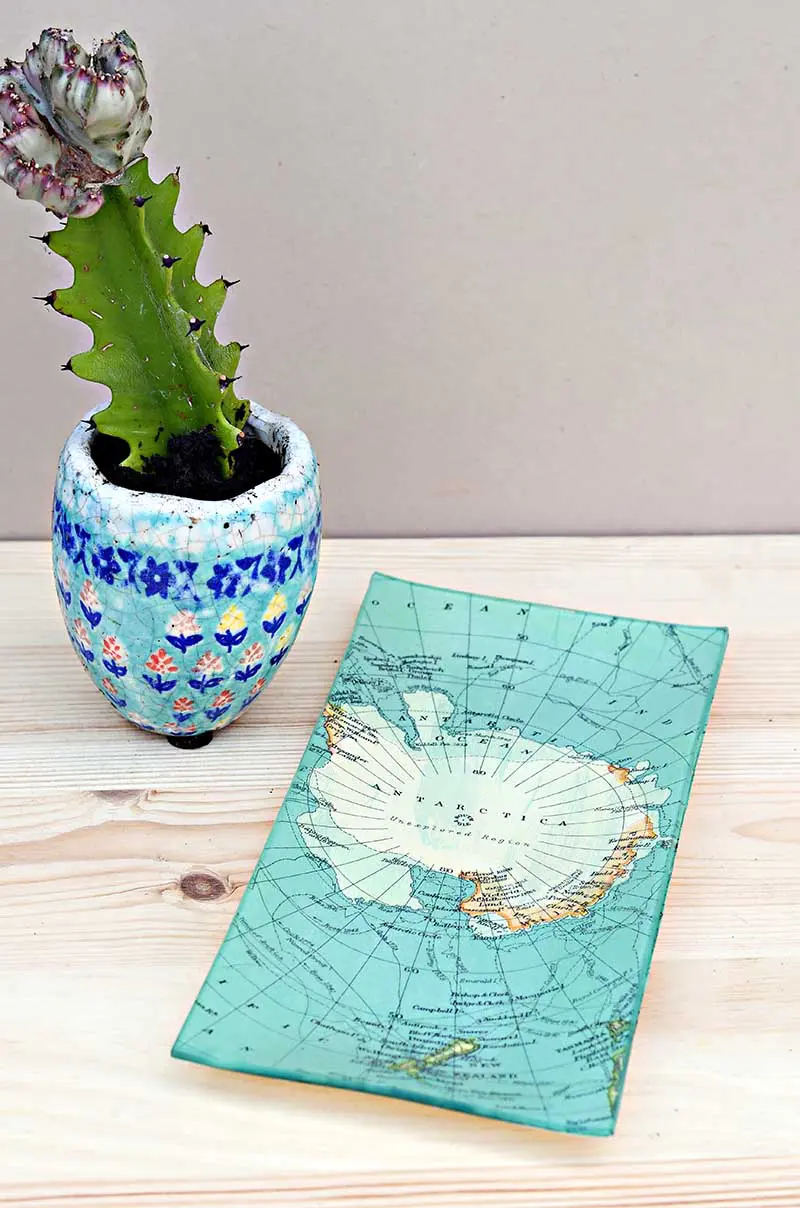
I made a second one because the map looked so good on the decoupaged trinket dish. This time my dad and I used a map of Antarctica I upcycled from an old calendar.
This post contains Amazon affiliate links for your convenience. Click here to see my disclosure policy.
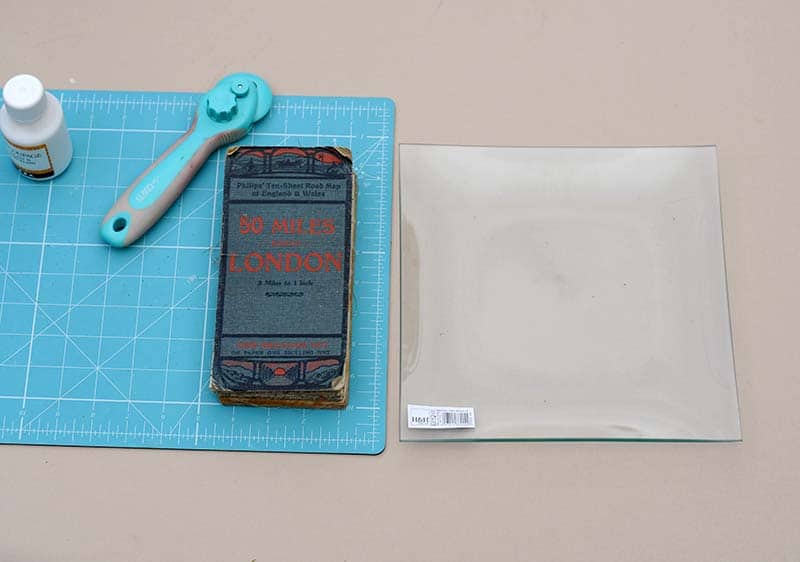
What you need to make a map decoupage glass tray
- Small glass tray/plate – If you don’t have one, they are cheap and come in various shapes and sizes. Thrift stores are another excellent place to find these.
- Mod podge – or other decoupage glue suitable for glass.
- Maps – You can typically pick up old road maps cheaply at Charity/thrift stores. I have some free printable vintage maps on my site (best to print on a laser printer). Or I used an old Cavallini map calendar for the Antarctic trinket dish.
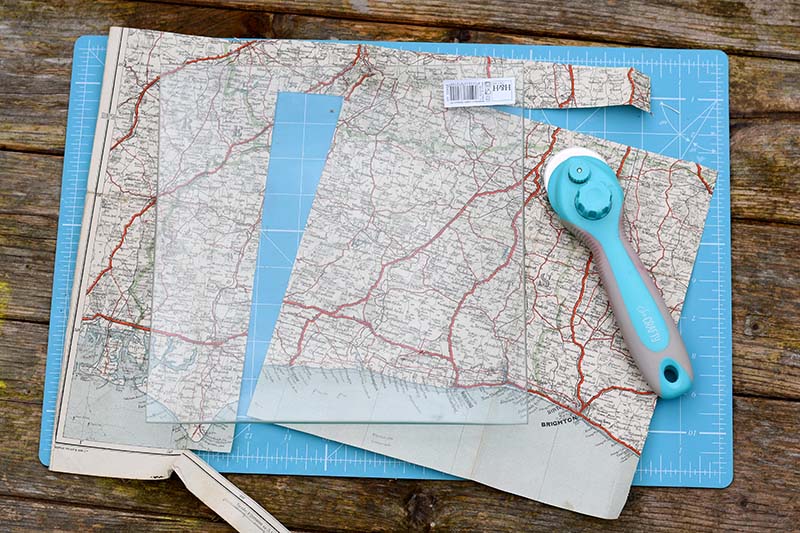
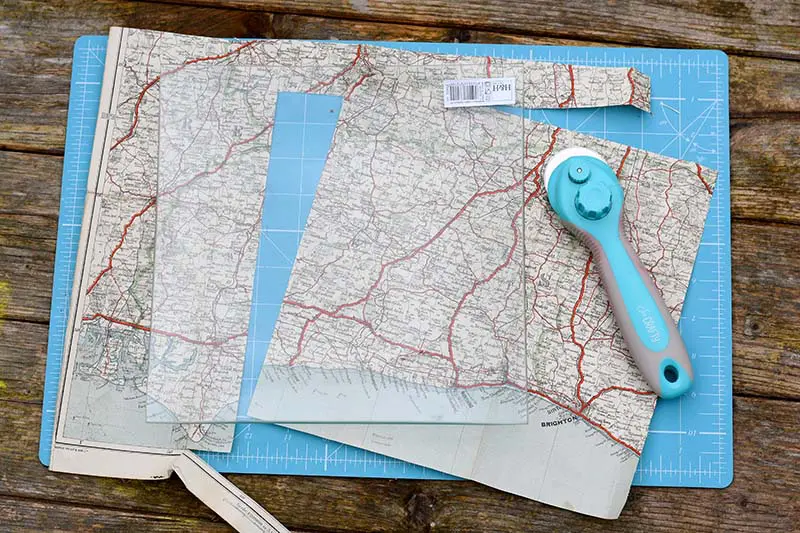
- Rotary cutter and mat

How to Decoupage A Glass Tray
Step 1: Before trying to decoupage the glass tray, clean it thoroughly. I find rubbing alcohol works best for this; failing that, you can use good old soap and water.
Step 2: Place the glass tray on the map you want to use. This will enable you to choose the exact part of the map you wish to decoupage.
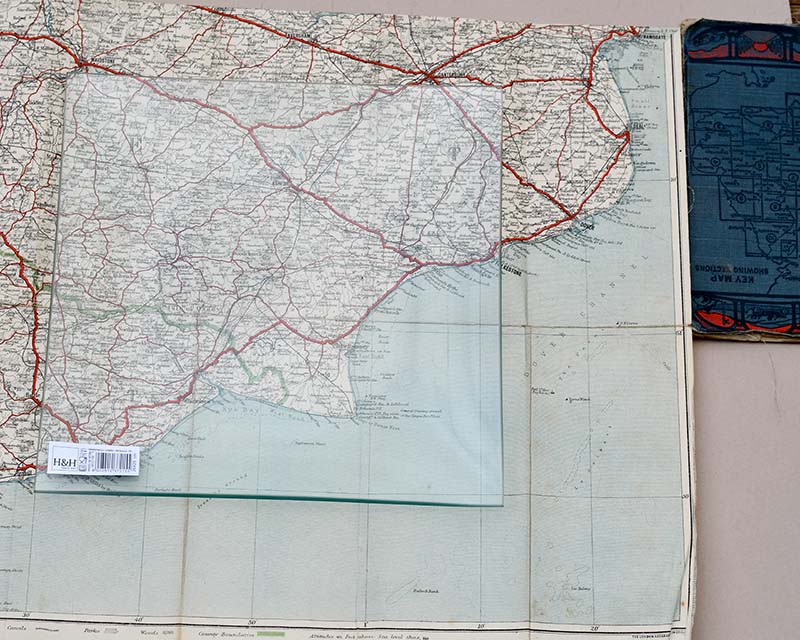
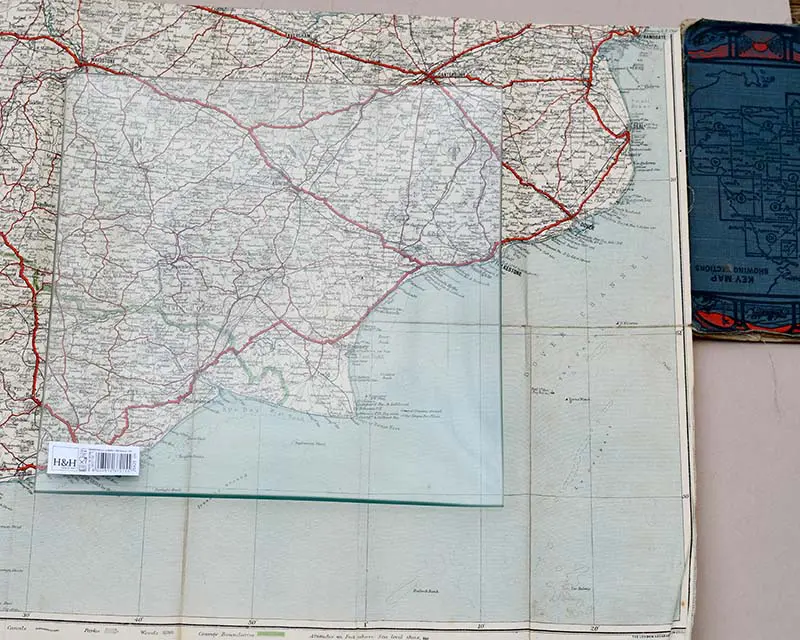
Step 3: Cut your map to the size of a glass tray, allowing for the curve. It doesn’t matter if your cut map is fractionally too large, as you can always trim any excess off at the end.
Step 4: Cover the underside of the glass tray with a layer of decoupage glue. Stick the map face down onto the glue. You are pressing down with your fingers and squeezing air bubbles to the edge. Scraping the edge of a credit card across the back of the map will also help squeeze out air bubbles.


Step 5: Once the decoupage glue has dried, apply another coat to the back of the map. This will act as a protective varnish.
As I had two of these glass trays, I decoupaged the second one with a map of Antarctica, which I had on an old calendar.


For more handmade gift ideas for men, here.


You can find many more map themed gift ideas here.
Patti Y.
Monday 6th of January 2020
What a fabulous idea! I will be heading to the dollar store tomorrow to pick up a glass dish. Yours turned out beautiful! My husband is so into maps, as he was a Geography major in college, so this is just perfect for him. I can’t wait to make one for him! How long did the entire project take you to make? Thank you, Patti
Claire Armstrong
Monday 6th of January 2020
Thank you, it only takes about 30 mins to make one of these. My husband has one on his best side table for his loose change and keys.
Susanne
Tuesday 12th of June 2018
What a wonderful gift idea! So creative :) My hubby would love this. Thanks for sharing with us at Create and Celebrate!
Claire Armstrong
Tuesday 12th of June 2018
Thank you, Susanne.
Fionnuala
Wednesday 23rd of May 2018
These are gorgeous Claire. Such a great idea. #homeetc
Claire Armstrong
Wednesday 23rd of May 2018
Thank you, I had fun making them.
Caro | The Twinkle Diaries
Monday 21st of May 2018
This is an absolutely BRILLIANT idea Claire — and you might just have solved the dilemma of what I can give to my husband for father's day! Thanks so much for sharing :) #HomeEtc
Claire Armstrong
Monday 21st of May 2018
Thank you, I do think they make a lovely fathers day present.
Victoria Higham
Friday 18th of May 2018
This looks so good. And what a lovely personalised gift. We definitely need some catchalls in our house.
Claire Armstrong
Friday 18th of May 2018
Thank you so much.