
Gorgeous DIY Fabric Seed Pods – Easy Scrap Fabric Fall Craft
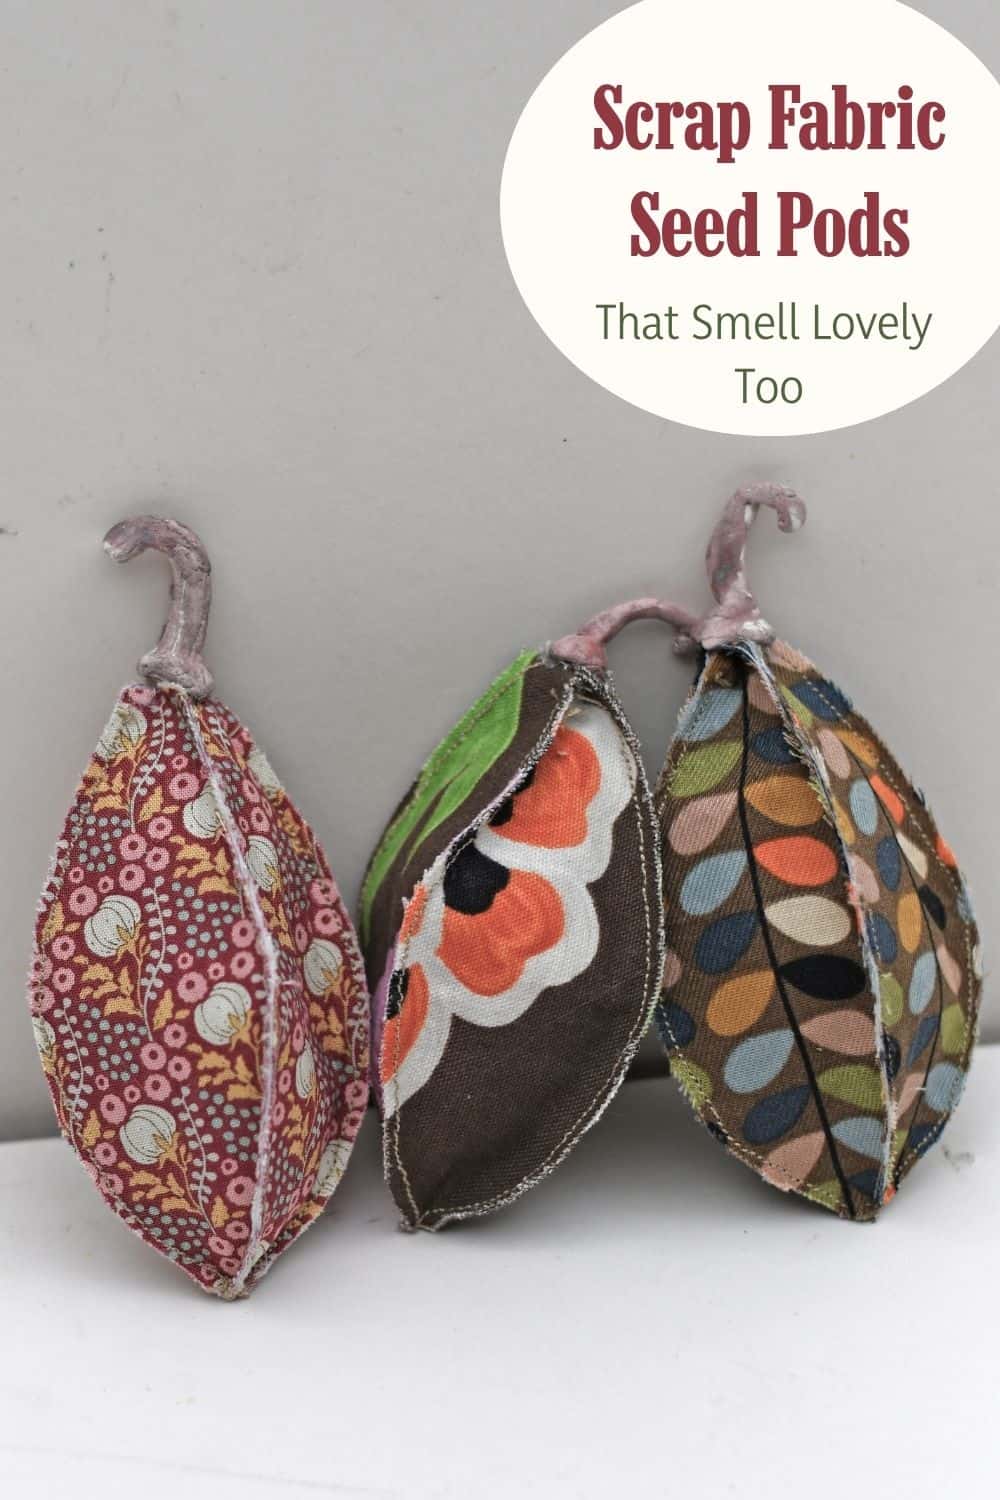
There are some crafts where making one is not enough. These scented fabric seed pods turned out to be one of those.
I originally planned to make just a few, but once I started rummaging through my fabric scraps and seeing how different prints looked as pods, things got a bit out of hand. Before long, I had enough for a whole bowlful, which, as it happens, makes a rather lovely bit of handmade Autumn decor.
These little fabric pods fit perfectly with the cottagecore crafts I love: nature-inspired, slightly whimsical and made from materials you probably already have. They're also a brilliant scrap fabric stash buster, as each pod only needs four small pieces of fabric.
If you've been here before, you may remember my fabric poppy seed heads, which were very popular and have a similar botanical feel. I also had the same problem with my fabric mushrooms; once I started using all those little patterned scraps, I couldn't stop making them.
And there's another little twist: you can make them scented. Add a few drops of essential oil to the stuffing, or tuck in dried lavender, rosemary or other fragrant herbs, and your strange little fabric pods can smell as good as they look.
What You Need
We're a participant in the Amazon Services LLC Associates Program, an affiliate advertising program designed to provide a means for us to earn fees by linking to Amazon.com and affiliated sites. As an Amazon Associate, I earn from qualifying purchases.
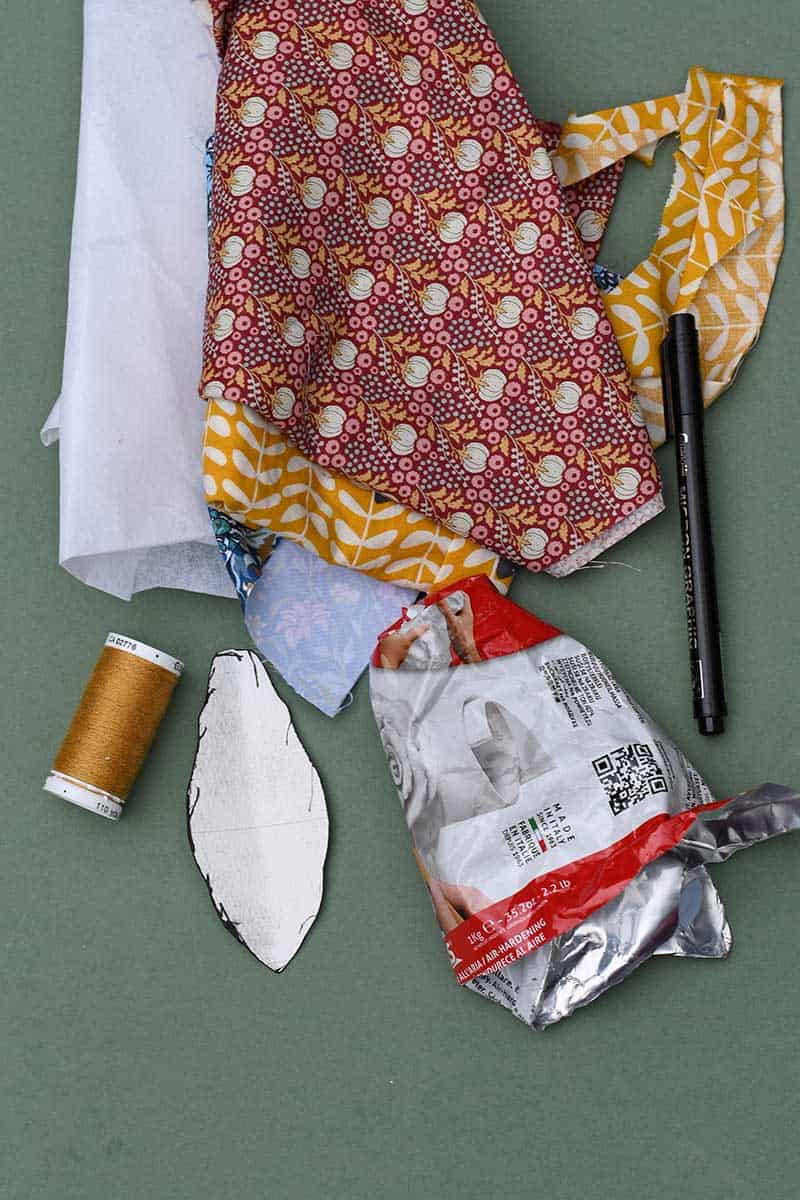
- Fabric scraps -from pretty patterned craft cottons to old fabric swatches, and I've even used patterned tea towels.
- Iron-on interfacing
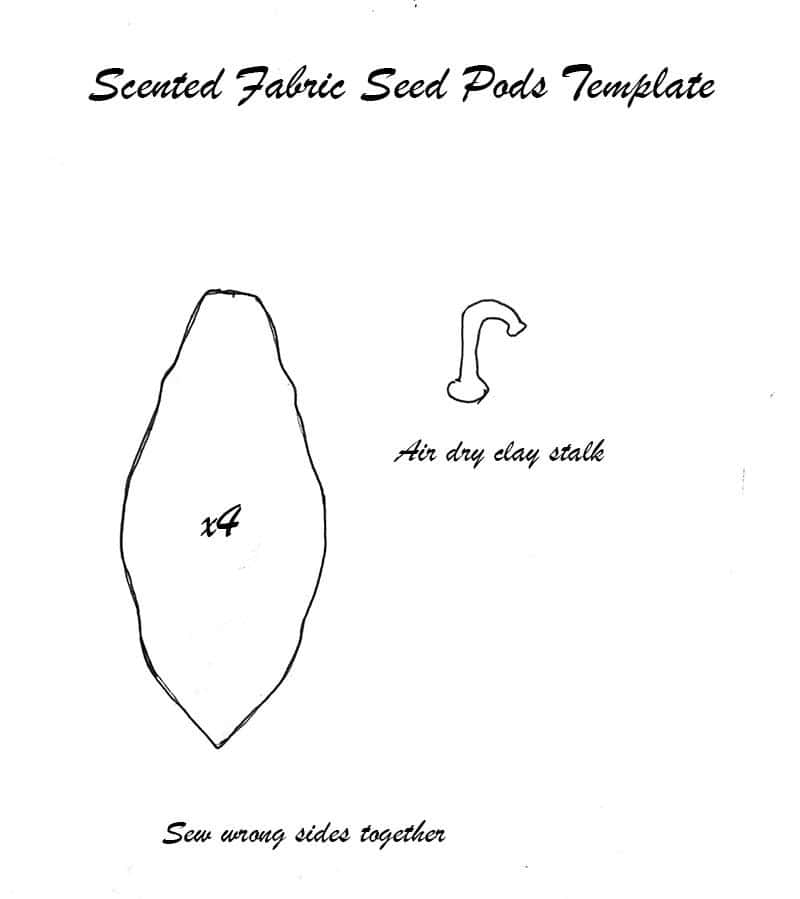
- Seed pod pattern – four panels per pod
- Small sharp needlework scissors
- Sewing machine and/or hand-sewing needle
- Thread
- Fiberfill - I actually use the stuffing from old pillows.
- Air-dry clay - you only need the tiniest amount.
- Grey/brown acrylic paint, or Sharpie
- Hot glue gun
- Optional essential oils or dried herbs
How To Make Fabric Seed Pods
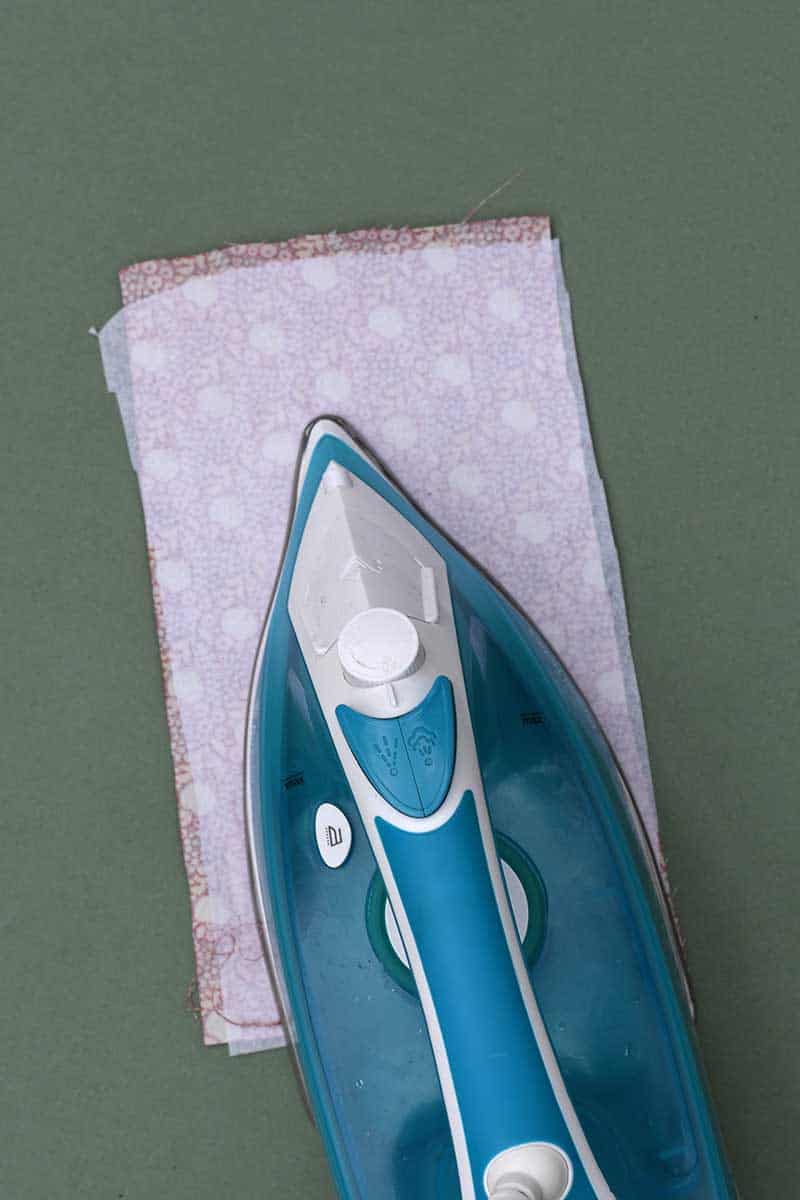
Step 1: Stiffen the Fabric: Before cutting out the seed pod pieces, iron interfacing onto the back of your fabric. I found that the interfacing gave my scraps just enough structure to hold the pod shape nicely once sewn and stuffed. It also makes lighter cotton fabrics much easier to work with and less likely to fray.
You don't need large pieces of fabric for these, which makes this a particularly satisfying project for all those scraps that are too pretty to throw away but too small for most sewing projects.
If you are using stiffer upholstery fabric, then you can miss this step.
Step 2: Cut Out The Seed Pod Panels: Use the seed pod template to cut four shaped panels for each pod.
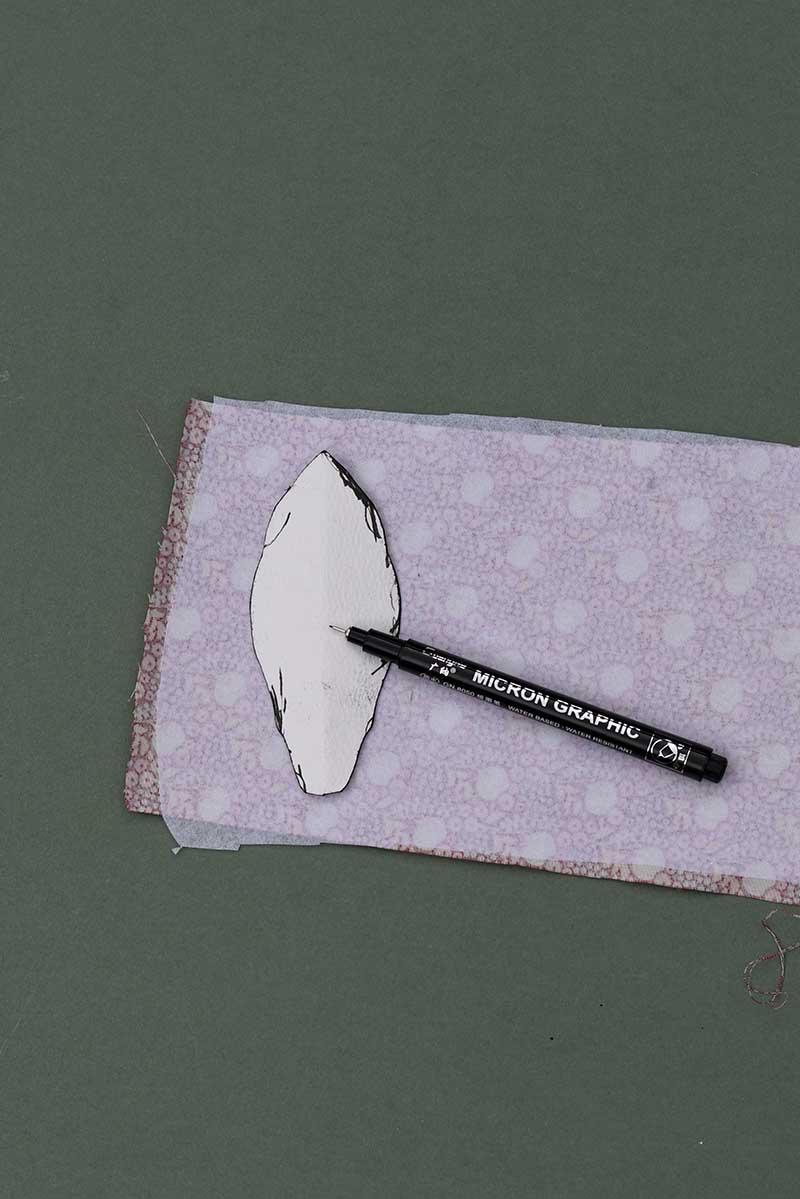
This is where you can have fun with your fabric stash. Cut all four pieces from the same print for a more coordinated pod, or mix prints and colours for a more patchwork look. I particularly like botanical, floral and slightly vintage-looking fabrics for these, but almost anything works.
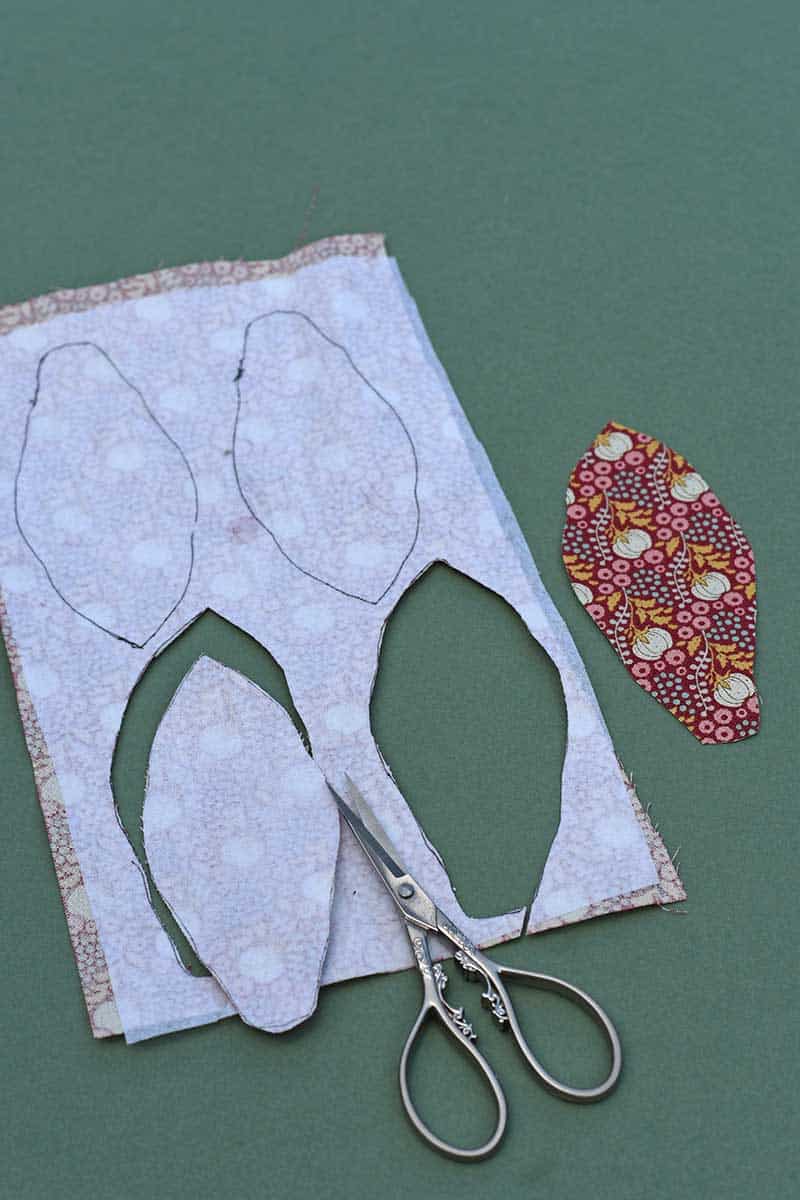
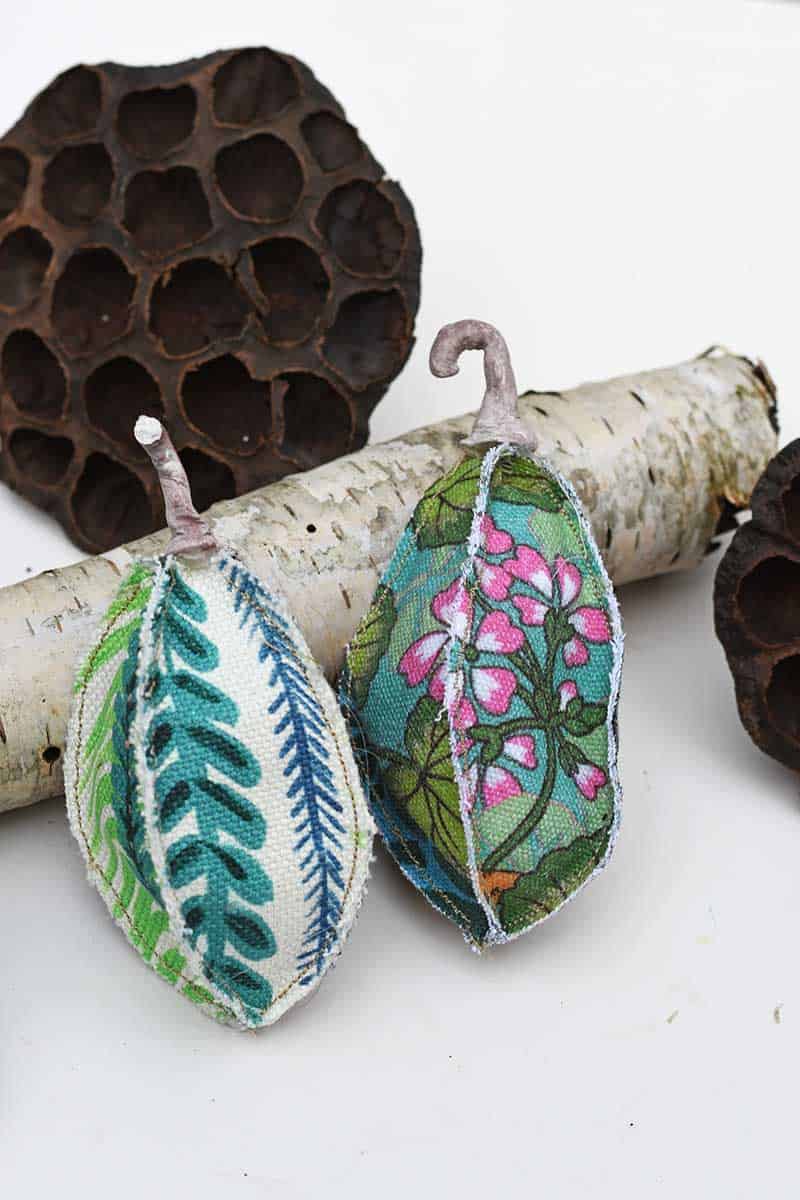
Step 3: Sew the Panels Together: Unlike many stuffed sewing projects, the panels are sewn wrong sides together. This means the seams remain deliberately visible on the outside of the finished seed pod. I like this because the seams create the raised ribs and give the pod its botanical shape.
Place two panels wrong sides together and sew along one long edge with an approximate 5mm margin.
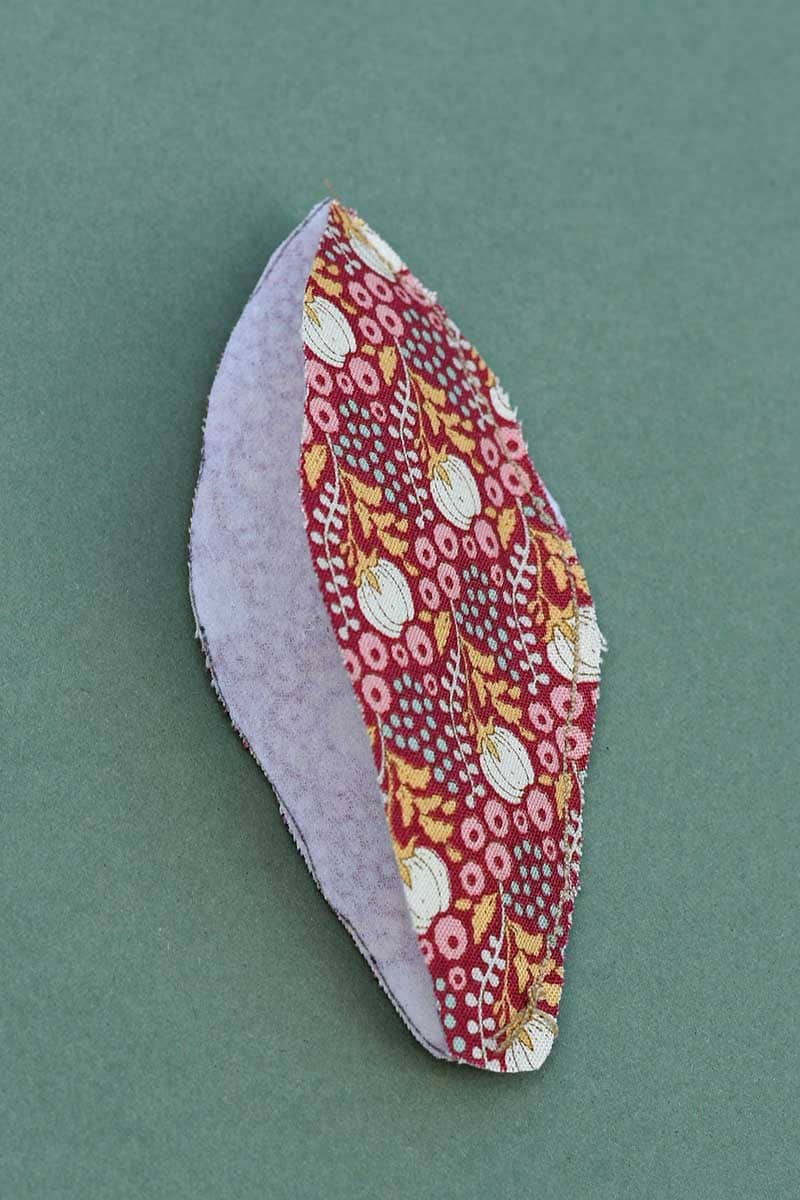
Continue adding the remaining panels one at a time until all four are joined. Leave the narrow top of the pod open.
You can do this on a sewing machine, by hand, or use a combination of the two as I did. In fact, because the pods are small, this would be a very manageable hand-sewing project if you don't have a sewing machine.
Step 4: Trim the edges: Using a small, sharp pair of scissors, trim the edges of the pods so the seam edge goes from 5mm to approximately 2-3 mm. At the same time, cut away any loose threads.
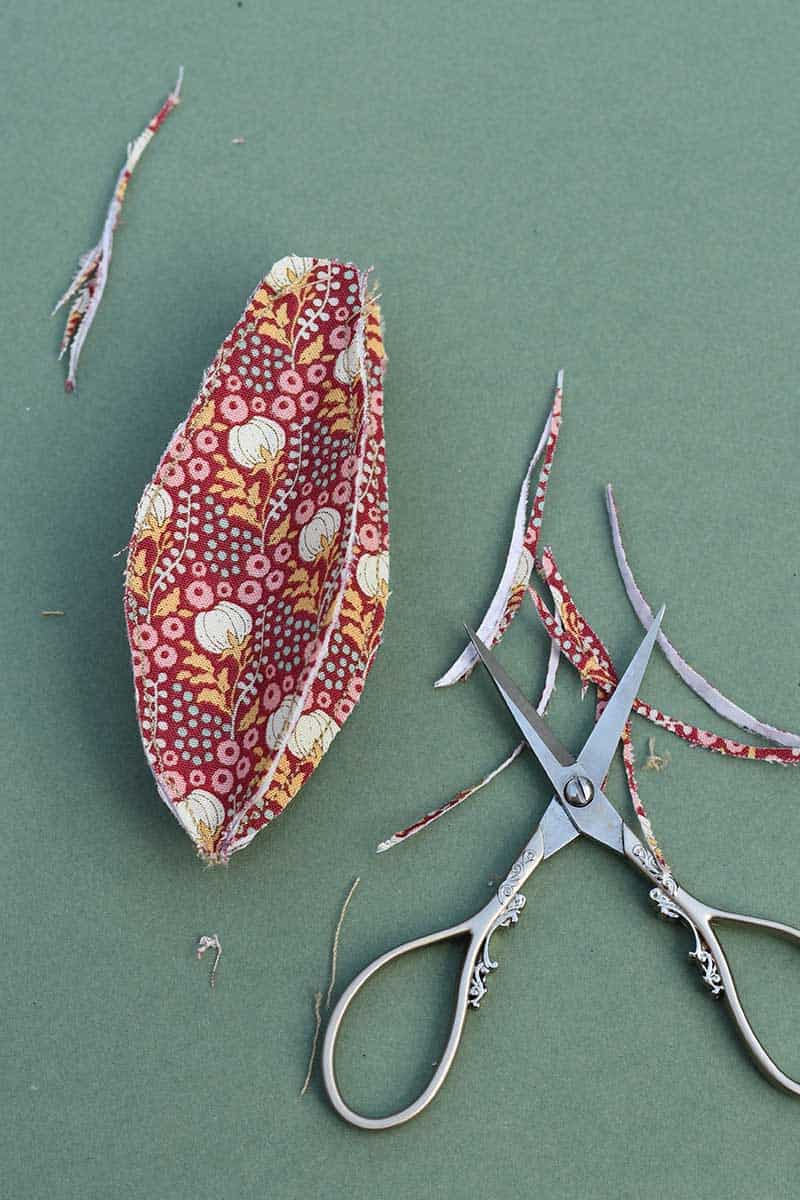
Step 5: Stuff the Seed Pod: Push small amounts of toy stuffing through the opening at the top. Don't overstuff the pod. You want enough filling to bring out the four-panel shape and emphasise those lovely external seams, but not so much that it turns into a very plump fabric sausage.
A knitting needle, chopstick or the blunt end of a pencil can help push stuffing down towards the pointed end.
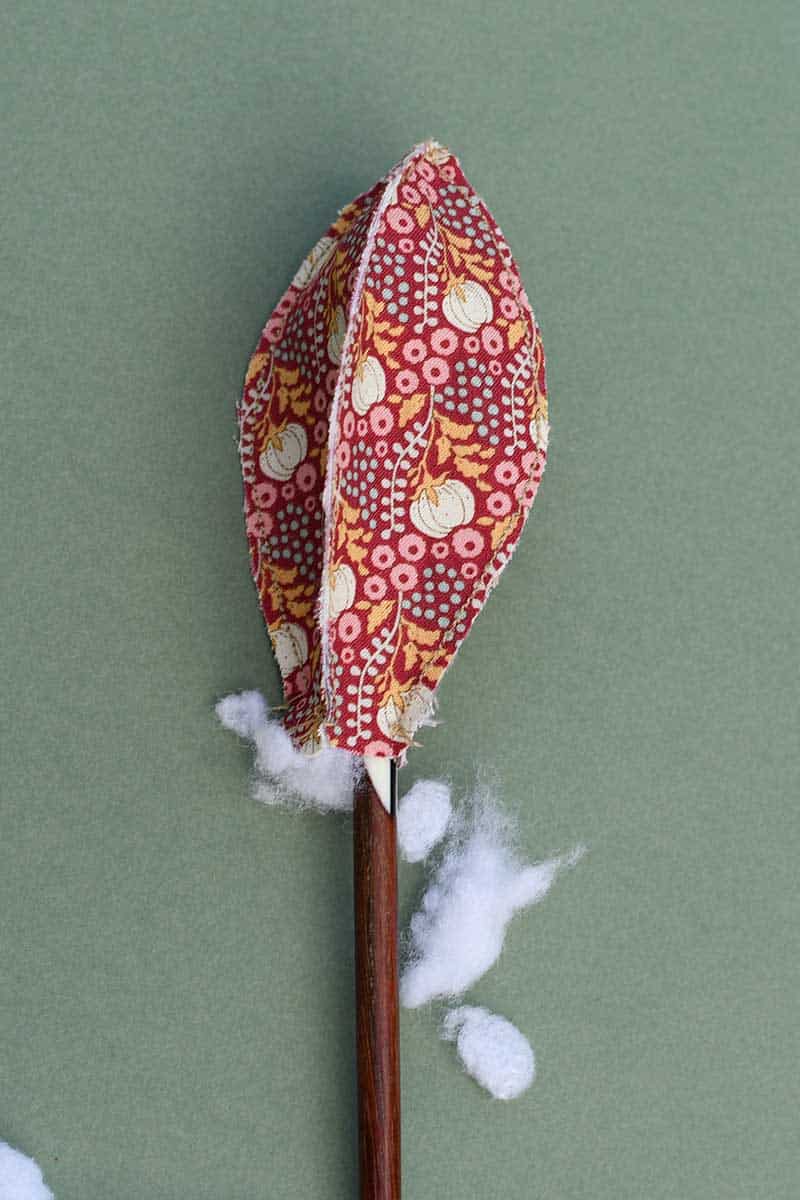
For scented fabric seed pods, add a few drops of essential oil to some of the stuffing before putting it inside. Alternatively, add a little dried lavender or other fragrant dried herbs amongst the stuffing.
(A few scented soap shavings with the fibrefill are another way to add fragrance to the seed pods)
Step 6: Sew The Top Closed:
Once you're happy with the shape, sew across the opening at the top. I did this by hand as it's such a small area and doesn't need to be particularly perfect; the stalk will disguise much of the stitching anyway.
Make The Clay Stalks
Make the stalks separately from air-dry clay. You can also use twigs as an alternative stalk if you don't want to make air-dry clay ones.
Step 6: Roll a small amount of clay into a thin stalk, leaving one end slightly thicker where it will eventually attach to the seed pod.
Give the stalk a bend or little hook at the end rather than making it perfectly straight. Nature rarely bothers with perfectly straight lines, and the slightly wonky stalks give the pods much more character. Leave the clay to dry completely.
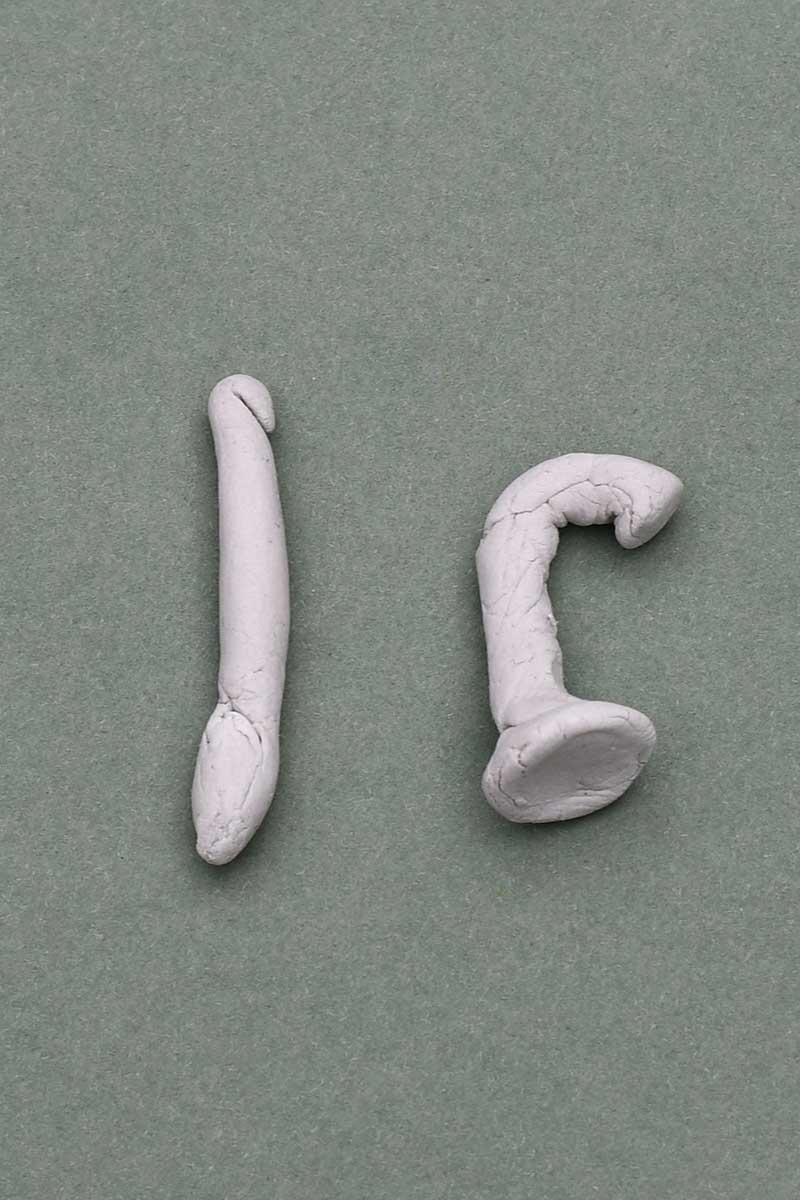
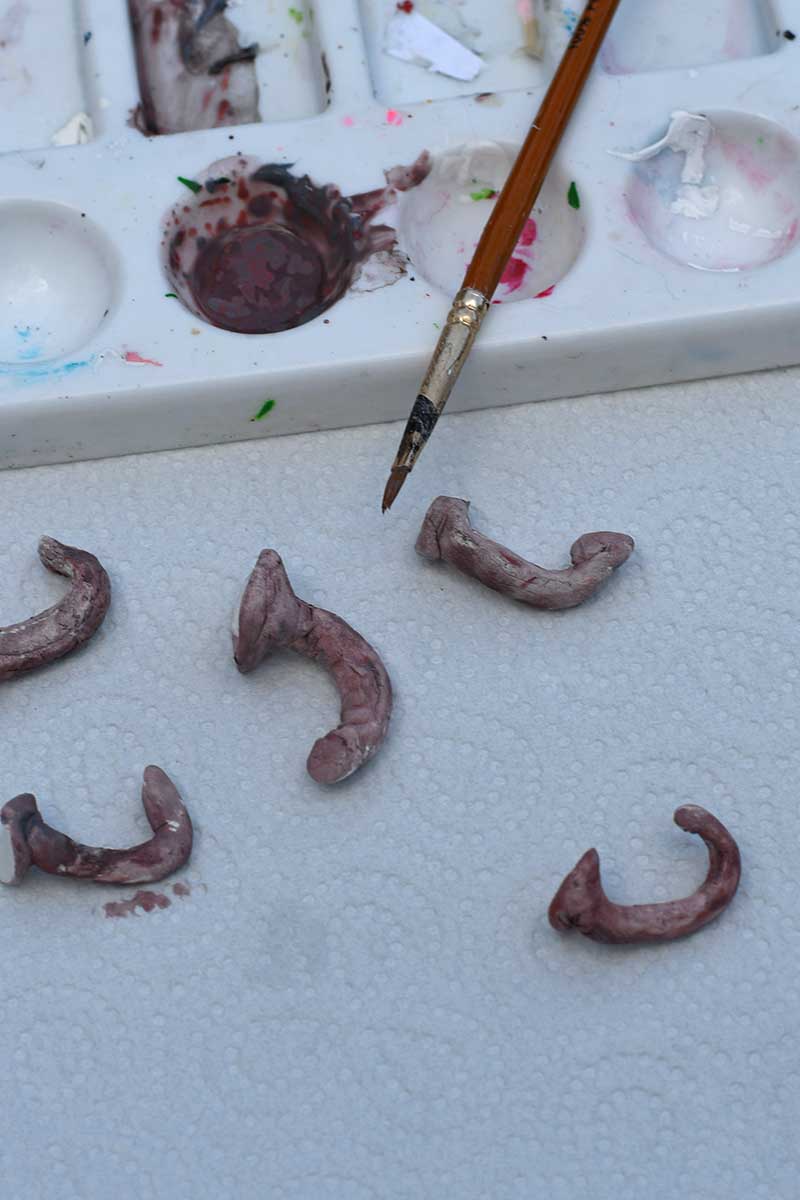
Once dry, paint the stalks with acrylic paint or brush pens. I deliberately kept the colours fairly muted so they looked more like dried Autumn seed pod stems.
Step 7: Add the Stalk: Heat your glue gun and add a small blob of hot glue to the thicker end of the clay stalk. Press it directly onto the sewn top of the fabric pod and hold it in place until the glue sets.
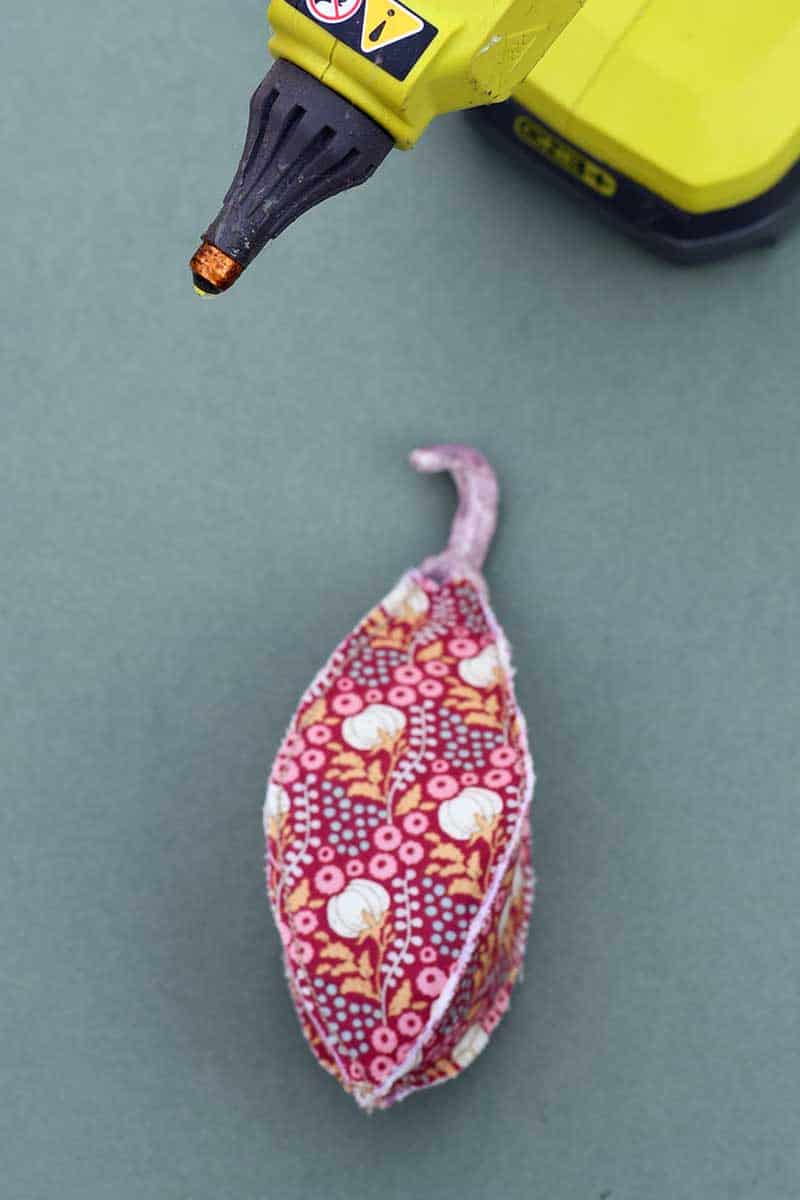
The stalk also conveniently hides the top seam and finishes everything off.
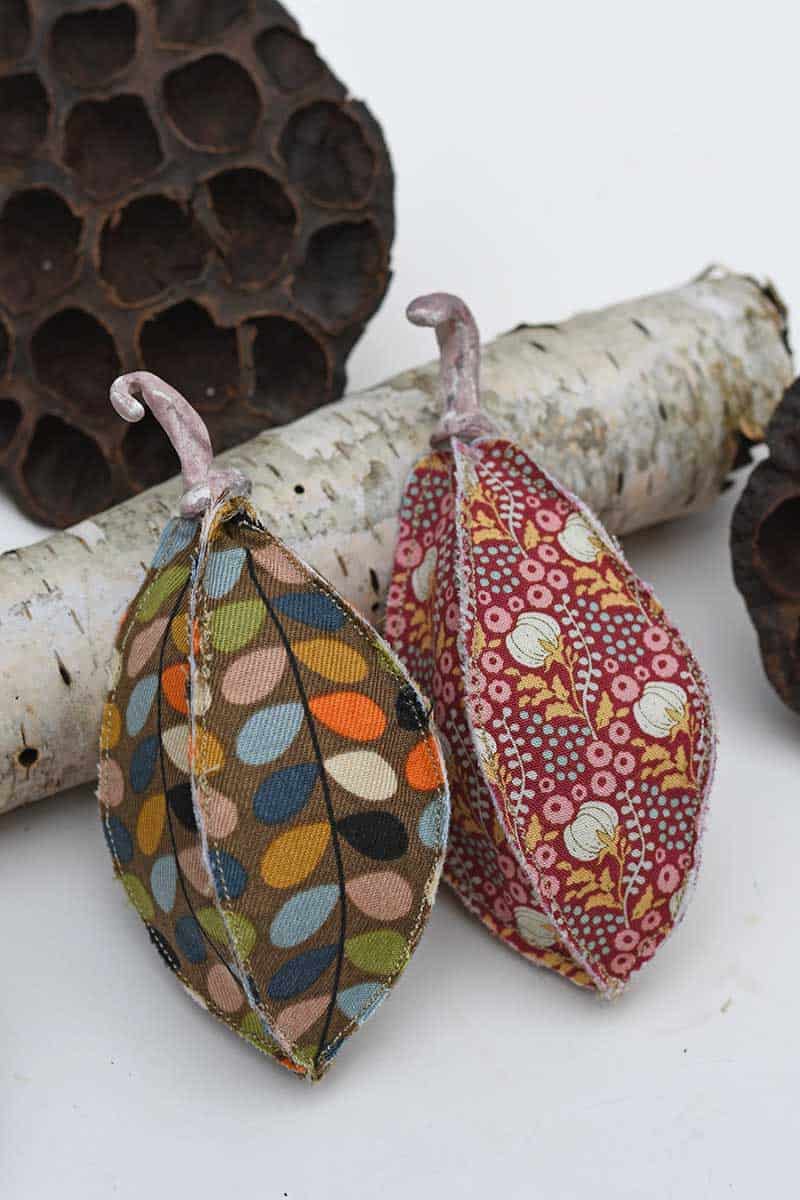
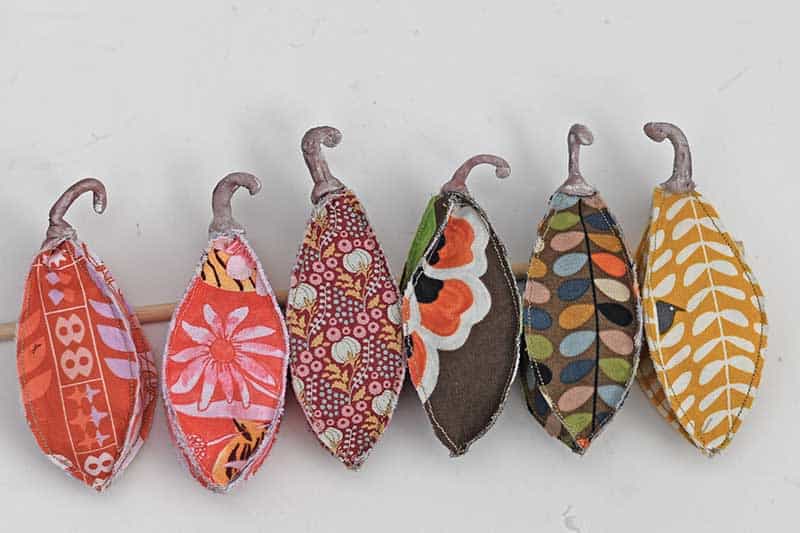
Then make another one. And another. You can see how I ended up with a bowlful.
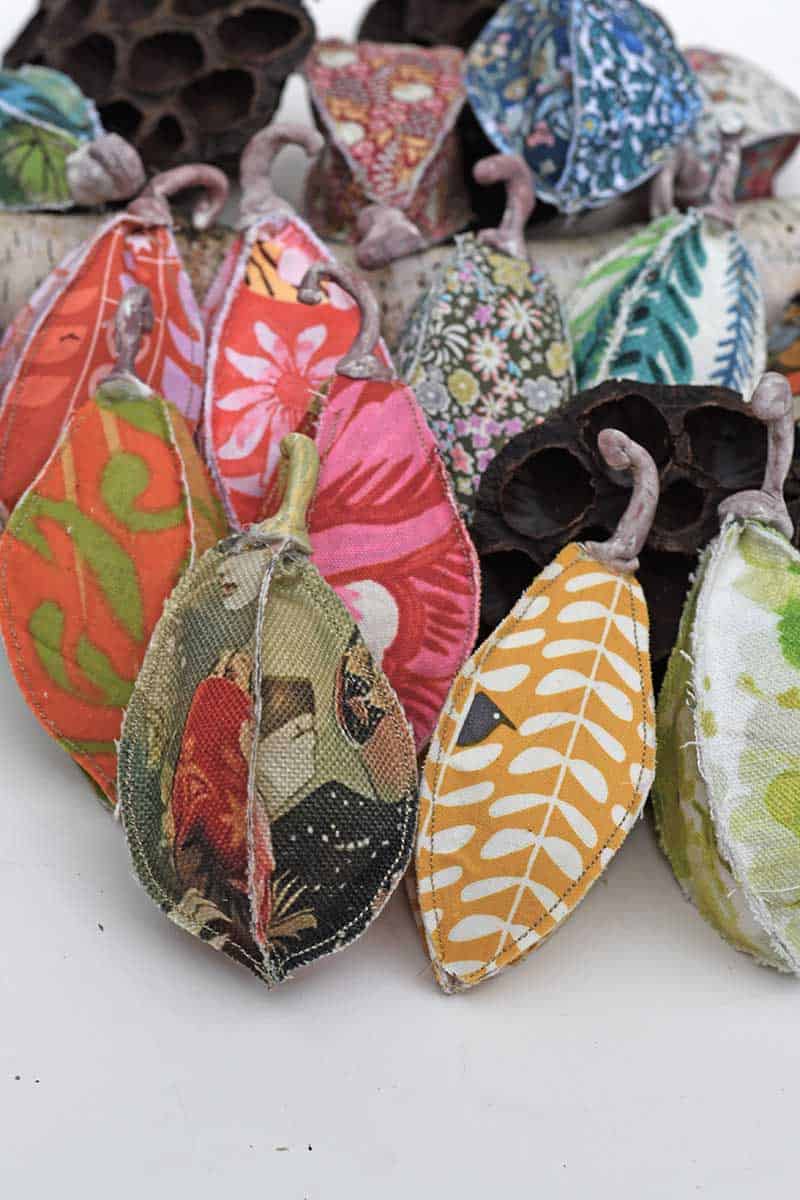
Ways To Display Seed Pods
I've piled mine into a bowl, which is probably the easiest way to show off lots of different fabrics together. But there are plenty of other possibilities.
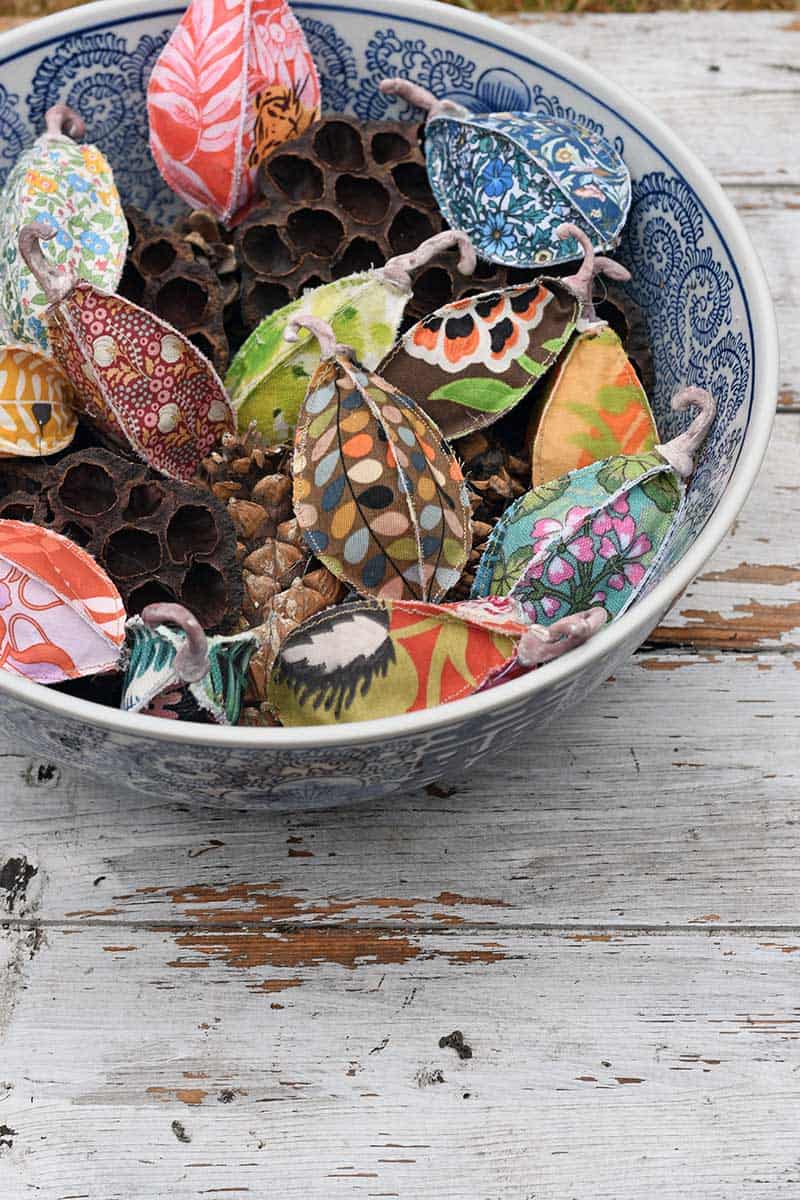
Try mixing them with pinecones, acorns and dried leaves in an Autumn display, adding them to a seasonal wreath or garland, or arranging a few beneath a glass cloche. Smaller pods could even be attached to wrapped gifts instead of a conventional bow.
A Scrap Fabric Fall Decoration
I love crafts that turn the smallest leftovers into something worth keeping, and these fabric seed pods definitely fall into that category.
They're somewhere between a sewing project, a botanical curiosity and a piece of slightly quirky autumn decor. A collection looks particularly good because every scrap of fabric produces a different pod.
Make them in rusty oranges, ochres and greens for an obviously fall display, or ignore traditional seasonal colours altogether and raid your scrap basket for your favourite prints.
Just don't blame me when one seed pod turns into twenty.
My whimsical fabric flowers are another fun way to use colourful leftovers. In contrast, the fabric figs and velvet pomegranates would look fabulous mixed with the seed pods in a handmade harvest display.
As a fun Autumn craft for your own home, these fabric seed pods also make sweet handmade gifts and are simple enough to batch-make for fairs and markets. You might also enjoy this collection of adult fall crafts or these printable fruit ornaments.

WOW,Very wonderful
Aww, thank you so much
Truly wonderful Claire, great to see you on craft schooling Sunday! I am dreaming of revving up the sewing machine to make stuffed animals of all kinds and when I do I can imagine that the creatures will multiply like seed pods!
Thank you, Sara. That sounds like a fun future project.
This is an amazing project, Claire!!
I'm delighted to be featuring your DIY scented fabric seed pods project at Create, Bake, Grow & Gather party this week and pinning too.
Thank you, that is awesome. I look forward to seeing them.
What a wonderful idea, they look so beautiful. The fabrics are great.
Thank you so much, I got a bit carried away making them. I just wanted one in all the different fabrics!