
DIY Free Elf Pattern: Create an Adorable T-Shirt Elf Plushie with Button Eyes!
Discover how to make a charming plushie elf from old t-shirts with our step-by-step free elf pattern. Perfect for adding a magical touch to your Christmas decorations!
Jingle bells and crafting spells, it’s that whimsical time of the year again! The season of joy is knocking at the door, and what better way to invite it in than by creating something magical with your own two hands?
Today, I will be your crafty little Elf, guiding you through an enchanted forest of fabric and buttons to create the most adorable T-Shirt Plushie Elf. Yes, you heard it right! Grab your old t-shirts and get ready to sew because I’m sharing a free elf pattern that’s just oozing with the Christmas spirit.
With giant button eyes as large as Christmas baubles, these charming elves are destined to capture hearts and become festive favourites. So, let's put on our elf hats and let the crafting adventure begin!
This post includes a full tutorial and a free pdf Christmas Elf pattern. To make the Christmas elf even more special and personal, you can use a favourite old stripey t-shirt to make him.
These cuddly toys' bodies are stuffed with lentils, making them weighted so they sit nicely, and they can also be used as a festive doorstop.
We're a participant in the Amazon Services LLC Associates Program, an affiliate advertising program designed to provide a means for us to earn fees by linking to Amazon.com and affiliated sites. As an Amazon Associate, I earn from qualifying purchases.
Materials & The Free Elf Pattern
- Green or red stripy jersey fabric is approximately one fat quarter. This will do if you have an old stripy T-shirt.
- The Free Elf Pattern is downloadable here: Elf Pattern
- Cream or a neutral-coloured jersey fabric, no more than one fat quarter. Again an old T-shirt or any other stretchy clothing for upcycling.
- Green felt approx. one fat quarter.
- Two extra large coconut shell buttons. These are easily bought online and come in various colours.
- A small amount of fibre to stuff the head and ears. Lentils, green or red or split peas to stuff the body.
- Needle and thread
- Small silver craft bell
How To Sew A Christmas Elf Plushie
Part 1: The Elf head
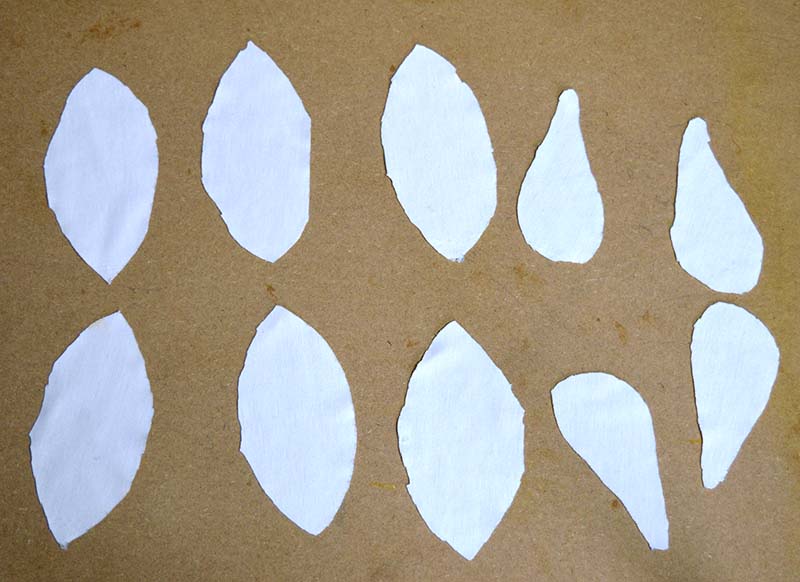
Step 1: Cut out six headpieces and four earpieces with the cream fabric using the Elf Pattern.
Step 2: Using a very small seam allowance of about 5mm, sew the head pieces together, like the segments of an orange. Leave a gap at the top for stuffing. You should end up with something that looks like a deflated ball. Stuff firmly with the fibre stuffing and close.
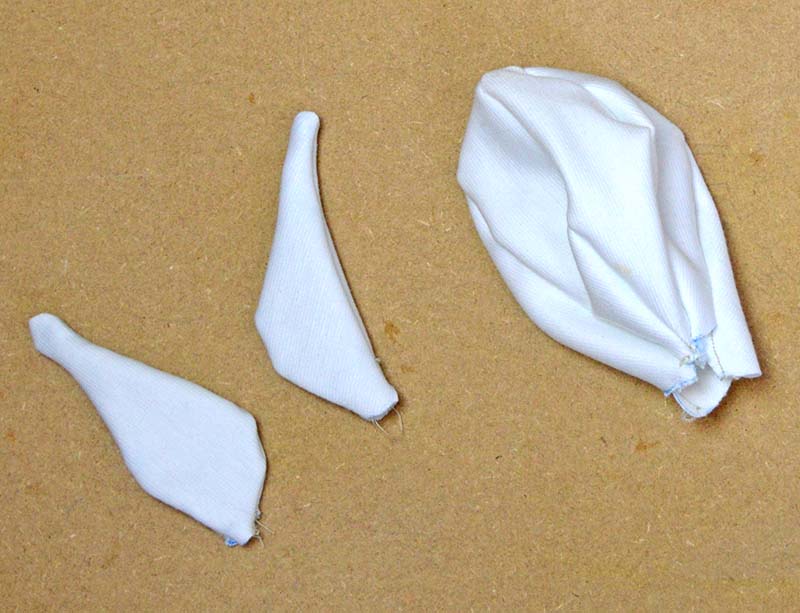
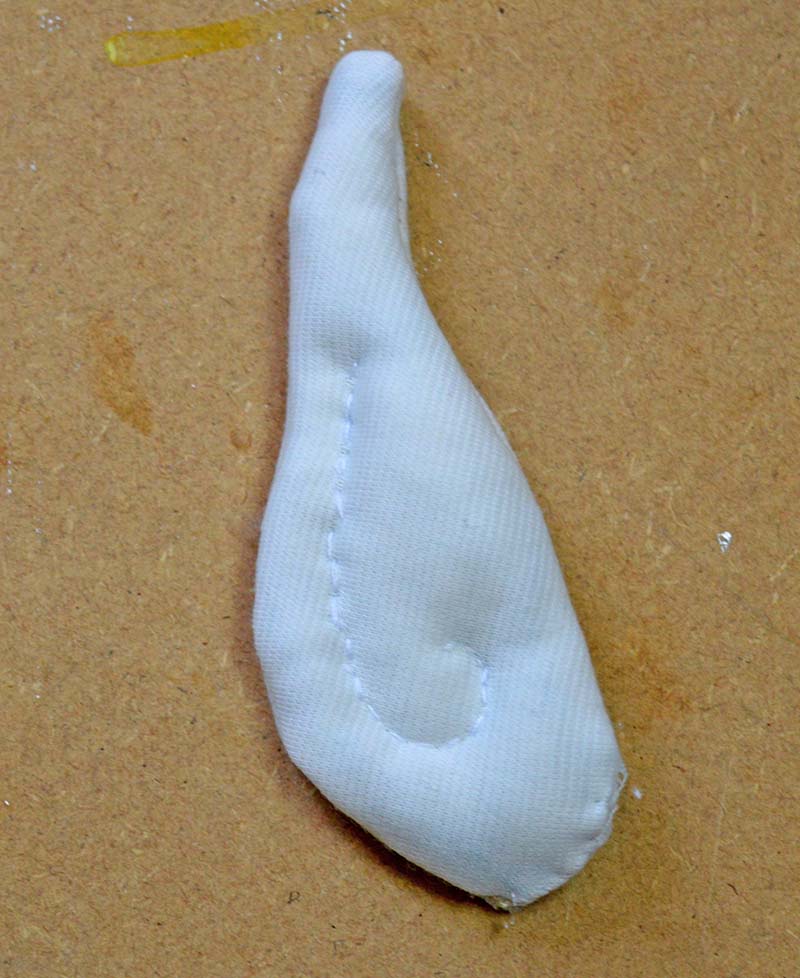
Step 3: Sew the ear pieces together so that you have two ears. Stuff these lightly and then sew a stitch a swirl in the middle of the ear to give it definition. Then sew the ears to the sides of the stuffed head.
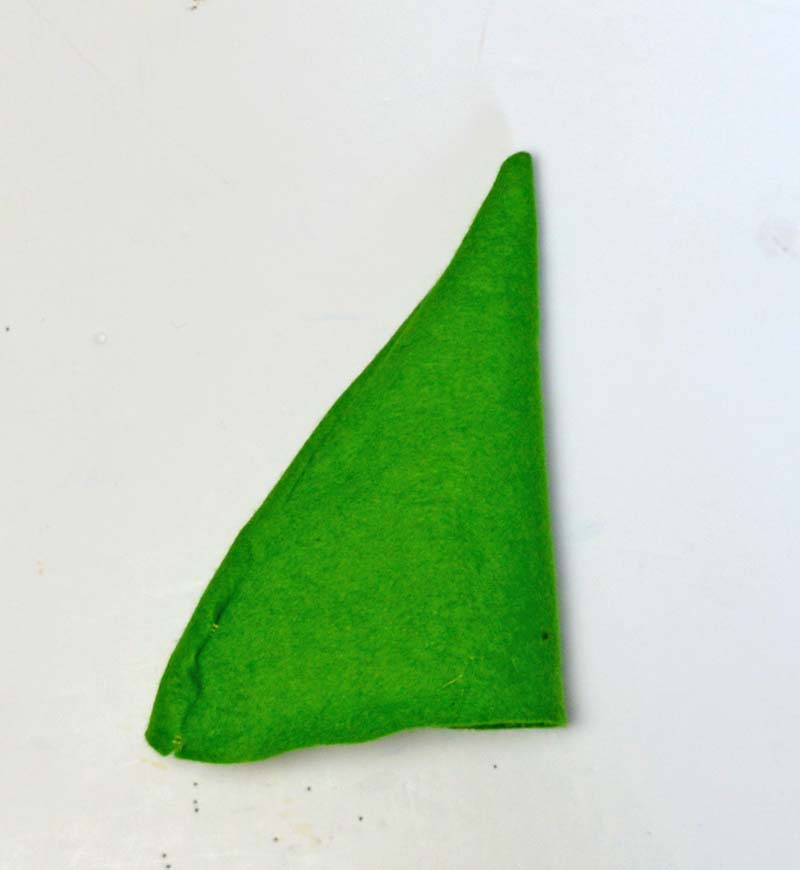
Step 4: Make the Elf's hat out of green felt; cut a triangle wide enough to go around the head, fold it in half, stitch and turn it inside out. You can stitch a silver bell to the top of the hat if you have one.
Step 5: Stitch the oversized buttons to the face to make eyes.
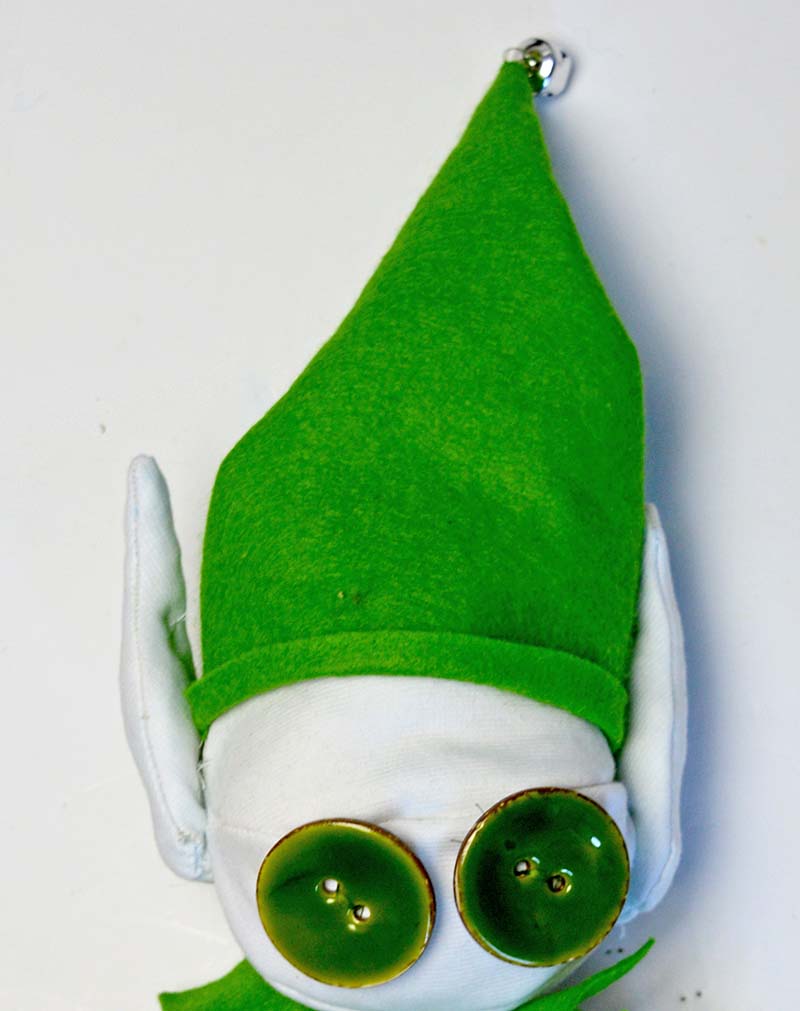
Part 2: The Stitching The Elf Body
Step 6: Using the Elf Pattern, cut out two body and four arm pieces in your green stripy fabric.
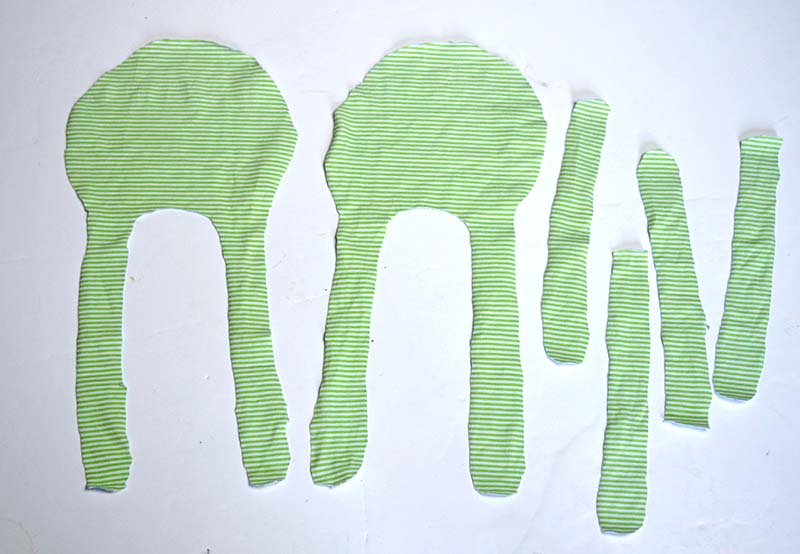
Step 7: Using a small seam allowance, sew the arm pieces' right sides together, leaving a gap at the top. Turn the arms right sides out. Stitch the body pieces right sides together, leaving a gap at the shoulders for the arms and a gap at the top for stuffing. Don't turn the right sides out just yet.
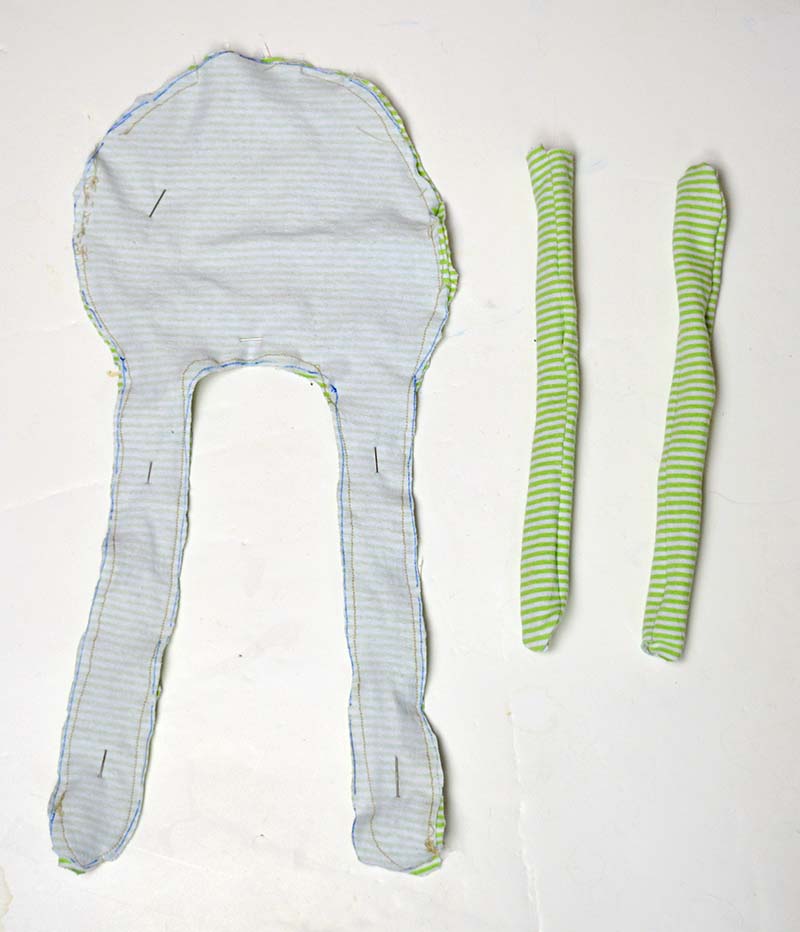
Step 8: Stuff the arms with lentils. Place the stuffed arms inside the body and stitch around the shoulders to attach them.
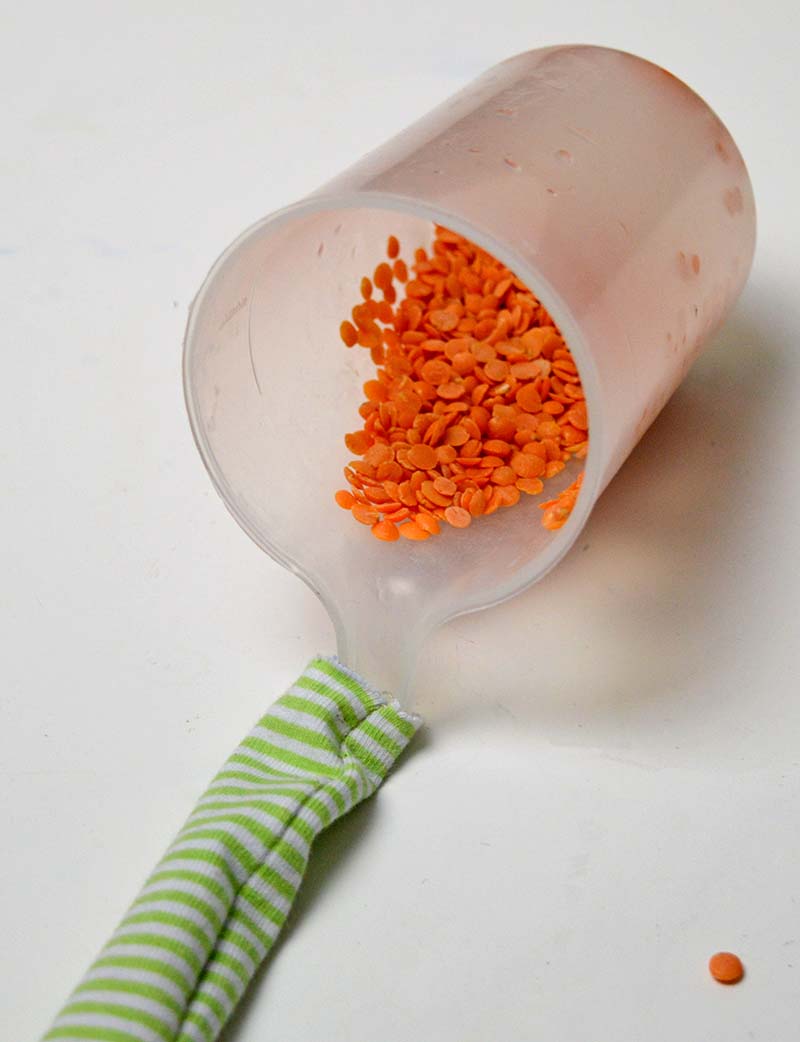
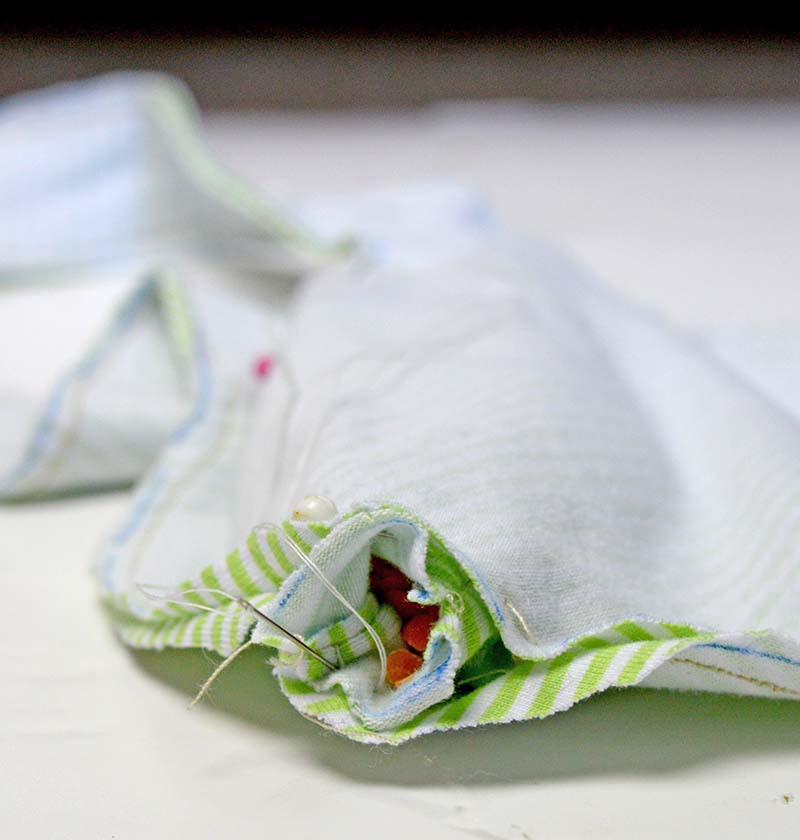
Step 9: Using the hole in the top of the body, turn your Elf right sides out.
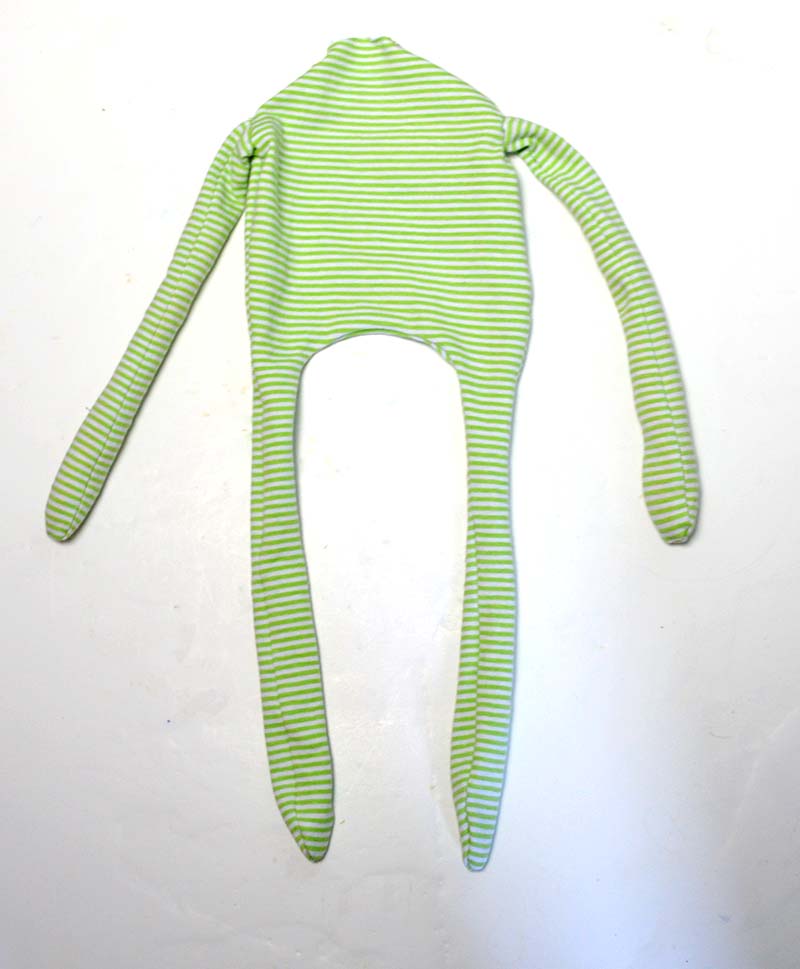
Step 10: Next, stuff the body with lentils, fill the legs, and stitch to close. I use lentils as this gives the Elf plushie some weight, like a bean bag, which makes it easier to sit on a shelf and cross his long legs and arms.
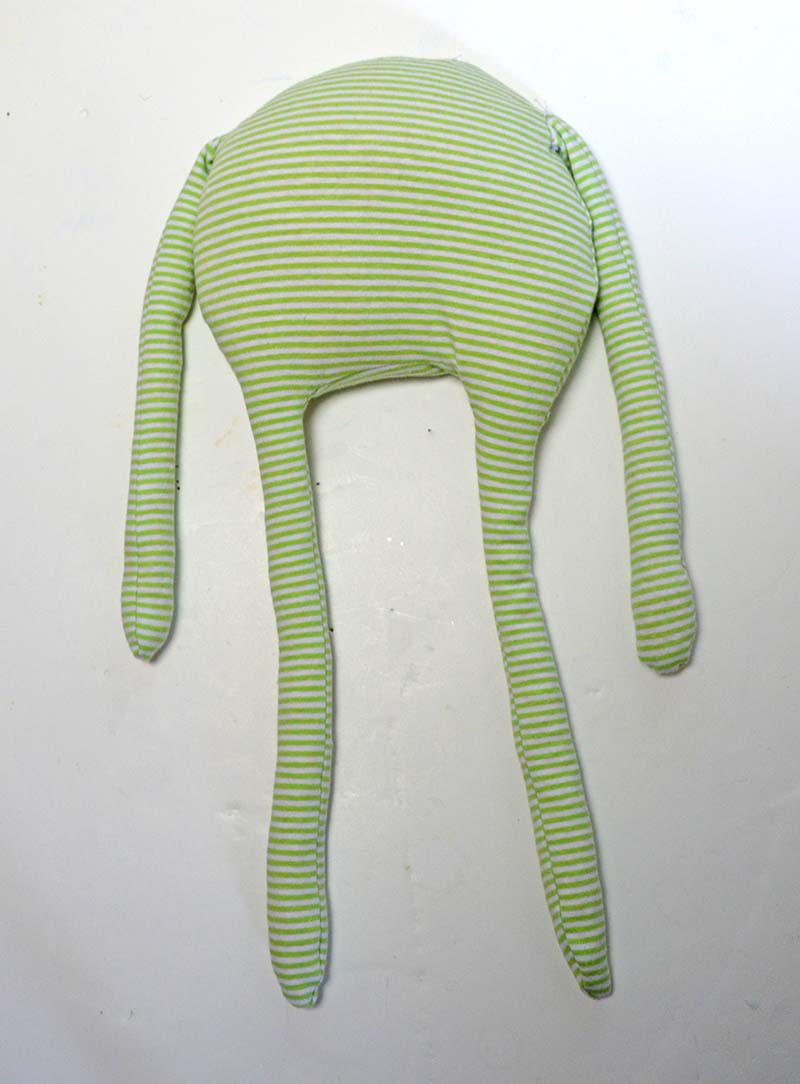
Step 11: Finish off the elf pattern by hand stitching the Elf's head to its body.
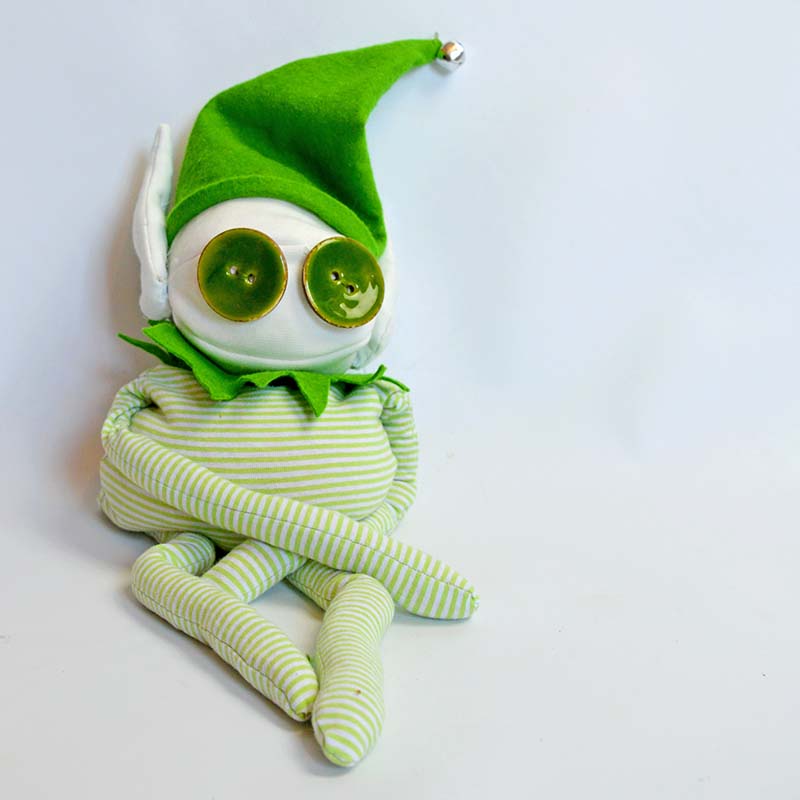
The Finished Elf
As you can see, I added a felt collar to make my soft e more Elf. This was made simply by drawing around a bowl on some green felt. Cutting out this felt circle and cutting a zigzag pattern into it. Then cut a slit into the felt collar so that it can be slipped around the neck of your Elf.
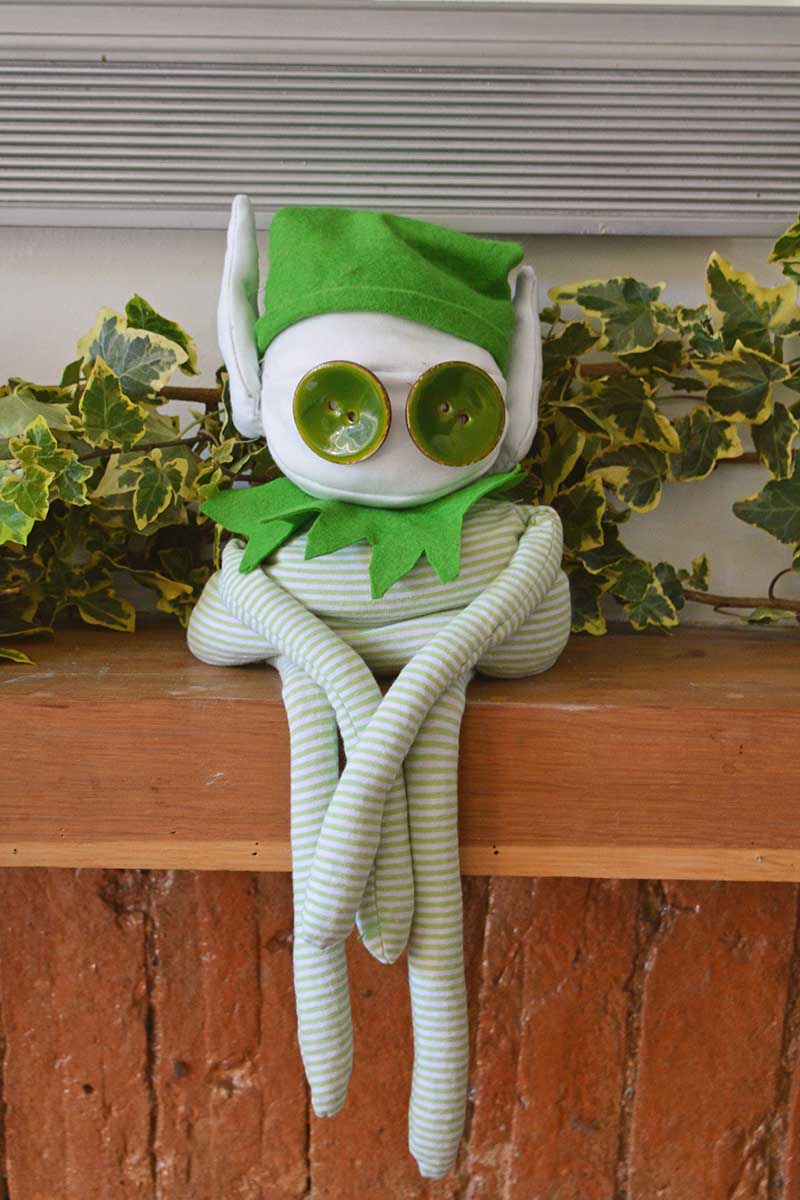
Sitting on the mantle alone, I thought my elf looked lonely, so I grabbed the free elf pattern and some more old t-shirts and made him a couple of friends.
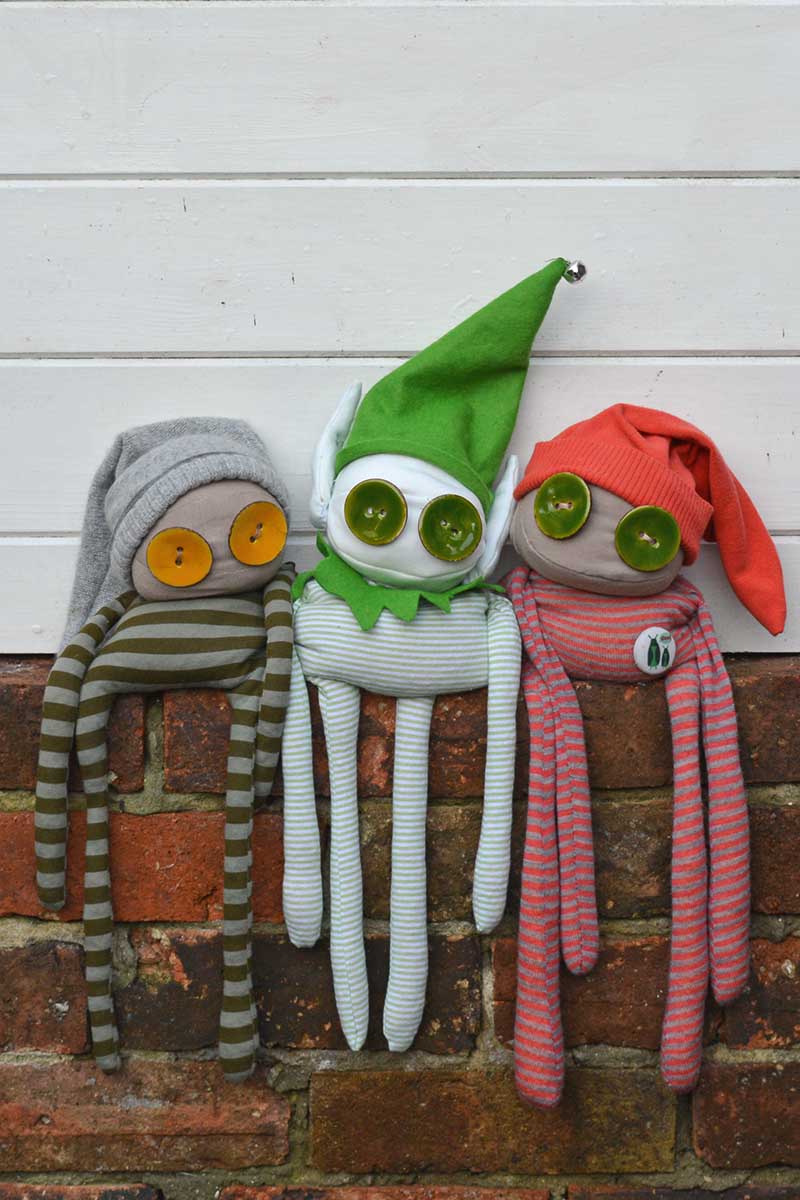
As you can see, you can use any colour t-shirt or sweatshirt to make the elf plushies as long as they have stripes.
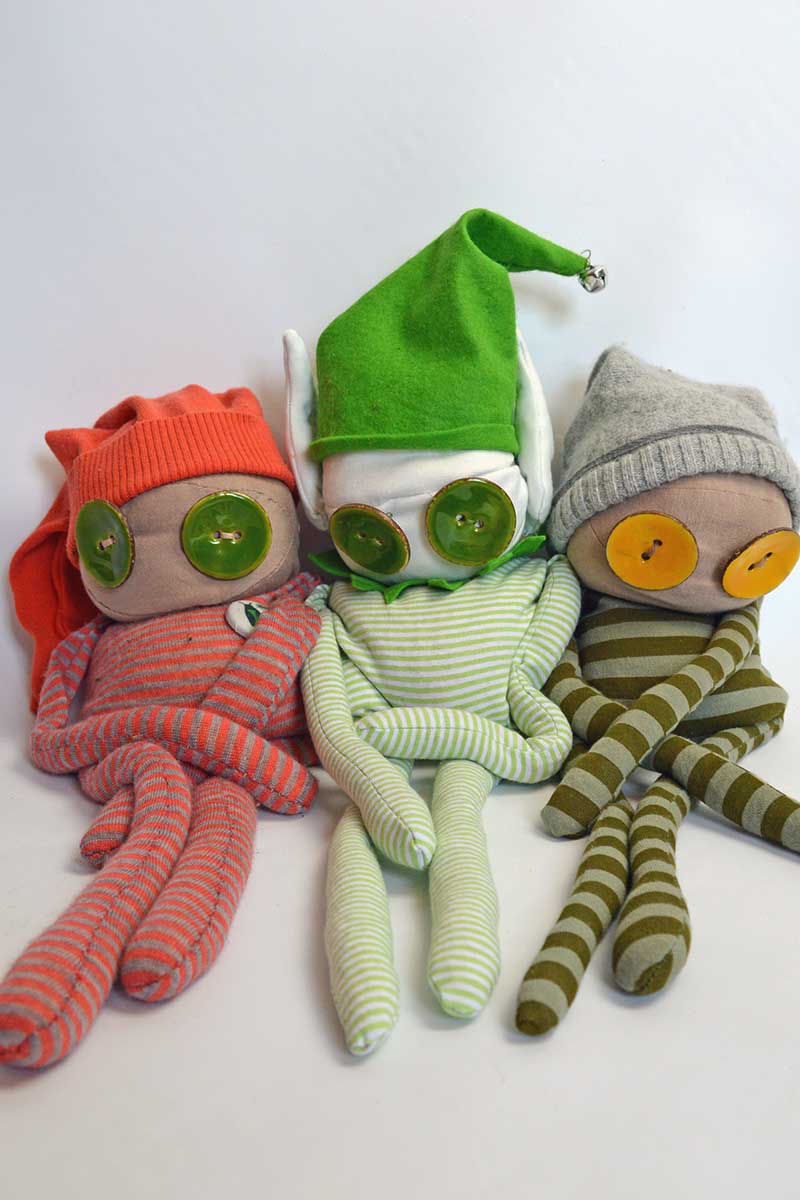
This Christmas Elf on the shelf looks sweet on the mantle. Instead of using lentils in the past, you can use wheat to stuff these Elves. Wheat can be heated in the microwave so the Elves can be used as hot buddies for warming.
And there you have it, my fellow crafty Christmas elves! With a dash of creativity, a sprinkle of love, and the magic of this free elf pattern, you’ve brought to life adorable t-shirt plushie elves that are bound to make the festive season even more special.
With their large button eyes, these little treasures will surely keep an eye out for Santa! As they find their place among the twinkling lights and tinsel, you can pat yourself on the back for adding a handmade touch to the celebrations.
As they are a cute take on the tradtionaly elf, I have found these plushies a great Christmas craft to make and sell.
If you've enjoyed this free elf pattern, check out some of my other Christmas sewing projects.
Upcycled Funky felt garland
Giant Christmas Felt Letters
Upcycled Shuttlecock Angels
Also, there are some vintage illustrations of Scandinavian gnomes (which are very elf-like), here you might want to check out.
This post was updated June 2023
It is never too early for Elf on the Shelf! This post is just too cute. Love your blog and I am so happy I came across it!
- Seri
http://www.Serisblog.com
Cheers! Glad you found my blog and liked it !
Your elves are cute and unique! I bought my daughter an Elf on the shelf. Now I wish I would've made one. Thanks for sharing at Submarine Sunday!!
Thank you ! Glad you liked him.
Oh-My-Heart.....These are SO CUTE!!!! They are just the perfect diy gift I need for my kids, they would love them. Thanks, Now I would like to invite you to stop by and share your tutorial on my Friday Features Weekly Linkup-Link Above
Have a great weekend!
How did elves climbed up to the top of Santa’s Castle?
Answer: Using an "Elf"-evator.
Thank you ! Love the joke I hadn't actually heard that one before and thanks for the invite.
I really real.l.l.l.l.y hope you will stop by and share this CUTE little elf on my Friday Features this week, I want "so much" to Feature your post next week. Hope you will stop by!!
And I have pinned him for the world to see....
Have a great weekend!
Karren
Thank you so much love that you love it ! Thanks for the invite I have just shared it to your link party.
Love them - they are a bit Tim Burton-esque (a good thing).
Thanks ! I see what you mean I think it's the big dark eyes that do it.
He's so cute! I think I may have to make a couple for Christmas
They are addictive as they are so cute, I've made quite a few as presents as they always seem to go down well !!
Cute! You're clever 🙂
Thank you very much !!
ow!!! Cute !!!
Cheers!!!
I love these! They look so squishy and soft. Thank you for posting the pattern as well.
Thank you !! Using a jersey material also makes them soft and squishy.
I hope that you wouldn't be insulted if I adapted the pattern, doubled the number of limbs and made a Cthulu On a Shelf for my 28yo son. The pattern is really brilliant and the first time I actually like the silly elf, but it triggered a brainstorm.
That's what I hope to do is to inspire and spark ideas, I think it's great that you want to adapt the pattern and make something new. Must admit though I didn't know what a Cthulhu was I had to look it up on Wikipedia. Thanks !!
so super cute! love the big eyes and the huggable soft body!
Thanks ! They do make me smile with their cuteness.
Oh my gosh I love the little fabric elf! I think it is sooo much cuter than the same old plastic ones you see everywhere. I will have to keep this in mind for future grandkids! Thanks for sharing.
Thank you, they are cute and you can make them out of old t-shirts, which would make them more personal.
Oh gosh, those are too adorable!! Love them! Thanks so much for the free pattern! I'd love to have you come over and link your post up to my craft party which starts at 7pm EST. and is new every Thursday! I also pin every post!
http://www.diy-crush.com/blog/category/link-party/
Thank you, and thanks for the invite.
They are terrific!! Funny but cute!
Greetings from Belgium, Sigrid
Thanks you for your kind words. I think it's the big eyes that make them cute.
These are fun. I love the buttons you've used for the eyes.
Thank you ! I think the buttons are what makes them so cute.