
How to Create a Stunning Sofa with Shibori Dyeing
Outdoor Sofa Upcycle with Indigo Shibori Dyeing (IKEA Hack)
Do you sometimes have an idea for a craft and upcycle but are hesitant to start as it has just as much chance of being a complete Pinterest fail as a big success?
I had seen all these lovely pictures of shibori dyeing and wanted to try it not on a simple pillow but with my outdoor sofa. Lucky for me not only did it turn out amazing but so much better than I dared hoped for. Now I'm hooked and am looking for other things in the home to shibori dye.
About seven years ago I bought an Ikea outdoor sofa (Ammero). The sofa frame has lasted really well. Which is amazing as it sits uncovered in the garden all year round putting up with whatever the British weather chucks at it. Which is usually a lot of rain with the odd bit of snow thrown in.
I do bring the cushions in when it rains and store them away over the winter as they aren't waterproof. However, after seven years the cushion covers were starting to look a bit tired and grotty no matter how many times I stuck them in the washing machine.
That's when I got the idea to try and revamp them with some indigo shibori dyeing. I thought that if it didn't work, no harm would be done as I could just fully indigo dye the cushions and my outdoor sofa would simply go from cream to blue.
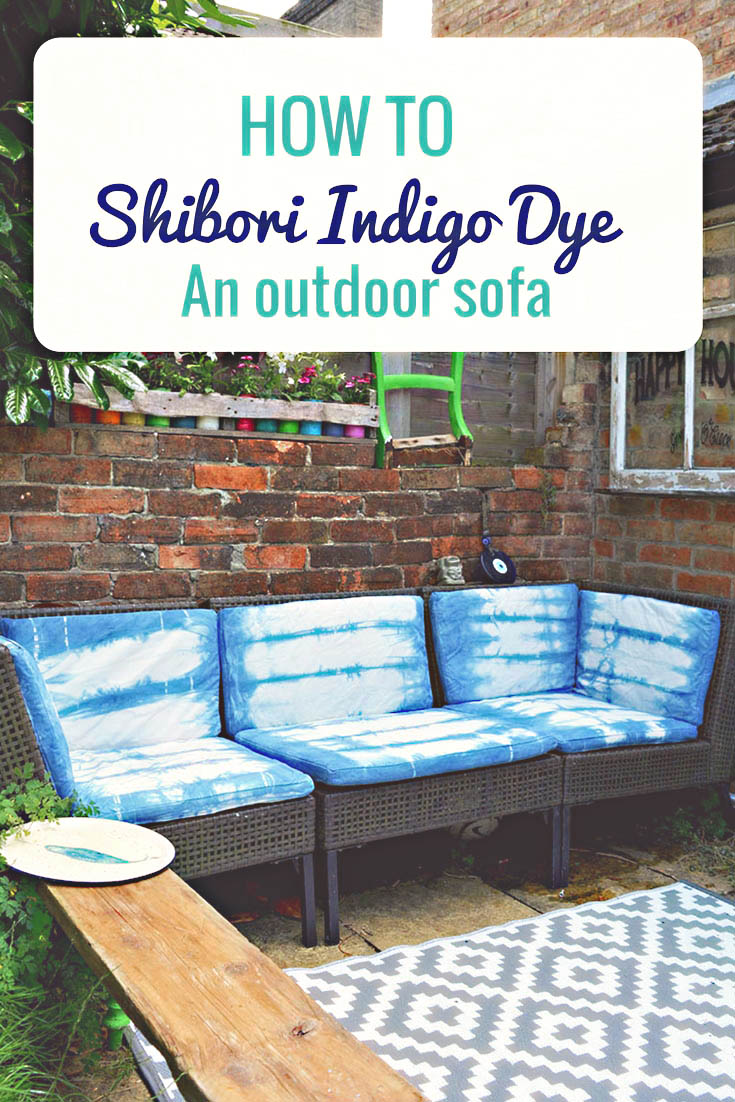
Well as you can see I didn't need to do that as they turned out amazing.
This post contains Amazon affiliate links for your convenience. Click here to see my disclosure policy.
What You Need For Indigo Shibori Dyeing
- Shibori Dye Kit - The kit contains most things you need, indigo dye, rubber bands and gloves.
- Large 5 gallon (20lt) bucket with lid.
- Large stick for stirring.
- Washing up bowl or something similar.
How to do Shibori Dyeing
-
- The Shibori Dye kit comes with comprehensive instructions but I will also explain what I did.
-
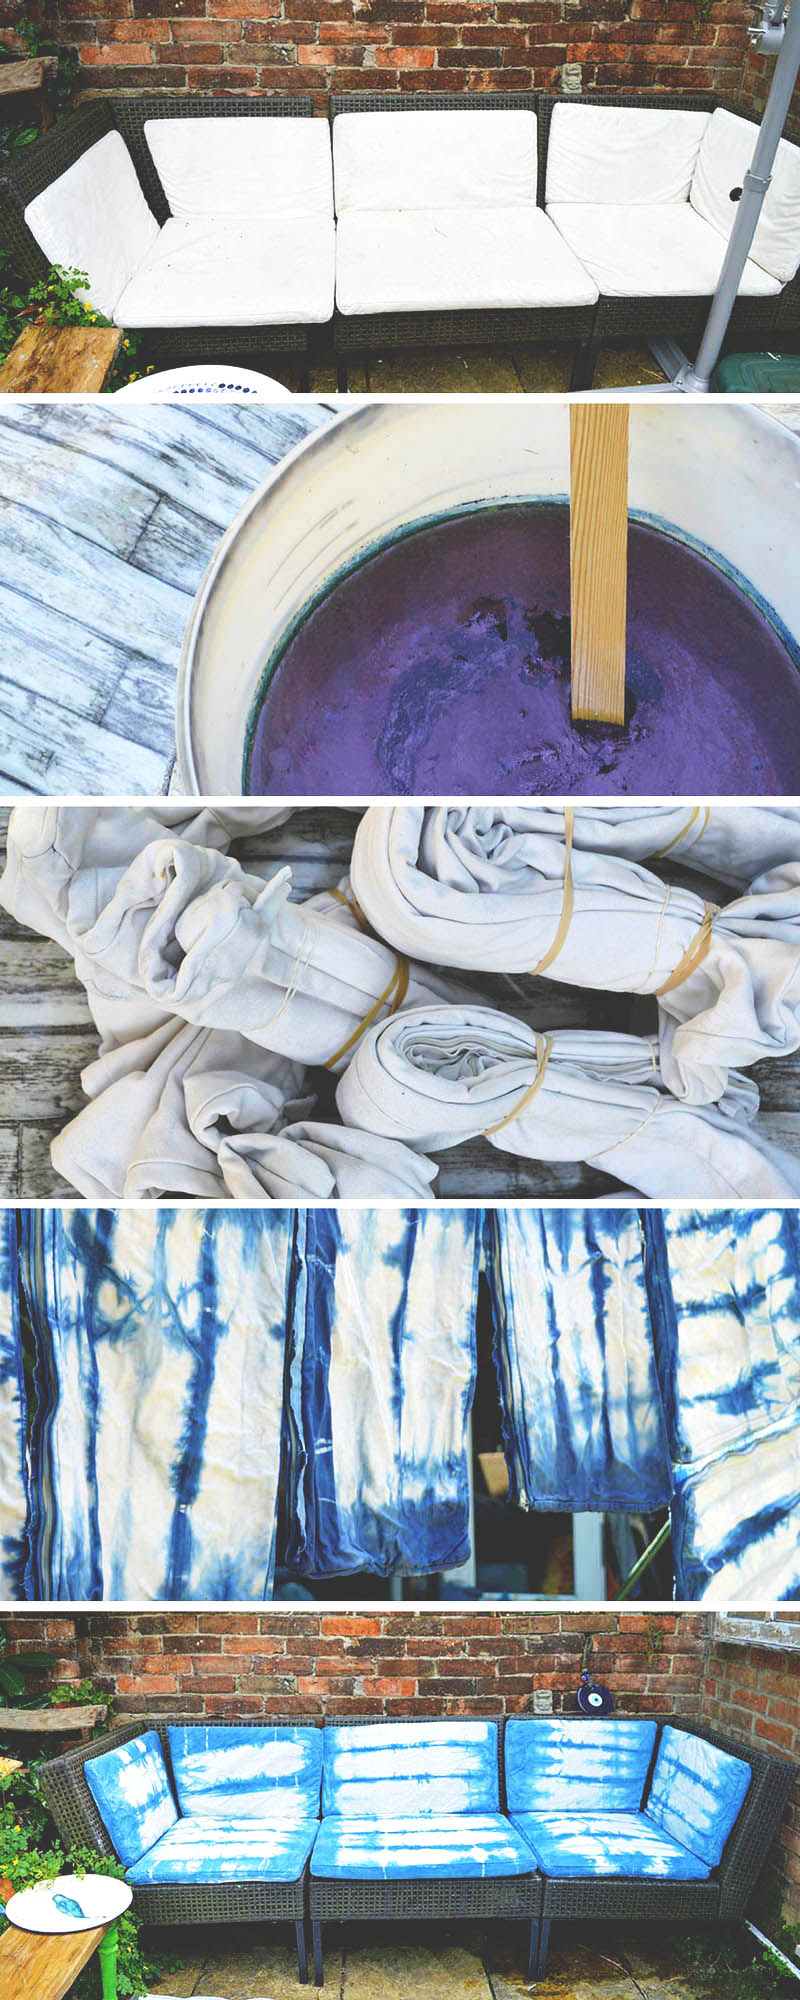
- The first thing I did make up the indigo dye solution in the large bucket. The instructions on the kit were very clear for this. I needed a long stick that reaches the bottom of the bucket for stirring the dye. Once the dye solution was made up put the lid on the bucket and left it to stand for at least 15mins.
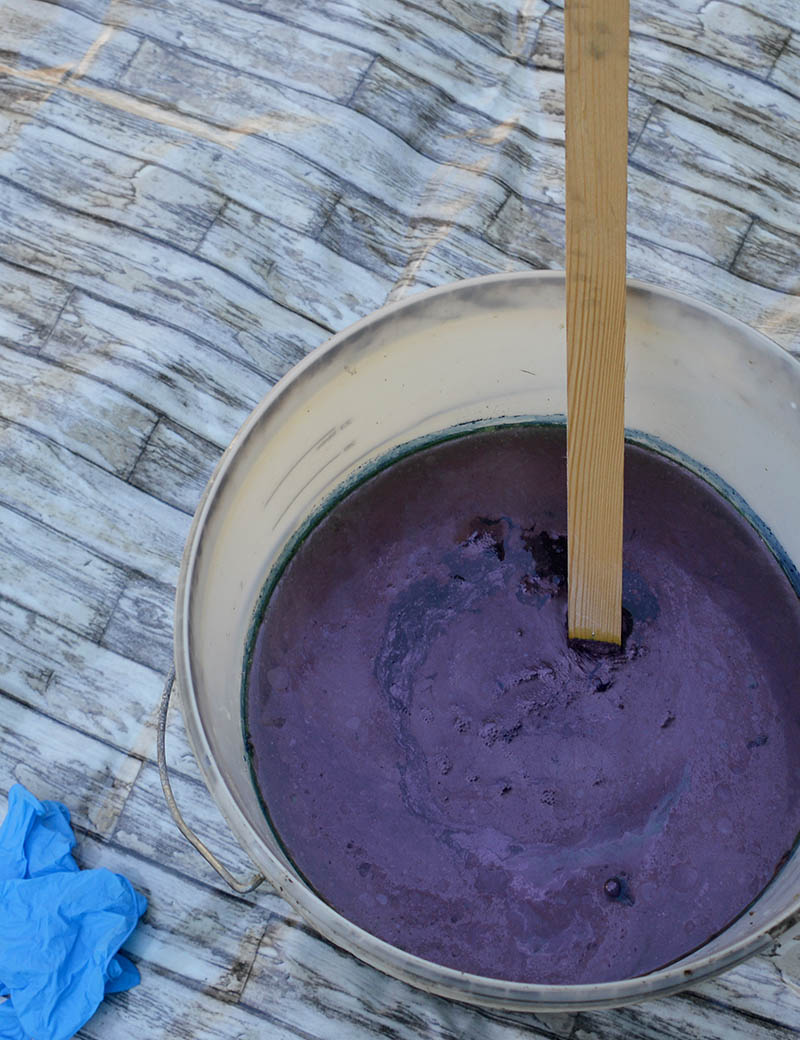
- The first thing I did make up the indigo dye solution in the large bucket. The instructions on the kit were very clear for this. I needed a long stick that reaches the bottom of the bucket for stirring the dye. Once the dye solution was made up put the lid on the bucket and left it to stand for at least 15mins.
-
- Whilst waiting for the dye solution to settle. I tied up my sofa cushion covers. The shibori dyeing effect you achieve will depend on how you fold and tie up your fabric. The instructions in the kit show you how to achieve many different patterns. This skillshare video here gives a good overview.
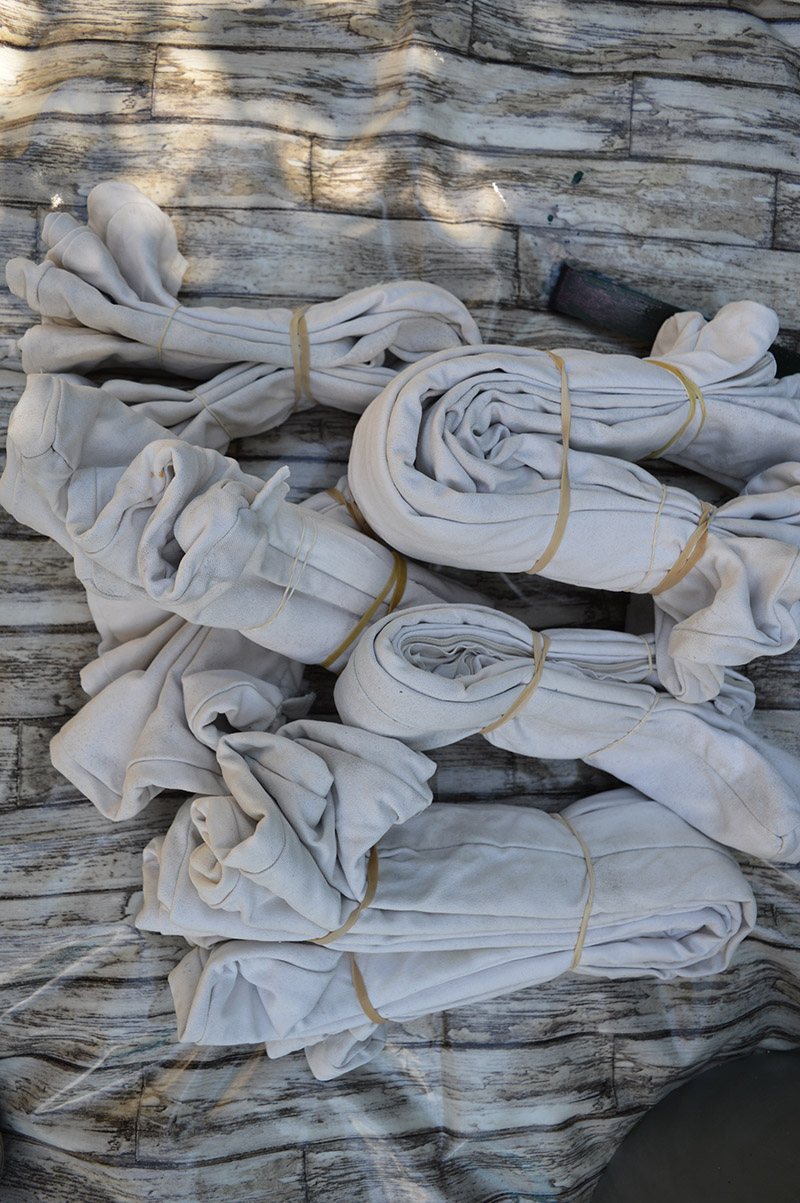
- I folded my cushion covers in an accordion (fan) fold. As the covers were made of heavy canvas, I folded them over an ironing board, ironing each fold as I went along.Once the entire cushion cover was folded. I secured the folds with elastic bands placed 2-3" inches apart. I then folded over the whole thing lengthwise and secured with another elastic band.
-
- I then place the folded cushion bundles into a bucket of water to soak.
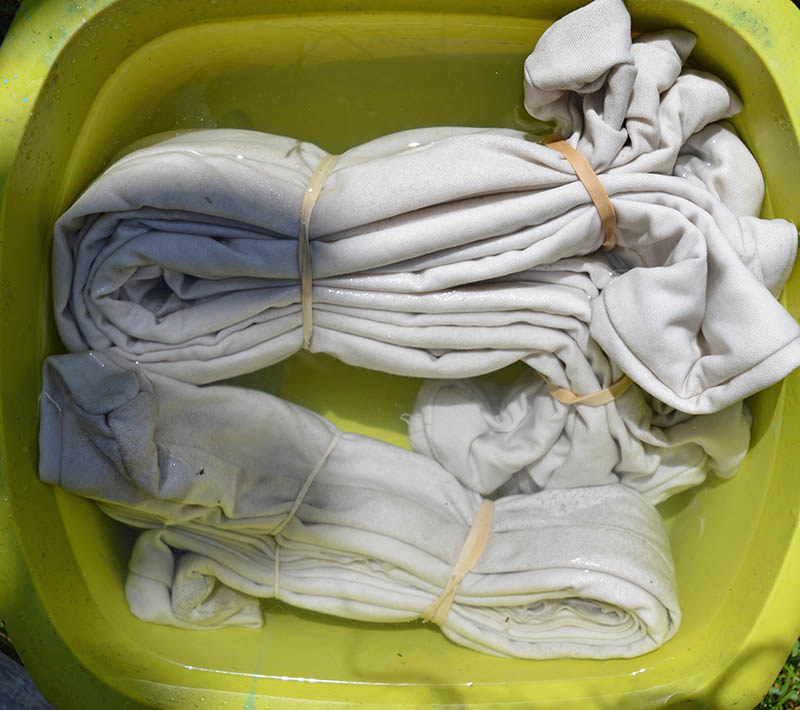
- I then place the folded cushion bundles into a bucket of water to soak.
-
- The next thing I did was remove the lid of the dye bucket and skim off the indigo foam (flower) that had formed on the top and placed it in a small bucket to one side.To dye the cushion covers I removed from the water from them, squeezing out excess water and air bubbles at the same time. The cushions were then dunked into the indigo dye bucket.The longer you leave the fabric in the dye the darker it will go. I wanted a light indigo blue for my sofa so I only submerged my cushion covers in the dye bucket for a total time of 1 min.
-
- Don't panic when you remove the fabric from the dye as it will be bright green. As you put it down to one side it will turn blue as the dye reacts with the oxygen in the air.
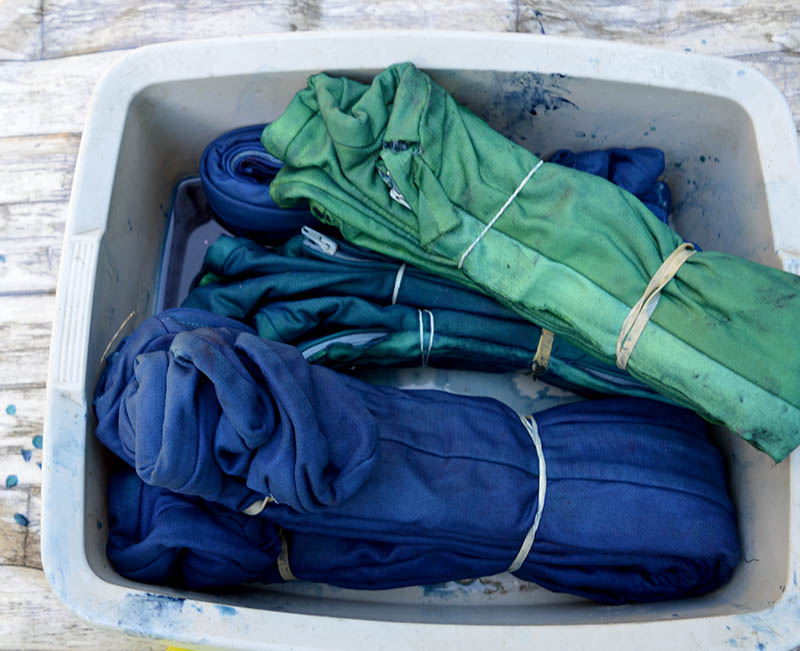
- Don't panic when you remove the fabric from the dye as it will be bright green. As you put it down to one side it will turn blue as the dye reacts with the oxygen in the air.
-
- After leaving the fabric to oxidize with the air for a good few minutes, I then removed all the elastic bands and unfolded the fabric to reveal the pattern.
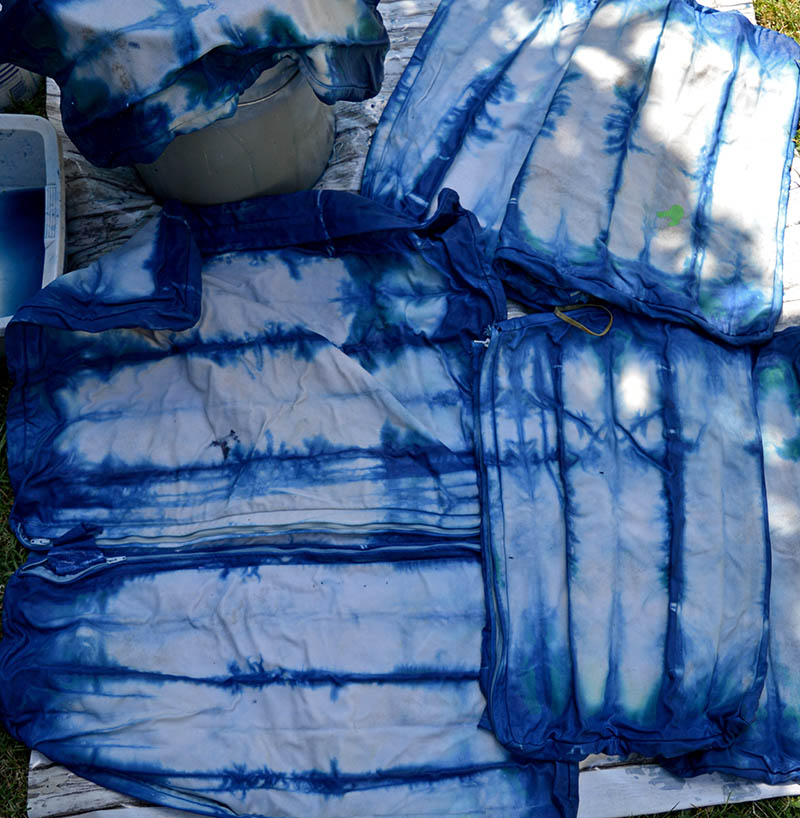
- After leaving the fabric to oxidize with the air for a good few minutes, I then removed all the elastic bands and unfolded the fabric to reveal the pattern.
- Finally, I rinsed off any excess indigo dye and then washed the covers in a mild detergent before hanging out to dry.
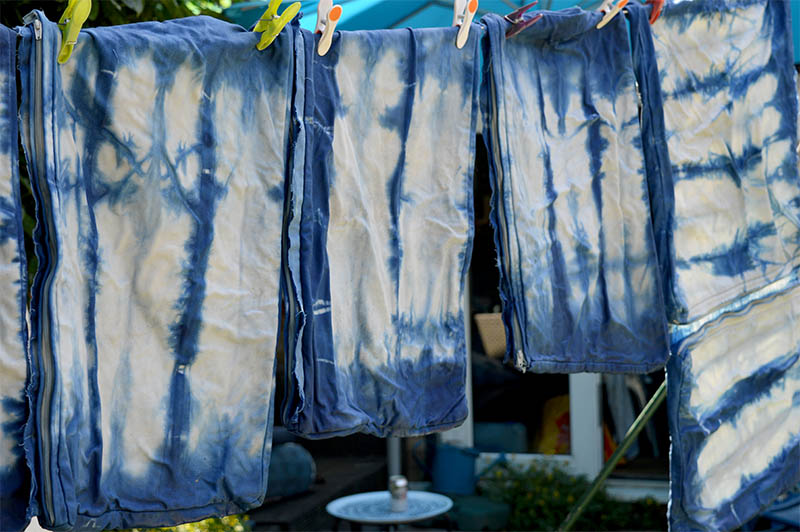
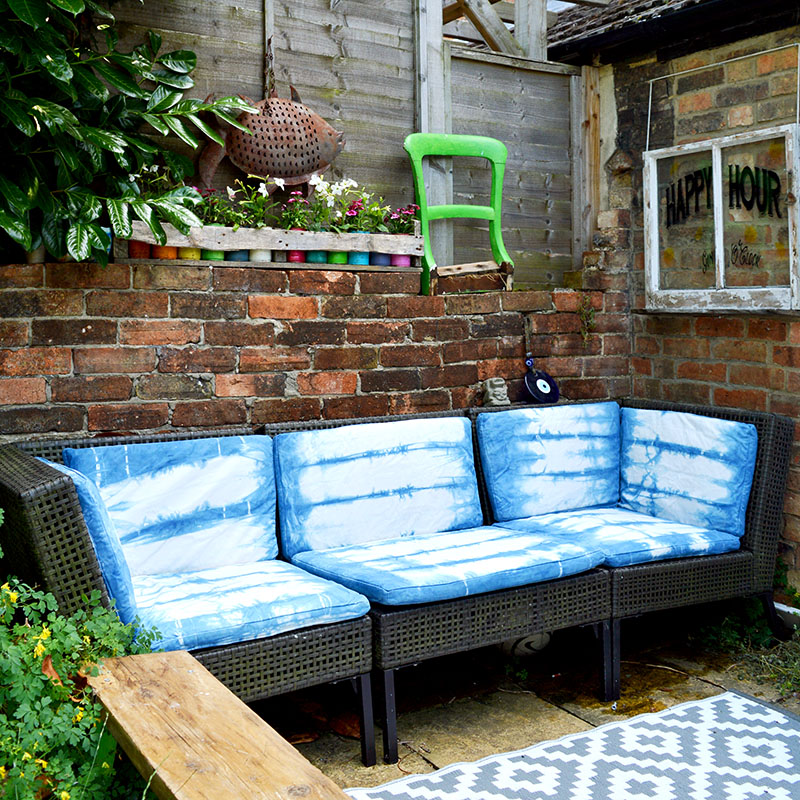
My Shibori Sofa
I'm more than happy with how my Shibori dyeing turned out. The sofa just looks so bright and sunny in my tiny town garden. What a massive improvement. To make sure it lasts a little longer I sprayed the cushions with some waterproofing fabric spray.
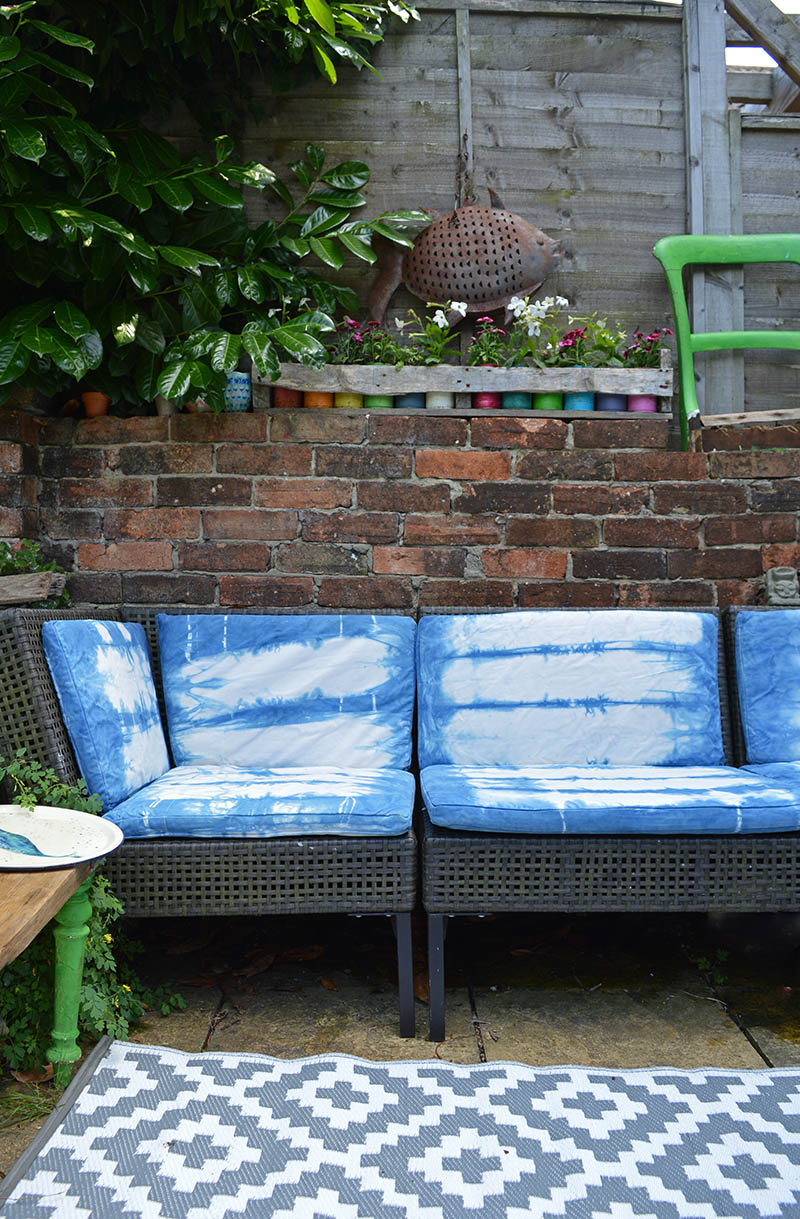
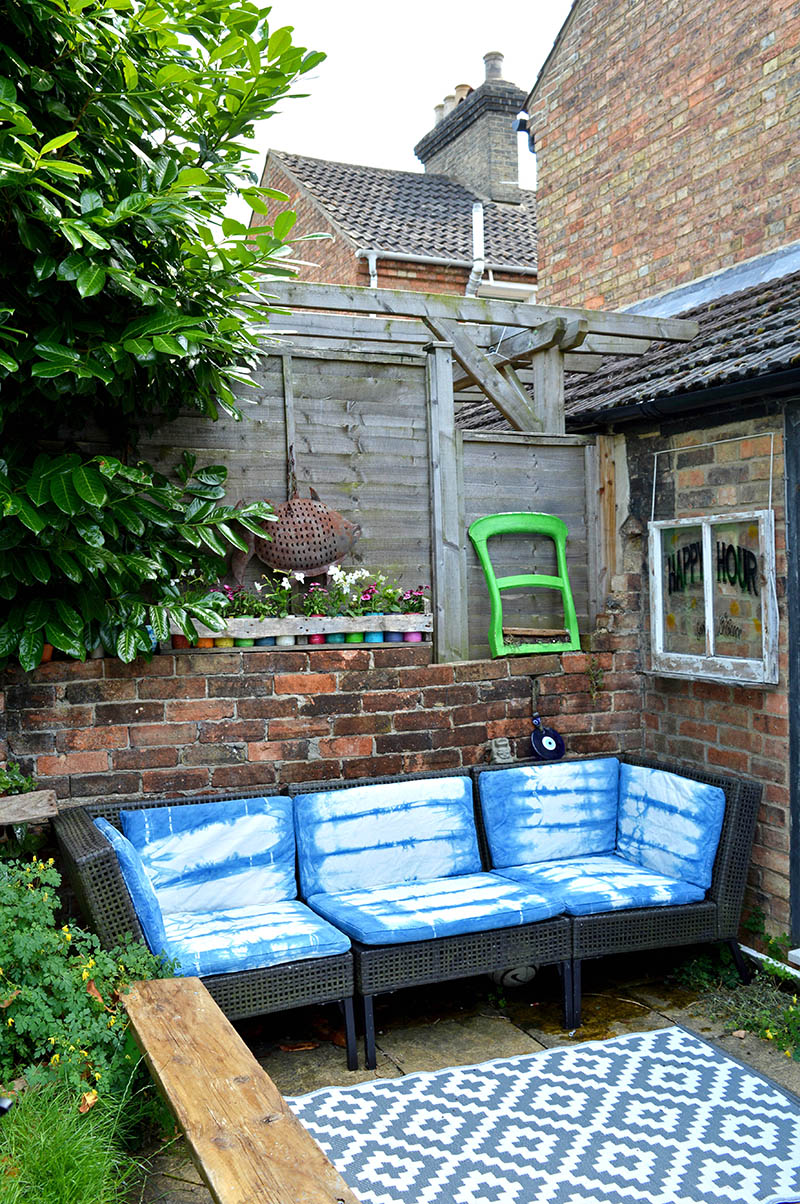
The Indigo dye kit goes a long way. After I finished dying my whole sofa I replaced the flower foam to the top of the dye and replaced the bucket lid.
A few days later my craft club buddies came around for a Shibori dyeing party. Where we dyed quite a few pillows and cushion covers, a duvet cover, some tea towels and a skirt between us. We had such fun trying out different folds and dipping times that we plan another shibori dye party soon.
I made some really cute Shibori indigo planters with some old socks.
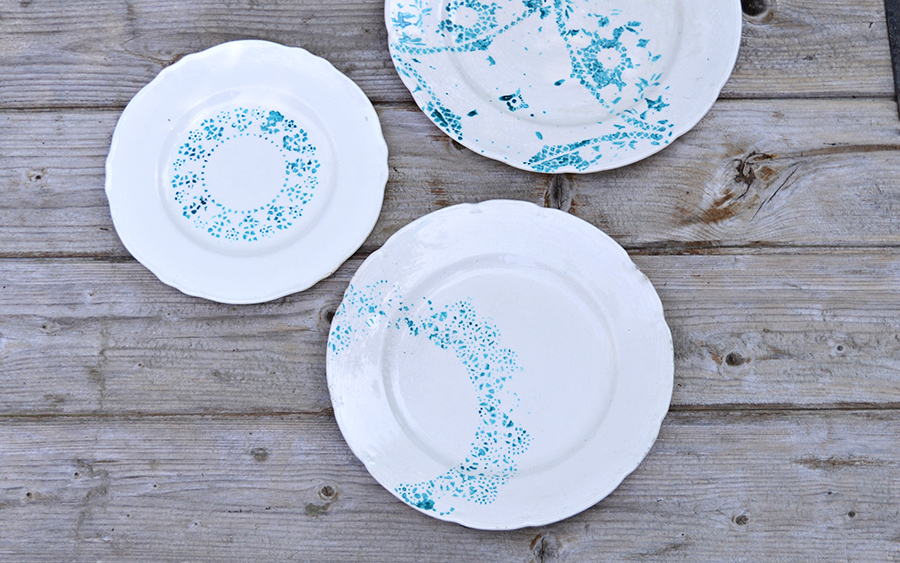
I keep looking at things wondering what they would like with a bit of Shibori magic. My doily painted plates have a Shibori look about them too, it's probably because of the colour.
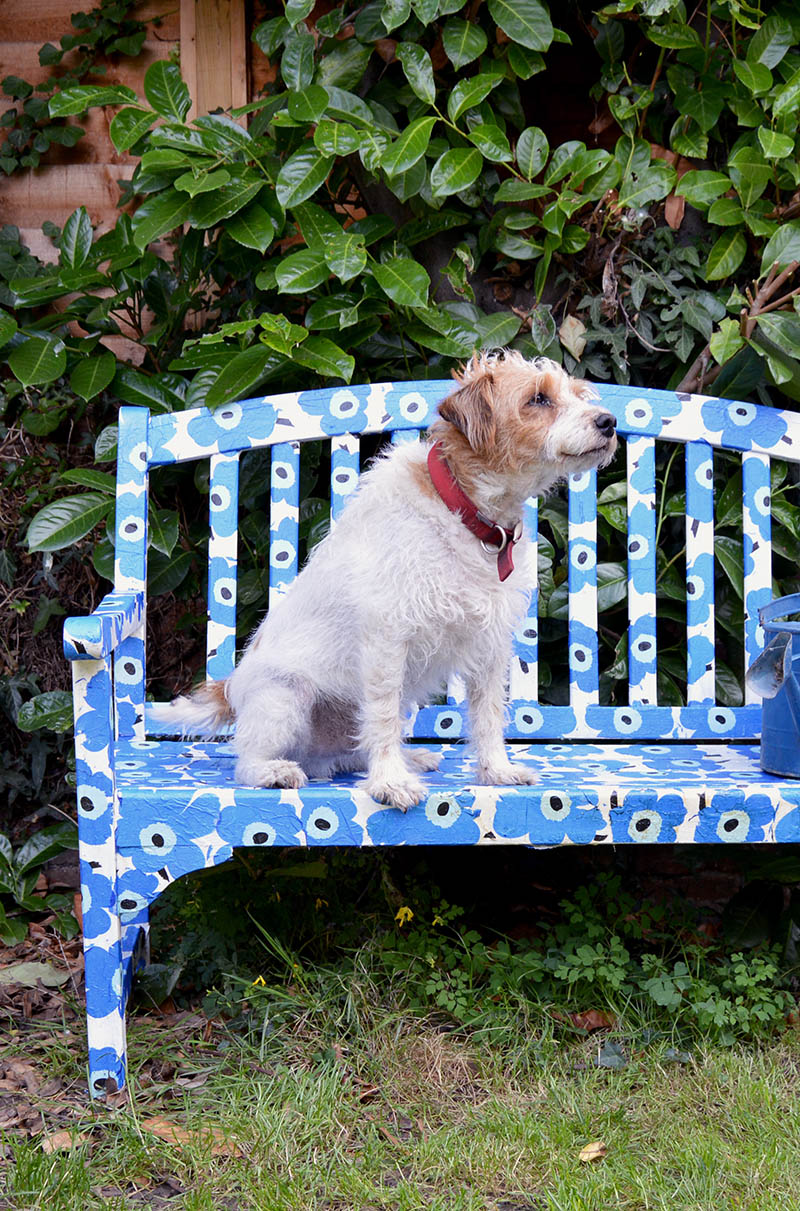
My Ikea Ammero sofa with its new indigo shibori dyed cushions also goes perfectly well with the other seating in my garden my Marimekko bench. They look like they were made for one and another.
There are many more fabulous upcycling ideas for the garden here.


LOVE the effect and the blue!! It looks so fun! You always have such creative ideas!
Thank you Anika, I do like a bit of blue.
So much fun! Thanks for sharing with us at the To Grandma's house we go link party - I'll be featuring this tomorrow morning when the next party starts!
That's awesome I look forward to seeing it. Thank you!
I love the new look Claire, goes so well with the garden bench too. All the little creative touches really bring a great artsy vibe to your outdoor space that makes it so inviting, thanks for sharing your projects at #fridaysfurniturefix always love to see what youve been up to!
Thank you Brenda that is very kind of you to say so. I love sharing on your site when I have a furniture project.
Once again, another sweet project! Love it!!!
Thank you so much Wendy ?
Claire, I love how this turned out! Thanks for sharing @Vintage Charm!
Thank you ?
Oh wow! How fun is that, Claire! It turned out beautiful. I haven't dyed anything in forever and it definitely didn't look as cool as this 🙂 Thank you so much for sharing with us at Funtastic Friday! Pinned & sharing
Thank you, Angie! I really enjoyed the dyeing and I'm going to do some more today.
amazing, love it!
b
Thank you so much!
Super cool Claire! It makes a total difference and makes your patio super inviting.
Thank you Victoria!
love it Claire, you took the leap and the results are fabulous! thanks for sharing on craft schooling sunday as always!
Thank you Sara!
I love this! So very bright and cheery. Perfect for outdoor too!
Thank you, Carolann!
That is so cool I'll have to give it a try soon. Our looks great on your patio furniture.
Thank you, Toni!
I have never done any dying although I did win a book about it a while ago so maybe I should hunt that out and give it a go #WasteLessWednesday
Thank you! You should give it ago it is quite fun to do but make sure you don't have a hole in your gloves. My fingernails are still indigo.
Claire they went from plain to knock outs!! What a bold and pretty pattern that is! And it must have been so much fun to have a party with your friends.
Thank you Mary it was. I have another dye kit so we are going to do it again in a couple of weeks.
That is so cool!! I love your idea ...so creative! I definitely would not have thought of that one. I love dying or painting on fabrics so this hits home. I am glad I found your site through the linky party!
Thank you, Kathleen. I love how just simply dyeing the fabric can transform my outdoor sofa into something fresh and bright,
Your cushions turned out great, Claire! The blue and white works very well for that space. I adore the fish on your wall. What a cool piece!
Thank you, Julia. I have had that fish such a long time I forgot where I got it. It's actually a lantern.