
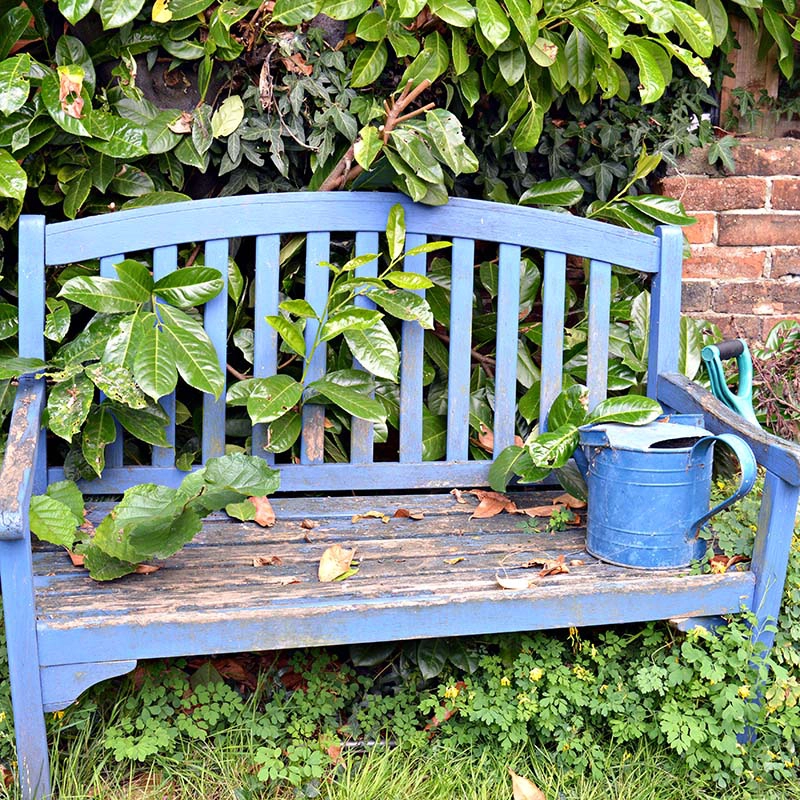
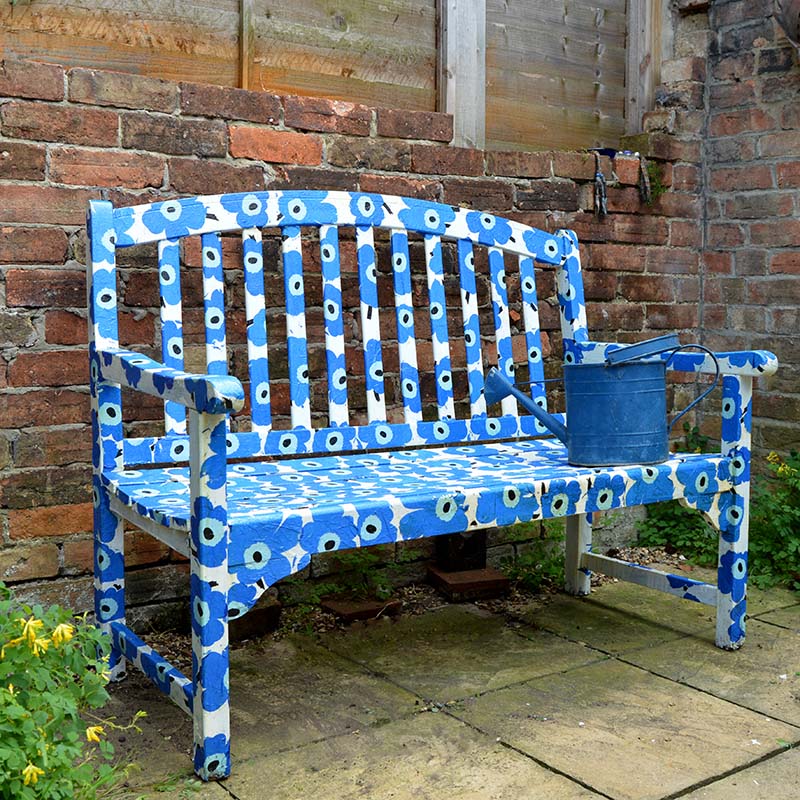
How do you upcycle a grotty old garden bench? How about some cool decoupage with designer paper napkins and transform it into a Marimekko bench?
Yes, you can decoupage for outdoor furniture, and as long as you use the proper protective varnish, it will last.
I am a huge Marimekko fan. I love their fabrics and Scandi/Nordic style. For those who don’t know, Marimekko is a Finnish home furnishings and textile company.
I wanted some of that Marimekko style in my garden. Therefore, instead of just painting a neglected bench in my garden that desperately needed cosmetic attention, I decided to Marimekko it!
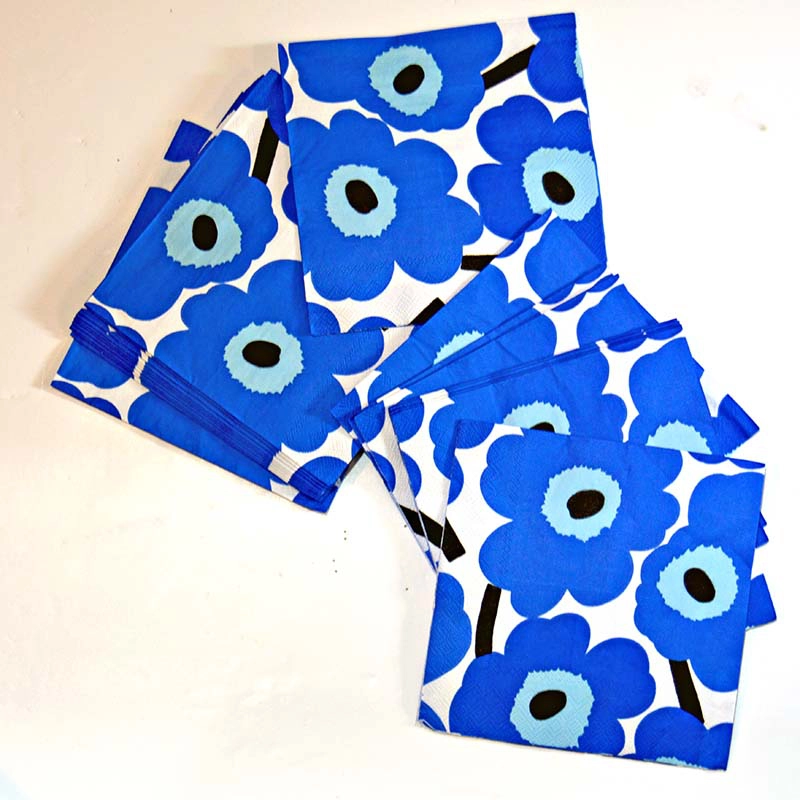
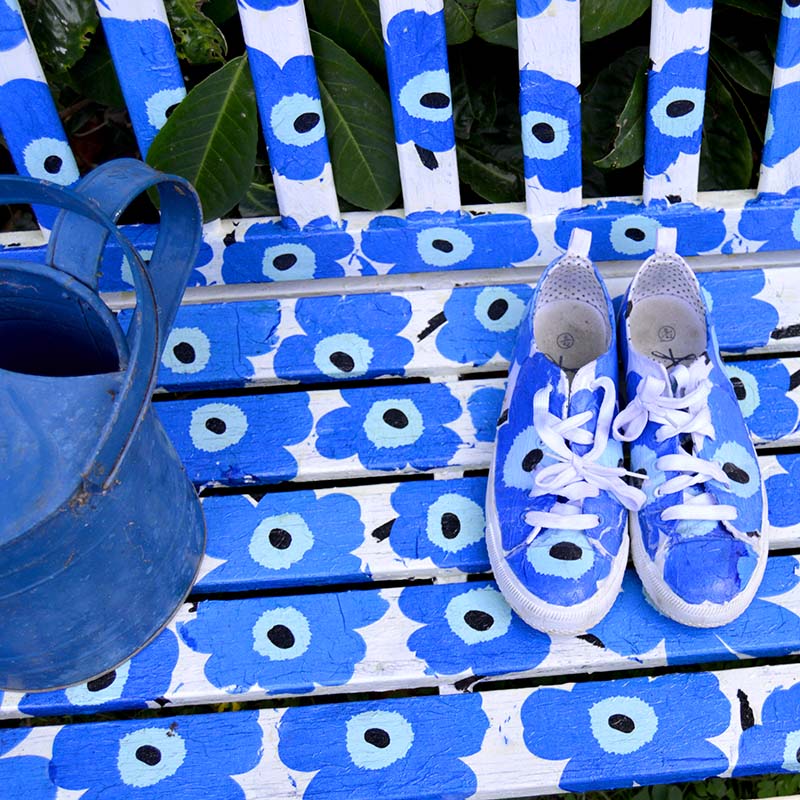
I got the idea from some Marimekko decoupage shoes I’d made a few months ago. I still had some *Unikko napkins left over from the shoe revamp, so I used these to upcycle and pimp my bench.
(*Unikko is probably Marimekko’s most iconic print. It was first designed in the 1950s, very mid-century modern)
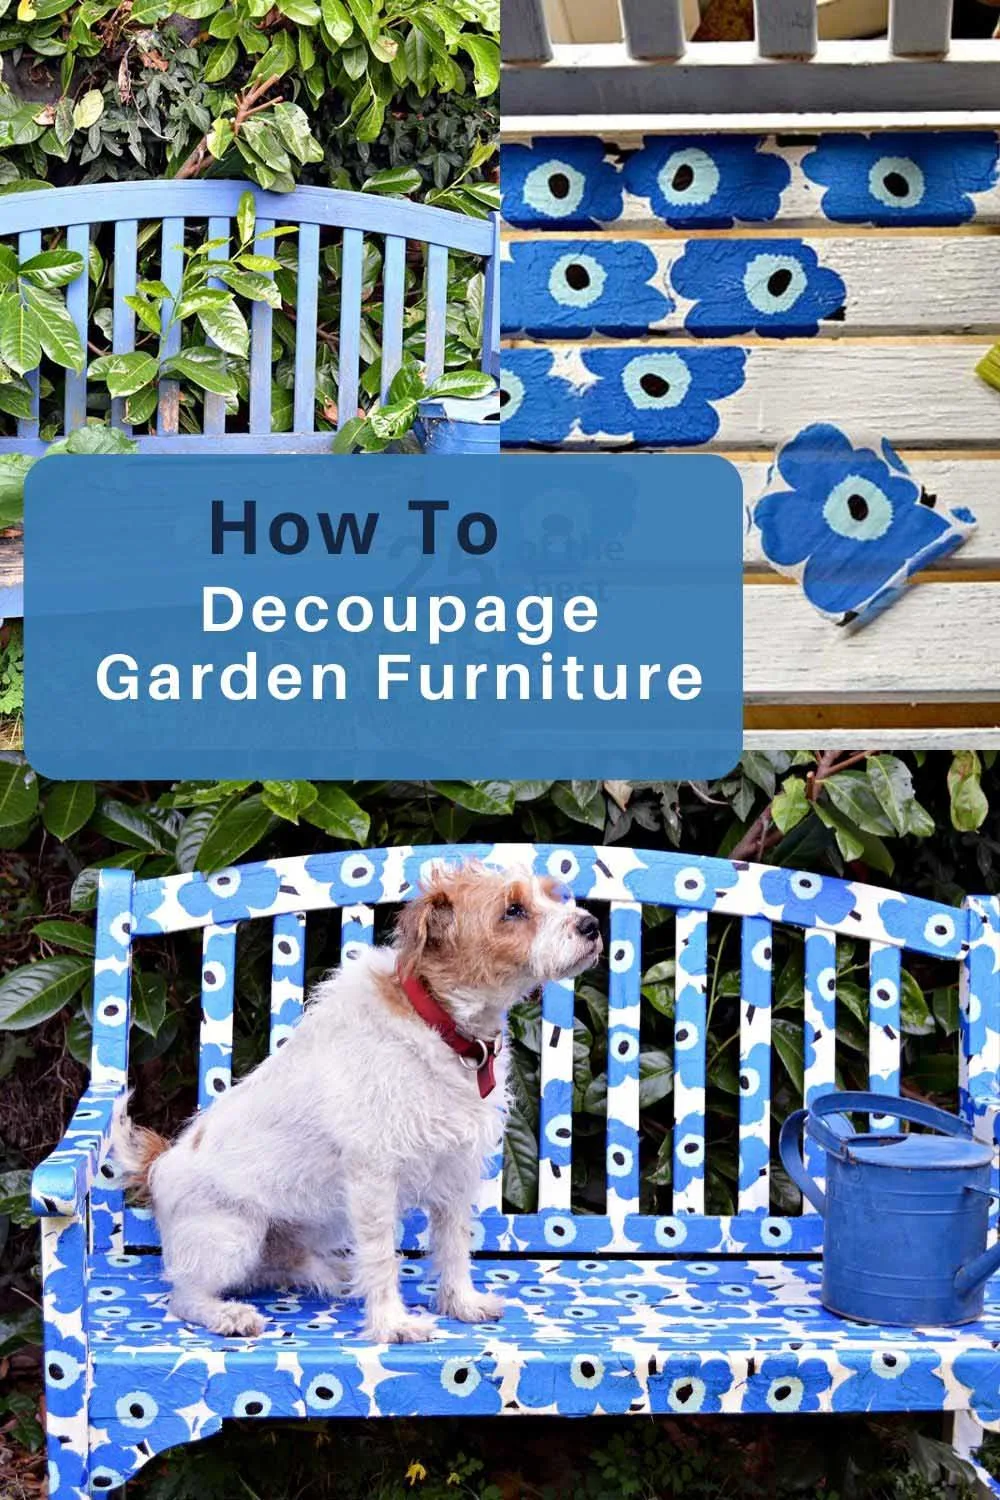
Using Decoupage to Make a Marimekko Bench
This method of upcycling a bench with paper napkins can also be applied to other outdoor furniture. I’ve upcycled an old wooden table with different Marimekko designs and turned it into Scandinavian Christmas wall art.
There are also many other fabulous designs besides Marimekko. That is one of the significant advantages of using paper napkins to upcycle garden furniture; they come in thousands of great designs.

We’re a participant in the Amazon Services LLC Associates Program, an affiliate advertising program designed to provide a means for us to earn fees by linking to Amazon.com and affiliated sites. As an Amazon Associate, I earn from qualifying purchases.
What you need to make a Marimekko Bench
- Old wooden bench or other garden furniture that needs a revamp
- Whitewood paint
- Orbital sander
- Paint and glue brushes
- Marimekko Napkins – I used Unikko blue ones, one packet was enough for my bench.
- PVA Glue / Mod Podge – or other white glue suitable for use with paper
- Crystal clear yacht (or outdoor) varnish

How to Decoupage for Outdoors
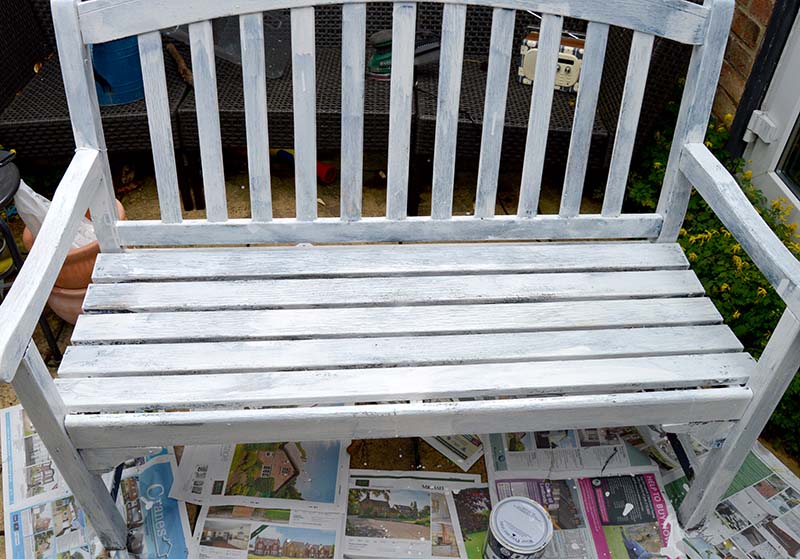
Step 1: First, prepare the bench or outdoor furniture for decoupage. To do this sand it smooth with the orbital sander.


Step 2: Next, give the bench a coat of white paint. One coat should be enough; the paint ensures that the paper napkin pattern is visible.

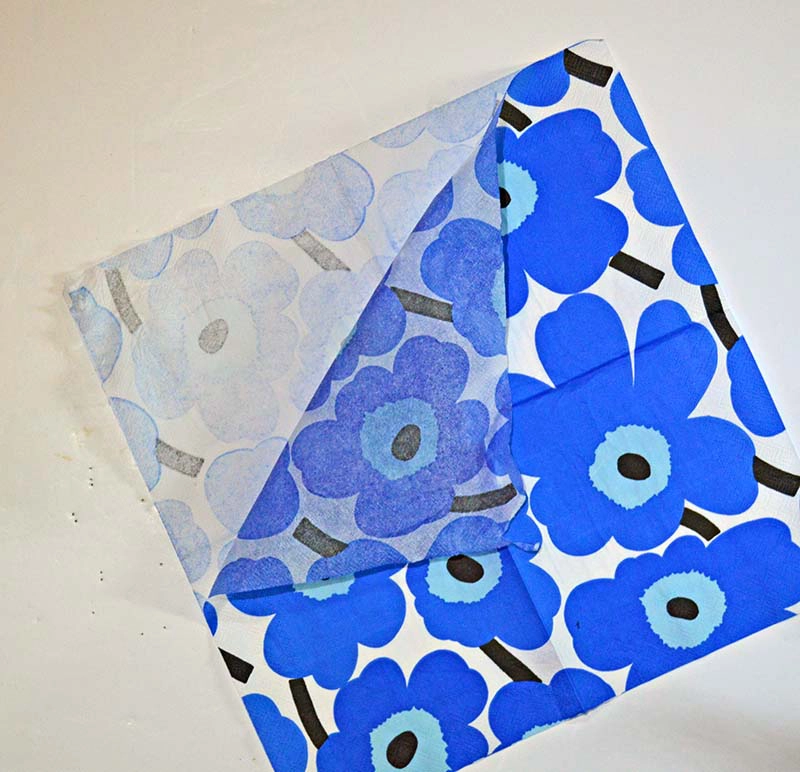
Step 3: Prepare the paper napkins for decoupage by separating them. Most paper napkins are 3-ply thick, but we only want the top printed ply for decoupage. If you roll the napkin’s corner between your thumb and forefinger, the ply layers should separate.

Step 4: Tear the flower patterns out from the paper napkins. If you wet the napkin first where you want to tear it, the flowers will come away easily. It is better to tear rather than cut the napkins as you get a feathered edge which blends in better.
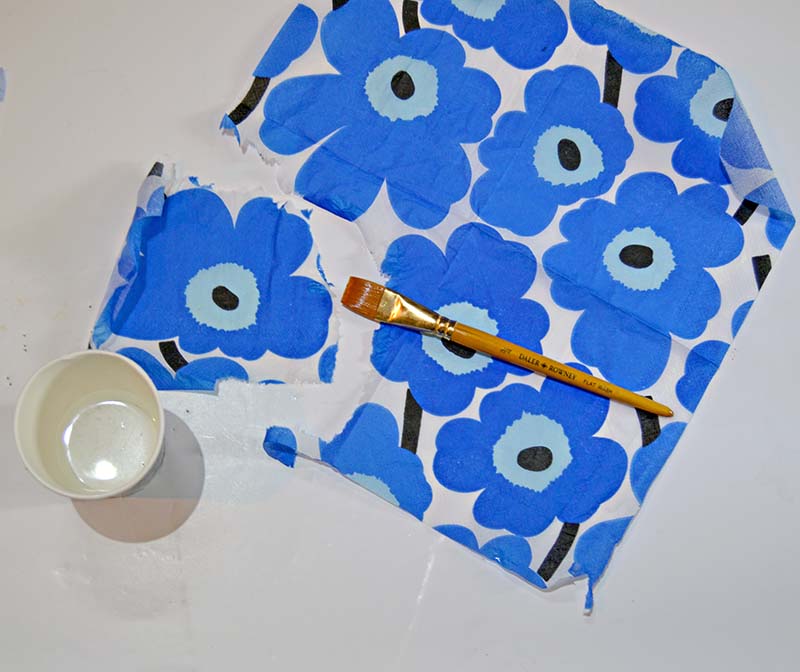

Step 5: Next, spread glue onto the bench where you want to decoupage and then place the cutout flowers onto the wood, one by one. The napkins are too delicate to apply the glue directly to. Gently brush out the napkins as you lay them on the bench.
If you screw up some cling film into a ball, you can use this to gently push the napkins onto the bench and smooth them out a bit.
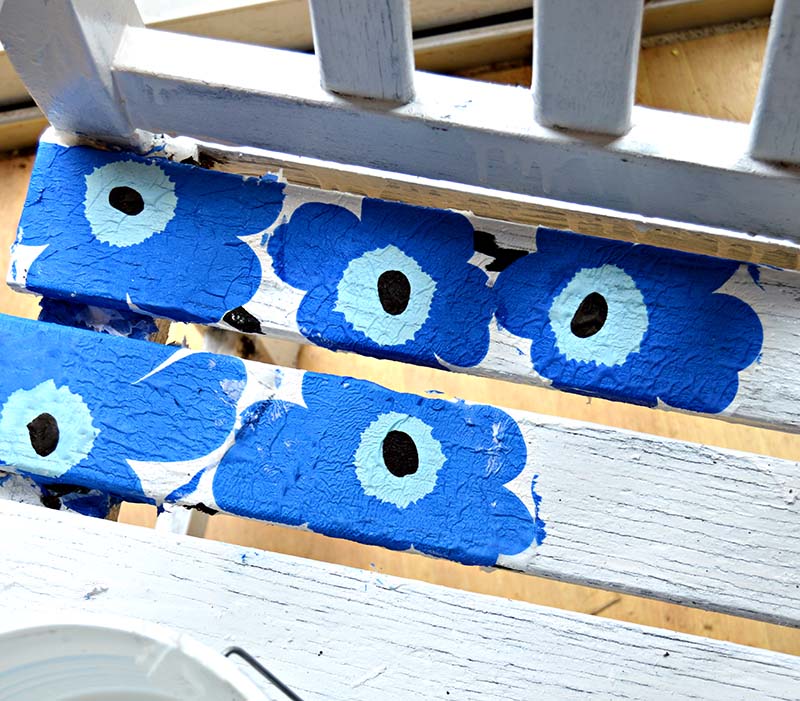
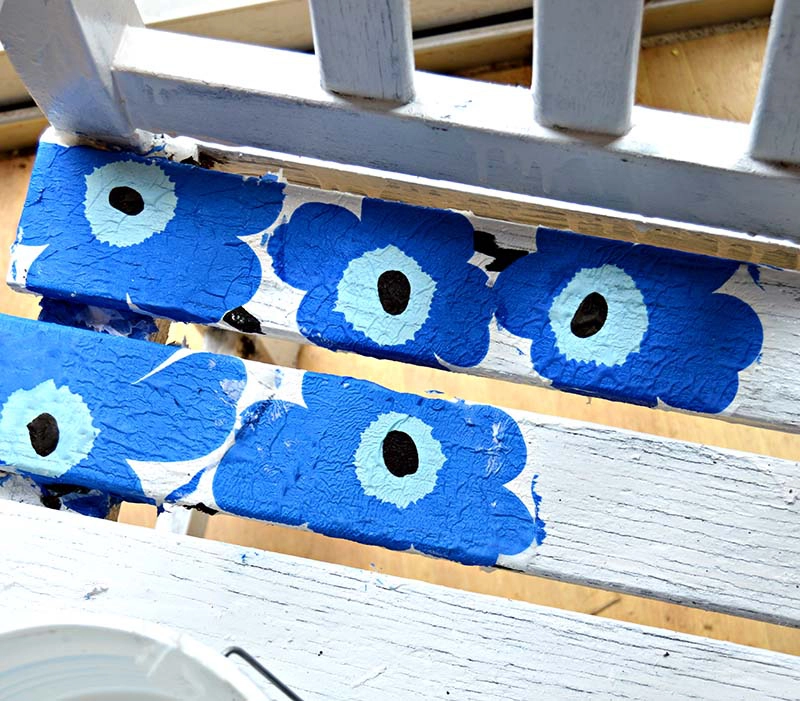

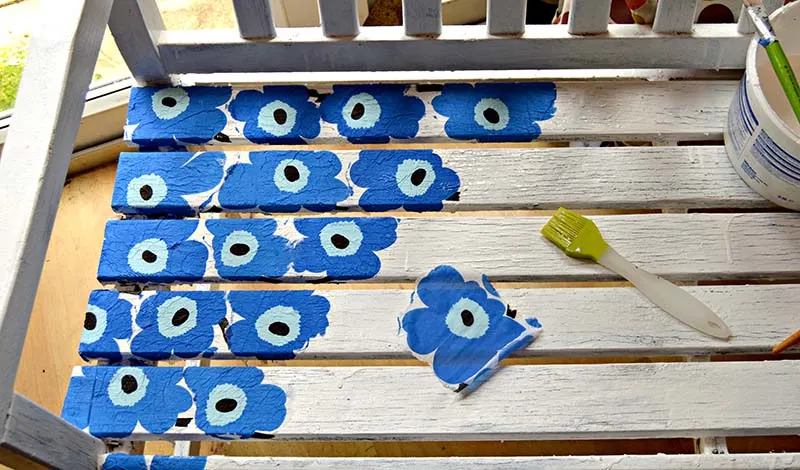
Step 6: Carry on decoupaging the bench with the flowers until the whole bench is covered in Marimekko Unikko flowers. This took me a couple of hours. You can do this in stages. It doesn’t have to be done all in one go.
Protecting Outdoor Decoupaged Furniture
Step 7: Leave the glue to dry thoroughly. Once it is dry, cover the entire bench in two coats of crystal clear outdoor/yacht varnish. Make sure you use a crystal clear varnish, as it can have a yellow tint.
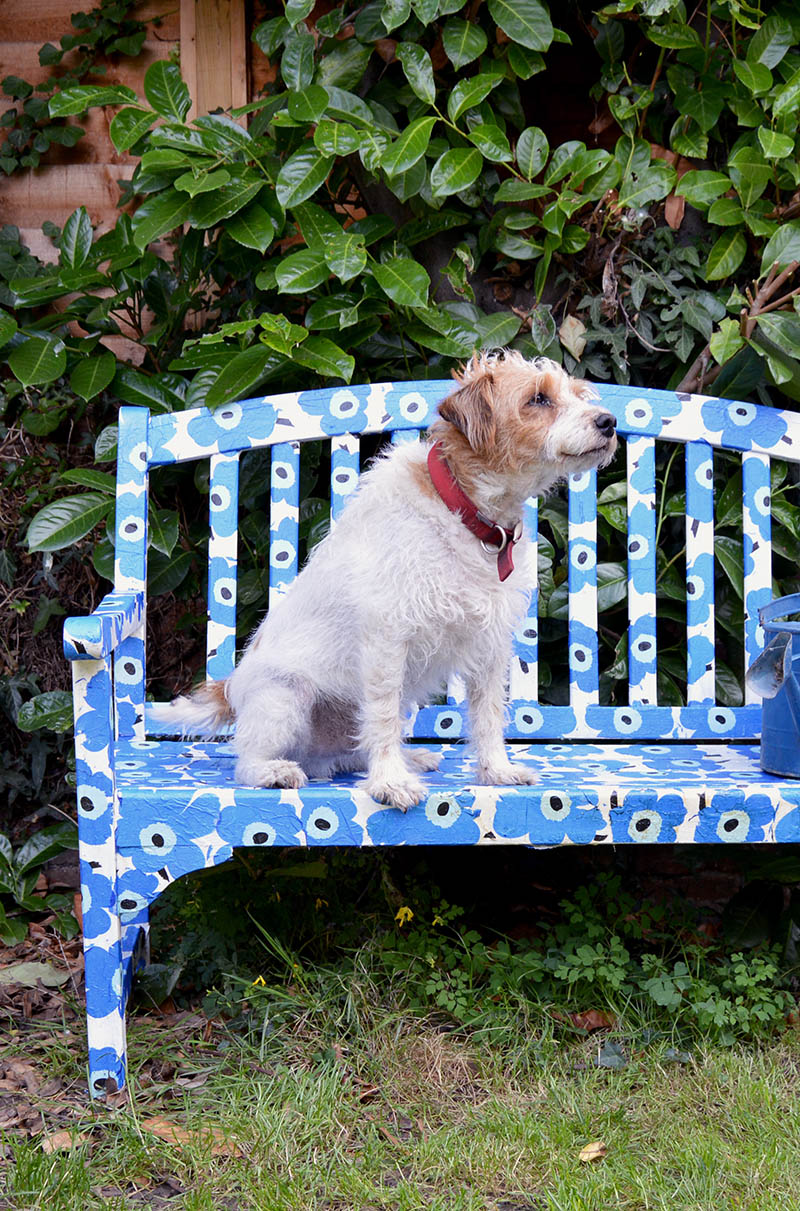
This varnish will protect the decoupaged Marimekko bench from the elements. It has been a few years since I decoupaged this bench, and the outdoor varnish has protected it from all the English weather can throw at it.

I told you it was easy, and I now have a bench to match my shoes!
If you’re not a huge Marimekko fan, you can use this method to upcycle a bench with the napkins of your choice.

Other Marimekko Crafts and Decoupage Ideas
Since upcycling my garden bench with Marimekko, I have painted my garden shed to match the same Unikko pattern but in a different colour.
I have also created a beautiful floral display of decoupaged Marimekko planters using paper napkins in many designs, brightening up my garden on the dullest days. And in the summer, I even have a Marimekko giant cactus I bring out into the garden for fun decor.
Marimekko isn’t just for the garden; my stairs have also been wallpapered in the Unikko design.

You will find more unique upcycled garden ideas and decoupage ideas here.
Maria
Wednesday 8th of April 2020
What a great job and so colorful.
Claire Armstrong
Wednesday 8th of April 2020
Thank you so much Maria it does brighten up the garden.
Roy Altis
Monday 20th of May 2019
Love it and I have many questions I have a garden bench and I thought maybe I could cheat and use those Dollar Store jumbo butterfly peel and stick stickers. And maybe coat it with mod podge and then use that marine crystal clear varnish. How bad does this sound???
Claire Armstrong
Tuesday 21st of May 2019
Thank you. You could give it a go I'm sure that would work too.
Gail
Tuesday 26th of February 2019
so it is okay to have it look a little wrinkled, will the varnish help to smooth that look out?
Claire Armstrong
Tuesday 26th of February 2019
Yes, the wrinkled look isn't so obvious once the bench has dried. It's hard to avoid wrinkles totally but if you smooth the tissue paper down with crinkled up cling film (saran wrap) as you stick it down this will reduce wrinkles.
nancy
Saturday 5th of May 2018
Absolutely love this idea. Would love to do this to two benches on my deck. Question: I wondered how well this process weathers over time? I leave my benches out,but covered, over the winter months. I live in a mild but rainy climate. usually does not go below 20's in the winter.
Claire Armstrong
Saturday 5th of May 2018
Thank you, make sure you use an outdoor varnish like a marine varnish. Also, make sure it says crystal clear on the tin not just clear as the clear varnish often dries with a yellow tint,
Mary
Saturday 30th of December 2017
Love the tennis shoes and bench to match!!!
Claire Armstrong
Saturday 30th of December 2017
Thank you. I never thought I'd have a matching bench and shoes!