
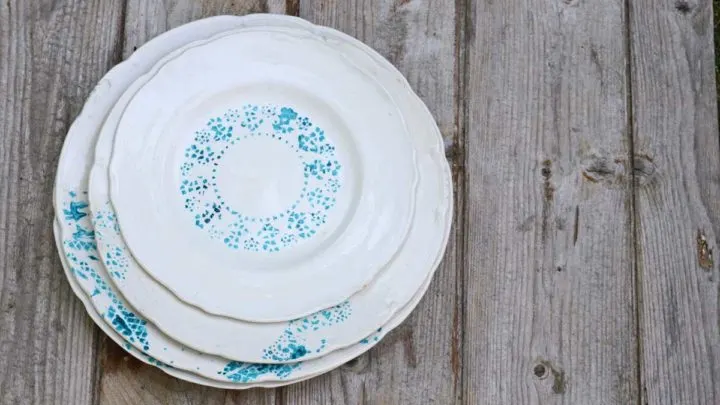
How to paint on plates that you can eat off with permanent dishwasher-proof patterns, and how to use a paper doily as a vintage-style stencil.
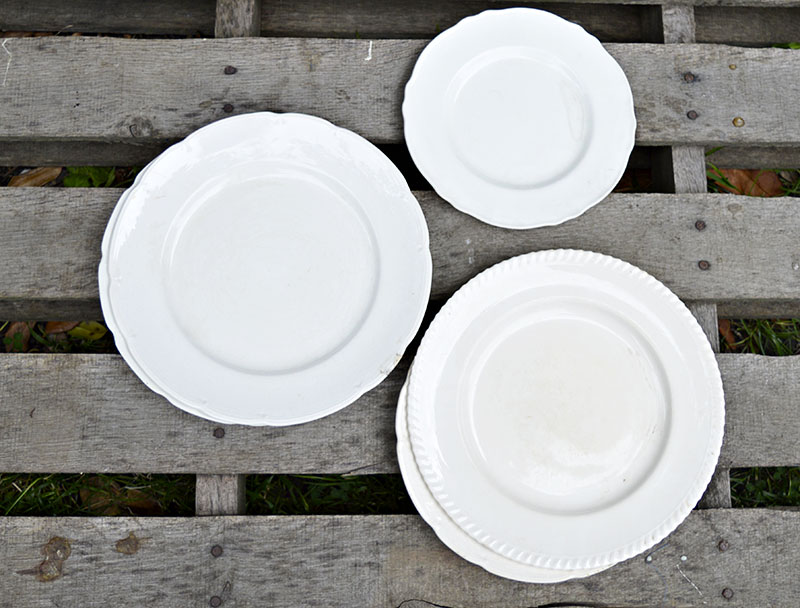
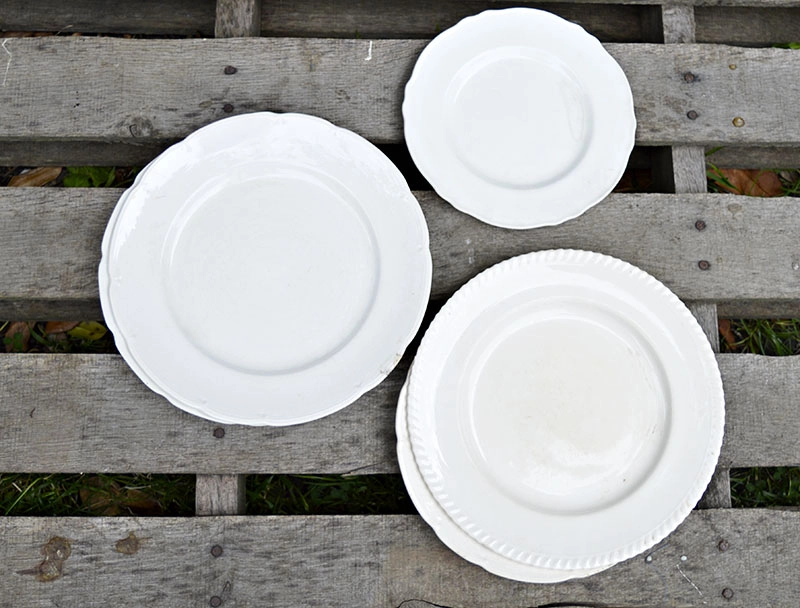
It’s a fun way to match my eclectic collection of vintage pottery. I have a bit of a plate habit and love to buy vintage crockery from junk shops and flea markets. I like fluted-edged plates.
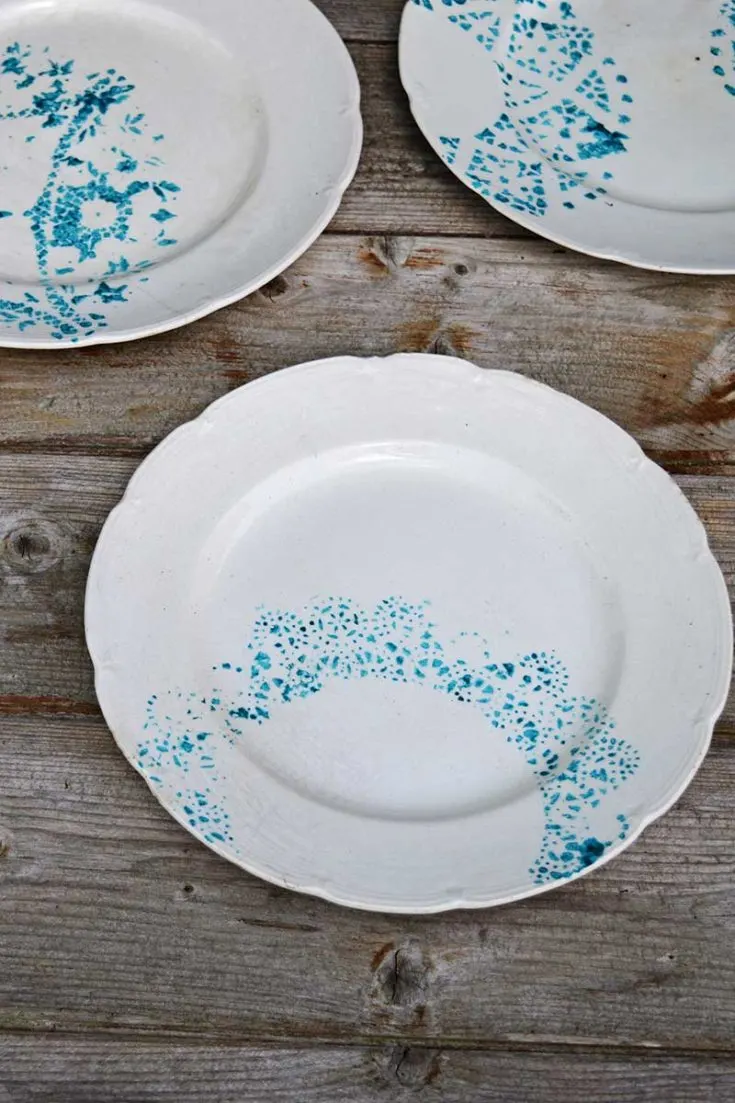
Using paint and paper doilies, I can transform old ceramic plates by adding colour and a lace pattern. The paint on the plates can be made permanent and dishwasher-proof, ensuring your designs last.
Paper and cloth doilies can create so many wonderful lace patterns. They add a Boho touch to your home decor. I’ve also made doily stencilled cushions, which look great on my Shibori sofa.
(There is a printable how-to card for this craft at the end of the post.)
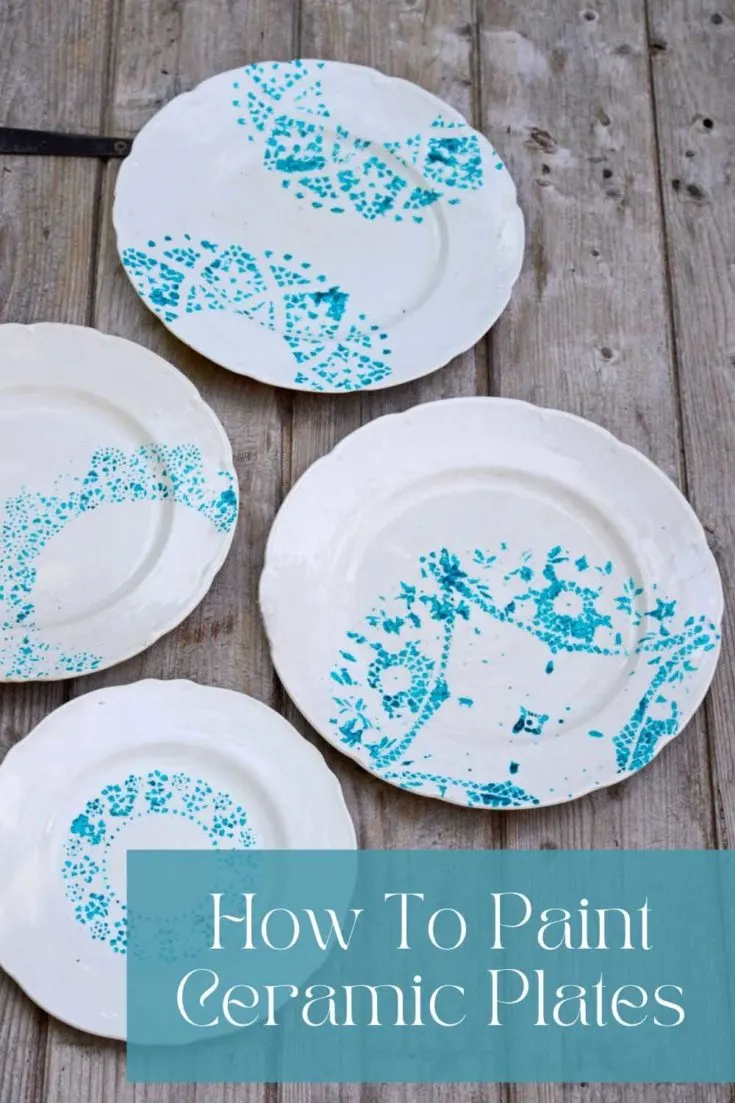
How To Paint Ceramic Plates
Having revamped my boring cushions with a paper doily stencil, I thought, why not do the same with my plates? That’s what I did, and it was a fantastic improvement.
I’ll show you how easy it is to paint ceramic plates with permanent paint. Using a stencil, you can paint intricate patterns without special artistic skills or a steady hand.
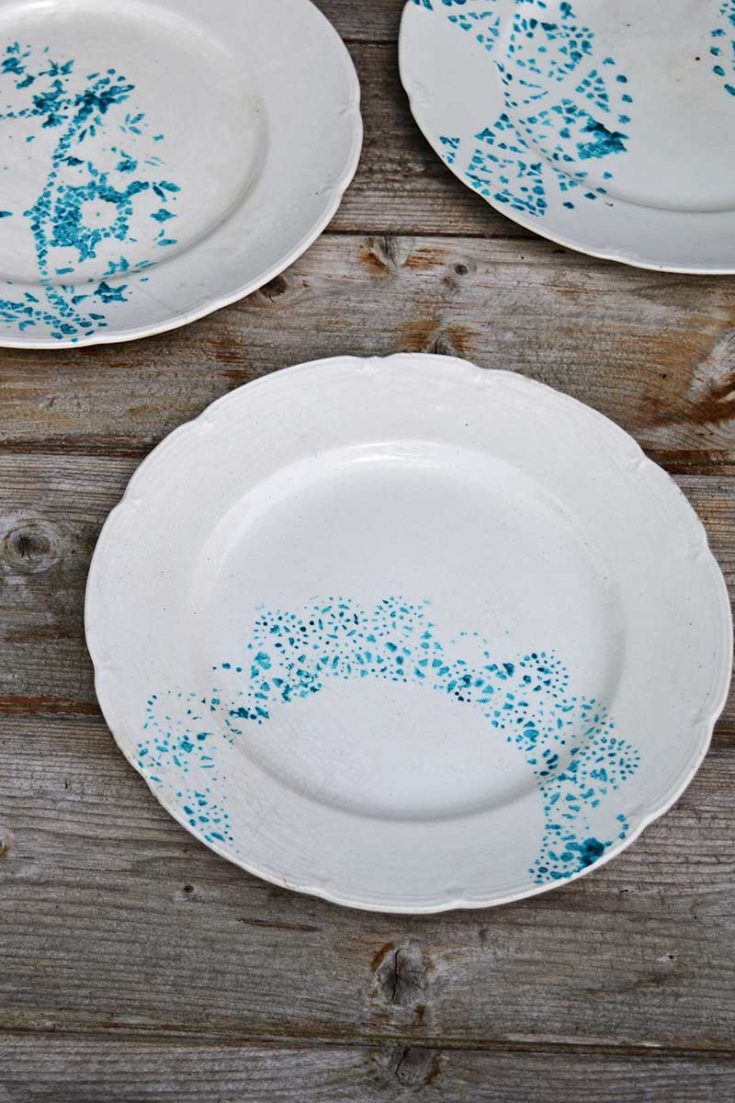
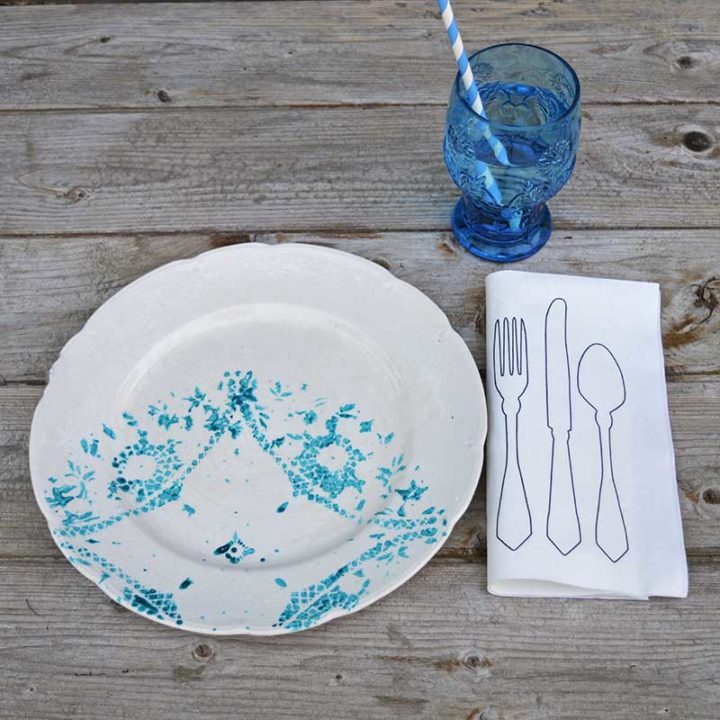
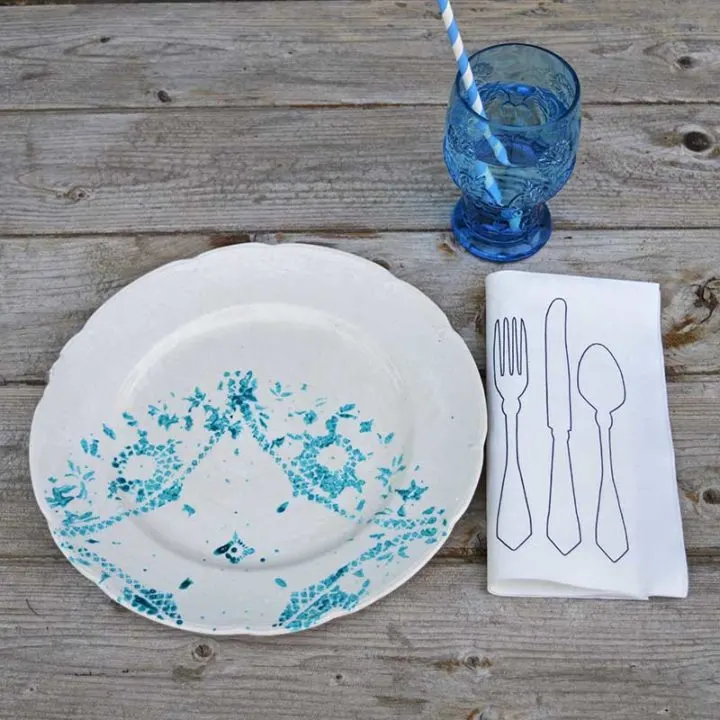
It is easy to upcycle old white plates with paint in different colours and a paper doily!
What Paints To Use On Ceramic Plates
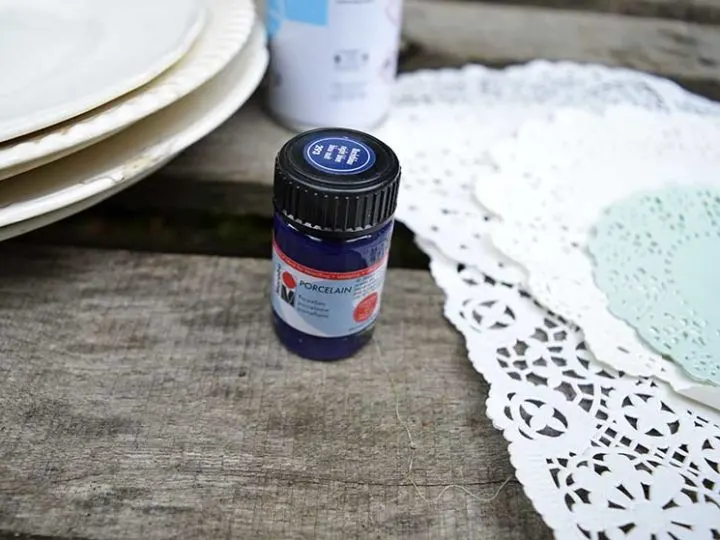
There are several different ways to paint old crockery. You can use acrylic paints, porcelain paints, and even permanent markers such as Sharpies. The best paints I have found are those designed for porcelain, especially the baked version, rather than the easier no-bake paint.
For a baked, painted plate, you seal it by putting it in an oven. The paint tends to be more robust than the easy, no-bake paint.
If you plan to eat off the decorated plates, use ceramic paint labelled food-safe and toxins-free. If the China will be used as a wall decoration or for non-food purposes, you can use enamel acrylic paint. Another way to ensure the finished ceramic pieces are food-safe is to use a food-safe sealer.
We’re a participant in the Amazon Services LLC Associates Program, an affiliate advertising program designed to provide a means for us to earn fees by linking to Amazon.com and affiliated sites. As an Amazon Associate, I earn from qualifying purchases.
Materials Need to Paint Plates
- Plate – You can use any old china plate for this project. Jumble sales, thrift shops, and Facebook Marketplace are good cheap sources for vintage crockery. I ask relatives and friends if they have old China they don’t want.
- Porcelain paints—There are two types of porcelain paints: bake and no-bake. Baked paints are best if you plan to use the plates rather than for just decorative purposes. There are also porcelain paint pens for more accurate painting.
- Rubbing alcohol
- Assortment of paper doilies – Look for vintage lace patterns you would like as a decoration.
- Repositionable spray adhesive – To easily remove the doily stencil. Or you can use masking tape
- Small paint brush

How To Paint China
Step 1: First, wash your ceramic plates with hot, soapy water. Then, make sure they are thoroughly dry. Rub the ceramics with rubbing alcohol to remove soapy residue or sticky marks from labels.
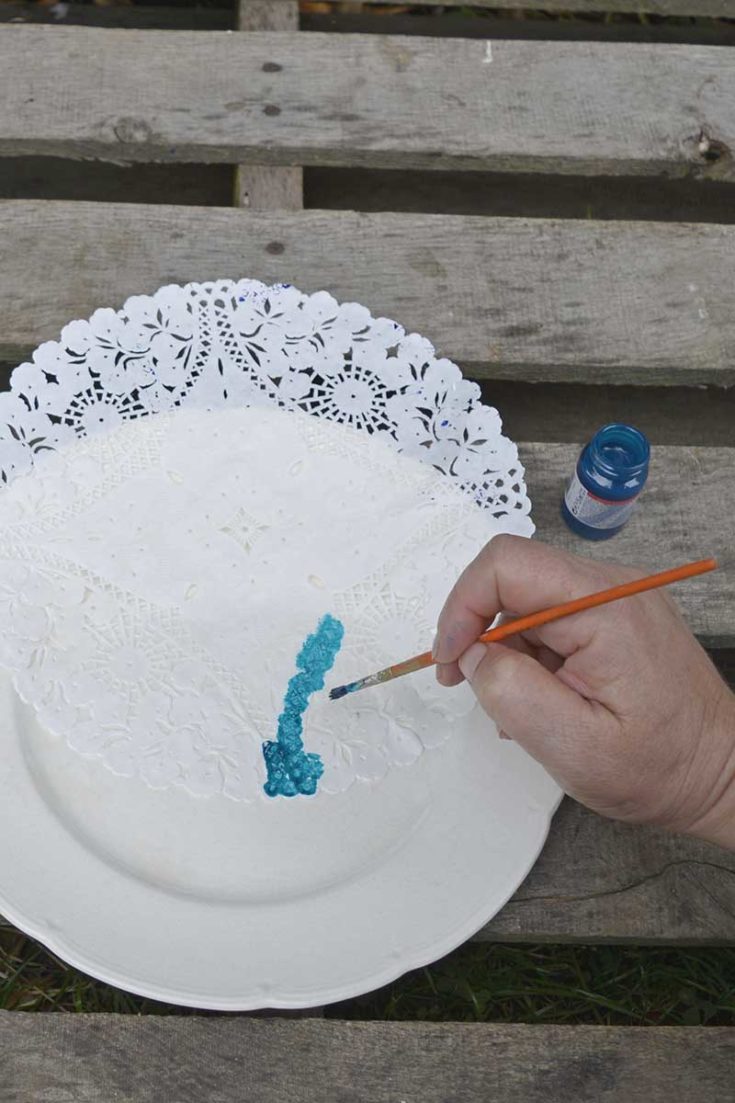
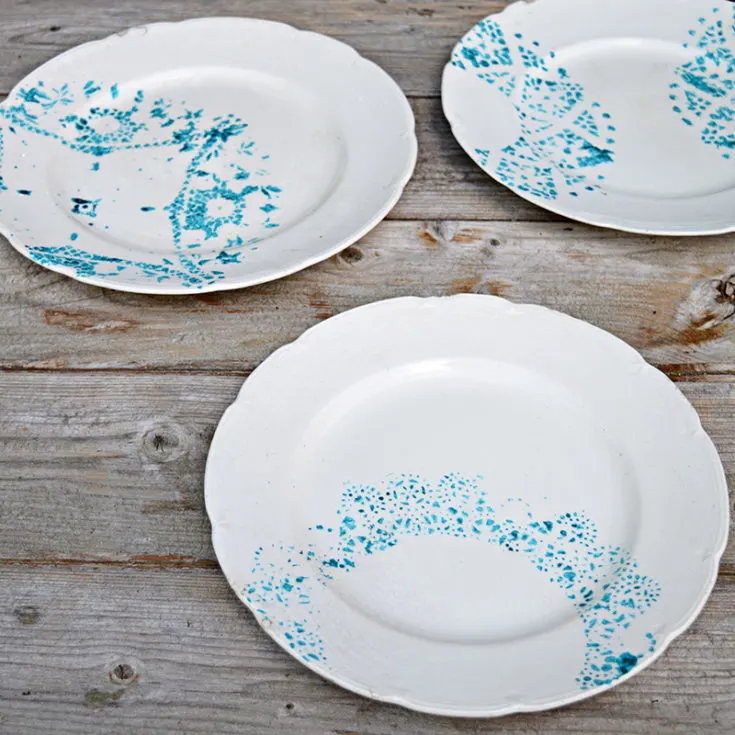
Step 2: Next, spray the back of the paper doily with repositionable spray adhesive. Then place it onto the plate to where you want the pattern. I placed my stencil on the edges of the plate and off centre.
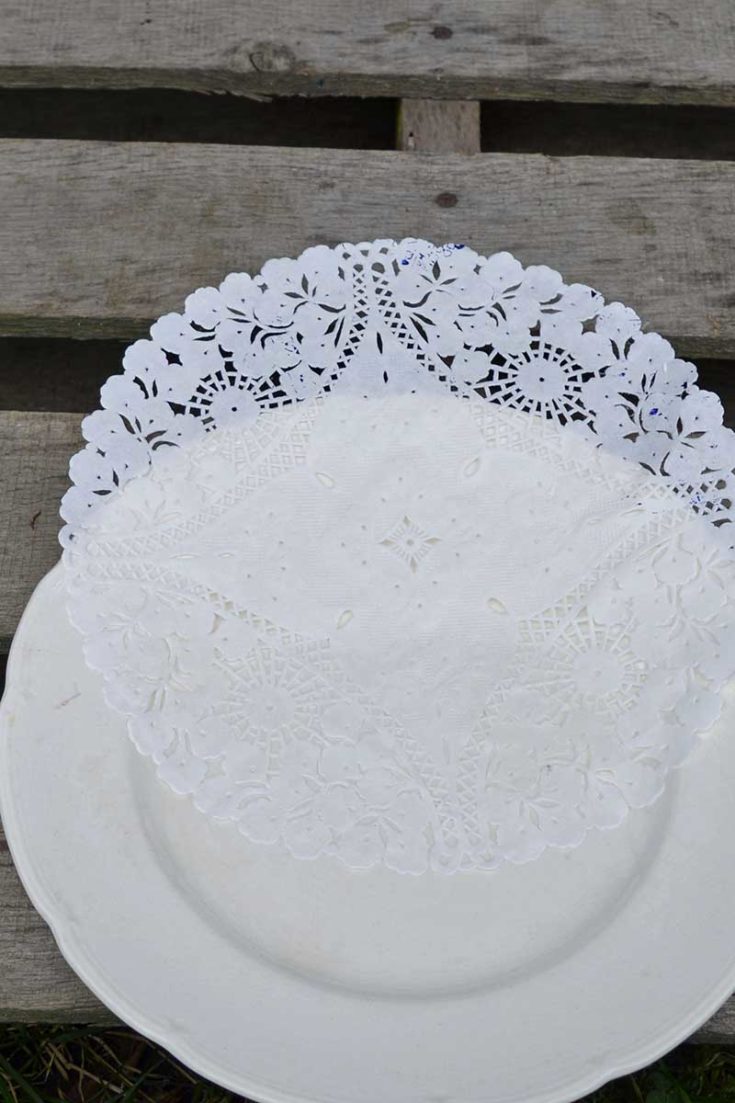

Step 3: Next, use a small paint brush and load up the tip of the brush. Only use a small amount of porcelain paint. Then carefully dab in the holes of the paper doily. Be careful not to have too much paint on your brush, as this may seep under the doily.


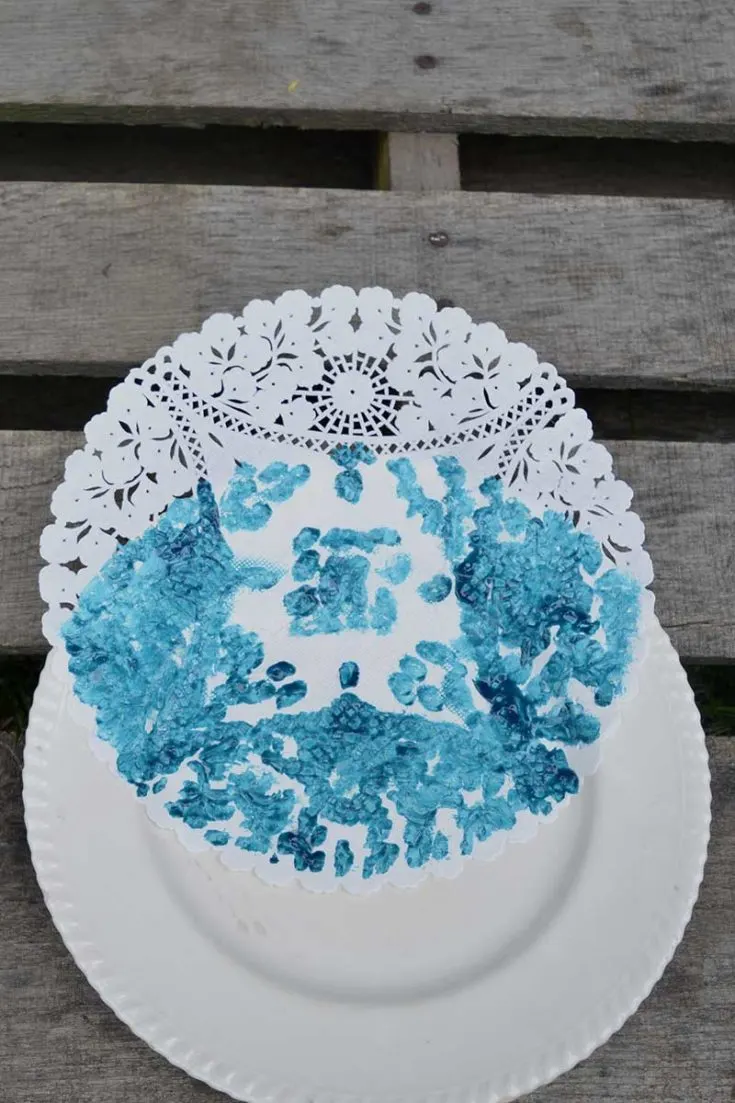
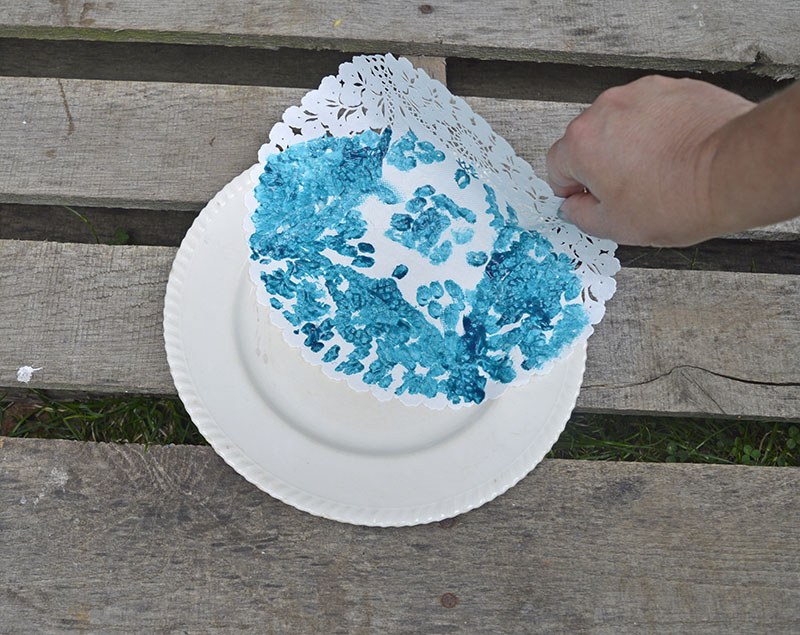
Step 4: When you’ve finished painting in the doily holes, carefully lift off the paper doily stencil.

Step 5: To finish off, make sure the paint on the plates drys thoroughly.
With no-bake porcelain, paints leave the plates to dry for a couple of days before using and washing them. They will only be dishwasher er safe up to 40 °C, so it’s best to wash them by hand.
If you use the baked version of porcelain paint, the pattern will be more robust and last longer.
How To Set The Paint in The Oven
There will be instructions on the bottle of paint used on how to set it. But this is the method I use, the only thing that might be different is the recommended oven temperature.
- Place the painted plate in a cold oven. This will reduce the chance of them cracking. The ceramics can be placed on either a rack or the base of the oven, it doesn’t matter.
- Turn the oven temperature to 160 °C, about 325°F.
- Once the oven has reached the temperature, leave the plates in for 40mins.
- Then turn off the oven but leave the plates in until it has cooled, this will take a couple of hours.
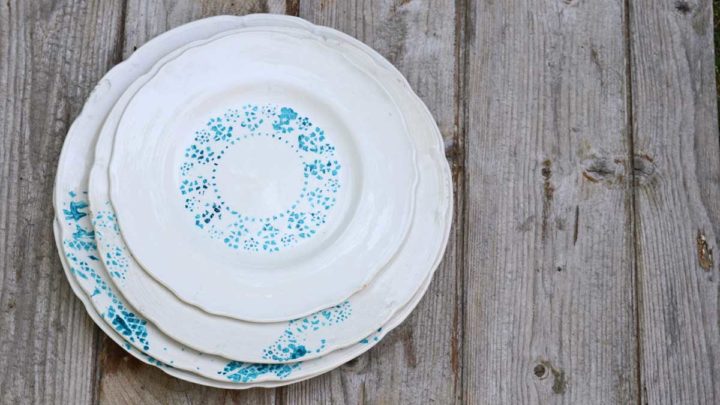
The plates will then be ready to use. I made my painted plates a few years ago and they look just as good as the day I made them. I used the baked-on paint method to make the paint permanent on the plates. They have even been in the dishwasher a few times and the paint hasn’t faded.
I’m on the lookout for some other plates to paint with stencils. I like the doily pattern, but I also have some Pineapple stencils and Moroccan stencils in my craft cupboard I’d love to try out with painted ceramics.
If you are more artistically confident, you can just free-style paint patterns on your old plates and our designs.
If you have a few doilies left over then you should check out these easy paper doily crafts.

Tips for Success:
- Practice First: Test your technique on an old plate before working on your main piece.
- Clean Mistakes Quickly: Use paper towels to wipe off any mistakes while the paint is still wet.
- Choose the Right Background: Use white plates as a canvas for the best results. The contrast makes the colours pop beautifully.
- Get Creative: Thrifted plates are a great way to practice and perfect your ceramic painting skills. Try different patterns and colour combinations.
Painting on plates is not only a fun and creative project but also a fantastic way to create unique home decor pieces with your hands. Whether you’re looking to add a personal touch to your kitchen or create a special gift, this method of ceramic painting offers endless possibilities. Plus, it’s a wonderful way to upcycle and give new life to old plates.
Other Ideas
I don’t just paint old China crockery. I also paint glass to decorate and upcycle old windows and vases. You should check out my painted bee window herb planter and Christmas window decoration.
How To Paint Plates

Upcycle plain old China plates with paints and a paper doily stencil. It is permanent, food safe and dishwasher proof, a great way to make vintage crockery collections match.
Materials
- Old ceramic plain plates
- Food safe, permanent porcelain paint
- Paper doilies
- Repositionable spray mount
- Rubbing alcohol
Tools
- Small paint brush
- Oven
Instructions
- Wash the plates in hot soapy water. Then dry them before rubbing with alcohol. It removes the soapy residue and sticky label marks.
- Spray a paper doily with the sticky mount and place it onto the plate.
- Add a small amount of porcelain paint to a small brush. Don't overload the brush, as it will run under the stencil.
- Next, dab the paint into the doily holes onto the plate.
- When you have finished painting the plate, carefully remove the stencil.
- Next, place the plate in a cold oven. Then turn the temperature to 160c, when the temperature is reached, leave it on for 40 minutes.
- Next, turn the oven off and leave the plate to cool down in it. Remove the plate after a couple of hours or when cool to handle.
Recommended Products
As an Amazon Associate and member of other affiliate programs, I earn from qualifying purchases.

This post was updated in June 2024
Kelly
Monday 10th of November 2025
The paint you linked is not food safe and I’m unable to find *any* porcelain paint that is. Have you ever found any?
Claire Armstrong
Tuesday 11th of November 2025
Some paints are designed to be food-safe after proper curing and are generally safe for outside decoration. These paints are typically labeled as being dishwasher and detergent-safe once baked in a home oven at a specified temperature.
Renee
Tuesday 8th of November 2016
I have been wanting to do this! I have tried it with sharpies without much success. I'm so glad you said what paint to get as I had no clue. I too am a huge fan of Lou Rota, but then again how can you not be:-) I have been looking into trying to make plates like hers with animals and creatures. Thanks for the steps!
Claire Armstrong
Wednesday 9th of November 2016
Thank you ! If you ever workout how to make a plate like Lou Rota I'd love to see it.
Sarah Shelly
Tuesday 20th of September 2016
Isn't the word crockery just so much more fun to use than just saying dishes? I think it may be a new favorite word. Well done! I love this super fun little upcycle.
xoxo, Sarah @ Gypsy Girl Revivals
Claire Armstrong
Tuesday 20th of September 2016
thank you! Yeah I prefer crockery to dishes too.
Emily
Monday 12th of September 2016
These are so pretty & unique! I love the different designs you were able to evoke with the doilies! I chose your plates as my host pick for this week's Merry Monday party. I hope you'll stop by and link up again!
Claire Armstrong
Monday 12th of September 2016
Thank you so much for the feature, they were fun to do.
Sam @ Raggedy Bits
Tuesday 6th of September 2016
I just love these!!! Great idea and love that they are all miss matched!!
Thank you so much for sharing your fabulous project over at Waste Not Wednesday!
Claire Armstrong
Tuesday 6th of September 2016
Thank you, I do like miss matched things I'm also not into symmetry !