
Sweet DIY Valentine's Light Decorations
How to Make Sweet Valentine's Light Decorations to Illuminate your Home
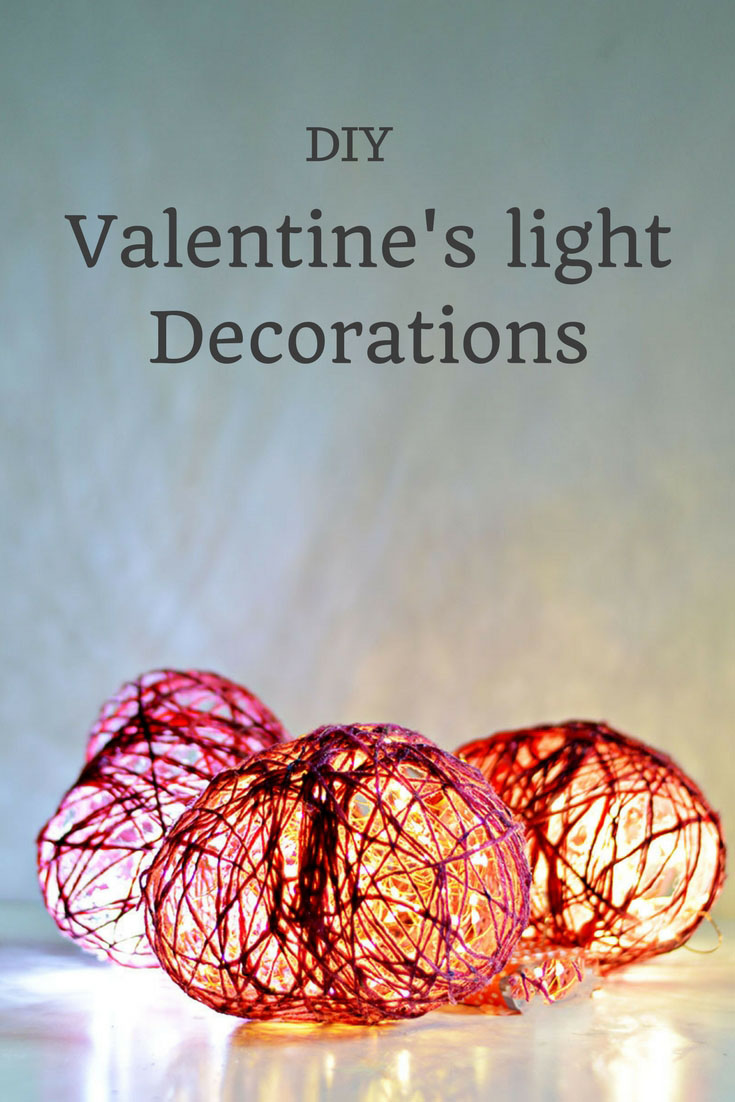
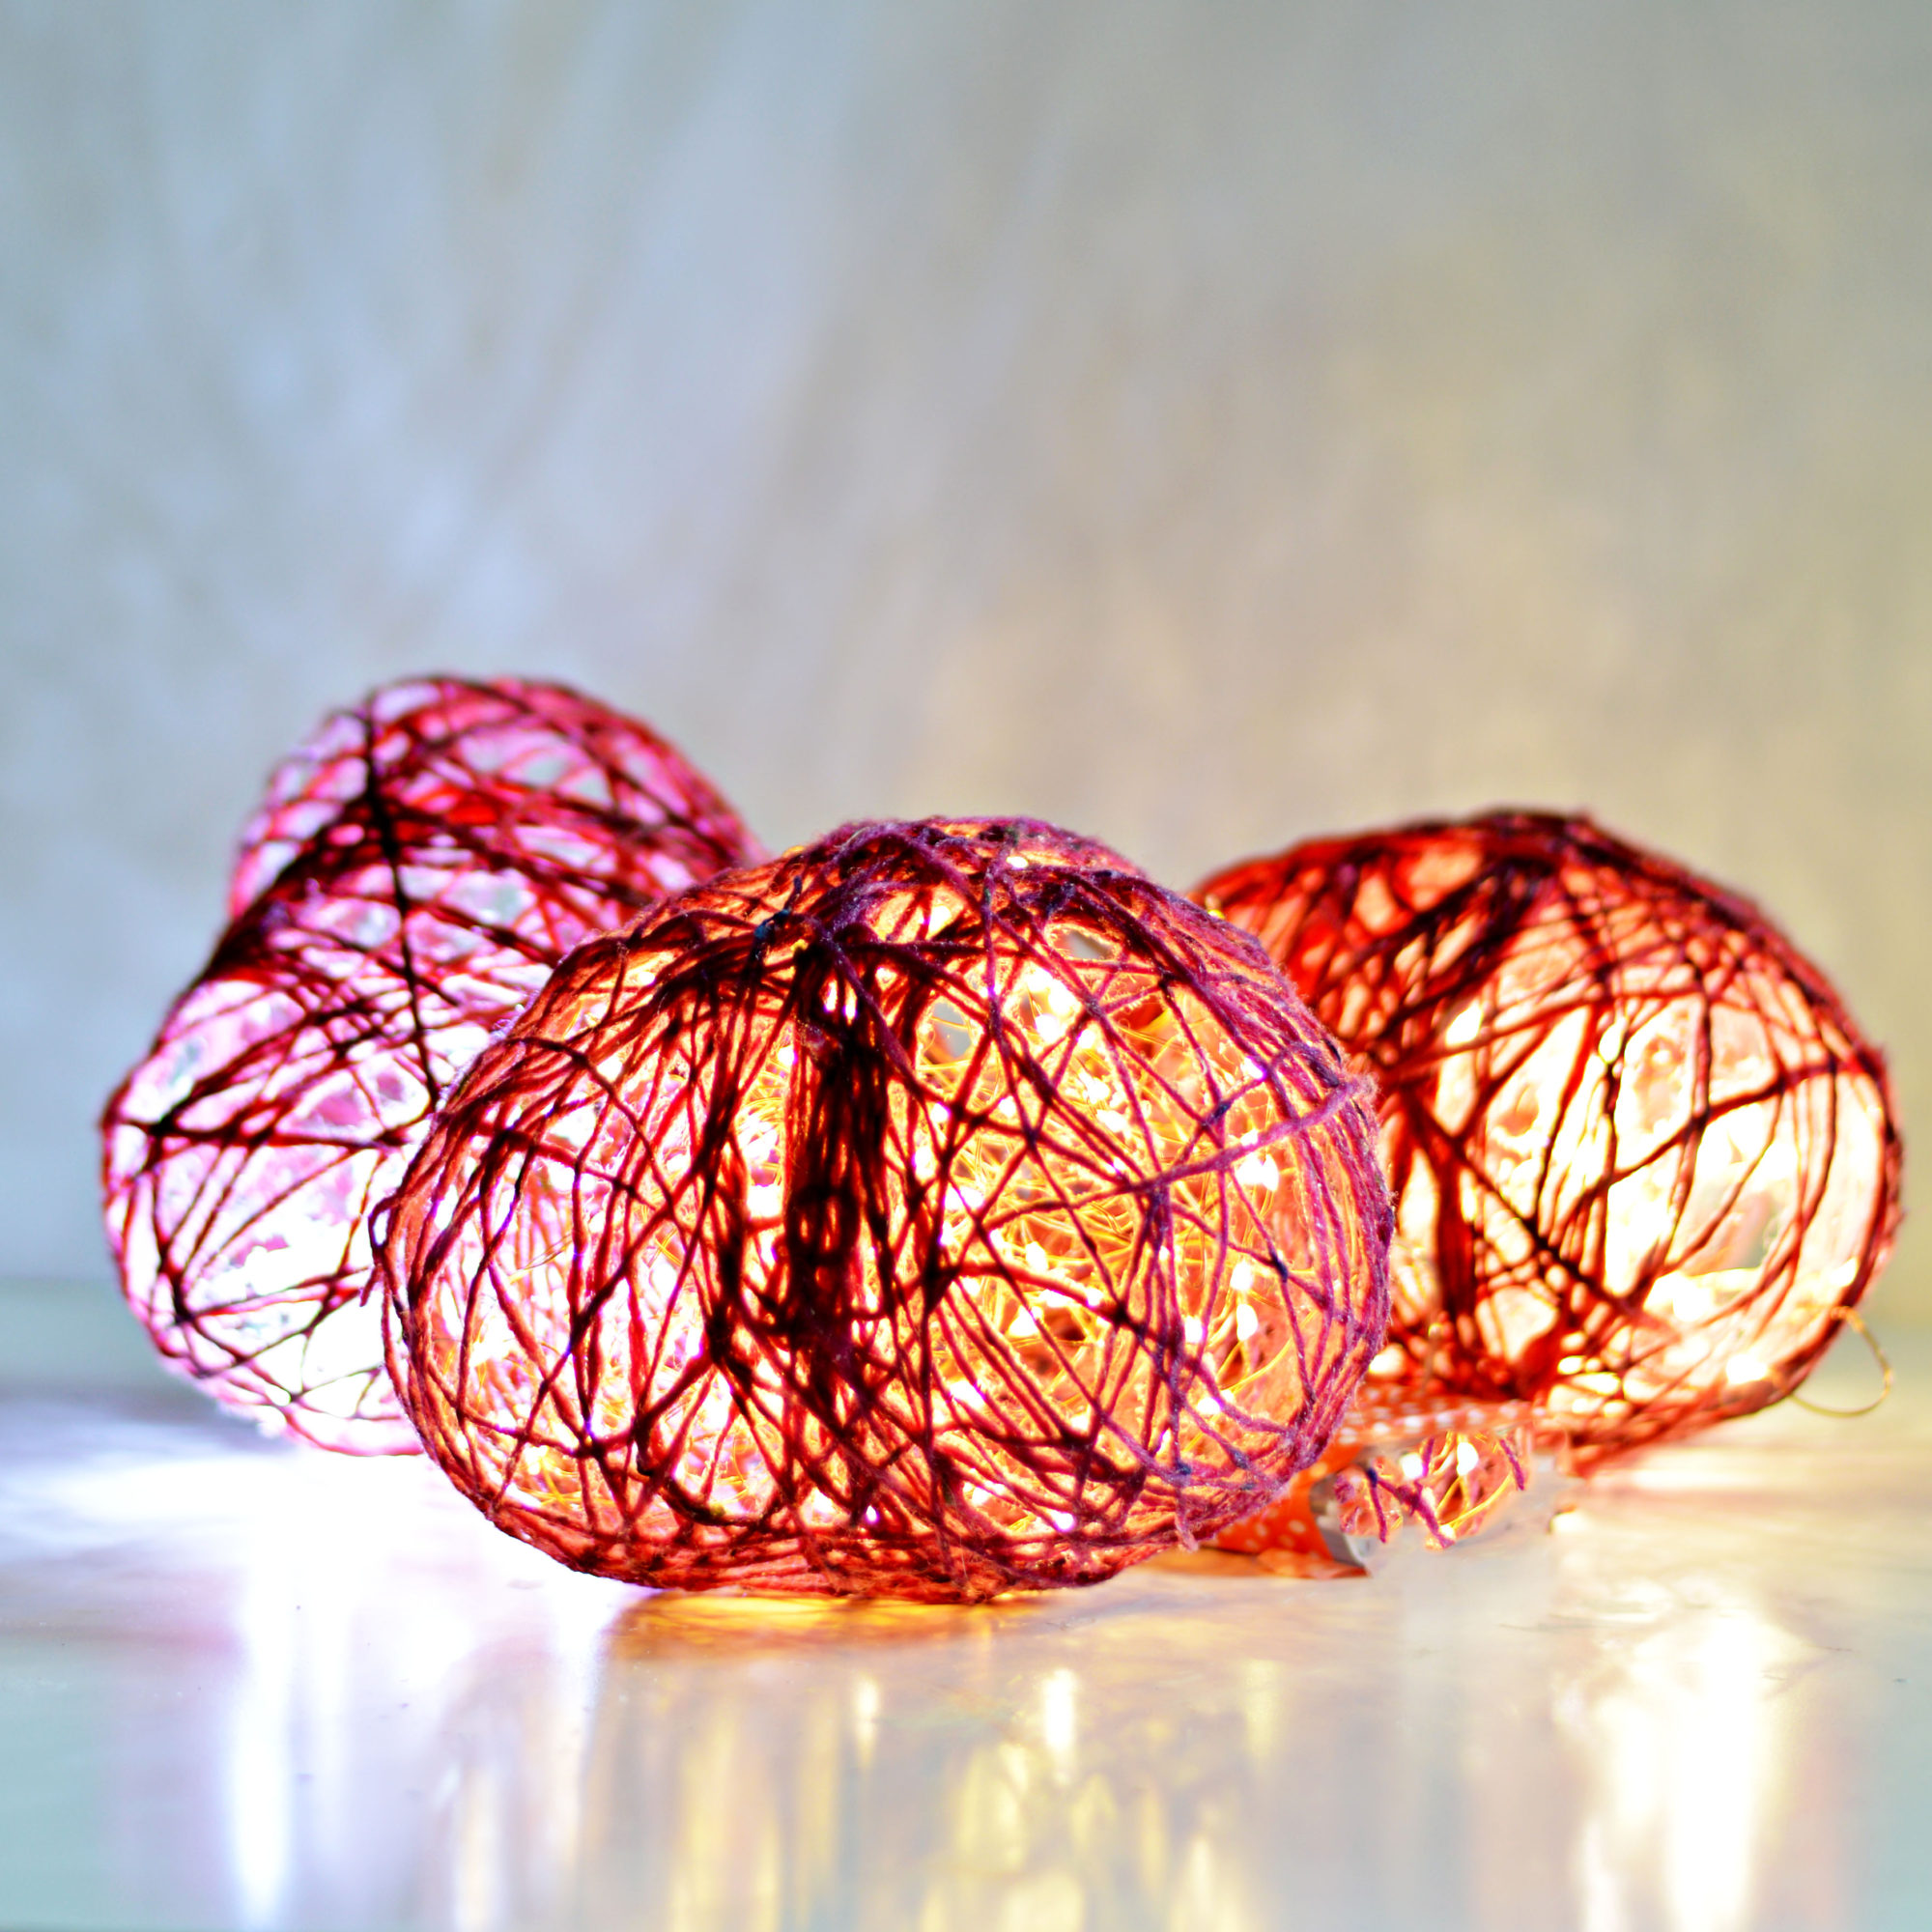
Valentine's light decorations: Now that the Christmas decorations have been put away the house is looking a bit bare and boring, (well except for the usual clutter). What I miss most about Christmas decorations are all the lights.
Lucky for me, Valentine's is a perfect excuse to add some decoration to illuminate my home again on these gloomy winter days.
I can't get enough of those copper string lights, especially now that they are so cheap. I used loads of them to illuminated my home over Christmas. Most notably with my brilliant DIY led deer Christmas decoration.
So naturally I used those same copper lights these Valentine's decorations, they just look great whether you get the small battery operated strings or the plugin ones.
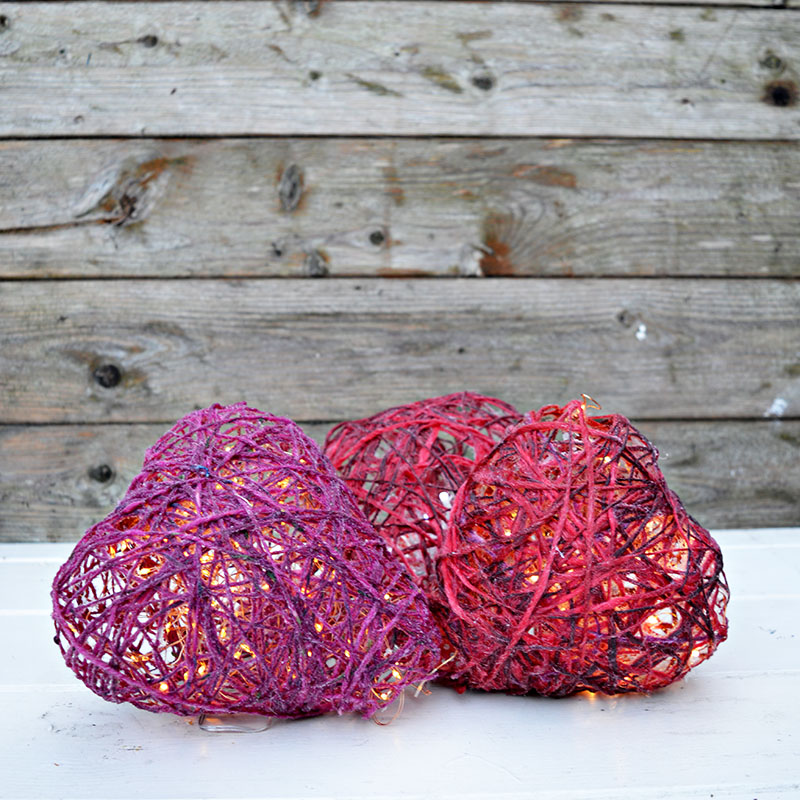
It's great to have some illuminated decor around the house, I just haven't made my mind up where to put these Valentine's light decorations. They look great as a centerpiece on the dining room table but I also fancy having them hanging up in the hall. I may just have to make some more.
I have to admit that even though this was an easy fun craft it did get a bit messy at times, and sticky. However, it was nothing that couldn't be quickly cleaned up.
I have to admit that even though this was an easy fun craft it did get a bit messy at times, and sticky. However, it was nothing that couldn't be quickly cleaned up.
This post contains amazon affiliate links for your convenience. Click here to see my disclosure policy.
What I used make my Valentine's Light Decorations
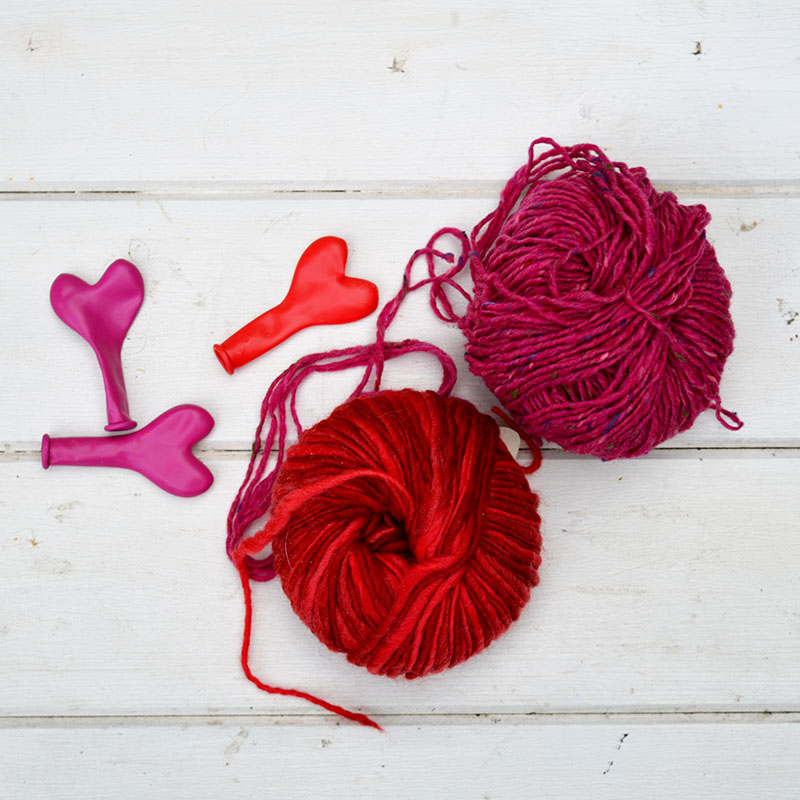
- Heart shaped balloons - I used 6" balloons but you can get 12" if you want to go bigger.
- Red and pink yarn - Any yarn or string would do. I just used some wool that was in my craft cupboard.
- White glue such as PVA glue or school glue.
- LED Copper string lights (battery ones)
- Red Washi tape
How I made my Valentine's Light Decoration
-
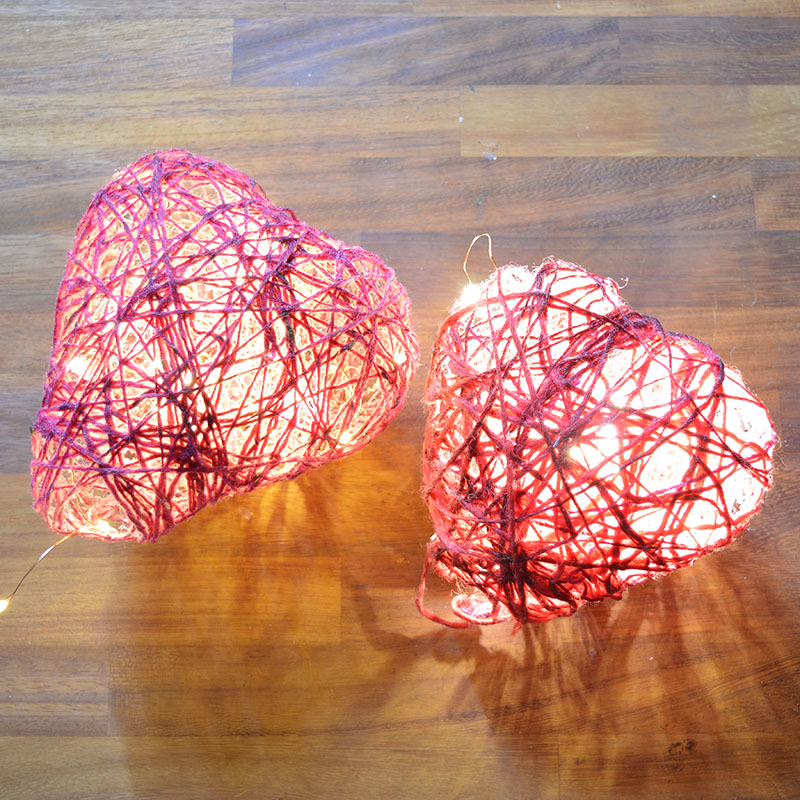
- First I inflated 3 heart shaped balloons.

- First I inflated 3 heart shaped balloons.
-
- I filled a small bucket with diluted glue, approximately 70% glue to 30% water. The yarn was then cut into lengths approximately 2 meters long.
- Now this was the messy bit, I advise you some newspaper around. I dipped the yarn into the glue bucket so that it got covered.
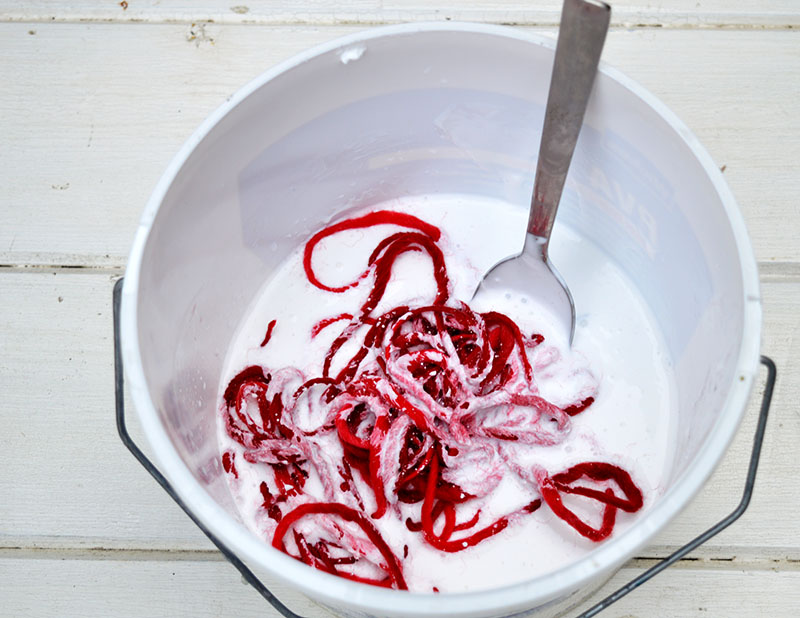
- Then slowly pull the yarn out of the glue bucket. Squeezing the wool between the sides of the bucket and a spoon as it's pulled out. In order to get rid of excess glue and minimize the drips. This is the messy bit, I warned you about.
- I carefully wrapped this sticky messy yarn round the balloons. And just kept on wrapping strips of yarn round and round the balloons until I was happy with the coverage.
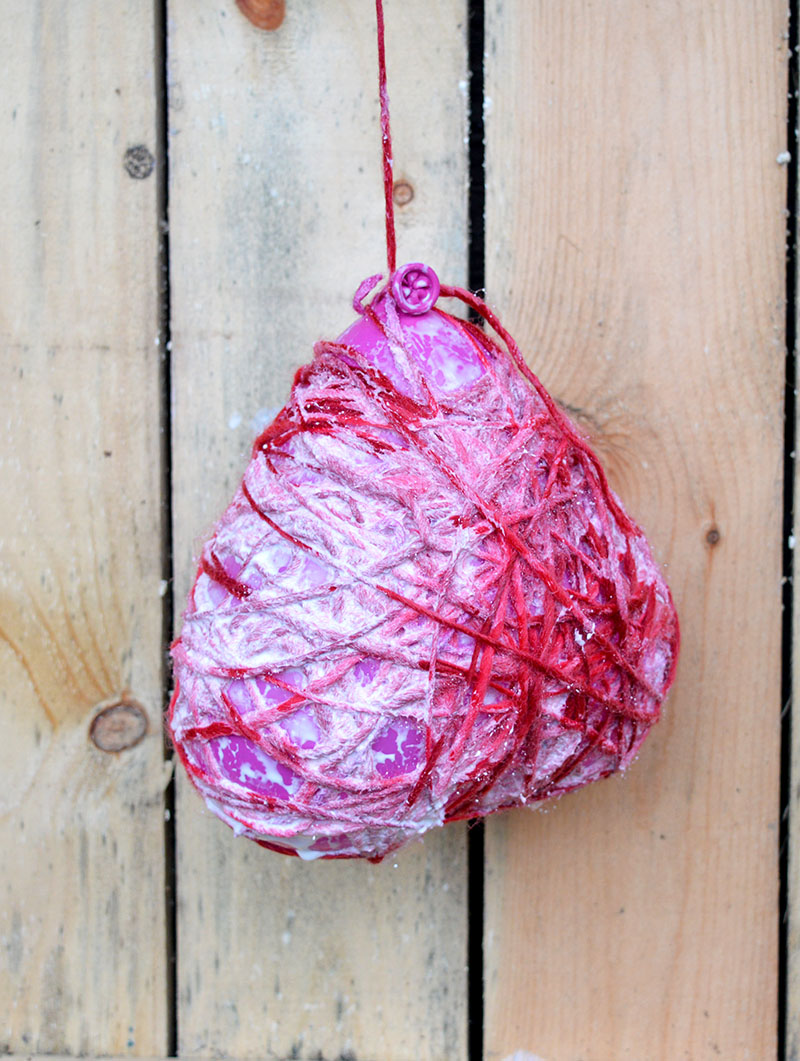
- When I'd finished wrapping, I hung the balloons up to dry. They were left for 48 hours until the glue was fully dry. However, this may only take 24 hours in your house if it's warmer than mine, which I bet it is!
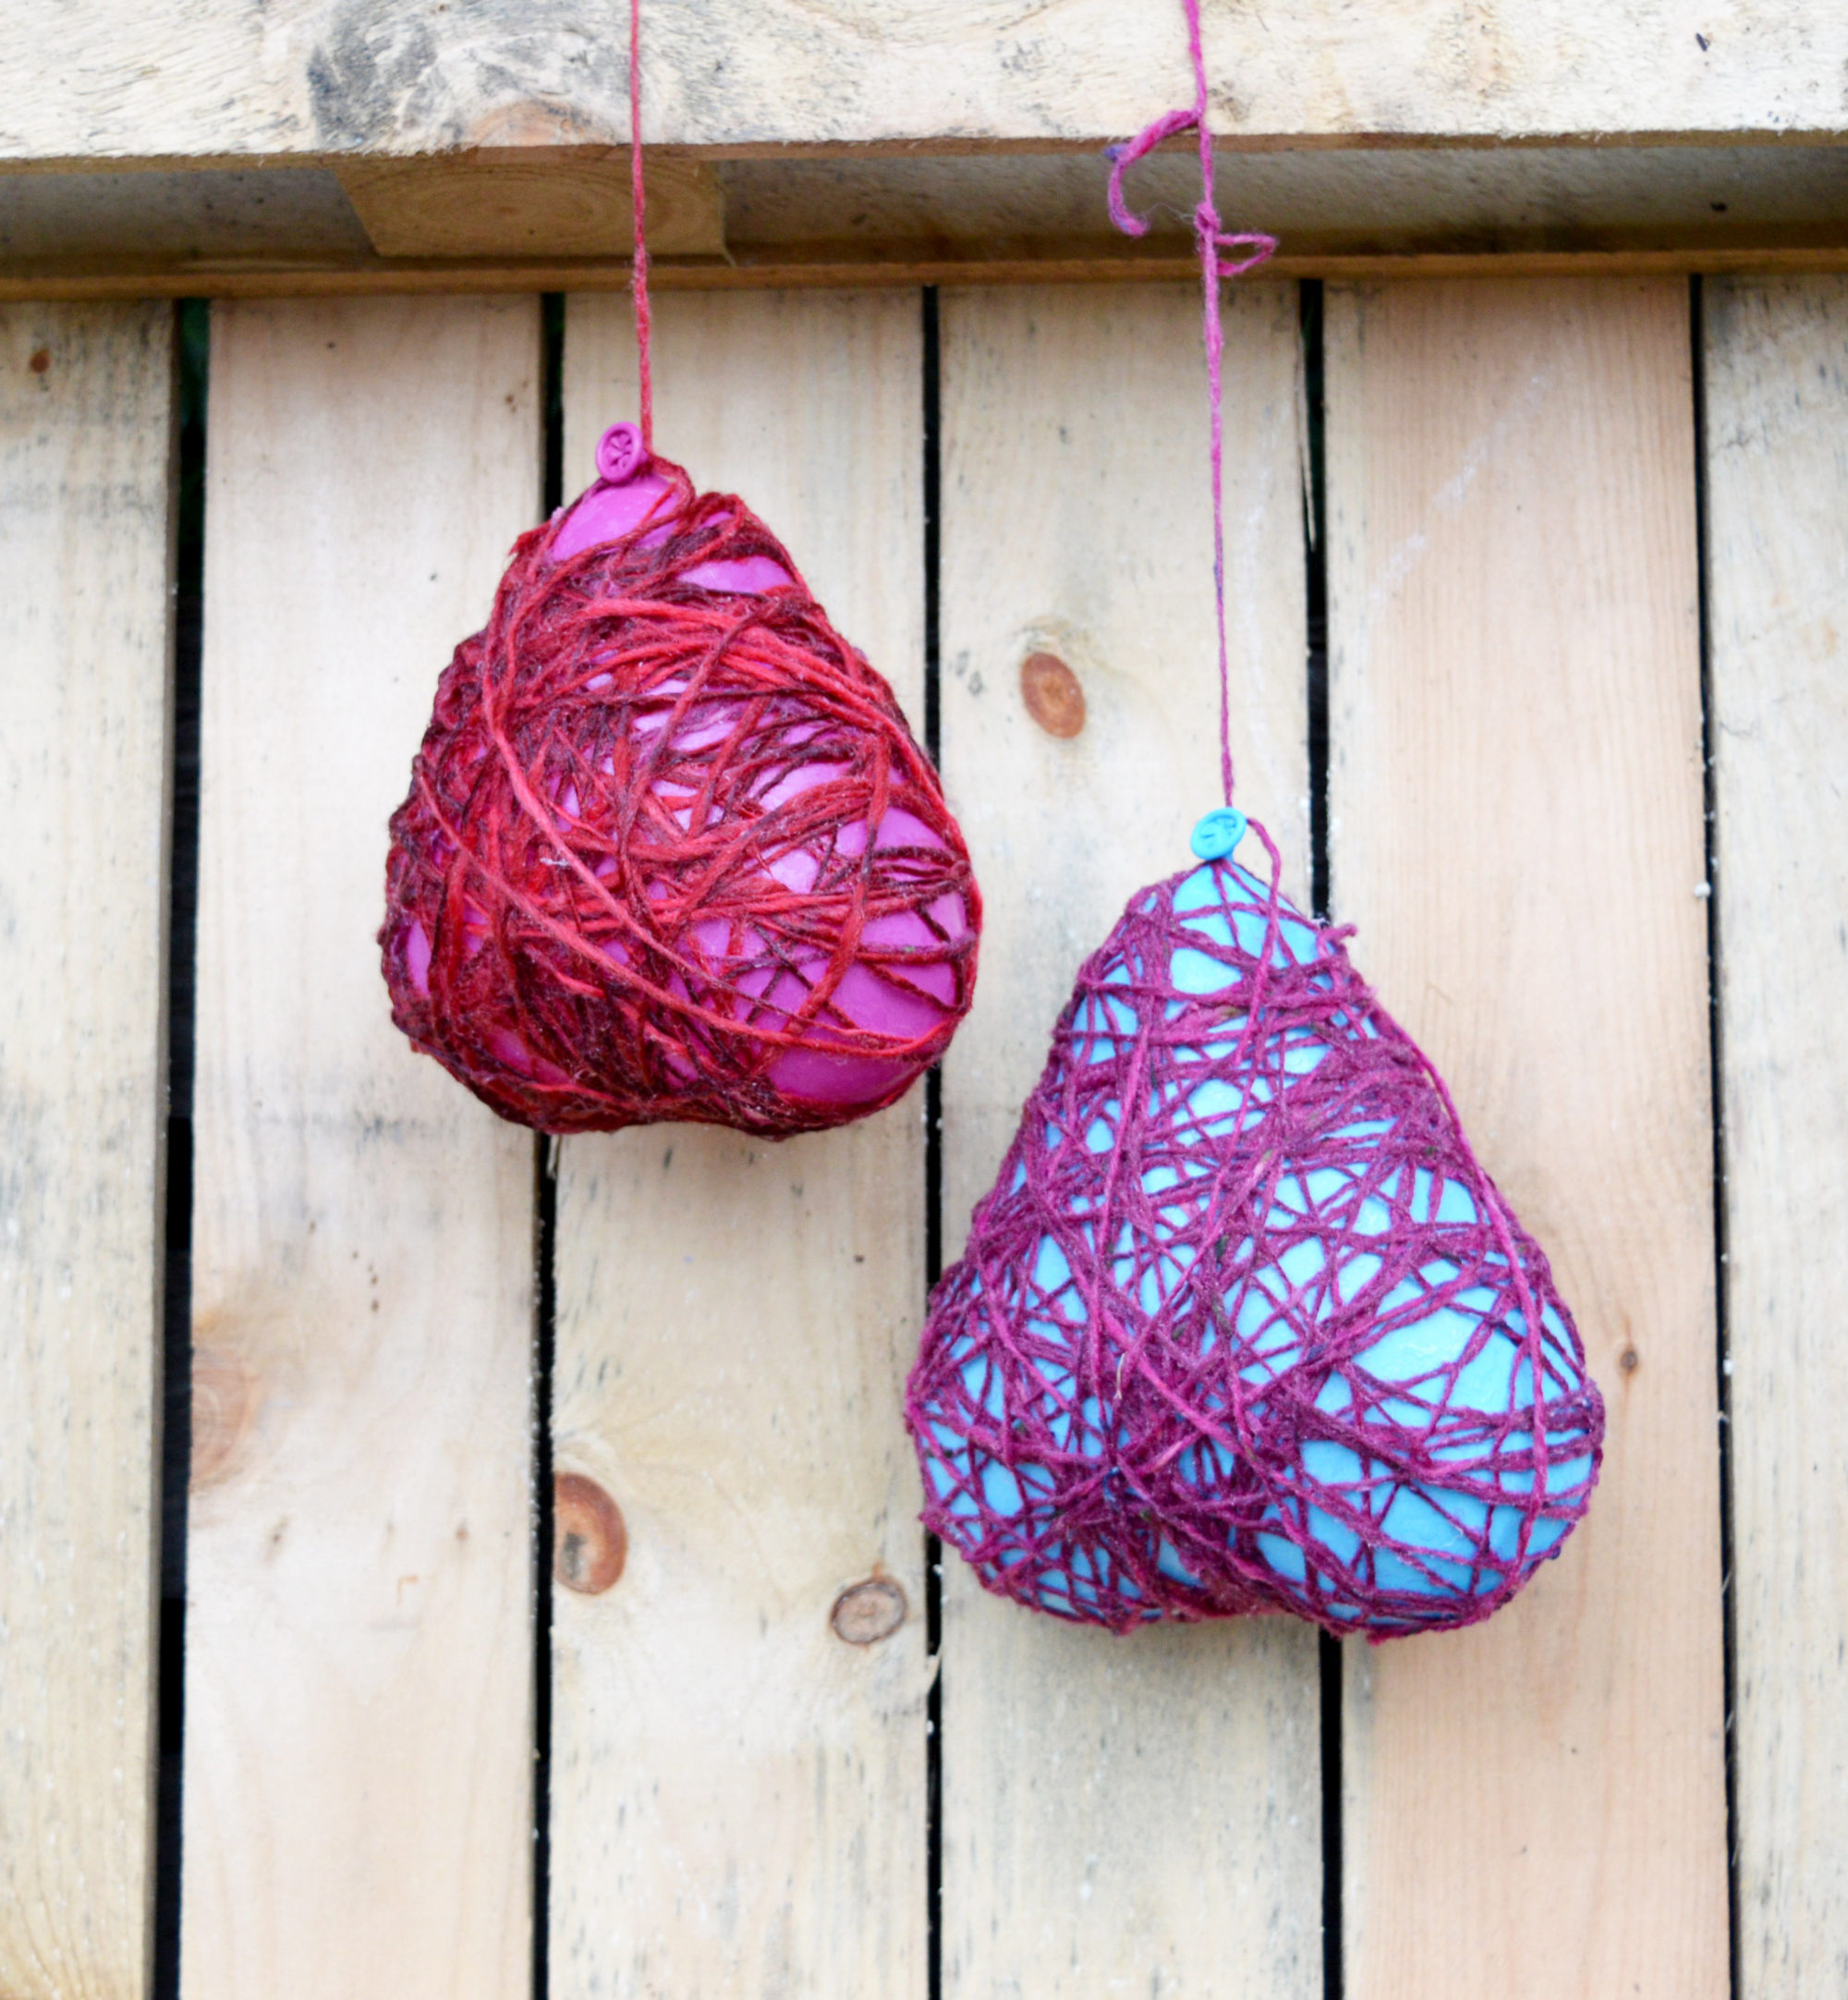
- I filled a small bucket with diluted glue, approximately 70% glue to 30% water. The yarn was then cut into lengths approximately 2 meters long.
Adding the lights
-
- To remove the balloon, I just popped it with a pin and it deflated.

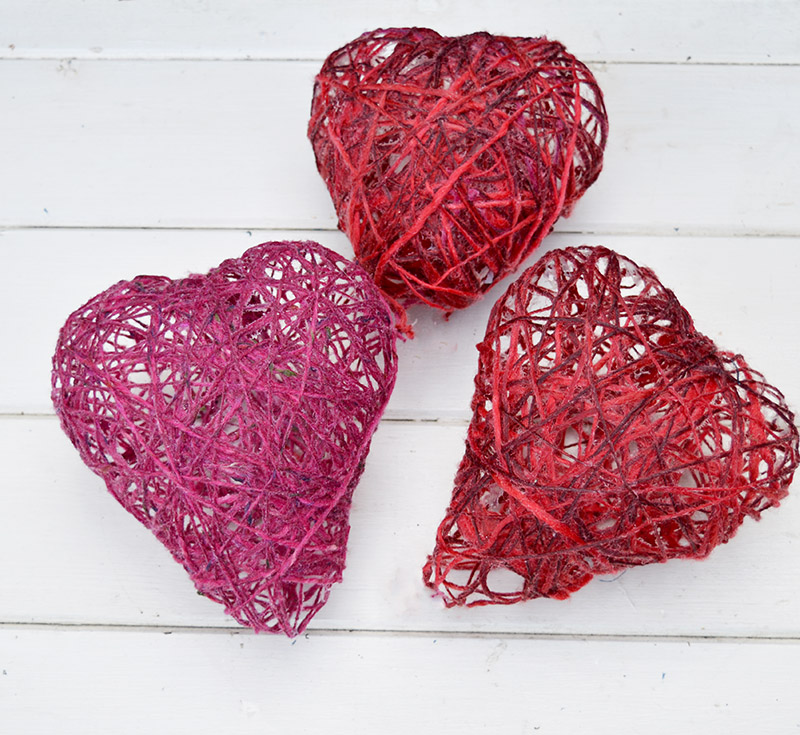
-
- The copper lights were then just threaded through the holes in the string hearts.
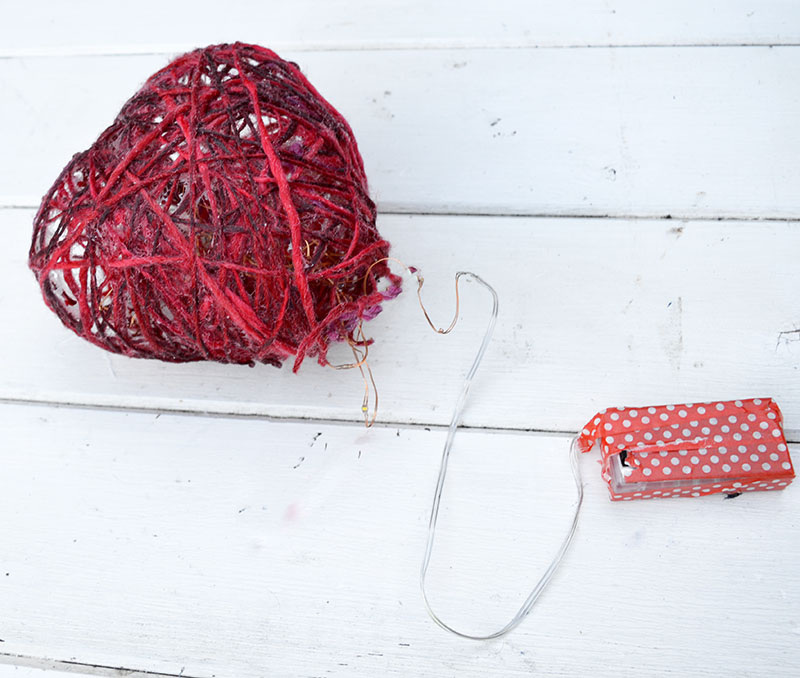
- I covered my copper light battery pack with red washi tape to help disguise it. The smaller battery pack I actually managed to squeeze inside the string heart.



Love it Claire, thanks for sharing on craft schooling sunday!
Thank you, Sara.
Ah, there is nothing like a good messy craft to get stuck into. We have a Tiger shop locally, you really have to grab things there whilst they have them I find, there is something different every time you go in.
This is so pretty and your photos of the hearts all lit up are lovely. Thanks for sharing at #HandmadeMonday
Thank you, Julie. I do like to check Tiger out every so often for craft supplies.
Such a creative idea. It looks very messy but lots of fun!
Thanks it is messy but fun.
They are great - heart balloons, perfect:) #handmademonday
Thank you, Vicky.
I had no idea heart balloons existed either, love what you have done with the string and lights, so effective.
Thank you, it was spotting the balloons in a shop (Tiger) that gave me the idea.
What a cute Valentine's Day decoration craft. Thanks for sharing your ideas at the #HomeMattersParty last week. Hope you will link up with us again at this Friday's party.
Thank you, and I look forward to linking up every week.
I love the heart balloons. I bet your hearts would look lovely strung up together as well, like a wind chime. Thanks for sharing with us at #CCBG
Thank you, and I like the idea of stringing them together.
What a fun project, Claire! Thank you for sharing @Vintage Charm!
Cheers and thank you, Cecilia.
Such a cute idea, I may just have to hunt down some heart shape balloons
Thank you so much, hopefully you should find some easily enough.
Such a cute idea, Claire! I miss the twinkly lights of the Christmas season too, I'll have to give this project a try! Thanks so much for linking up to Funtastic Friday!
Thank you so much Kimm. I do think string lights look great in the house especially in winter.
Claire these are adorable!! What a great idea 🙂
Thank you Susanne.
These are too cute, what a great idea for Valentine's Day! I love little fairy lights everywhere!
Thanks Katrin, fairy lights do help brighten the place up on these gloomy winter days.
These are so pretty and look fairly simple to make!!! Thanks for sharing 🙂
Sarah Bell
Trendy & Tidy
Thank you, they are really easy just a little bit messy.
Very cute! Pinned and shared
Thank you and thanks for the share.
I love this claire. Lol I actually had no idea heart shaped balloons existed 😀
Thanks Medina, I spotted the balloons in Tiger which then gave me the idea.