
How To Make A Pom Pom Christmas Tree DIY Wall Hanging
Inside: A tutorial to make a pom pom Christmas tree wreath to hang on the wall or door.
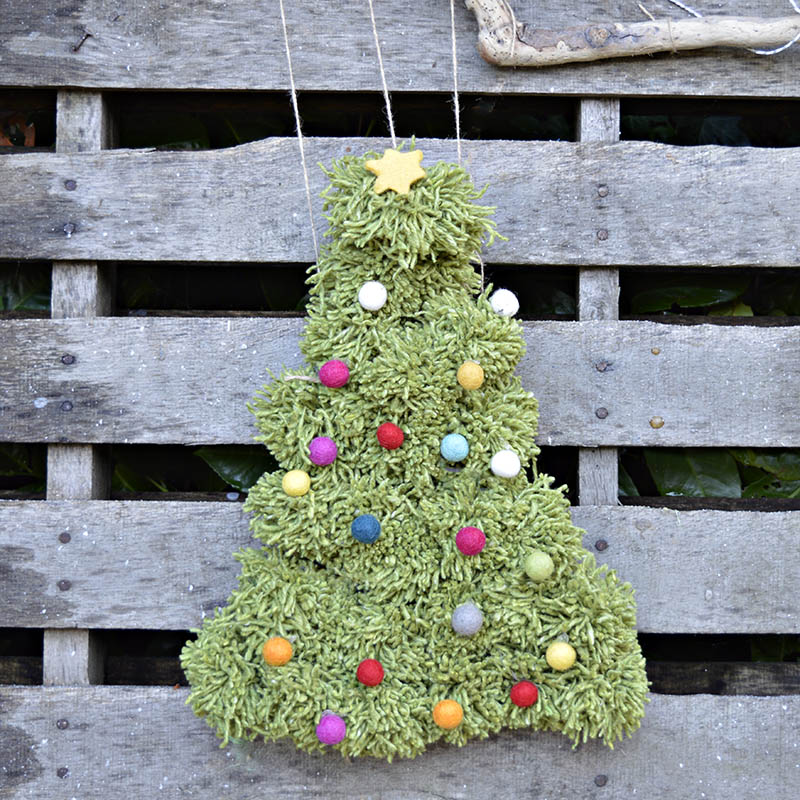
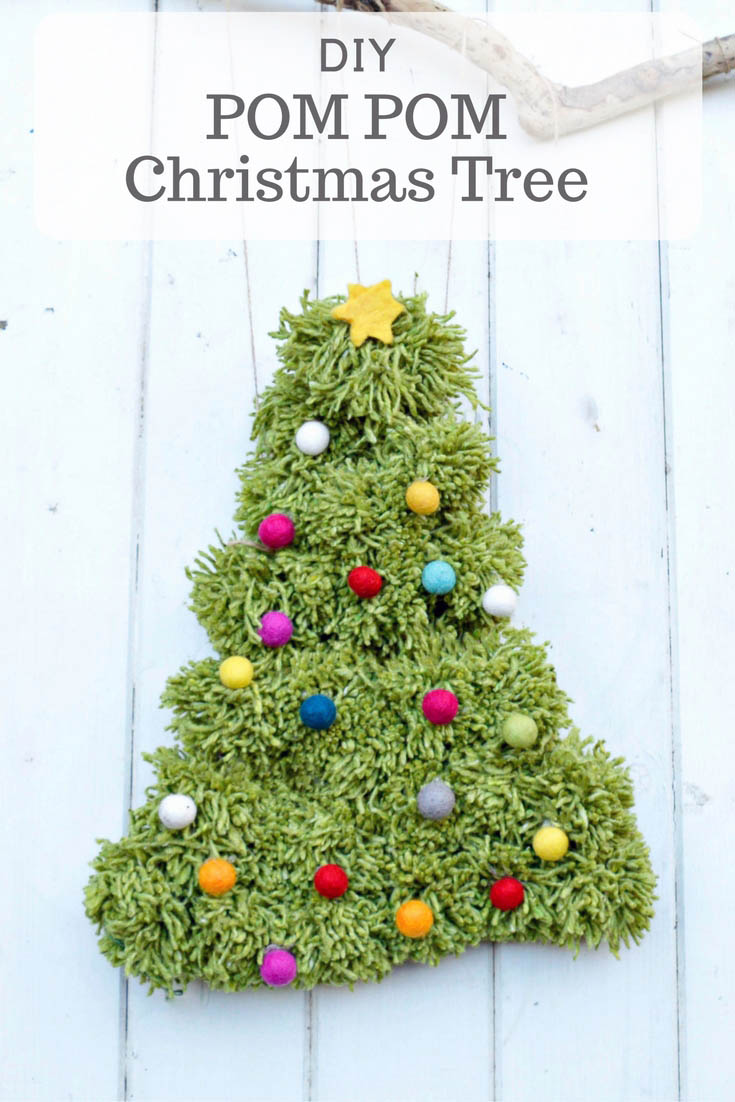
If you're looking for a fun Christmas wall hanging, I've got just the one for you, my Pom Pom Christmas tree.
While rummaging through my craft stash (trying to hide it from my husband), I came across a load of green wool. This wool had been bought years ago, obviously when I was going through a knitting phase. Just because I no longer knit, that doesn't mean I don't have a craft for the yarn.
I love pom poms and recently did a roundup of some fantastic pom pom crafts. I took the easy route with the green wool and made pom poms with it, which I then, in turn, made into a lovely Christmas Tree wall hanging.
DIY Pom Pom Christmas Tree Wall Hanging
My pom pom Christmas tree is a gorgeous addition to my Christmas decorations. It also makes me feel a tiny bit less guilty about my craft hoarding.
The pom pom Christmas tree looks lovely hanging from a bit of driftwood on the wall; it would also make a fantastic festive alternative door wreath.
We're a participant in the Amazon Services LLC Associates Program, an affiliate advertising program designed to provide a means for us to earn fees by linking to Amazon.com and affiliated sites. As an Amazon Associate, I earn from qualifying purchases.
What You Need
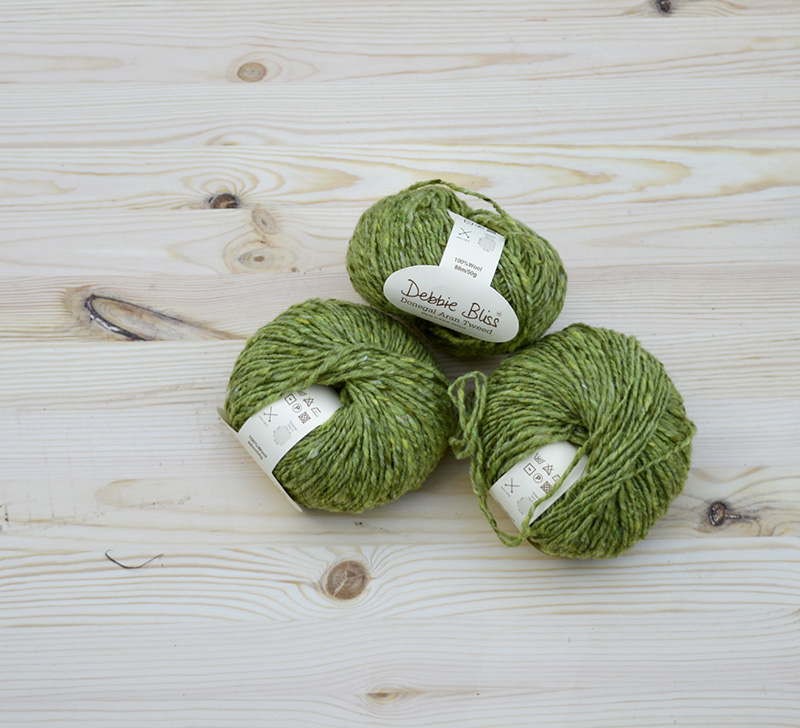
- Green yarn doesn't need to be expensive wool. Have a look in your local stores' bargain bucket. Depending on how big you make your tree depends on how much yarn you need. I found 50g of wool made about seven pom poms.
- Coat hanger or pom pom maker
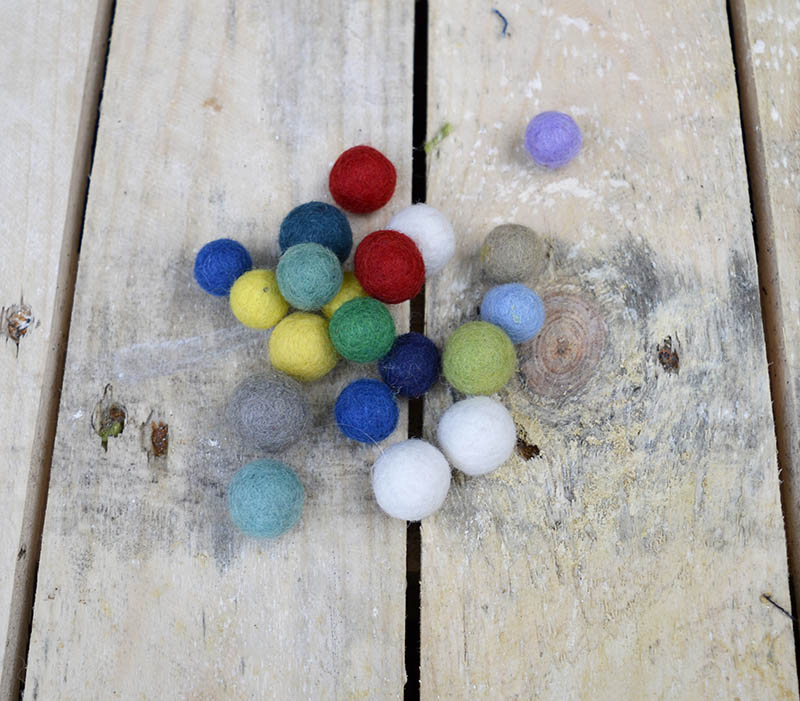
- Assorted coloured felt balls
- Glue dots
- Green embroidery thread and needle
How to Make a Pom Pom Christmas Tree
Step 1: The first thing is to make your pom poms. You can do this the traditional method using a pom pom maker or my quick method, where you can make more than one pom pom at a time. I use a coat hanger for this.
Full details of my quick pom pom method are on my paper bunny treat bag post. I made 28 pom poms approximately 6-7cm in diameter for my tree.
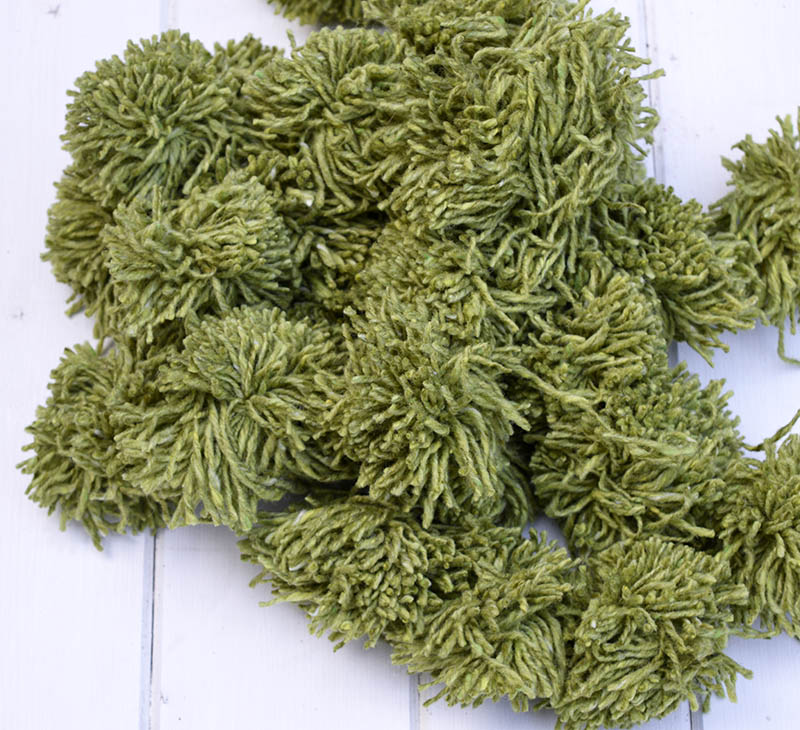
Step 2: Gather your pom poms together and arrange them in a triangle shape. I had a bottom row of 7 pom poms, decreasing by one until the top row was just a single pom pom.
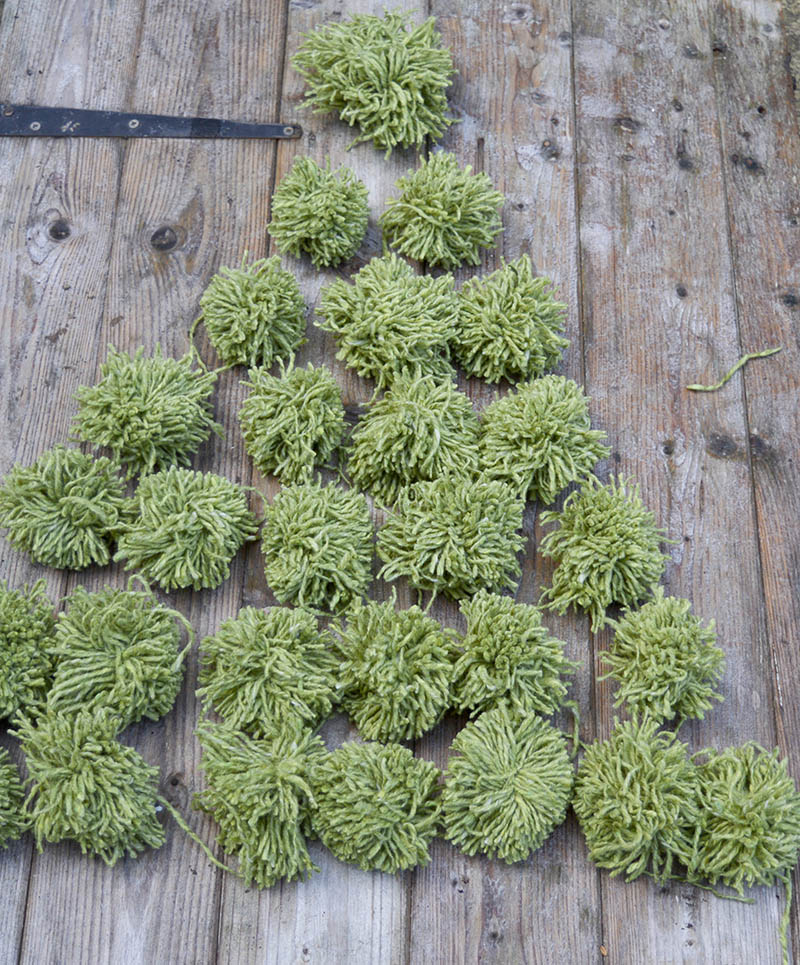
Step 3: I would attempt to hang the pom poms like this on seven-string rows. However, that proved far more complicated than it looked. Therefore I stitched my pom pom tree together, which produced a much better result.
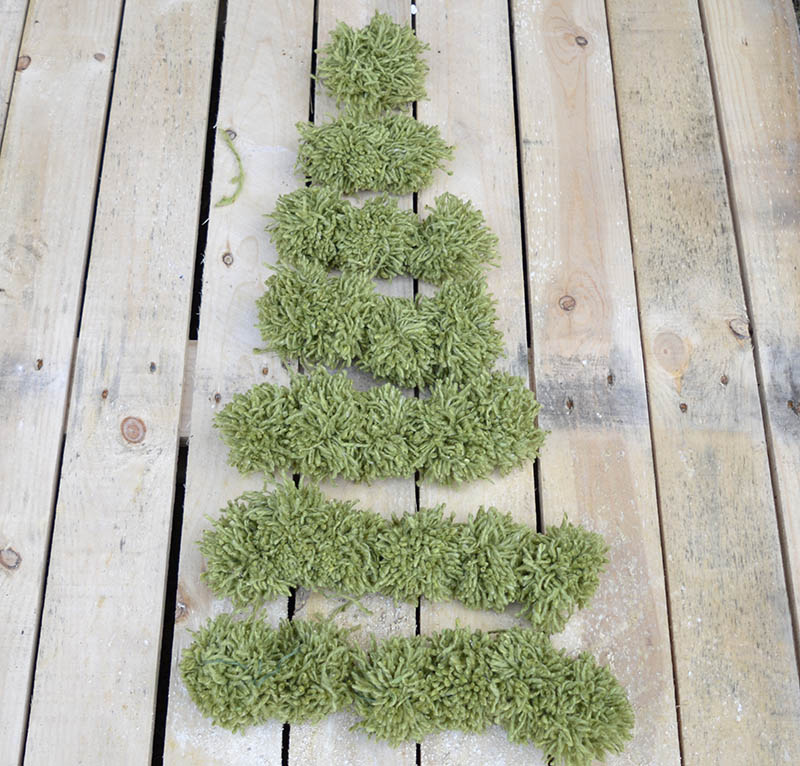
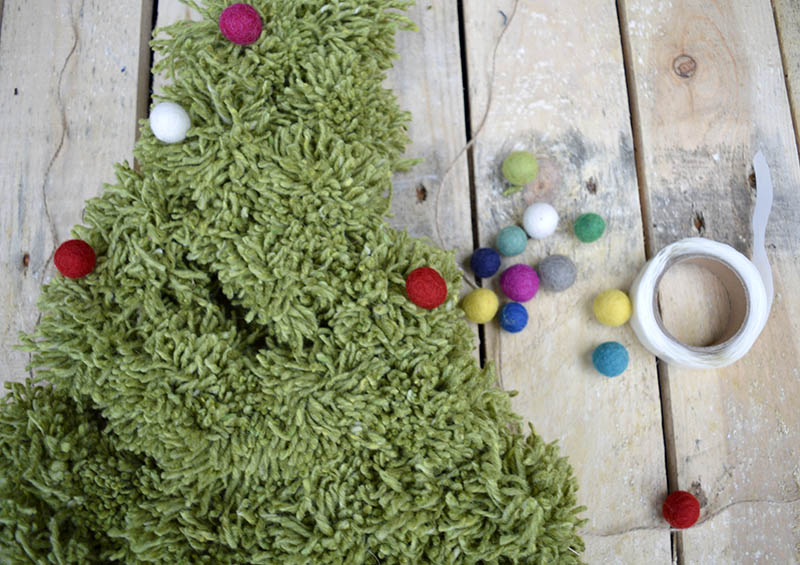
Step 4: I stitched the pom poms in each row together, and then I sewed the rows together to make the Christmas tree shape. Then decorate the Christmas tree with coloured felt balls. You can use glue dots to stick the balls to the green wool.
As I mentioned this was a really relaxing craft. I love to do stuff with my hands whilst watching telly with the family in the evening. Making Pom Poms are a perfect craft for this as they require very little attention or space to create.
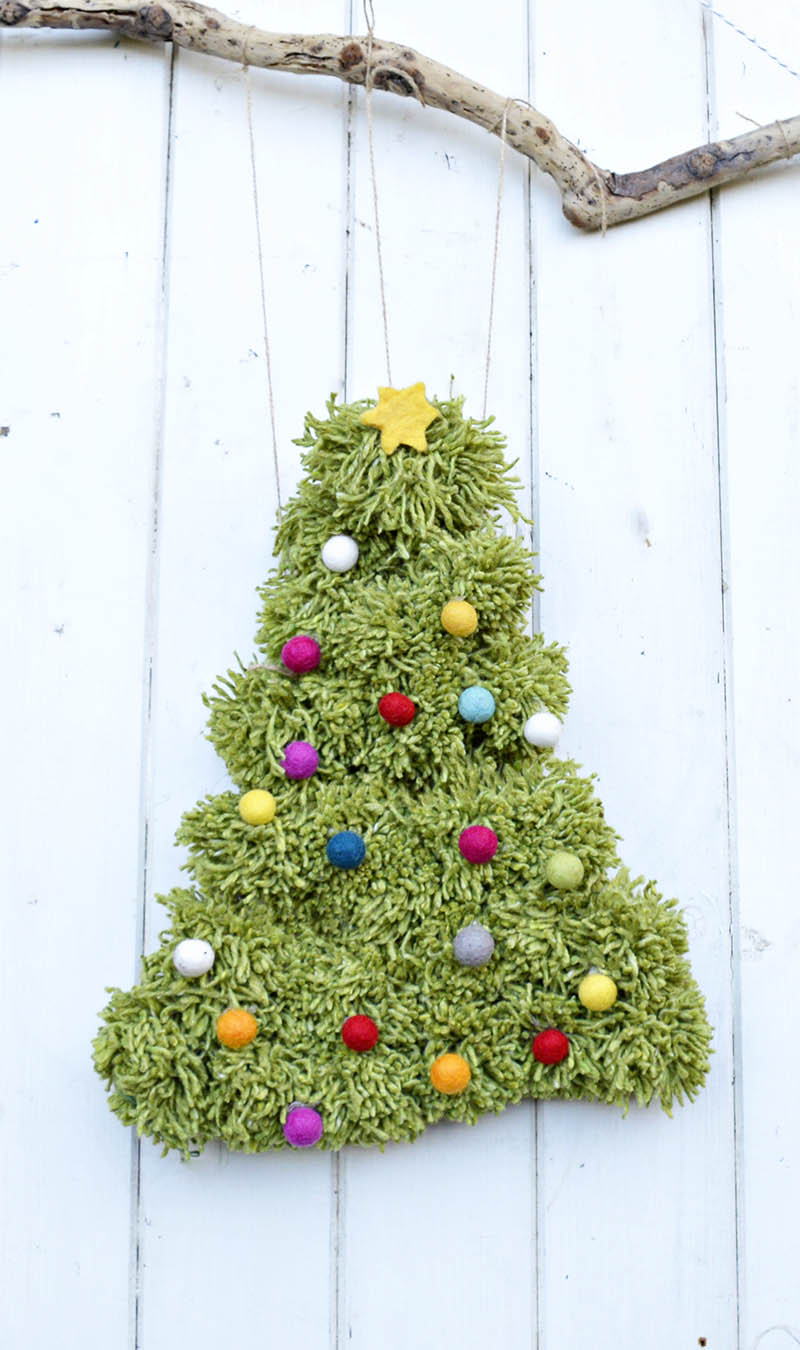
I love the pom pom Christmas tree hanging on the wall but I am thinking about putting it on the front door as a wreath. Maybe it's time to change up my felted acorn wreath, but I love that one too ! I just can't make my mind up.
I've also made some cute colorful rainbow DIY pom-pom flowers to brighten up my home decor.




Claire, this pom pom tree is awesome!! How fun!
Thank you so much, I do like a pom pom.
Really cute tree! Thanks for sharing at Funtastic Friday:).
Thank you so much, Merry Christmas.
I love pom poms! This is such a cute idea! My daughter would love to make this with me. Thank you for linking up to The Creative Exchange. We will be featuring your project this week.
xo,
Laura
Thank you, pom poms are fun to make with kids.
Claire, I adore this idea and I've never seen a pom-pom tree! Well done--pinned & tweeted! Thank you for sharing @Vintage Charm!
Thanks and thanks for the share.
I love your tree. So cute, and I bet it was real fun to make! I will be featuring it at the next #thecraftycorner link party. I hope to see you there! (Wednesday)
Thank you and I look forward to seeing it.
Now that's a fun idea! And thanks for sharing on the Pleasures of the NW's DIY party!
Thank you so much !
What a sweet looking little tree. Cute idea.
Thank you so much!
Such a cute idea - looks pretty simple to do as well 🙂 Thanks for sharing! Happy Holidays!
Sarah Bell
Trendy & Tidy
Thank you, happy holidays to you too!
What a cute idea! Pinned and shared!
Thanks and thank you for the share.