
Upcycle Cabinet into a Vintage Masterpiece with Red Chalk Paint
Discover the step-by-step guide to upcycle cabinets using red chalk paint. This DIY tutorial will teach you how to transform an old cabinet into a stylish and functional piece of furniture.
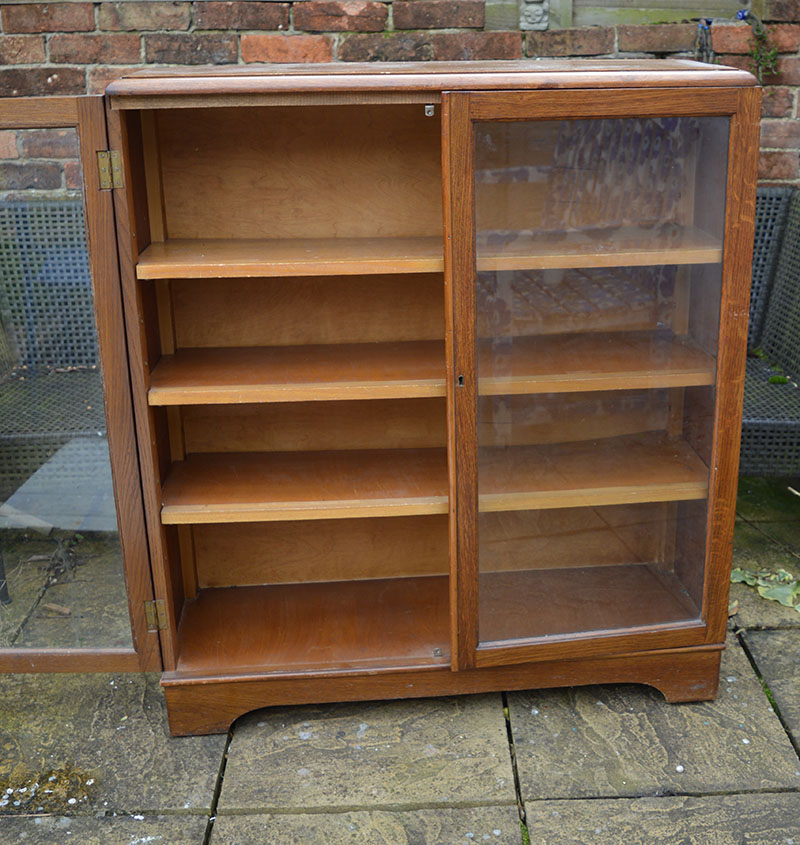
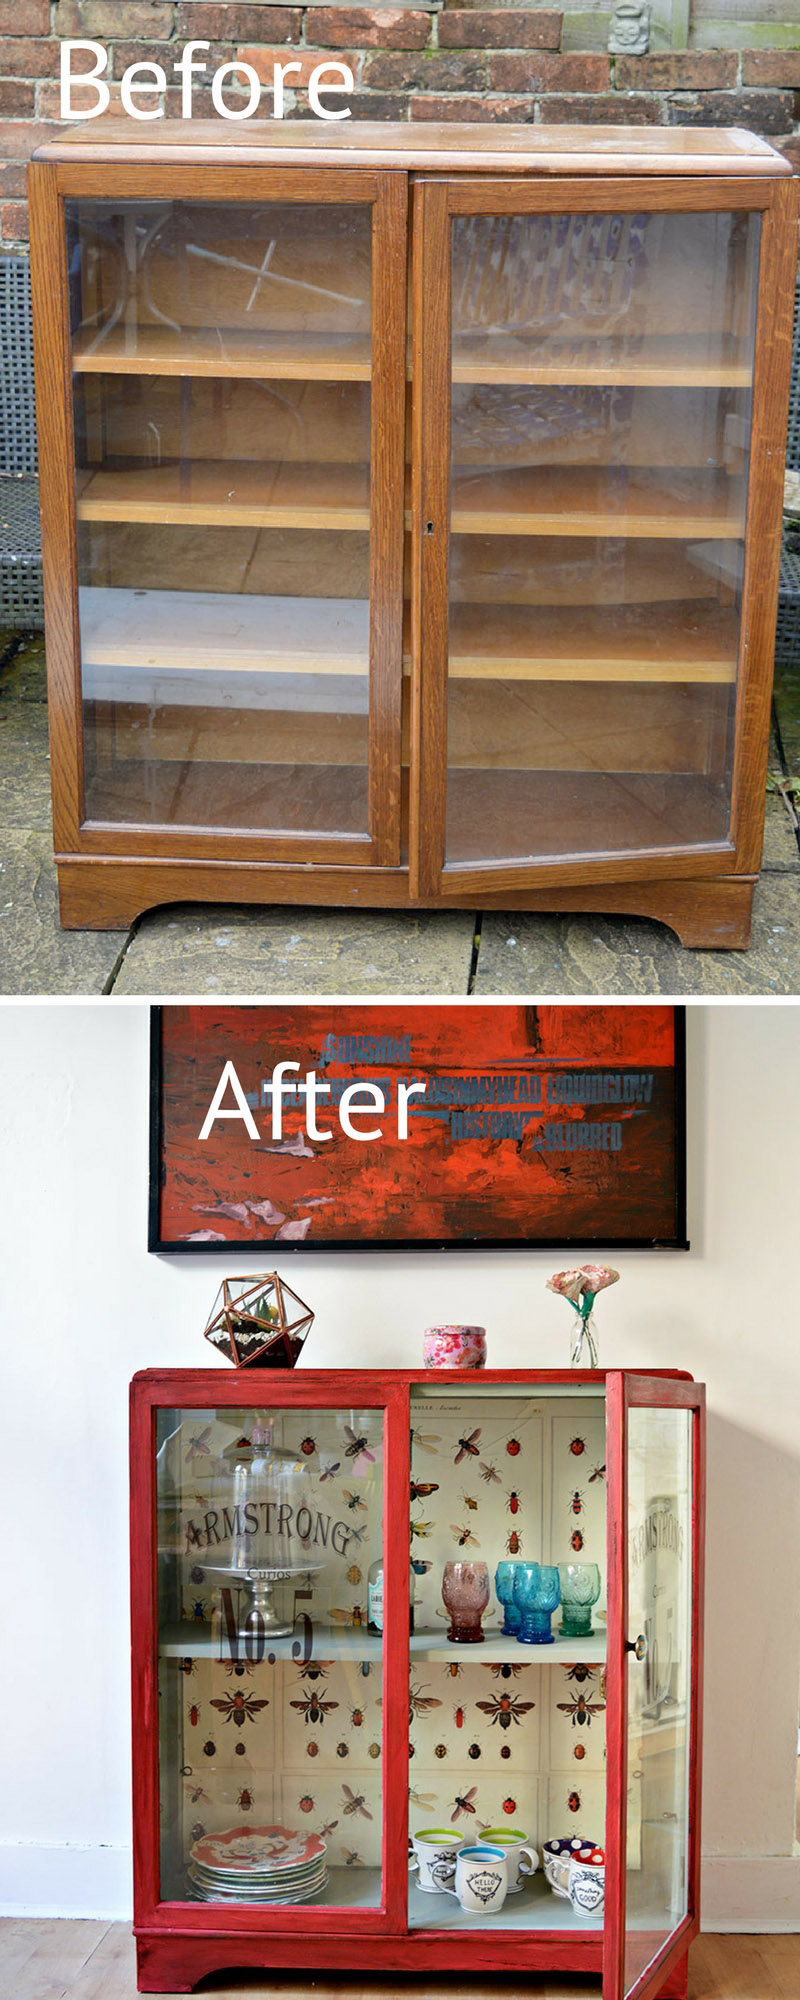
Picture this: I was taking my usual neighbourhood walk when I saw a rather unloved cabinet sitting curbside, begging to be rescued. The sight inspired me, and I knew right then that this would be my next upcycle cabinet project.
The first thing needed was to bring this abandoned gem back to life. It had seen better days. The mission was clear: transform it into a stunning curio cabinet for my dining room.
Using The Best Chalk Paint To Upcycle A Cabinet
I couldn't help but think of the glorious Annie Sloan red chalk paint waiting for the right project. This paint's luxurious, velvety texture and deep, rich red colour are renowned for giving the furniture a regal touch. And so, with a paintbrush in hand, I lovingly coated the cabinet's exterior in this beautiful red.
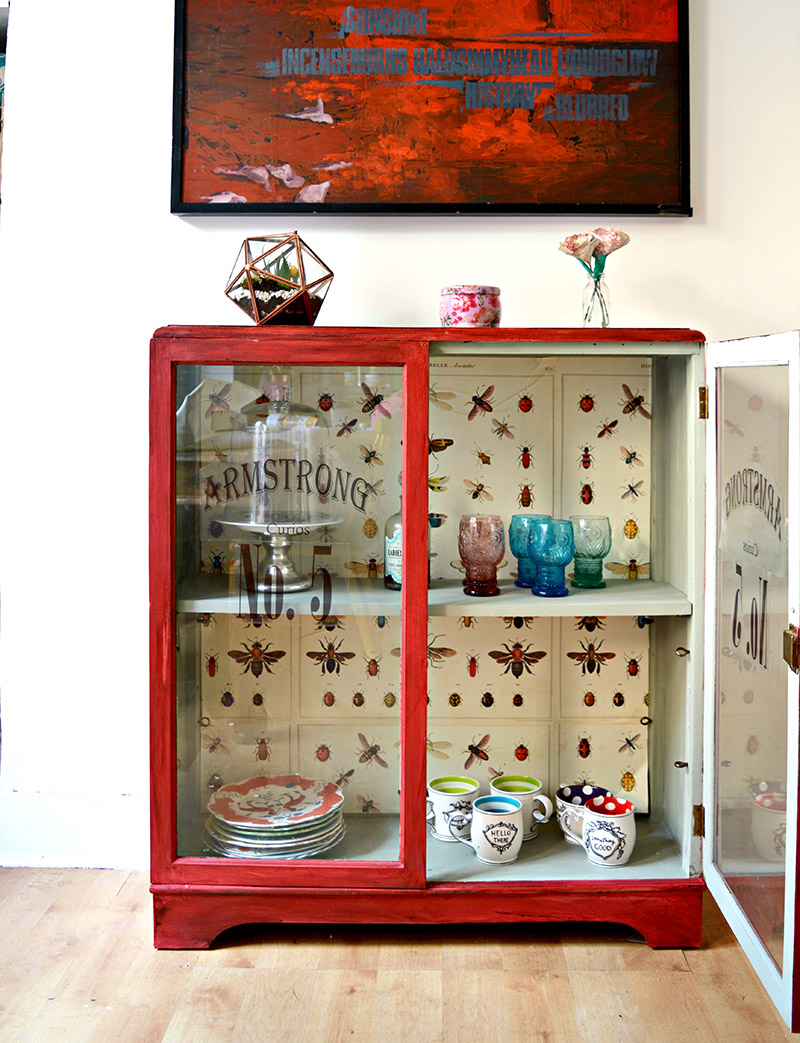
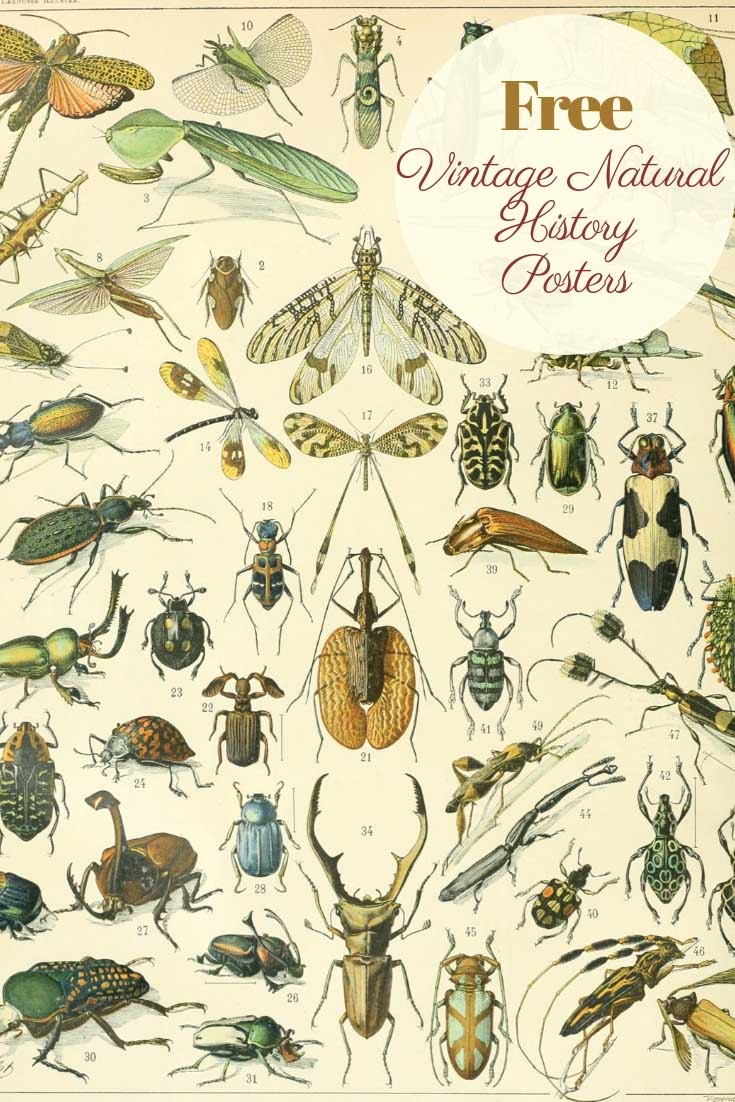
But what's a curio cabinet without a dash of character? The inside needed something extraordinary. That’s when it hit me - vintage insect identification posters for decoupage! I wanted the cabinet to have the essence of a Victorian-style curio cabinet that would house trinkets and treasures from exotic lands.
I scoured the internet for the perfect posters - beetles, butterflies, and other critters in detailed, vintage drawings. Once I had these in hand, I began decoupaging the inside of the cabinet. The posters created a fascinating backdrop to make any entomologist's heart sing.
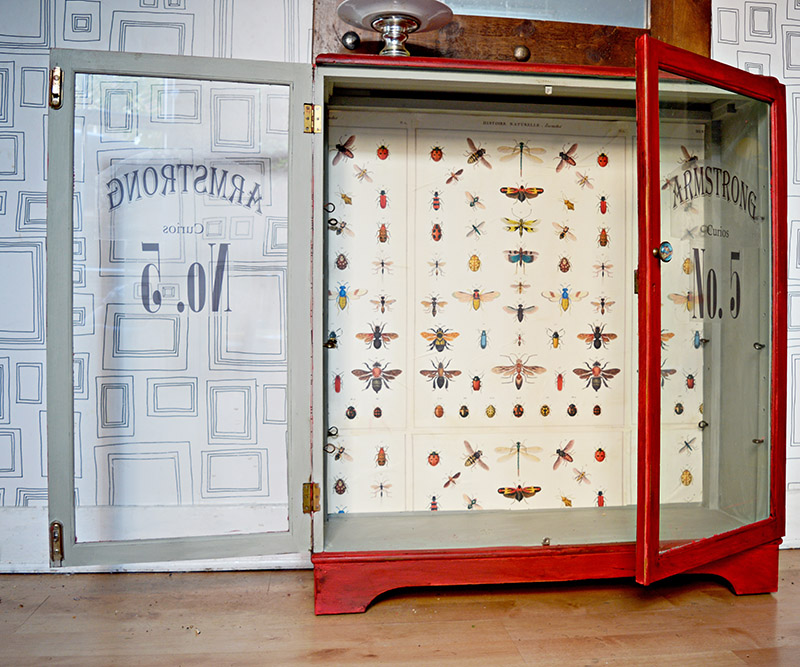
The rich red chalk paint and the vintage insect identification posters inside transformed this once dull and forgotten cabinet into an antique Victorian-style curio cabinet that looked like it could have belonged to a 19th-century explorer. I also personalised it with some decals on the glass doors.
The result was beyond my wildest dreams and now sits proudly in my dining room, a conversation starter. It’s a reminder that you can upcycle cabinets and forgotten pieces with some imagination and effort into timeless treasures.
We're a participant in the Amazon Services LLC Associates Program, an affiliate advertising program designed to provide a means for us to earn fees by linking to Amazon.com and affiliated sites. As an Amazon Associate, I earn from qualifying purchases.
What I used for the furniture flip
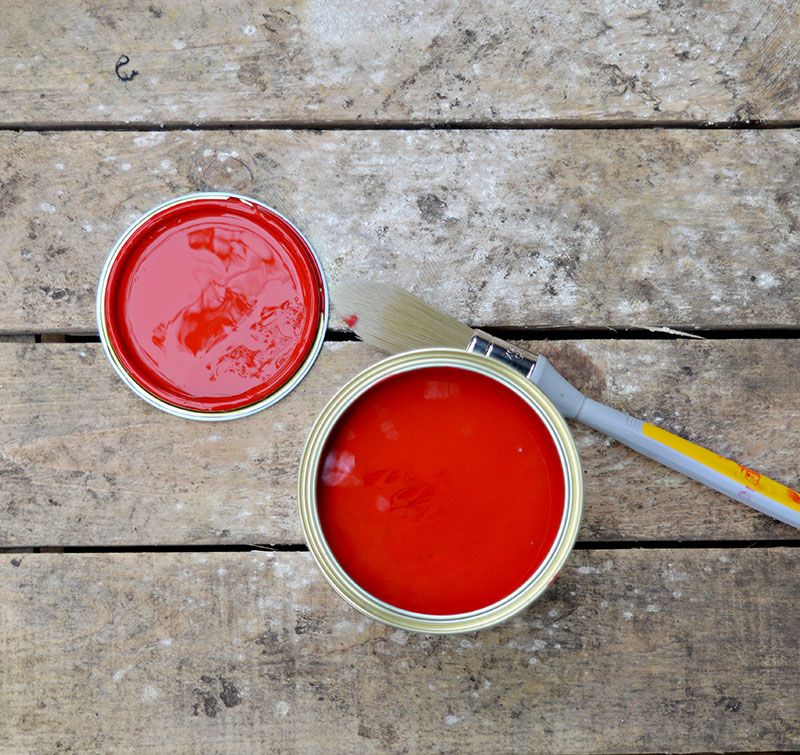
- Annie Sloan Emperor's Silk Chalk Paint
- Cottage grey chalk paint
- Chalk paint brushes
- Annie Sloan Dark Furniture Wax
- Annie Sloan Clear Furniture Wax
- 3 X sheets of Cavallini Insect Wrapping Paper. You can also download other vintage natural history posters (including birds and mammals) for free with these Adolphe Millot natural history posters and the collection of vintage entomology prints.
- Mod Podge decoupage glue
- Printable Decal Paper - window cling
The Cupboard upcycle
First, the paint job uses the best chalk paint.
Step 1: One of the best things about using chalk paint is that very little prep is needed. I hate preparing furniture for painting. When I decide to paint, I want to paint immediately and not have to fuss about loads of prep. My only prep was wiping down the cabinet with a damp cloth.
Step 2: I started with the red chalk paint. Making sure I stirred the paint well before I applied it. If it was a little too thick, I diluted it with water. After masking off the glass doors, I painted two coats of the Emperor's Silk red paint on the outside of the cabinet. I allowed the first coat to dry before applying the second.
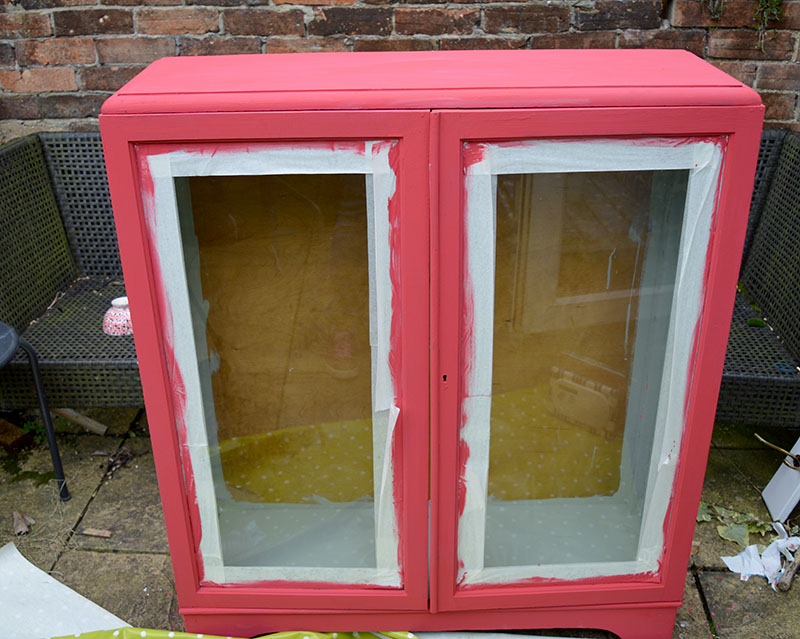
Step 3: At this stage, the Cupboard looked slightly pinky red and not very Emperor like. But I wasn't too worried as the wax transformed the paint. I used dark chalk paint wax to achieve the antique Chinese red I wanted with my cabinet.
Step 4: The idea is for the cabinet to look old. Therefore with a fine grade of sandpaper, I sanded the wax and painted it off in bits around the edges of the Cupboard. This gave it a more distressed and antique look.
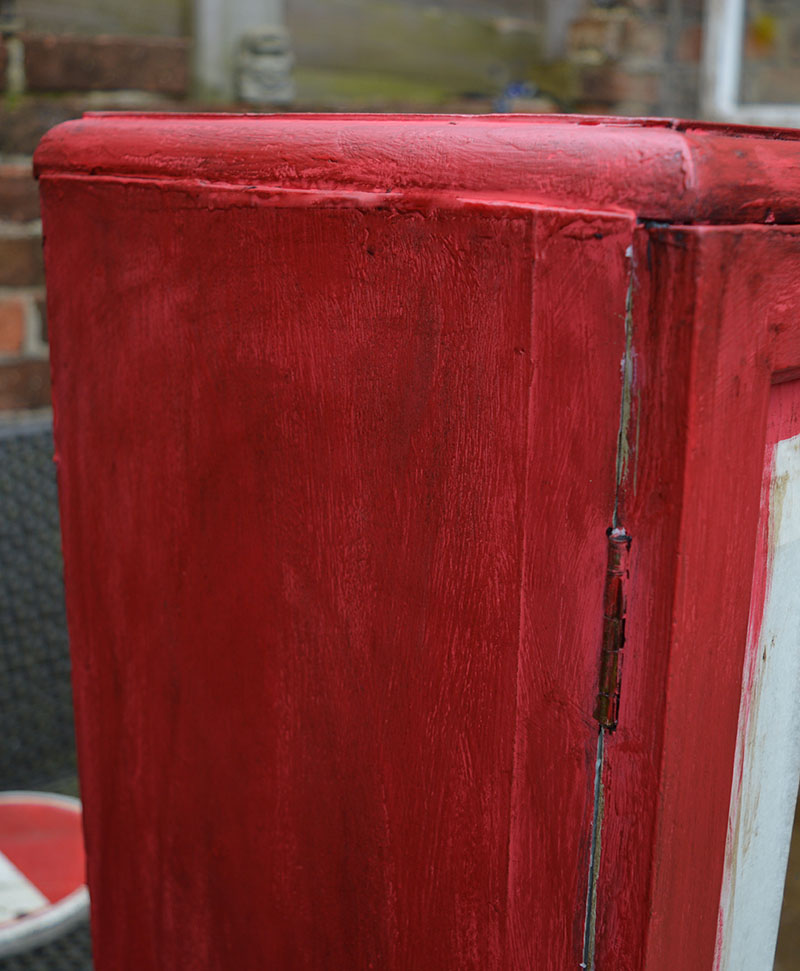
Step 5: To finish the paint job, I applied a final coat of wax and buffed off the excess.
The inside of the curio cabinet
Step 1: Firstly, I painted the inside of the Cupboard (except for the back panel) in grey chalk paint. This time I used clear wax to seal the chalk paint.
Step 2: However, the star of the show with the inside of my Cupboard was the decoupage. I used a gorgeous vintage-style gift wrap (3 Sheets).
Step 3: I measured the back of the Cupboard. It took three sheets of gift wrap to cover the backboard. I used decoupage glue and stuck the first gift wrap sheet in the centre.
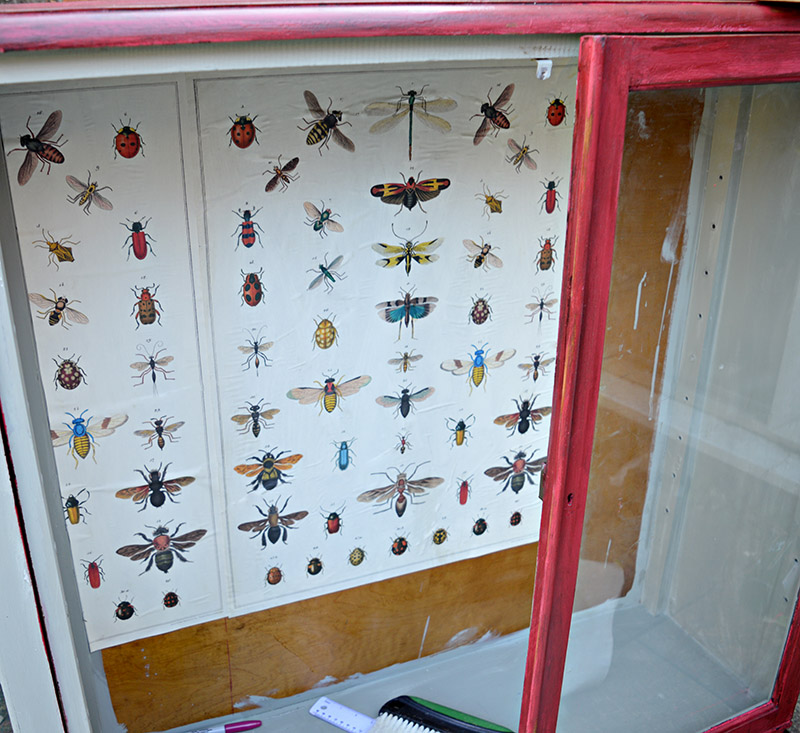
Step 4: The next thing I did was cut the other sheets of paper to finish decoupaging the back of the Cupboard. I used a wallpaper brush and a credit card to iron out any trapped air bubbles as I stuck the paper down.
Decals for the Glass Doors
Half the point of upcycling furniture is not just about reducing waste and reusing what you already have. It's also about creating your unique one-of-a-kind piece of furniture and personalizing it.
So not only did I make this Cupboard unique with the best chalk paint, but I also personalized it by adding some decals to the glass doors.
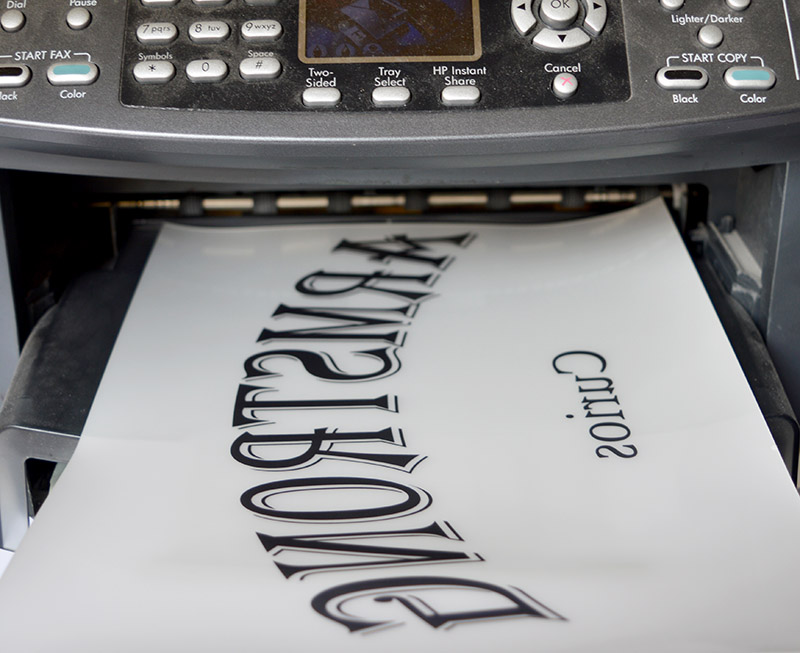
- This is pretty straightforward to do. All you need is some printable window cling. Design what you want on your glass doors in a program like Word.
- I choose our family name (Armstrong) and the No.5 as there are 5 of us. I printed the decals according to the instructions that came with them and stuck them onto the glass doors.
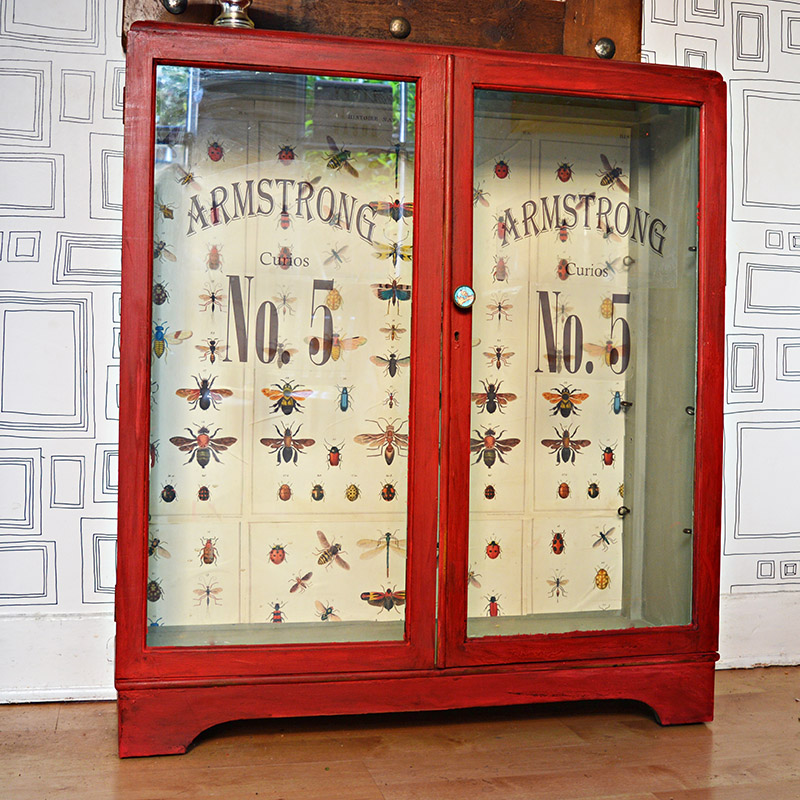
What was once a boring but helpful cupboard has now become a centrepiece of my dining room. I love how the Emperor's Silk red chalk paint and the decoupaged back turned out.
The Cupboard is far too good for random craft supplies; it's now a home for all my love Anthropologie dinnerware.
I used the same chalk paint but in graphite for my tea towel upcycled chairs.
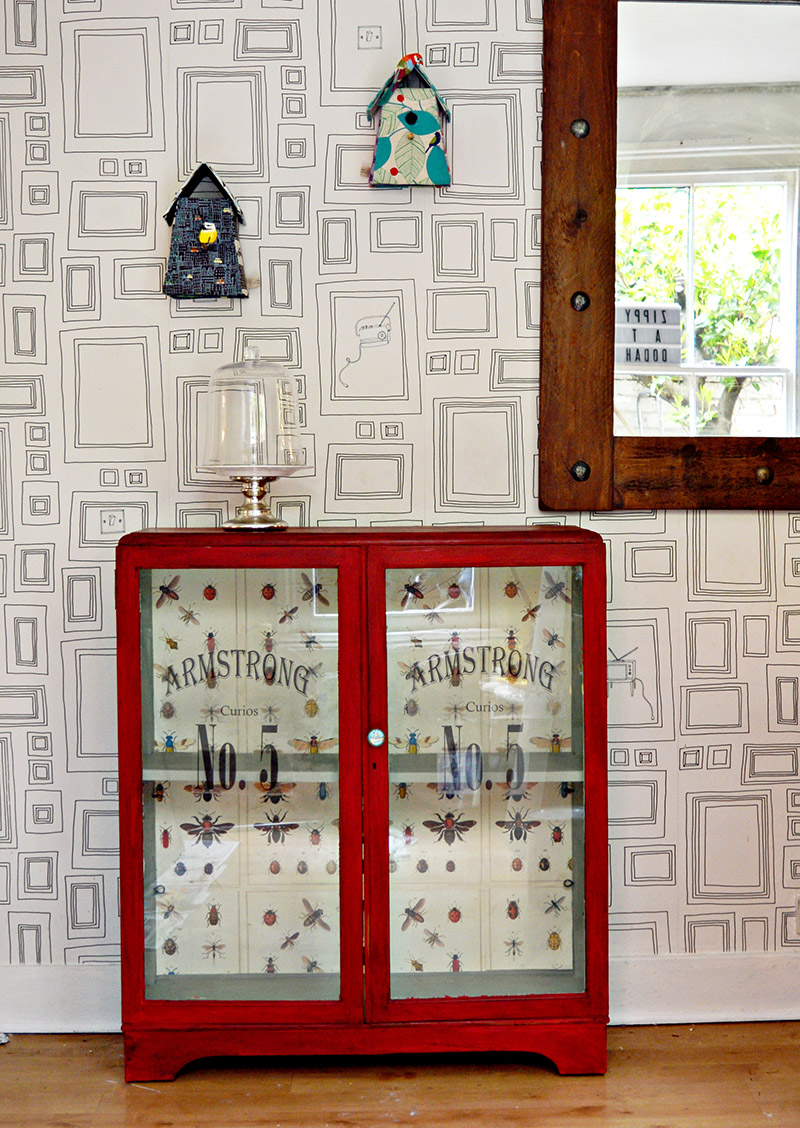
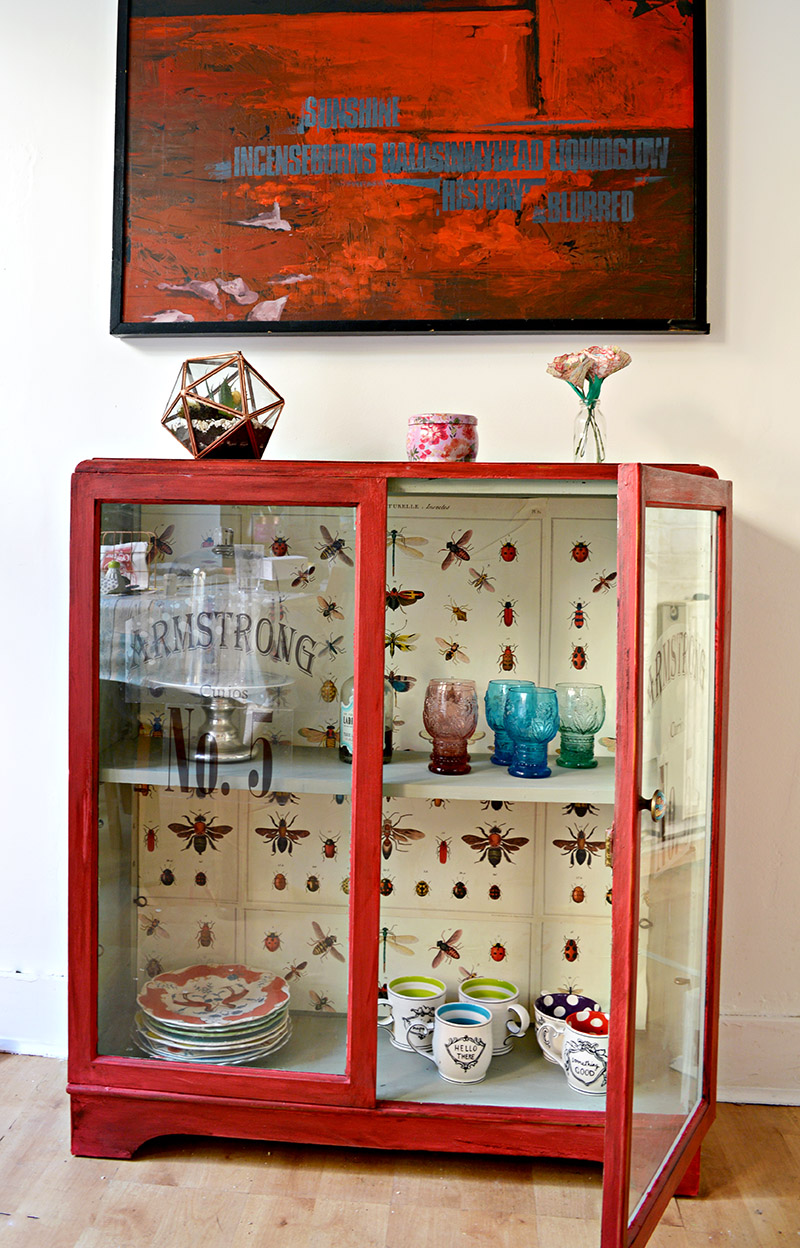
This furniture flip featured under the letter F in the A to Z of clever upcycling ideas.
You should check out my fabulous furniture flips and these DIY medicine cabinet ideas.
IKEA Hemnes Hack with wallpaper
Classy Craft Cupboard Transformation
Pineapple Stenciled Table Upcycle
Ikea Hack Map Table Hack
I am featuring your cupboard at Snickerdoodle on Saturday.
That's awesome, I look forward to siting it. Thanks.
Stunning! Red is my favourite colour so I'm loving this!
It's a perfect mix of quirky and fun but still grown up and classy.
Thanks, Julie, I thought Red might be your favourite colour from following your blog!
If furniture could talk this cabinet would shout "Thank You, Claire!" This is a beautiful transformation and the color is really popping. Thank you for sharing with us this week at Celebrate Your Story, and I hope your week is going great.
Thank you so much. The cupboard no longer hides apologetically in the corner but stands proudly for all to see.
Claire....this turned out so awesome. I never knew there was such a thing as printable window cling. Can't wait to test it out. Thanks for sharing this with us at the Waste Not Wednesday link party. Looking forward to seeing more from you this week.
Thank you so much Denise, look forward to linking up again this week.
Thanks for bringing your post to the Blogger's Pit Stop last week.
Janice, Pit Stop Crew
Thank you for hostin.
I love Annie Sloan Paint and love how you have used it on this project, that decal looks fabulous too Claire.
Thank you! I'm a big fan of Annie Sloan Paint too!
This is just adorable!
Thank you!
What a lovely makeover Claire. Love, love, love that color and the insect wrapping paper is so perfect. Great idea
Thank you so much, Michelle!
I would have totally been scared by the red looking like pink but it turned out amazing. I don't know which was my favorite the vintage gift wrap or the window decals. I had no idea there were printable window clings. I am getting those right away. If it can be done on a computer, I am all about it! Thank you so much for sharing this at TADA! Thursdays this week!
Thank you so much. I was a little worried about the pink at first but the wax does transform the paint.
Wow, it doesn't even look close to the same piece! The red really transforms it! Thank you for sharing at Dishing It & Digging It!
Thank you Lori!
OH Claire! I simply adore this makeover, first a great pop of red, the wonderful decoupage images, then the door graphics, it looks just like an old curiosity cabinet done right. Also great tips on applying signage without a fancy diecut machine. Superb, I want one for my house. Thanks for sharing your project at Fridays Furniture Fix!
Thank you, Brenda. That was the look I was going for the old curiosity cabinet.
This is wonderful, Claire! I love the way you finished the inside! Thanks for sharing @Vintage Charm--pinned to our Features and Favorites!
Thank you so much and thanks for sharing.