
How To Make Fun Rustic Halloween Gnomes
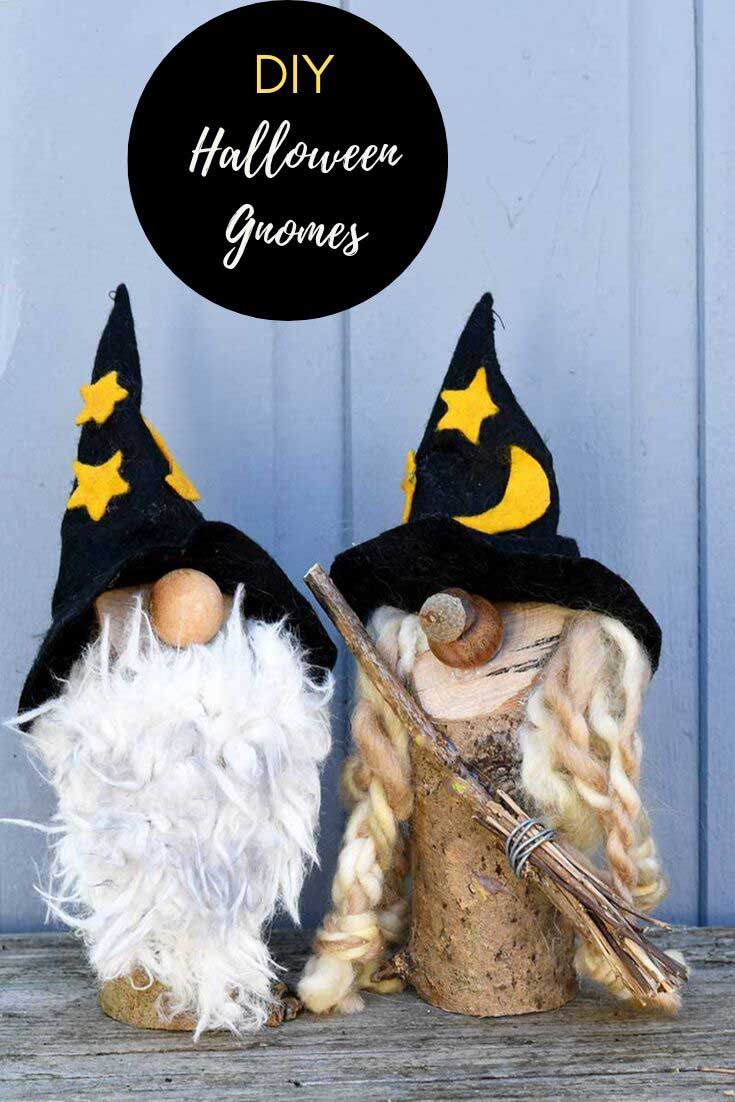
I love to have a few subtle decorations around the home for fall. This year I thought it would be fun to make some cute rustic Halloween gnomes for the mantle.
A couple of gnomes on the mantle add a bit of fun to my home decor. Last winter, I made some Norwegian Christmas gnomes that looked cute in the fireplace.
I missed the little fellows when I packed them away with the rest of my Christmas decorations. That's when I decided gnomes don't have to be just for Christmas.
DIY Witch & Wizard Gnomes For Halloween
These Halloween gnomes can stand watch over the fireplace during the autumn season. I bring out the Christmas decorations in December until the changing of the guards with the Norwegian gnomes.
The main difference between these Halloween gnomes over the Christmas gnomes is that they are dressed like a witch and a wizard. They are straightforward to make and very affordable.
We're a participant in the Amazon Services LLC Associates Program, an affiliate advertising program designed to provide a means for us to earn fees by linking to Amazon.com and affiliated sites. As an Amazon Associate, I earn from qualifying purchases.
What You Need To Make Rustic Halloween Gnomes
- A thick wooden branch. You can make the Halloween gnomes any size you want. Ensure the branch is wide enough to stand on its end when about 10-15cm long.
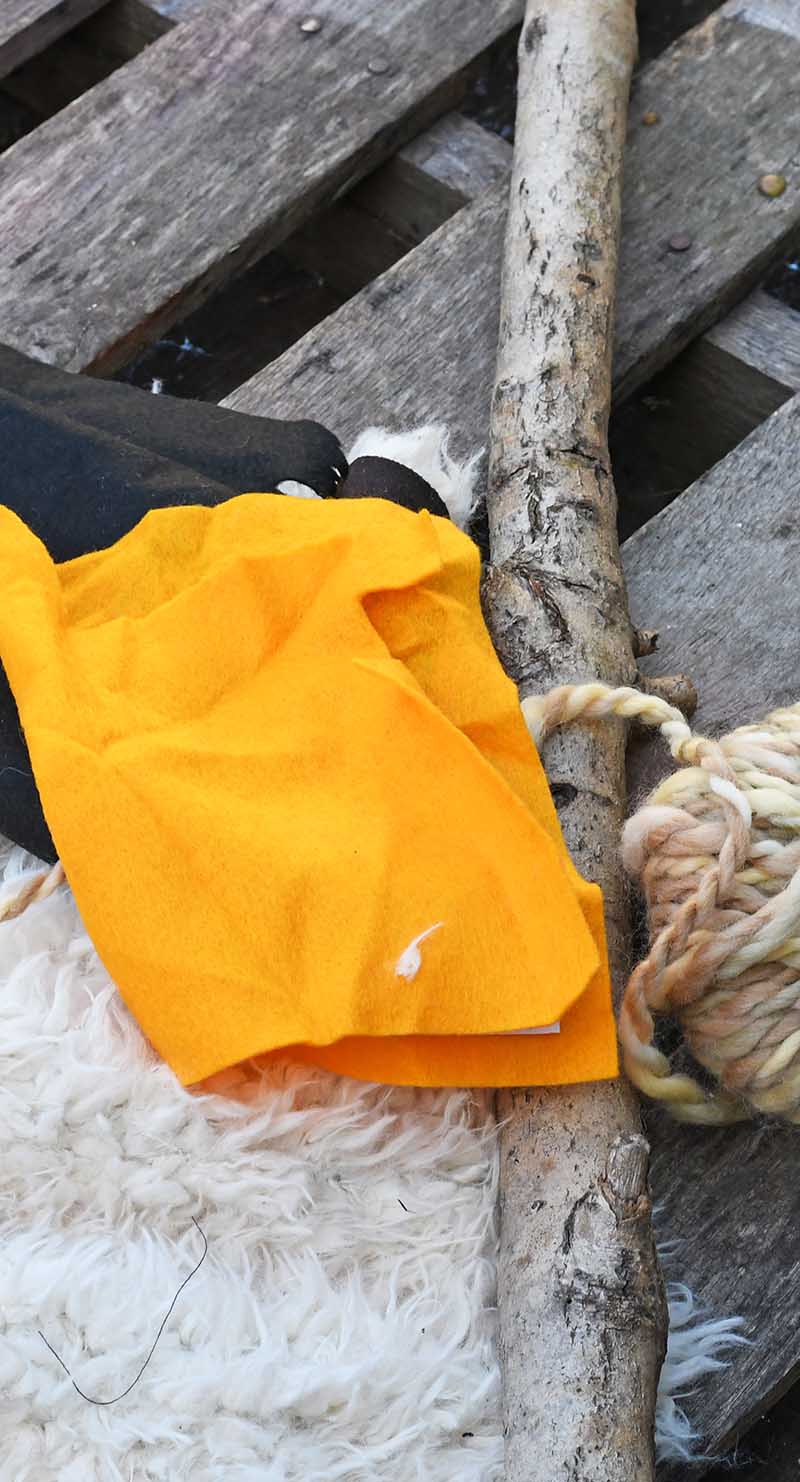
- Scrap pieces of black and yellow felt. You can use craft felt for this or felted wool from an old sweater.
- Chunky wool for the witch's hair. You will only need about 1-2 meters of yarn.
- Fur for the wizard's beard - You can buy craft fur; I just used my old faux fur sheepskin waistcoat. You will only need a small amount.
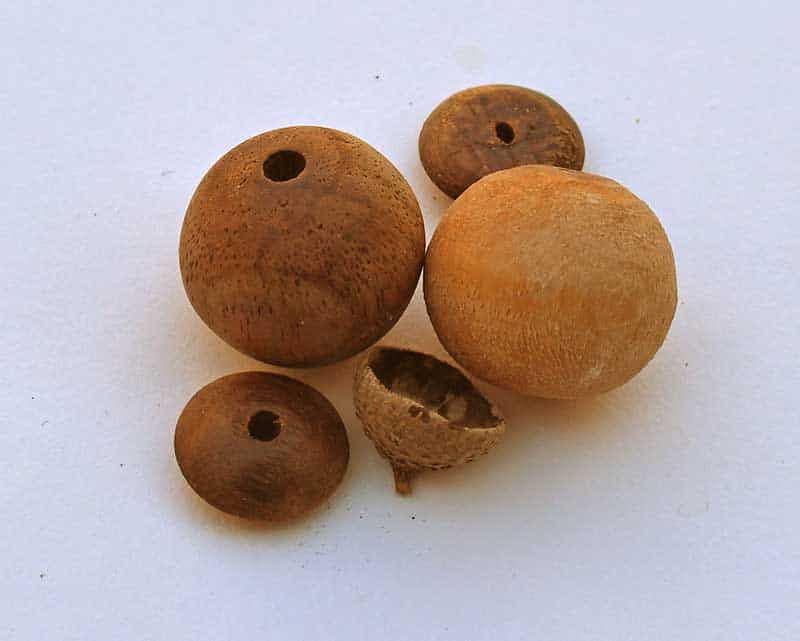
- Wooden beads for the nose. One big bead for the wizard. One big bead plus a couple of smaller ones for the witch's nose. I also used an acorn cap to give the witch's nose a gnarly look.
- Hot glue gun
- Optional needle and thread
- Twigs and wire to make a broom
How To Make A Witch & Wizard Gnome
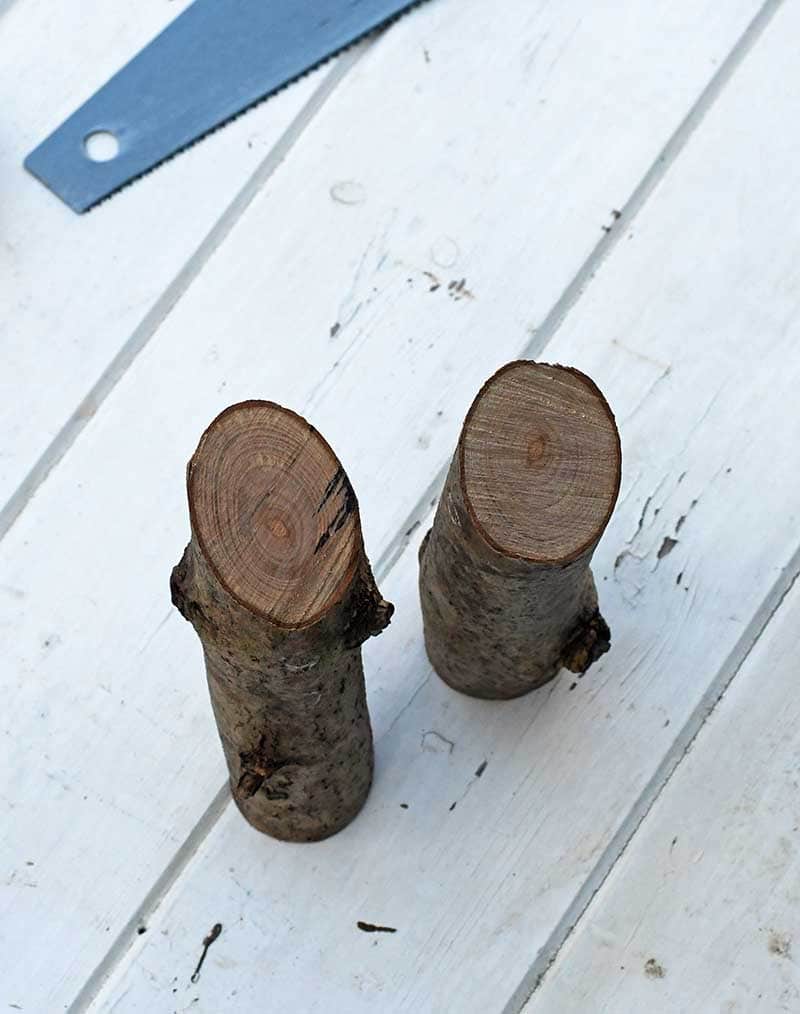
Step 1. When making these Halloween gnomes, the first thing is to cut the branch to size. My gnomes were approximately 12cm tall.
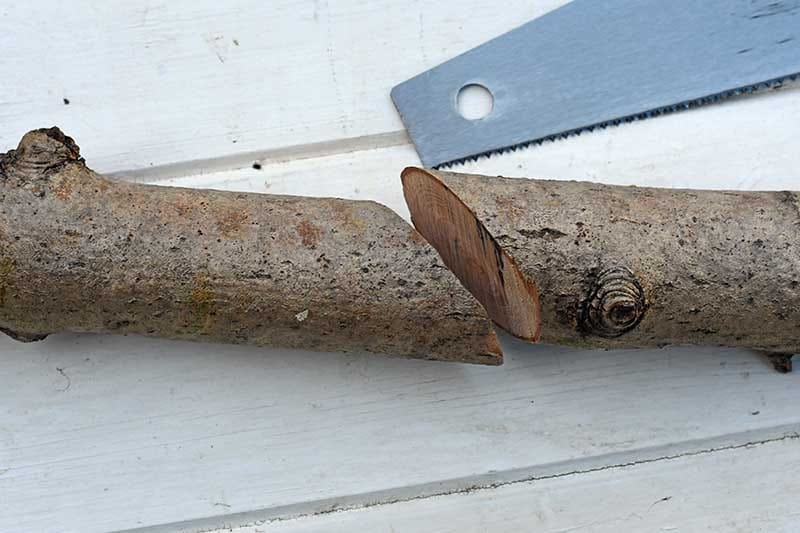
Saw the branch so that it is completely flat at one end and will stand up on that end. Then cut the wood at the other end at an approximately 45-degree angle to give the gnomes a face.
Making the Halloween Gnome Hats
Step 2: A big part of what makes these gnomes witches and wizards is the hat. Start by making a paper template for the hat.
Decide on the hat you want and make a paper cone this size. Paper cones are very easy to make. They are just basically a quarter circle.
Once the cone is made, make a paper brim for the hat. The brim will be a doughnut shape where the hole in the doughnut is the same size as the base of the cone.
Using the paper template cut out the doughnut and cone shapes in black felt. Cut out some yellow felt stars and moon decorations and glue these to the black felt cone.
Then either stitch or glue the witch's/wizards' hat together. I found hand stitching was best. However, it would be easier to use glue to make the hat.
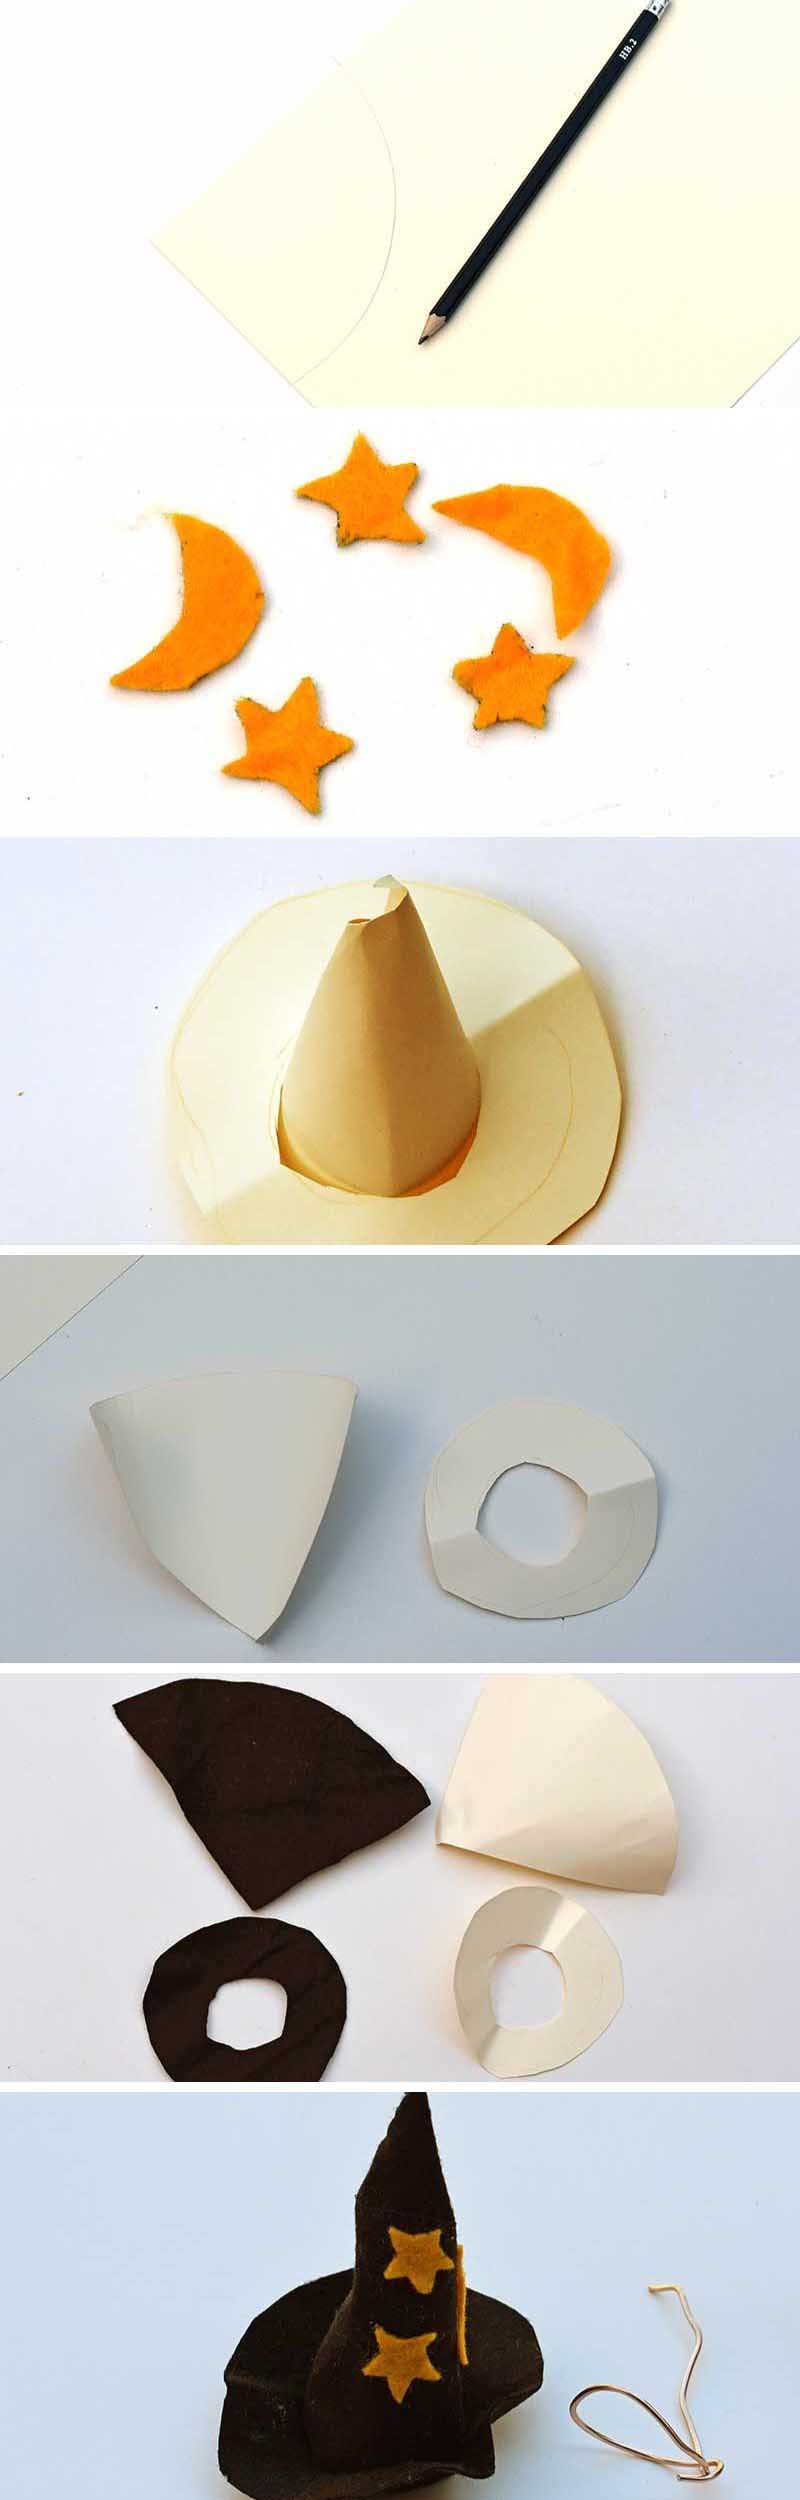
If the hat is too floppy, put some craft wire inside it. This will enable you to shape the hat how you want and to achieve a more spooky crooked look.
Assembling the Wizard Gnome
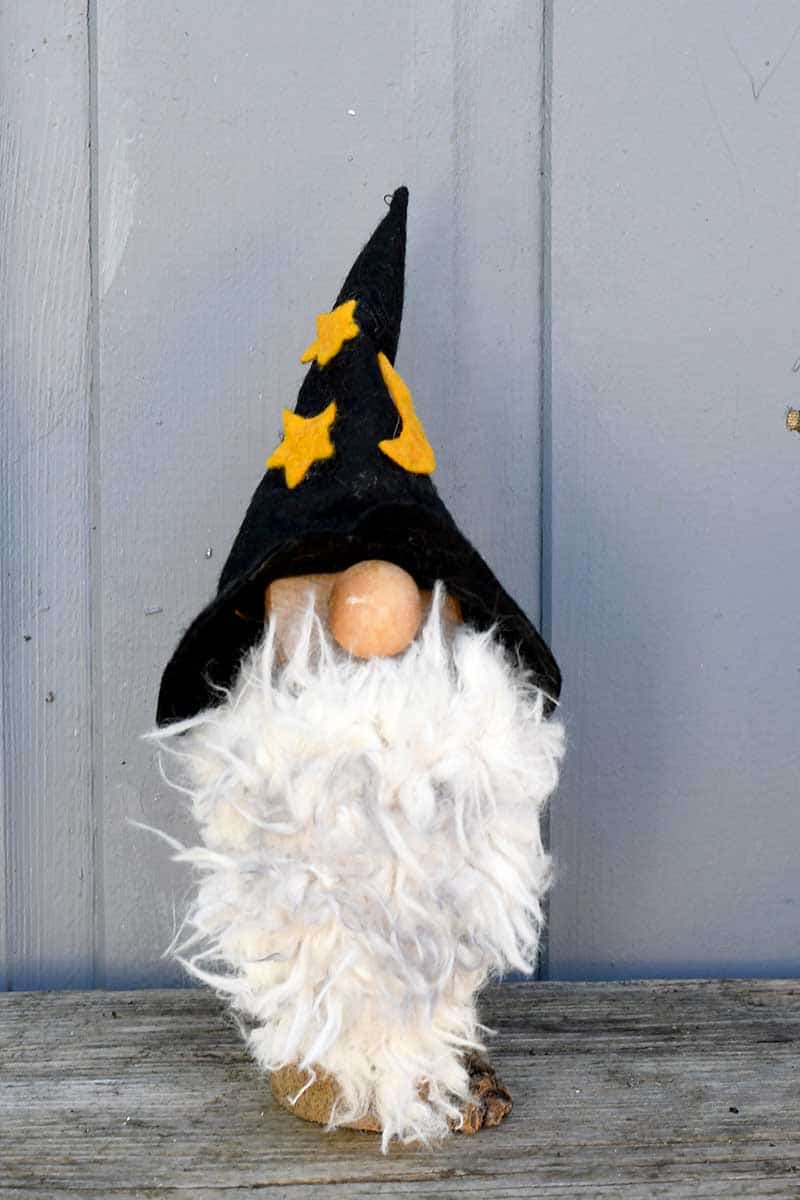
Step 3. The wizard gnome is pretty straightforward to make. All you need besides his hat is the fur beard.
Cut a long fur beard and glue this to the front of the wooden branch. I felt my beard was a little too white, so I added grey highlights using a grey sharpie.
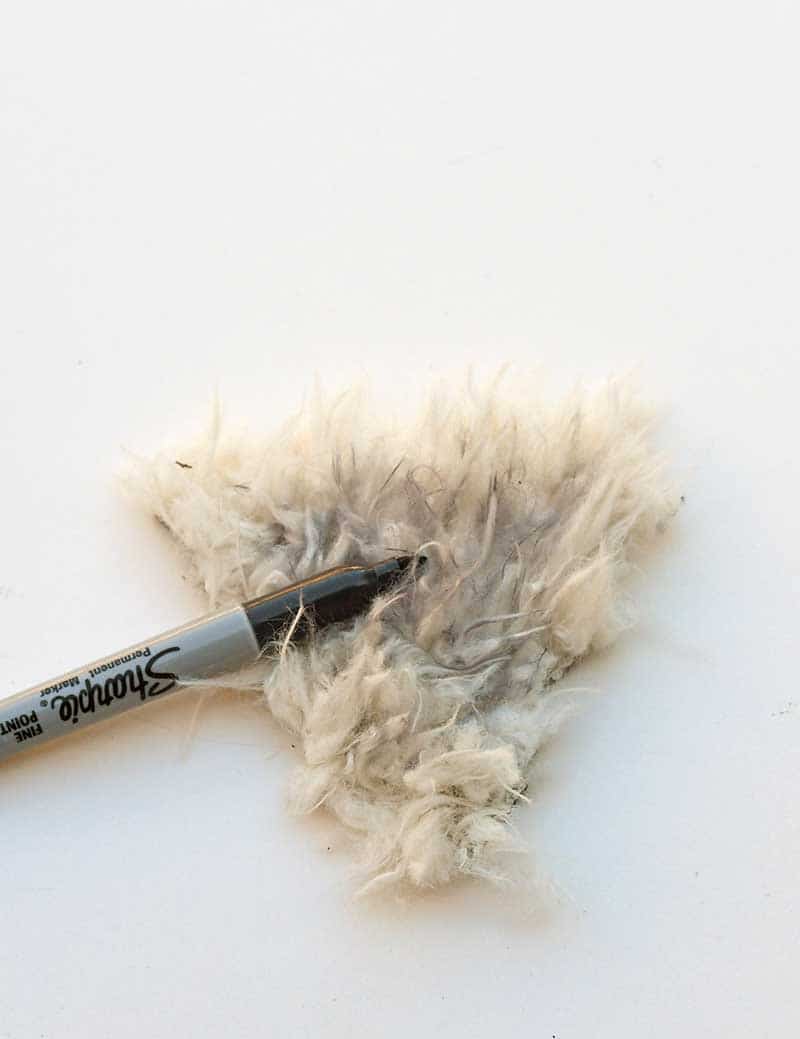
Next, glue the wooden bead nose to the wizard's face. Then all that is left to do is to pop on his hat to complete the Halloween gnome look.
Assembling the Witch Gnome
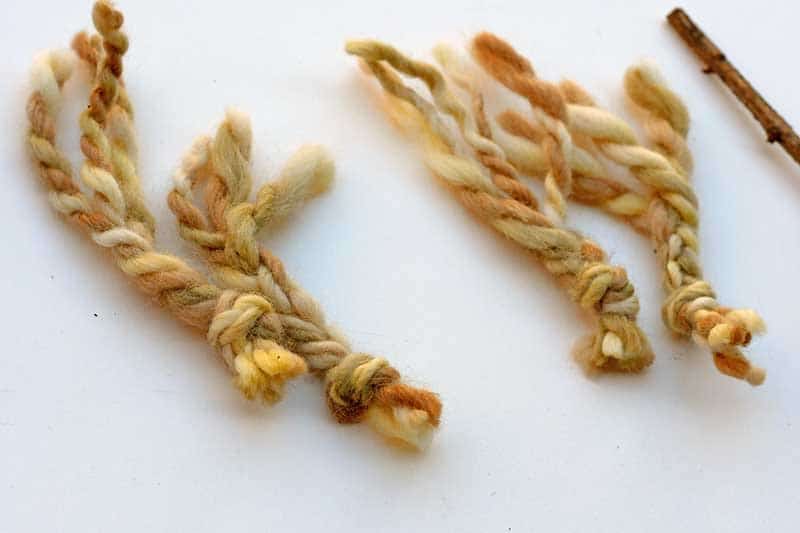
Step 4: The witch doesn't have a beard, but she does have platted hair. First, cut the wool into three equal lengths. Knot the three ends together and then plat them.
I made two plats for each side of the witch gnome and glued them using a hot glue gun.
Glue a combination of large and small wooden beads on the face of the witch's nose to create a crooked look.
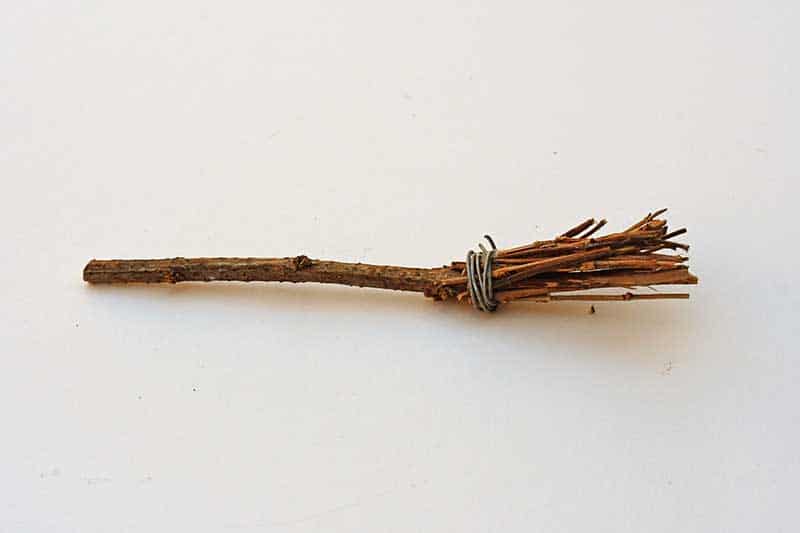
Finally, no witch is complete without her broom. I made a straightforward one by tieing some twigs together with a wire.
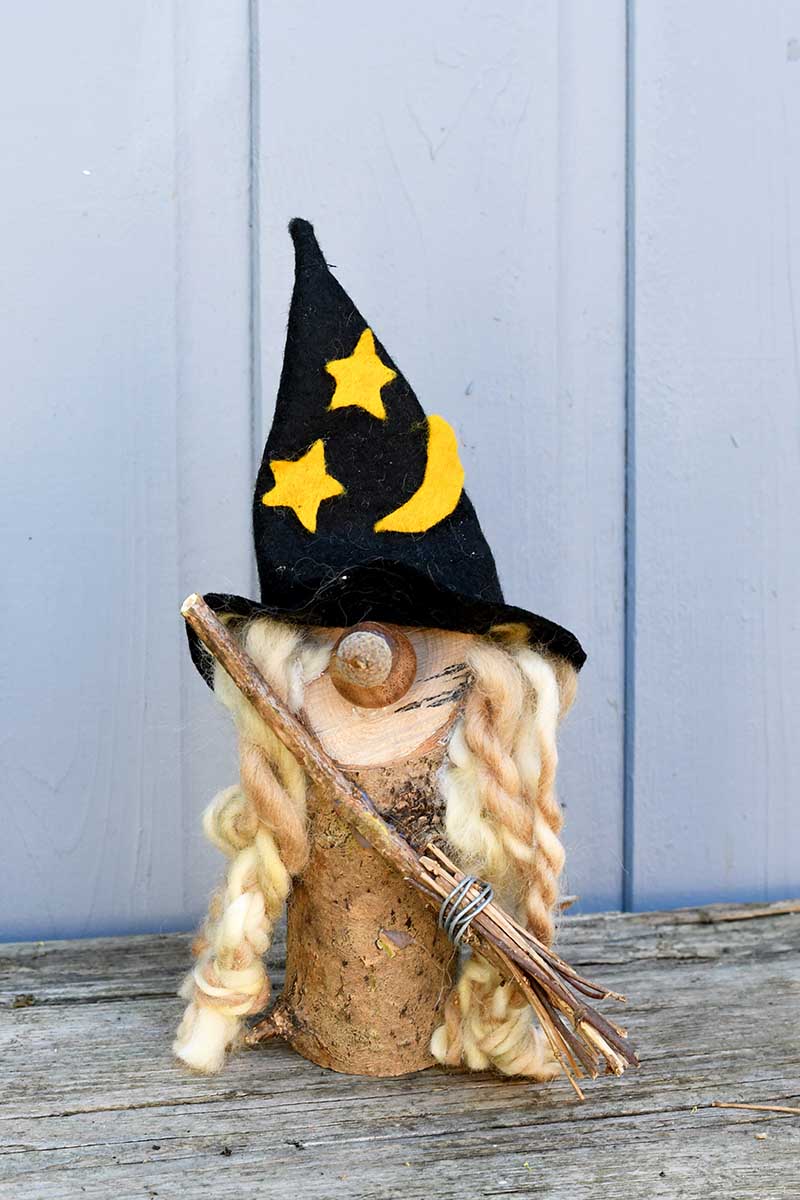
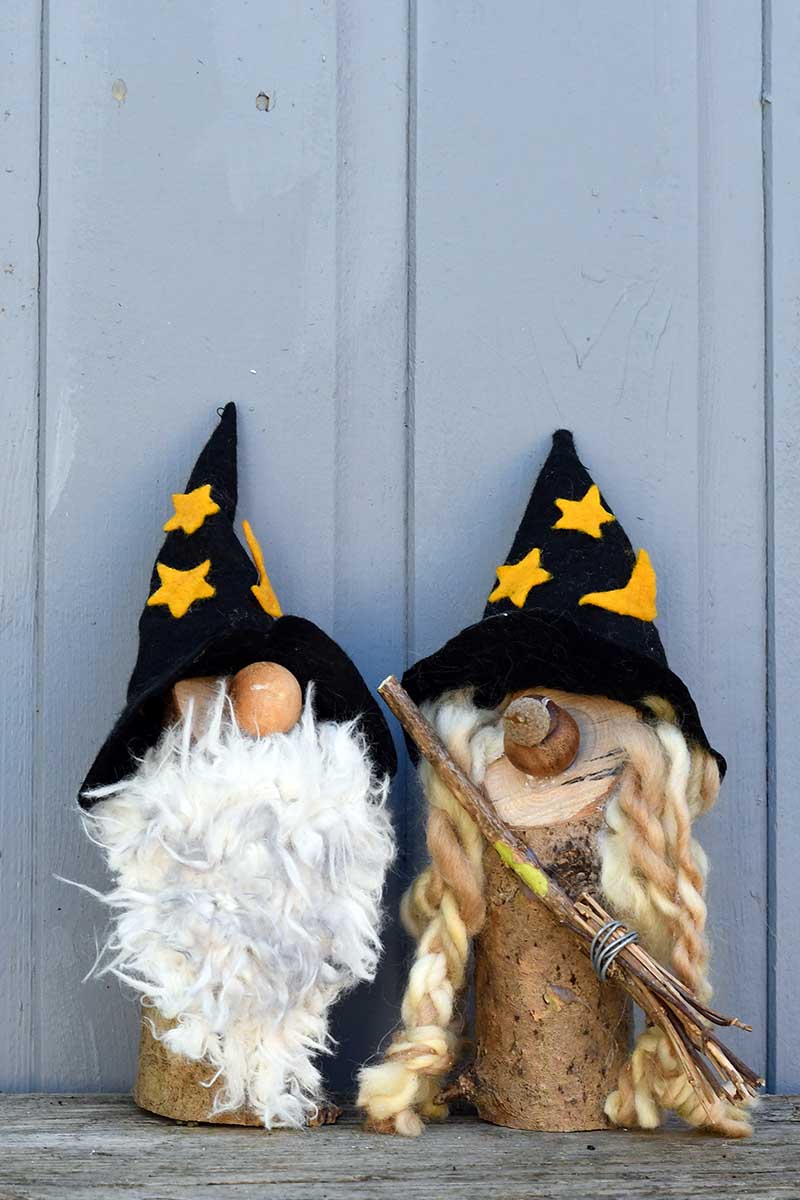
The two witch and wizard gnomes on the mantle make for a happy couple of Halloween gnomes. They will stay there until the Christmas gnomes resume their rightful place in December.
You might want to check out some of my other upcycled Halloween crafts.
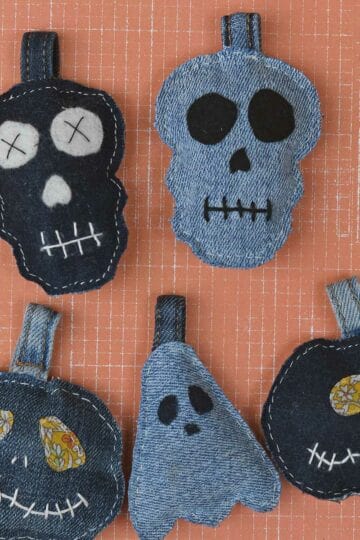
- Cute Halloween Treat Bags
- DIY Halloween Lights With Old Bottles
- Light Up Pumpkins
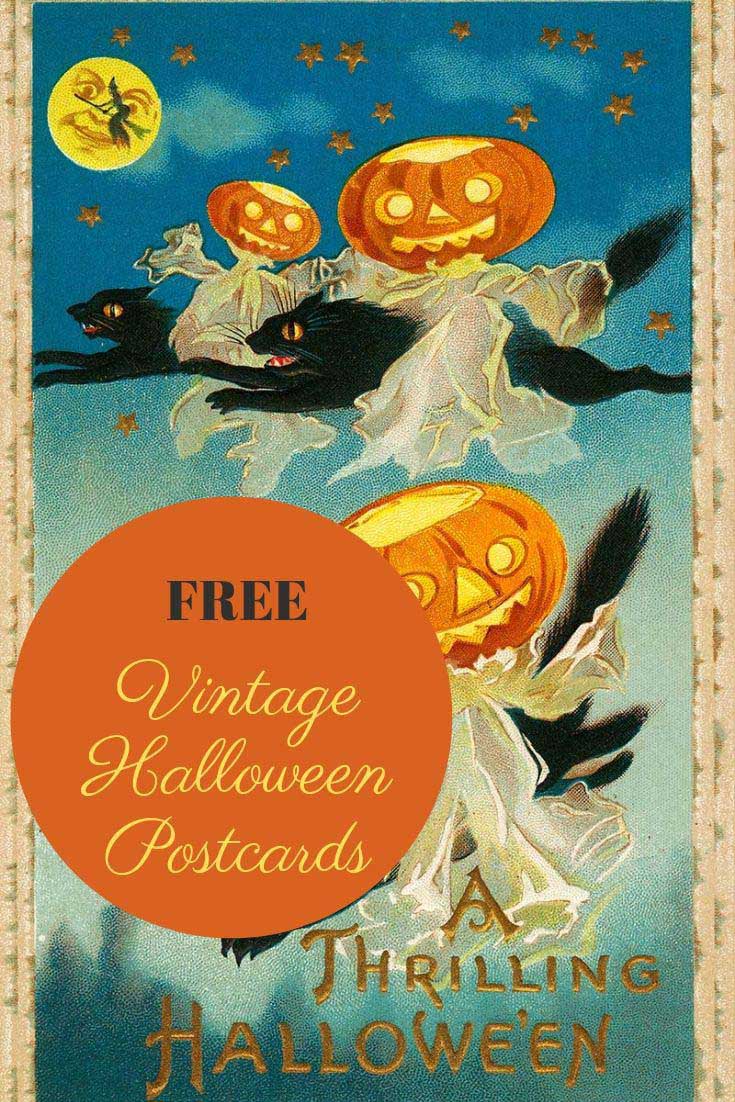
- Vintage Halloween Postcards
For more Halloween craft ideas, visit allfreeholidaycrafts.com
These little gnomes are absolutely adorable! Thanks for sharing the instructions.
Lisa
Thank you, glad you like them.
Your gnome couple is absolutely adorable, Claire! Love the elements you gathered to make them. Pinned 🙂
Thank you, Marie they were fun to make.
They have to be the cutest little couple ever Claire. Love the little witches nose
Thank you Michelle. I had fun making them.
These are absolutely adorable. (As are all of your projects!!!) I'm featuring these awesome gnomes at my Party in Your Link Party tonight. Thanks so much for always sharing your talent at our party!
Thank you so much I look forward to seeing them.
Wizard gnomes, how adorable! Love these Claire. Featuring this week on Tuesday Turn About Link Party. Thanks so much for sharing with us.
Thank you so much, I look forward to seeing them.
These are so cute! Thanks for sharing at Vintage Charm!
Thank you ?
You are so clever and your gnomes are adorable! Thank you for sharing at Party In Your PJ's.
Ahh, thank you they were just a bit of Halloween fun.
Aww! Love the halloween gnomes. So cute!
Thank you, I,went for cute over spooky this Hallloween.
Adorable!
Thank you so much!
What a fun project to make for Halloween and super cute!
Thank you so much ?
These are just too cute, thanks for sharing
Thank you, yeah they are more cute than spooky but fun for Halloween.
I love this so will be making a few ready for Halloween #inspirememonday@_karenden is
Thank you, they are more cute than spooky!
Very cute! I saw this and read it as 'realistic gnomes' at first and was just wondering what a realistic gnome was! I really need to get my glasses checked!
Ha ha ha, Thank you.