
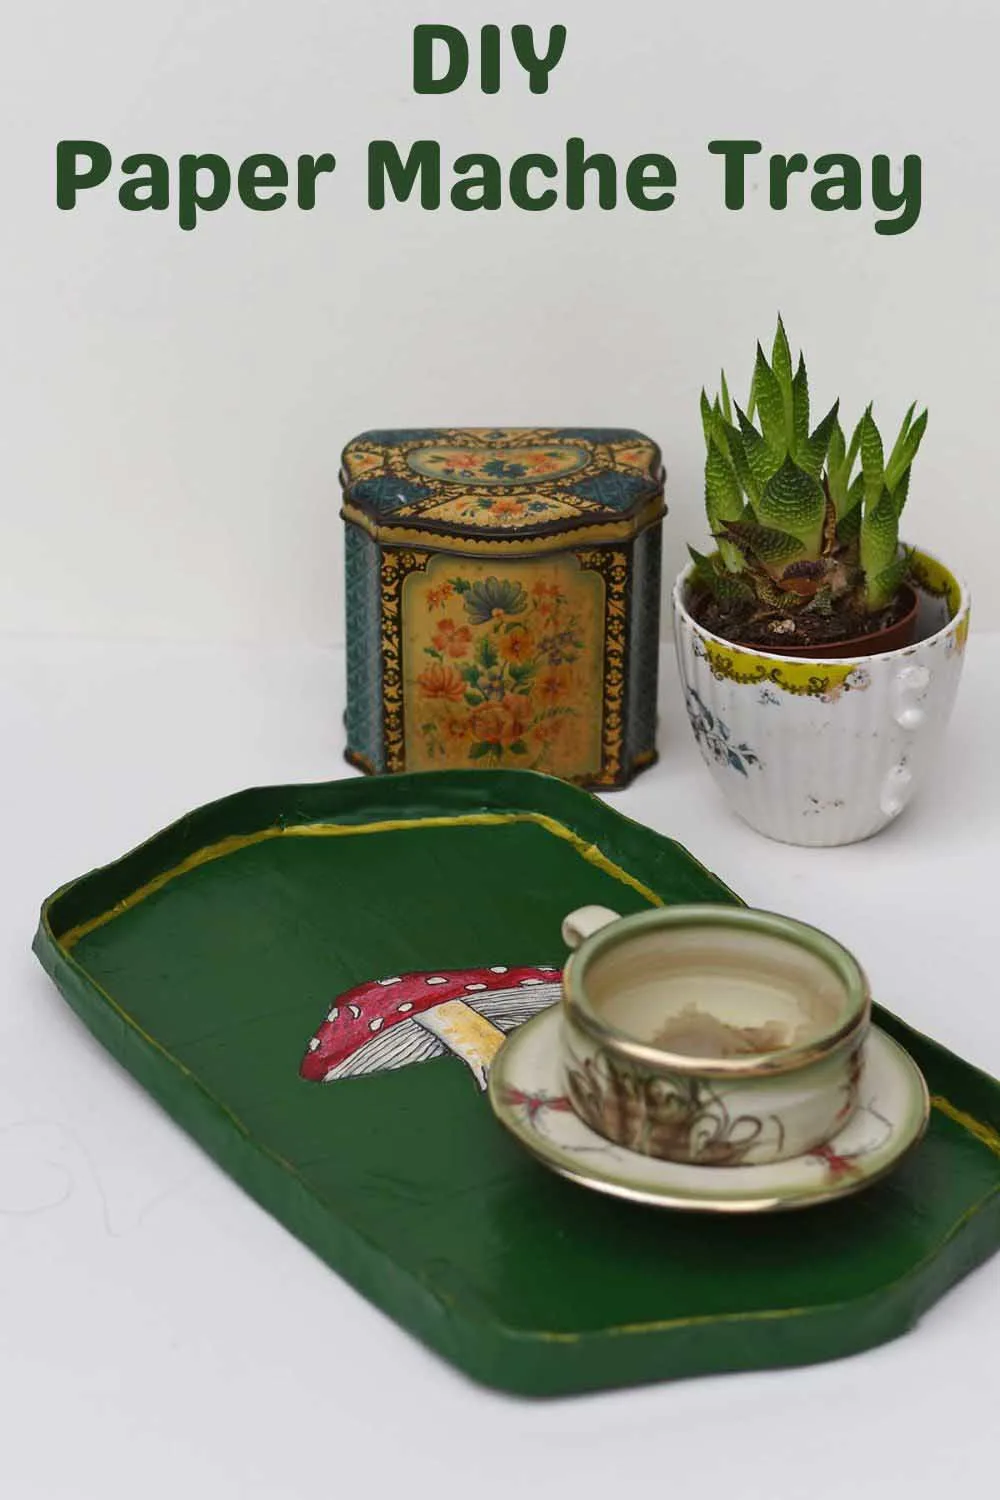
Turn recycled materials into a functional piece of art with this paper mache tray crafting guide. Featuring a delightful mushroom design
This is an easy-to-follow full tutorial for making a delightful paper mache tray painted with a vibrant mushroom motif. It is functional and a charming addition to any room.
Whether serving a cup of tea, organizing your craft projects, or looking for a unique homemade gift idea, these paper trays are handy and pretty. The best part? They cost almost nothing, as they’re crafted from waste materials in your trash bin. This project is perfect for those looking to craft on a budget or even for those considering handmade items to sell.
Materials Needed:
- Thick cardboard (I used the back of an old calendar)
- Old cereal boxes for extra cardboard
- Newspaper
- Masking tape
- Mod Podge (diluted 50/50 with water for the glue mixture)
- Gesso (for priming)
- Acrylic paints
- Green spray paint
- Gold Sharpie
- Spray acrylic varnish
How To Make A Paper Mache Tray
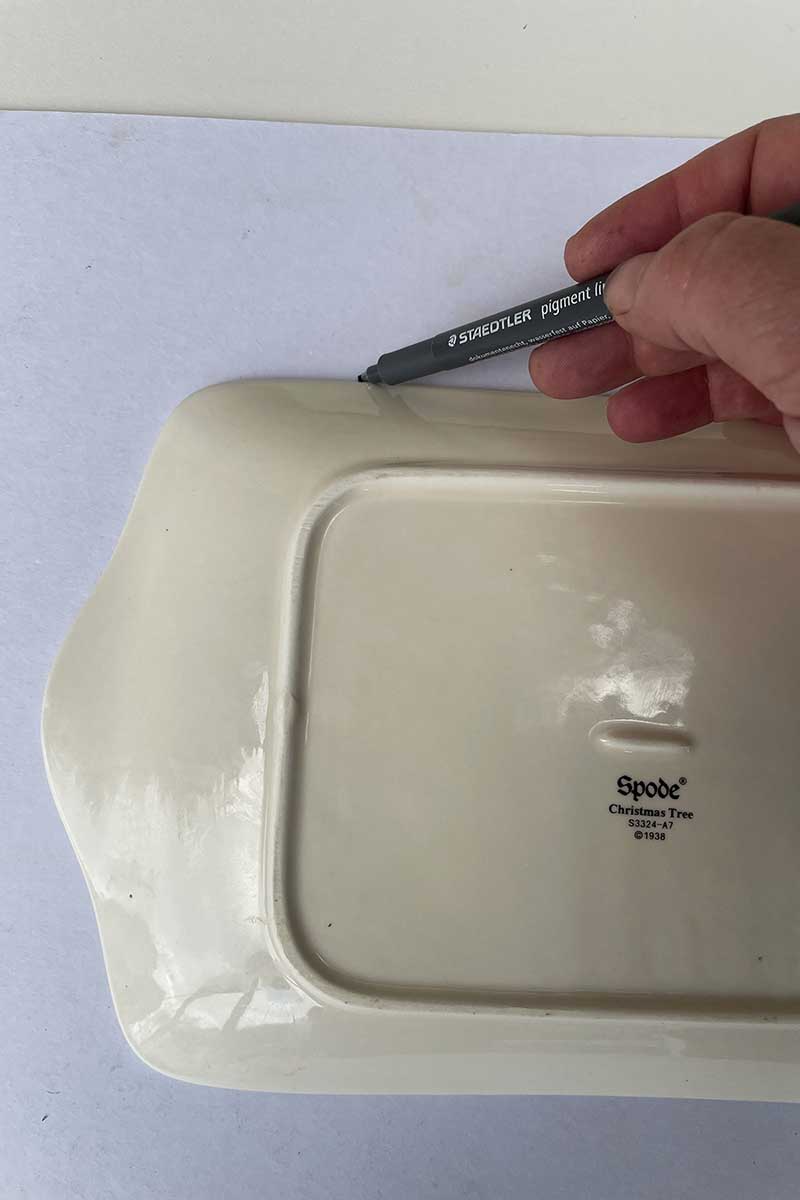
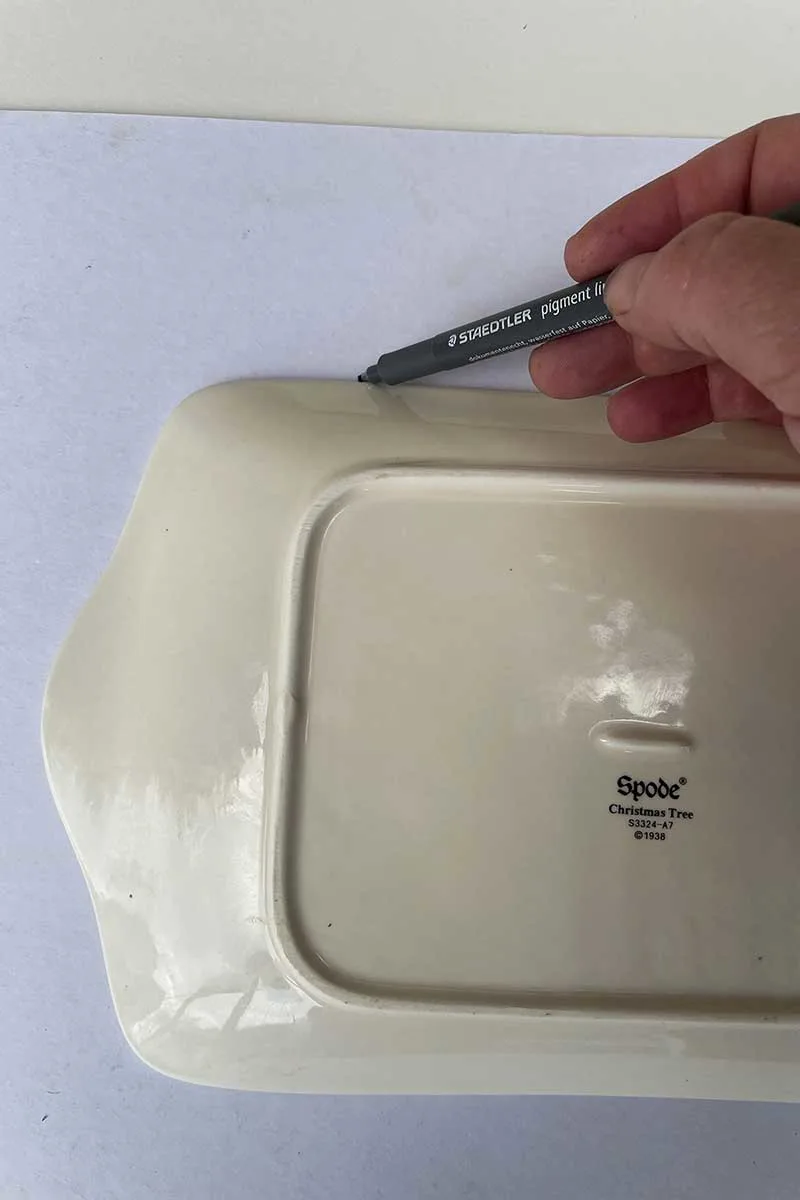
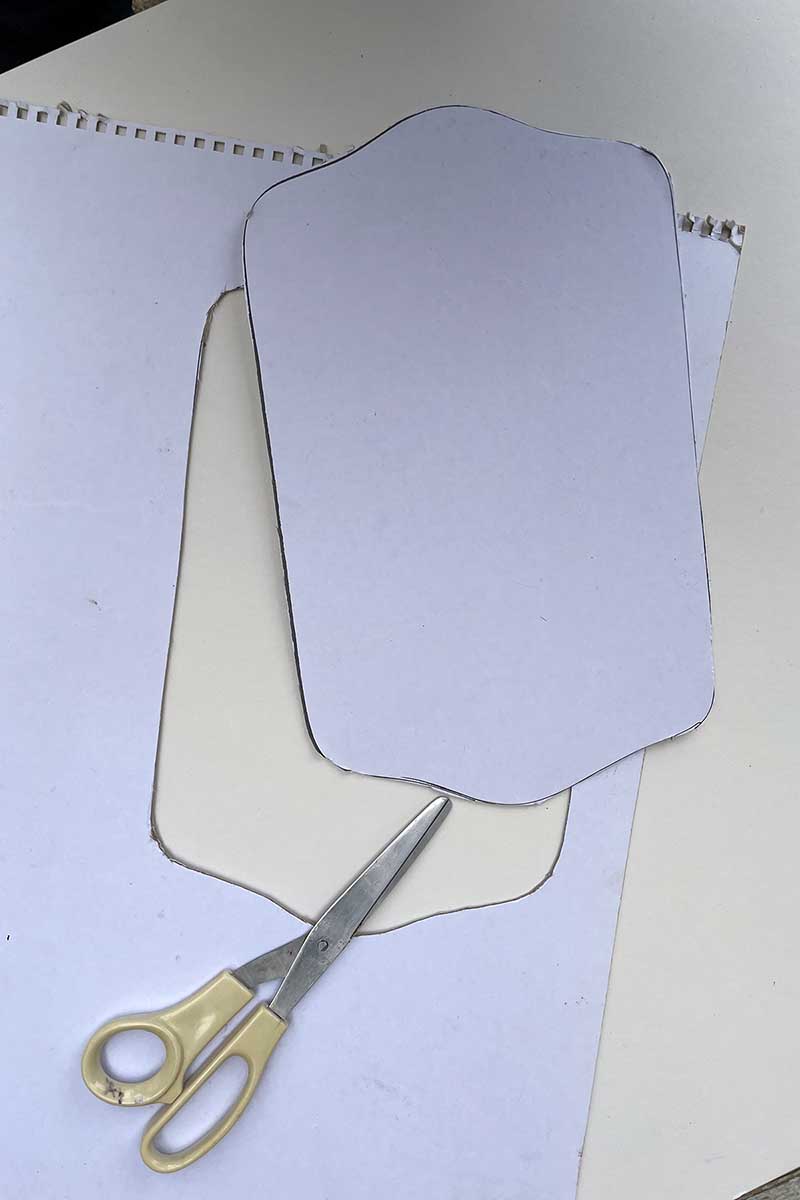
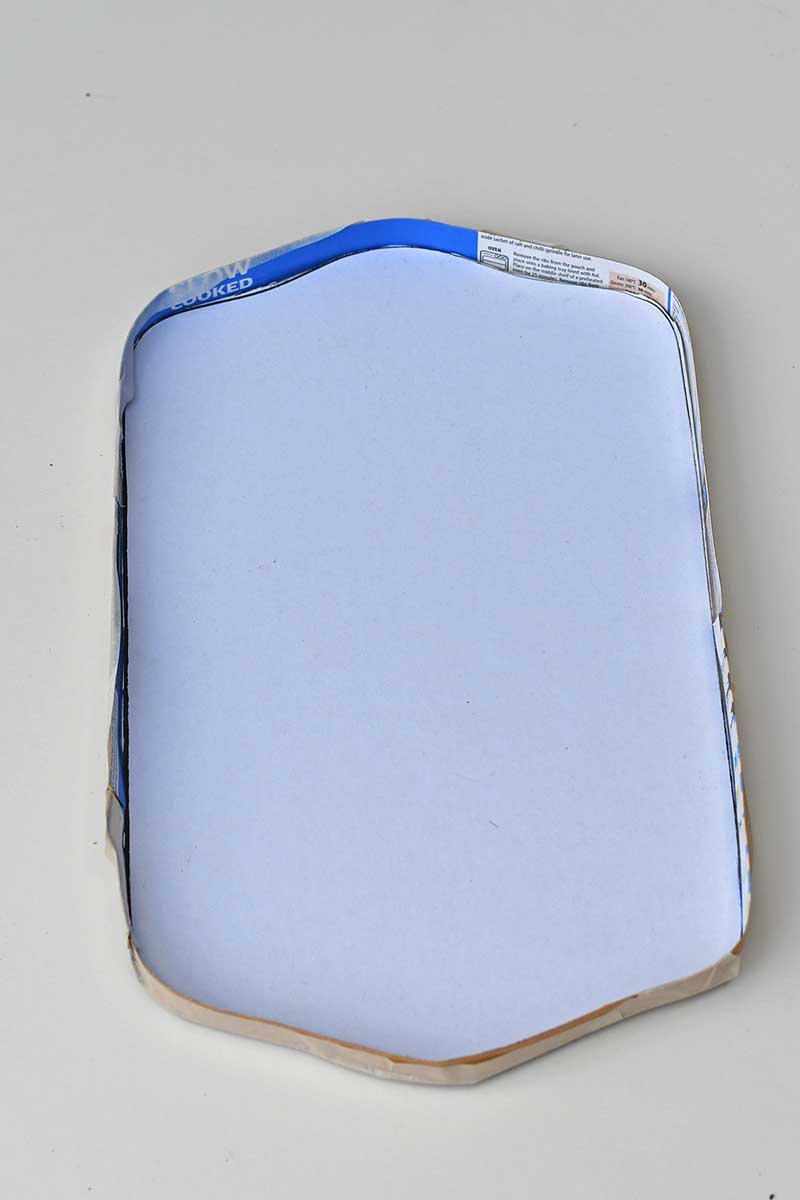
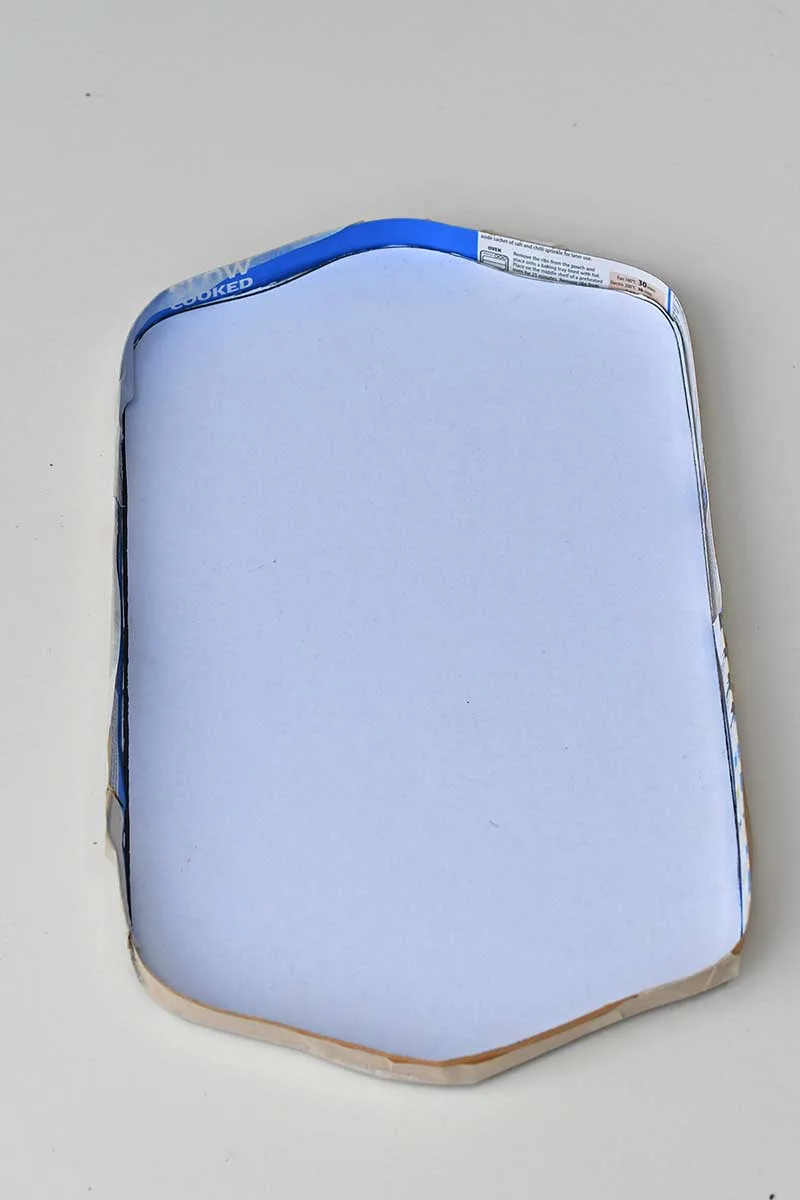
Step 1: Create the Base: Start by choosing a tray-shaped oblong plate as your model for your tray shape. Trace its outline onto a piece of thick cardboard and cut it out to form the base of your tray. This forms the first layer of your craft.

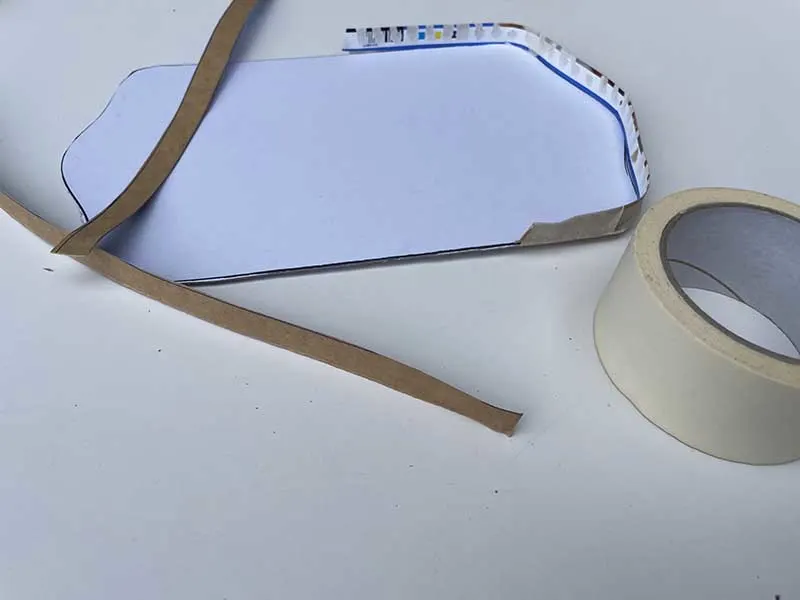
Step 2: Building the Sides: Cut strips of cardboard from old cereal boxes to fashion the sides of the tray. Using masking tape, attach these strips around the edge of your cardboard base, creating a raised lip—this will be the tray’s sides and help contain items on the tray.

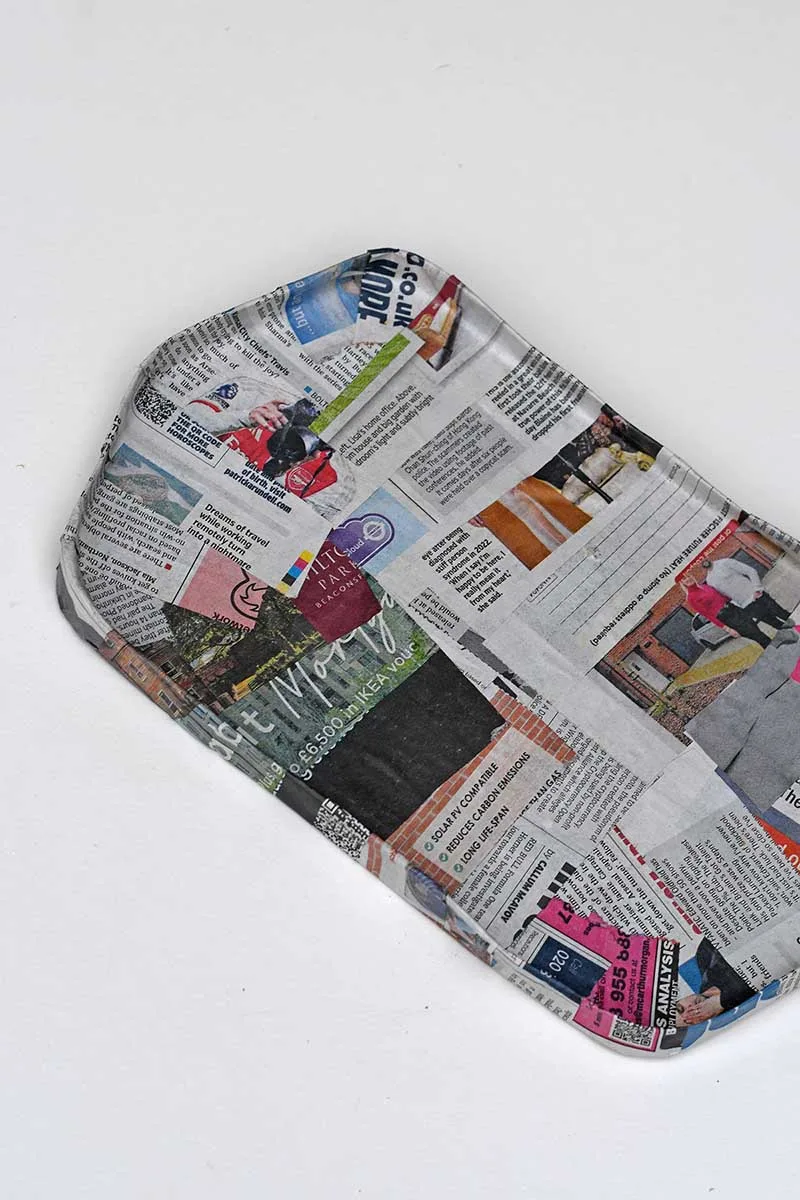
Step 3: Applying Paper Mache: Tear the newspaper into strips of paper. Prepare your glue mixture by diluting Mod Podge with water. Start applying the strips to the cardboard using glue, ensuring each strip overlaps the previous one for strength. Apply three layers of paper mache, allowing sufficient drying time between each layer.

Decorating The Paper Mache Tray
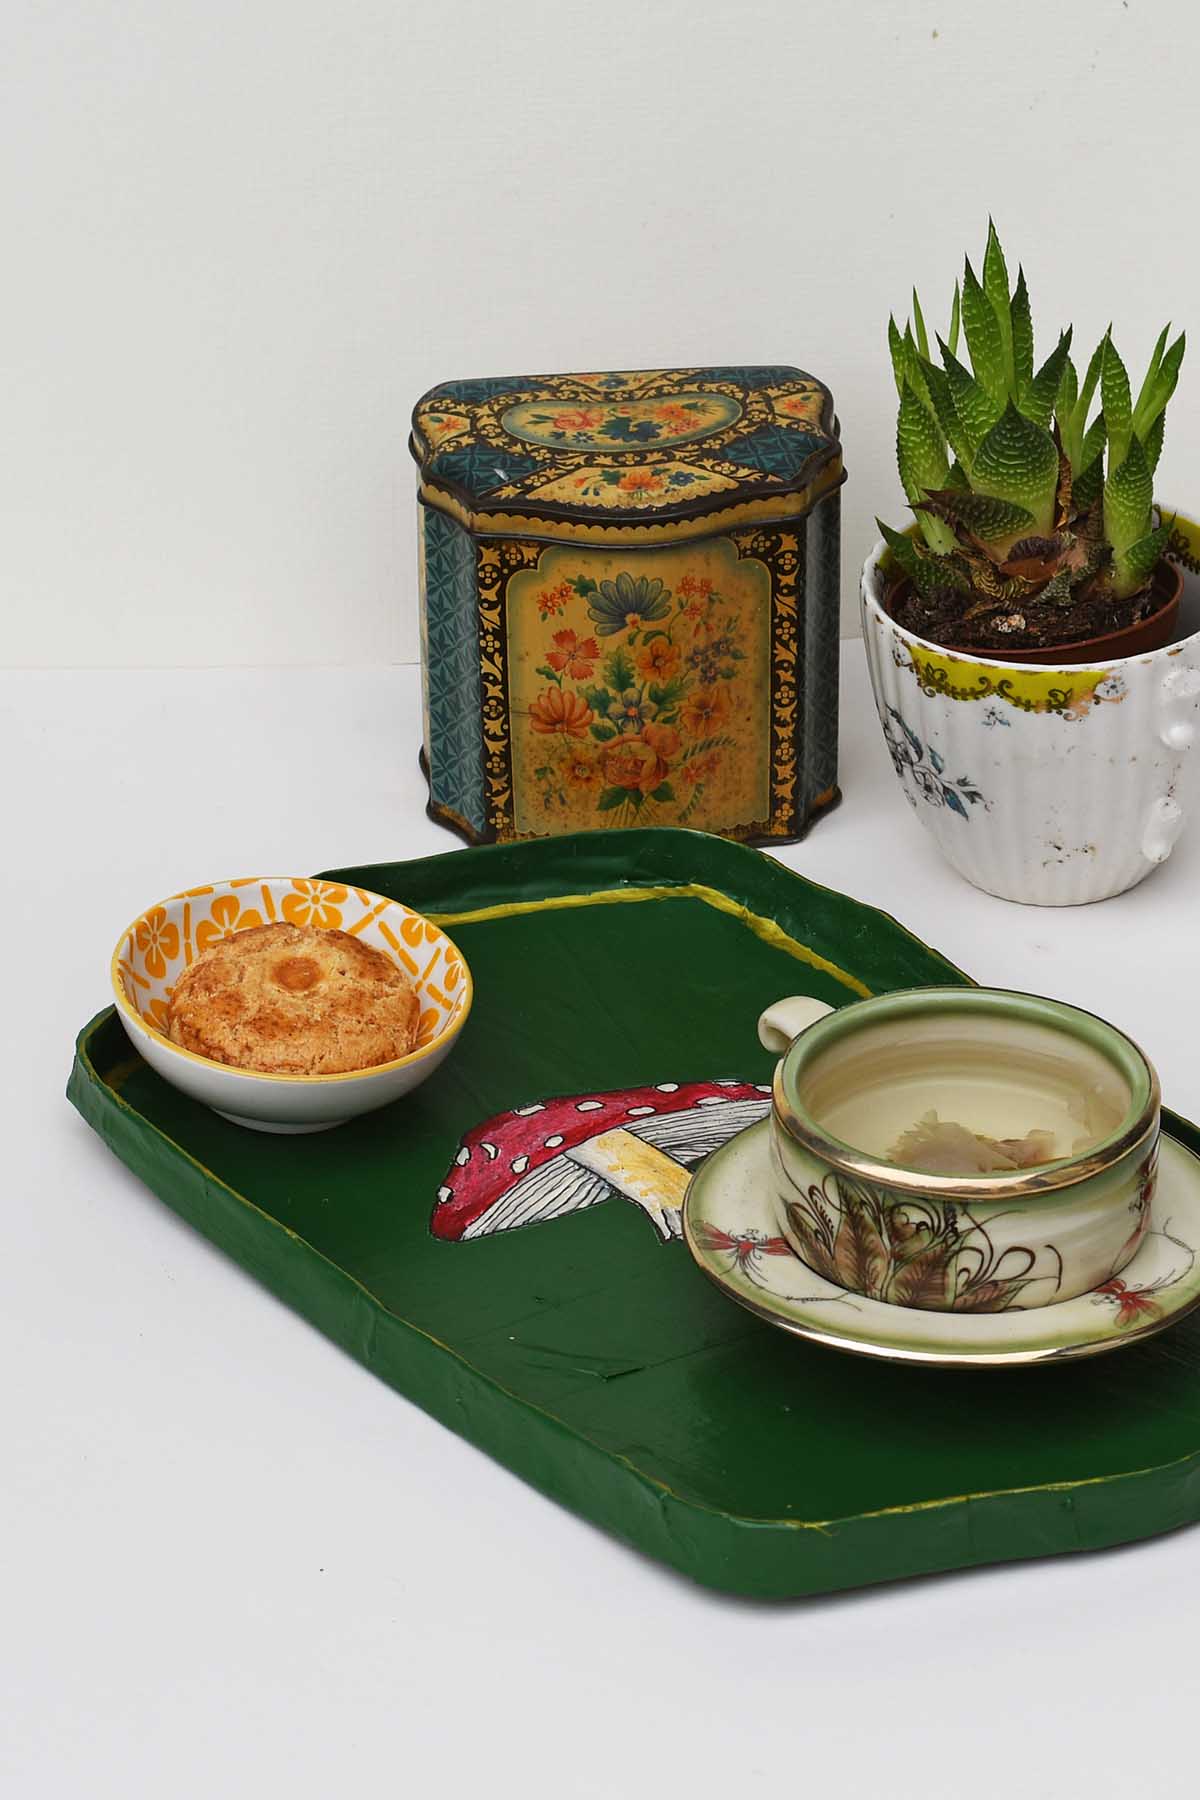
You can decorate your paper mache tray with paint or decoupage. I opted to paint my tray with a fun mushroom motif because I love mushroom-themed crafts and home decor.
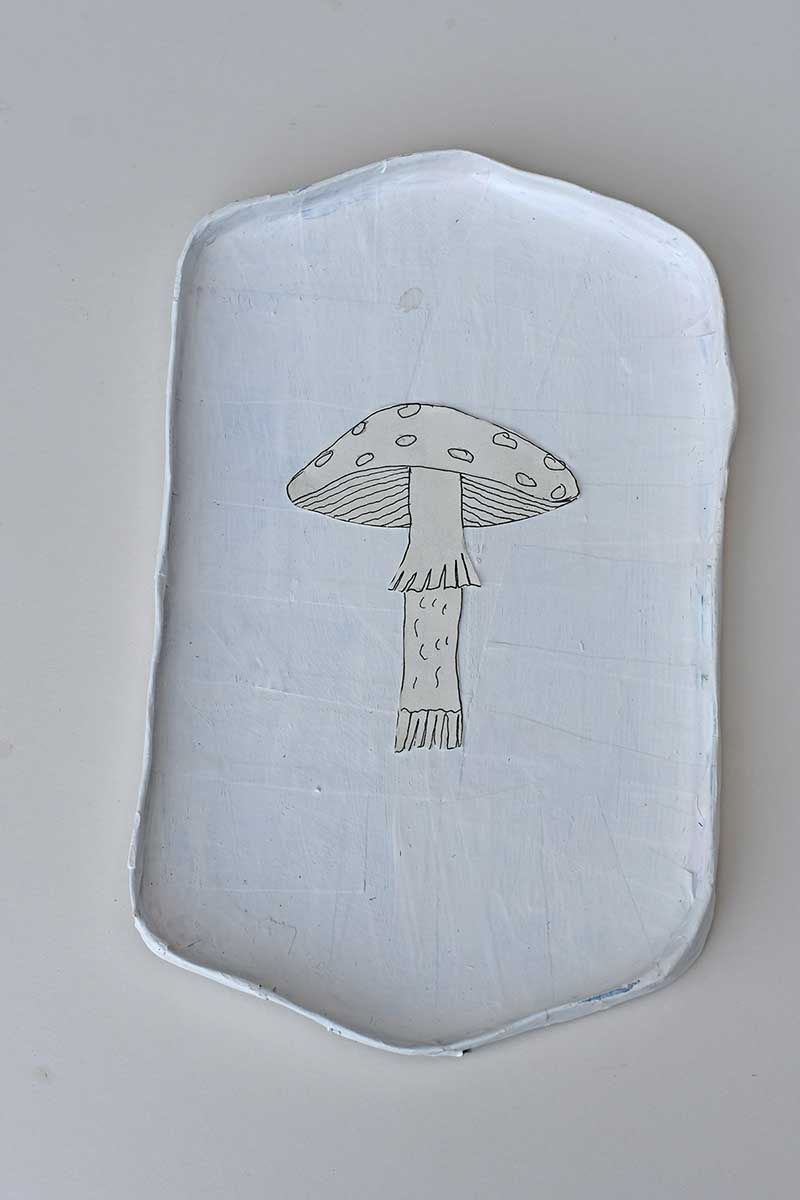
The mushroom design was drawn by following this tutorial for drawing mushrooms. I drew a common toadstool known as a Fly Agaric Mushroom, and I loved its red cap with white spots. If you don’t want to draw your own design, you can download mine here.


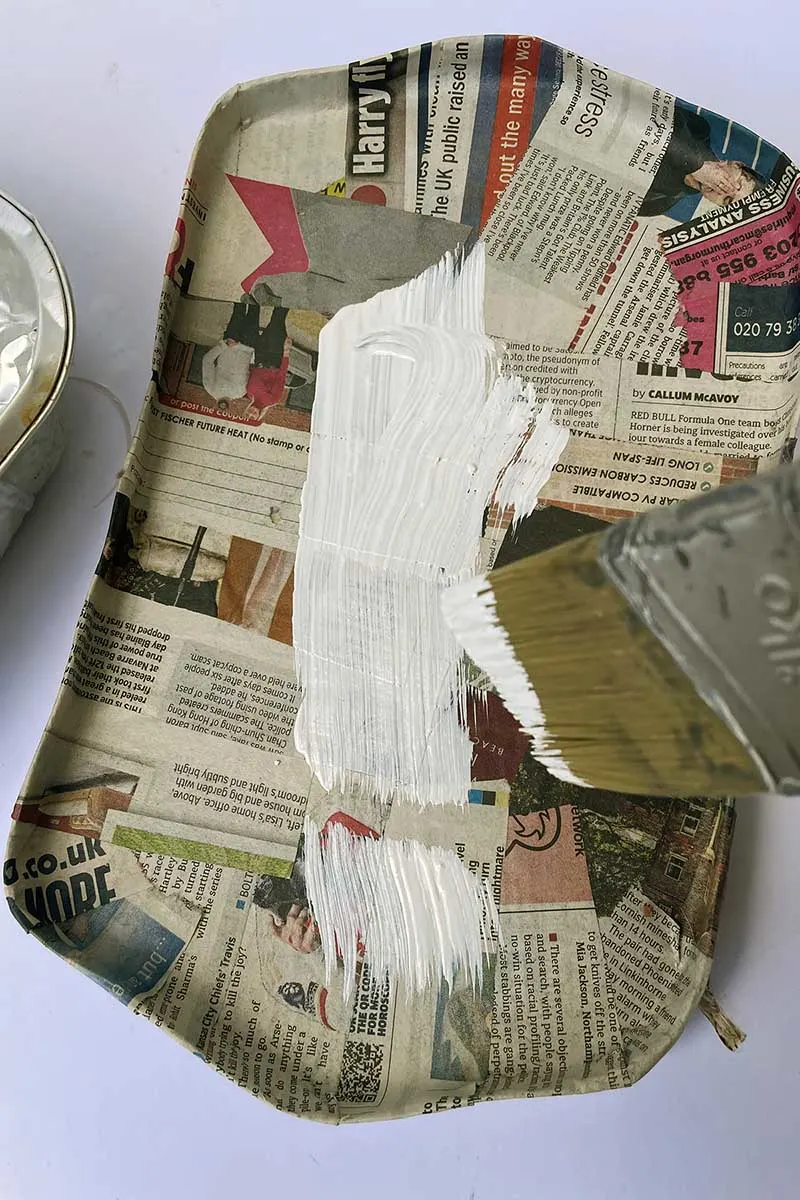
Step 4: Priming: Once your tray is dry, apply two layers of Gesso over the entire surface. This acts as a primer and ensures that your paints adhere well and look vibrant.

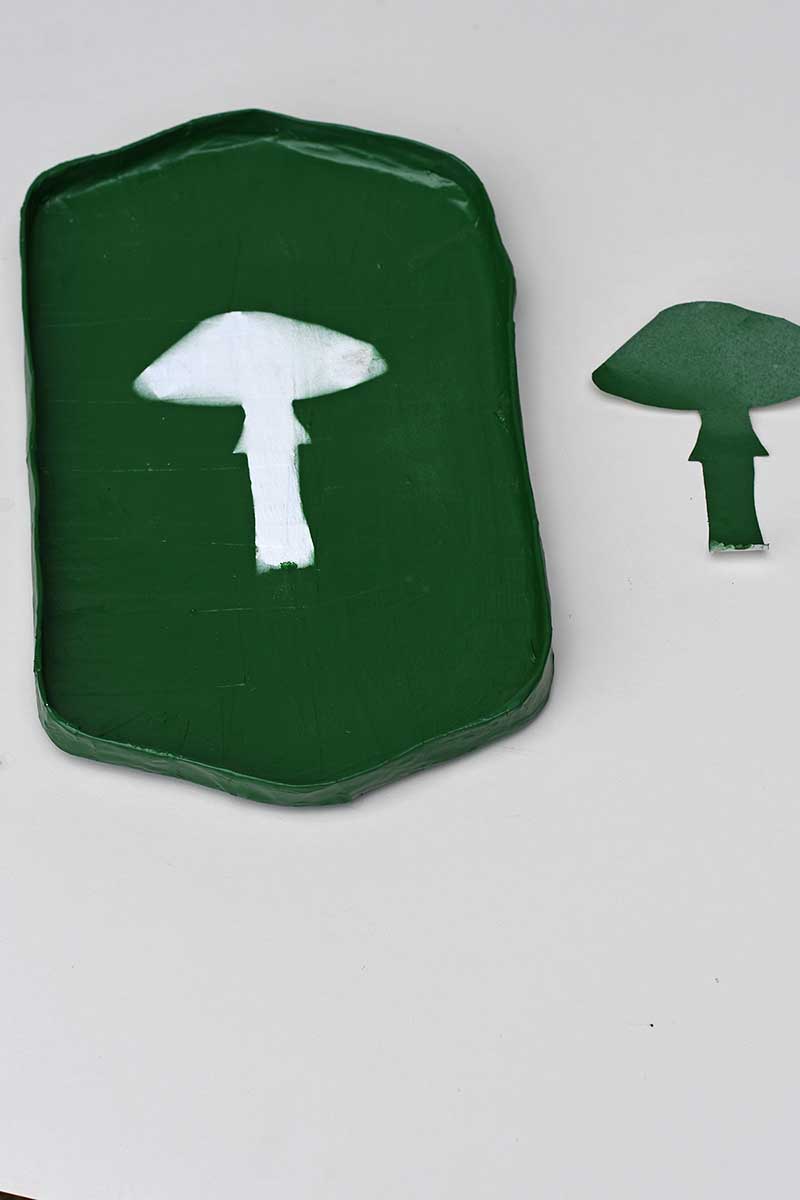
Step 5: Adding the Mushroom Motif: Cut out the mushroom motif and place it in the centre of the tray. Spray paint the entire tray green, then carefully remove the mushroom cutout to reveal the design.

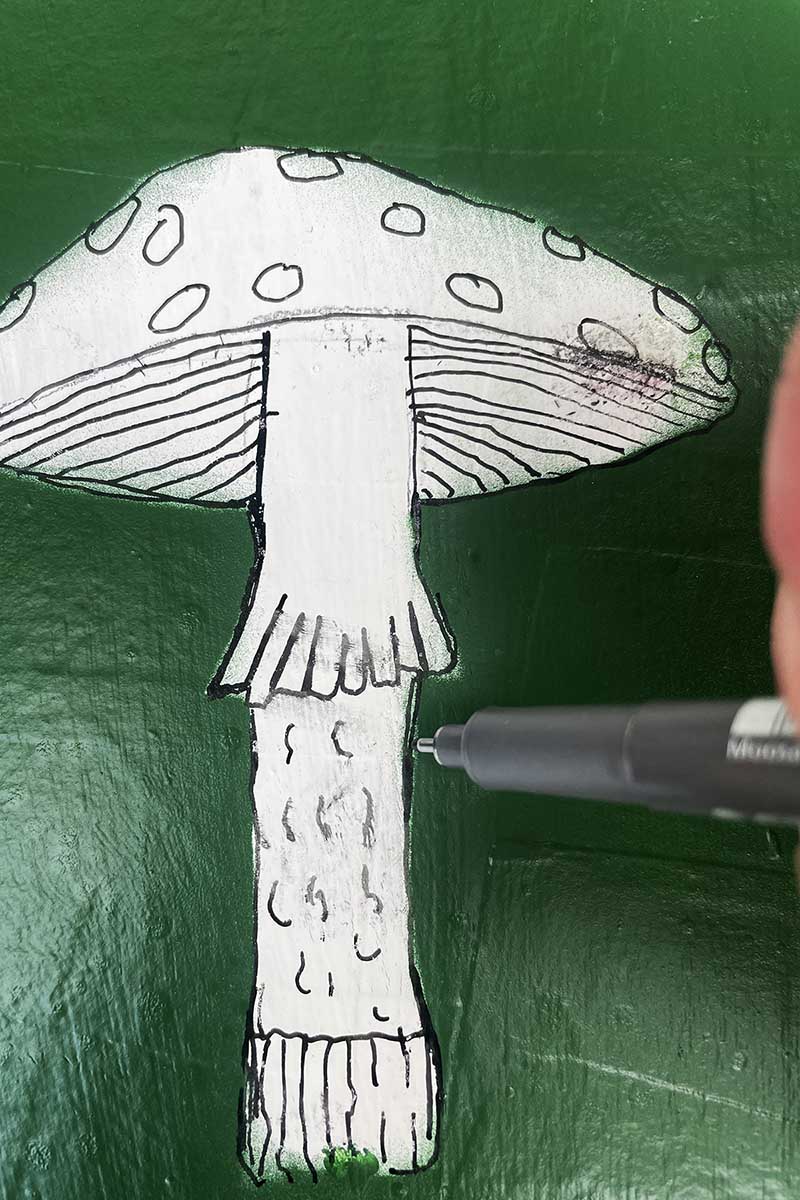
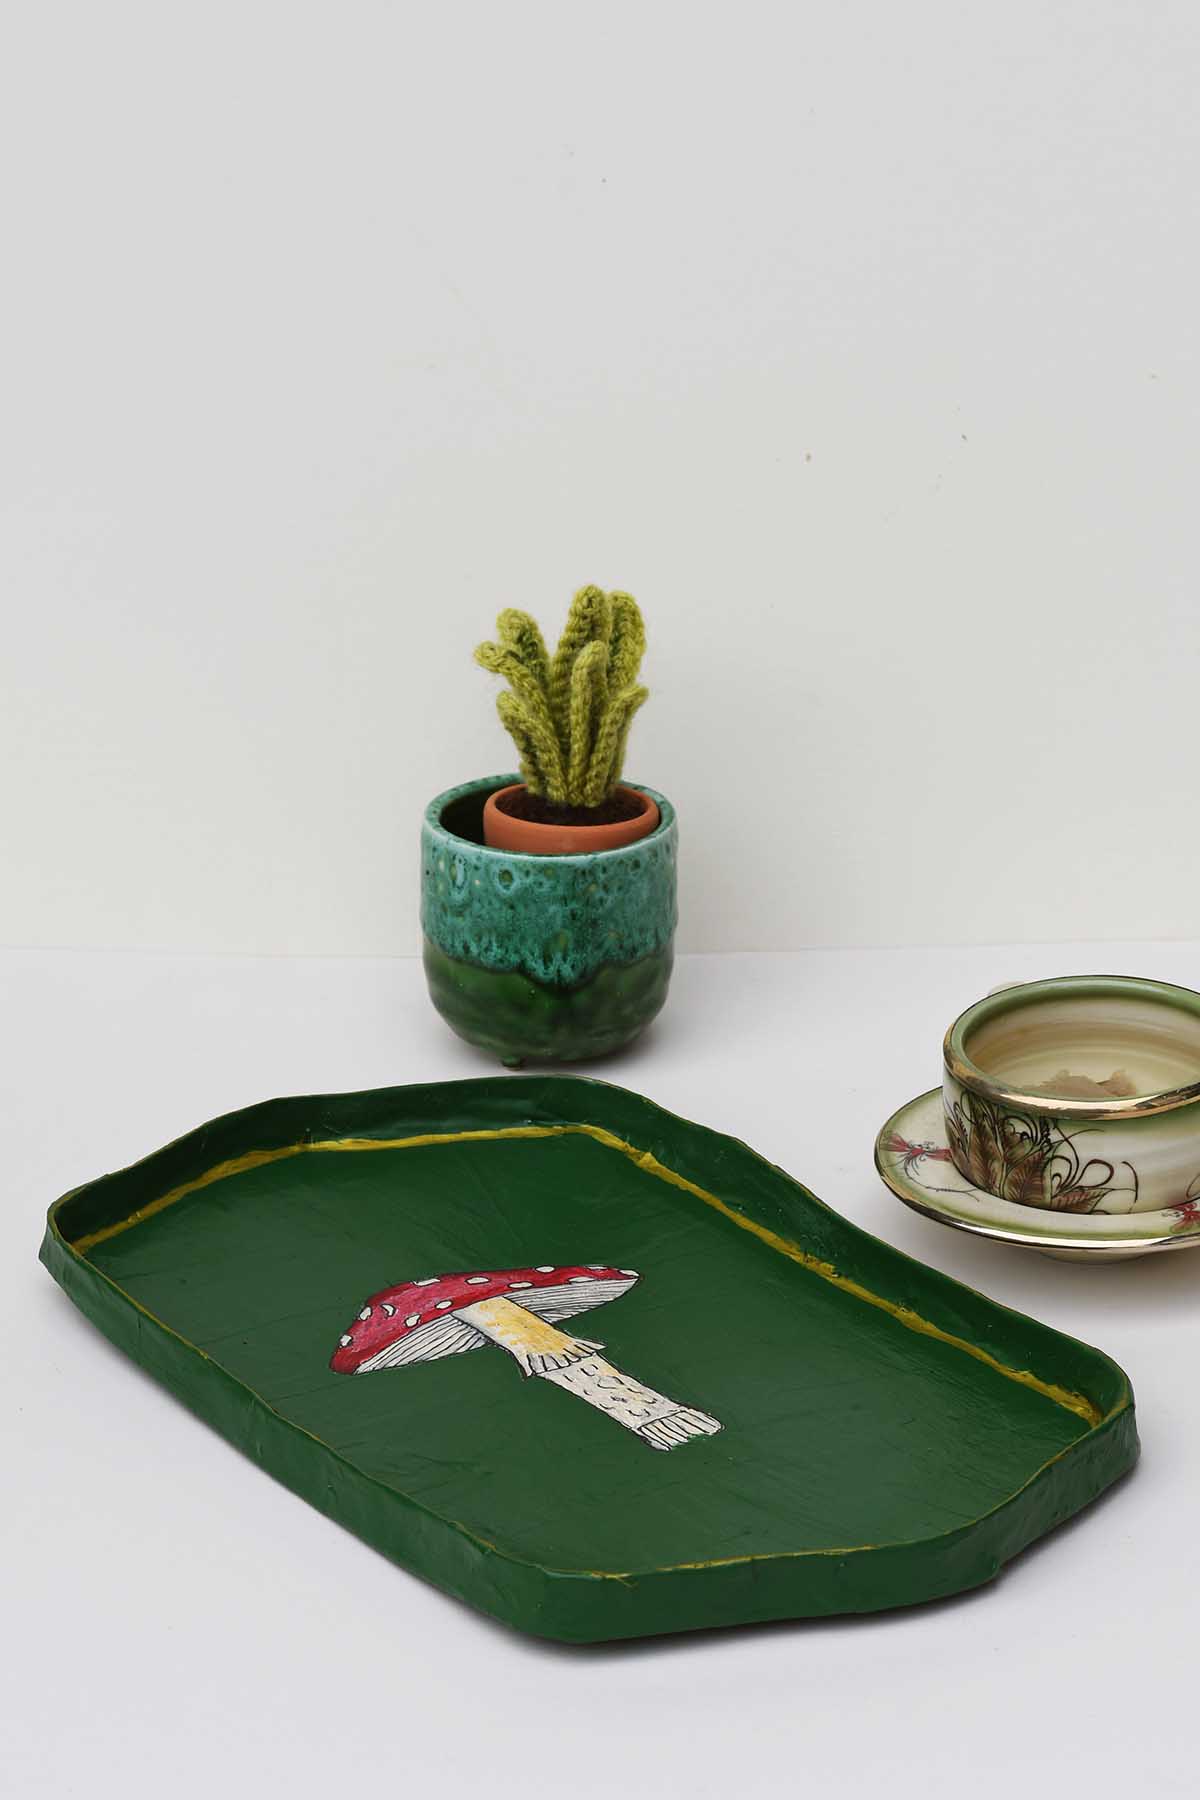
Step 6: Detailing: Use a pen to outline and add details to the mushroom design, filling in the colours with acrylic paint. For an extra touch of elegance, use a gold Sharpie to edge the inner lip of the tray.
Step 7: Finishing Touches: To protect your tray and make it splash-proof, finish off with a spray acrylic varnish. This will ensure your tray can withstand the wear and tear of everyday use.


Conclusion and Related Posts
Creating this mushroom-themed paper mache tray is not just a craft project; it’s an opportunity to bring a piece of nature into your own home. It’s perfect for use on your coffee table or as a decorative charcuterie board for your next gathering.
If you are a mushroom fan like me, check out these free vintage mushroom prints for decoupage or drawing inspiration. But if you prefer a floral tray, check out this collection of botanical drawing tutorials.
If you enjoyed this project, check out more of our paper mache crafts on the site, like the adorable paper mache tea cups or a paper mache bowl that pairs beautifully with this tray.
For those feeling adventurous, why not explore crafting with other recyclable materials from your bin, such as plastic bottles and wine corks, or experiment with different crafting mediums like air-dry clay?
And finally, if you still have plenty of cereal boxes left over, how about making these wonderful DIY magazine files?

sara/creativejewishmom.com
Friday 19th of April 2024
Wow Claire, just love these! thanks for sharing on craft schooling sunday!
Claire Armstrong
Monday 22nd of April 2024
Thank you so much.
Beverly
Thursday 18th of April 2024
What a great idea. Love your mushroom. Congratulations, you are being featured on TFT. I hope you stop by. Hugs, Bev
Claire Armstrong
Thursday 18th of April 2024
Thank you, that’s awesome I look forward to seeing it.
Julie
Saturday 13th of April 2024
I have the card, paper and paints, what I'm lacking right now is time to try this! Still never mind, that is what pinterest is for of course. I'll pin for when I do get a moment ! :-)
Claire Armstrong
Saturday 13th of April 2024
Thank you, paper mache takes a little time but well worth it. Thanks for the pin.
Tasha Loader
Thursday 11th of April 2024
Love this!
Claire Armstrong
Friday 12th of April 2024
Thank you, it's a handy little tray.