
Why did I decide to paint my shed with colour and a pattern?
I have a very modest walled town garden. No matter how small it was, any shed I got for the garden was going to stand out. So I decided that if the shed was going to dominate the garden then why not make it a feature.
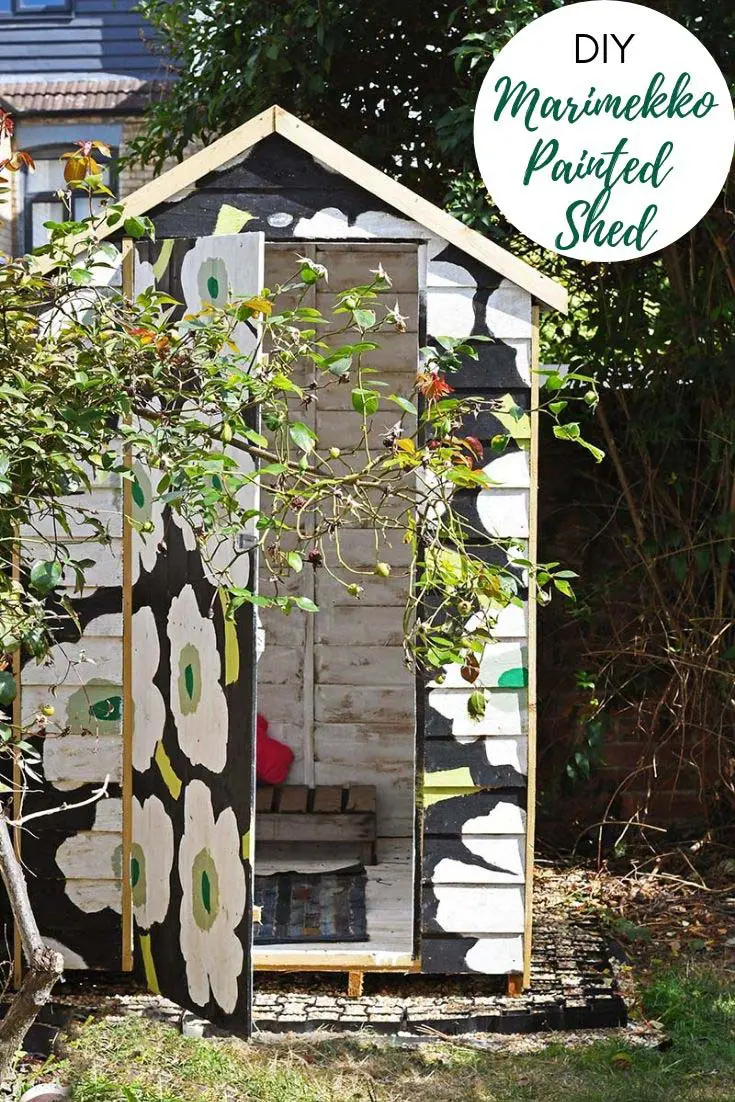
One way to make the feature fun to look at was to paint the shed with both colour and pattern. As the Marimekko Unikko pattern is one of my favourite I painted a Marimekko shed.
How To Paint A Shed With A Marimekko Design
A couple of years ago I Marimekko wallpapered the stairs in my home. They still make me smile every time I open the front door. So, I thought a Marimekko shed would make me smile every time I opened the back door.
It worked whenever I walk into the garden the first thing I see is the coloured shed and it makes the garden look happy, even on the dullest of days. Which we, unfortunately, have plenty of here in the UK.


We’re a participant in the Amazon Services LLC Associates Program, an affiliate advertising program designed to provide a means for us to earn fees by linking to Amazon.com and affiliated sites. As an Amazon Associate, I earn from qualifying purchases.
Building a New Shed Base
This wasn’t an existing shed but a new one I bought for my garden. However, painting a new shed is very similar to paining an old one. Except it’s slightly easier to paint a shed before it’s been built.
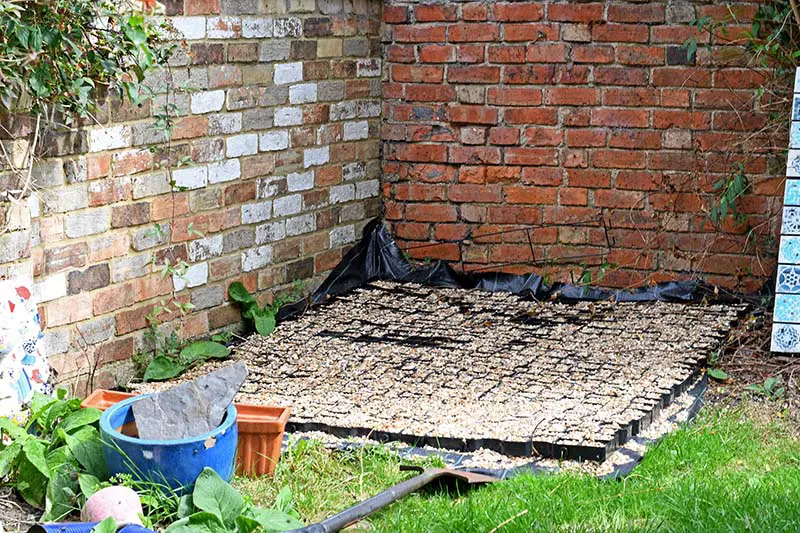
I’d been after a shed to keep all my upcycling bits and pieces in for awhile. But the idea of building a concrete base for it had put me off. However, once I discovered that there was any easy alternative to the concrete base, I decided to go for it.
Now you can make a base for a shed using an affordable interlocking plastic base filled with gravel.
To prepare a base for the shed, I cleared and leveled the ground. I then placed a weed barrier, followed by the plastic base. The gaps in the plastic base tiles were then filled with gravel.


Method of Painting a Shed with Colour and Pattern
Choosing the Colour To Paint
The iconic Marimekko Unikko pattern comes in loads of different colourways. However, when painting a shed with colour you have to bear in mind, garden paint comes in a limited range of colours.
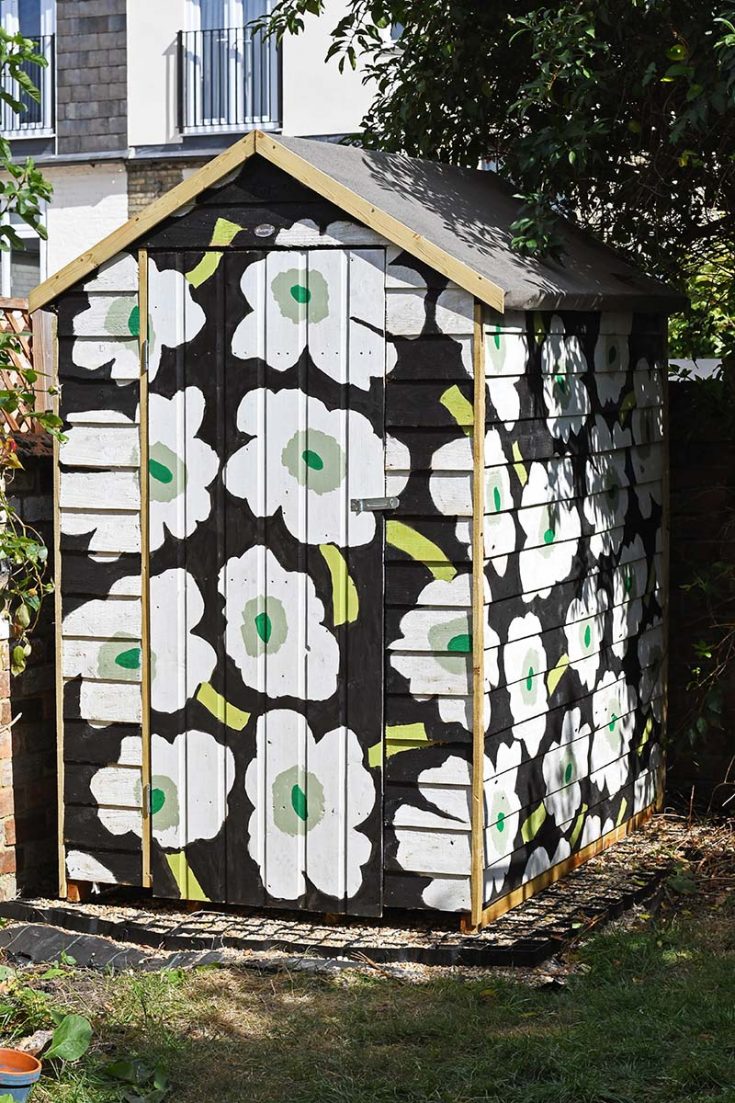
So even though part of me would have loved to really gone out there and chosen the popular pink/red colourway. I rained it in and painted the shed in more traditional garden colours of black, white and various shades of green.
All the paints used for the shed were garden paints suitable for outside wood. I used a mixture of brands (Cuprinol & Ronseal) to get the range of colours needed. The colours used were:
- White daisy
- Black Ash
- Spring Green
- Lime Zest
- Alpine Emerald
I managed to get away with tester paint pots for the lime green stalks and the dark green centers of the poppies.
Drawing out the Pattern Design
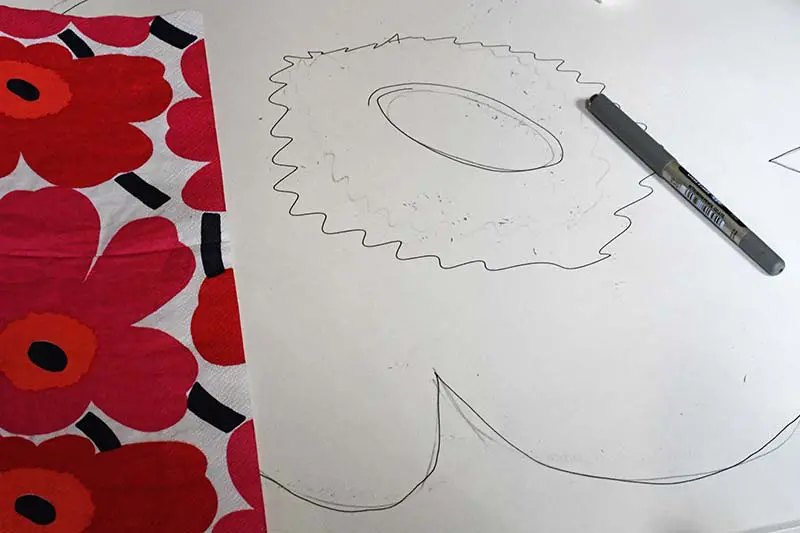
1. Firstly, on some large A2 sized art paper, I drew out 3 different poppies by hand based on the Unikko poppies on a Marimekko paper napkin. You can download my poppy designs here.
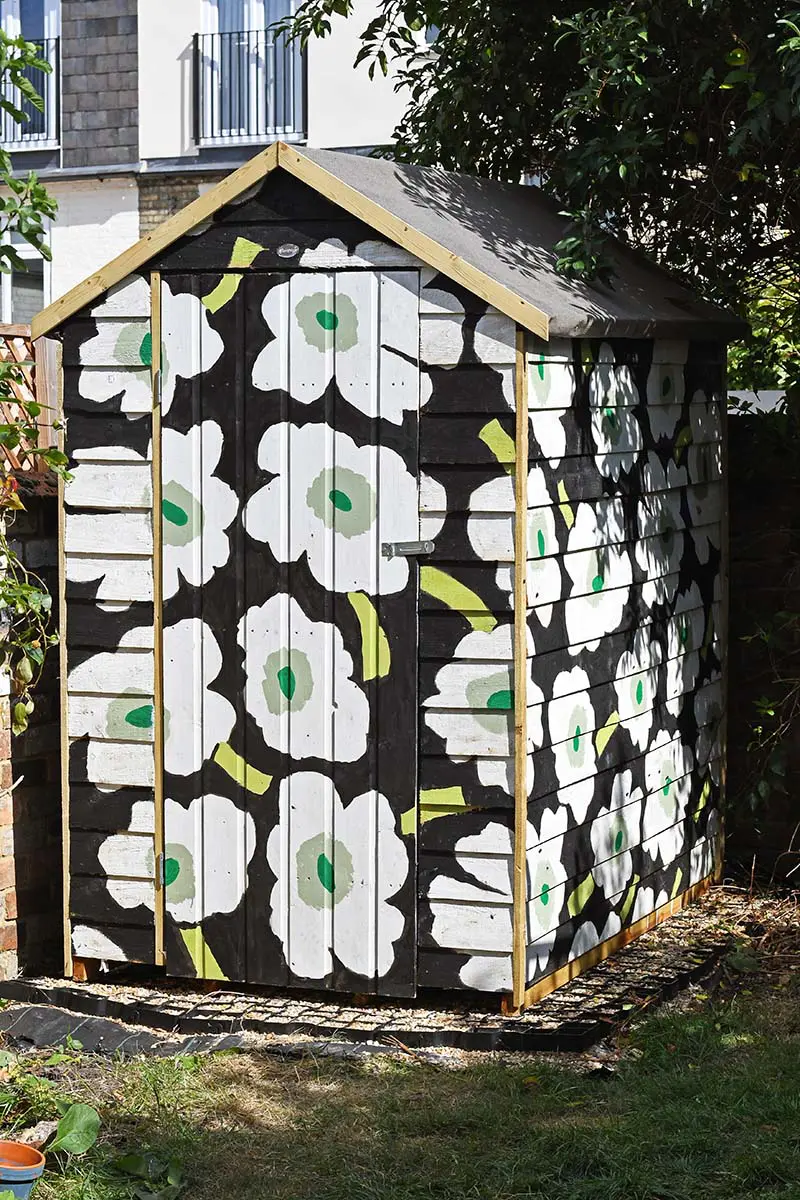
I only painted 2 sides of the shed with the poppy pattern. As the shed was going to be in the corner of the garden, only 2 sides were going to be on show. The other two sides I simply painted in the black background colour.

2. Next, I cut out each poppy design and using a Marimekko paper napkin as a guide, I drew out the poppies on to the shed. To start off I just drew around the outline of each flower and the stems.
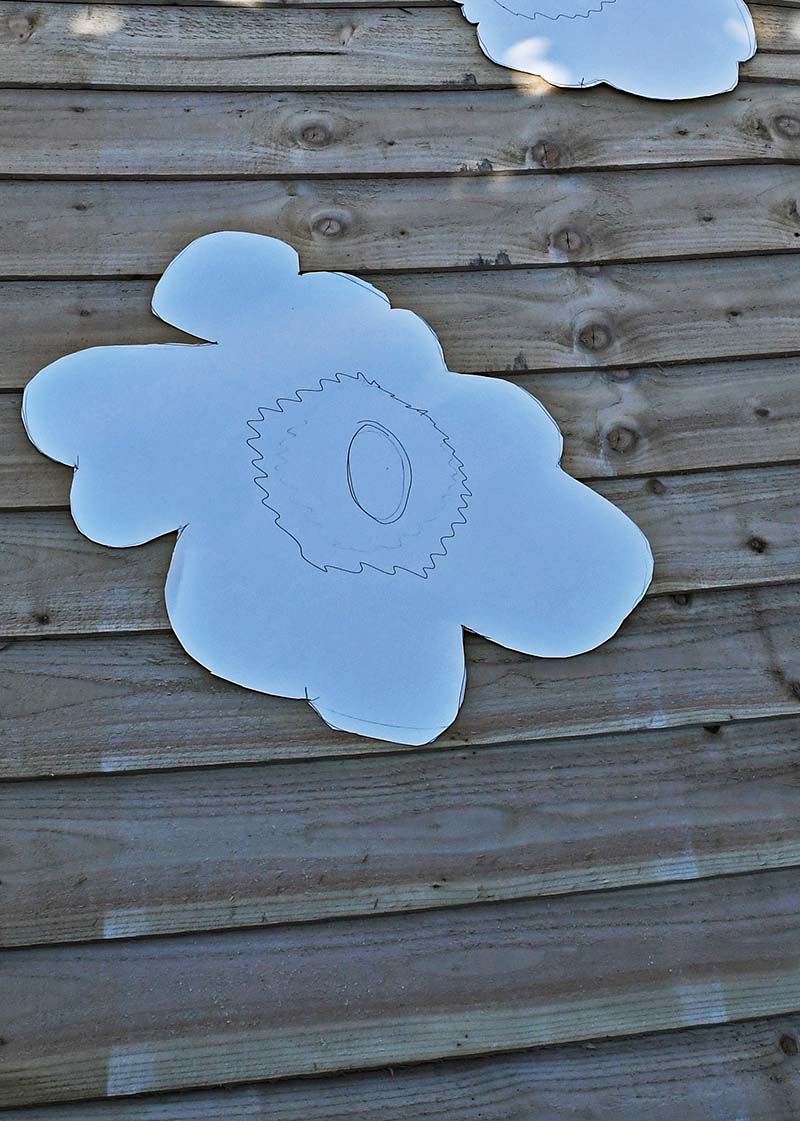

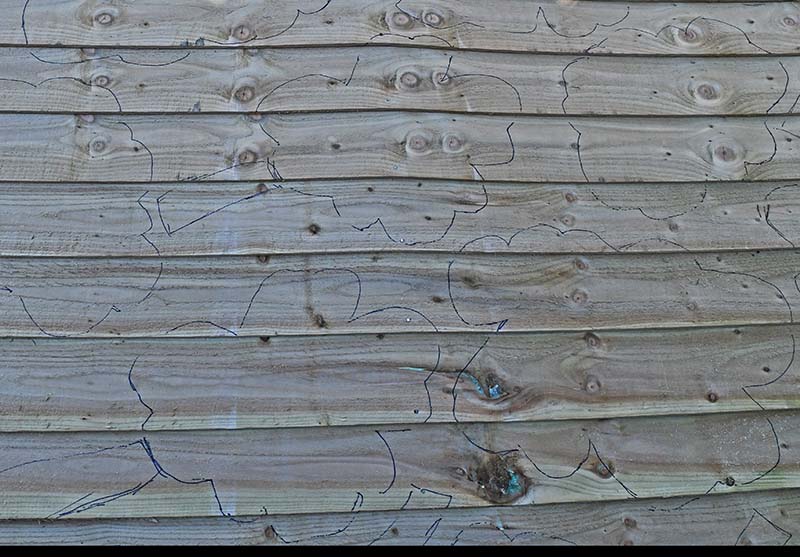
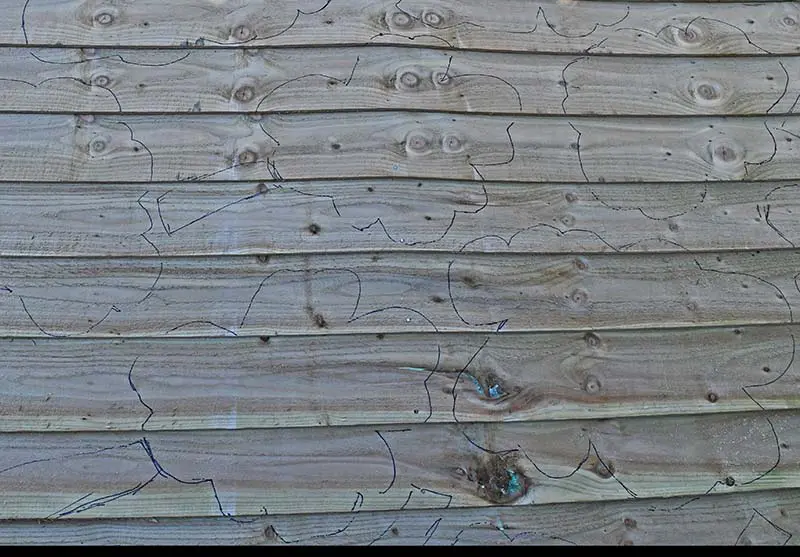
The poppy design was drawn on both sides of the shed that was going to be painted. Ensuring the design would wrap around the corner.
Painting A Shed With Colour
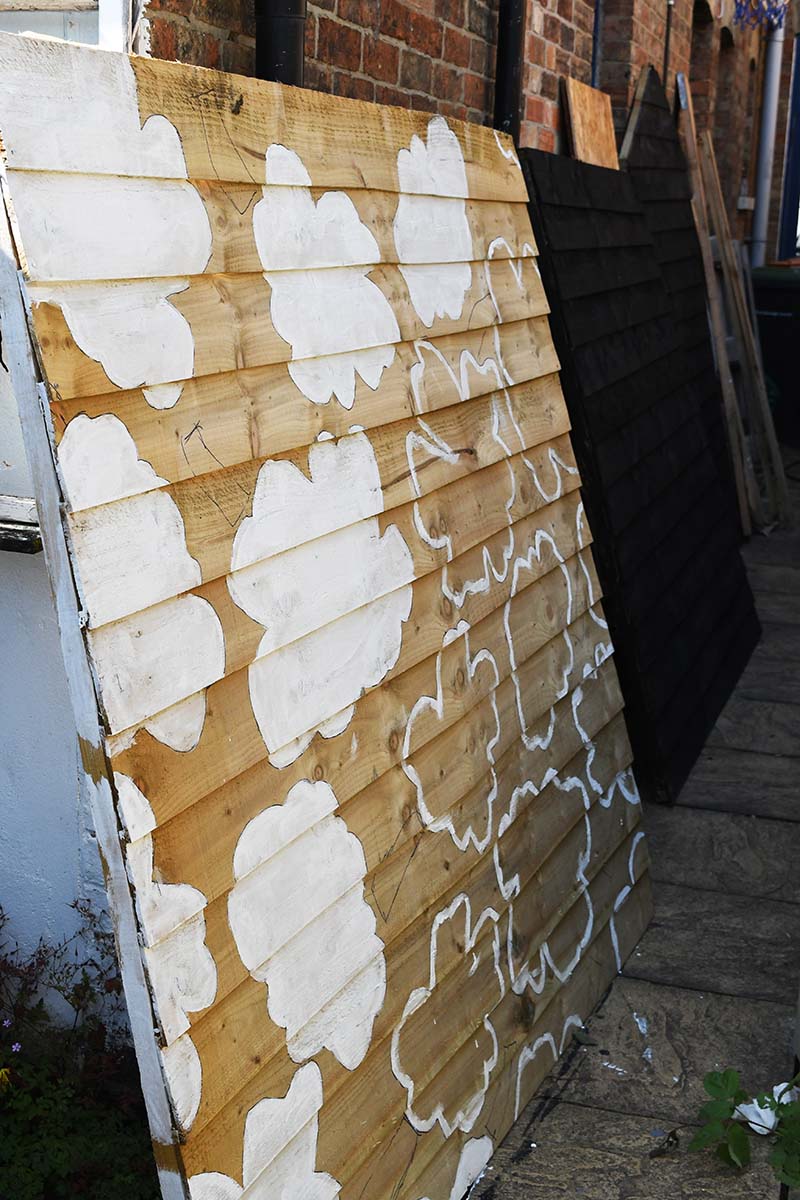
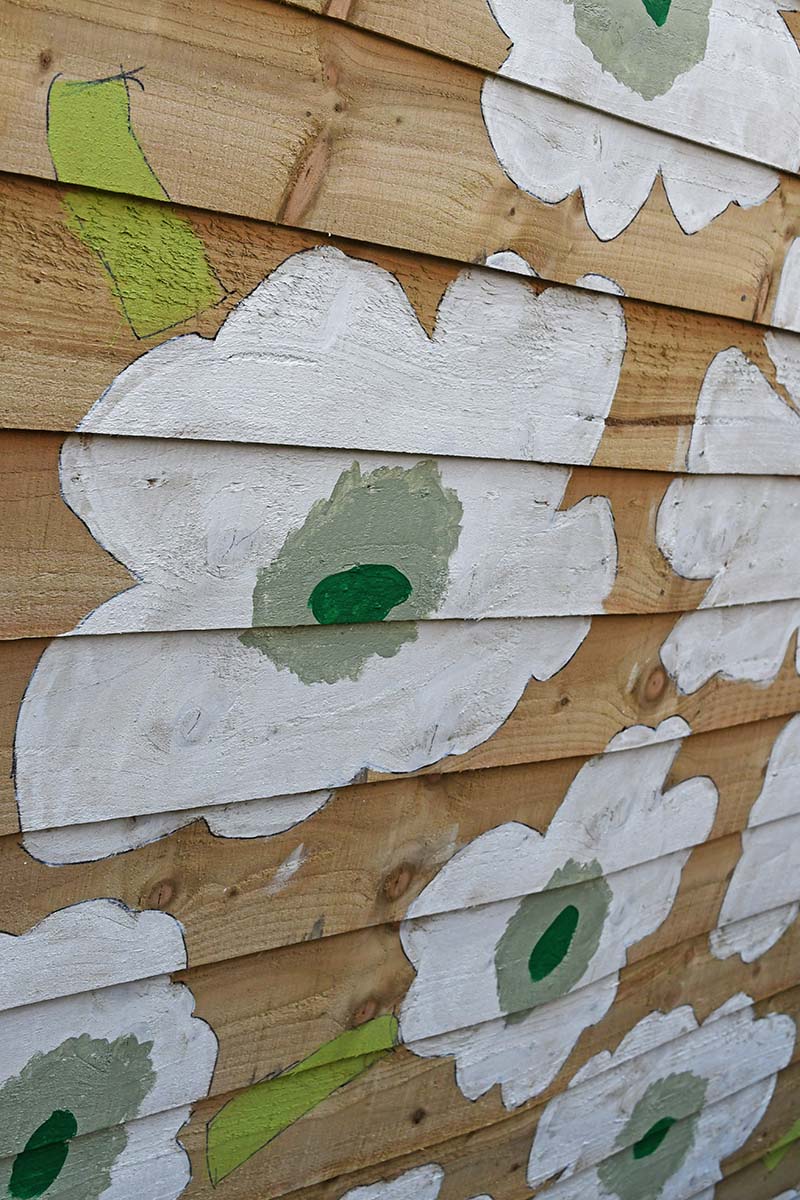
3. The colour I chose for the poppies was white on a blackback ground. So that the black wouldn’t show through the poppies. I painted the flowers first, followed by the background colour. I also painted the stems of the poppies a lime green colour.

4. Next, I cut out the center of each template and used these to draw the centers of each flower with a pencil.
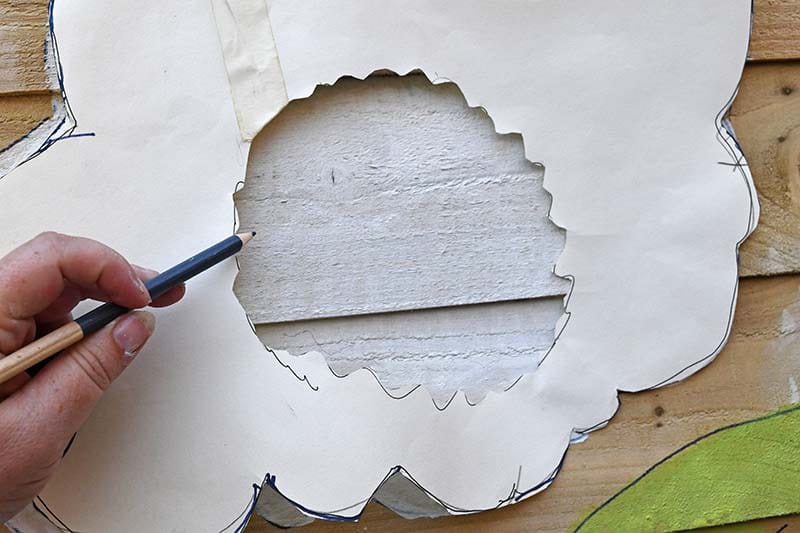
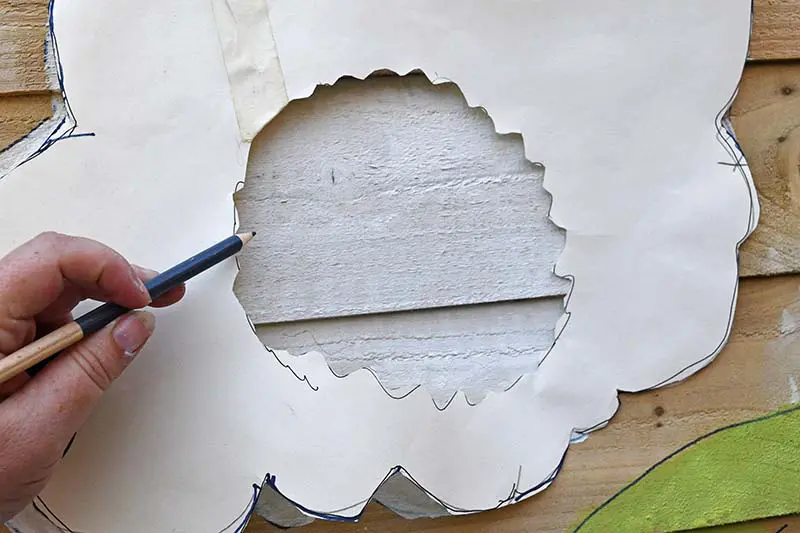
5. The center of the poppies was painted a sage green followed by a dark green for the very center.

6. Finally, to finish off the pattern the background was painted black.

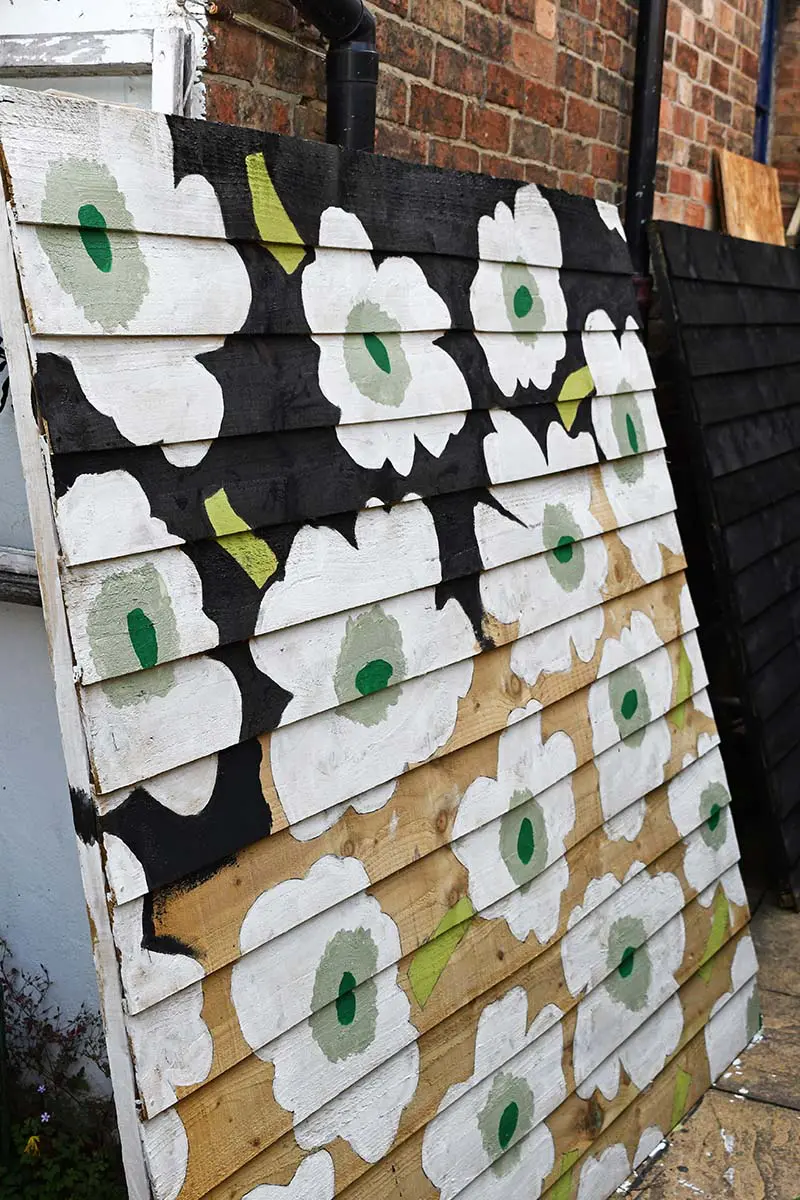
As I had some white paint left, I decided to whitewash the inside of the shed. This was to give it a brighter and fresher look.
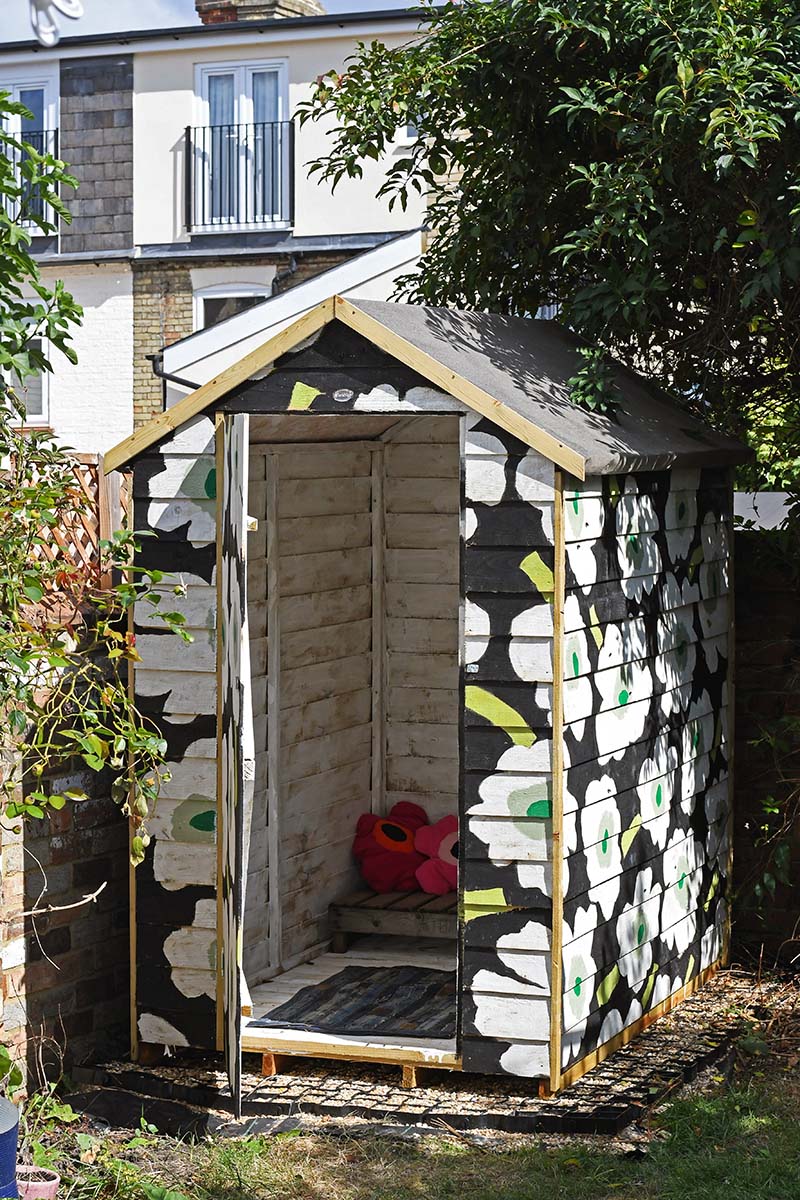


I’m really pleased with how the shed turned out. Painting a shed with colour and pattern turns it from an eyesore into a feature in the garden.
The only thing now is I’m reluctant to put anything in the pretty shed. I just love sitting in the empty space having a quiet coffee. It’s my new hiding place! I think I’ll enjoy it for another week or 2 before filling it with all my stuff.

Painting a shed with colour and pattern

Instead of your garden shed being an eyesore in your garden, why not make it a feature. By painting the shed with colour and pattern you can make it a fun unique feature. I love the iconic patterns of Marimekko and used it as the inspiration for the colour and pattern design of my painted shed.
Materials
- Garden wood paint in black, white and three shades of green
- Poppy template - download from the site
Tools
- Pencil
- Paint brushes
Instructions
- Draw or print out the poppy designs and cut them out
- Place the poppy templates on the shed and draw around them to outline the pattern
- Paint the poppies white
- Paint the stems lime green
- Using the poppy templates again, draw the center of each poppy.
- Paint the center of the poppies 2 shades of green
- Finish off by painting the black background
This shed featured on the 50 cool upcycled garden ideas.
You might like some of these other Marimekko crafts and painting DIYs such as my Marimekko garden bench.
If you are looking for more DIY garden ideas visit the DIYideacenter.com
Patty Davenport
Saturday 18th of February 2023
Such a cute and creative idea
Claire Armstrong
Saturday 18th of February 2023
Thank you so much, I love it in the garden.
Donna Jo Wolfe Armstrong
Wednesday 28th of July 2021
I will be getting a shed soon (I hope), I had not thought of painting a big bold pattern on it. I love yours so much! Thanks for the inspiration.
Claire Armstrong
Wednesday 28th of July 2021
Thank you. I love my shed, it makes me smile every time I go into the garden.
Deirdre Henry
Saturday 15th of May 2021
What a wonderful way to brighten up ones garden. Love it. Clever idea. Thank you for sharing.
Claire Armstrong
Saturday 15th of May 2021
Thank you, it certainly does ????
Sylvia Kendall
Saturday 26th of December 2020
Love this beautiful little shed. It's given me lots of ideas for our two big shipping containers (one is a fully equipped workshop and the other is for storage of junk mostly lol). Don't think hubby will be keen on a floral theme but maybe birds or trees or lots of pictures of his dog - YES!
Claire Armstrong
Monday 28th of December 2020
Thank you, I have seen painted container sheds and they do look great. I'm envious of you having one as a workshop.
Kirsty
Saturday 26th of September 2020
I have spent the last few days erecting my shed, all to store wonderfully upcycled decorations. I managed to convince the other half it needed to be colourful and opted for a lovley lavender purple... not sure he would have been keen on the flowers but perhaps when he isn't looking I will slowly add them LOL
Claire Armstrong
Sunday 27th of September 2020
That sounds like it will be a lovely shed. Mine still makes me smile every time I look out the window and it catches my eye.