
DIY Unique Kitchen Storage With A Repurposed Chair Back
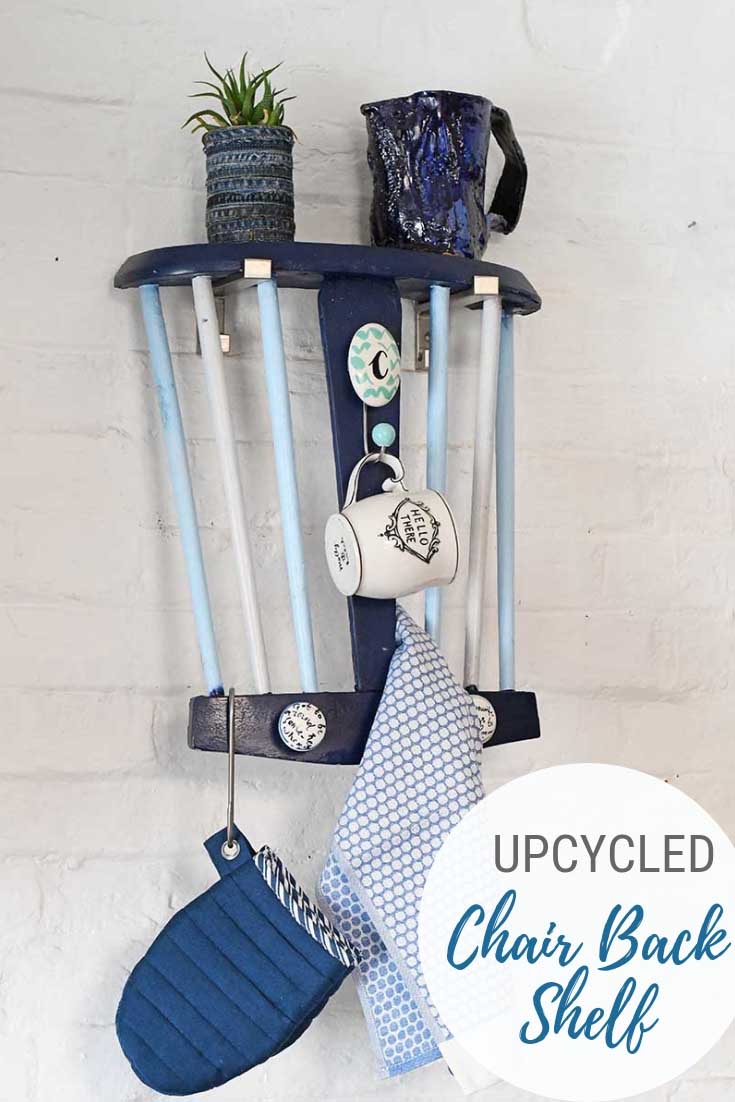
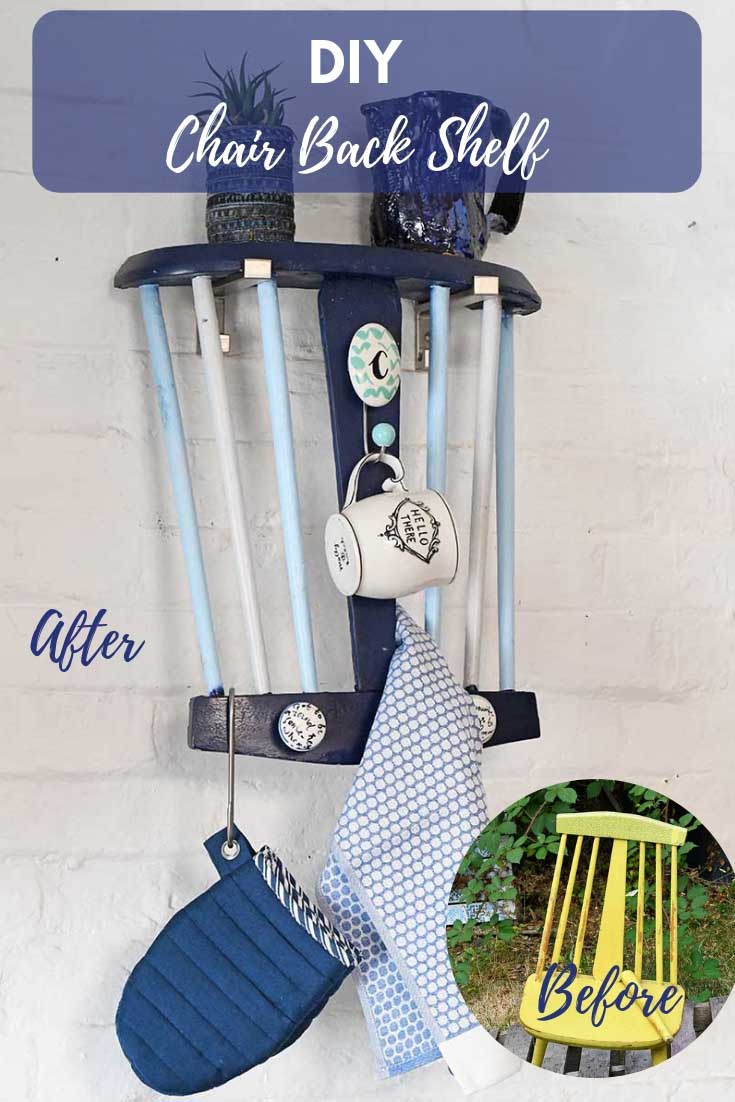
After another chair leg broke beyond repair, I couldn't resist upcycling it. I salvaged the chair into some handy extra storage for my kitchen using the repurposed chair back.
Wooden chairs often get broken in my house. It's not because we throw them around like some bar room brawl you see in cowboy movies, but we are all rockers in my family.
That is when we sit down on a chair for some reason we like to rock back on two legs. It's a terrible habit playing chair wheelies, often there are casualties. Not just the embarrassment of rocking too far back and losing balance, but sometimes the strain is just too much and the chair breaks.
How To Make A Kitchen Rack From A Repurposed Chair Back
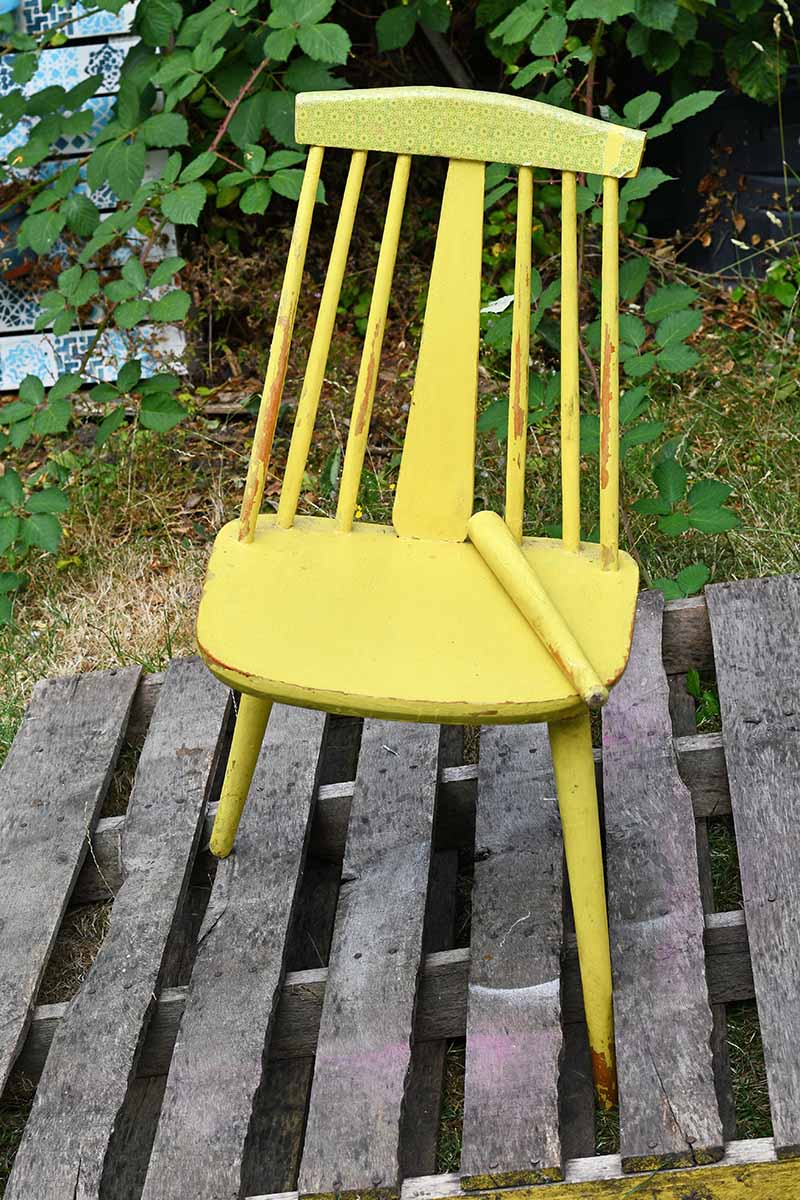
The leg of the latest casualty was beyond repair. The wood where it slotted into the base of the chair was all split. It also looked like the other legs were going to go soon too! Therefore I decided to focus on repurposing the chair back into something for the kitchen.
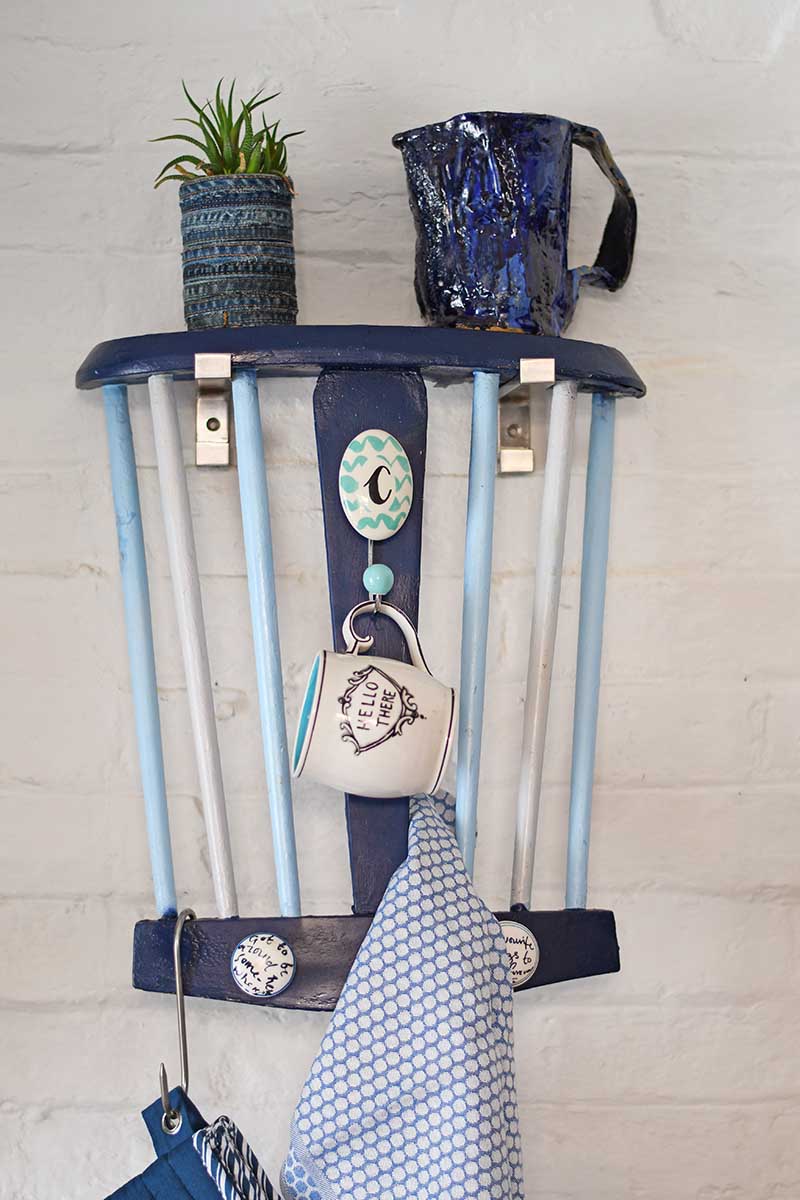
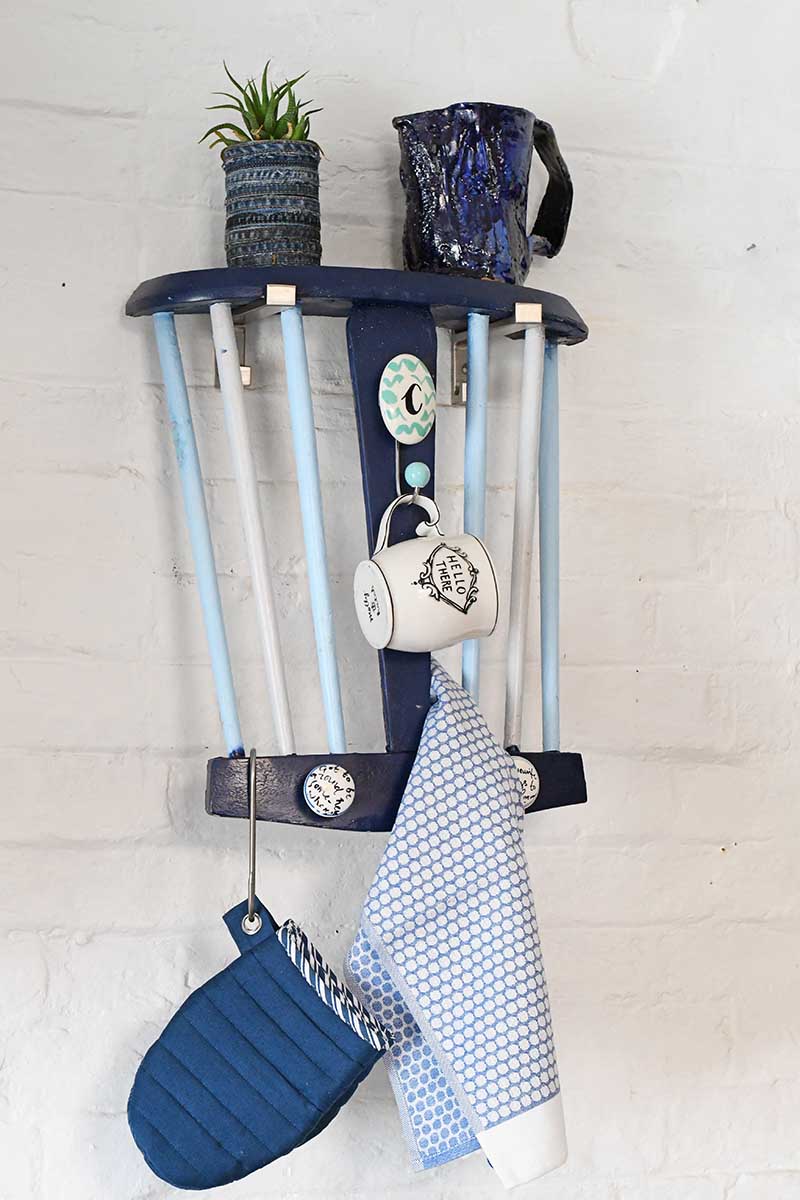
I'm pleased with how versatile this repurposed chair back turned out. Not only did it produce a handy little shelf, but it also provided me with somewhere to hang my tea towels. By painting it blue, I managed to coordinate it with my blue-painted worktops.
We're a participant in the Amazon Services LLC Associates Program, an affiliate advertising program designed to provide a means for us to earn fees by linking to Amazon.com and affiliated sites. As an Amazon Associate, I earn from qualifying purchases.
What you need to make a repurposed chair back storage rack
- An old wooden chair back that is still attached to its seat. If you don't have one, ask friends and family, or look out for one in a dumpster. Hopefully, it should be quite an easy source of a broken chair for free.
- Saw for cutting through the chair seat. A hand saw would be fine. It would just take a little longer.
- Paint for the chair. I went for the easy option and used spray paints in various blues for my repurposed chair back.
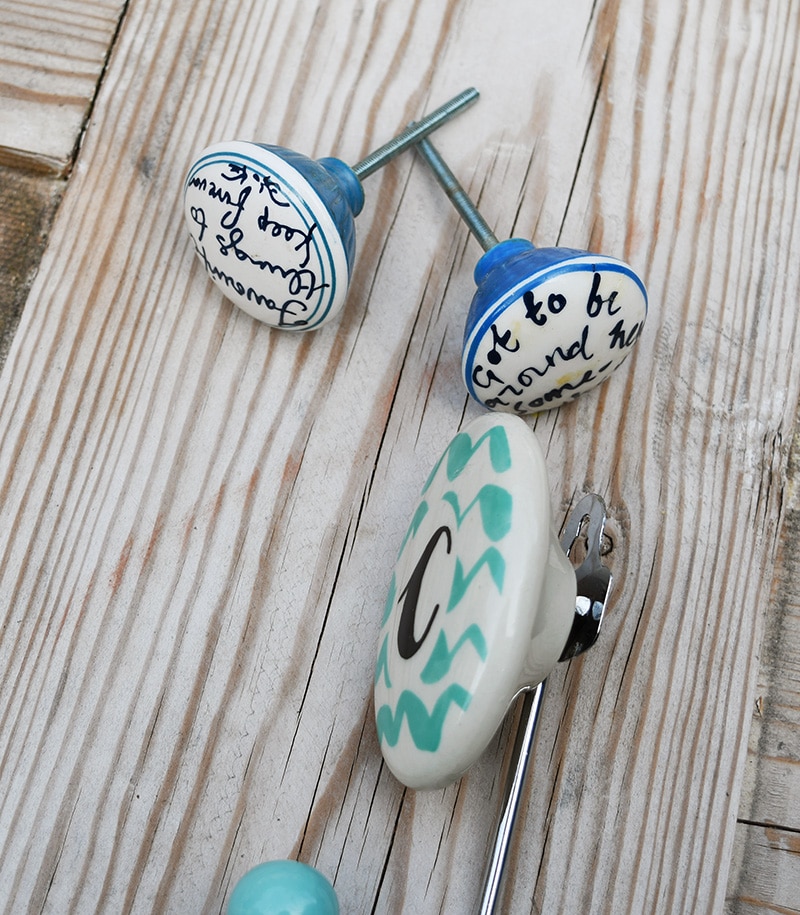
- Blue ceramic hooks and knobs to decorate
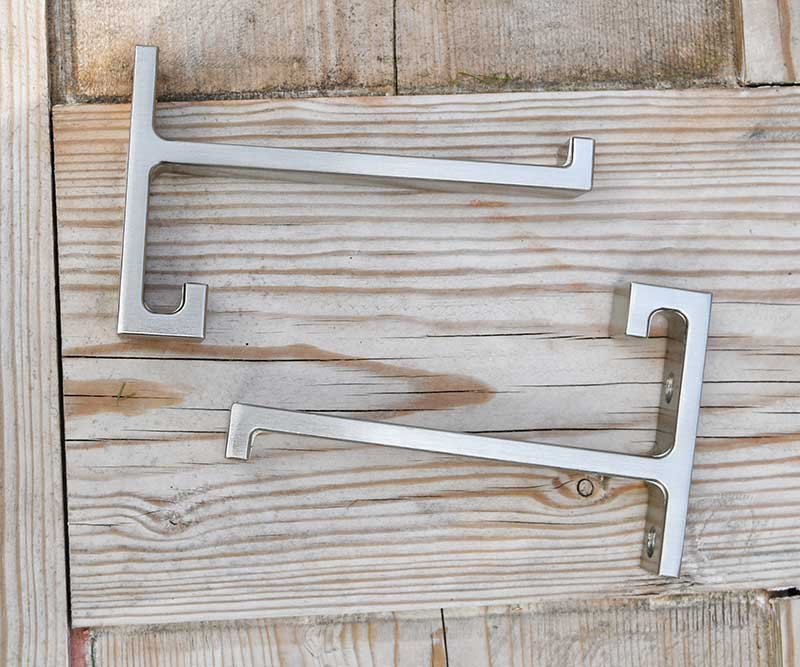
- Two brackets for hanging the chair back. I used these from IKEA because they were in my hardware box. I'd bought them ages ago for another project and never used them. But any other similar shelf bracket will do.
How to Make a Chair Back Shelf.
Step 1: The first thing to do is remove all the legs from the wooden chair so you are only left with a seat and back.
Use a ruler to mark a line across the back of the chair so that you are left with a shelf about 6 inches deep. This may vary depending on how curved your chair's back is. I made my sharpie mark as close to the back of the chair as possible whilst keeping all the spindles intact.
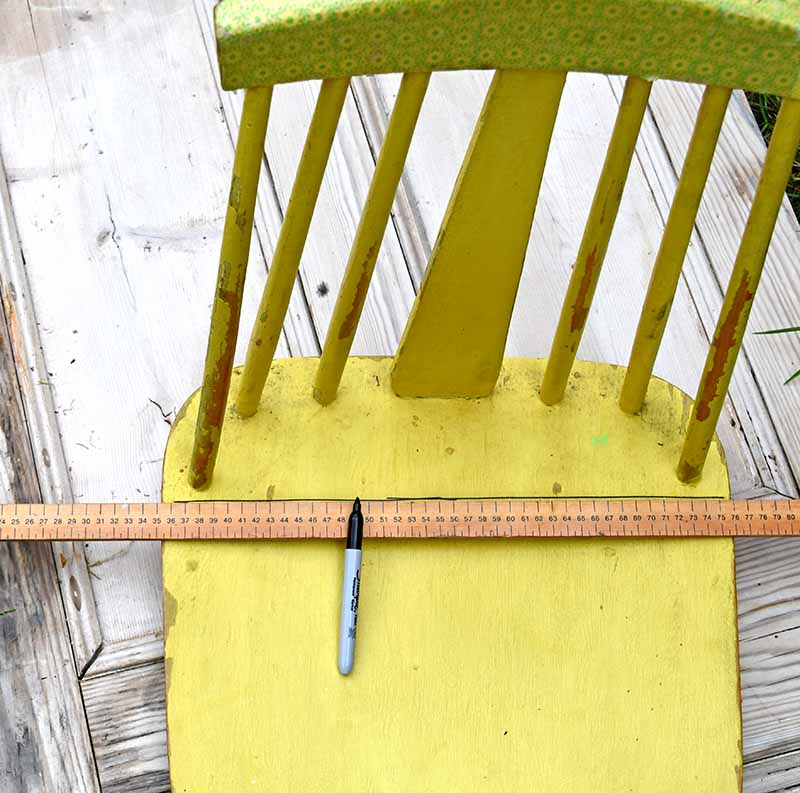
Step 2: Next, using a saw, cut the chair along this line. I used a reciprocating saw, as I'm lazy. A good hand saw should work just as well.
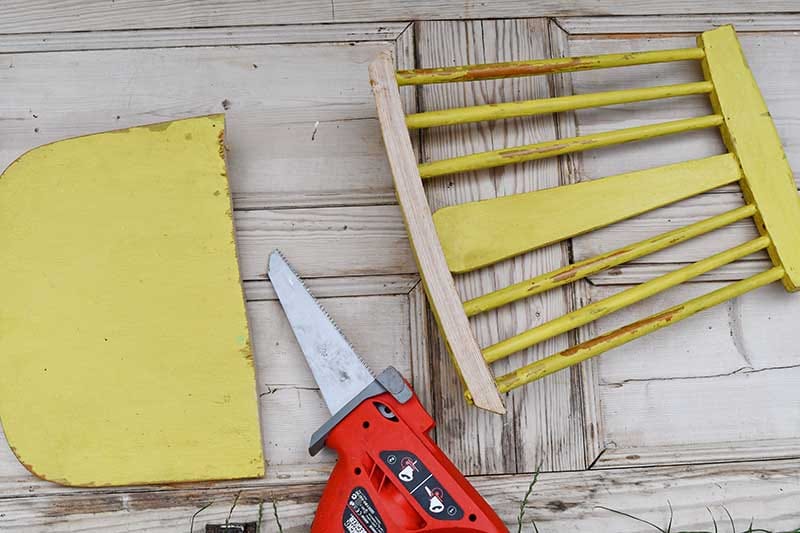
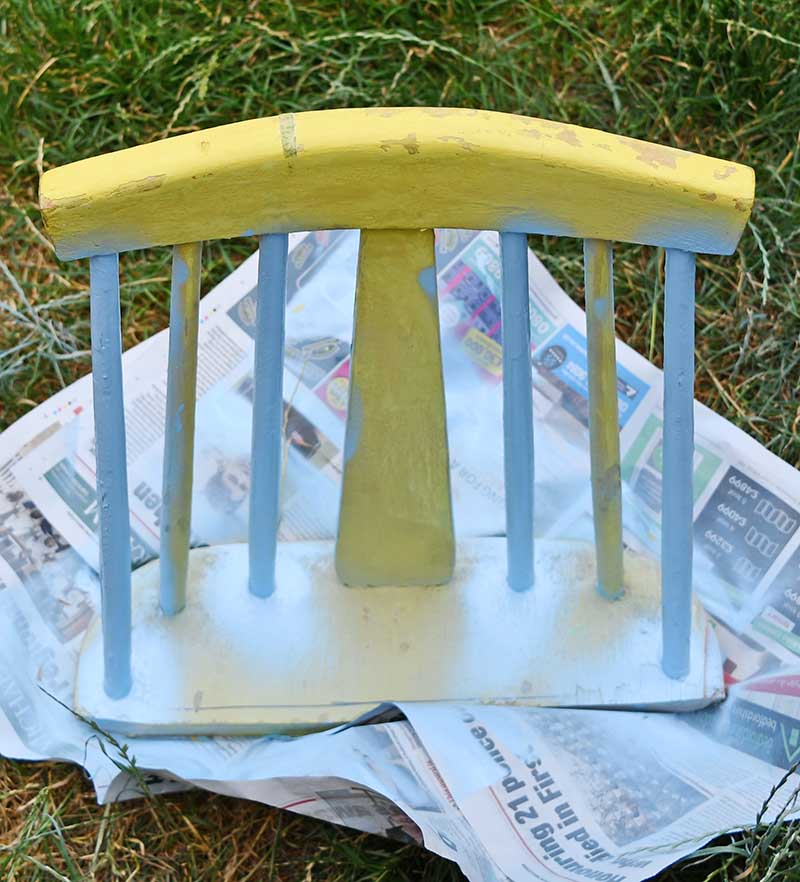
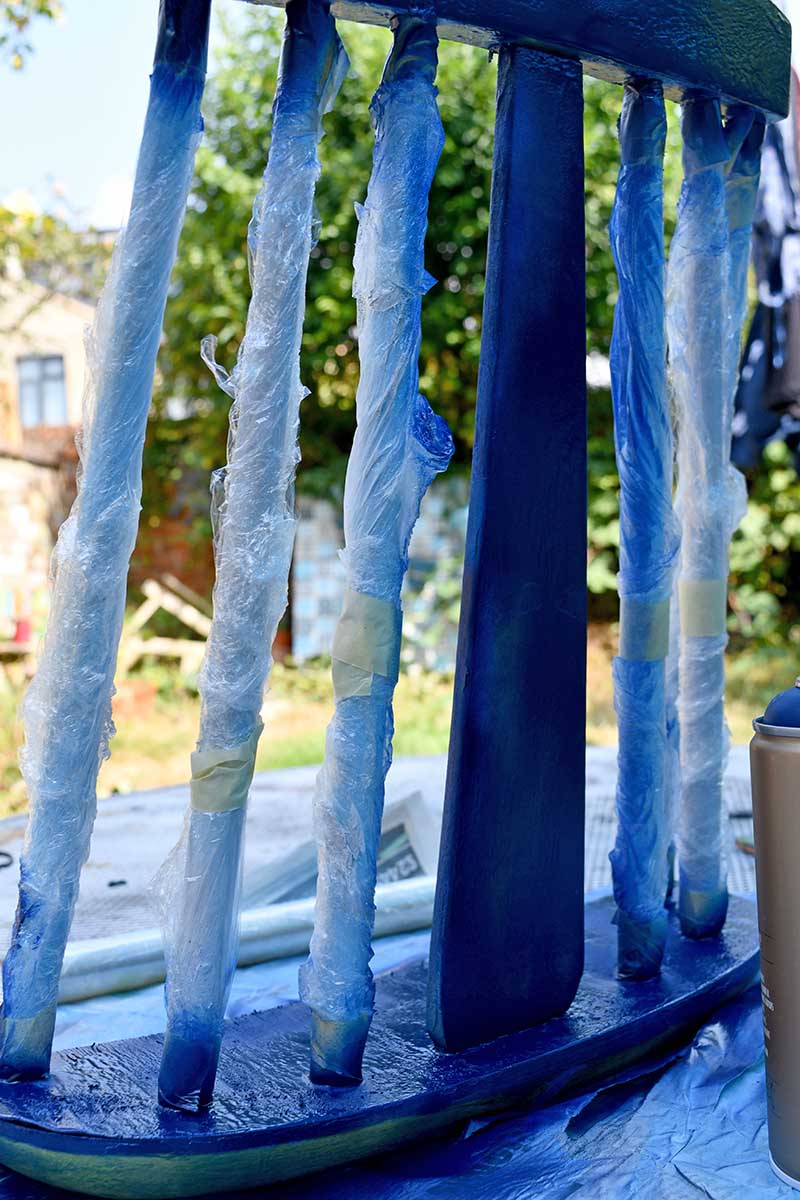
Step 3: The next thing I did, painted the chair back. I first painted the spindles in different blues, followed by the rest of the chair. I used cling film to cover the painted spindles when spraying with different coloured paints.
Step 4: To finish off the repurposed chair back, I just added the hooks and knobs to the frame.
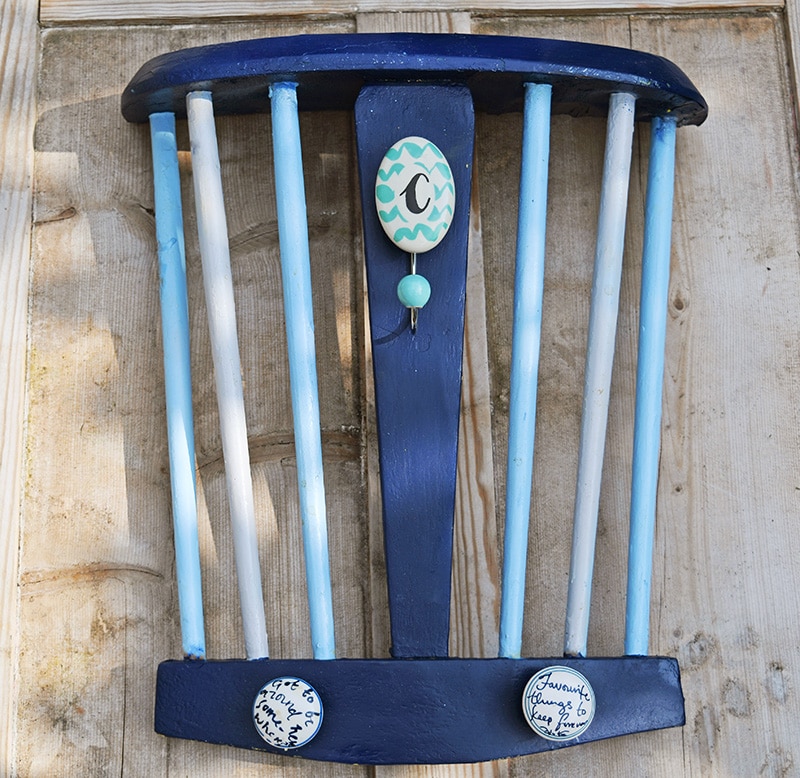
Step 5: Finally, the chair was hung on my kitchen wall using the IKEA shelf brackets.
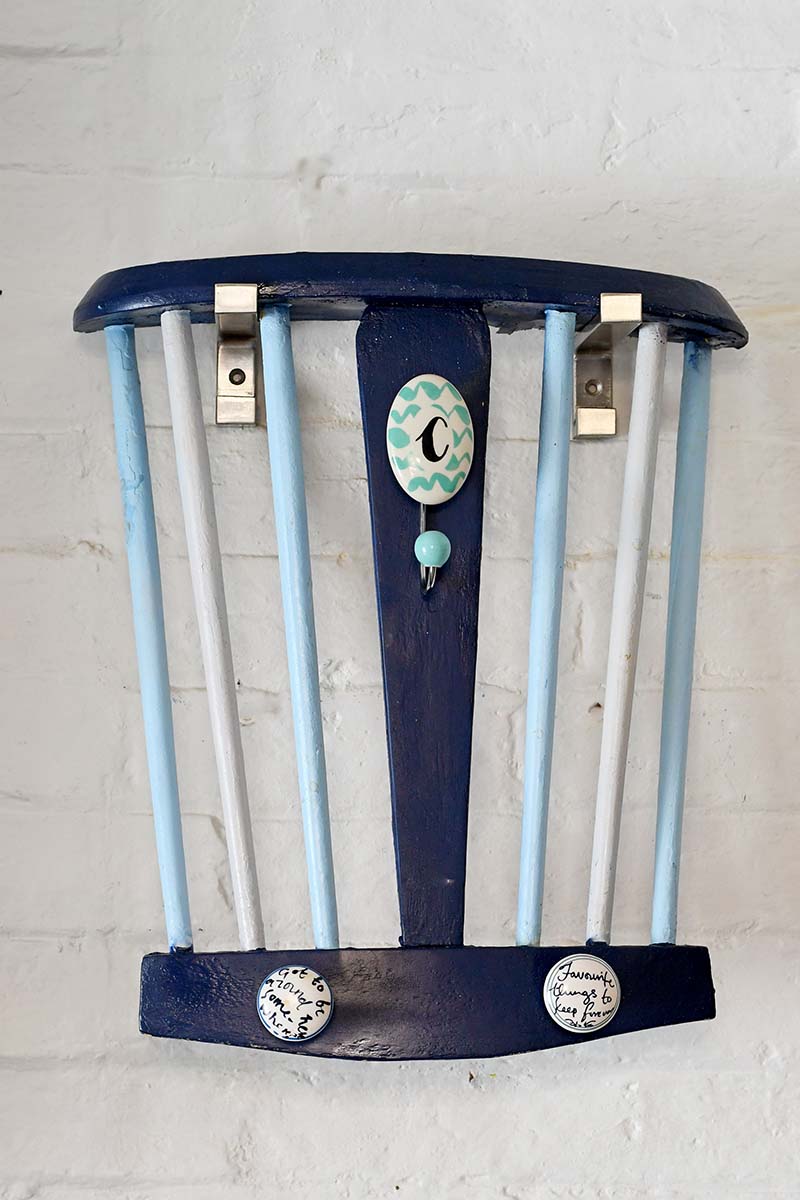
This repurposed chair fits in with my blue kitchen with its painted blue worktops and is a handy cute little bit of extra storage.
Another good upcycled storage solution for the kitchen would be these upcycled bed slat shelves.
If you liked this, you should check out the handy storage shelf I made from upcycled drawers for my bathroom. I've even made a handy denim DIY magazine rack out of old jeans and copper pipping.
What a cute idea! Never would have thought of this! You utilize parts of the chair beautifully
Thank you, Maria. It is a handy shelf in the kitchen.
What a fun way to repurpose an old chair! Turned out really pretty! Love the pull knobs!
Thank you, I just happened to have the knobs in my stash and thought they went well with the blue of the chair.
What a fab idea, I also clicked over to see your magazine rack, I could definitely make one of those. Great creative ideas, thanks for sharing.
#goinggreen
Thank you so much ?
I am not at all crafty so I always admire other people's ways of creating things. This is fab!
#goinggreen
Thank you so much, Karen. I'm sure your crafty, it's like everything else it just takes a bit of practice.
I love this but I am wondering if there is an alternative you could use to the clingfilm when spray painting? Any ideas? I suppose you could solve the problem if you only painted one colour (more boring) or painted on with a brush - is this feasible? #GoingGreen
You can use whatever you want when spray painting just old newspaper!
Looks very cool, love it 🙂
Thank you so much!
So clever to use the chair seat to make a shelf. Love this idea and thanks for sharing on Merry Monday.
Thank you, it has proved to be handy.
This is brilliant Claire. I love how the old seat becomes a little shelf at the top. So clever.
The knobs you found are super pretty too. Our local TKmax often has lovely unusual knobs too.
Thank you, Julie. Yes those pretty knobs seem to be everywhere now.
That’s adorable! Great Save!
Thank you I love to repurpose when I can.
Love the repurpose and looks fantastic! Thanks for sharing on To Grandma's House We Go!
Thank you so much!
I love this idea and your hardware is perfect! Thanks for sharing at Vintage Charm!
Thank you, I love to collect knobs and hooks.
Awwww this is a super way to repurpose a chair back. Love the fact that you used the seat portion to create a shelf and the way you added hooks and knobs. So cool Claire
Thanks Michelle. I hate seeing things going to waste and I genuinely needed somewhere to hang my tea towels.
Very creative and clever re-purposing projects! Love the knobs. Visiting from Sundays at Home.
Thank you Victoria.