
How To Upcycle Bed Slats Into Cool Decor
I repurposed and upcycled the bed slats off my son's old bed. We'd tried several times to repair the bed without much success. The frame was split and warped. It was time for it to go to the dump.
I wasn't comfortable with this, as I ordinarily rescue stuff from the dump rather than put it there! So I hung onto the bed slats to make myself feel better. It didn't take long for me to think of a way of upcycling them.
(There is a printable how-to card for this craft at the end of the post.)
DIY Bed Slat Shelves
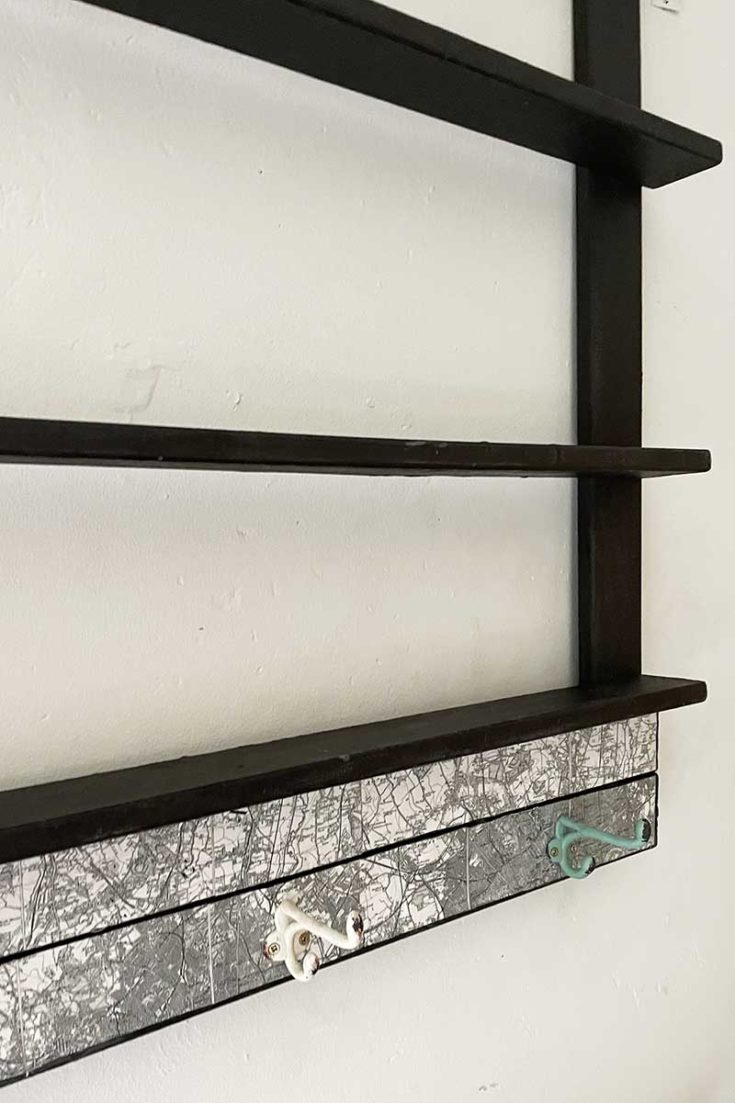
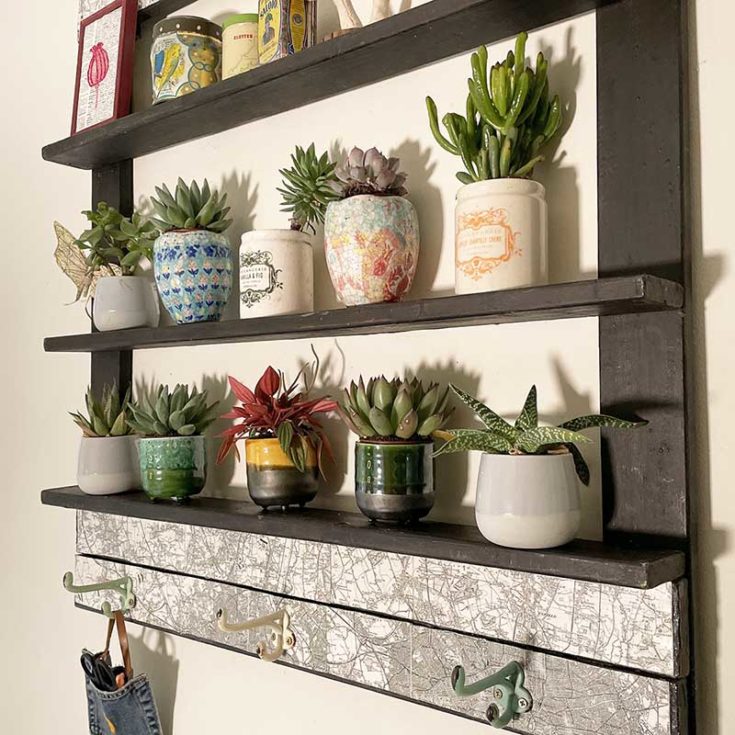
I've repurposed my son's old IKEA Hemnes day bed slats into a unique set of DIY shelves. These lovely shelves are not very wide, so they are handy for narrow spaces. I've added a few hanging hooks to the base of the shelves to give them an extra surprise bit of functionality.
I also decorated them with some vintage road maps to make them more exciting and to match my decor.
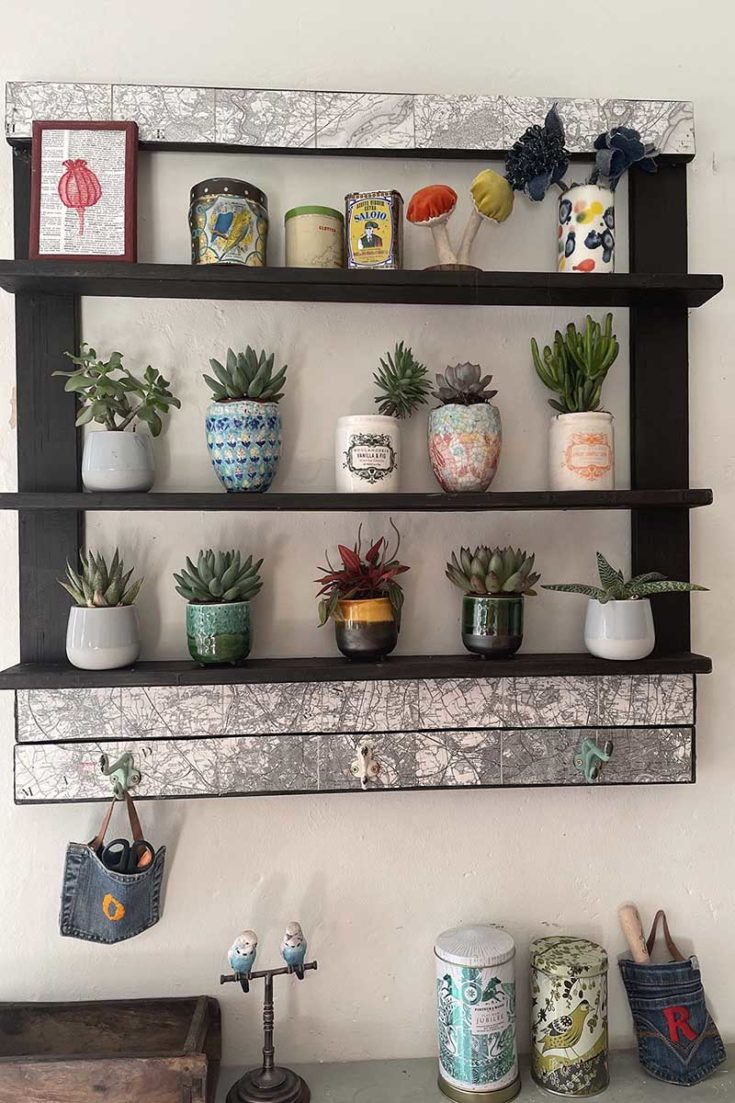
I use the DIY shelves purely as decor to display my mini succulent collection. They make great plant shelves, but I think a set would be handy in the kitchen. The shelves are just the right size for sauces and spices. The hooks would be great for tea towels and pot holders.
Another set of these bed slat shelves would also be handy for the craft room. I could put all my cans of spray paints and sample pots on the narrow ledges.
Luckily, there were many wooden slats on his Hemnes bed, so I have enough to make a couple more of these shelves.
If you don't have an old bed to upcycle and repurpose, you could still make one of these handy shelving systems with similar-sized wooden battens.
It is a very easy upcycle; the only power tools used were a drill and a power file. And the power file is optional!
We're a participant in the Amazon Services LLC Associates Program, an affiliate advertising program designed to provide a means for us to earn fees by linking to Amazon.com and affiliated sites. As an Amazon Associate, I earn from qualifying purchases.
What You Need
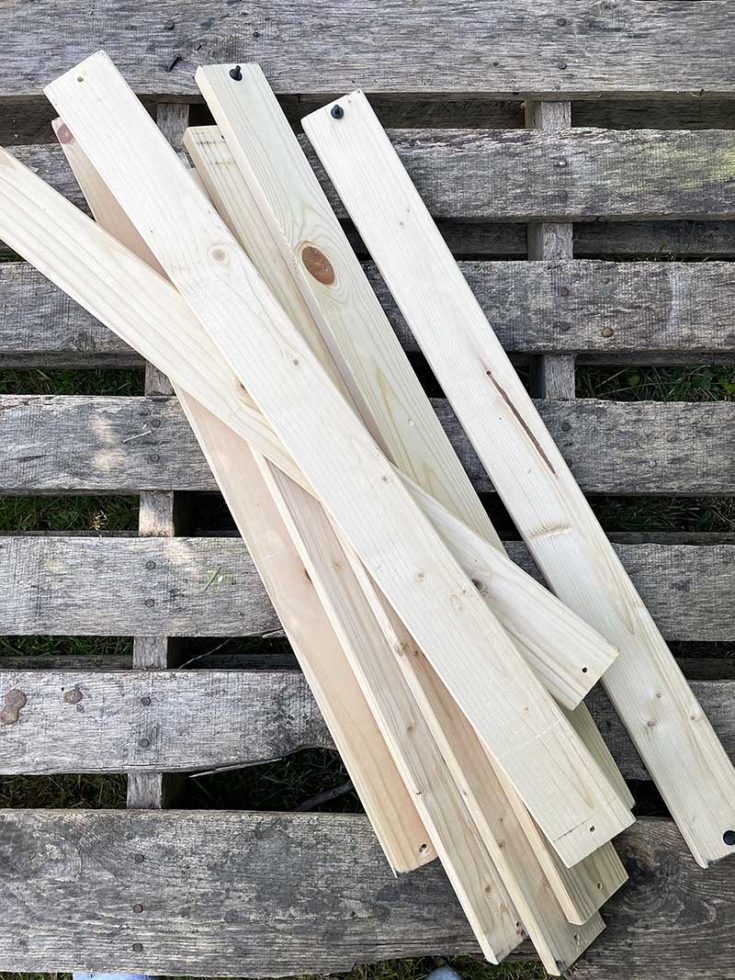
- Eight bed slats (or equivalent-sized wooden battens) were 65mm wide, 850mm long and 18mm thick. The upcycled bed slats needn't be those exact dimensions, but they are near enough.
- 12 x 4mm x 30mm screws
- 12 x 4mm x 40 mm screws
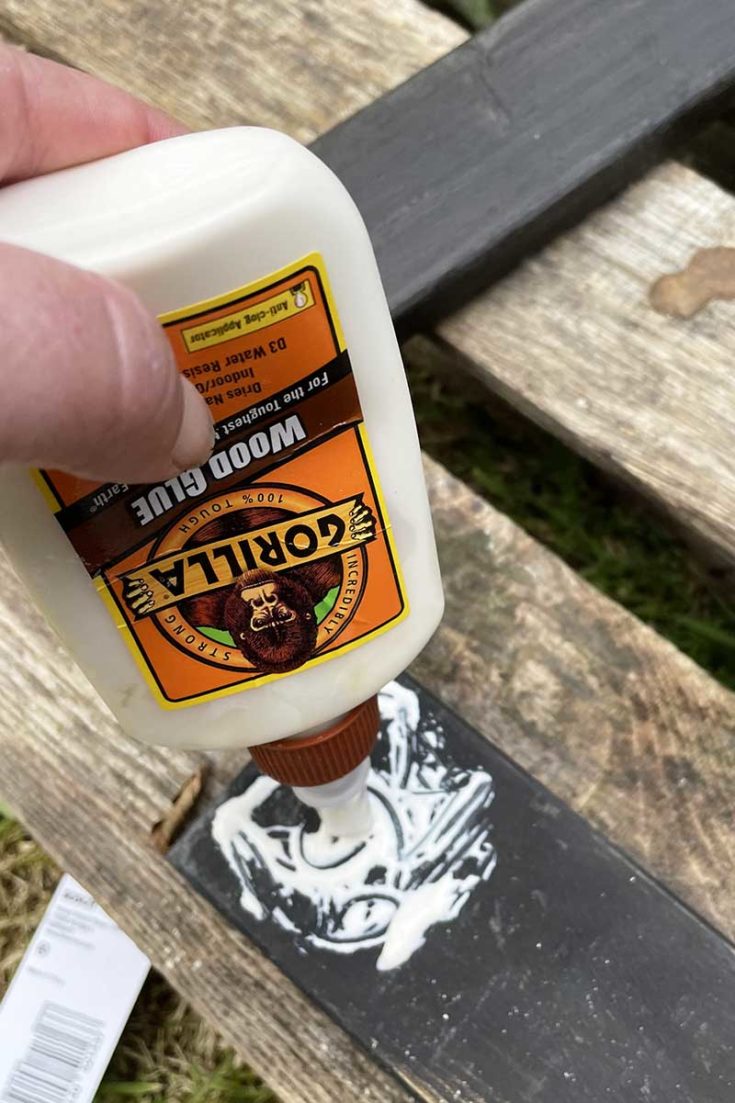
- Wood glue
- Cordless drill with 4mm wood drill bit
- Philips screw head for the drill
- Three coat hooks of your choice and screws
- Ruler or tape measure
For Decoration
- Black chalk paint and wax sealer
- Old black-and-white maps
- Mod Podge
- Scissors
- Paint and glue brushes
How To Make the Bed Slat Shelves
Step 1: The Hemnes bed slats have little black plastic stoppers on each end; remove these by simply pulling them out with your hands or a pair of pliers.
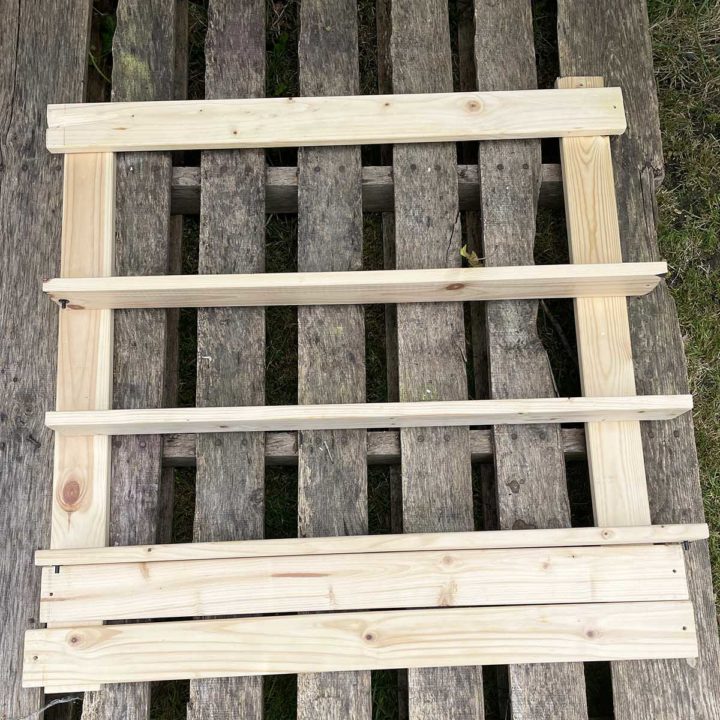
Then lay your slats on the ground and arrange them into a square frame. Then work out where you would like your shelves to be; I had three shelves.
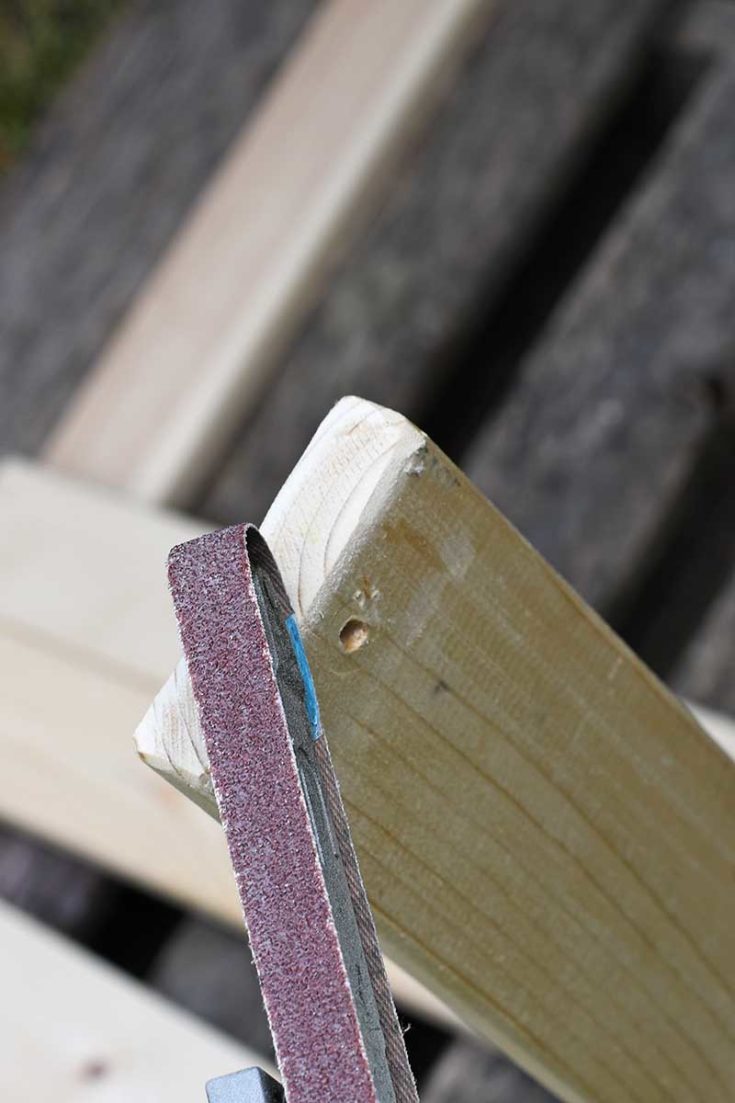
Step 2: Use a power file (or hand file) to round off the corners and edges of each wooden slat.
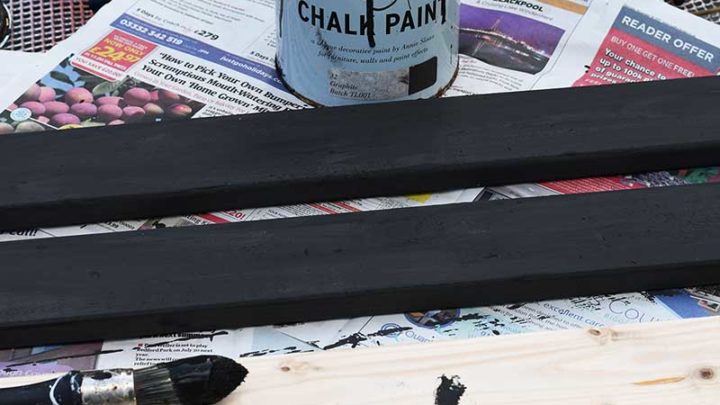
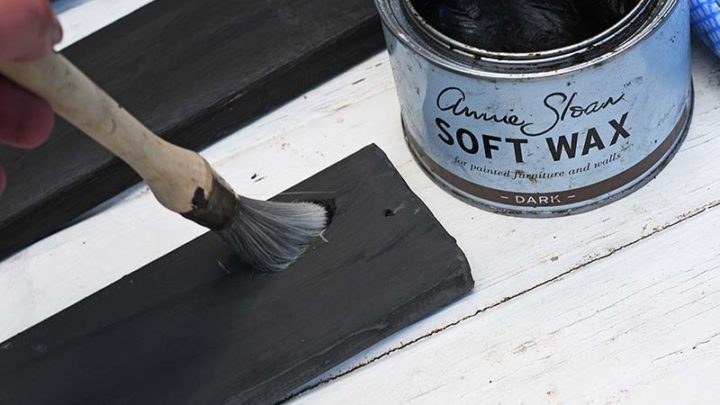
Step 3: Paint each wooden slat with chalk paint. When the chalk paint is dry, apply the wood wax to seal it.
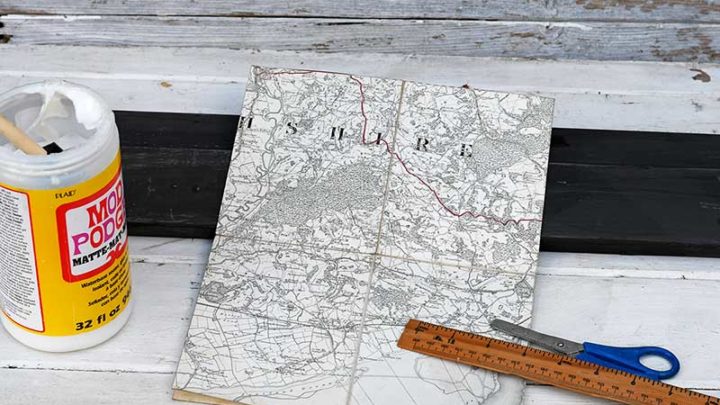
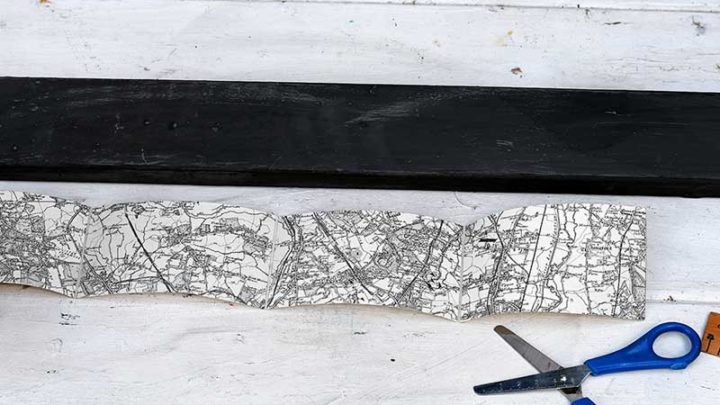
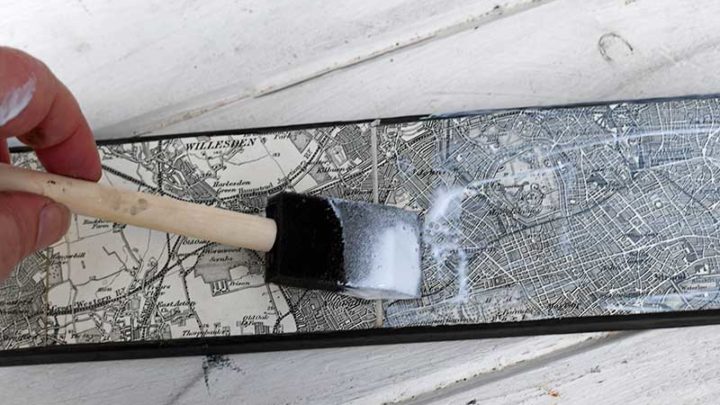
Step 4: I decoupaged the front of three wood slats with an old road map. I cut the road map to size and then stuck it to the front of the slats using Mod Podge. Then I applied a top coat of Mod Podge to act as a protective varnish.
Assembling the Upcycle Bed Slat Shelves
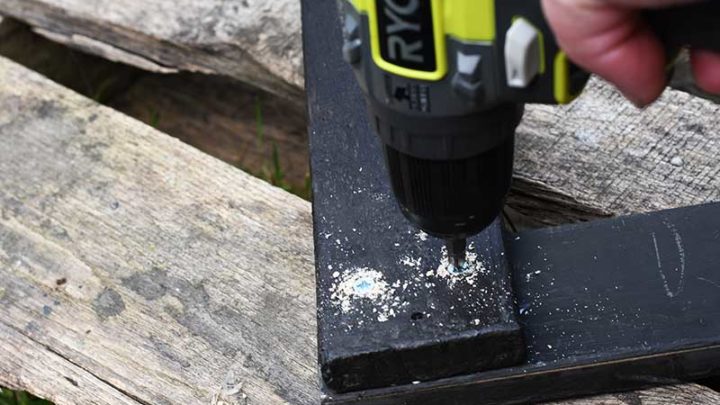
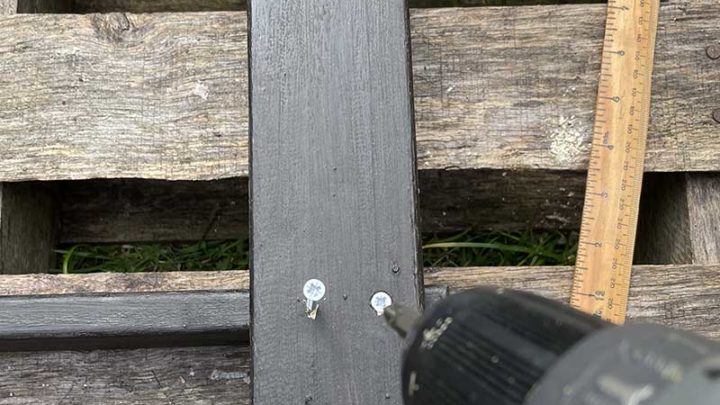
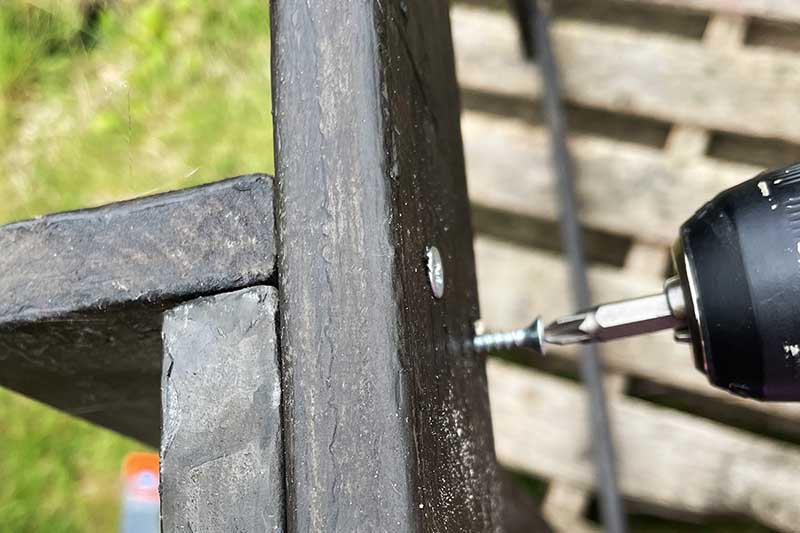
Step 5: Lay two black bed slats down, then screw two map slats into them—one across the bottom and the other across the top. You will end up with a square frame.
I used the smaller screws, screwing from the back to the front. I used wood glue and two screws on each end of the bed slats.
Step 6: Then screw and glue the other map slat across the bottom of the shelving frame.
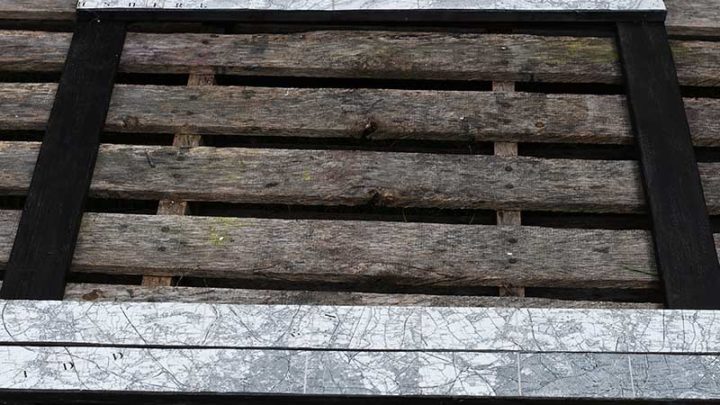
Step 7: The remaining 3-bed slats will be the shelves. Use a ruler and crayon to mark where you want them. I had one directly on top of the bottom maps and then the other two spaced out above them.
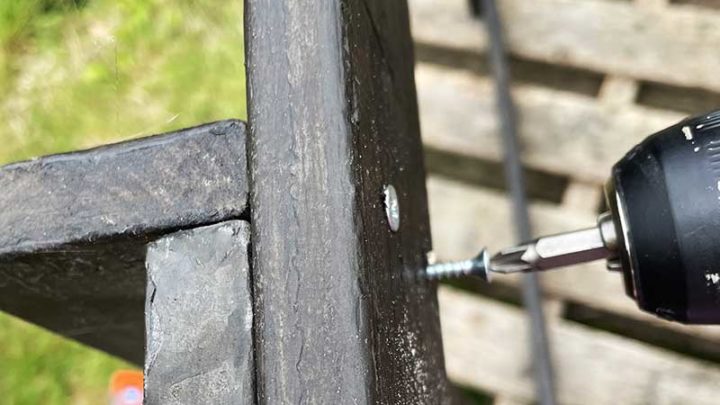
To attach the shelves, use the longer screws. Screw from the back of the frame through to the shelves. This time the wooden slats are placed perpendicular to the edge to make a small shelf.

Step 8: Screw the three coat hooks equally spaced to the bottom map bed slat.

Step 9: The upcycled bed slat shelves are ready to hang on the wall. I screwed two angle brackets to the wall to do this and placed the frame on top. There was a hole to screw the shelve units to brackets to stop them from slipping off.
DIY Plant Shelves
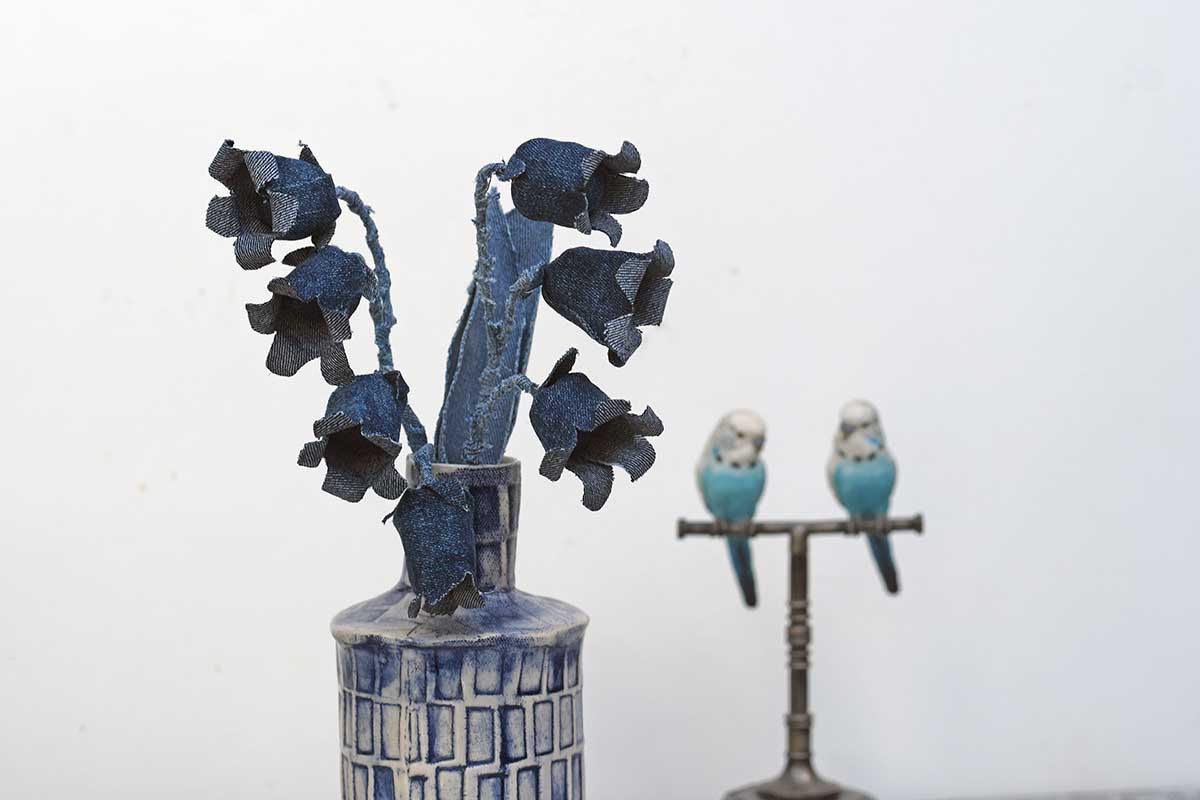
These upcycled bed slat shelves are the perfect size for my mini succulents and cactus plants, so I turned them into plant shelves. I can also use them to showcase my DIY fake succulents.
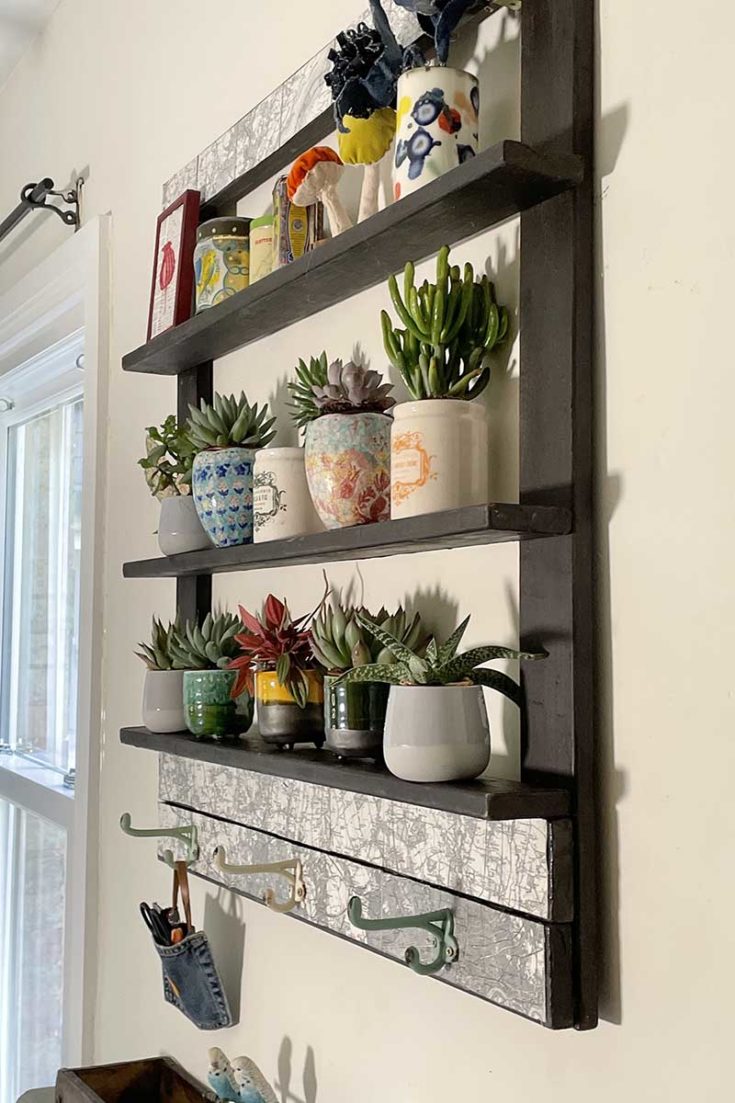
The shelf wall organizer is both handy and space-saving at the same time. The narrow wood slat shelves don't protrude too far from the wall. They would be great in places with limited space, such as bathroom storage and hallways.
The hooks are a handy little addition too.
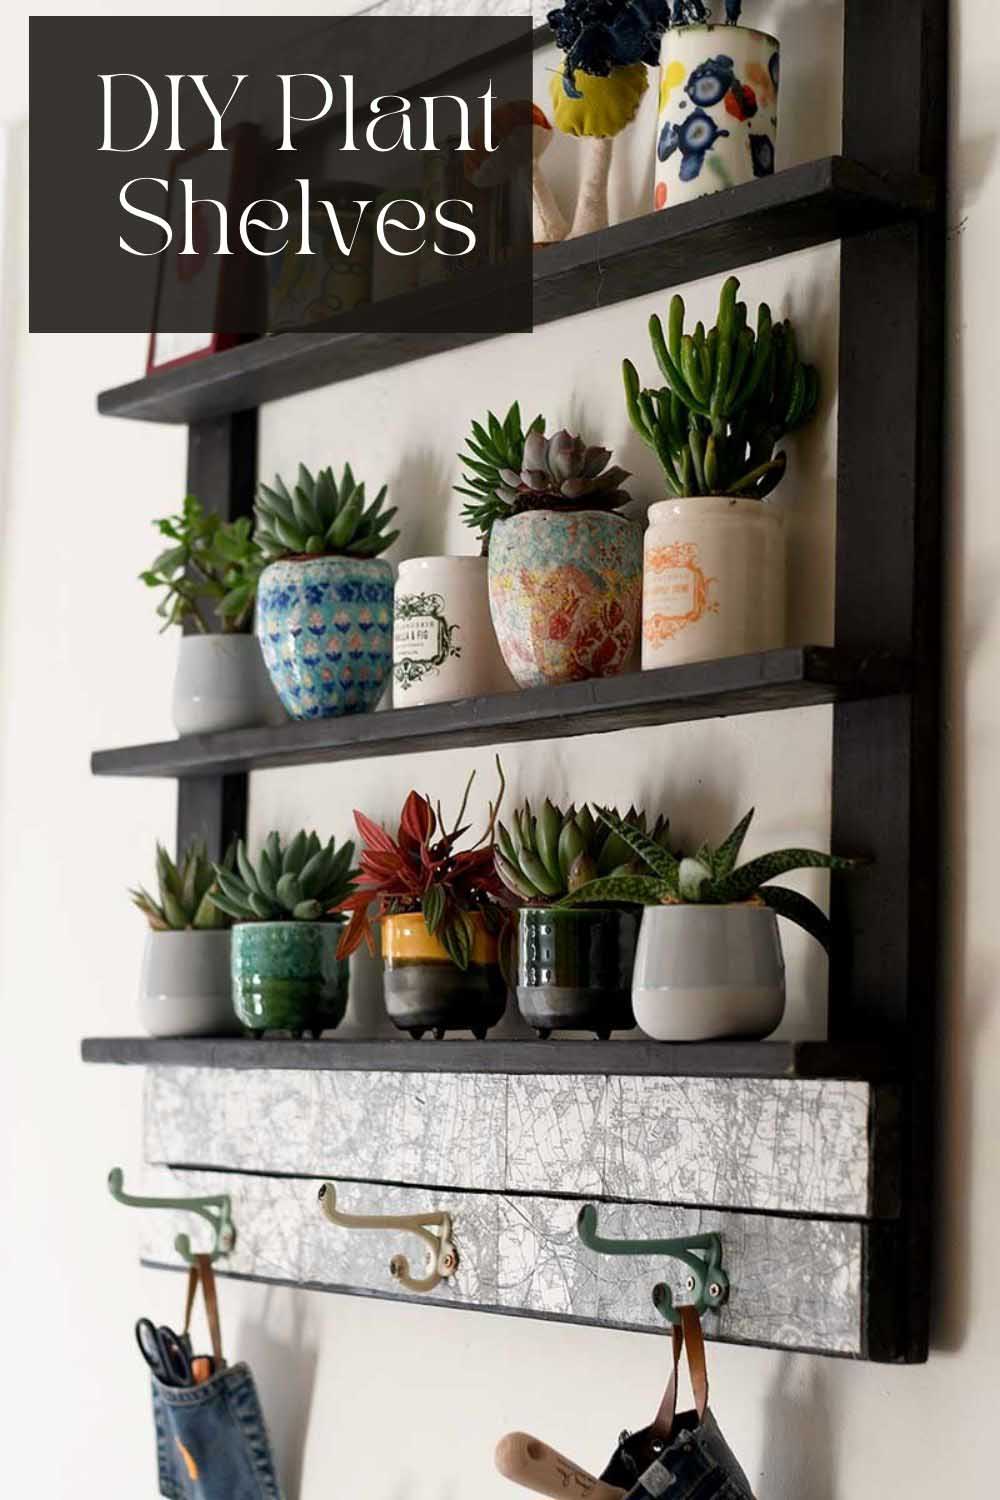
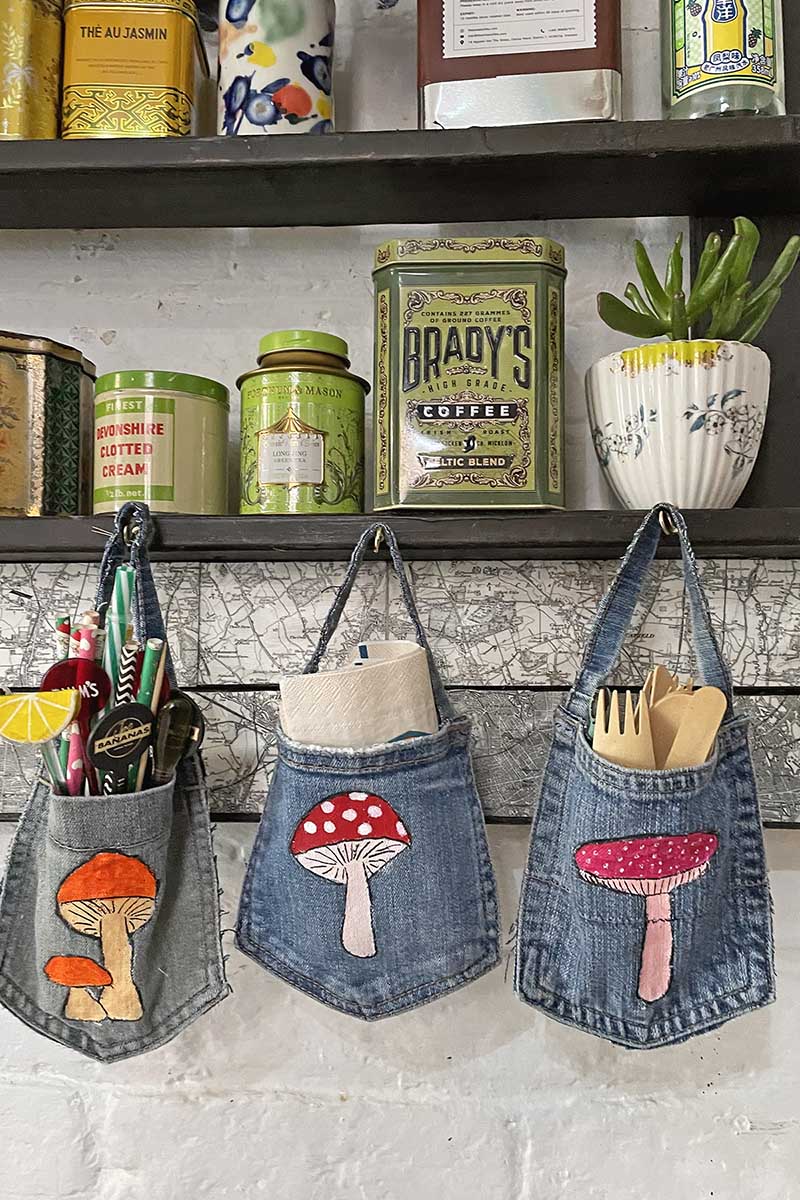
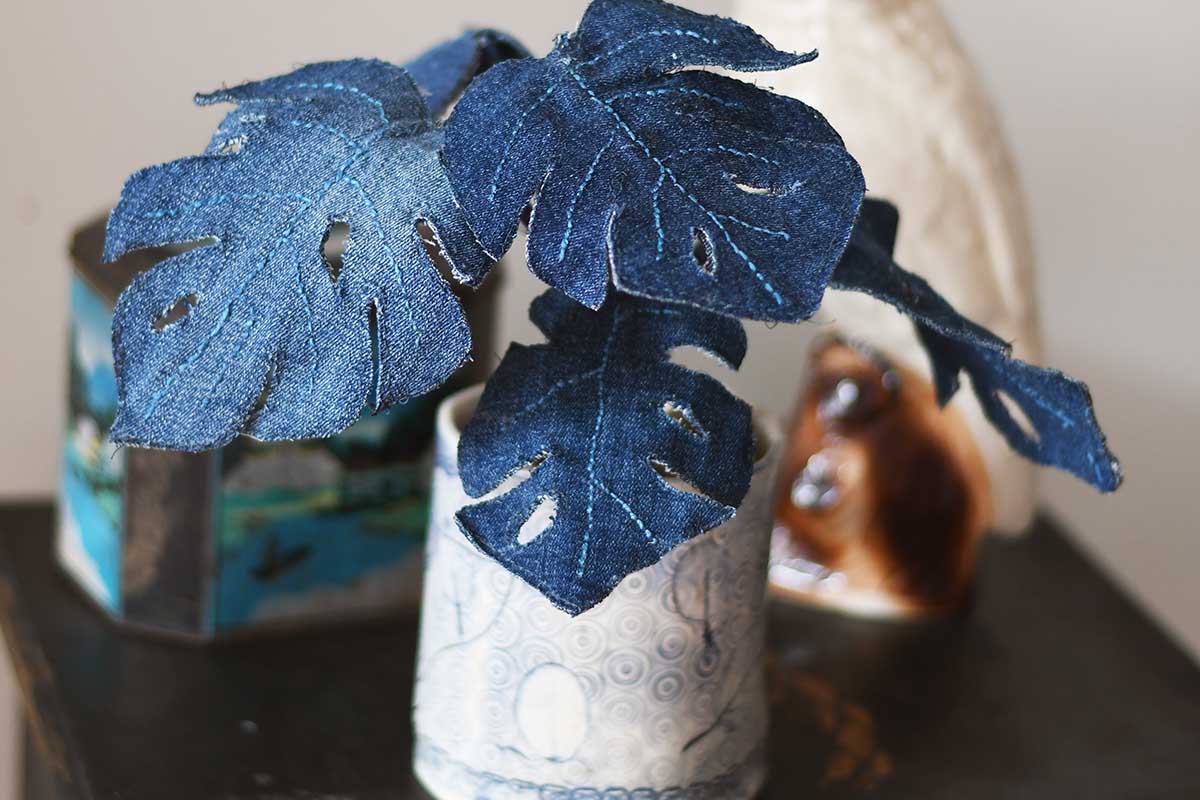
My mushroom painted denim pockets add an extra fun element to these bed slat shelves.
I'm always looking for new ways to display plants in my home. I've made space-saving upcycled plant shelves from wood slices before.
You might also like to check out my repurposed chair shelf and upcycled drawer wall unit. If you are looking for more ideas to upcycle, check out this A to Z of upcycling resources.
Upcycle Bed Slat Wall Organizer Shelves
Upcycle some wooden bed slats into handy wall shelves. These shelves not only do they look great, but they also don't take up much space as they are narrow. Great for displaying plants and use for kitchen or bathroom storage. The hooks at the bottom add another handy function. Can also be made with bought wooden battons.
Materials
- 8 bed slats (wooden battens) approximately 65mx850mmx18mm
- 12 wood screws 4mmx 30mm
- 12 wood screws 4mm x 40mm
- Wood glue
- 3 vintage coat hooks and screws
- Old road map
- Chalk paint and furniture wax
- Mod podge
Tools
- Cordless drill/screw driver
- Ruler and scissors
- File
Instructions
- Remove any stoppers or screws from the bed slats. Then file the ends of the wooden slats to round any sharp corners.
- Paint each bed slat with black chalk paint and then wax them with furniture wax.
- Decoupage an old road map with Mod Podge to the front face of 3 of the bed slats.
- Lay two bed slats down and then screw one of the map decoupaged battens across the top and one across the bottom. Use a combination of wood glue and two short screws on each end. Add the screws from the back to the front. You will end up with a square frame.
- Add the other map batten on top of the bottom. Once again, secure with the short screws from the back.
- Next, mark out where you want the three shelves. Attach them from the back of the frame with the longer screws, two screws in each end.

- Screw the 3 coat hooks equally spaced out onto the front of the bottom map batten.
- Finally, hang the shelf wall organizer using angle brackets screwed into the wall.

This is so attractive! I'm thinking it could be made from pallet wood or any scrap wood one might have in a stash, depending on the dimensions wanted. Thanks so much for sharing your project.
Thank you, yes, you can make it with any battons of wood, including pallet wood.
The bed slats I have, have a slight curve to them. How did you get the slats straight?
My bed slats were completely flat. You could make a frame with the curved one and just have hooks without shelves or use a couple of flat wooden battens just for the shelves.
Gorgeous Claire. What an awesome way to repurpose bed slats.
Thank you, Michelle. I like using it to display a wall of plants.
Wow really brilliant! thanks for sharing on craft schooling sunday, I always get excited when I see your link!
Aww, thank you that is kind of you to say so. Have a great week.
Thanks for sharing with us! I'm featuring you this week when the next To Grandma's house we go link party starts!
Thank you, that's awesome, I look forward to seeing it.
Nice upcycle! I love that you've found a way to add your signature maps to the project, too. Thanks for sharing with us at Creatively Crafty #ccbg 🙂
Thank you, yes I like to add maps whenever I can.
Claire, I love this idea and you styled it so beautifully! Thanks for sharing at Vintage Charm--pinned!
Thank you so much Cecilia. It's in my kitchen now and does make me smile everytime I see it.
What a great idea for recycling wood bed slats! I think I have a set of those collecting dust under our basement stairs.
Thank you, I now have a lovely plant wall in my Kitchen and somewhere to hang my tea-towels.
For the shelves in the kitchen it would be cute to use an old menu. These are so neat. I got a bundle of slats at Restore for $5. Think I might try this! Thank you!
Thank you, that is a good idea. It's very easy to make, good luck with it.
Hi Claire! Such a cool project!! I found you at the Vintage Charm party. You have great content on your blog! I love the addition of the maps on this shelf. Super unique!
Thank you so much and thanks for visiting. That's nice to hear that you like my content.