
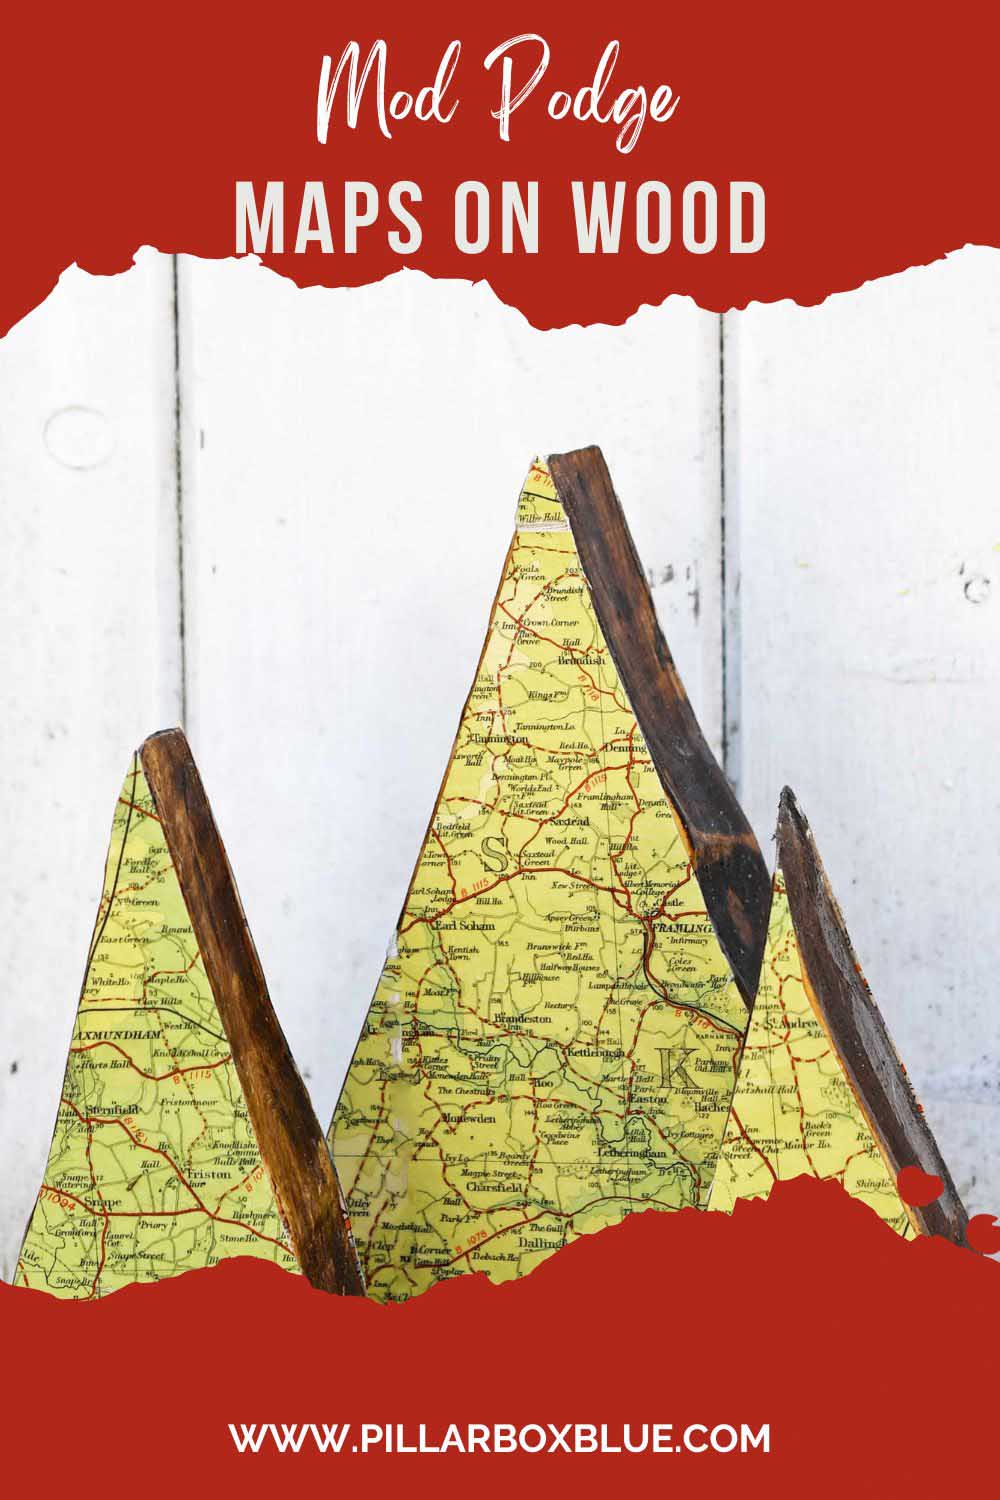
How To Make Mod Podge Repurposed Map Wood Ornaments
Transform your travel memories into lasting decor pieces. Learn how to seamlessly apply a Mod Podge map on wood for a vintage-inspired touch to any room.
Do you have a penchant for vintage road maps or old maps? If so, this simple project is perfect for you. I will repurpose these maps into beautiful wood map ornaments using Mod Podge. Not only is this DIY project easy, but it also gives your maps a new life, turning them into decorative pieces that can be used in various ways, such as hanging ornaments or embellishments for picture frames.
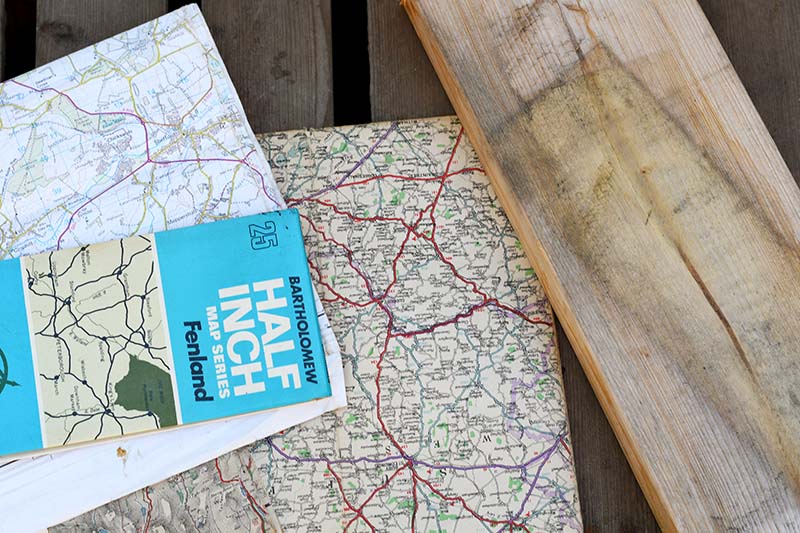
Stick Old Road Maps To Scrap Wood
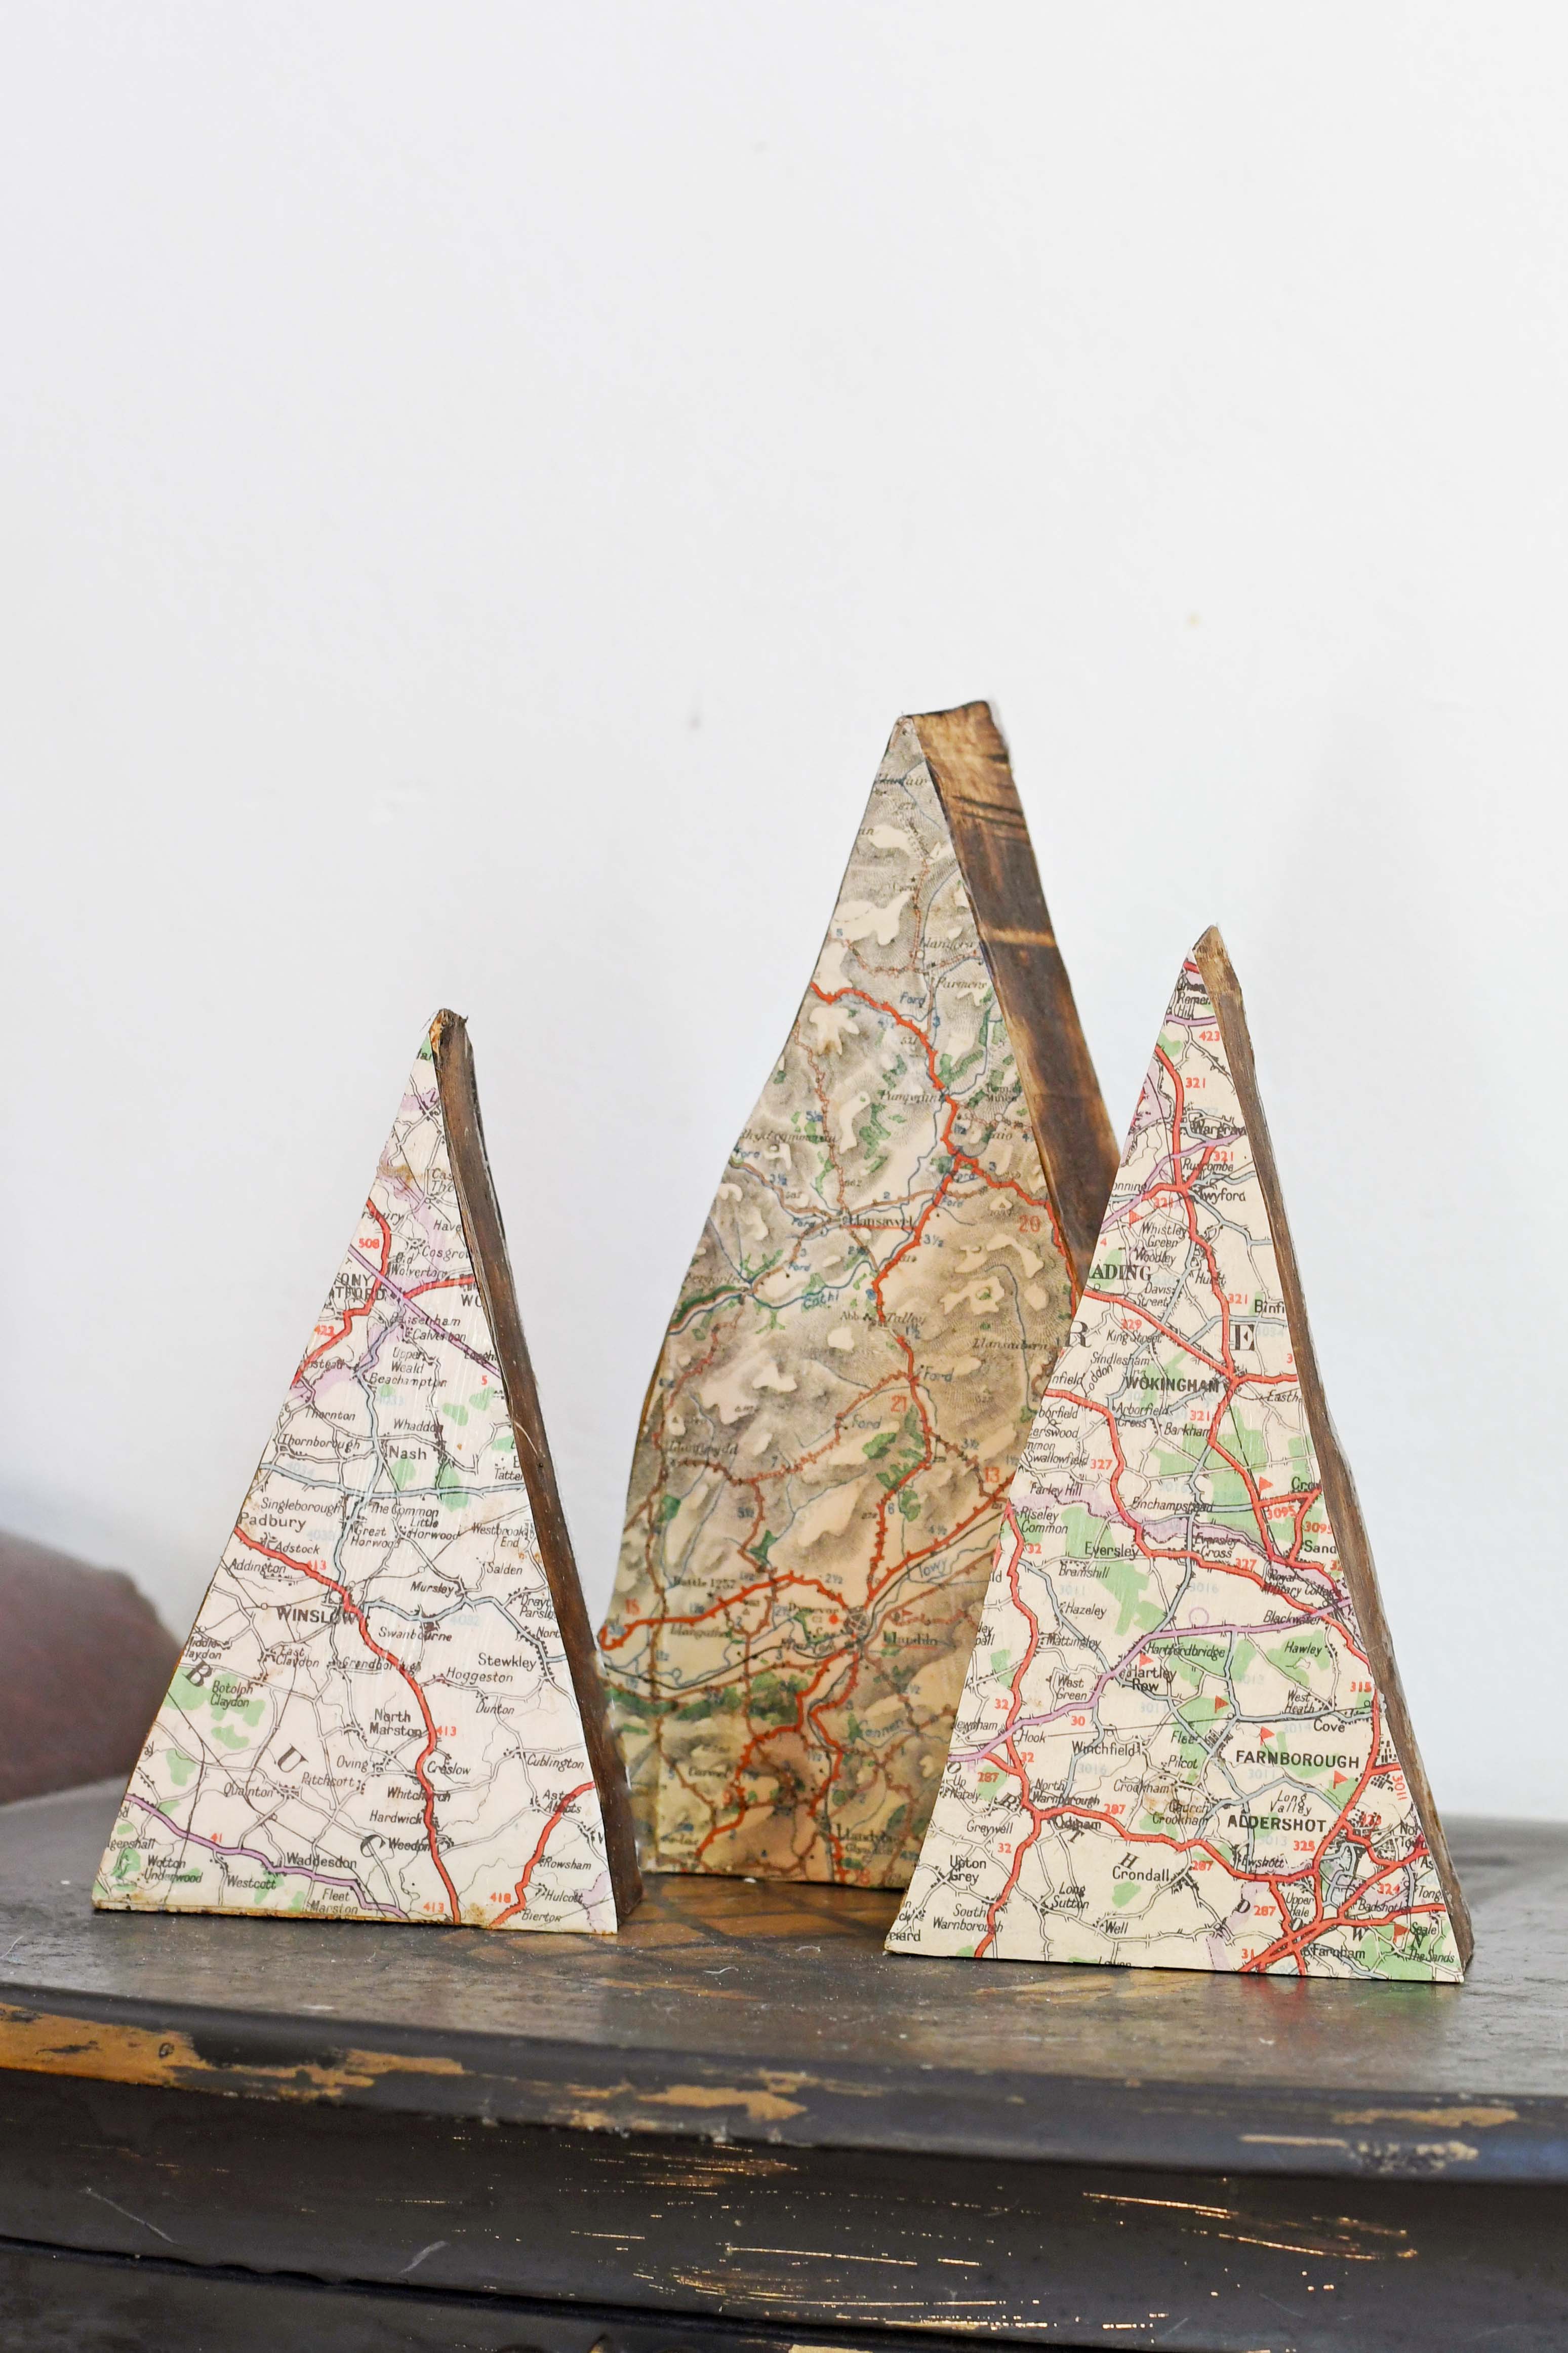
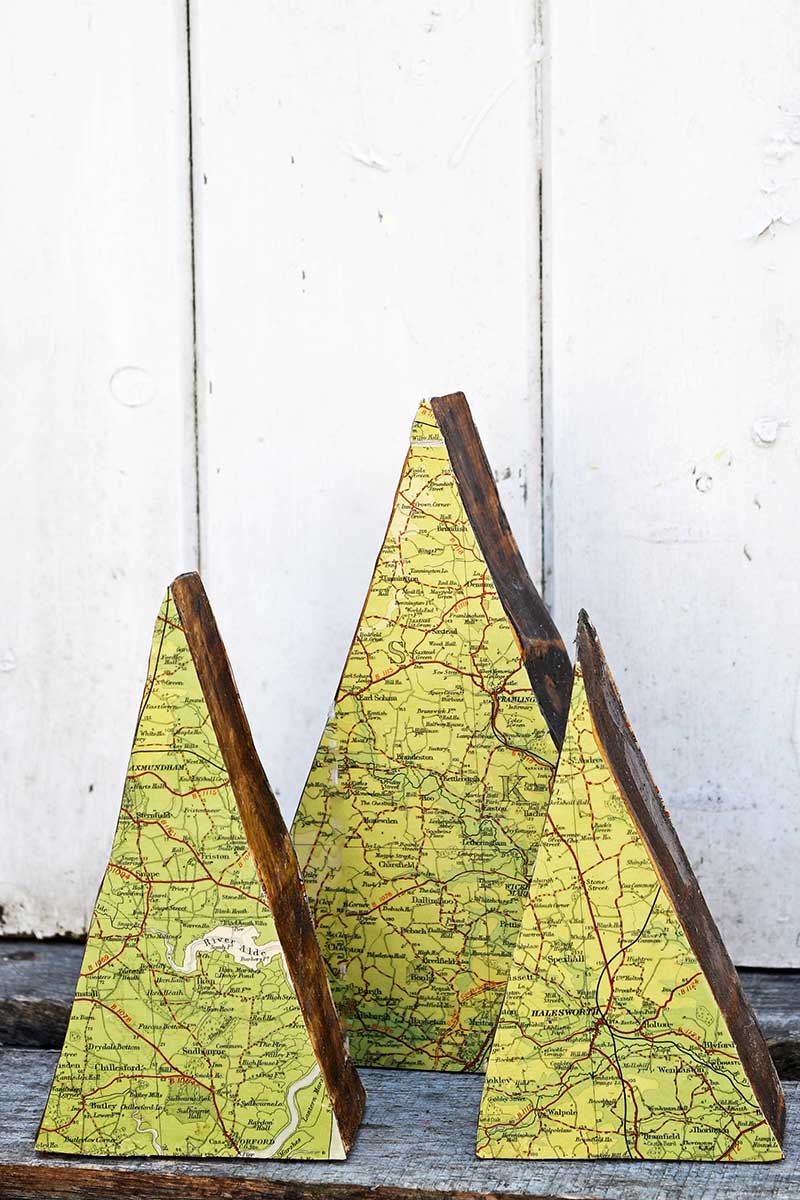
I was torn between seeing these repurposed map ornaments as mountains or trees. Depending on which side you display, they can resemble either.
The grey roadmap side hints at mountainous terrains, while the green suggests lush trees. Initially intended as Christmas ornaments, I've realized they're versatile enough for year-round decor. Many of my map creations can be customized using maps of sentimental locations for you and your loved ones.
I opted for vintage road maps for this project, captivated by their vibrant hues and aesthetics. However, don't limit yourself to just road maps. These Mod Podge map ornaments can be crafted with any vintage map you find online, whether maps of European countries or US states.
Materials Used
- Vintage maps or old maps
- Mod Podge (also referred to as Modge Podge)
- Foam brush
- Wood chunks or wood pieces
- Paper cutter or scissors
Choosing The Wood
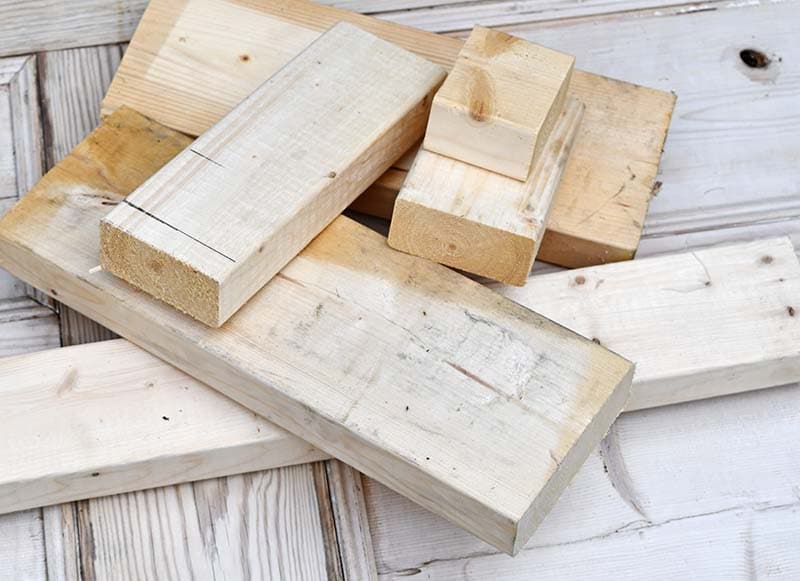
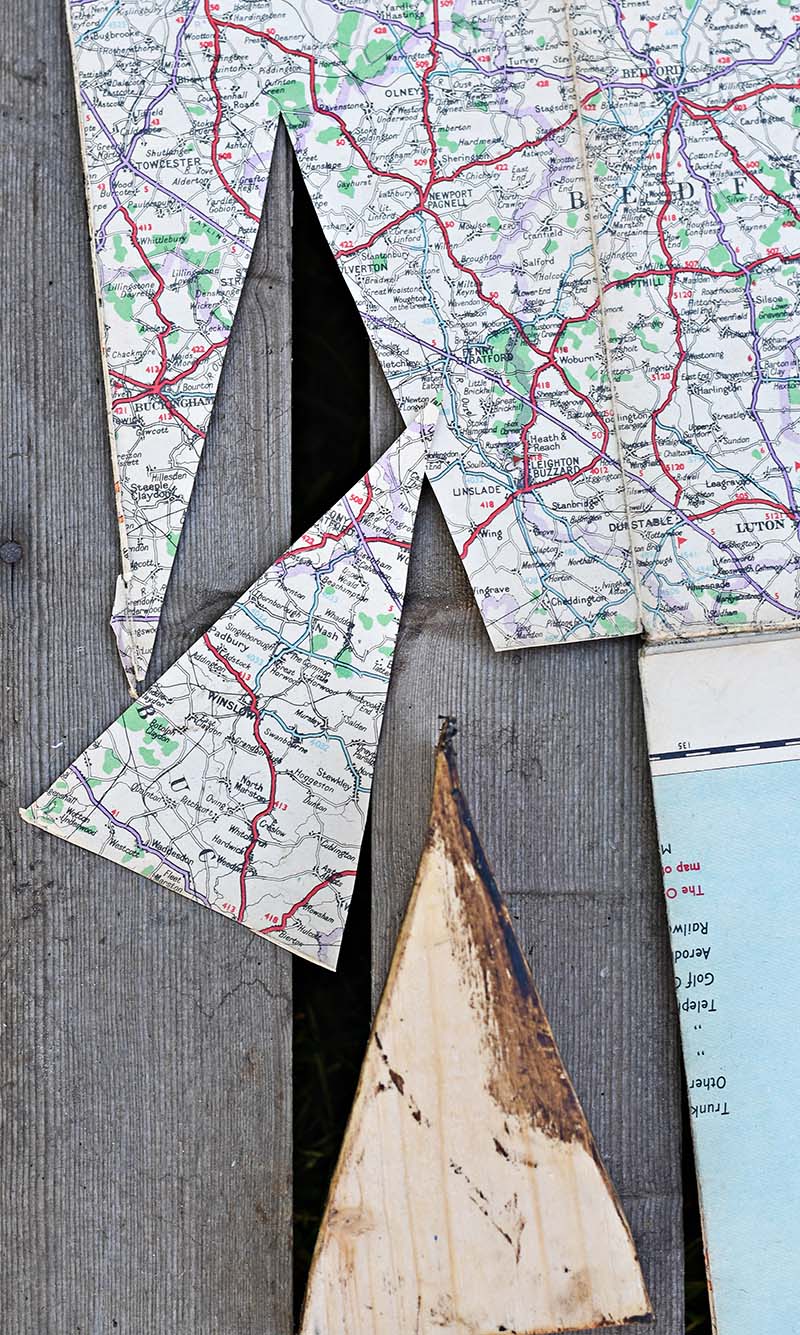
Step 1: You can decoupage maps with Mod Podge to any flat surface. For these DIY projects, I used chunky bits of scrap wood. I wanted to make them into decorative triangles that would stand steady upright.
I made three Map ornaments of different sizes from approx 25cm to 18cm in height.
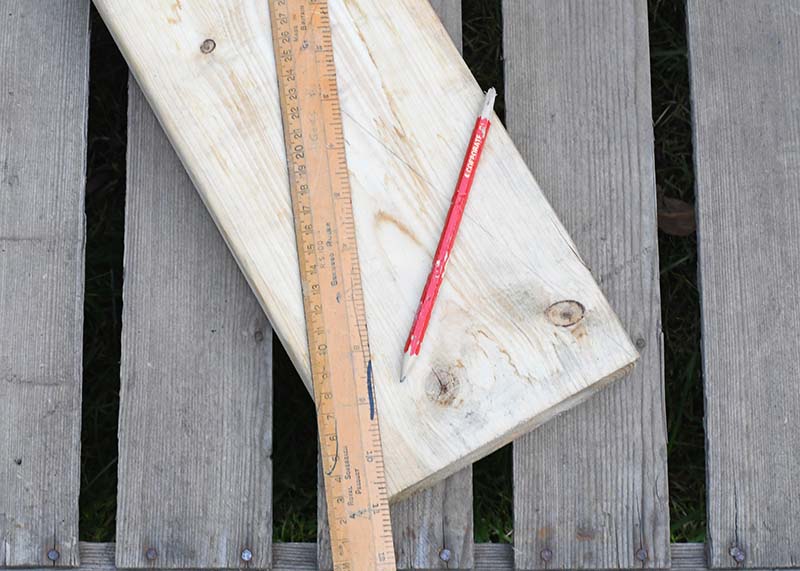
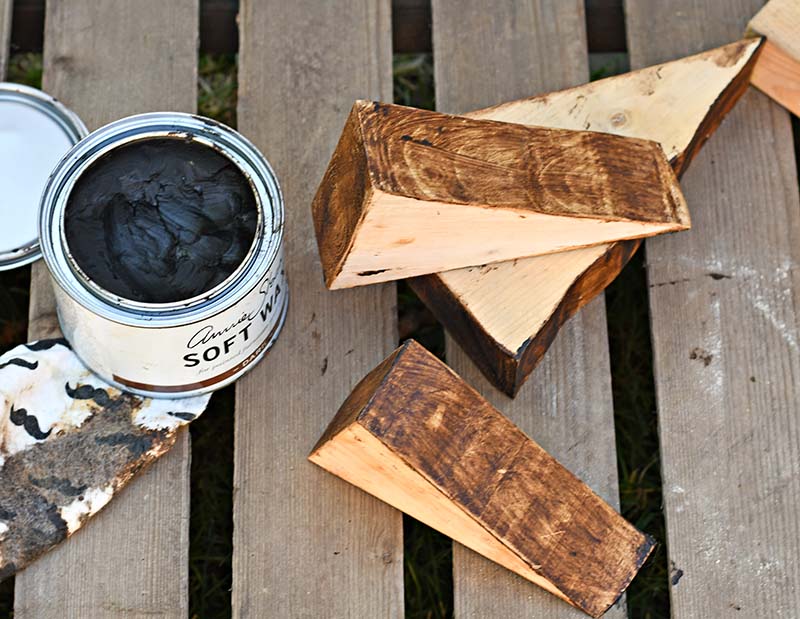
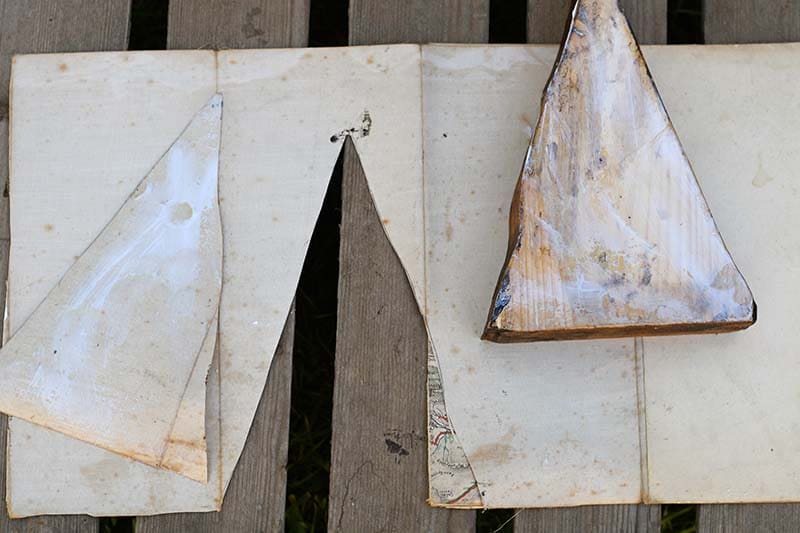
Start by sketching a triangle on scrap wood. Cut it out, ensuring it can stand alone. If you have a jigsaw, great; if not, hand-sawing works, too, even if slightly uneven. Apply dark wood wax to the triangle's sides for an aged look, leaving the front and back for decoupage.
Choosing The Maps
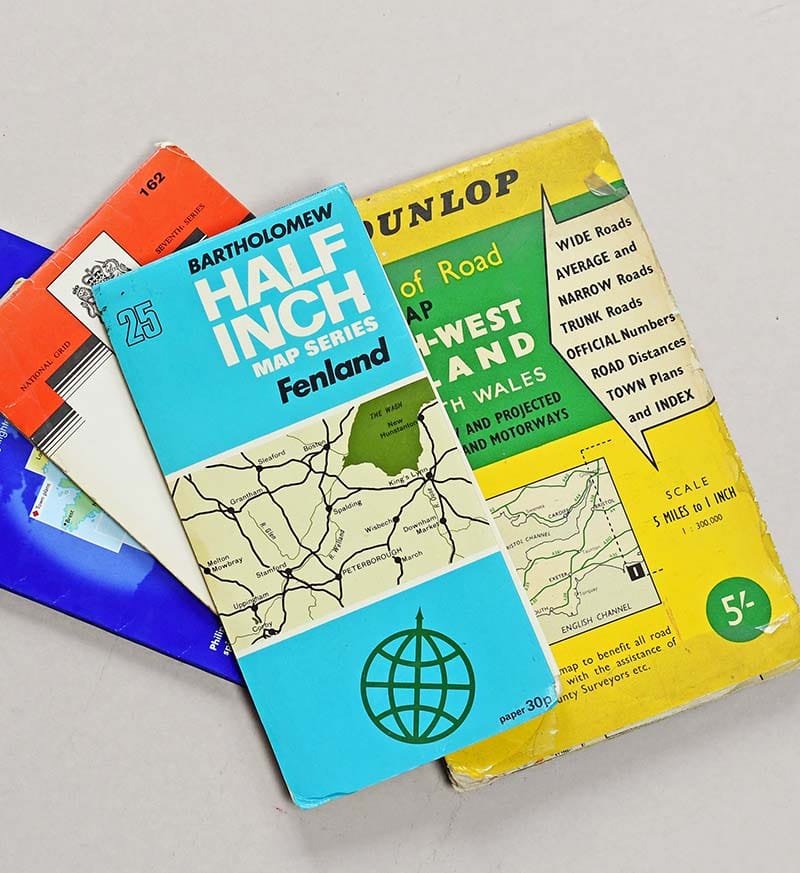
I used old vintage roadmaps - I often pick these up at thrift stores and flea markets cheaply. I also find that elderly relatives usually have a stash of vintage roadmaps that they will happily part with.
If you are looking for a roadmap of a particular place, eBay is also an excellent place to try. Or you can download vintage maps.
How To Make Upcycled Wood Map Ornaments
Step 2: Place the wood face down onto the back of the map you will use and draw around it. Then, cut out the map triangle shape.
Step 3: Cover both the face of the wood and the back of the pieces of map with a layer of Mod Podge. Then, stick the map onto the wood. Smooth out the map, pressing gently to remove any air bubbles. This step is crucial to ensure your map lays flat and adheres well.
I attached a map on both faces of each wooden triangle.

Step 4: Once your map is in place, apply another coat of Mod Podge over the top using the foam brush. This will seal the map and give it a protective layer. If you desire an aged look, lightly distress the edges with sandpaper once the Mod Podge is dry.
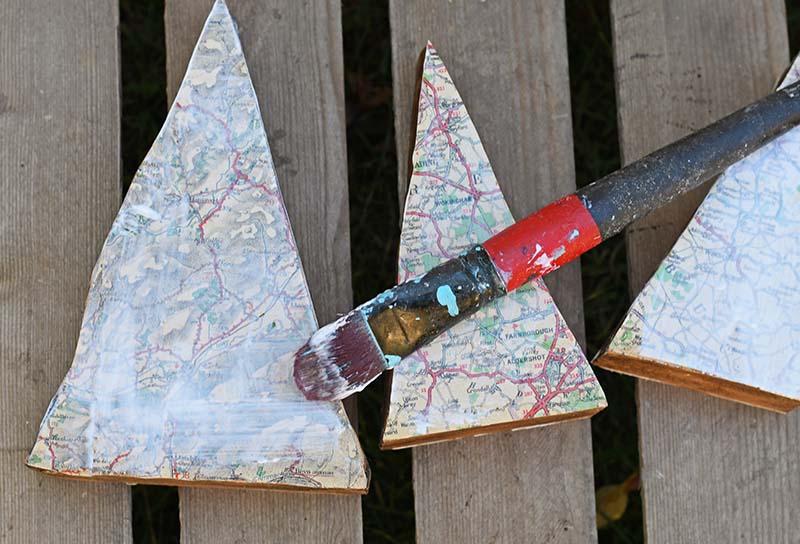
This simple project is a fantastic way to repurpose vintage maps, turning them into beautiful ornaments or decorative pieces. The coat of Mod Podge not only seals and protects the map and gives it a lovely finish.
As mentioned in the beginning, I used a vintage road map that made the wooden triangles look more like mountains for one side of the map ornaments.
For the other side, I used a gorgeous vintage green roadmap, which makes the map ornaments look more like trees. I will turn them around to this side when putting out my Christmas decorations!
Top Tips For Decoupaging Wood With Mod Podge
- Preparation: Ensure wood is clean, dry, and sanded smooth.
- Paper Choice: Opt for thin papers for smoother adherence; thicker ones need more Mod Podge.
- Application: Use a foam brush to apply an even Mod Podge layer.
- Avoid Bubbles: Smooth paper from centre to edges to eliminate air pockets.
- Drying: Allow each Mod Podge layer to dry fully before adding another.
- Sealing: Apply top coats of Mod Podge for protection; choose the finish (matte, satin, gloss) based on preference.
- Distressing (Optional): Lightly sand after drying for a vintage look.
- Protection: Use a clear acrylic sealer for items exposed to wear or moisture.
- Clean Up: Wash tools with soap and water promptly.
- Practice: Start with small projects and progress as you gain confidence.
Remember, some imperfections can add charm to decoupage projects. Enjoy the crafting journey!
Other Blog Posts
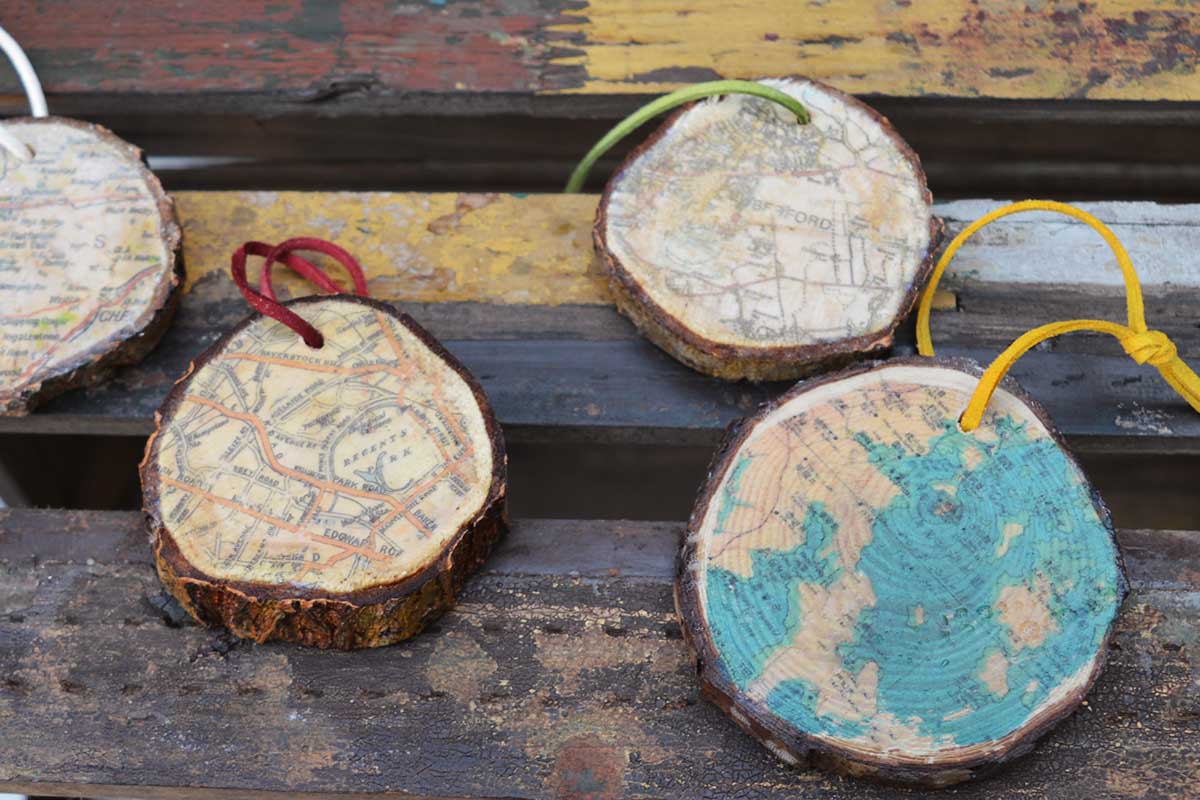
Check out these wooden heart ornaments for other examples of decoupaged Mod Podge maps on wood. Or follow this map wood slice tutorial and learn how to print the maps onto wood for a more rustic look.
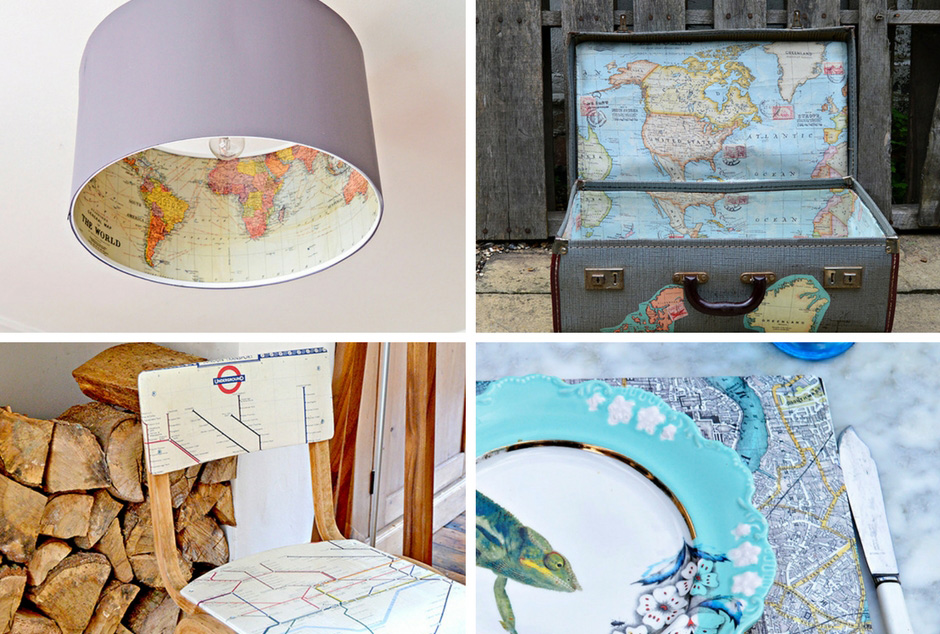
Maps are also fun to decoupage on larger wooden furniture for unique home decor. You should check out these map Mod Podged furniture pieces:
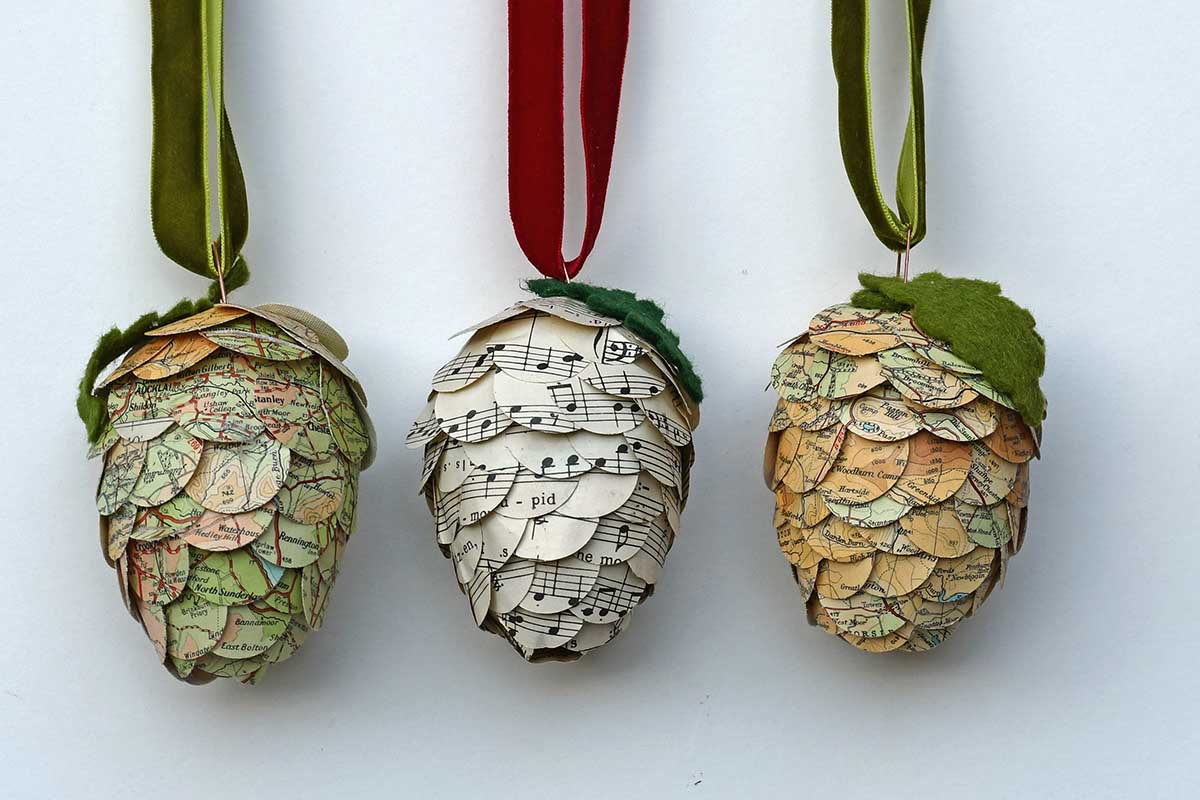
And all these other fabulous decoupage ideas for adults.
Super cute idea, I love maps!
Me too! Thank you.
Great repurpose for scrap wood! Thanks for sharing at Vintage Charm!
Thank you, I love crafting with other people’s rubbish.
What a wonderful way to use up wood scraps and old maps! Thank you for sharing at Party In Your PJs!
Thank you so much. I just love crafting with maps.
Wow this is another great project with recycle wood! Which I have loads of.
Thank you, it is a fun way to make use of the scraps.
This is a cute idea. Actually, I would display it all year long.
Thank you, I think I will too!