
How to Make Gorgeous Free 3D Printable Map Star Decorations
Inside: A free template for 3D star decorations, two blank designs and one with vintage maps.
I love working with maps, as they are a stylish way of personalizing and adding interest to a craft. In the past, I've used them to upcycle some chairs and to add vintage style to a suitcase. Decorating and crafting with maps is a great way to pay homage to a favourite destination or place you have lived.
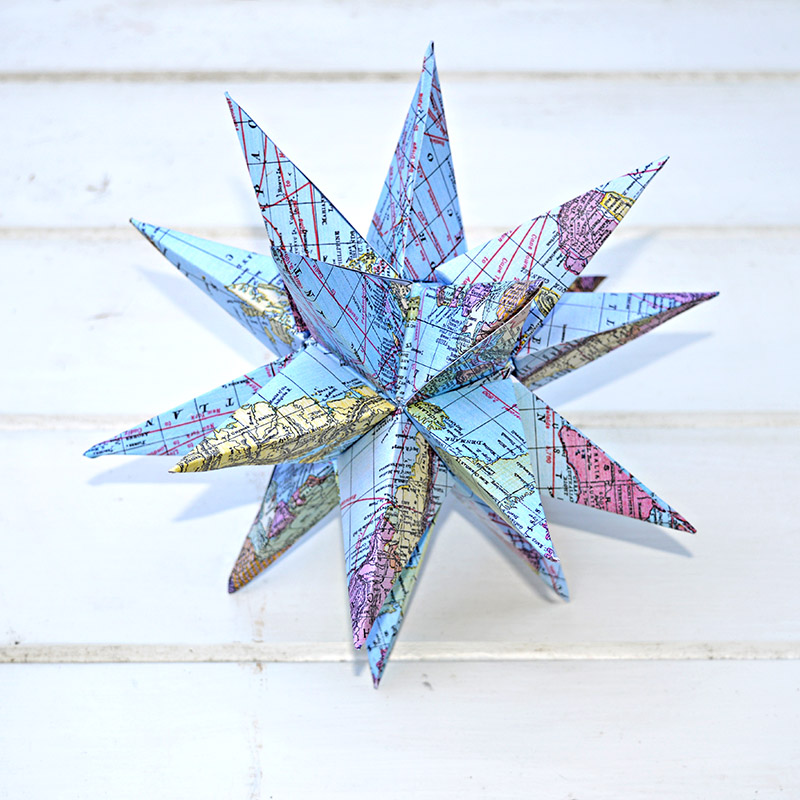
As I get into my Christmas crafting, I thought an exciting decoration to make this year would be a 3D Star. This post has two free Map Star printables: a vintage world map and a blank template. The blank template enables you to use a particular map for your map star decoration.
I have also discovered that this is a great teen craft. It's one of the few crafts I've been doing that my teenage boys have wanted to join in with. I think it's because it involves maps and math.
Free Pattern For 3D Map Star Christmas Decoration
- The free templates. 3D star map template, or if using your maps, the 3D blank star template.
- If using your maps, you will need to scan these into your computer first, print and then use this paper to print the blank template. There are some lovely free downloadable maps at Pictureboxblue.com.
- Printer, heavy paper, I use paper that is 240gsm. You will need four sheets of A4 per star.
- Blunt butter knife, scissors and ruler.
- I used a clear UHU glue for a strong, quick-drying paper glue.
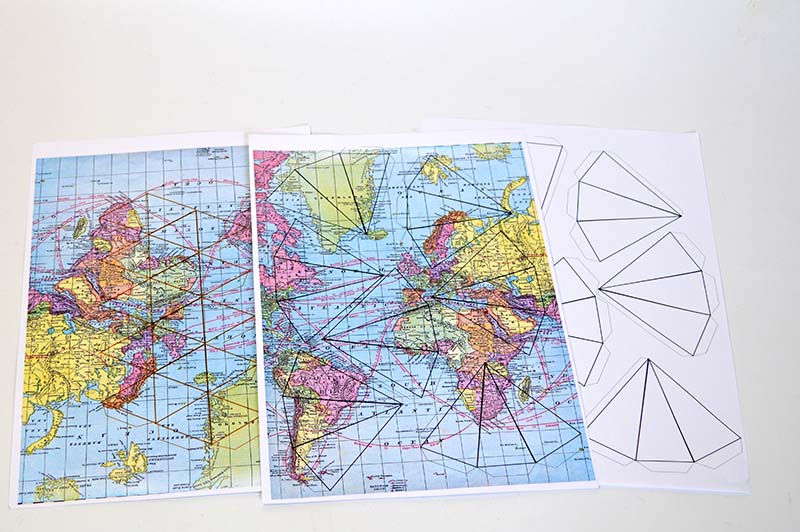
How to Construct the 3D Stars
Step 1: Print the templates onto heavy paper. The map stars are made up of 2 shapes an icosahedron, a 20-sided base, and 20 tall pyramids.
Step 2: Make the icosahedron; cut out the net and score the bold lines using a blunt knife and ruler. Your shape should easily fold into this 20-sided ball; put glue on all the tabs as you fold it into the shape.
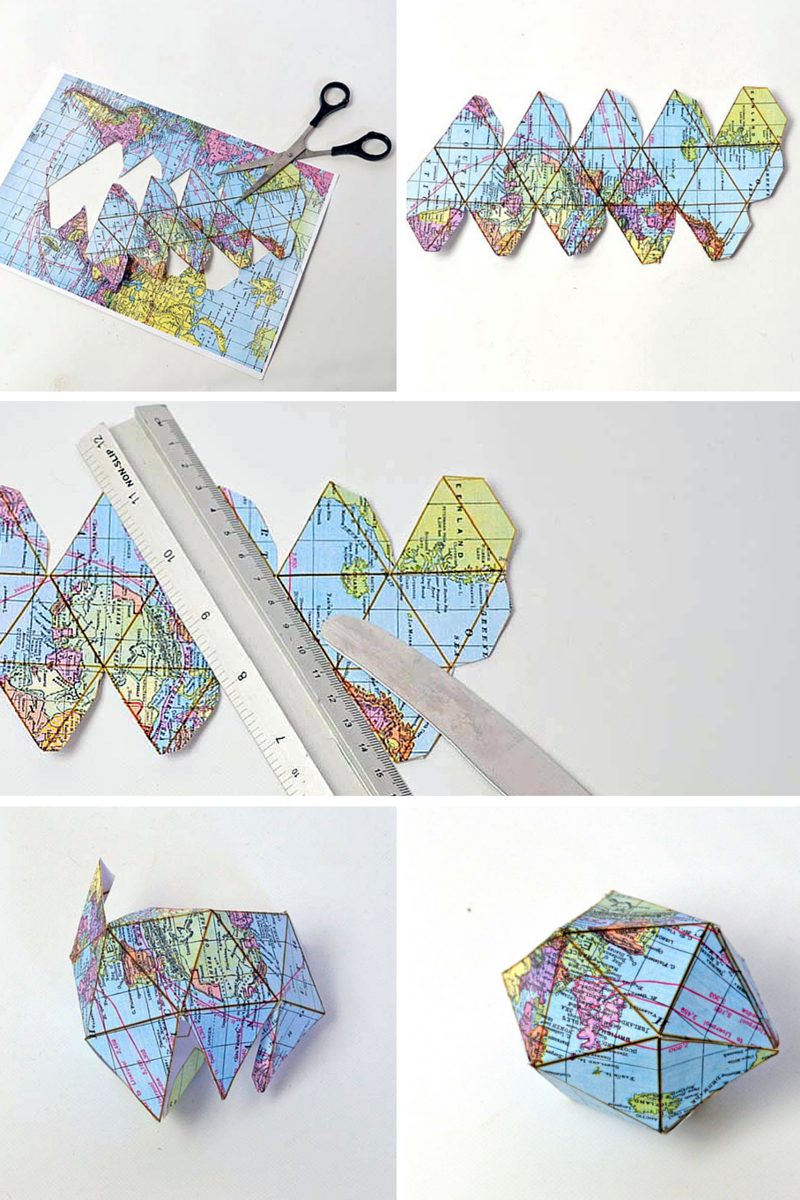
Step 3: You should have three sheets of pyramid nets, seven on each sheet. That's 21 pyramids in total, but you only need 20.
Step 4: As before, cut out your pyramid nets. And score the bold lines.
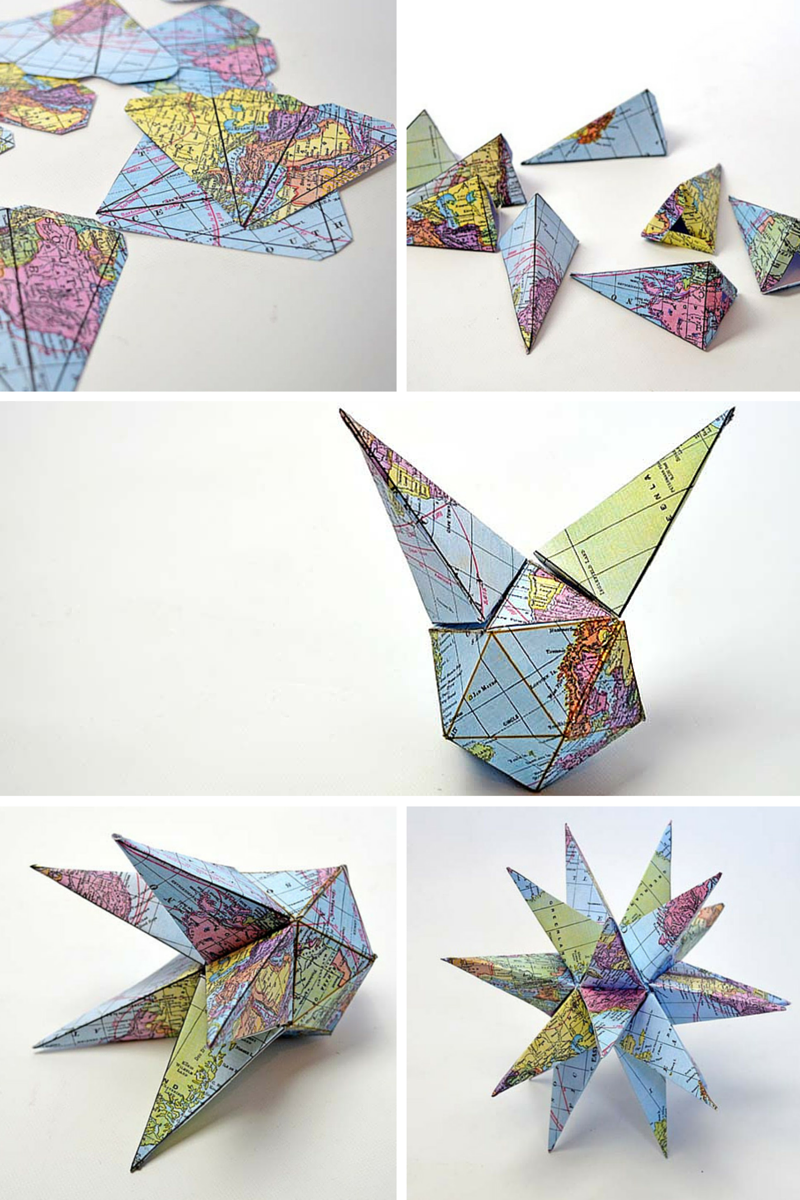
Step 5: Fold the pyramids into shape. And glue them along the long tab.
Step 6: Using the three smaller tabs on the pyramid's base, glue them one by one to the icosahedron base
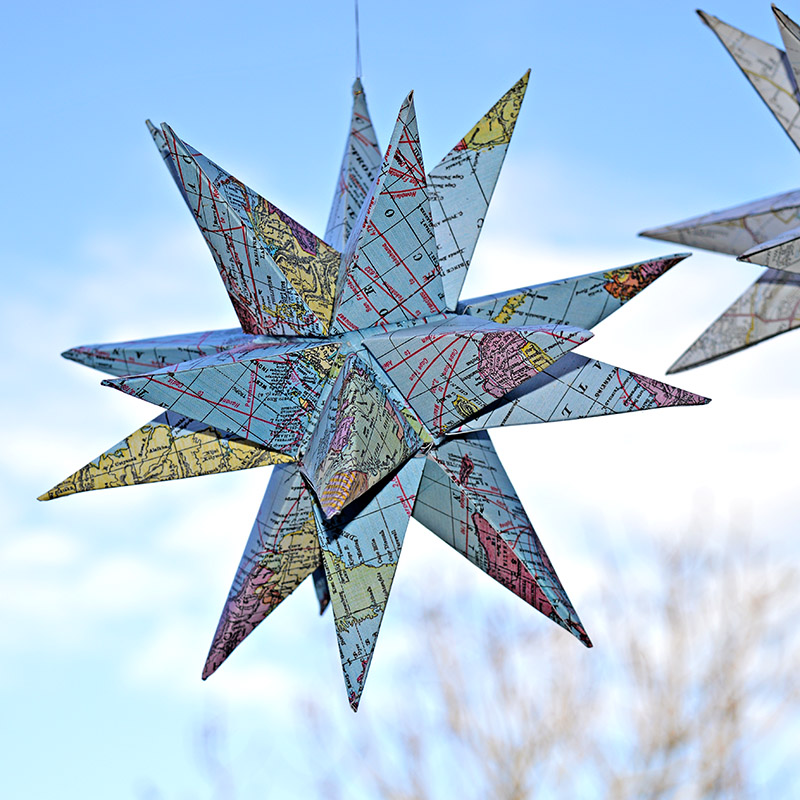
Step 7: When all 20 pyramids are glued, your 3D map star is finished.
As I mentioned, you can use the free blank star template to create a 3D Map star of your design. Living in Bedford, I decided to make a map star decoration from a local map.
To do this, I scanned a local map of Bedford and printed it onto my heavy paper. I then put this paper back into my printer's feed and printed the blank 3D Map Star template on top of the Bedford Map.
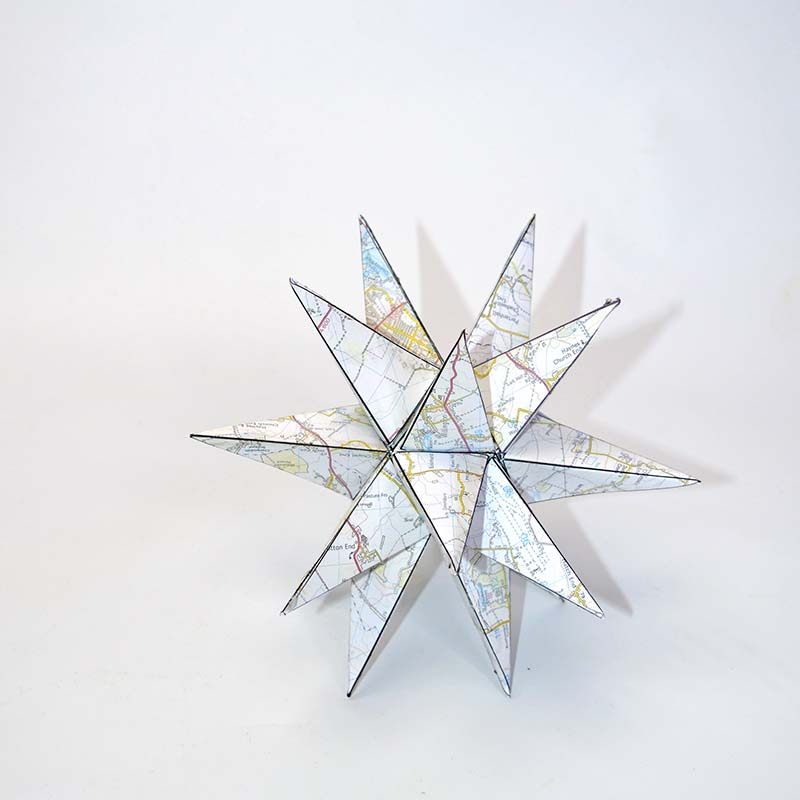
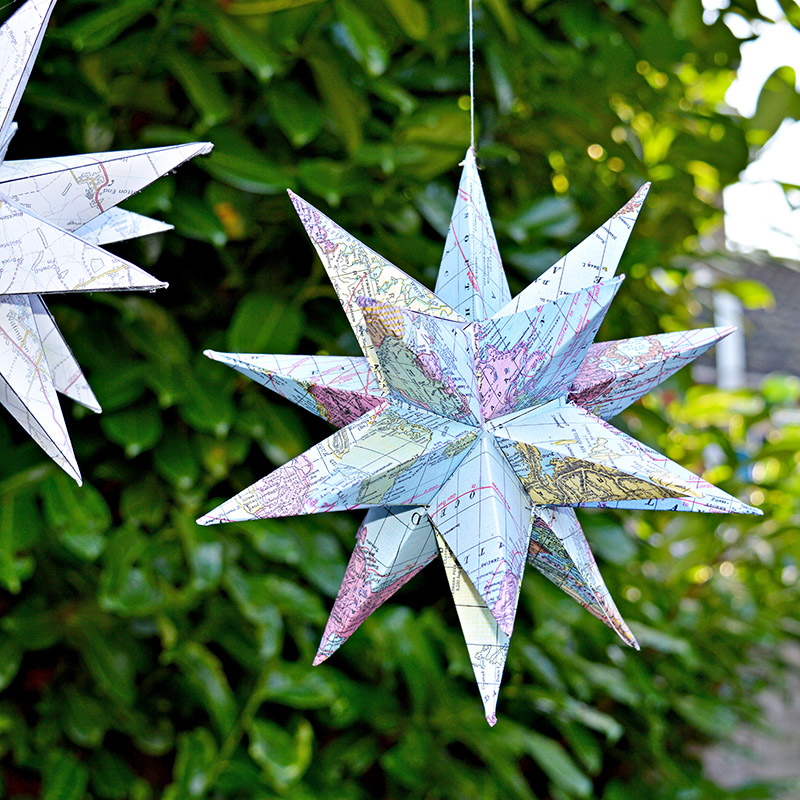
I love these 3D Map Stars. They make for a great Christmas star decoration; you can hang them from the ceiling with just a bit of thread and a pin. Check out these other wonderful Christmas paper crafts.
The map prints add interest to the decoration. I will make some more with my old road maps, in the traditional Christmas colours of red, green and white for my tree. They can also be made by upcycling old Christmas cards.
If you liked this, you should check out some of my other popular map paper crafts:
Simple Beautiful Map Roses
Personalized Treat Map Heart Bags
Map Art How to Make a Beautiful Pet Portrait.
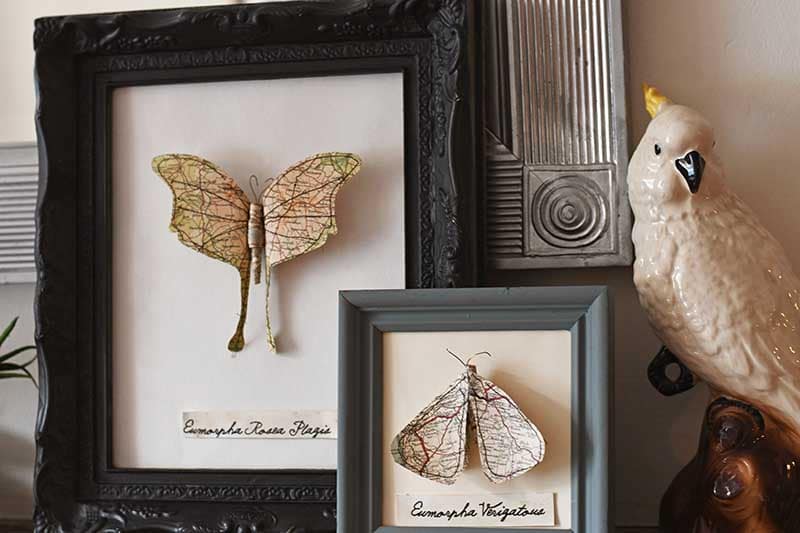
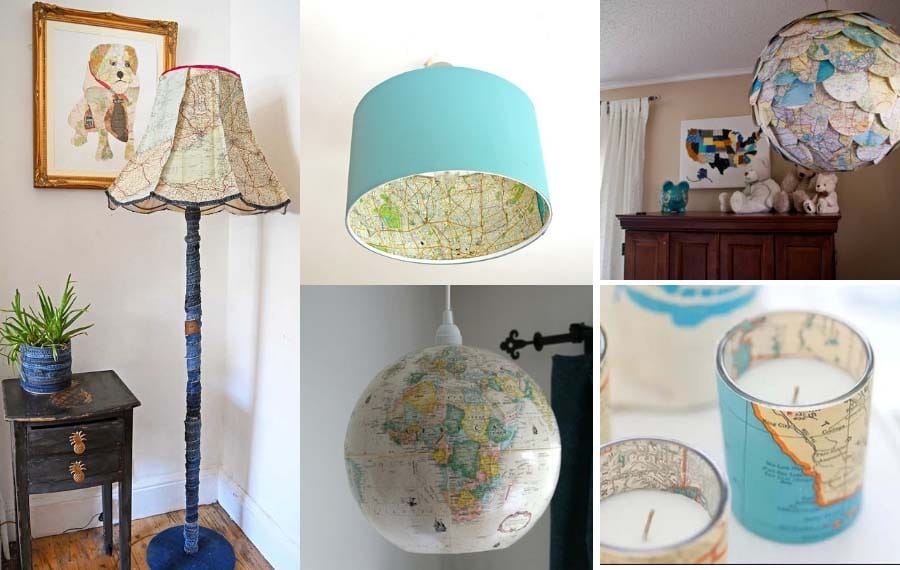
Repurposed map decorations
Also check out these 25 other free printable paper crafts.
I like these a lot! They would look great using sheet music, or any number of kinds of scrapbook paper! Thanks for the idea!
I think a sheet music star will look great.
I made one! Super cute! Now I want to make one out of sheet music.
Thank you, I'm sure it would look lovely.
thank you so much....I've been looking for this all over the net. I was wondering if there is a way that this star can be illuminated?
You can buy some batterey operated copper string lights on Amazon which you could use to illuminate your star.
Love all of your map projects Claire!!
Thank you Sam.
These are unlike any ornaments I've seen. Thank you for sharing with us this week at Celebrate Your Story, have a great week.
Thank you!
Wow! Love this! Very cool project!
Thank you for sharing and linking up at Dishing It & Digging It! We enjoy having you each week! 🙂
Thank you !
Hi Claire, What a great way to use maps! I love the more colorful ones the best! Well done! Blessings, Janet
Thank you, the colourful ones are my favourite too.
What a great idea - looking for maps now - Thanks for sharing on the Pleasures of the NW DIY party!
Thank you !
These are fantastic. I love them for all year round in all sorts of paper. You gave such good instructions that I think I could do this.
Thank you, yes they look great with different papers.