
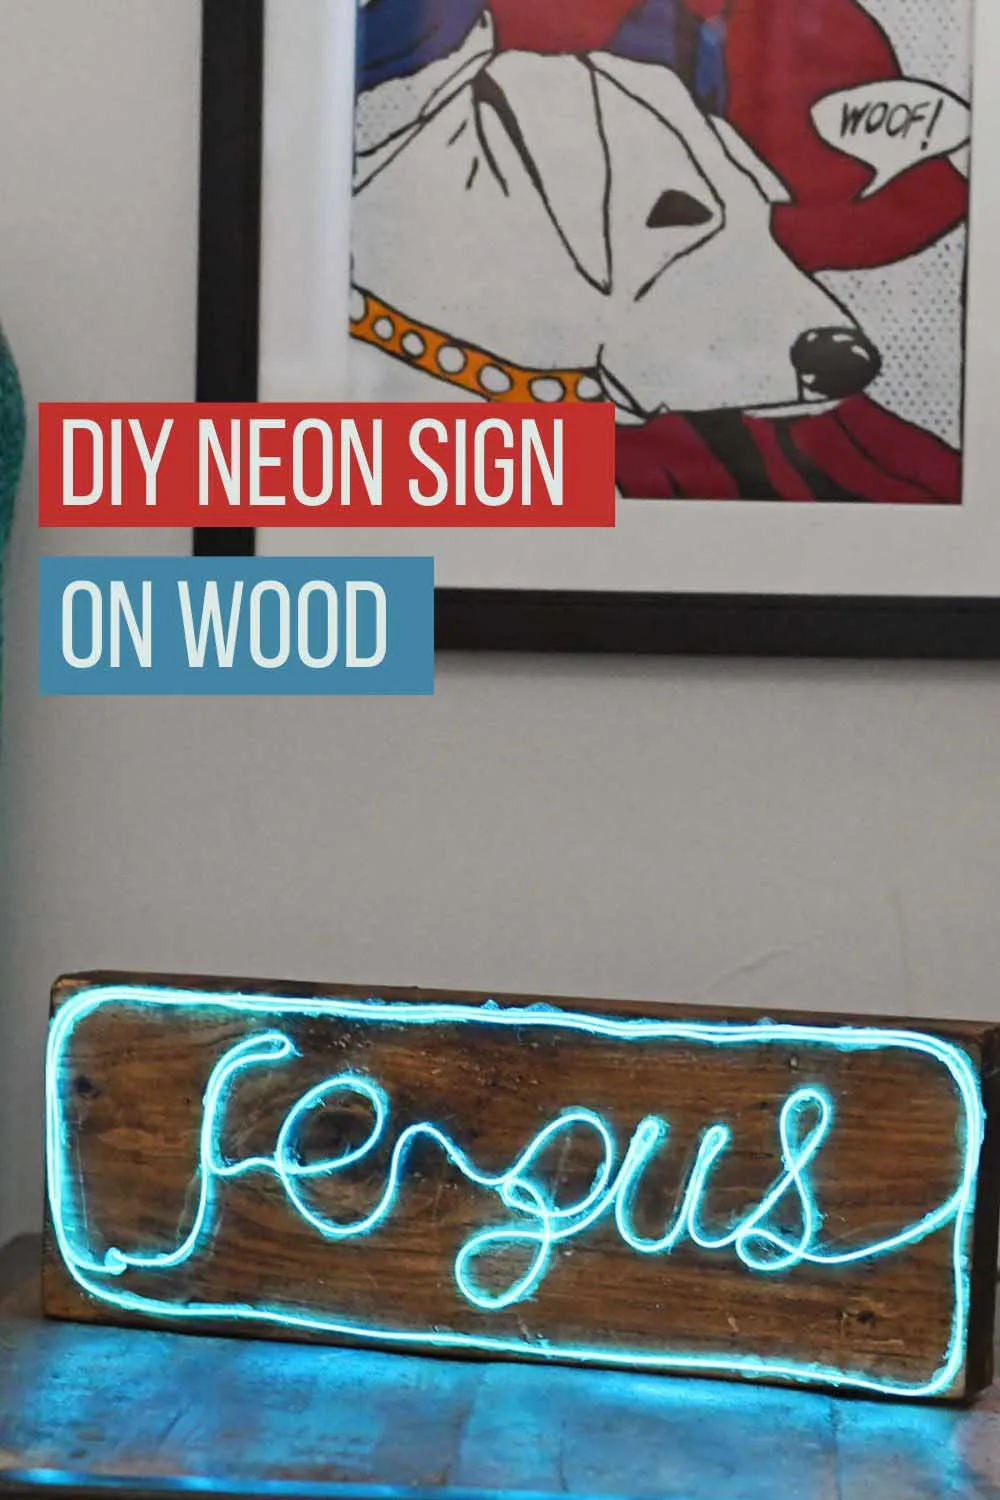
Inside: A step-by-step guide on creating a DIY neon sign on wood using EL wire for a vibrant, personalized touch.
It was just worth making this custom neon sign for the smile it put on my youngest son’s face!
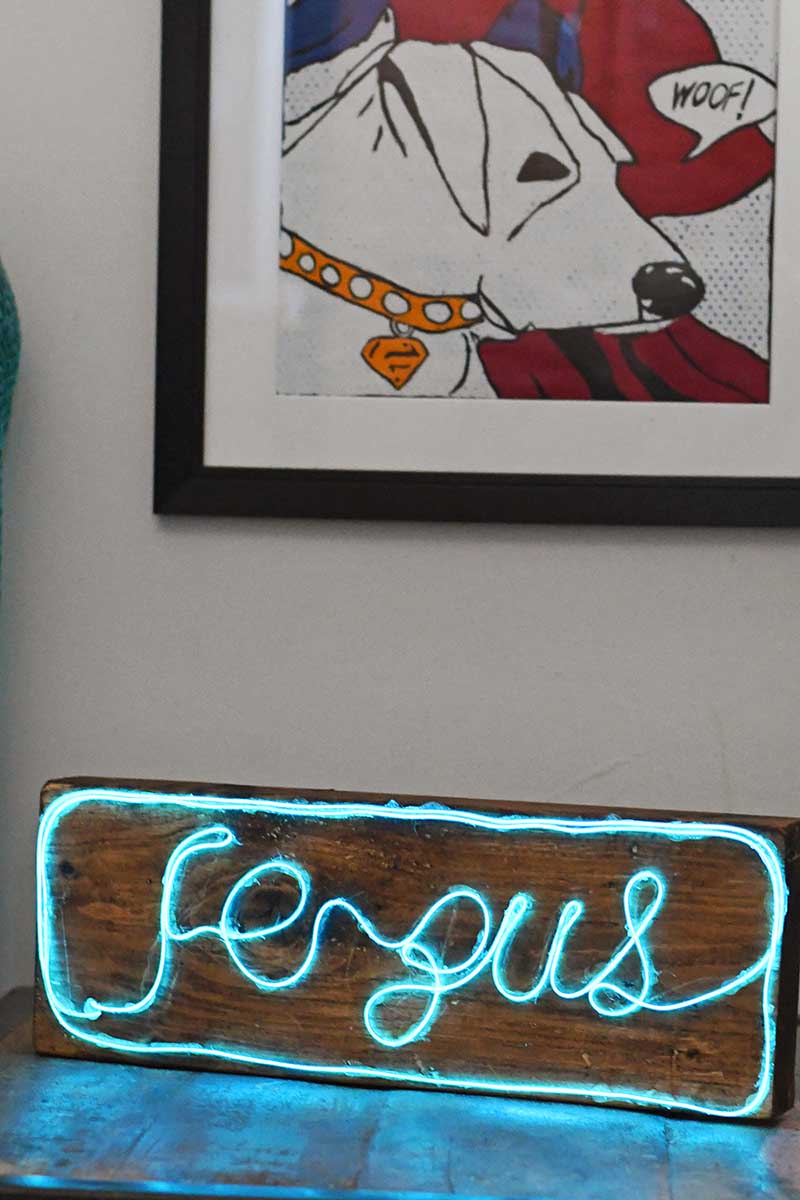
Fergus is so sweet; he loves it when I craft things for his room. One of my earliest DIY projects was the upcycled denim pocket organizer for his room, which still hangs there. This time I decided to put his name in lights as he deserved it! With this simple custom neon sign.
Your Name In Lights With A Custom Neon Sign
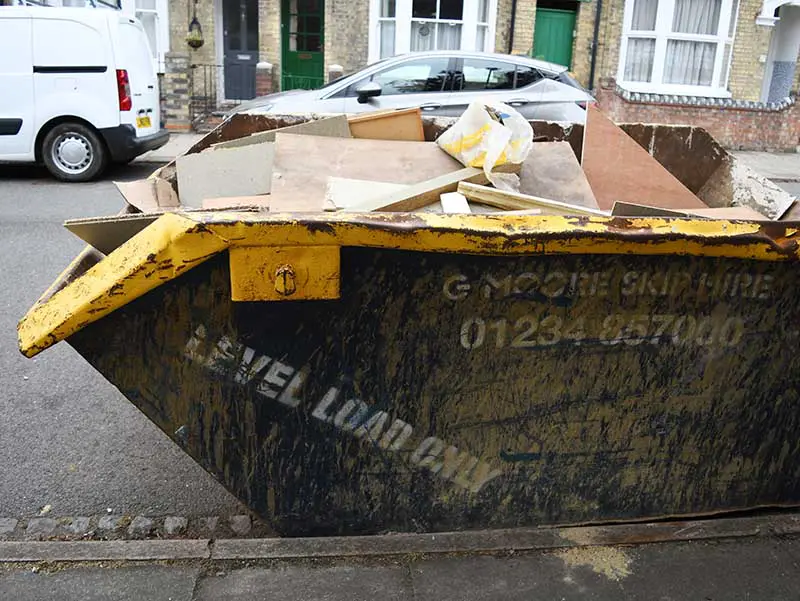
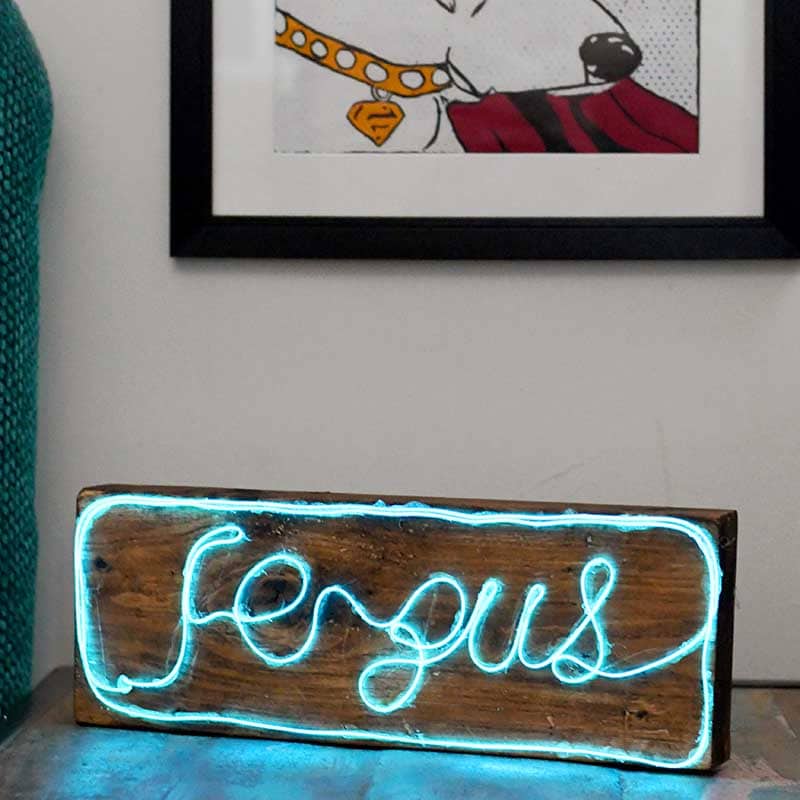
Even though it was a neon sign, I still managed to give it a rustic look by mounting the lights on a wooden base. After rummaging through my neighbour’s skip, I got the idea for the sign. They have a loft extension and loads of chunky wood offcuts, which I squirrelled away for future crafts, including this one.

This custom neon sign now joins the giant paper mache cactus, diy nightstand, toys frame medal board, and the denim organizer in his room. It’s like one big advert for the blog!
The great thing about this tutorial is that the neon sign can be customized into whatever word you want; it doesn’t have to be a name. I’m thinking of making one with my favourite word, AWESOME!
We’re a participant in the Amazon Services LLC Associates Program, an affiliate advertising program designed to provide a means for us to earn fees by linking to Amazon.com and affiliated sites. As an Amazon Associate, I earn from qualifying purchases.
EL Wire: Illuminating the World of Crafting
You may know it as EL wire or, by its full name, electroluminescent wire. Either way, this thin, flexible wire emits a brilliant glow when an electric current is applied, making it an exciting material for many crafts.
Unlike traditional lights, EL wire doesn’t heat up, making it safe for all creative uses. It’s incredibly flexible, so you can bend and twist it into virtually any shape – perfect for personalized crafts!
The wire comes in a rainbow of vibrant colours, allowing you to choose hues that perfectly match your project. And the best part? EL wire works brilliantly for indoor and outdoor crafts, offering a unique way to illuminate your creations.
Creating a personalized name sign with EL wire is fun and straightforward. Here’s a quick step-by-step guide:
What You Need to Make a custom neon sign
- A chunk of wood – I used a piece of wood about 5cm 2″ thick so that it would stand up on its own. The length and height of the wood will depend on how big you want your custom neon word to be. For my sign, I used 18cm by 45cm of wood.
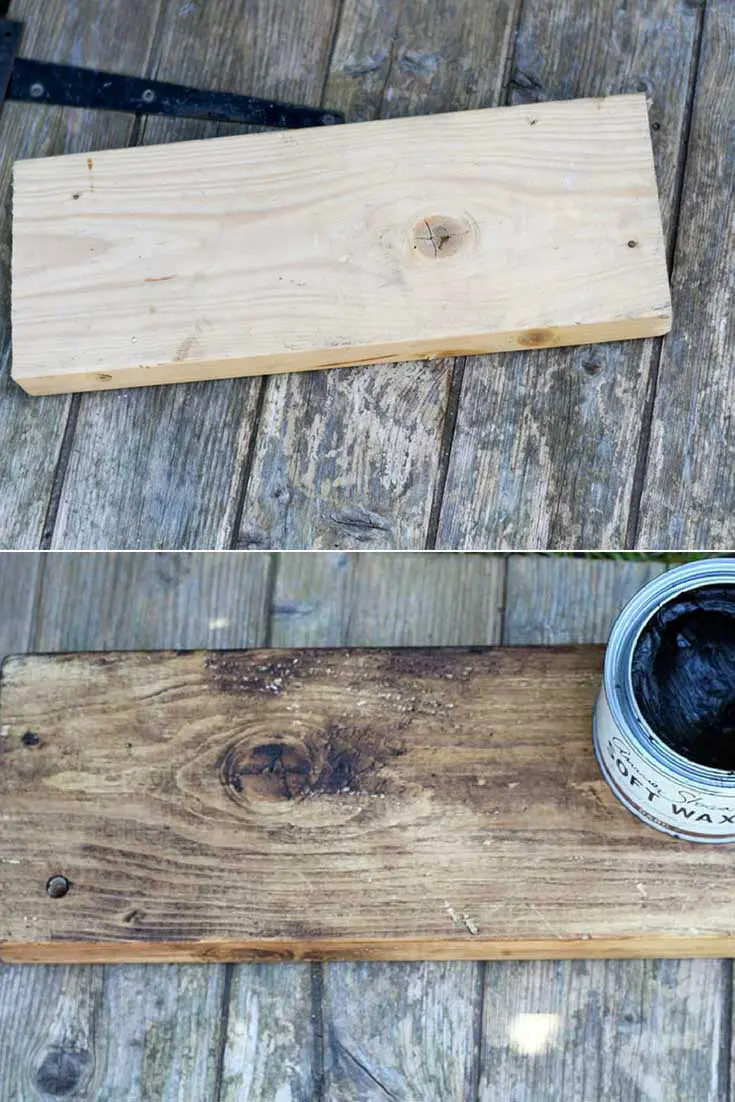
- Dark wood wax – to give your sign a more rustic aged look
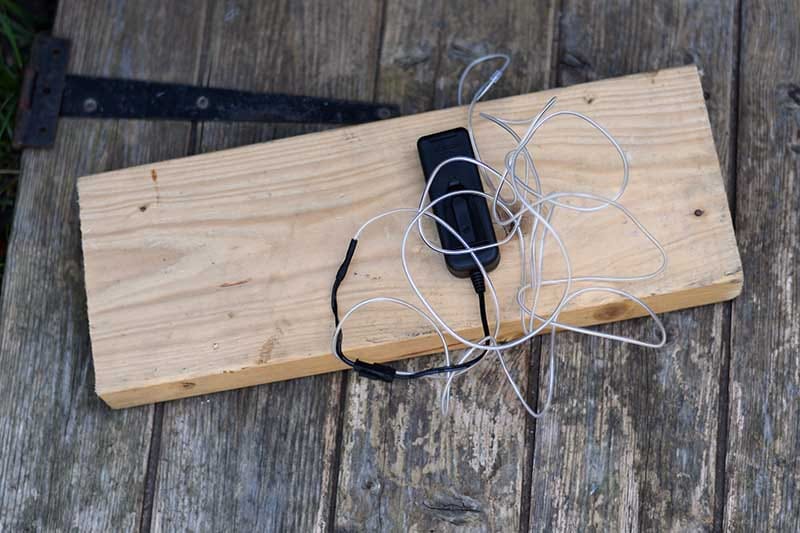
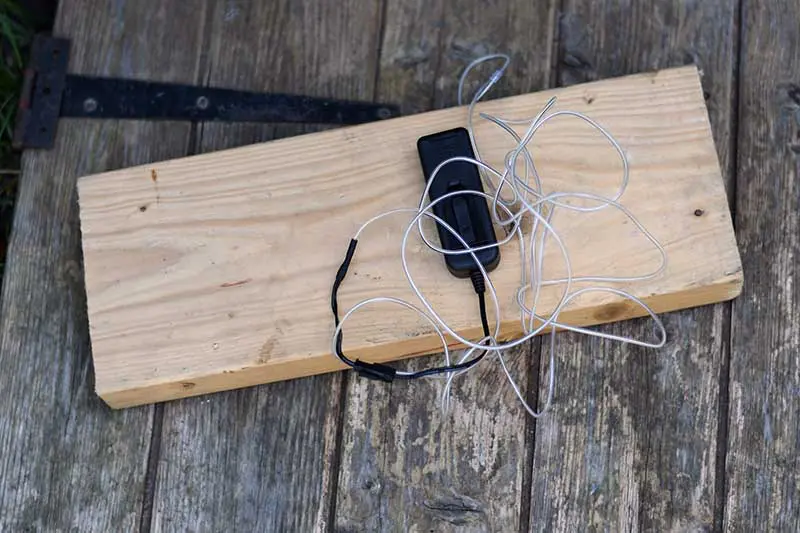
- El wire – this is the neon wire to write the sign. It comes in lots of different colours and thicknesses. I used blue neon el wire 3 meters (9ft) long for my sign. The wire comes with a battery pack attached
- Drill and large drill bit for wood
- Hot glue gun and glue sticks.
- Masking or washi tape.
Create a Glowing Name Sign On Wood
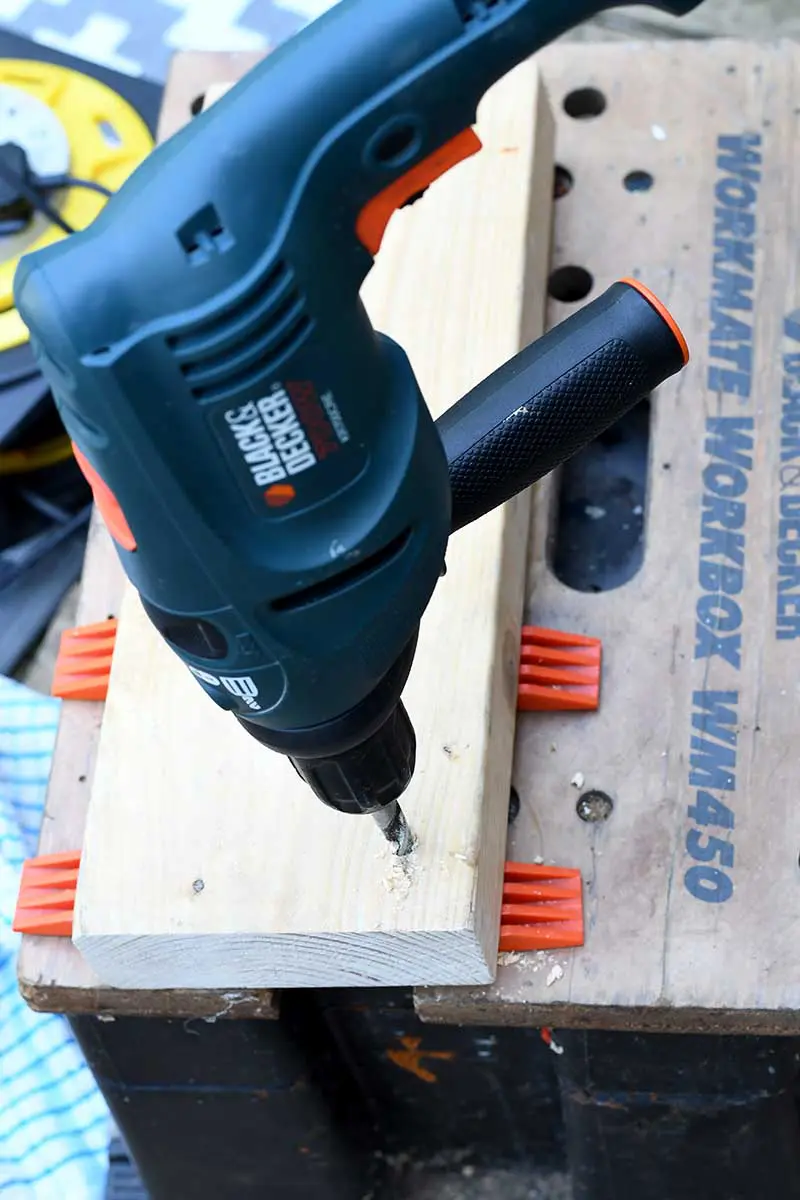
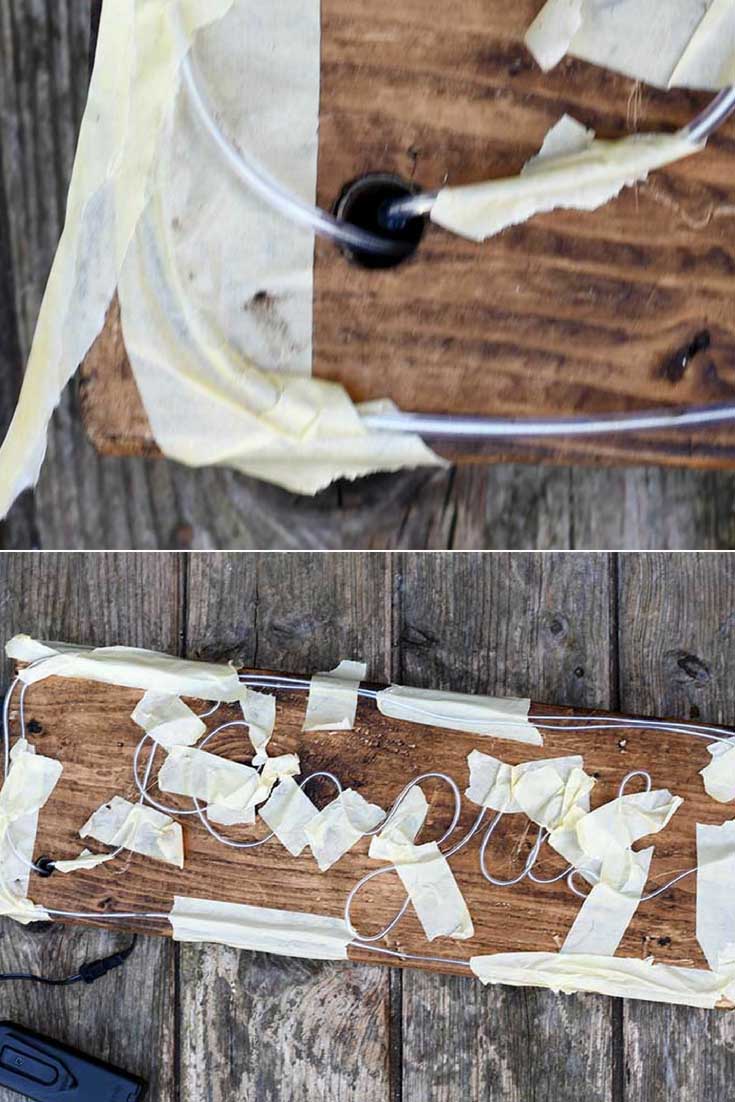
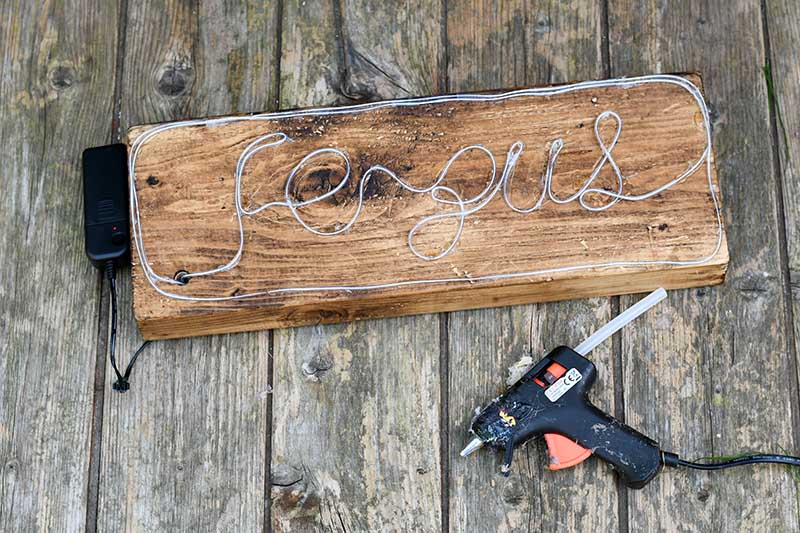
Step 1: Drill a hole in the bottom corner of the wood plank. Ensure that it is big enough for the El wire to pass through twice comfortably.

Step 2: Prepare the wood base for the neon sign by sanding the edges and then giving the wood an antique rustic look by rubbing on some dark wood wax.

Step 3: Design and print your word after the wood base is ready. As the EL wire is one continuous length, you must have the word in a cursive font. i.e. what we called joined up, writing at school!
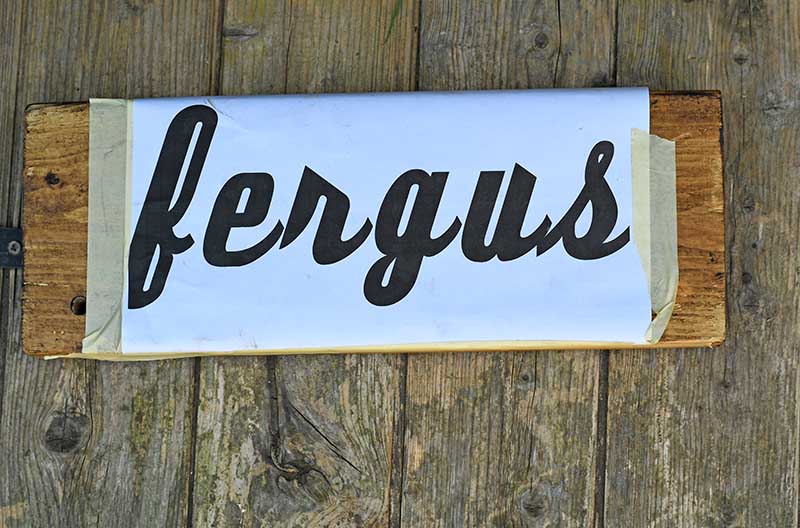

Step 4: Next, get a sharp object (screwdriver) and using the printout word template as a guide, scratch the word into the wood.
Step 5: Throw the EL wire through the hole in the wood (leaving the battery pack on the back). Stick the wire around the letters following the scratch marks using masking tape. Any excess wire can just be taped around the edge of the word to form a border and then threaded to the end back through the hole.
Placing the EL wire this way allows you to see how your word will look and ensure you have enough wire before glueing the wire permanently in place.
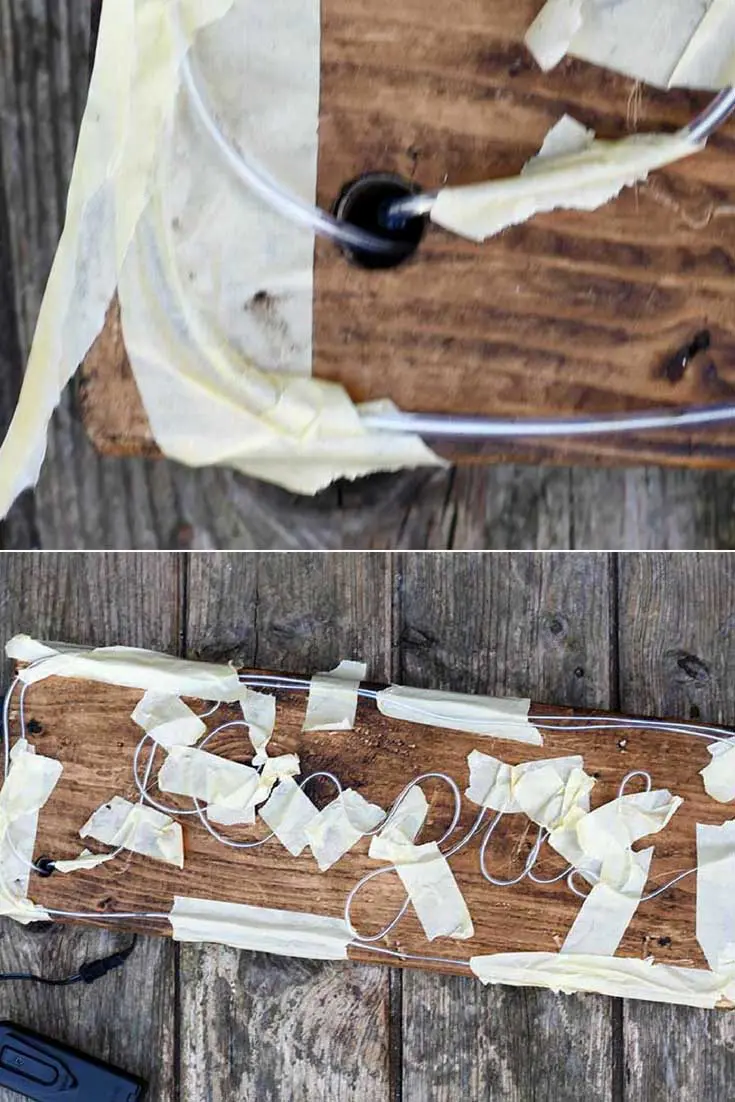
Step 6: Once you are happy with your word placement. Remove the masking tape bit by bit and glue the el wire to the wooden base using a hot glue gun.

Step 7: Finally, all that’s left to do is put the batteries in and tape the battery pack to the back of the sign.


Other Illuminate El Wire Craft Ideas
I think this neon sign looks fabulous in my son’s room, and as I said in the beginning, Fergus loves having his name in lights.!
What word would you use for your custom neon sign?
This is not the first illuminated sign I have made; check out my DIY light box sign.
El wire is a fun alternative to thread and yarn in string art projects to create fantastic illuminated art like this neon heart.
EL wire comes in many colours; it is an excellent material to craft for different holidays, like these neon orange Halloween pumpkin signs and this pink neon skull decoration.

For other sign ideas, visit DIYideacenter.com.
Rustic Charm: DIY Wood Signs to Hang in Your Home - DIY & Crafts | A Matter Of Style
Thursday 2nd of May 2019
[…] Put your name up in lights with a custom neon sign. It’s so easy and affordable with el wire. The tricky bit will be deciding on the colour neon. Get the tutorial from Pillar Box Blue. […]
Lins @ Boo & Maddie
Monday 5th of November 2018
Now this is something I could definitely have a go at! What a beautiful alternative to the ones available to buy, I love them but my goodness they're so expensive! Thank you for linking up to #HomeEtc X
Claire Armstrong
Tuesday 6th of November 2018
Thank you Lins. You can choose the word and the colour.
Maria
Wednesday 10th of October 2018
I have a dumpster like this at my home that is being builted, there is so much wood there too. Love how your sign turned out fabulous. Maria
Claire Armstrong
Thursday 11th of October 2018
Thank you, I’m always taking stuff out of dumpsters for my projects.
Jodie Fitz
Tuesday 9th of October 2018
Your sign turned out great. Thanks for joining us at last week's RTT - we hope to see you at this week's party. xo http://www.jodiefitz.com/2018/10/09/reader-tip-tuesday-weeks-craft-recipe-party-14-2-2-2-2-2-2-2-2-2-2-2-2-2-2-2-2-2-2-2-2-2-2-2-2-2-2-2-2-2-2-2-2-2-2-2-2-2-2-2-2-2-2/
Claire Armstrong
Tuesday 9th of October 2018
Thank you!
Chas
Wednesday 3rd of October 2018
I love your sign and I have been wanting to work this this as well. Thanks for inspiring me :) Thanks for sharing on To Grandma's House We Go!
Claire Armstrong
Thursday 4th of October 2018
Thank you p, they are so easy and the wire comes in loads of different colours.