
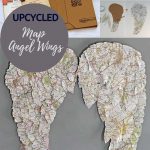


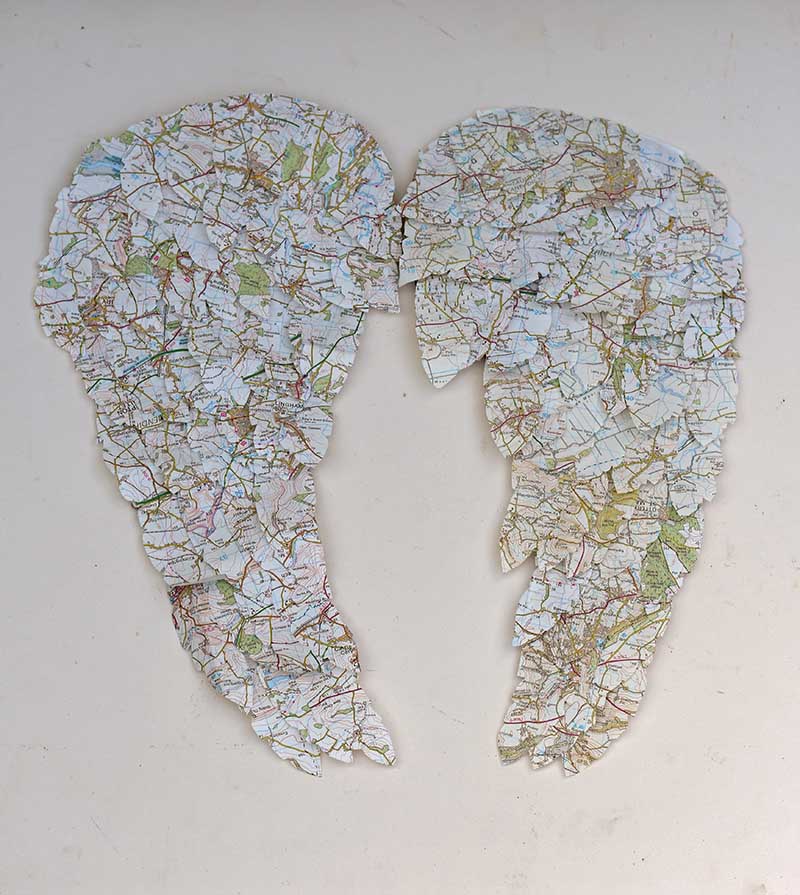
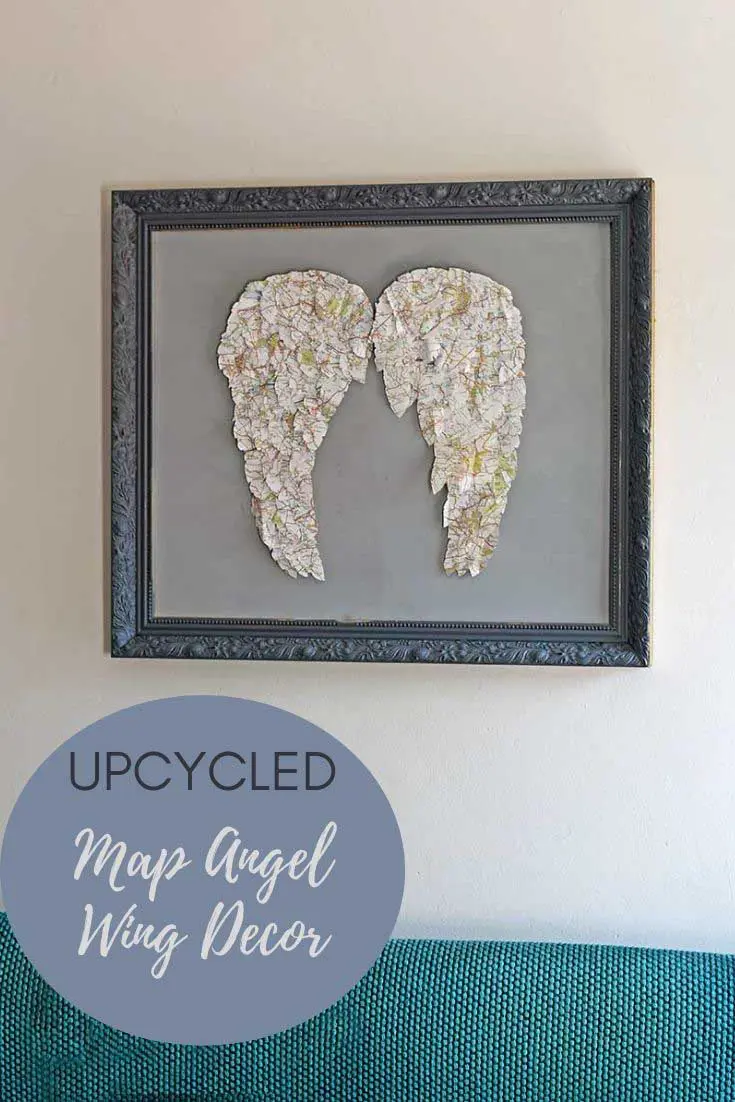
I’ve always admired the large angel wing art you often see in interior stores. Having a bit of time on my hands, I decided to make my own paper angel wing wall decor by using old road maps to make the feathers.
I made some small feather angel wing ornaments before using upcycled shuttlecocks. This time I wanted to make a much larger wall decor.
If you follow my blog, you will know that my two main upcycling obsessions are denim and maps. I have made denim feathers in the past, and even though these would look fantastic used to make angel wings, I decided to use maps this time.
Many feathers of different sizes are needed to make this angel wings wall decor. I love using old maps for my paper crafts as they add extra interest to the project.
These paper wings can be personalized by using maps of special places. A road map of Los Angeles (City of Angels) would have been very apt to use for this craft. Unfortunately, I didn’t have one in my collection of old maps.
Road maps look great and are a very affordable craft material. If you don’t have any old ones, you can often pick them up cheaply in thrift stores and flea markets. This still works out cheaper than buying craft paper and is more environmentally friendly.
I know that getting out to craft stores for many of us is very difficult. So we want to craft with the things around us while at home. The great thing about this paper home decor project, besides the road map and glue, the only other material you need is some scrap cardboard packaging.

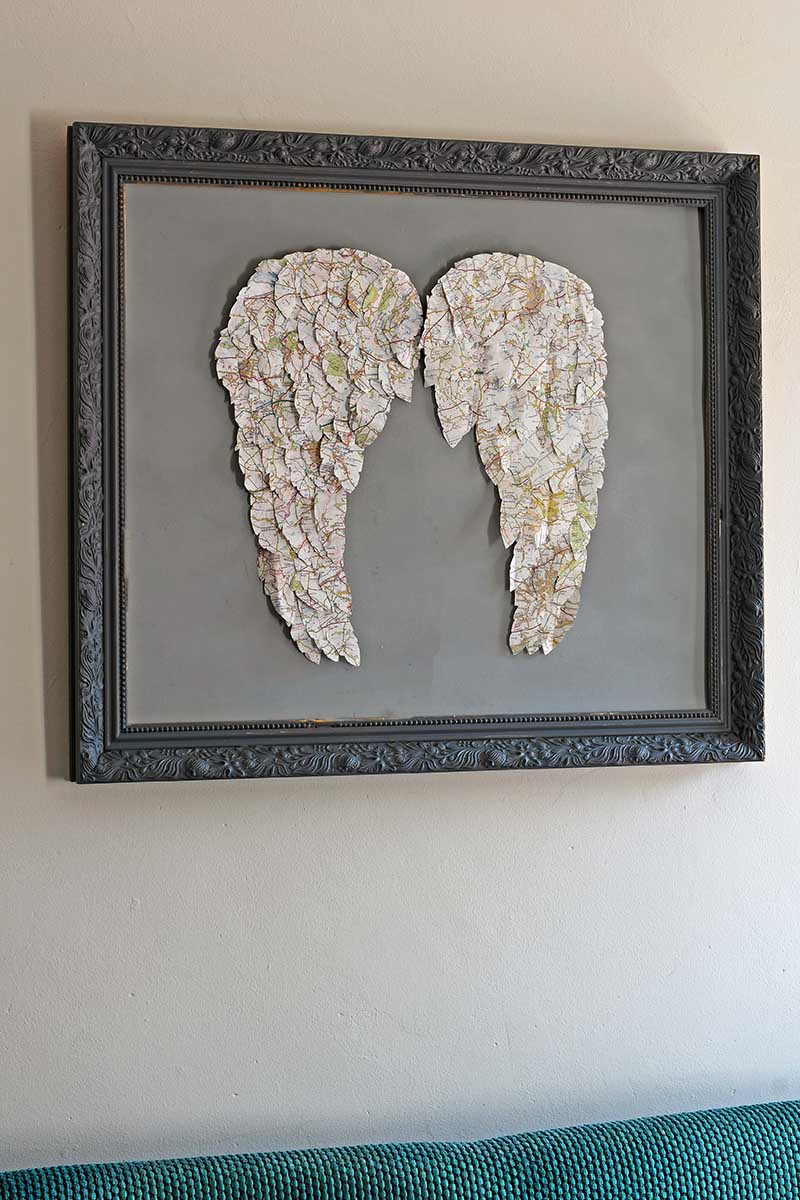
I found an old wood frame for the paper angel wings decor and hung it above our bed. It’s like the angel wings are a symbol of protection at this difficult time in the world at the moment.
What You Need
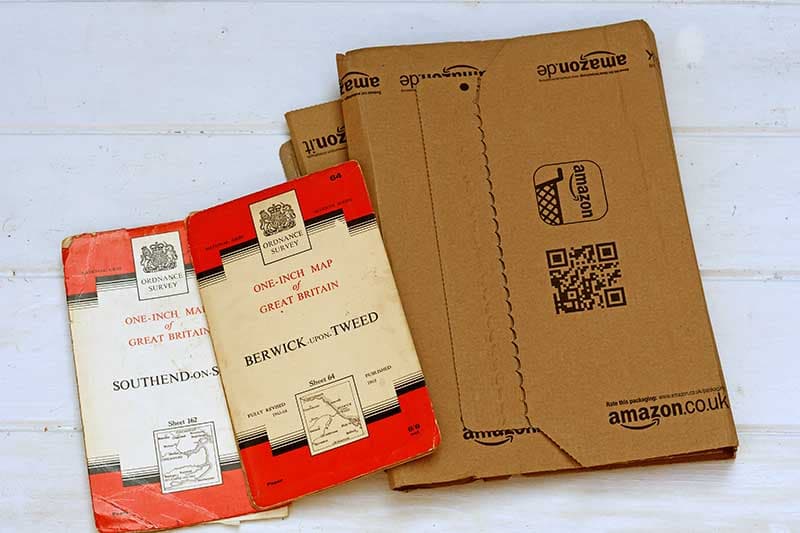
- Old road map – if you have no maps, ask older relatives. They often have old out-of-date maps they are happy to part with. My dad is now my greatest supplier of old maps.
- Cardboard – I just used some scrap cardboard from Amazon packaging.
- Craft glue – any white paper glue will do.
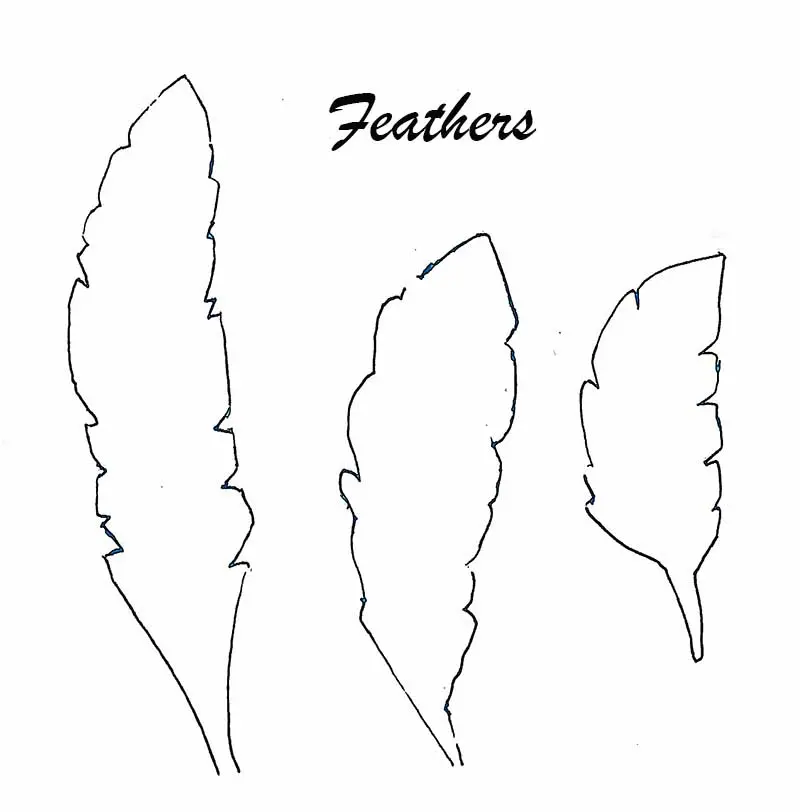
- Map feather template – download for free here.
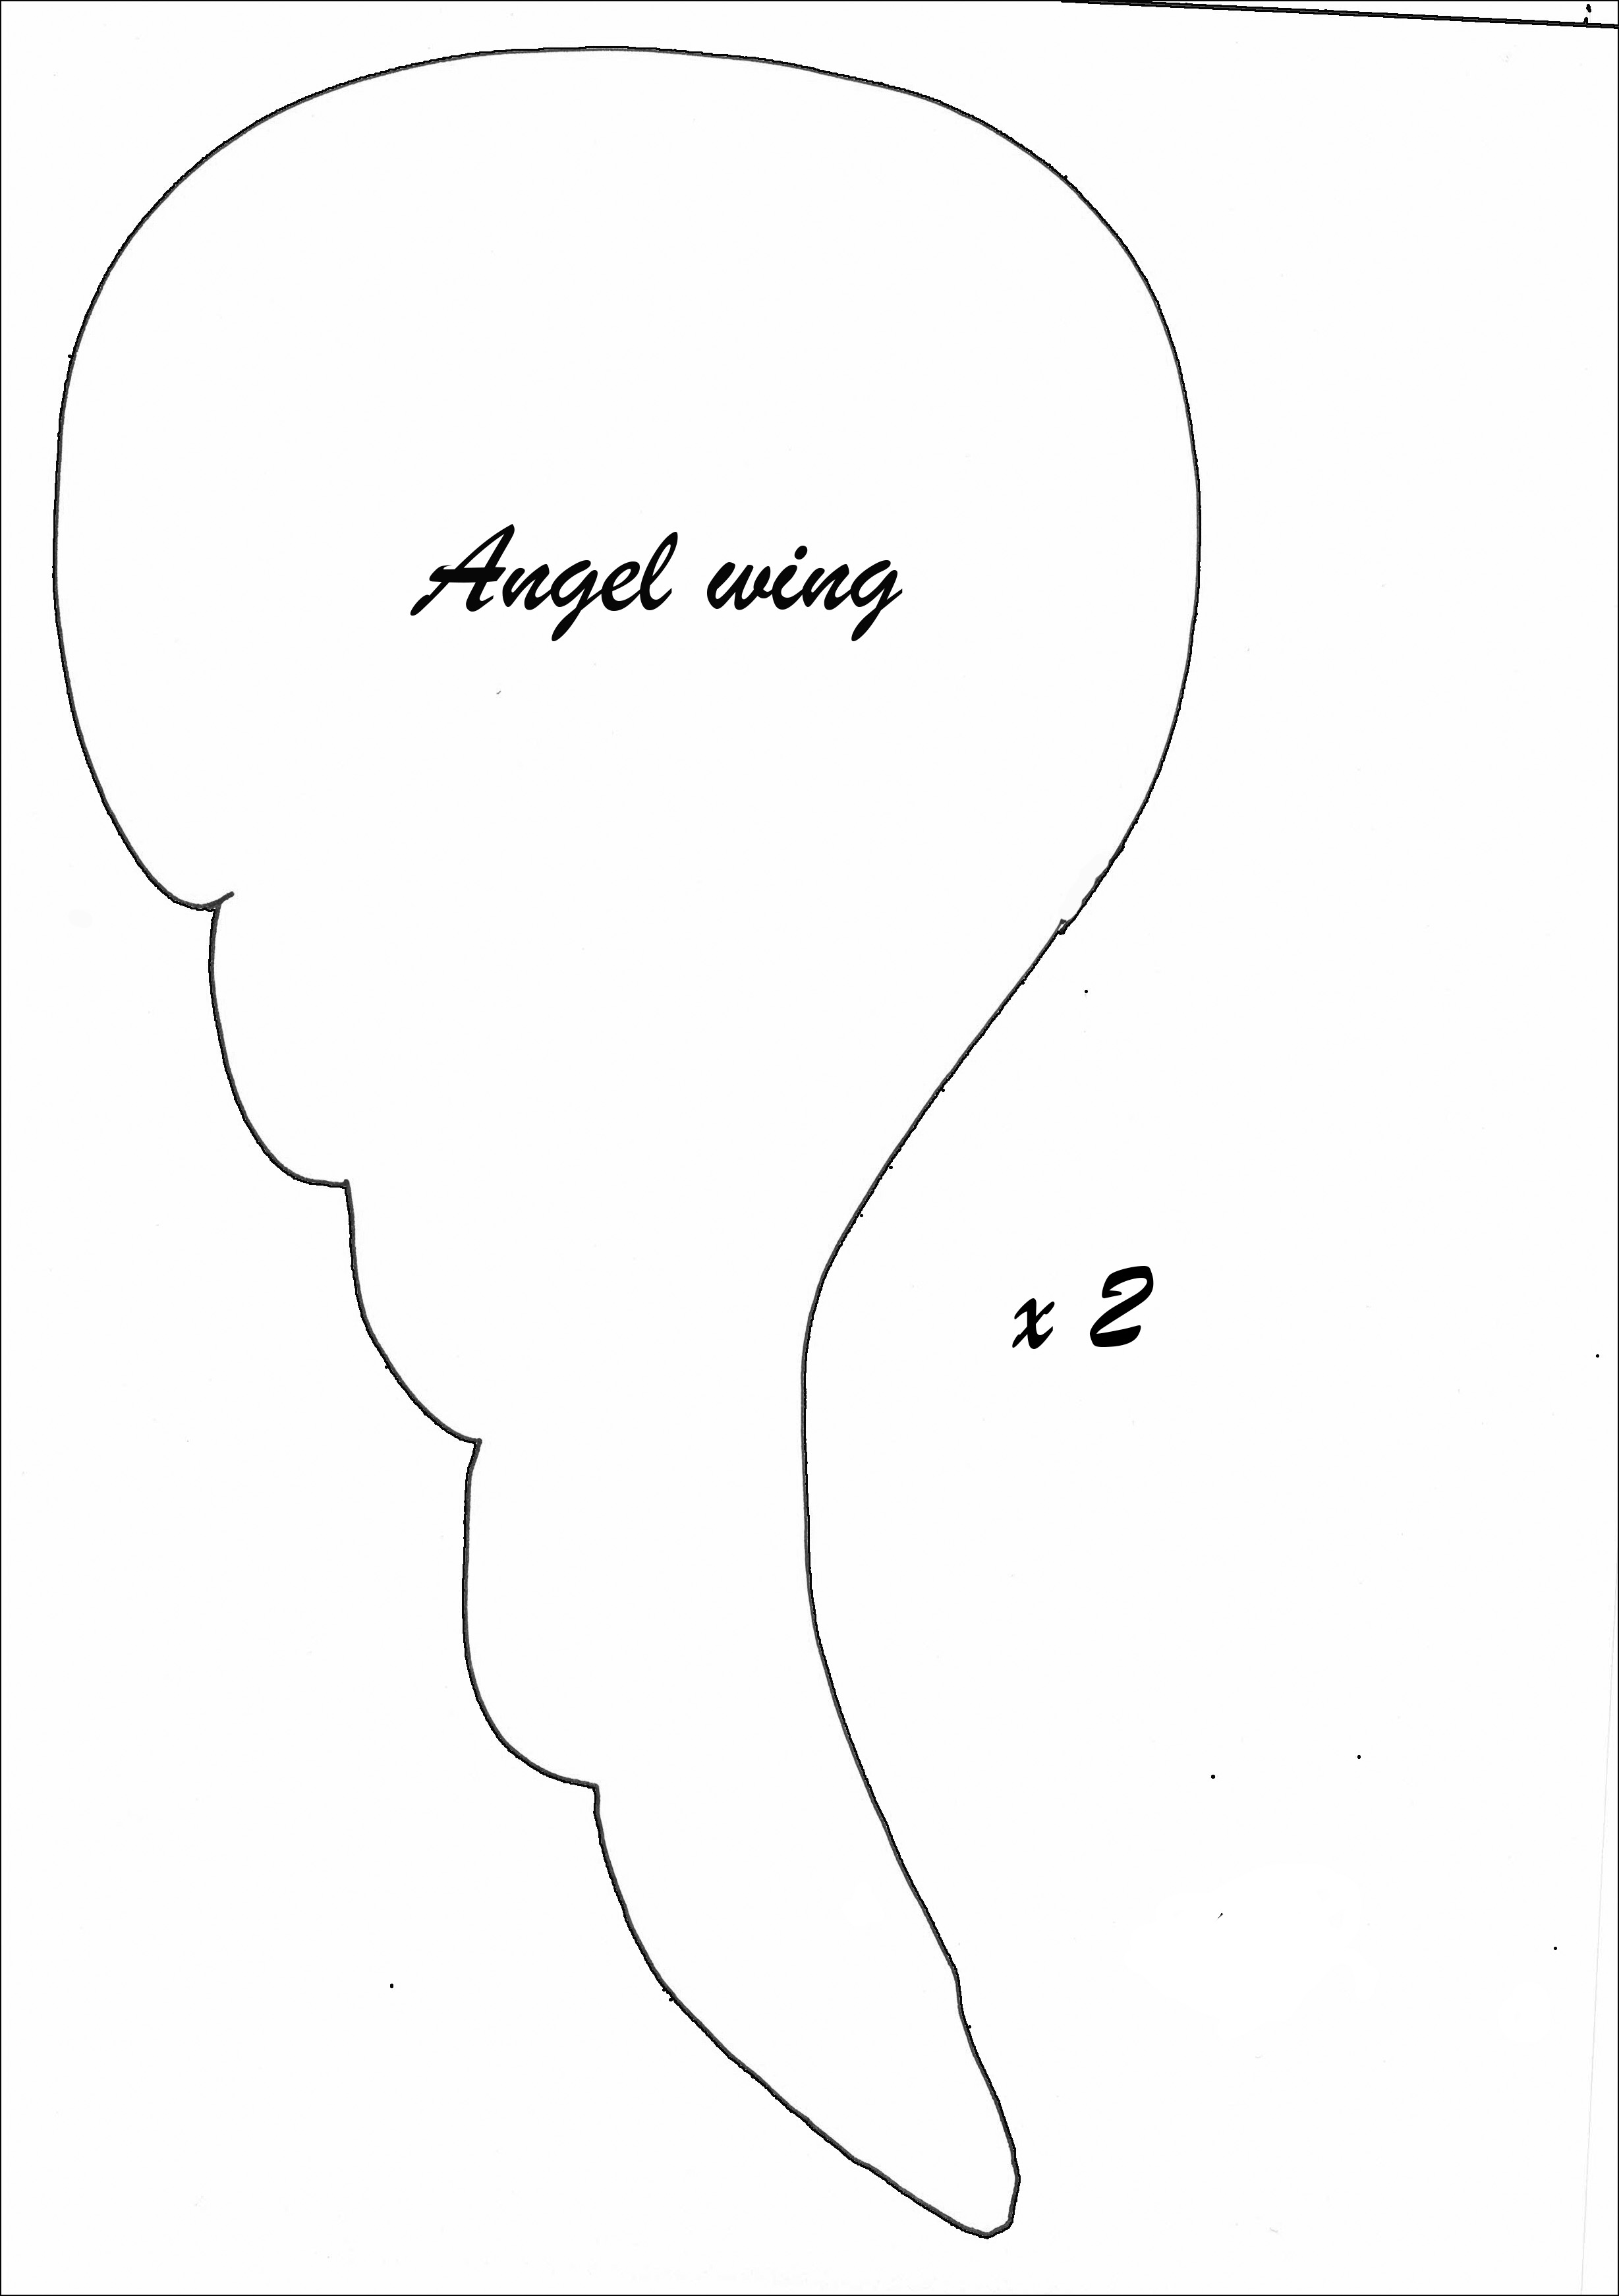
- Angelwing template


DIY Angel Wings Wall Decor
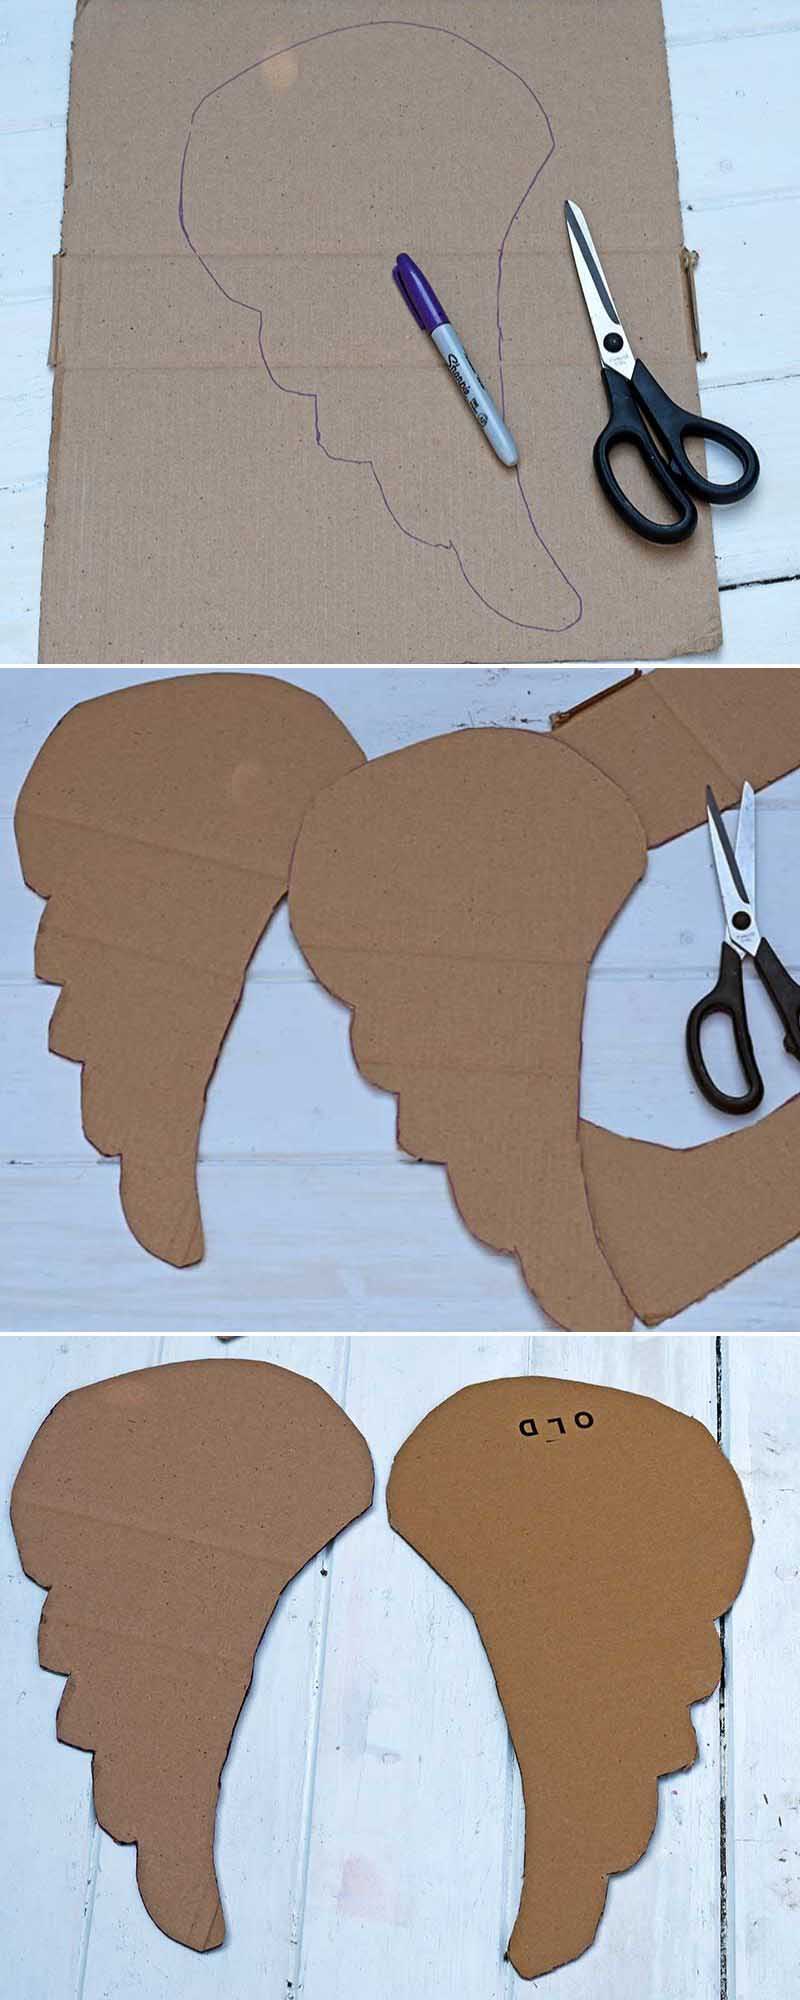
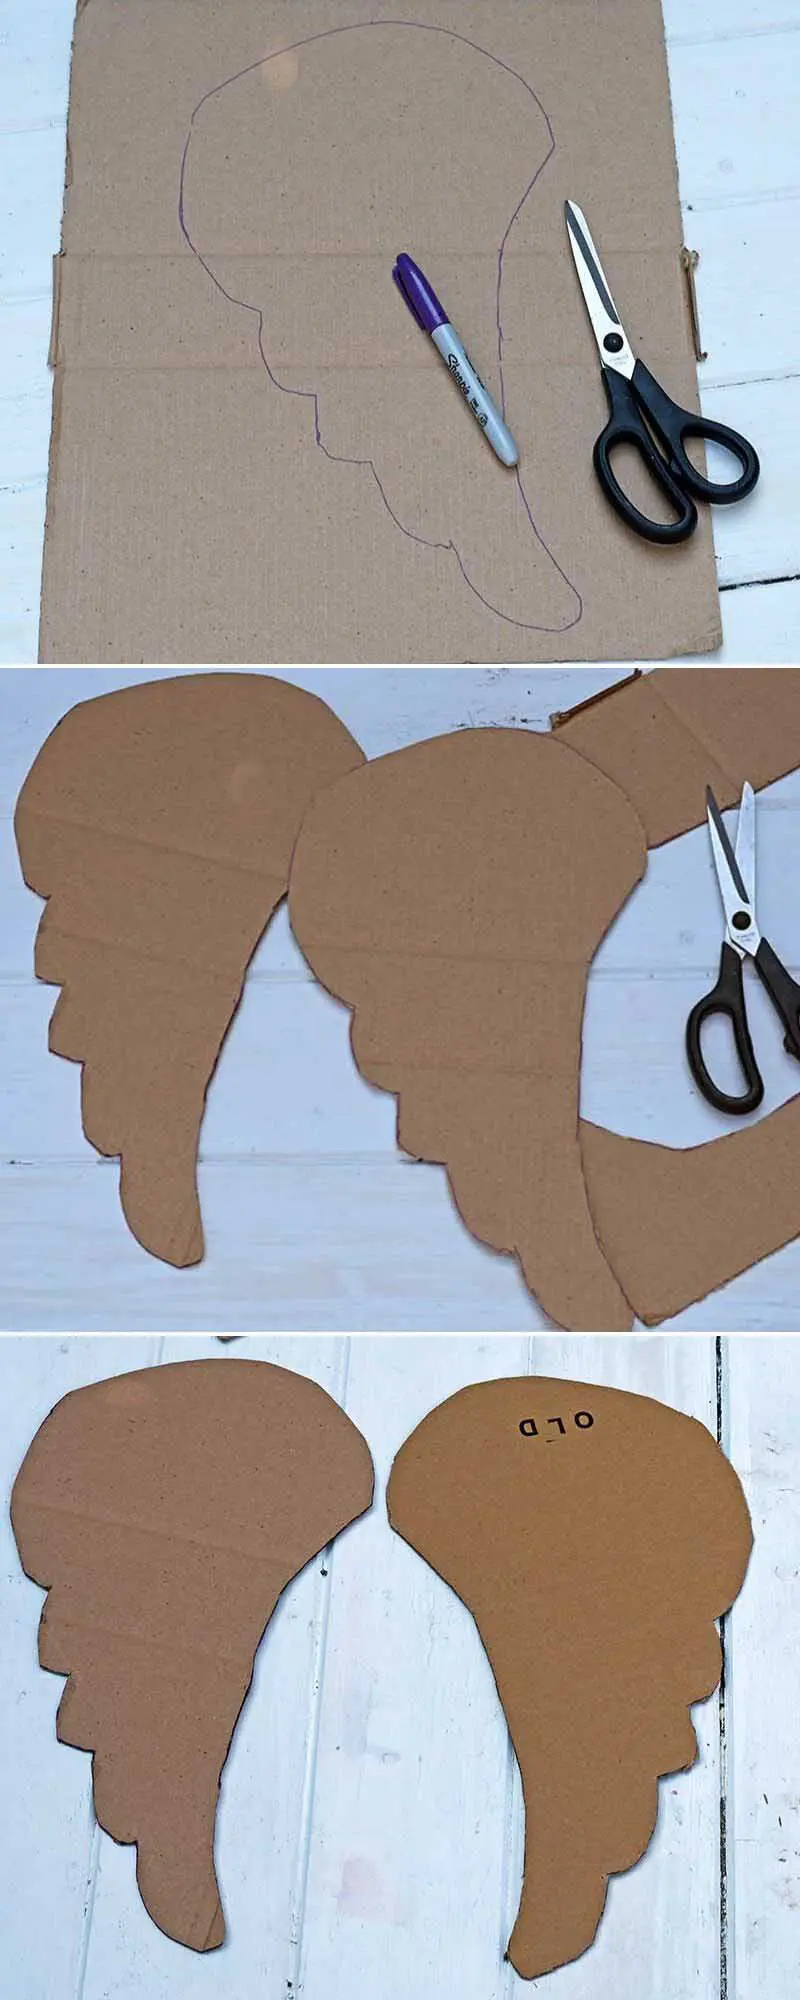
Step 1: The first thing to do is to make the wing template 0n cardboard. Draw one half of the angel wing onto the cardboard and cut it out.
Then draw around this wing shape on another piece of cardboard and cut out the shape. If you flip over this wing, you will end up with a pair of angel wings that mirror each other.
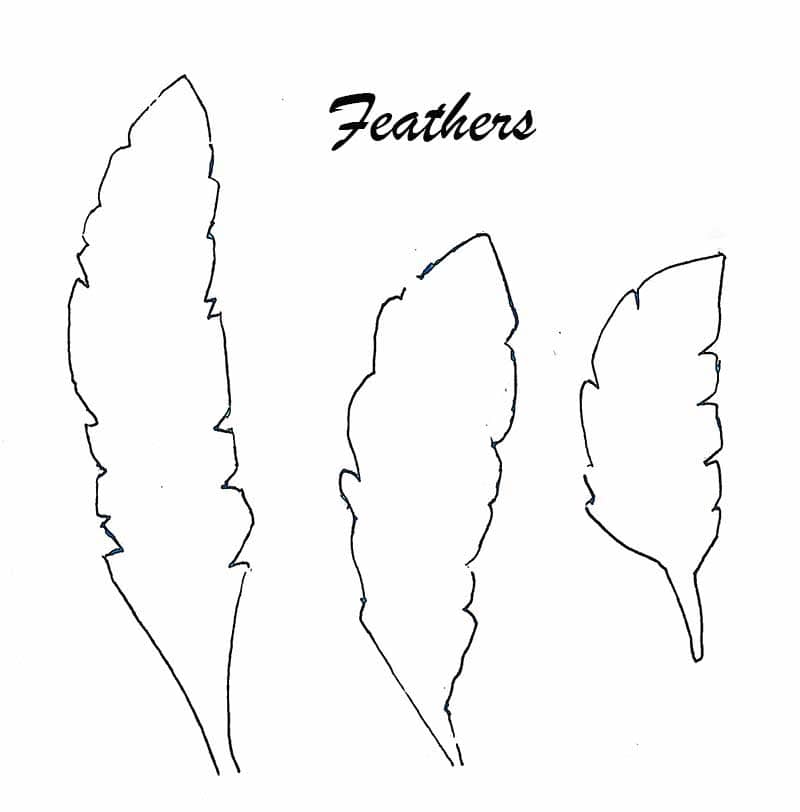
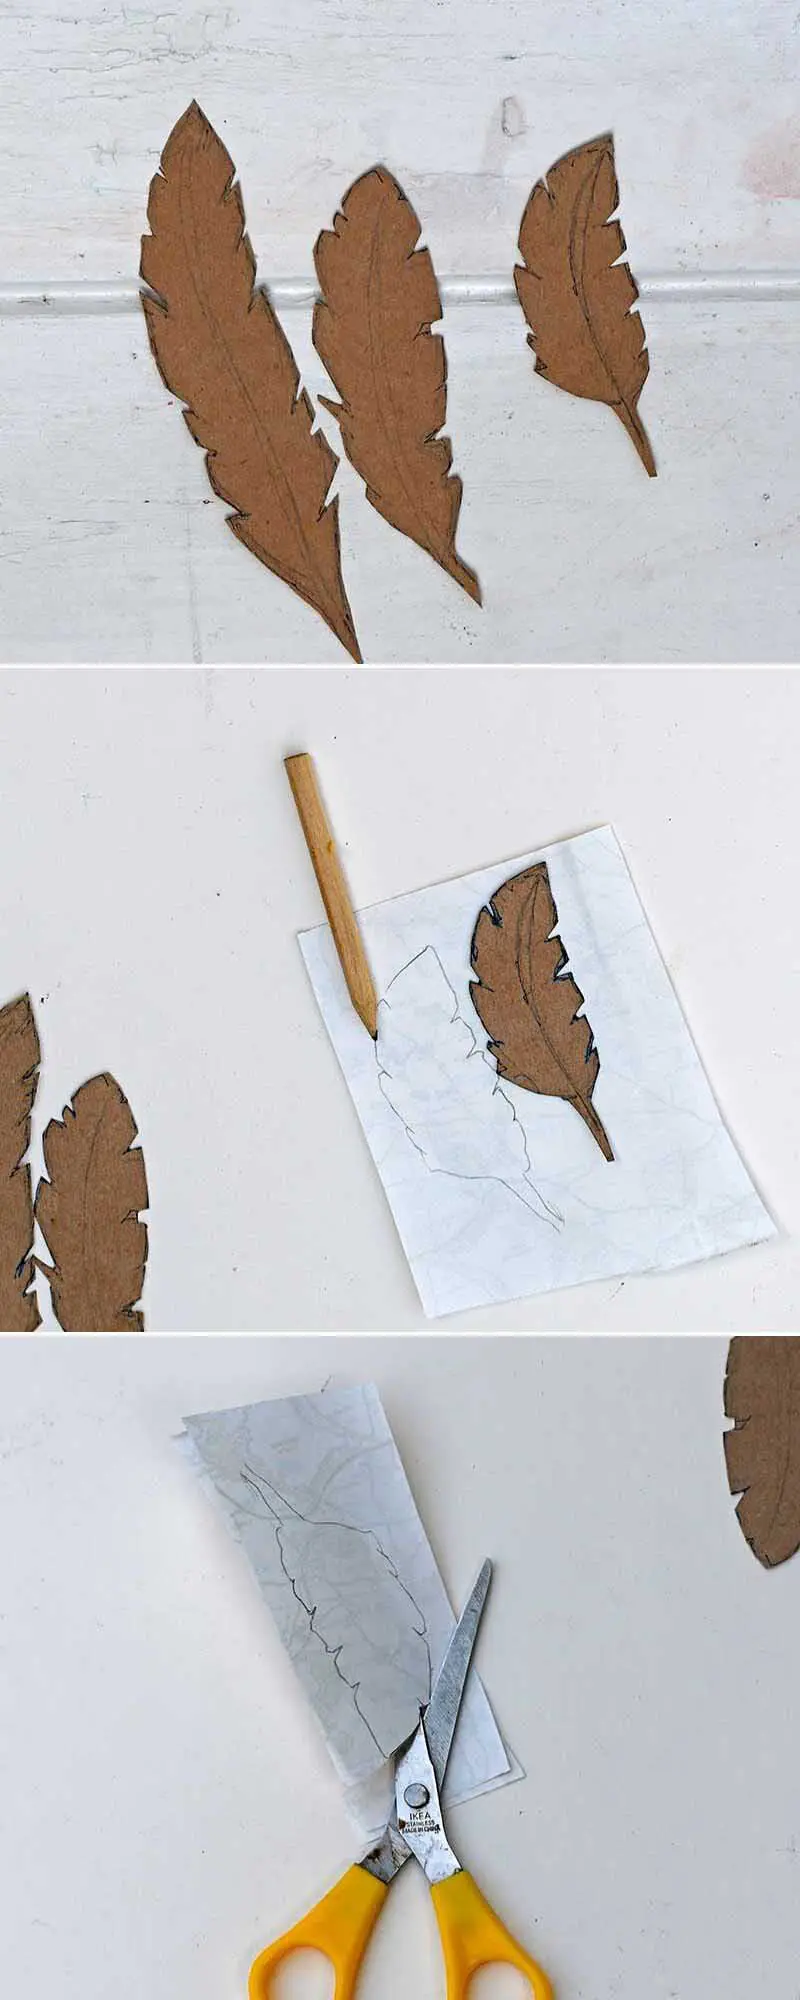
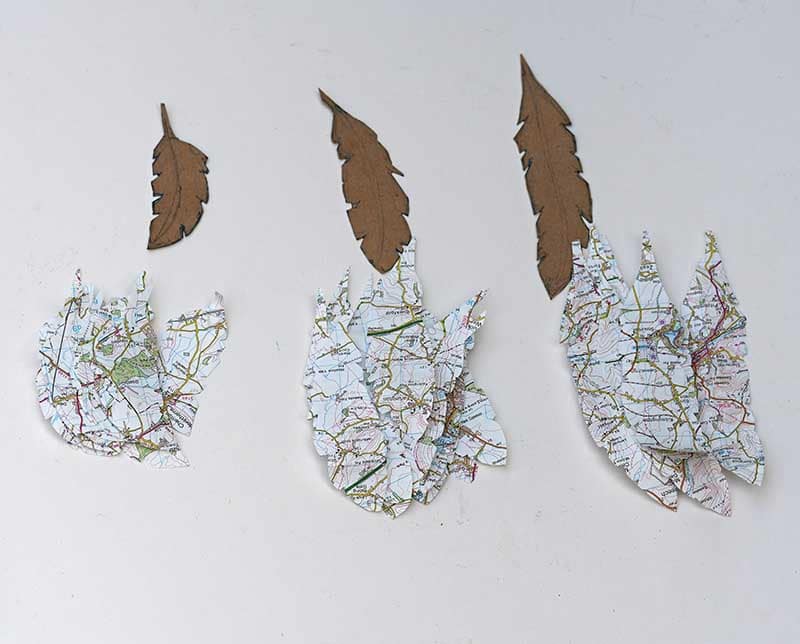
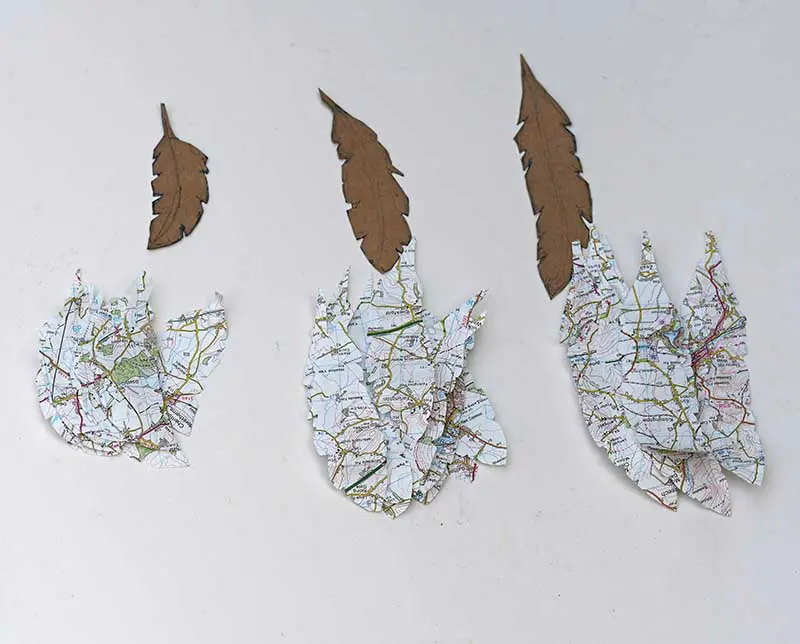
Step 2: Next, make the paper map feathers. Cut out the template of the three feather sizes onto a thin card. Use these templates to draw around and cut out map feathers.
Top tips: If the map is blank on one side, draw around the feather on this side, as it will be easier to see the lines. Also, if you layer the map paper, you can cut more than one leaf at a time. I put three sheets of map paper together and cut three leaves at a time.

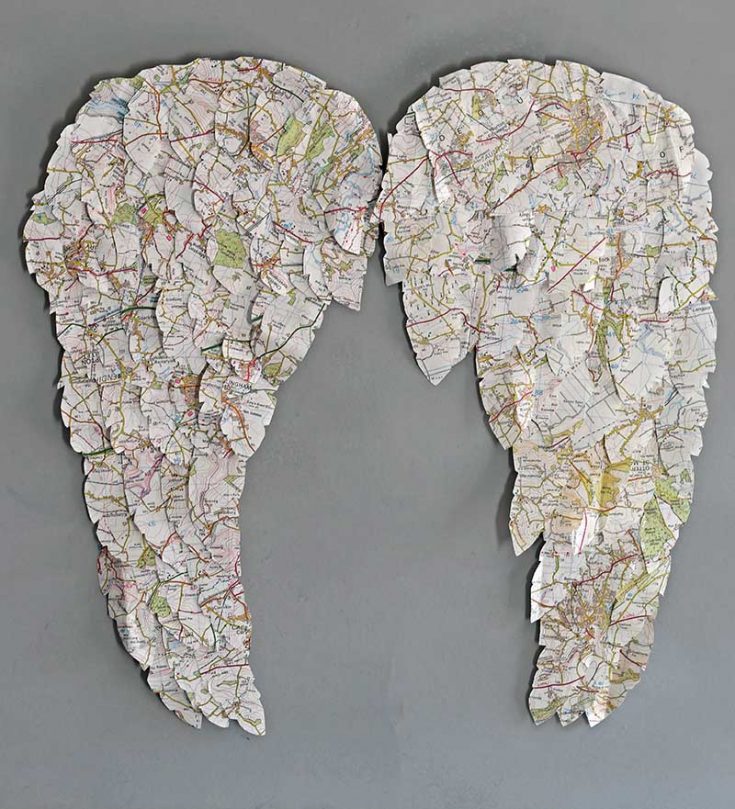
Step 3: The number of map feathers you need will depend on your angel wing art size. For each of the wings, I used 11 large feathers, 15 medium-sized feathers and 24 small feathers.
Note that the feathers are curved; you must cut out two sets of feathers—one for each side of the map angel wing. So you end up with two sets of feathers, one curving to the right and the other to the left.
Top tip: Once you have cut out one set of map feathers, turn the template over to cut out the second set facing the other way.
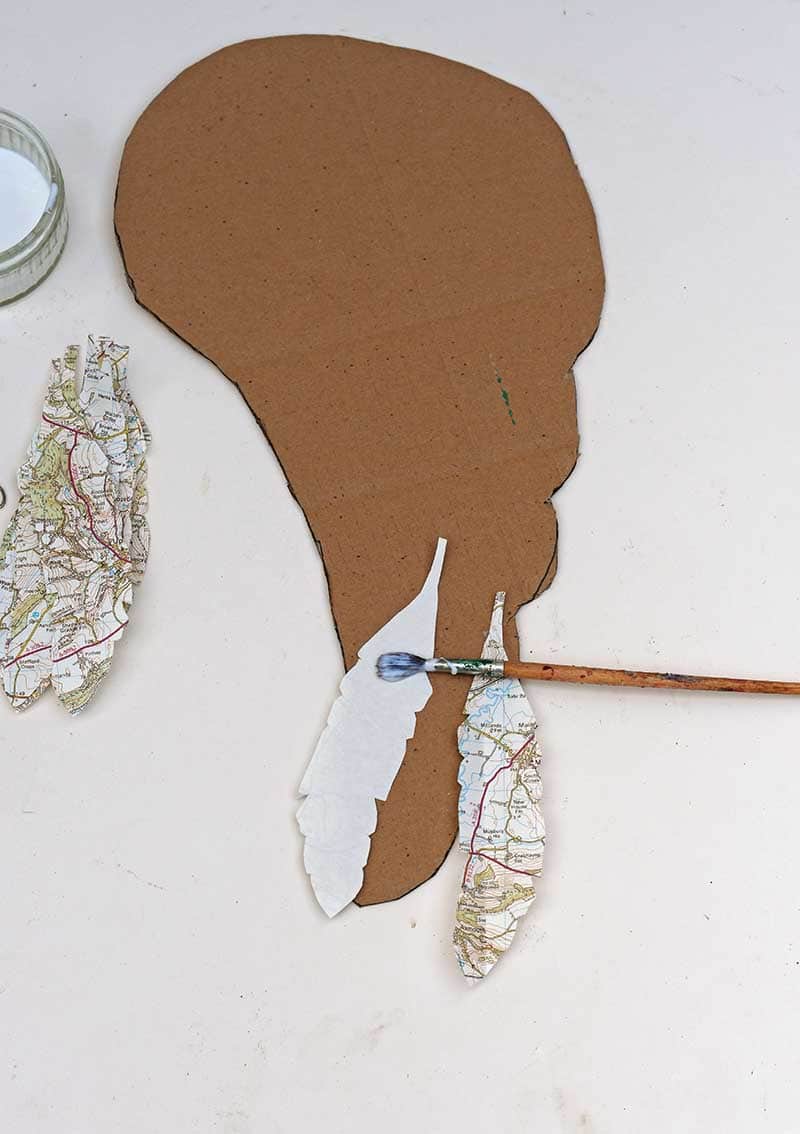
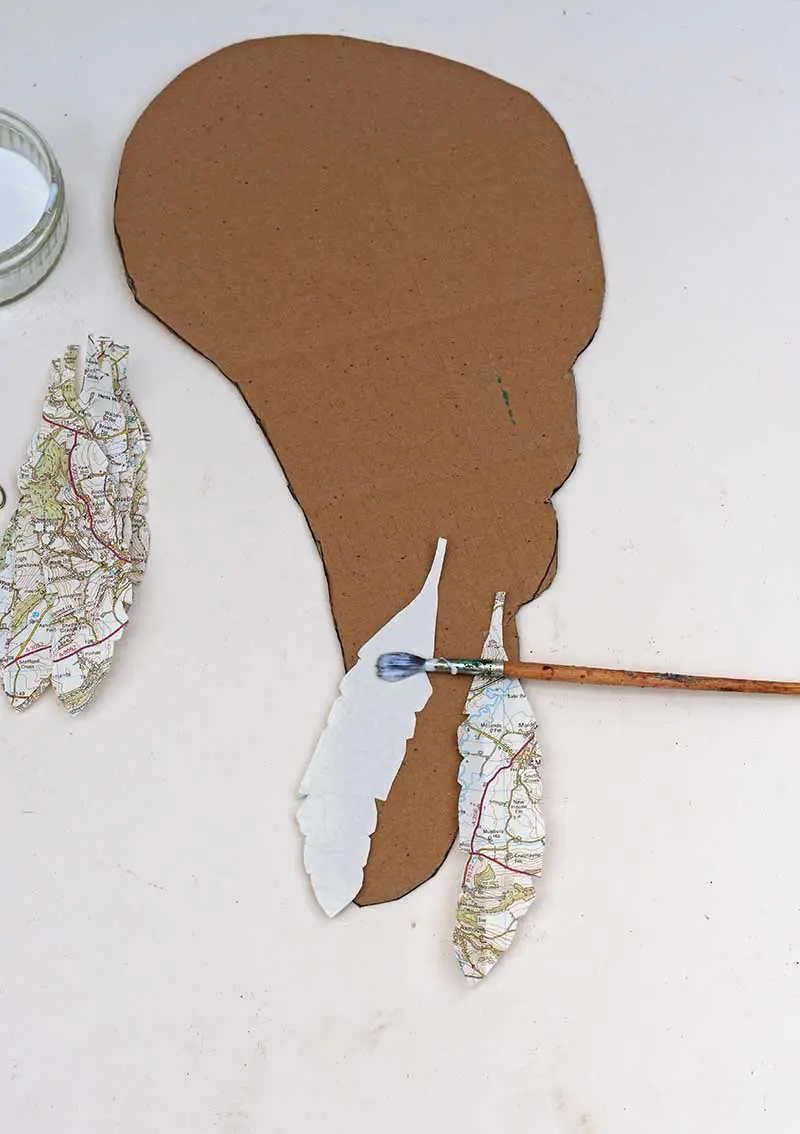
Step 4: Once all the map feathers have been cut out, you can assemble the angel wings decor.
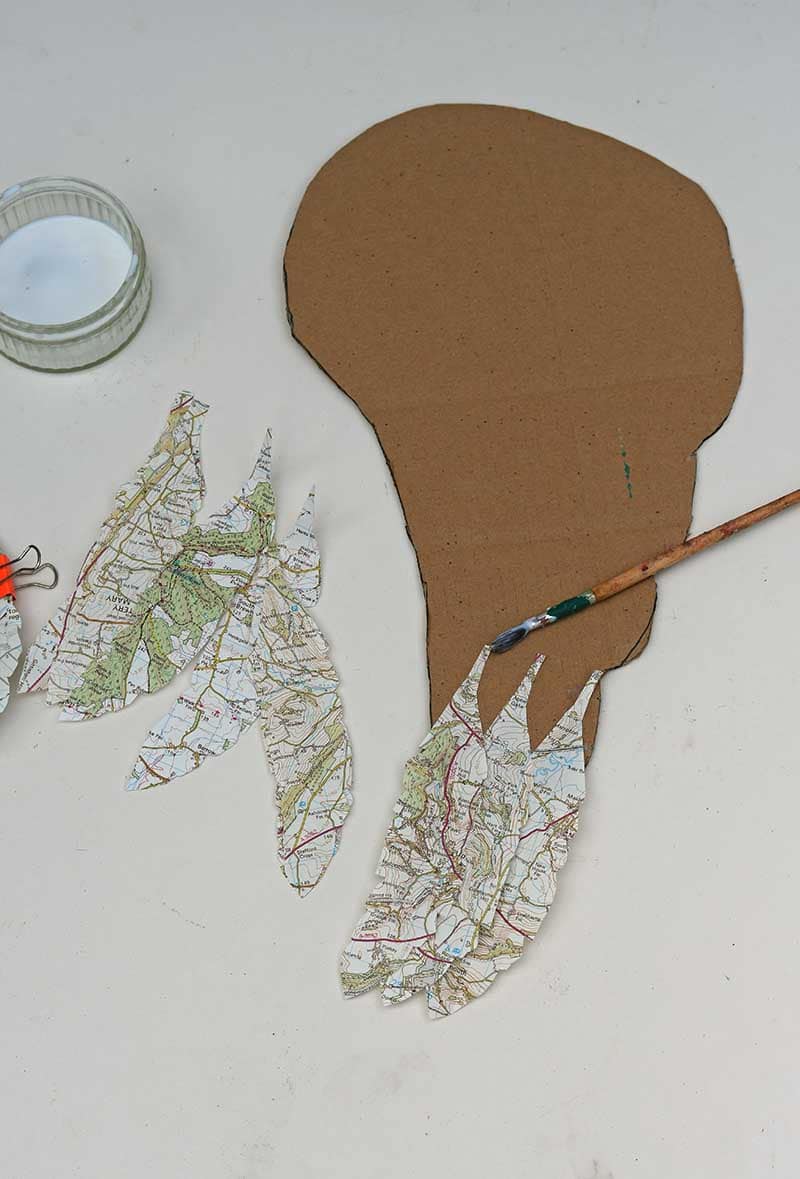
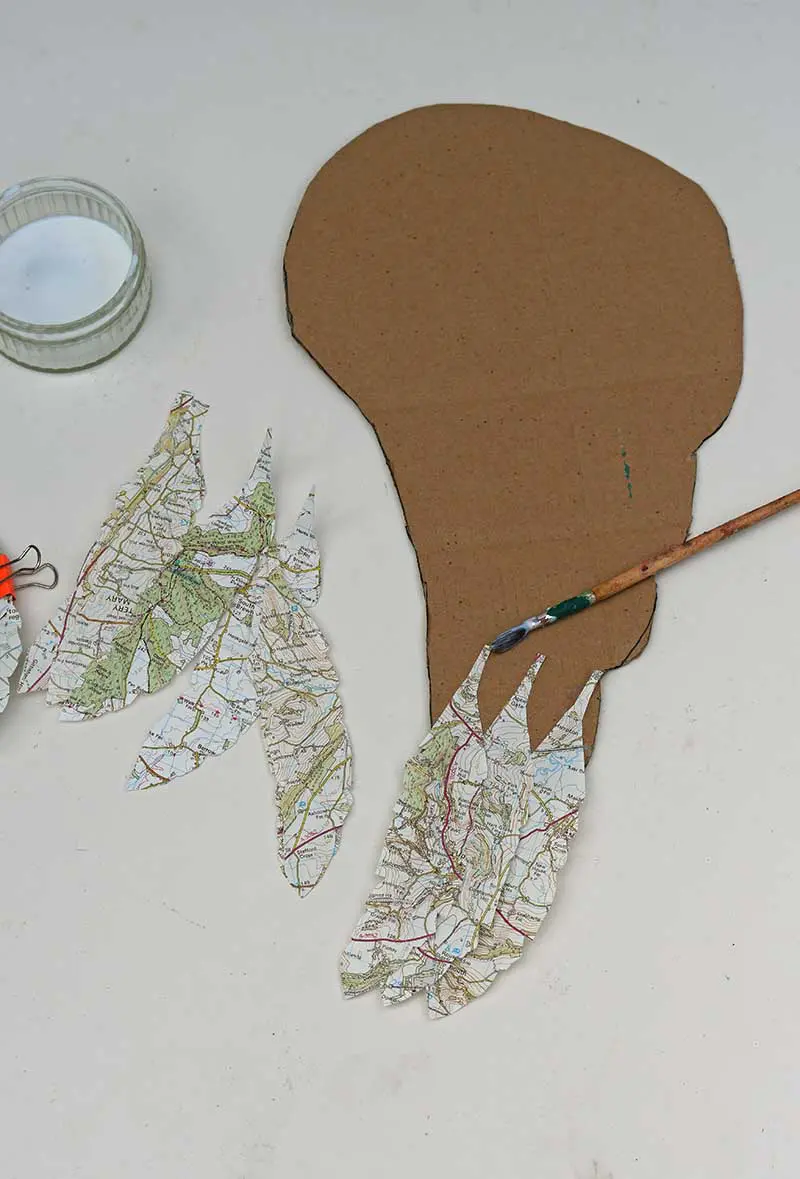
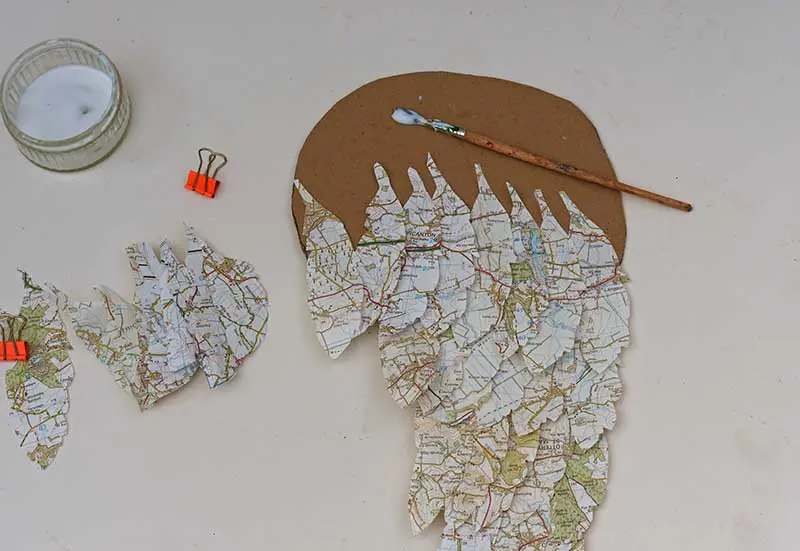
Glue the feathers one by one to the cardboard wings. Paste glue on the bottom third of the feather, starting with the longest feather. Glue the feather to the tip of the wing.
Start by glueing three large feathers next to each other on the wingtip.
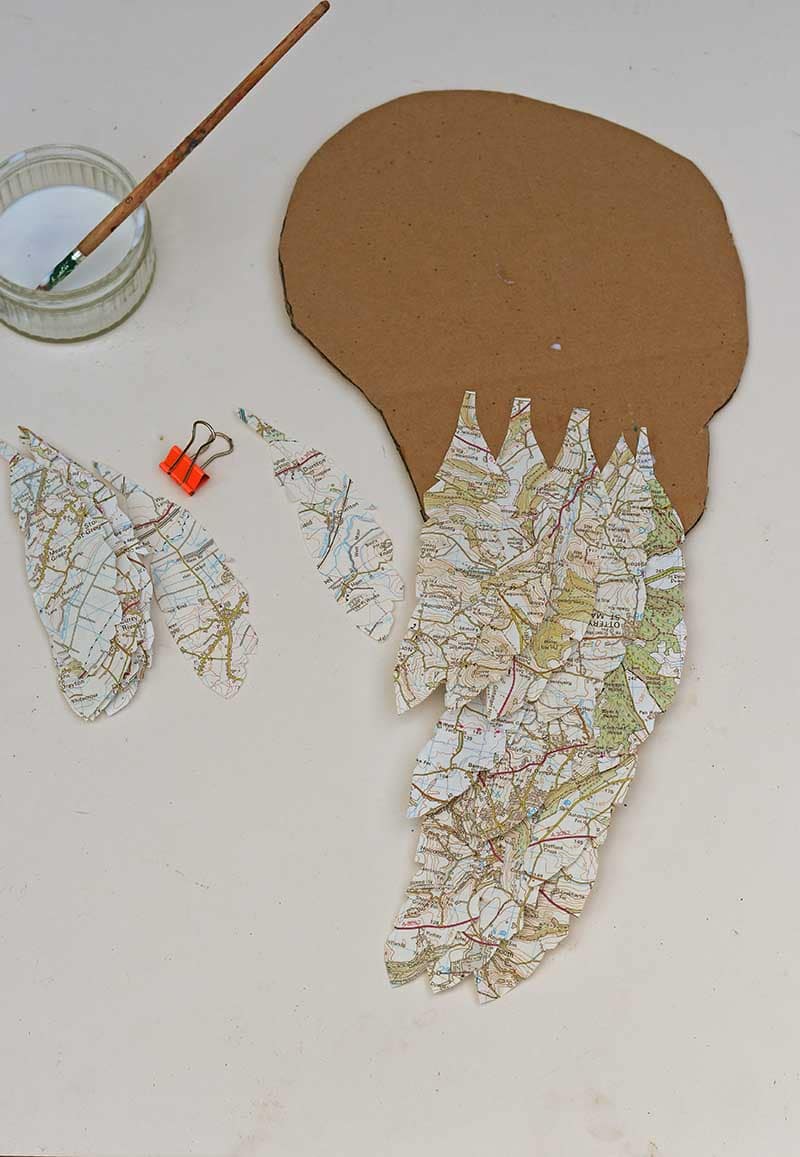
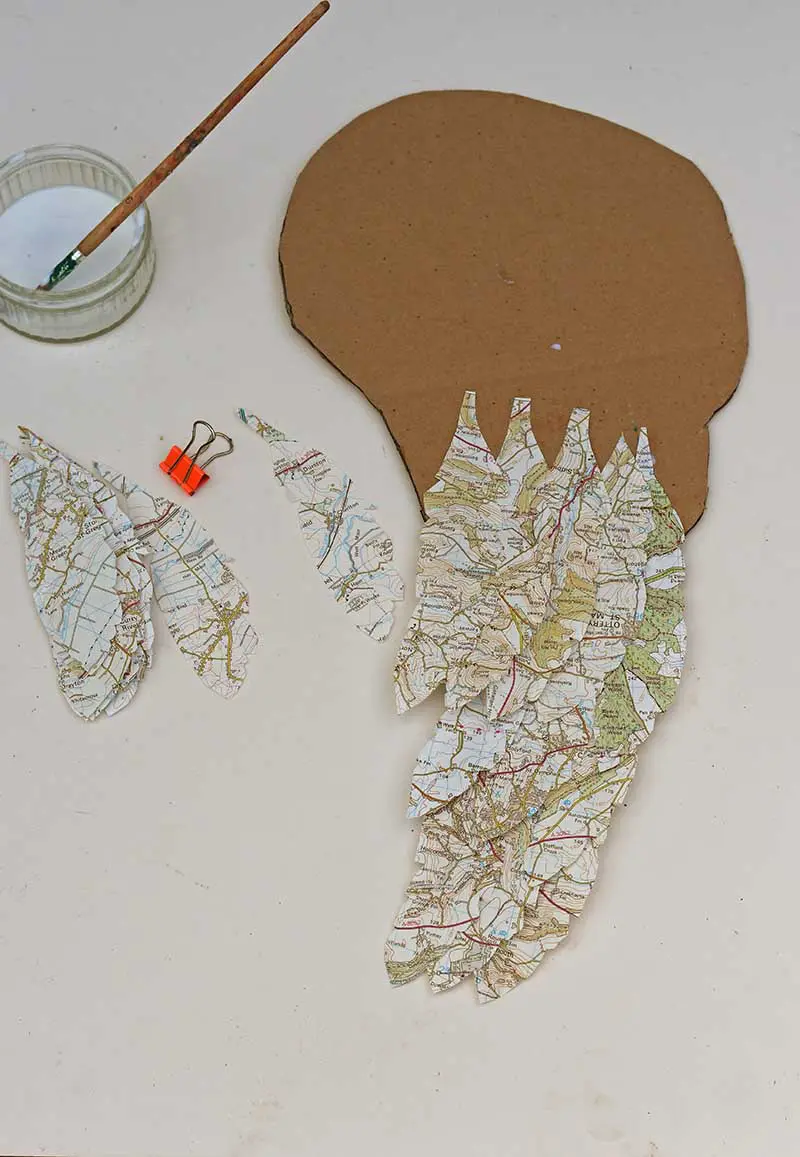
Step 5: Add another row of large map feathers overlapping the first row. Carry adding rows of feathers, ensuring the cardboard underneath is not visible.
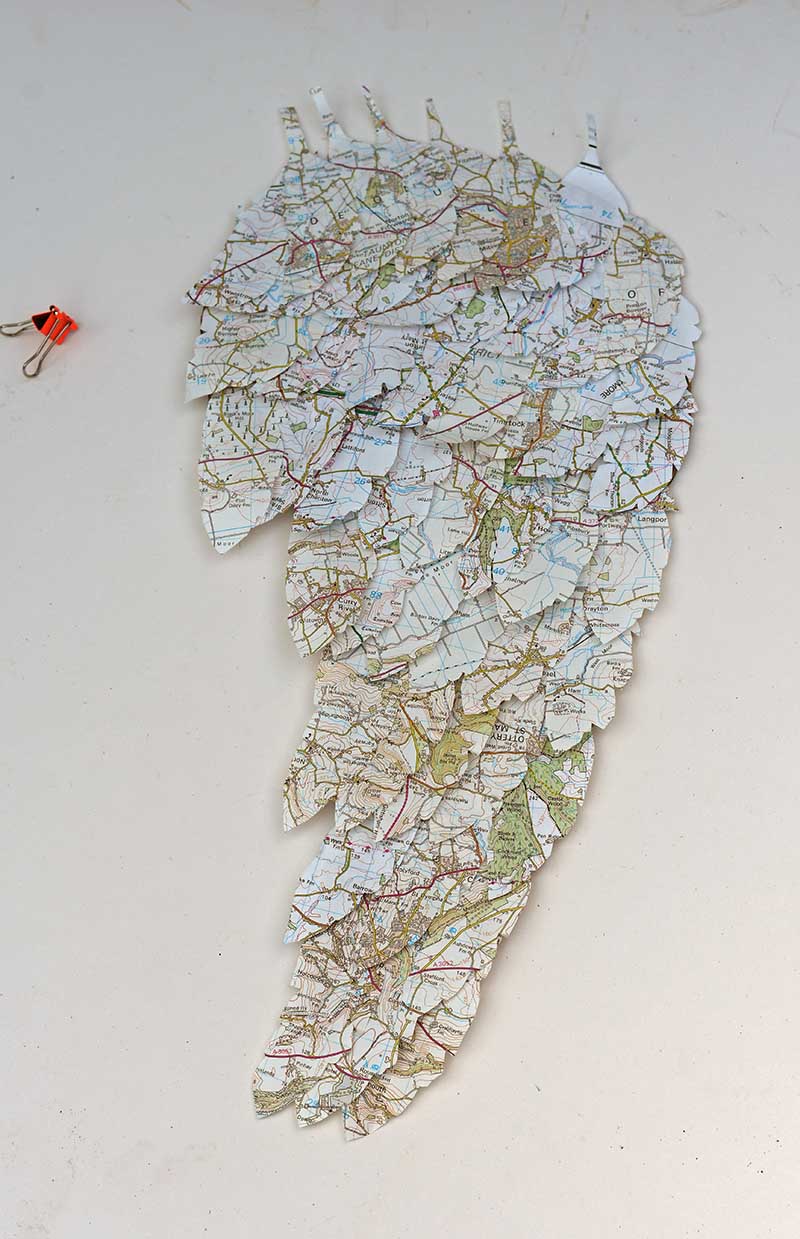
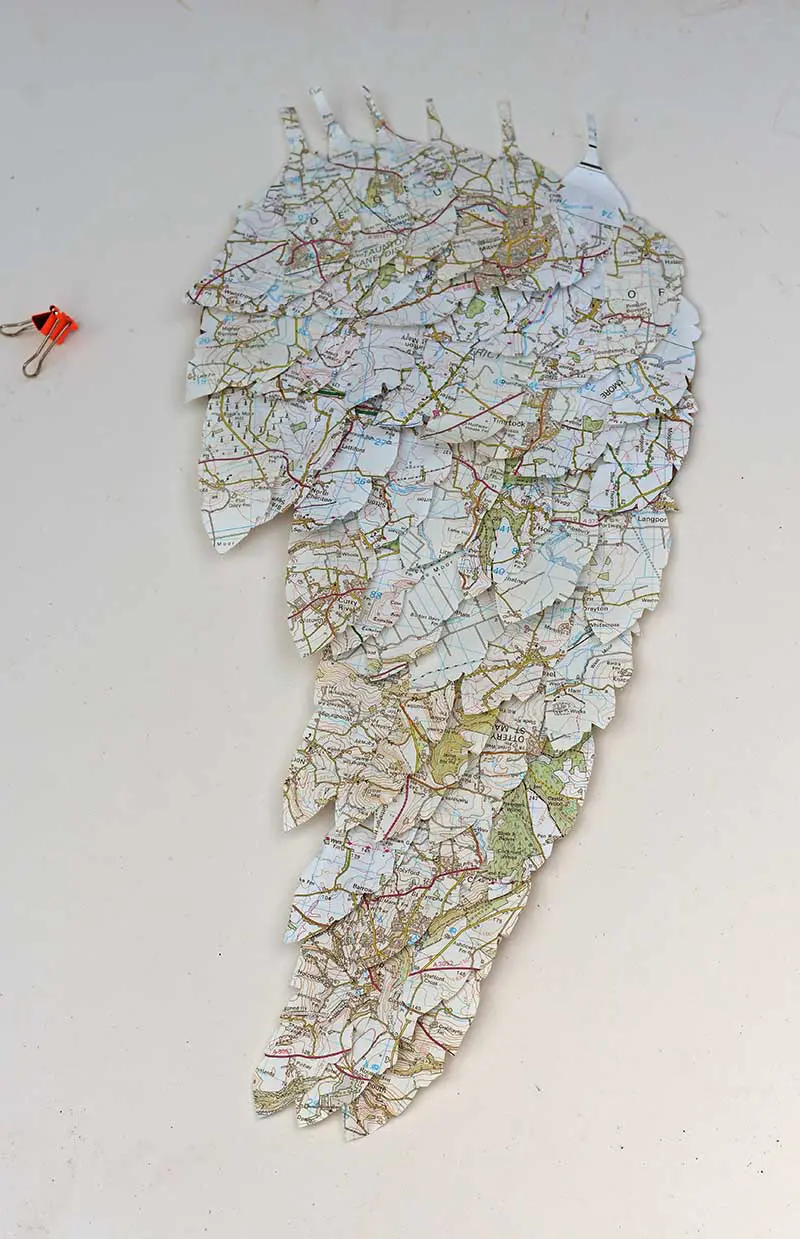
Once the large feathers have finished (3 rows), glue the medium-sized feathers to the wings. Then glue the small feathers working from the bottom up.

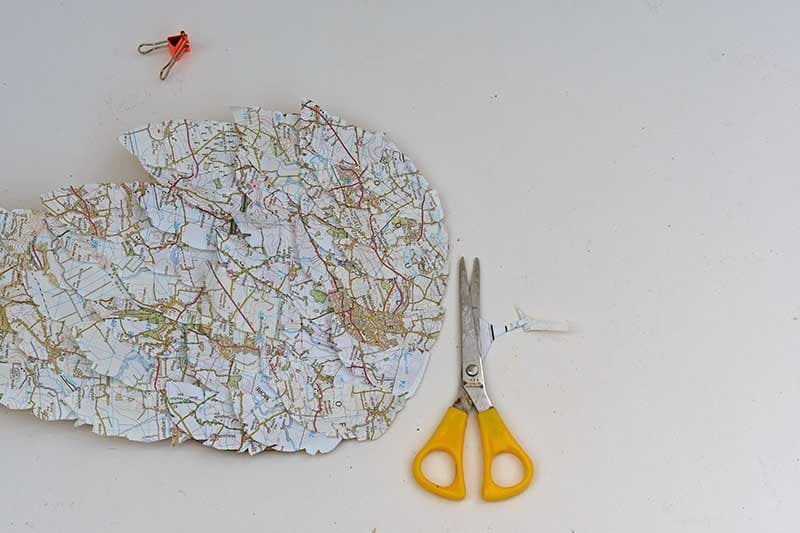
Step 6: When you get to the final row of small feathers, they will probably overlap the edge of the wings once the glue has dried; trim the edge with scissors.
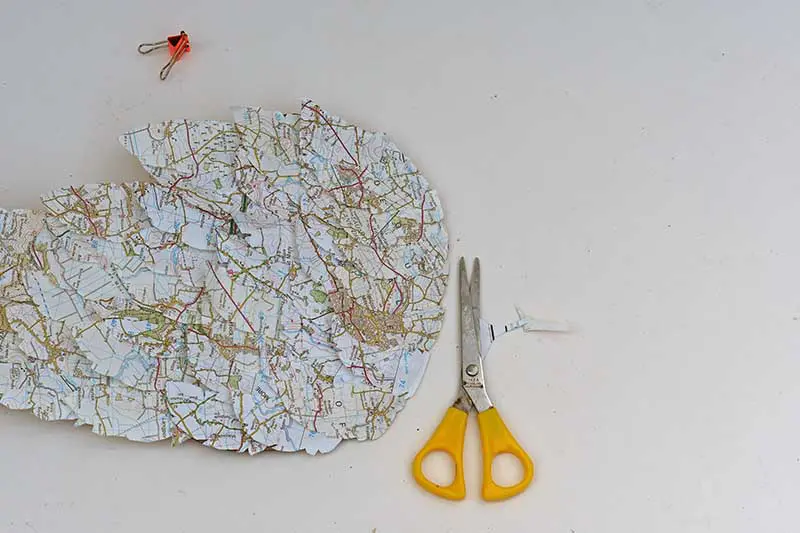
Step 7: Repeat the process with the other cardboard wing. A video tutorial can be watched here.
How To Display The Angel Wings
These upcycled angel wings are made from paper and cardboard, so they are very light and easy to display.
The angel wings can easily be stuck to the wall using double-sided mounting tape.
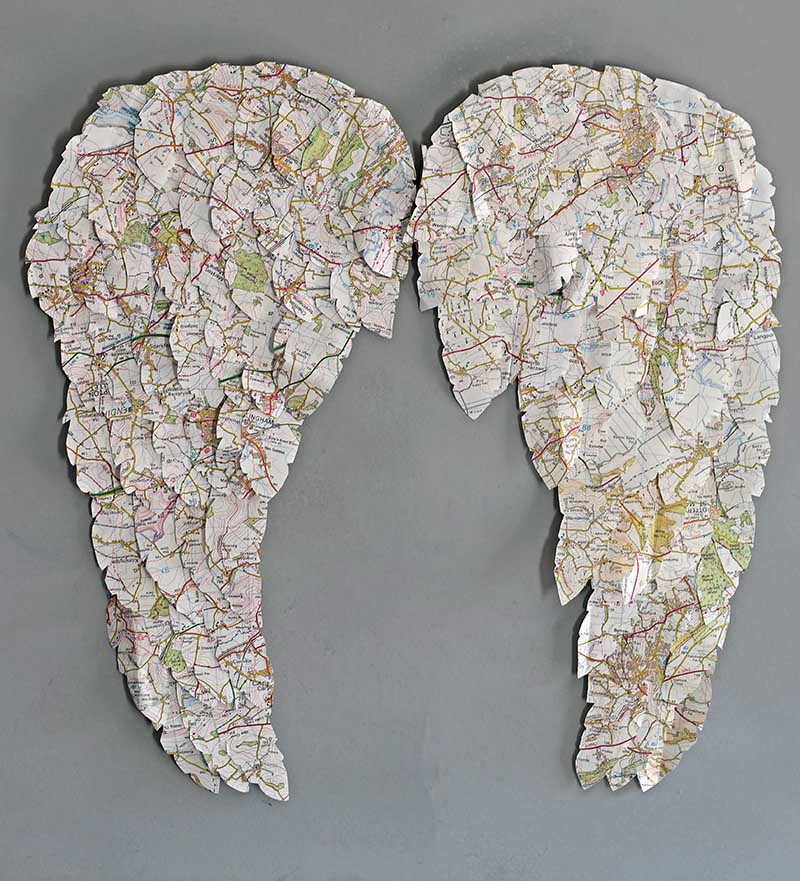
I found an old large frame in my shed. Using grey paint, I painted the frame and backing board. I then hung my wings in the frame with the mounting tape. The glass was not put the glass back in the frame.


I loved these map angel wings so much that I’ve made a fall version of the angel wings out of painted pine cones. They would also look fabulous made out of old book pages.
This isn’t the only large upcycled map wall decor I have in my home. In my living room, I have a large map art pet portrait I made of my dog Toby.
Don’t forget to check out many of my unique map DIY and craft decor ideas, from IKEA table hacks, lamp hacks and even clock hacks. Or if it is feathers you like, check out these upcycled fabric feathers.
Make Map Paper Angel Wings Wall Decor

Angel wings are very popular in home decor. These gorgeous upcycled paper feather angel wings would look great on any wall.
Materials
- Cardboard - such as old Amazon packaging
- Old road maps
- Paper glue
- Feather template - free to download
Tools
- Scissors
Instructions
1. Draw and cut out 2 angel wings from the cardboard. The angel wings should be a mirror image of each other.
2. Print off the feather templates, small, medium and large.
3. Draw around the feather templates on the map paper and cut out the feather shapes.
4. Cut out 11 large feathers, 14 medium feathers and 24 small feathers for each wing
5. You should end up with 2 sets of feathers the mirror image of each other just like the wings.
6. Starting with the large feathers glue a row on the tip of the cardboard wing. Only apply the glue to the top half of each feather.
7. Carry on adding feathers to the wings making sure each row overlaps about 50%. Move on to smaller feathers as you reach the top of the wings. You should finish off with small feathers at the top.
8. Use the scissors to trim off any excess map feathers at the top of the wings.
9. Use double-sided mounting tape to mount the wings into a picture frame. Or just stick them straight on the wall unframed.
There are more paper angel crafts here.

If you don’t have any road maps, there are some free downloadable city maps here you could try with this craft.
There are many more cardboard Christmas crafts ideas here.
Beth A Greenberg
Thursday 18th of February 2021
Where are the feather templates? I cn't find them.Thanks
Claire Armstrong
Thursday 18th of February 2021
There is a link to them in the materials list, but here it is again for you hope that helps. Feathers template
Kalyn
Wednesday 13th of January 2021
This is awesome. What is the dimensions of the cardboard wing base for the amount of feathers listed?
Claire Armstrong
Thursday 14th of January 2021
Thank you, each wing is about 60-70cm (24-28 inches) in length and about 25cm (10 inches) at the top. But you can make them any size you want.
Michelle H
Friday 8th of May 2020
THAT is soooo creative and clever! I love it.
Claire Armstrong
Friday 8th of May 2020
Aww, thank you so much.
Michelle Leslie
Sunday 19th of April 2020
Brilliant, brilliant, brilliant. Love the way you think Claire
Claire Armstrong
Monday 20th of April 2020
Thank you so much Michelle. Love the way you think too.
Michelle
Saturday 18th of April 2020
What a cute and creative idea! It turned out really nice. I love the map feathers!
Claire Armstrong
Sunday 19th of April 2020
Thank you so much. I have a load more maps so more map projects to come.