
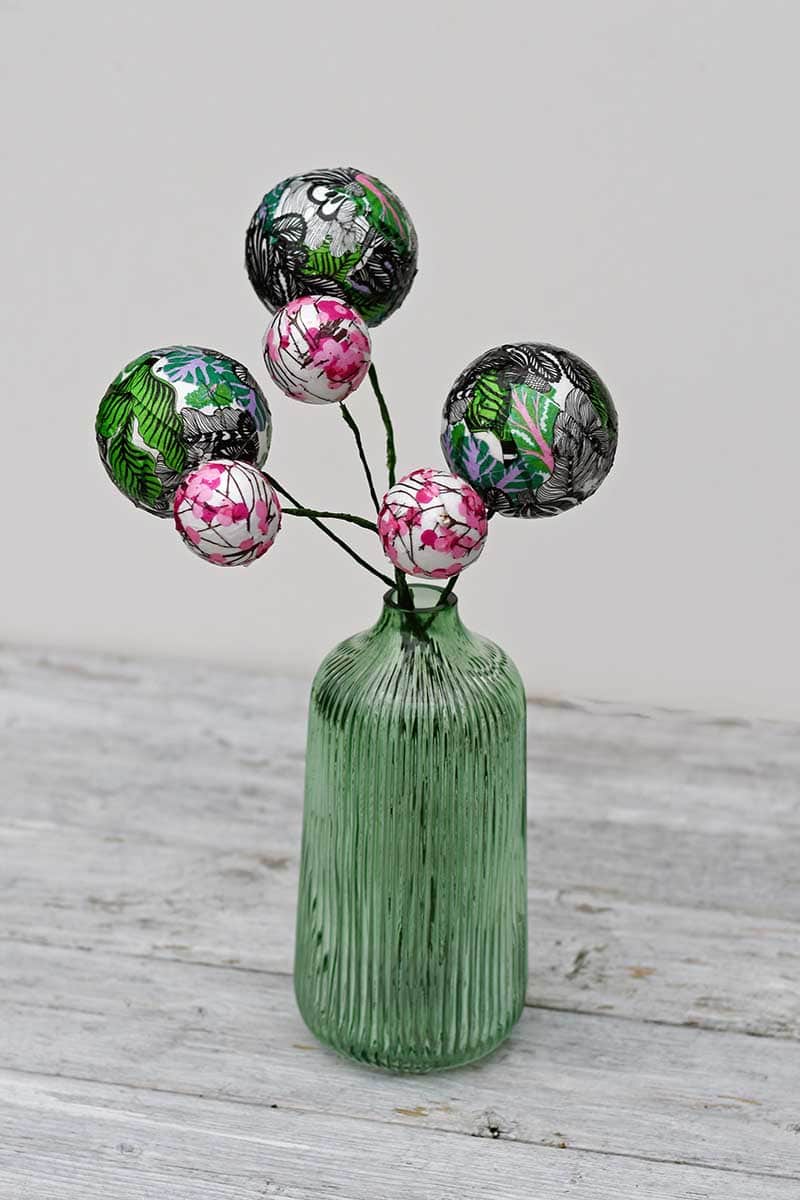
These decoupage baubles aren’t just for Christmas but would look great all year round. I know baubles typically hang from the Christmas tree, but these are designed to be displayed in a vase, like flowers.
But if you want to hang them from a tree, like traditional Christmas ornaments, that can be done quickly.
These decoupage baubles are a Nordic Christmas decoration, as I used my favourite Marimekko paper napkins for the decoupage.
This straightforward and affordable craft can be done in an evening.
What You Need To Decoupage Baubles
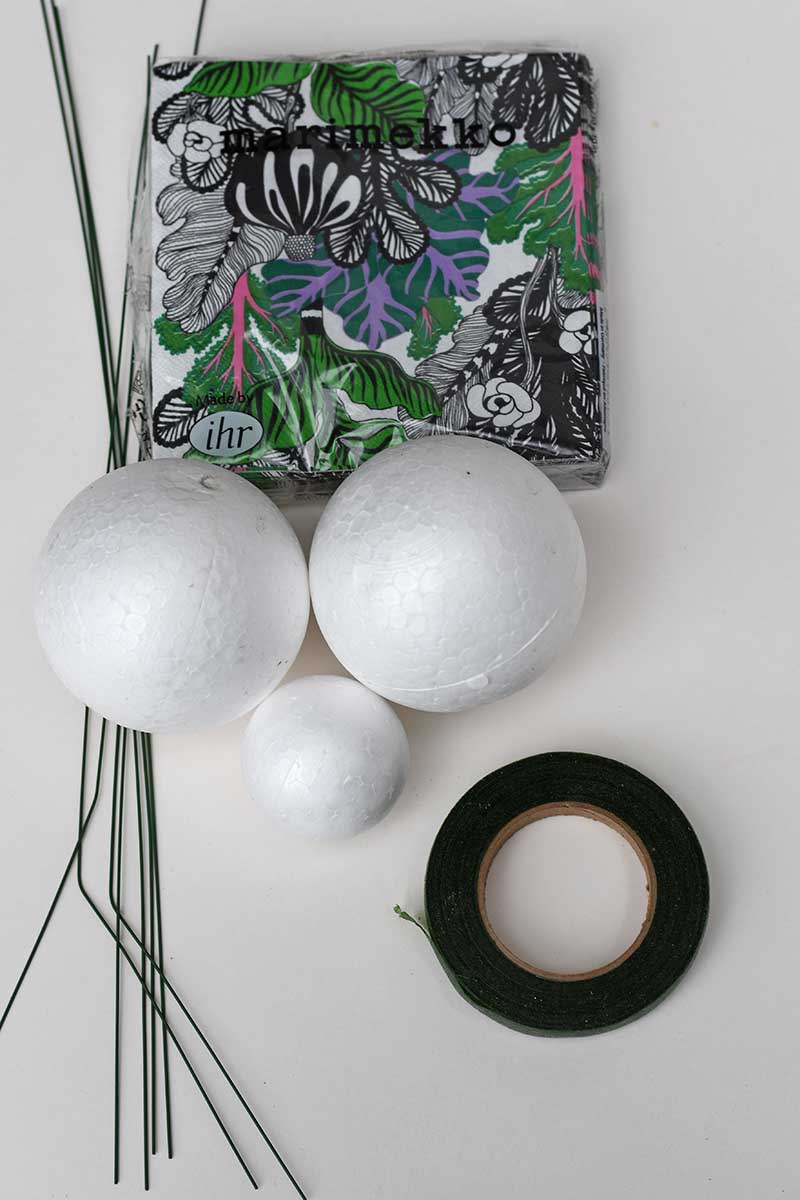
- I used a mixture of polystyrene balls in various sizes, ranging from 3cm-7cm in diameter. You can generally buy a mixed bag of foam balls in the dollar/pound store.
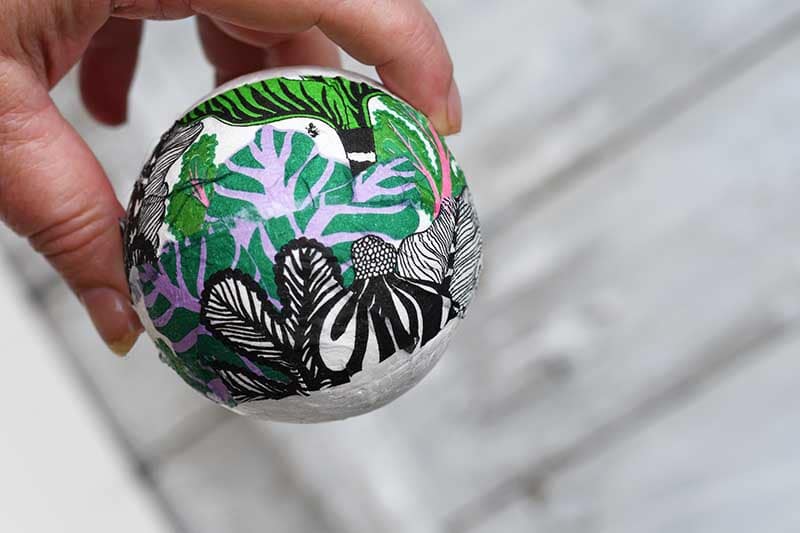
- Paper napkins with a busy pattern. I used Marimekko napkins for my baubles as I’m a massive fan of their designs. A busy pattern looks best. The main design was called Marimekko KAALIMETSÄ rose.
- Mod Podge Matte
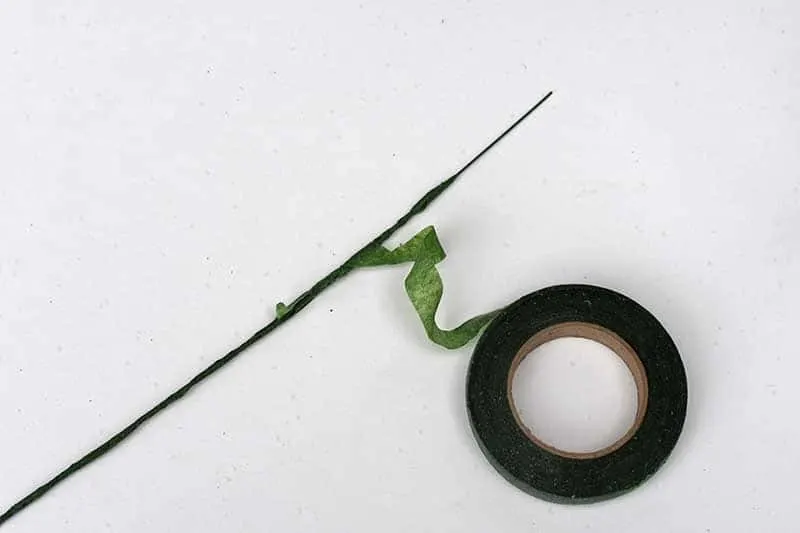
- Green floristry wire and floristry tape

How To Decorate The Polystyrene Balls
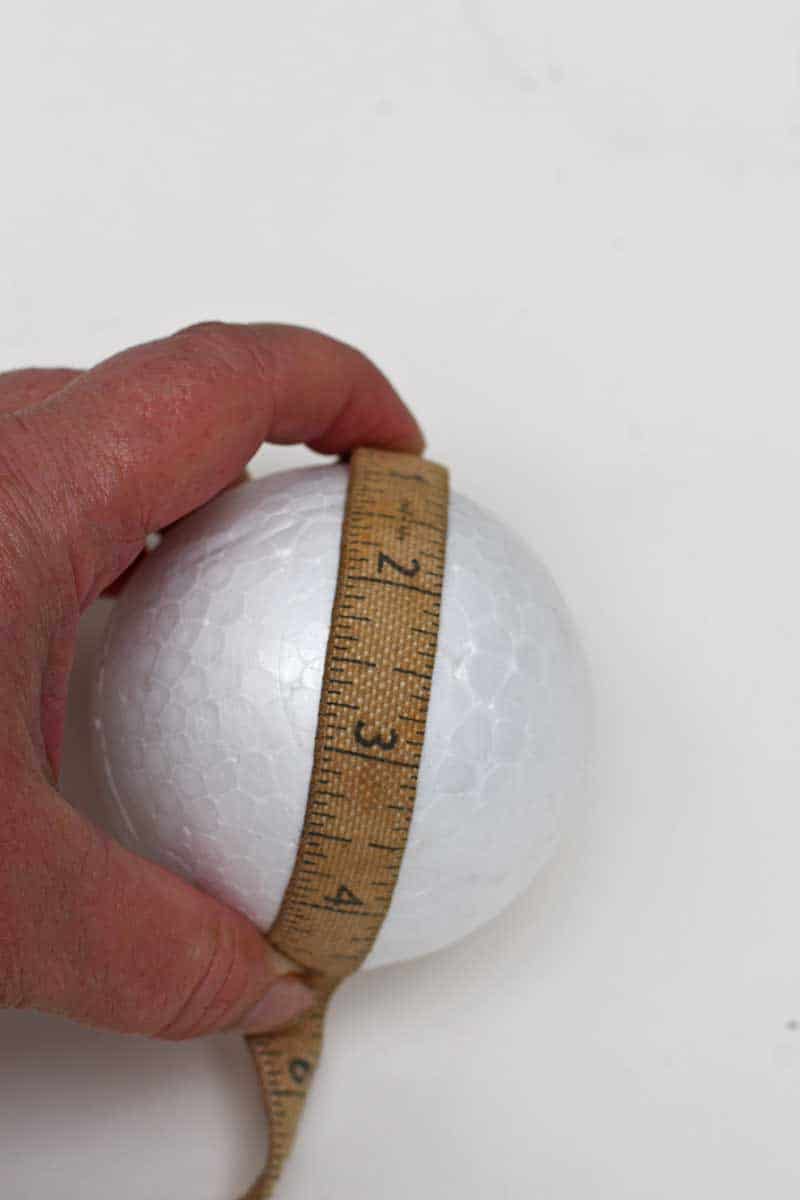
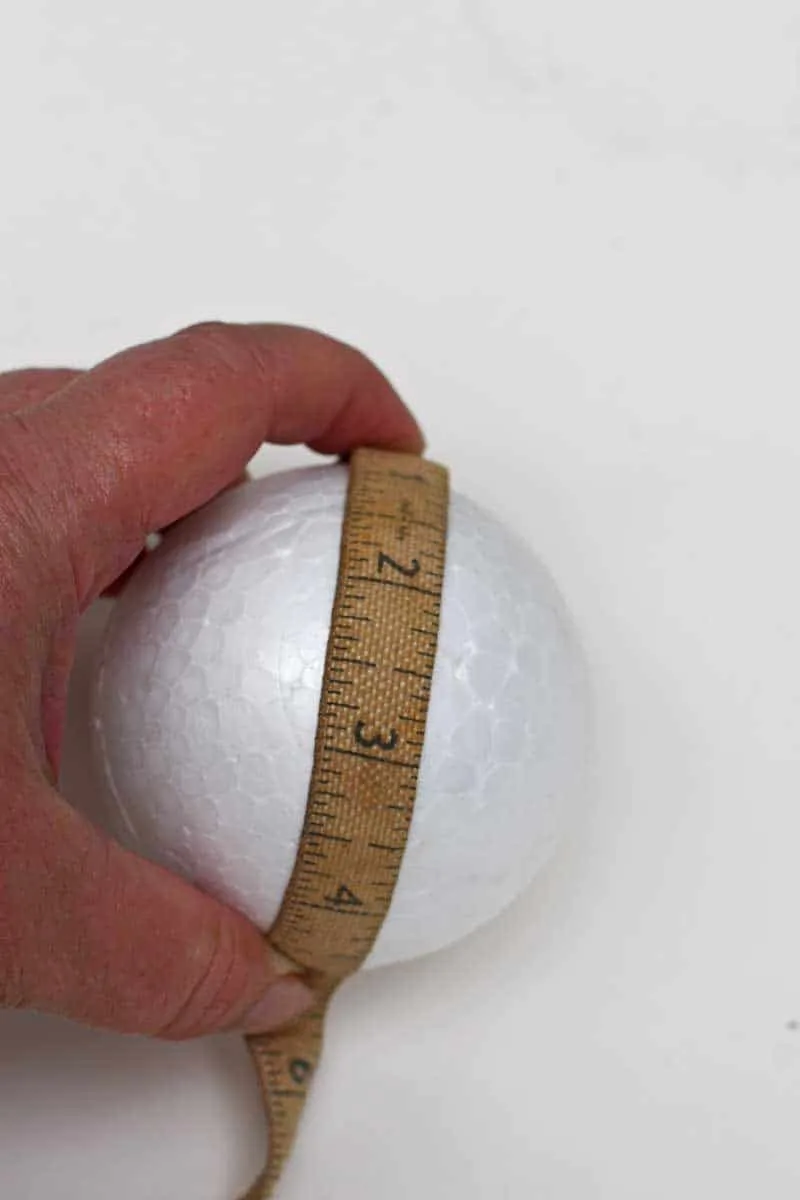
Step 1: Measure the arc of the polystyrene ball from top to bottom, following the curve.
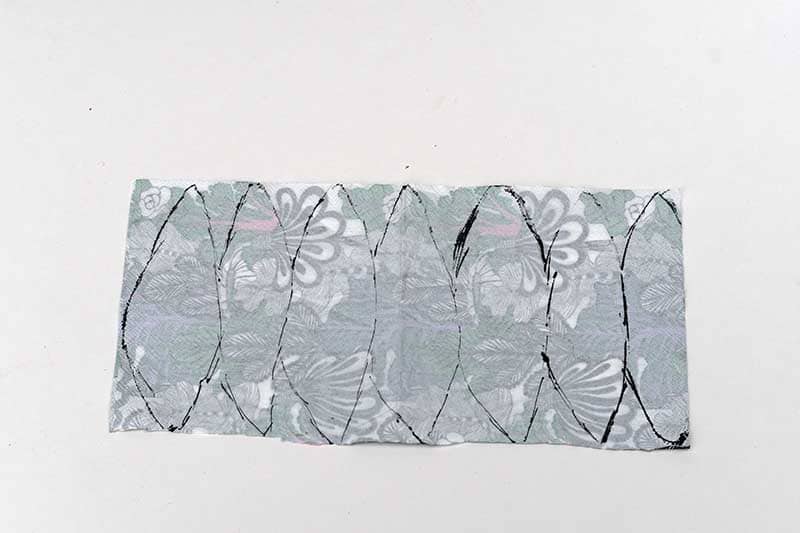
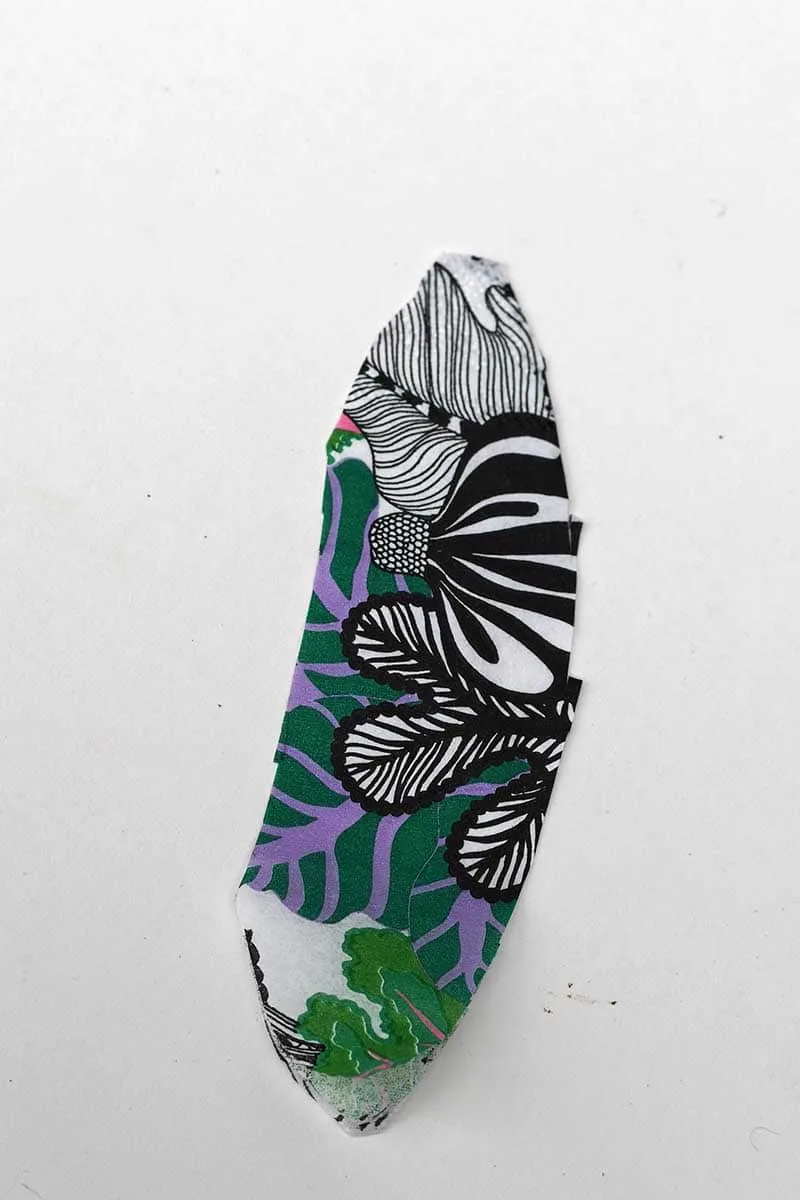
Step 2: Using this measurement, cut a length of a paper napkin the same height. Then draw adjourning leaf shapes onto the back of the napkin. It is easy to decoupage a sphere using strips of this shape rather than straight rectangles.

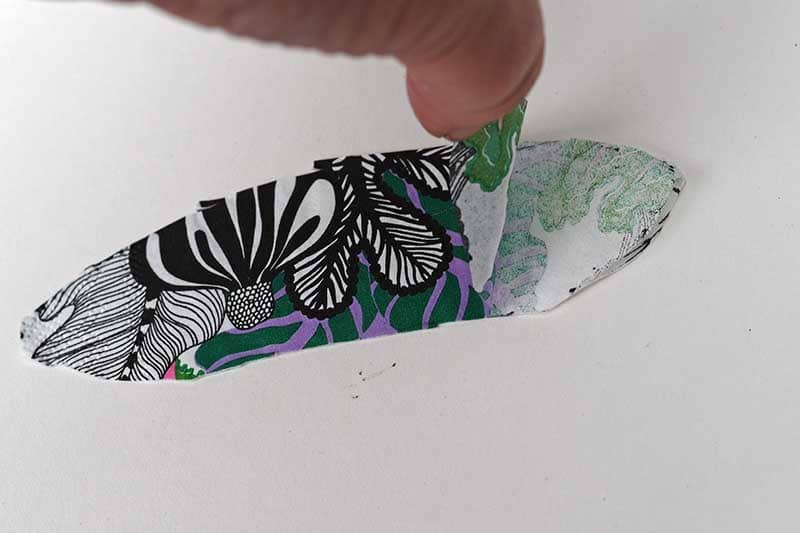
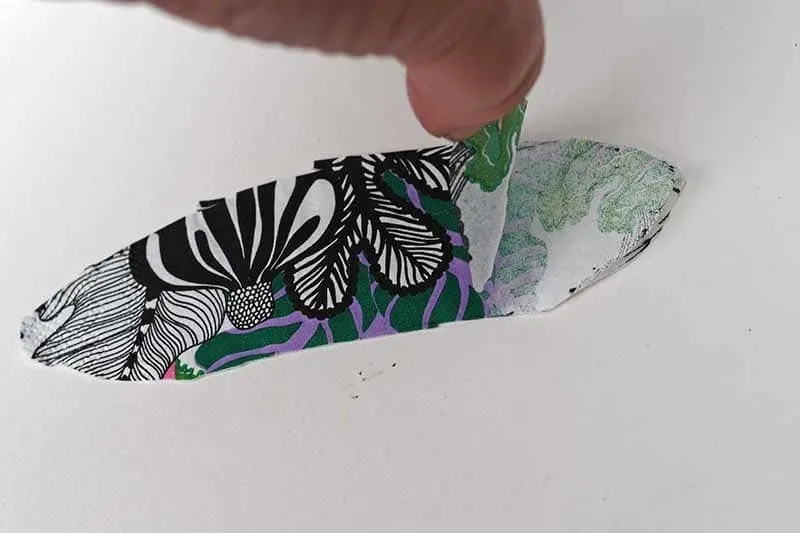
Step 3: Cut out a leaf shape. Then separate the napkin layers (ply) to use the top printed ply.

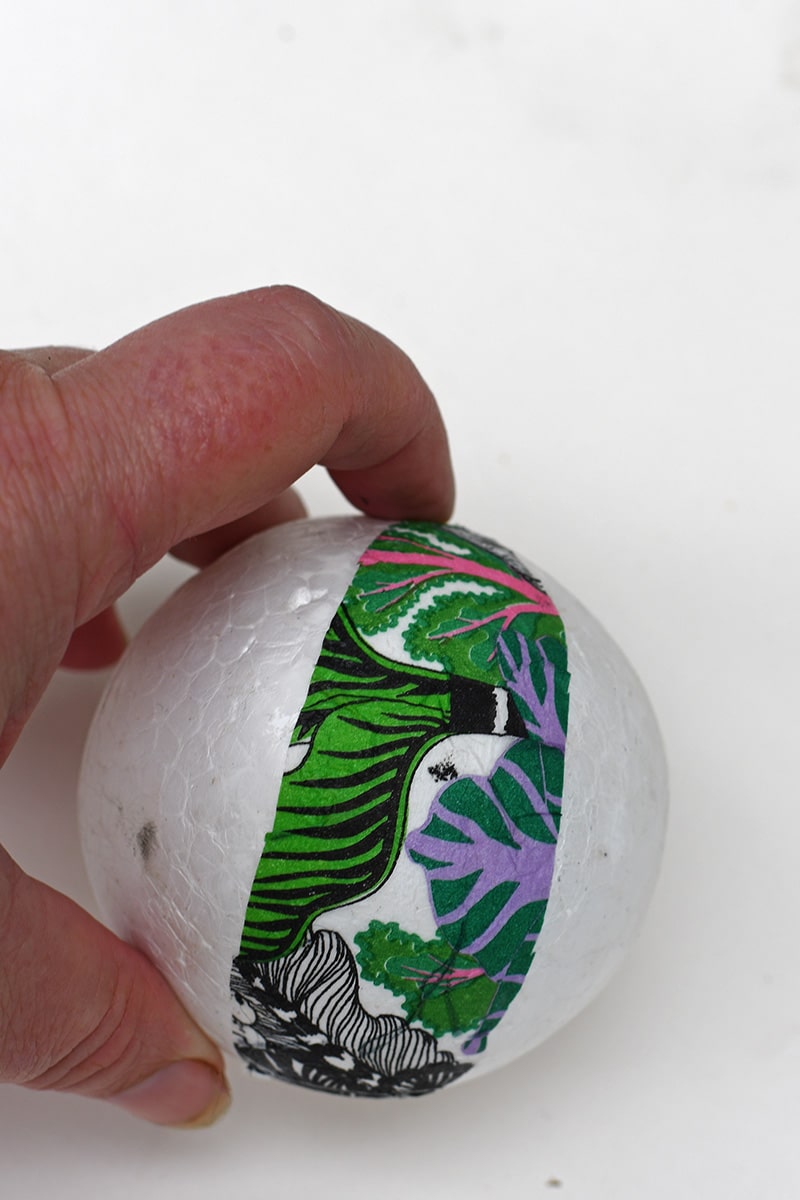
Step 4: Paste the polystyrene bauble with Mod Podge. Then carefully lay the paper napkin leaf onto the bauble. Use a scrunched-up plastic wrap to press the napkin down and iron out bubbles. Then decoupage the next piece of paper napkin to the first segment.
It won’t be easy to match the pattern exactly on the curve of the ball but do it as close as you can. Any overlap will not be so apparent if you use a busy pattern.

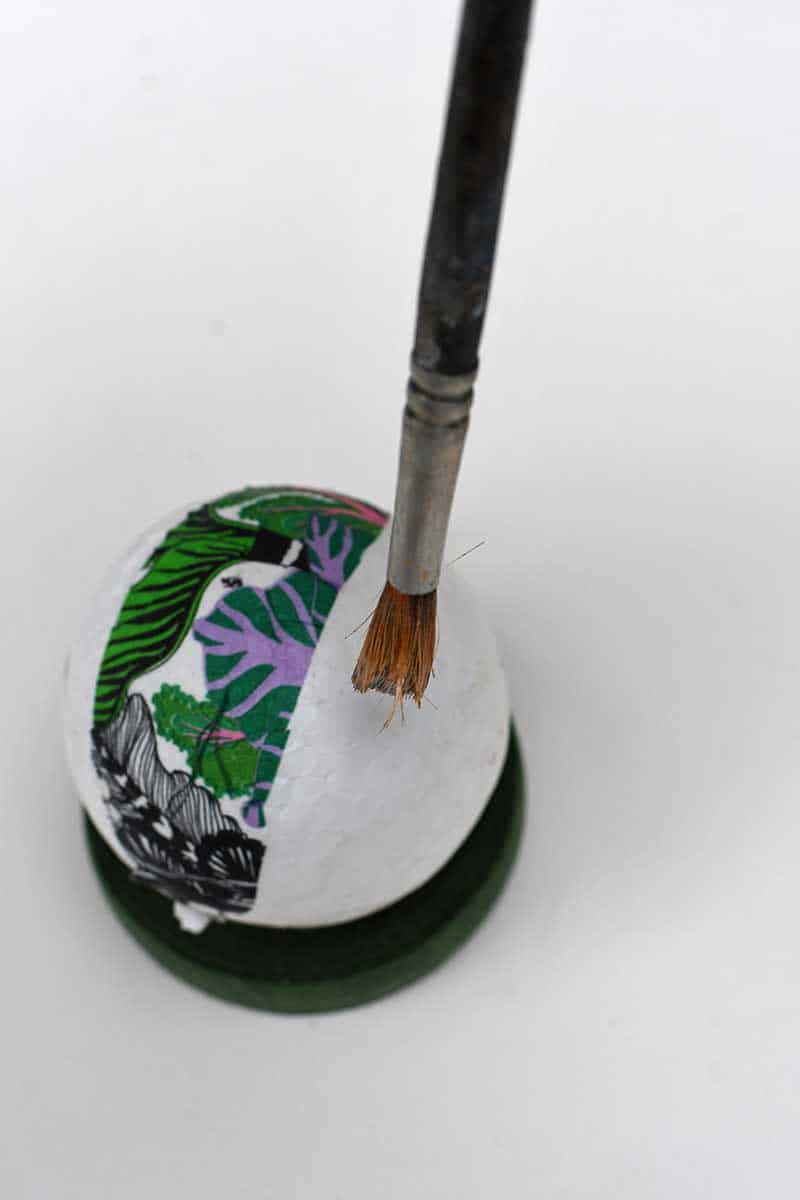

Step 5: Add paper napkin segments to decoupage the baubles fully. Stick the bauble on a forestry wire when the Mod Podge has dried. Then cover it all over in a top layer of Mod Podge; this will act as a protective varnish.
When the Mod Podge has thoroughly dried, add hanging caps to the baubles to make them into hanging ornaments. Or move onto the next stage and turn them into a fun decoupage baubles flower display.
How To Make A Decoupage Bauble Flower Decoration
Step 6: Make a collection of baubles in different sizes with extra patterned paper napkins.
Step 7: Wrap the stiff floristry wire in green floristry tape all along the stem. Make one for each bauble, then stick the decoupage bauble into the top of the wire.
The wire will stick right into the polystyrene ball; no glue is needed.

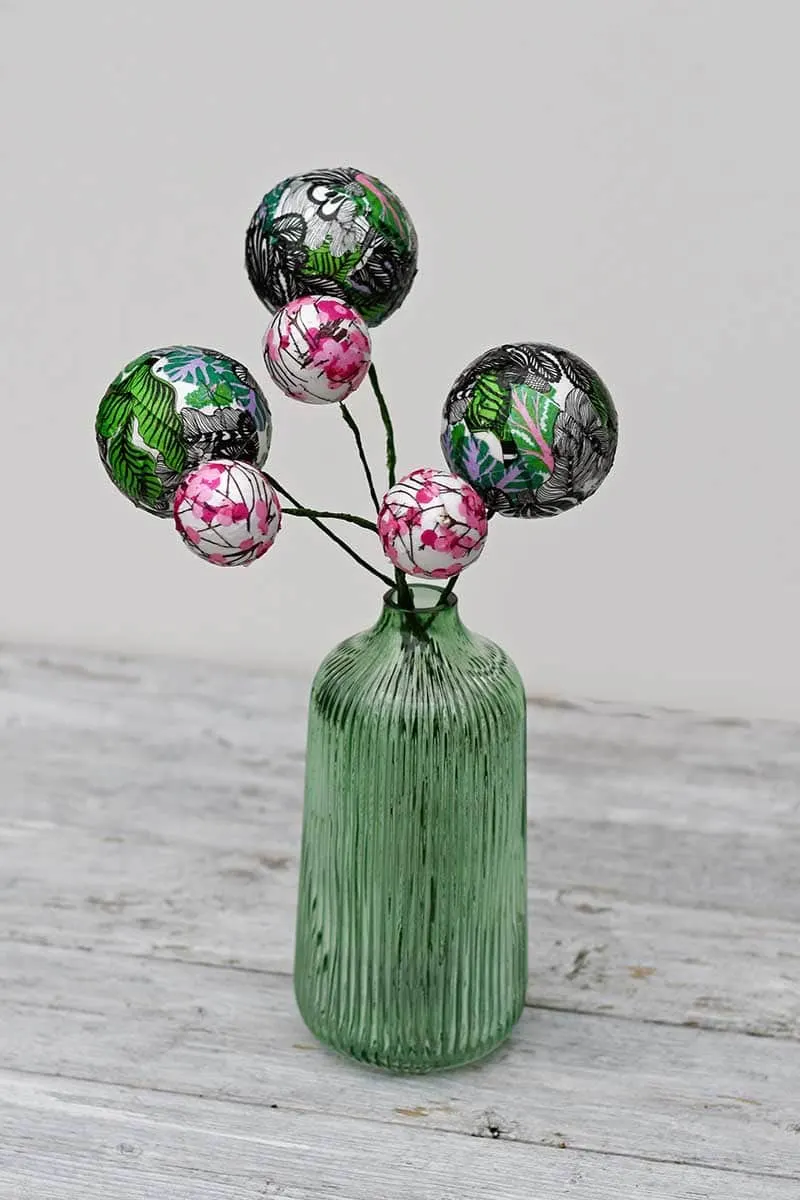
Step 8: Finish off by displaying these baubles like flowers in a vase. They look best if you display each bauble at a different height and cut or bend the wire to change the height.
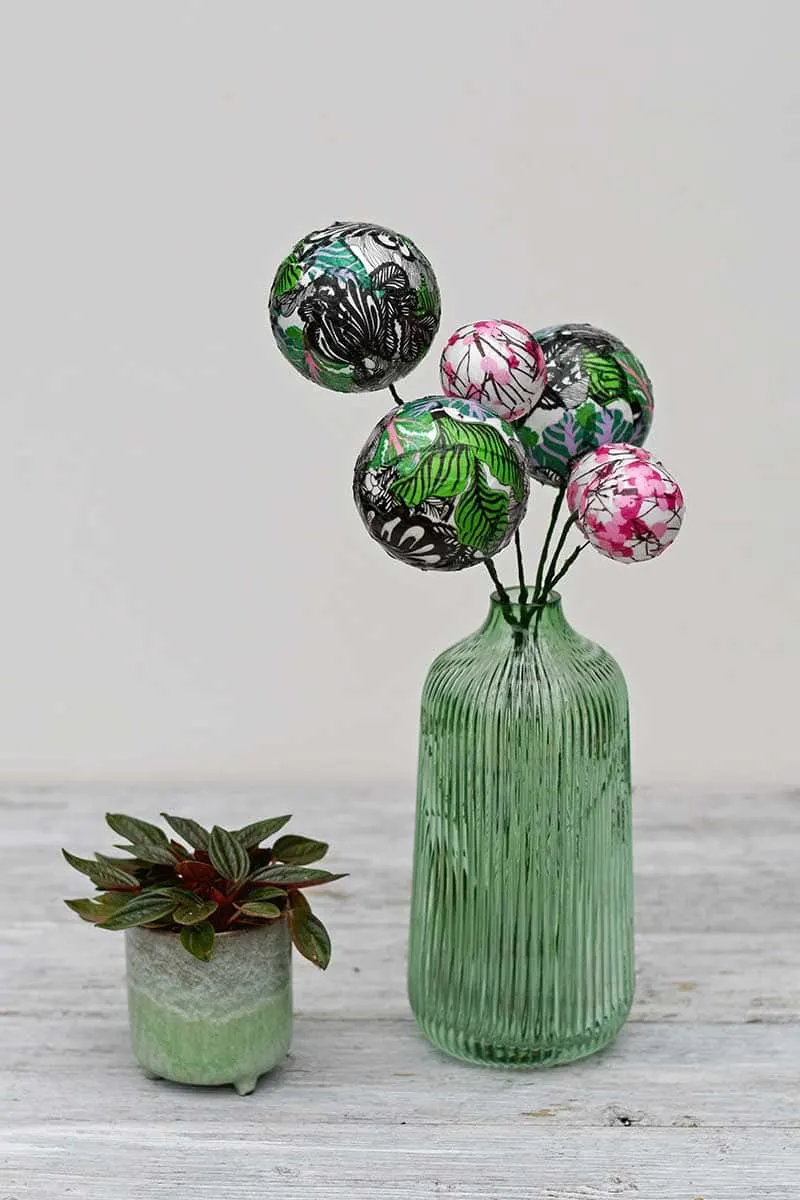
You can use different paper napkins for other holidays. These bauble flowers don’t just have to be for Christmas.
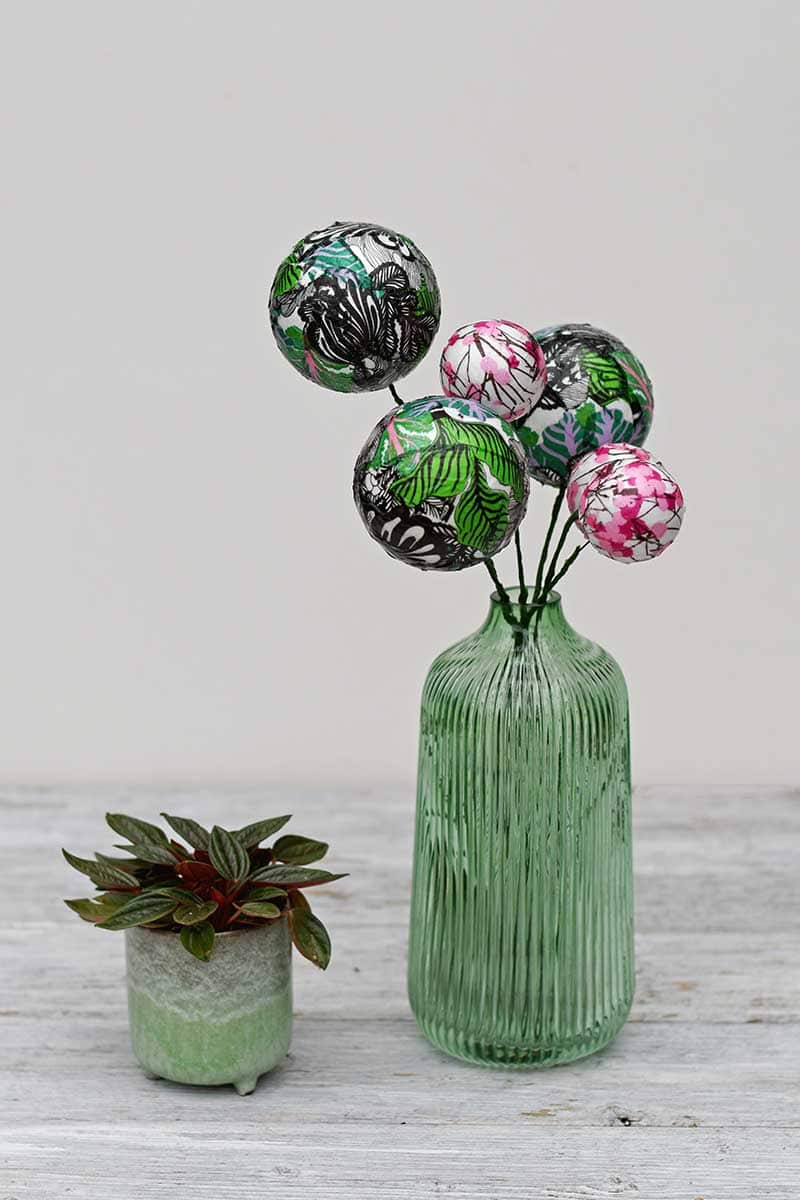
I made these baubles for my mantle; they complement many of my other DIY Scandinavian Christmas decorations. Like these Nordic wood slice Christmas decorations are made with Marimekko paper napkins.
For other decoupage ideas, check out these fun vintage dictionary baubles. You may also like the Marimekko rainbow pom pom flowers I made with yarn.
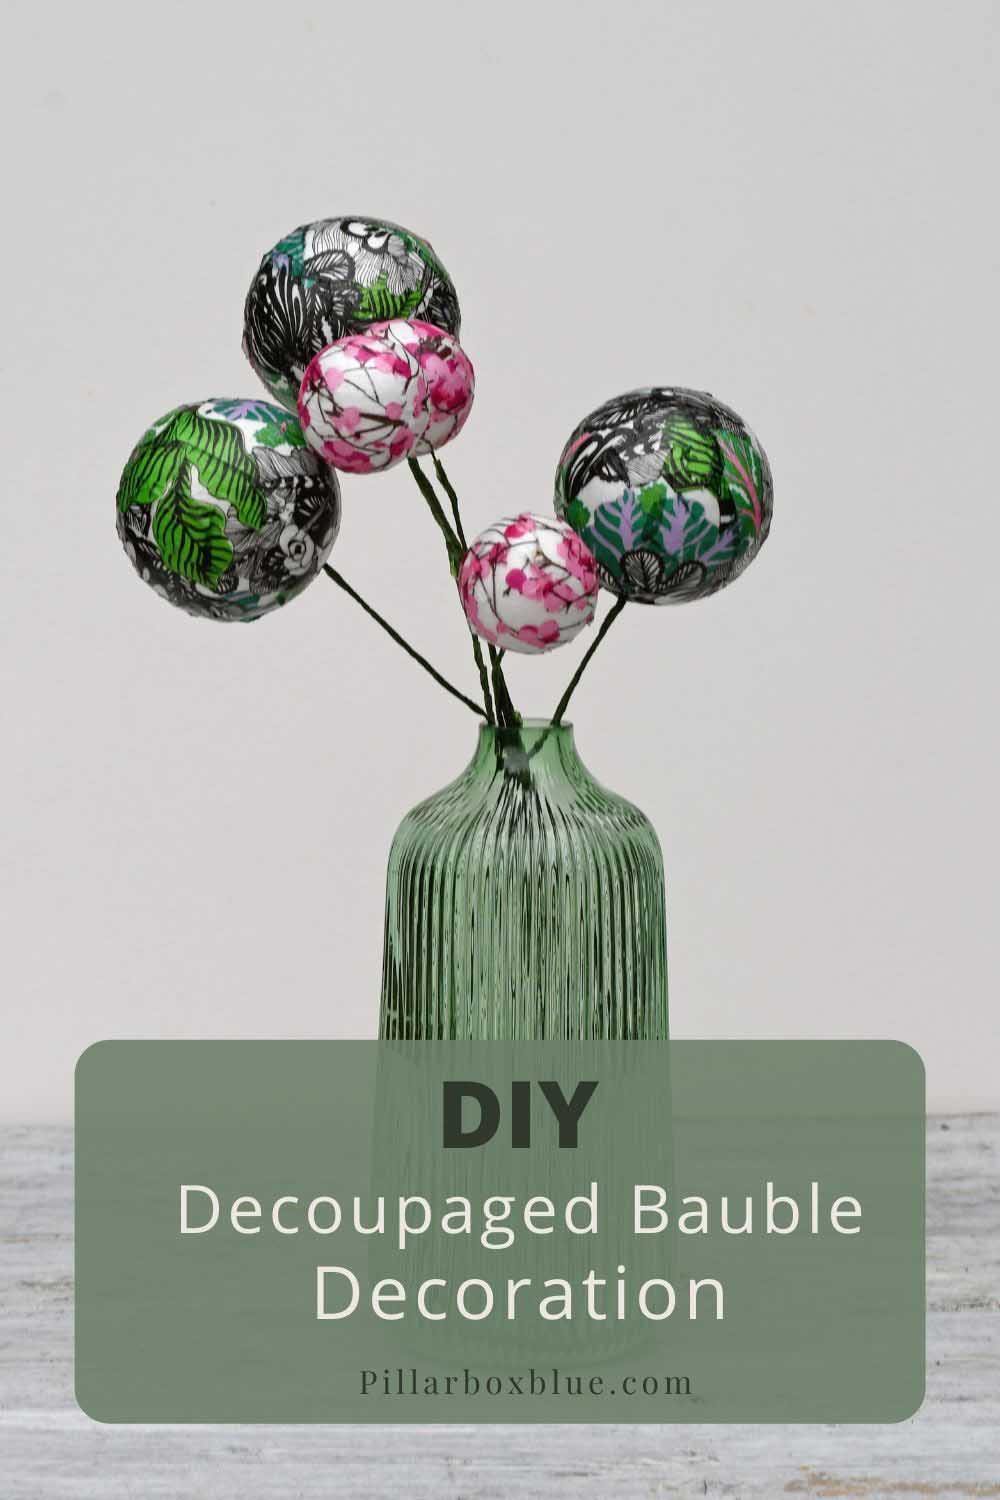
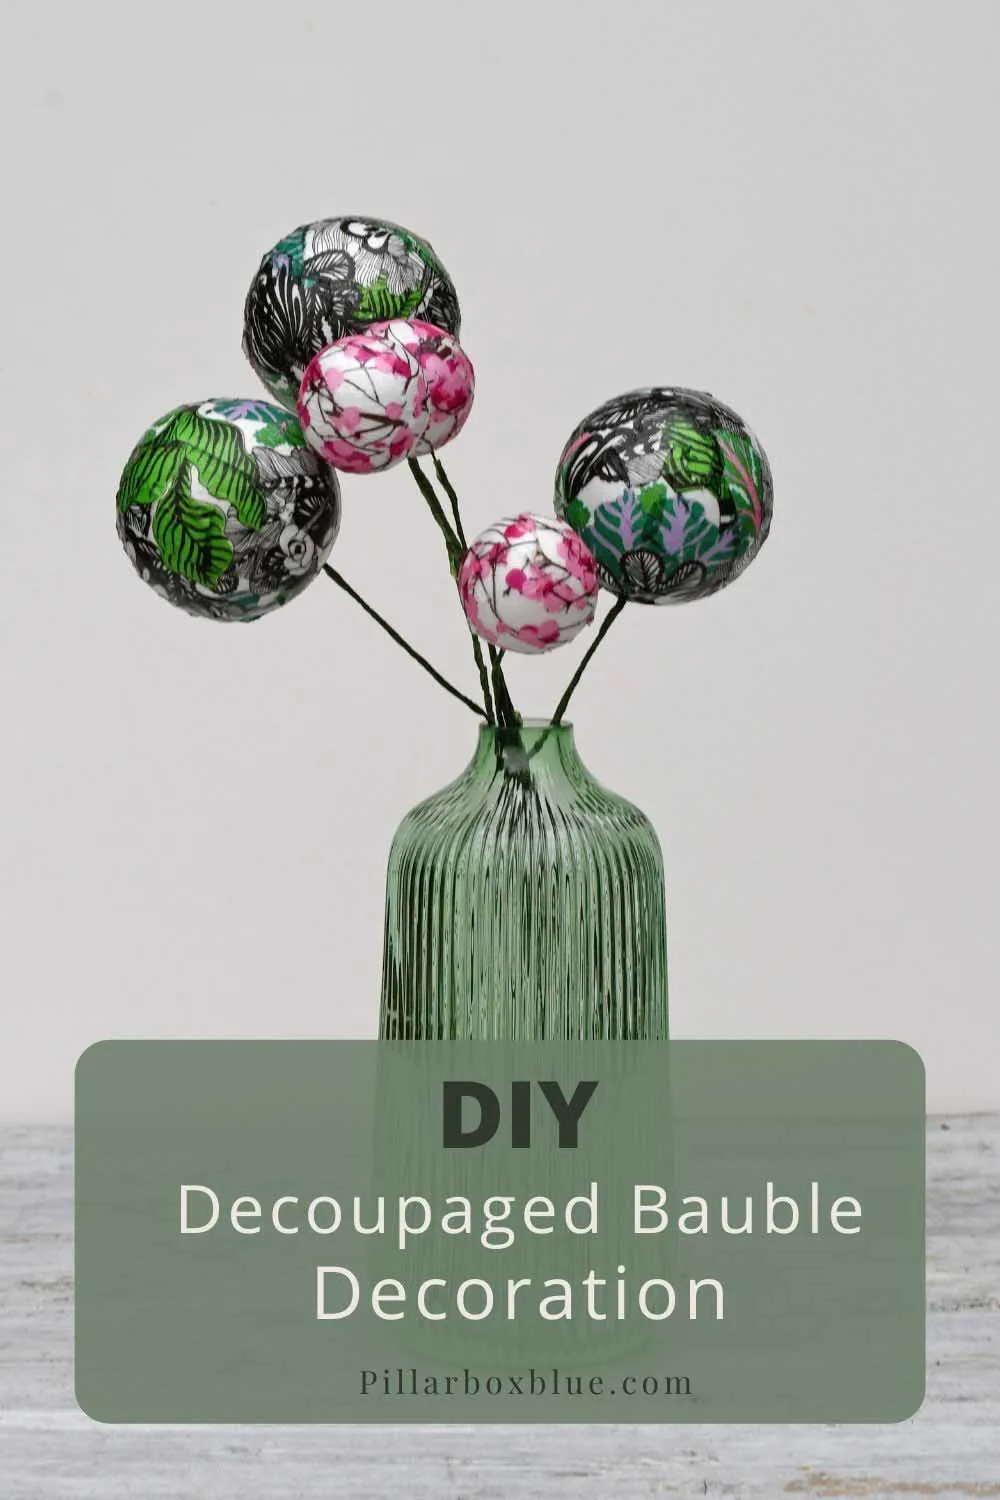
Marimekko Decoupage Bauble Flowers
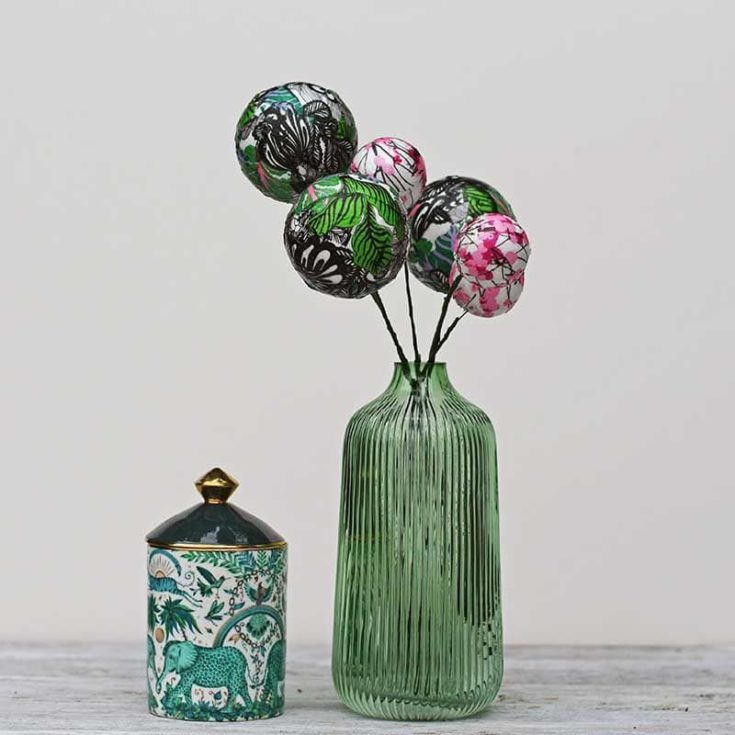
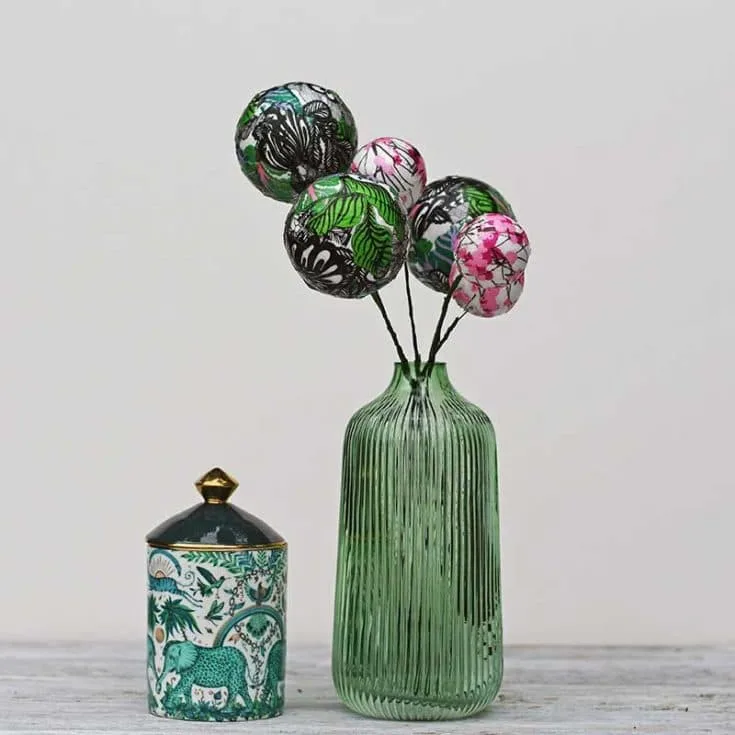
An alternative way to display baubles is to put them in vases, like flowers. Decoupage polystyrene balls with designer paper napkins to create a unique decoration that looks great all year round and not just for Christmas.
Materials
- Polystyrene balls in various sizes
- Marimekko paper napkins or other designs
- Mod Podge
- Stiff floristry wire
- Floristry tape
Tools
- Tape measure
- Scissors
Instructions
- Measure the arc of the polystyrene ball. From the bottom to the top of the ball.
- Cut a strip of a paper napkin that is as wide as the ark.
- Draw out joining leave shapes on the back of this paper napkin strip
- Cut out a leaf shape and separate out the top printed napkin layer.
- Cover the polystyrene ball in Mod Podge and carefully stick the leaf shape to the ball. Use a crumpled up plastic wrap to push the napkin onto the ball.
- Next, repeat with the next leaf shape. Stick this one next to the first leaf.
- Carry on until the whole bauble is covered in paper napkins.
- When the Mod Podge has dried, stick the decoupaged bauble onto the end of a wire stick and cover it with a layer of Mod Podge.
- Repeat the steps with other polystyrene balls in different sizes.
- Wrap the florist wire in the gree floristry tape.
- Stick a decoupaged babble on the top of each wrapped wire and arrange them in a vase to display like flowers.
creativejewishmom/sara
Tuesday 9th of November 2021
so great! thanks so much for sharing your creativity on craft schooling sunday, been missing you!
Claire Armstrong
Tuesday 9th of November 2021
Thank you, Sara. That's very kind of you to say so.
Michele F Michael
Monday 8th of November 2021
Adore the napkin designs. They are lovely. Thanks for posting at Funtastic Friday
Claire Armstrong
Tuesday 9th of November 2021
Thank you, yes the Marimekko prints are lovely.
Michelle Leslie
Saturday 6th of November 2021
You always come up with the most amazingly simple but oh so gorgeous ideas, Claire. I LOVE your bauble bouquet. It's so cool no matter what your decor style
Claire Armstrong
Sunday 7th of November 2021
Thank you so much, Michelle. I just love thinking of new ways to use those Marimekko paper napkins.