
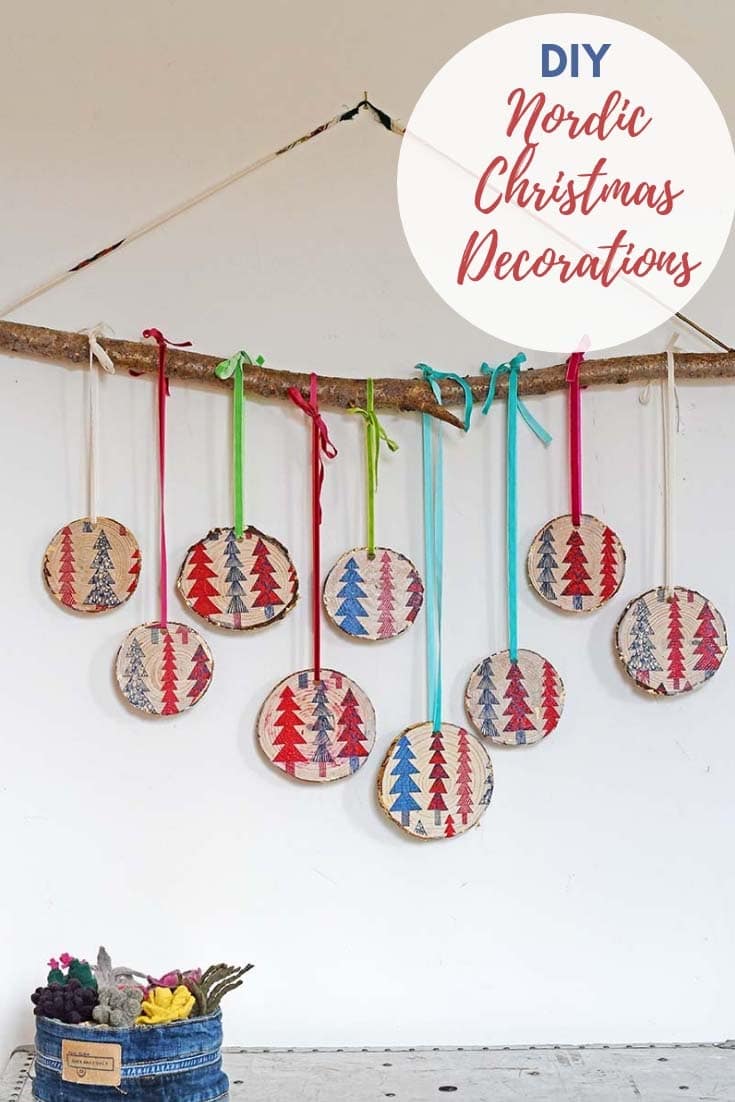
DIY Christmas Wall Hanging: Festive Nordic Decorations
Discover an easy DIY Christmas wall hanging tutorial to add festive Nordic decor to your home. It's perfect for small spaces and will bring holiday cheer!
Updated June 2024
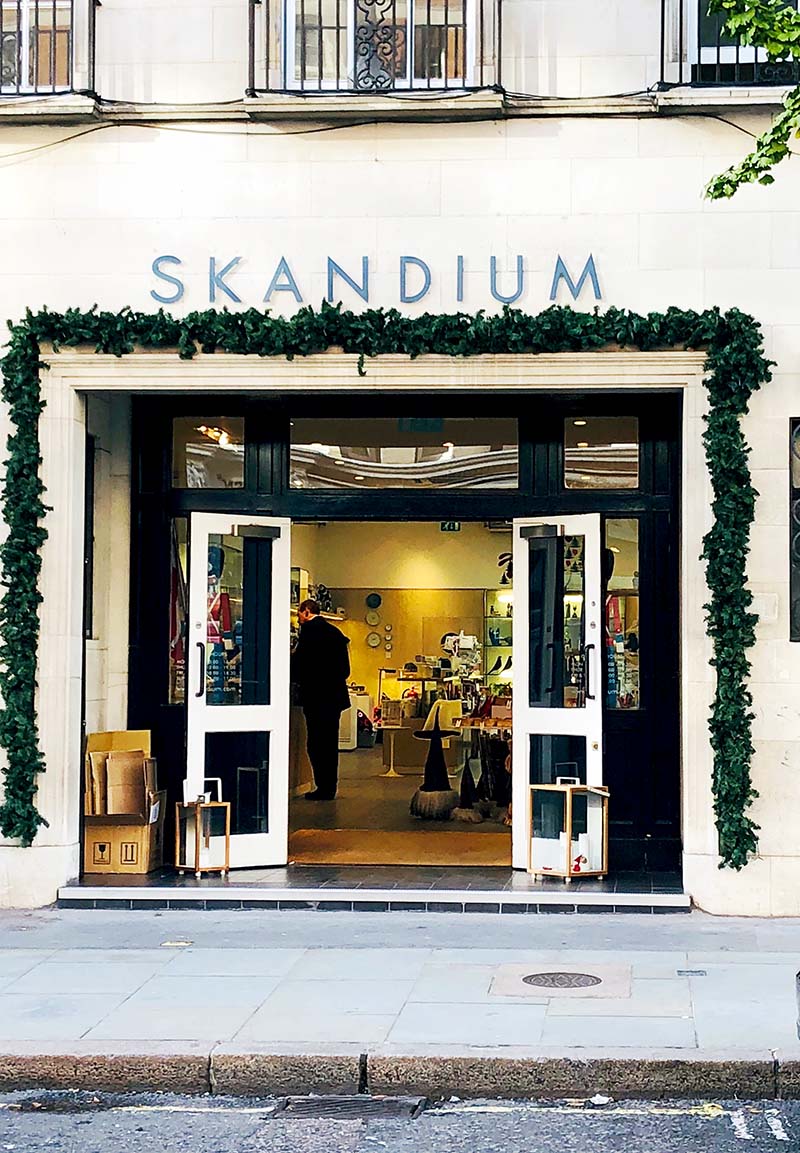
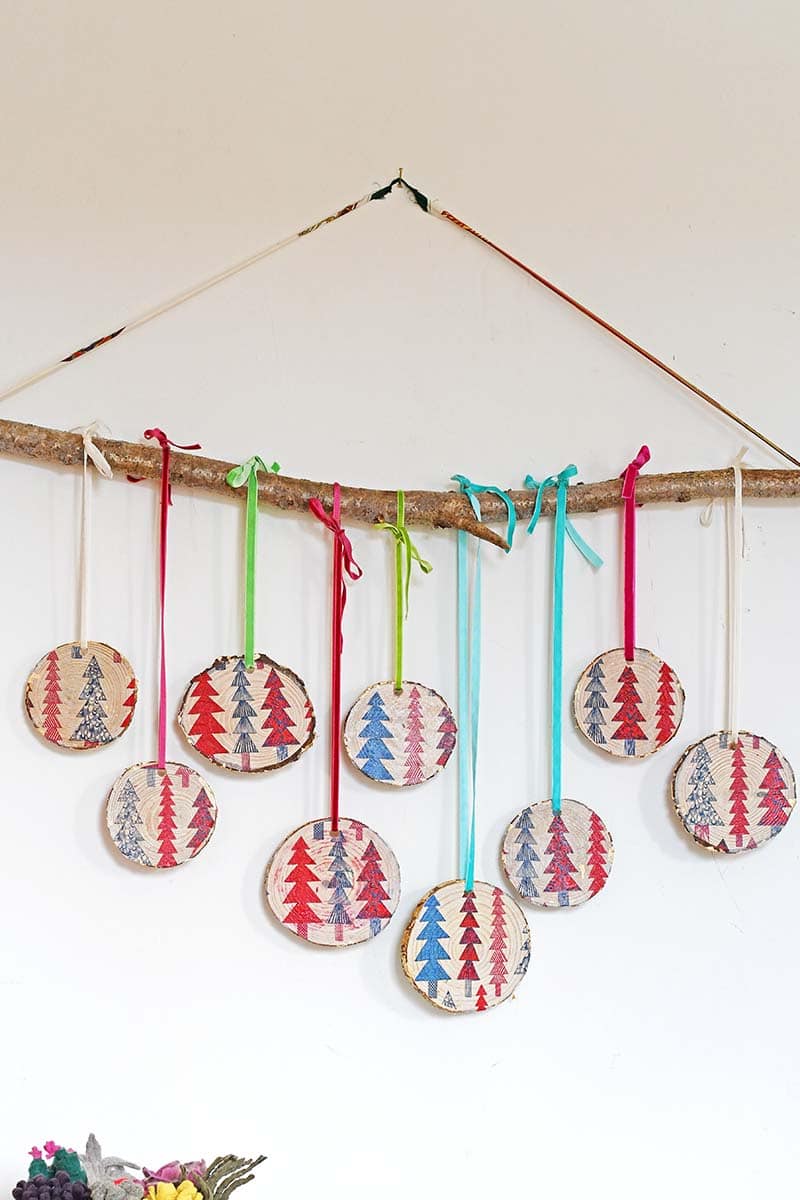
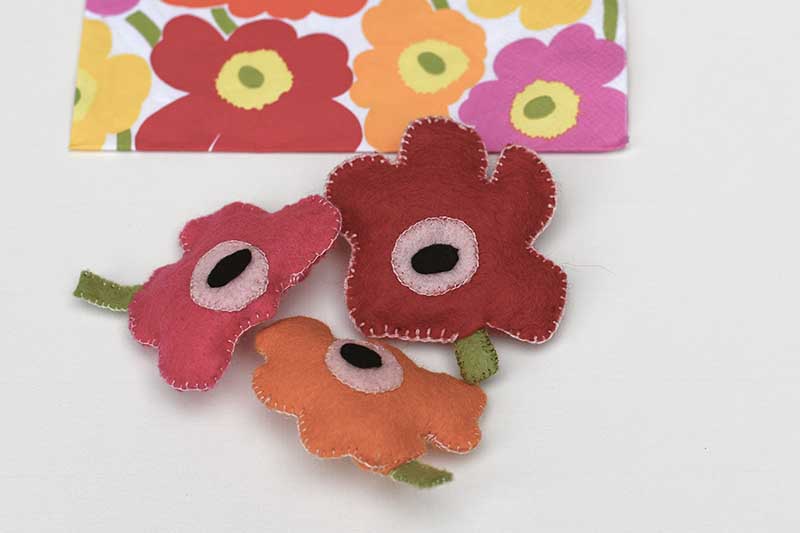
Embrace the festive spirit this holiday season by creating your own DIY Christmas wall hanging. Inspired by a visit to the Skandium shop in London, I've crafted beautiful and eye-catching Christmas wall decorations using Marimekko paper napkins.
Marimekko designs are a favourite of mine, with their vibrant colours and patterns. I have a habit of picking up a pack of their gorgeous napkins whenever I visit a Scandi interior shop, as they always add a touch of elegance and charm to any project.
Last year, I made some Marimekko Christmas wall art by decoupaging a whole tabletop with these napkins. This year's project is a bit smaller but just as impactful. The wood slices I used for these Christmas decorations were decoupaged on both sides, making them versatile and perfect for a festive display.
These Marimekko wood slices would also make great coasters, but I'll hang them on the wall as a Nordic Christmas decoration.
We're a participant in the Amazon Services LLC Associates Program, an affiliate advertising program designed to provide a means for us to earn fees by linking to Amazon.com and affiliated sites. As an Amazon Associate, I earn from qualifying purchases.
Materials Needed for DIY Christmas Wall Hanging
To create your festive wall decor, gather the following materials:
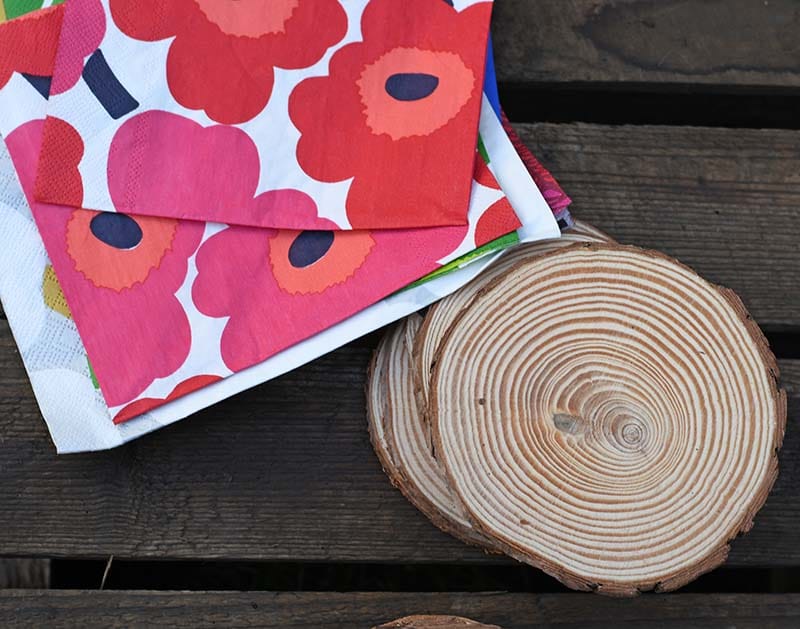
- Marimekko paper napkins (KUUSIKOSSA pattern and various Unikko colourways). You can use any festive paper napkin design to suit your decor.
- Wood slices (approximately 12cm in diameter). Preferably with predrilled holes.
- Gold leaf and adhesive
- Decoupage glue
- Colourful velvet ribbon
- A branch for hanging
- A drill is only needed if the wood slices don't have pre-drilled holes.
Step-by-Step Tutorial
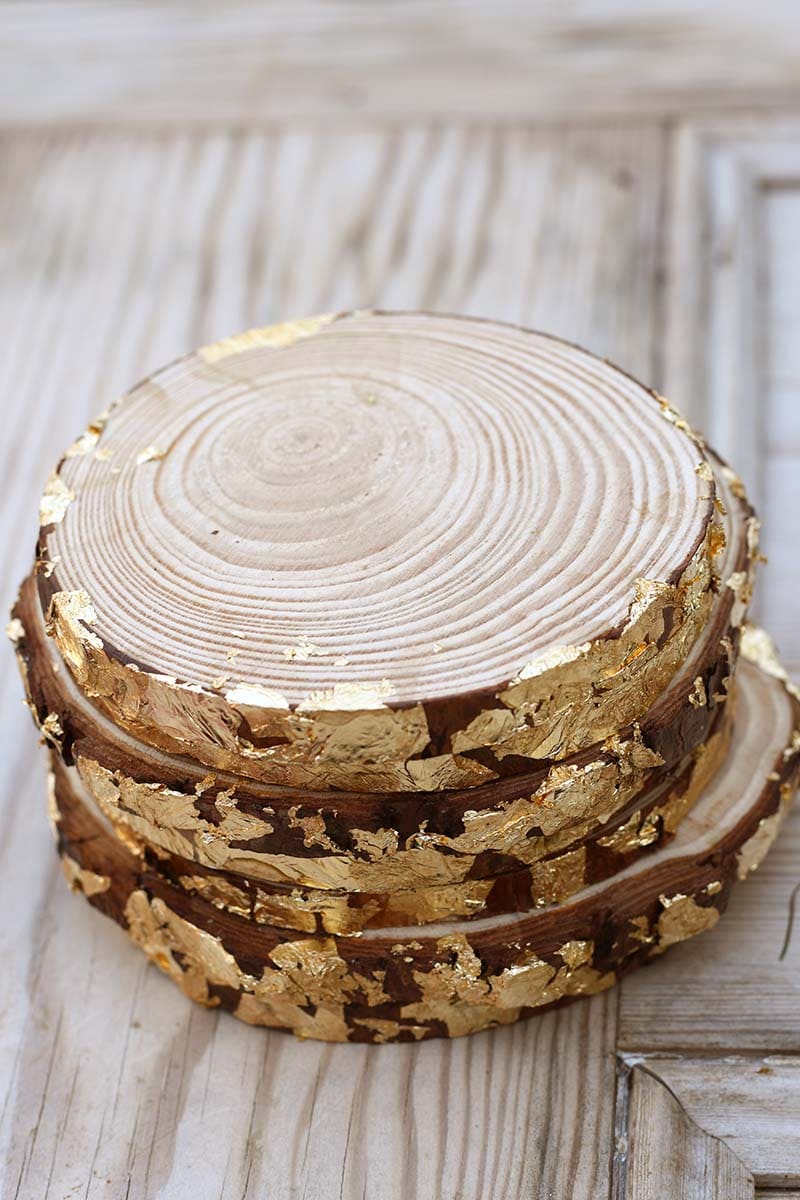
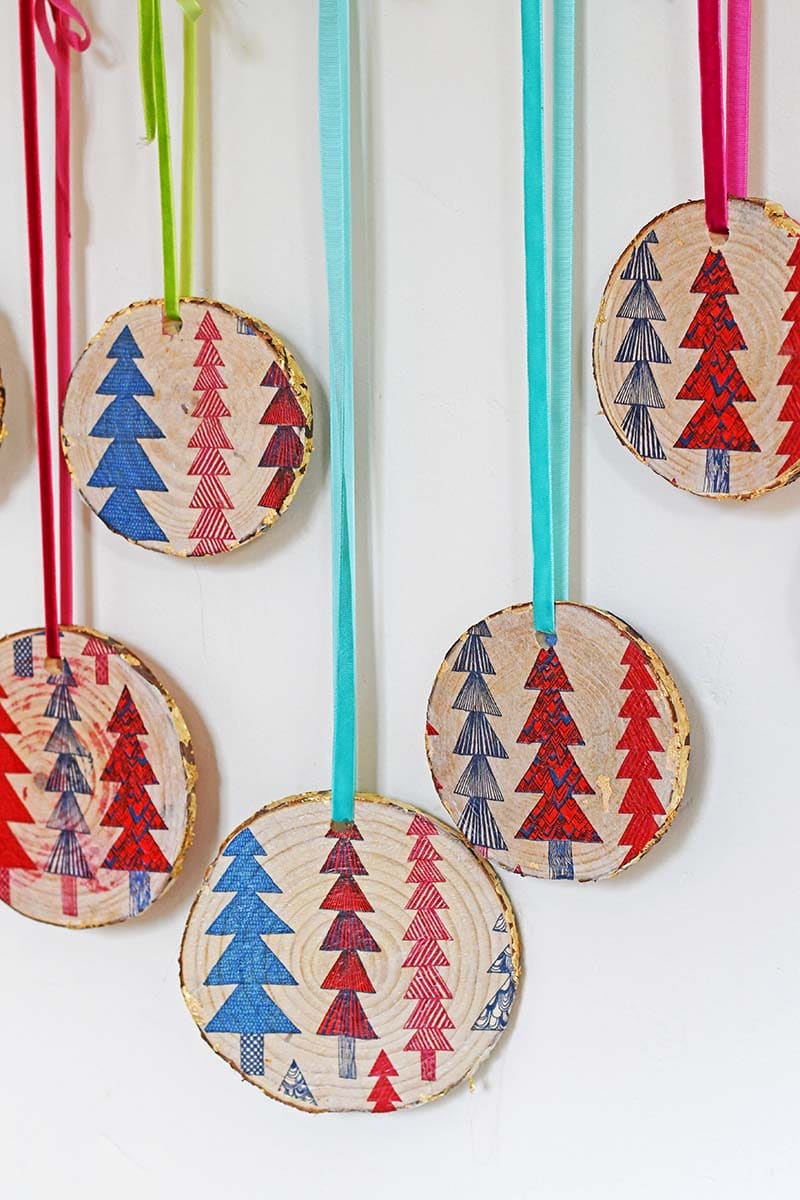
Adding Sparkle with Gold Leaf
Step 1: Prepare the Wood Slices: Begin by brushing the bark of the wood slices with adhesive.
Step 2: Apply Gold Leaf: Dab small bits of gold leaf onto the adhesive. Don't worry if some gold leaf sticks to the face of the wood slice; this adds to the festive sparkle.

Decoupaging the Wood Slices
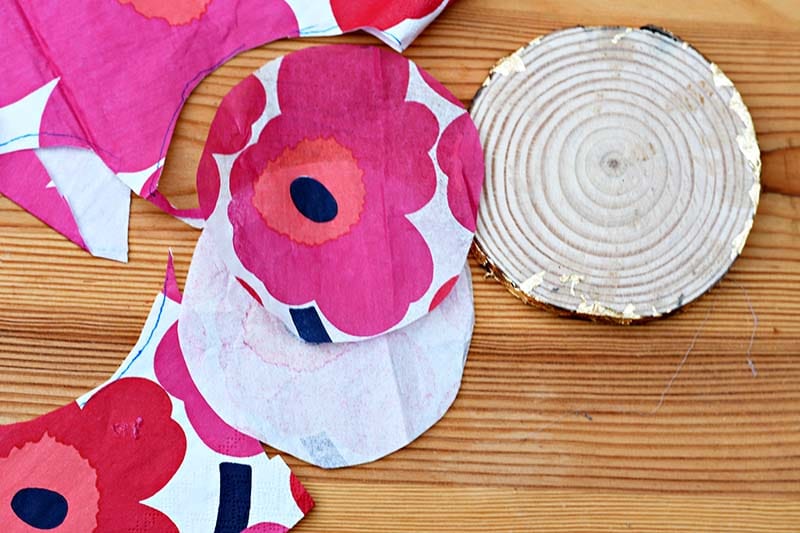
Step 3: Choose Your Pattern: Select the part of the Marimekko napkin you want to use. Place the wood slice on the napkin and draw around it.
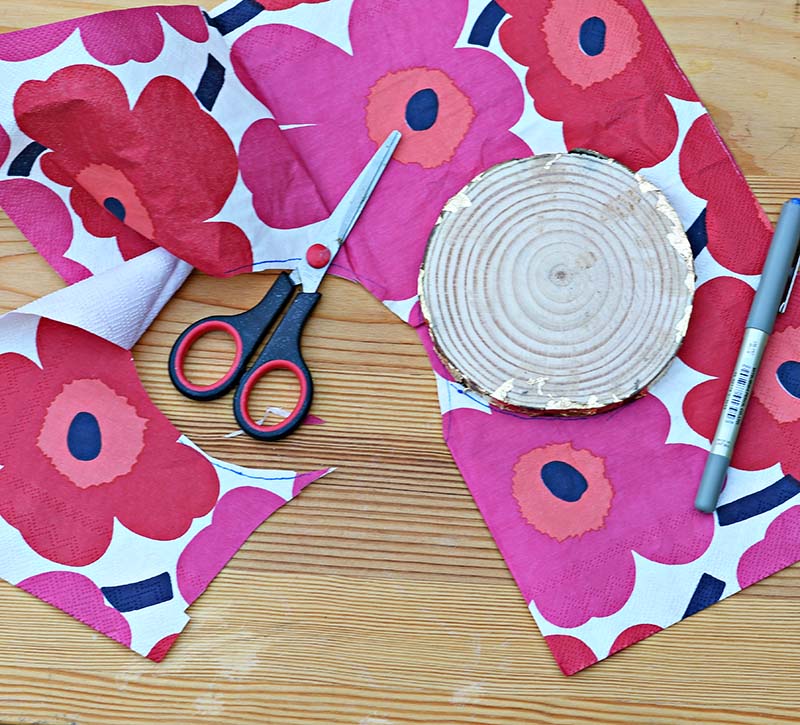
Step 4: Cut and Prepare Napkin: Cut the shape from the napkin, trimming a few millimetres inside the line to fit the wood slice. Remove two plies from the napkin, leaving only the printed layer.
Step 5: Apply Decoupage Glue: Cover the wood slice with decoupage glue and carefully lay the napkin on top. Use a brush to flatten the napkin as you stick it down.
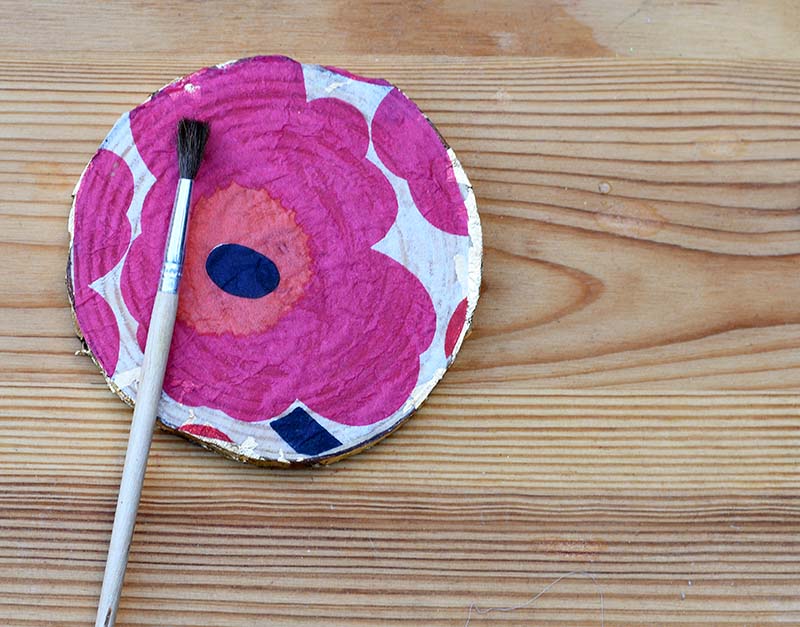
Step 6: Seal the Decoration: Once the glue has dried, add another coat of glue to the napkin to seal and varnish it. (If you use them as coasters rather than decorations, I suggest using a waterproof sealer.)
For more details and tips, check out this paper napkin decoupage post.
Creating a Double-Sided Decoration
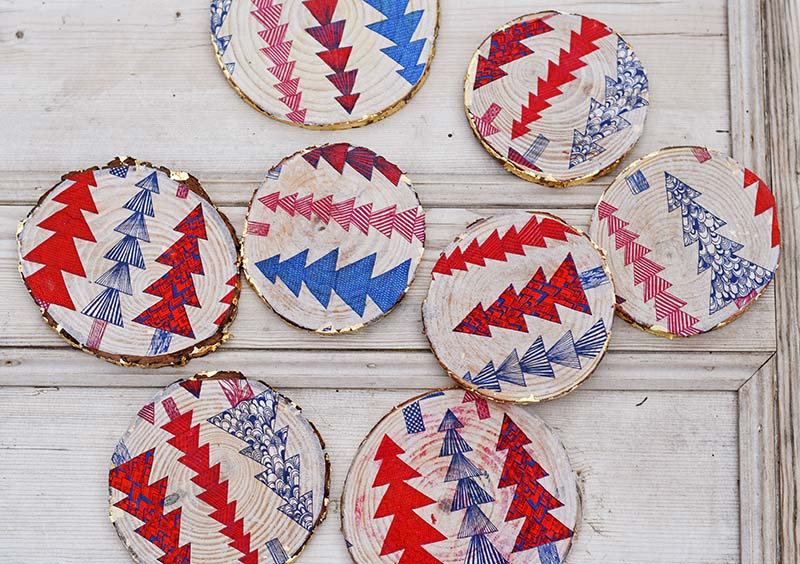
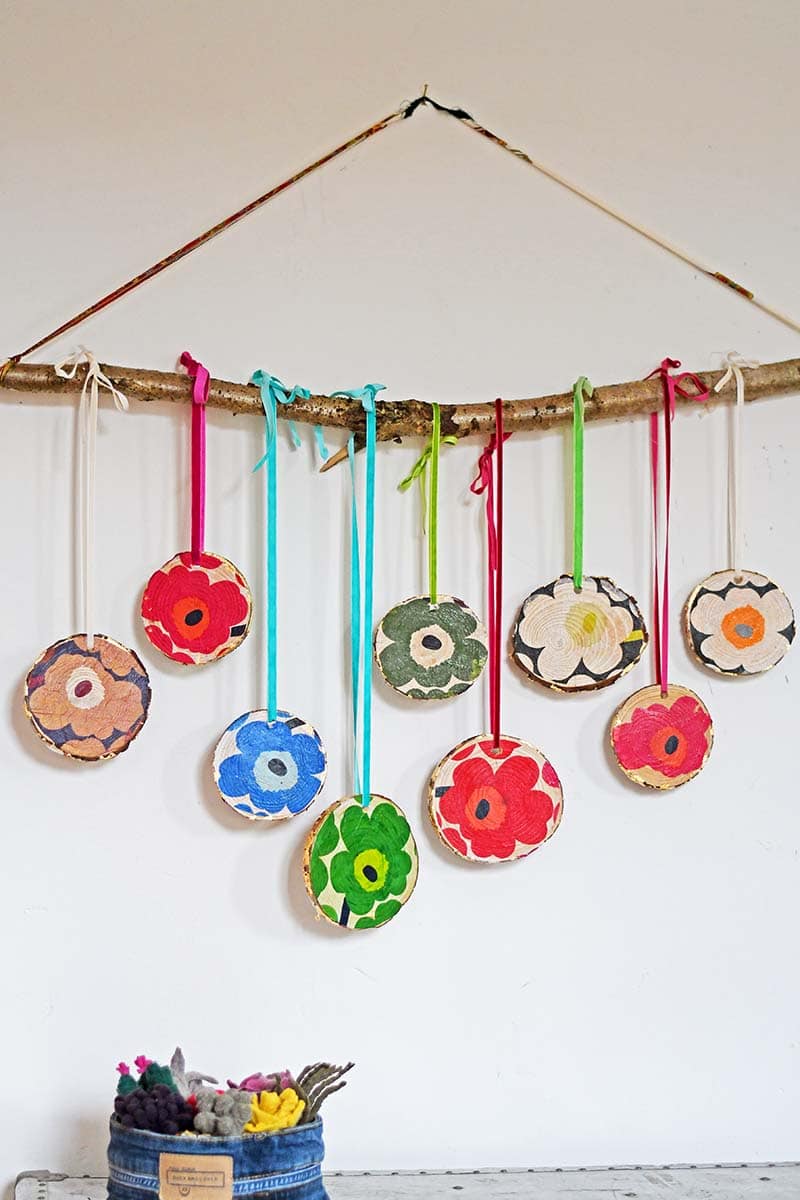
Step 7: Decoupage Both Sides: Decoupage the other side with a different Marimekko pattern after one side is dry. This lets you switch between festive Christmas tree designs and the iconic Unikko pattern for year-round Boho wall decor.
Hanging Your DIY Christmas Wall Decoration
Step 8: Drill Holes: Drill a hole in each wood slice large enough for the ribbon to pass through. If you bought pre-drilled wood slices you can skip this step.
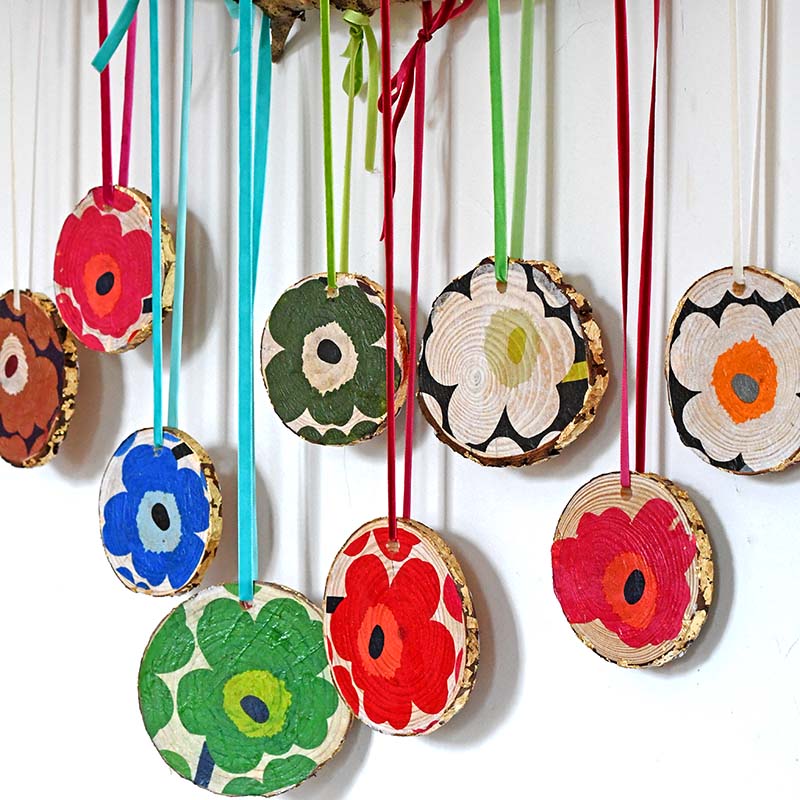
Step 9: Thread the Ribbon: Use the velvet ribbon to hang the wood slices from a branch.
Step 10: Display: Hang the branch on your wall to create a beautiful and festive focal point in your home
Tips for a Festive Makeover
- Use Natural Elements: Incorporate tree branches and natural materials for a rustic, Nordic look.
- Play with Sizes: Use wood slices of different sizes to create visual interest.
- Add Festive Touches: Use colourful velvet ribbons to enhance the festive spirit.
Conclusion and Other Related Posts
I love the red and blue pine trees for a Nordic Christmas decoration. When you want a different Scandi wall decoration, just turn the wood slices around to the Unikko Marimekko poppy. The Unikko pattern is a favourite of mine. I'm a bit obsessed with it, so much so that I even have Marimekko stairs in my house!
You can also print on wood slices if you don't want to decoupage them.
Another way to use Marimekko napkins for Christmas is to make a decoupage baubles flower display.
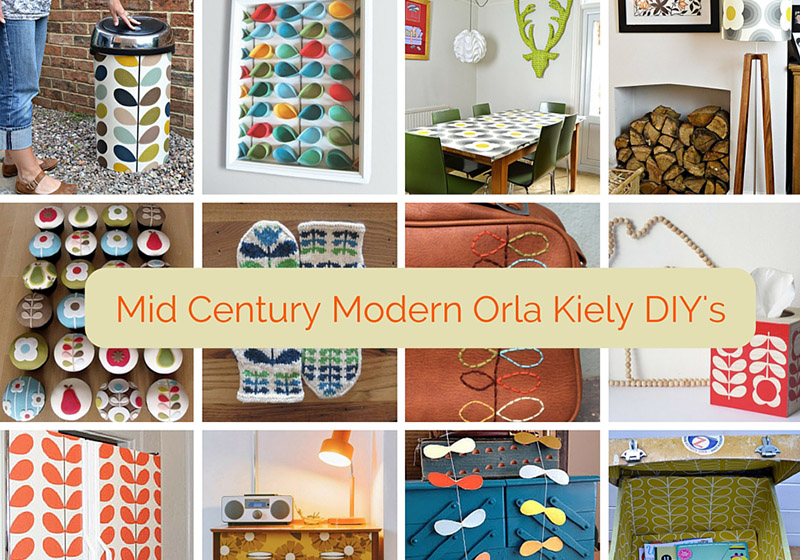
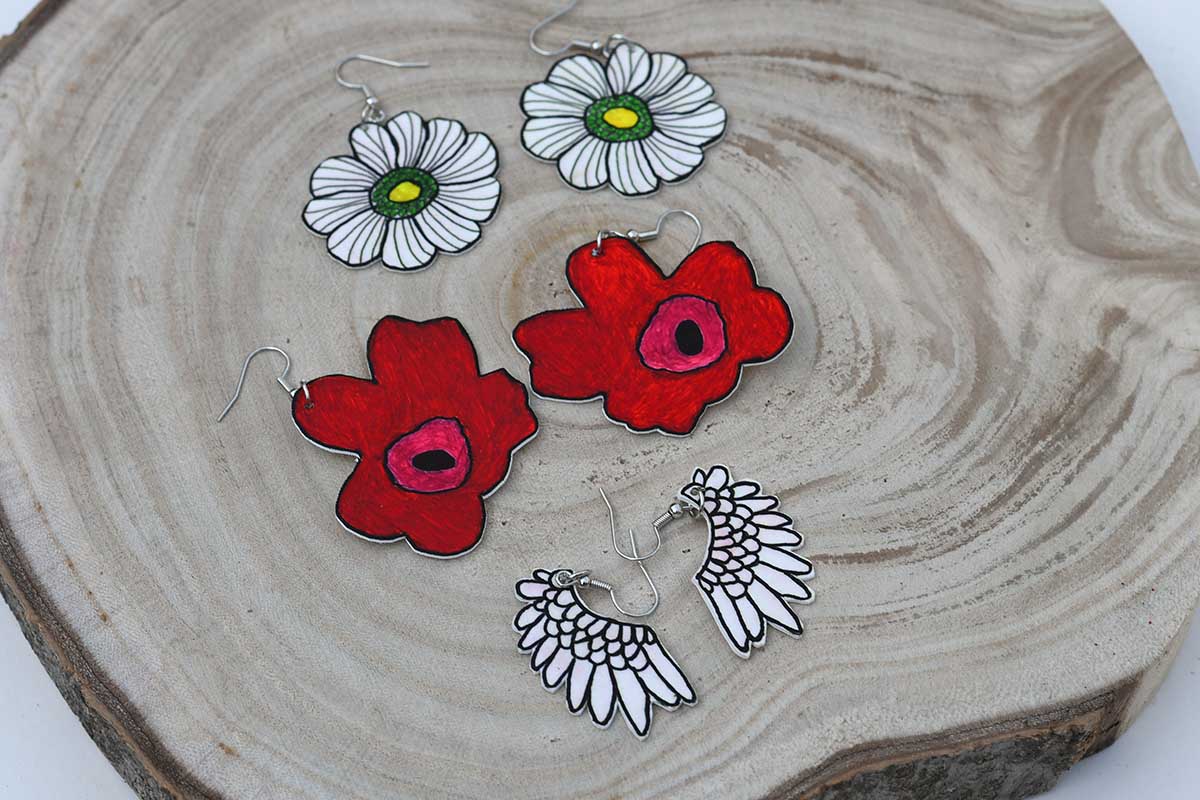
If you like this decoration then you will probably like some of my other Marimekko crafts and DIYs or these cool Christmas crafts for adults.
Marimekko Christmas Wall Art
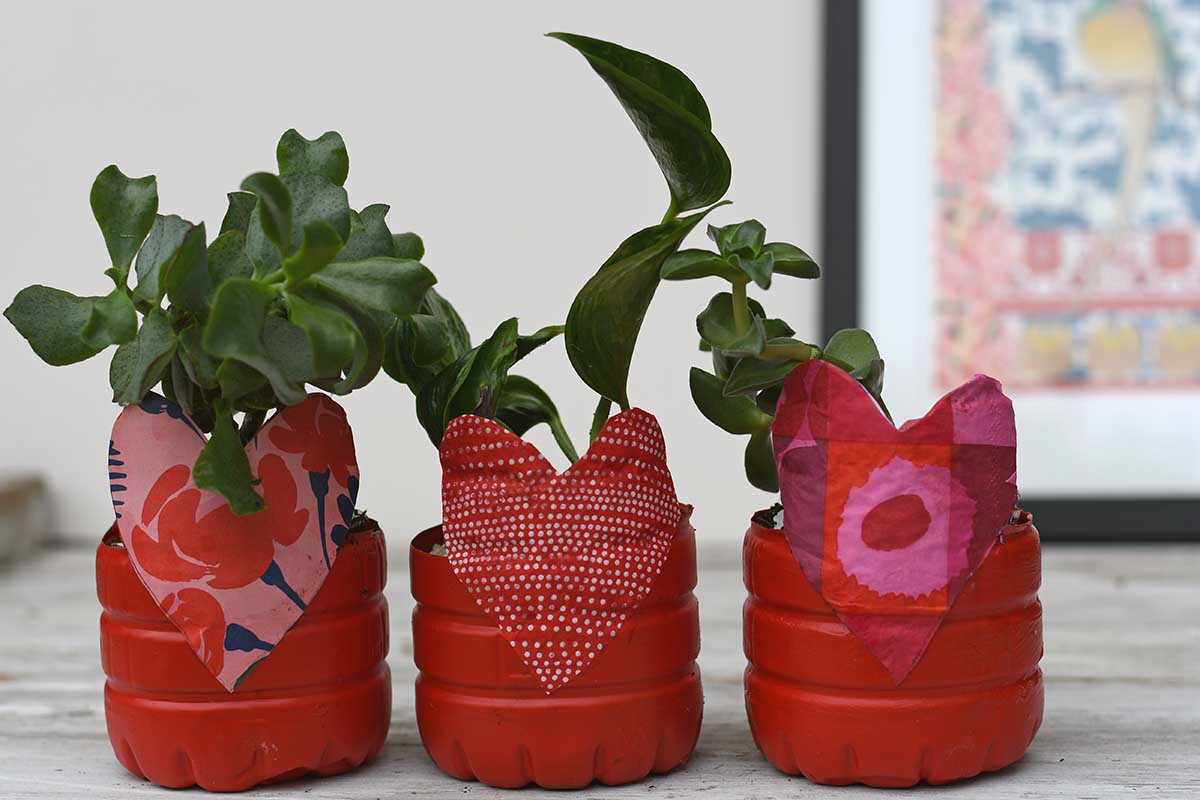
Decorative Tin Can Planters
Marimekko Decoupage On Wood Bowls
Unique Marimekko Bench
Check out this great round up if you are looking for more Scandinavian DIY decorations.
As much as I hate to say it and I'm not wishing the year away at all but we had such a limbo Christmas in 2018 that i barely decorated at all and I'm looking forward to getting some DIY on. These are gorgeous! #HomeEtc X
Thanks Lins. I think these particular decorations will look good all year long. I'm sure your house will look lovely when finished, I've been following your progress on Insta.
Wow these are so pretty!! I’ve been wanting to have a go with gold leaf for ages, looks beautiful!
Thank you, it’s very easy to do.
You are SO bloody clever!!!!! Just as I think you've exhausted the uses for Marimekko napkins, you come up with another one!! I love this Claire — especially when they're hung on the branches 🙂 #HomeEtc
Thank you, Caro. I know I didn’t think I’d be crafting with the napkins again but after visiting the Scandium shop I got this idea.
Gorgeous idea and great tutorial! Live the gold edging x
Thank you so much. I love a touch of gold.
These a so cute and easy to make. If only I had the time lol Thanks for sharing!
Thank you so much, they don’t take long to make.
Claire, your projects are always so original and clever!!! I absolutely love these nordic decorations, so beautiful and colourful and the best part it if you get bored of one side, flip it to the other side and voila - new decorations!!! You know I am a big fan!
Aww, thank you so much Evija. That's lovely to hear. I'm looking forward to my award winners lunch tomorrow.
These are so bright and colorful! Thanks for sharing at Vintage Charm!
Thank you so much!
These are fantastic Claire! Love the options and colors.
Thank you, I love a lot of color in my home at Christmas.
These are so pretty! I really like the ones with the cut-out shapes so that you can see the plain wood background ,too. Great idea, Claire! 🙂 Lisa
Thank you, so much Lisa. I love having the colour on my walls.
I love this project! Thanks for sharing. Pinned.
Thank you so much ?
These are so nice and I like the fact that you have a choice to flip it over and get a totally different look! Well done!
Thank you. Yes I was really chuffed with myself when I worked out I can have 2 designs.
I am inspired. I am making certain I purchase some of those napkins!
Thank you, I just love the designs but you can use any napkins you want.
Very pretty! The gold around the edges is such a nice touch. I love the look of the tree ones especially. Nicely done.
#embracingchangelinky
Thank you Jennifer. I thought the gold would make them look more festive.