
How To Make Beautiful Hand Painted Glass Bud Vases
With this
It's funny how things go around in fashion; I remember in the 90s when I moved into our first home, being given some hand-me-down coloured glasses by a relative. I smiled sweetly, said thank you and then put them away in the loft.
It shows how susceptible I am to the whims of fashion because now, after spotting coloured glasses in my favourite shop Anthropologie I want some.
I have no idea what happened to the coloured glasses in the loft, but I don't think they were quite right for what I wanted. I wanted some chunky crystal-cut coloured glass bud vases.
Making Beautiful Upcycled Coloured Glass Bud Vases
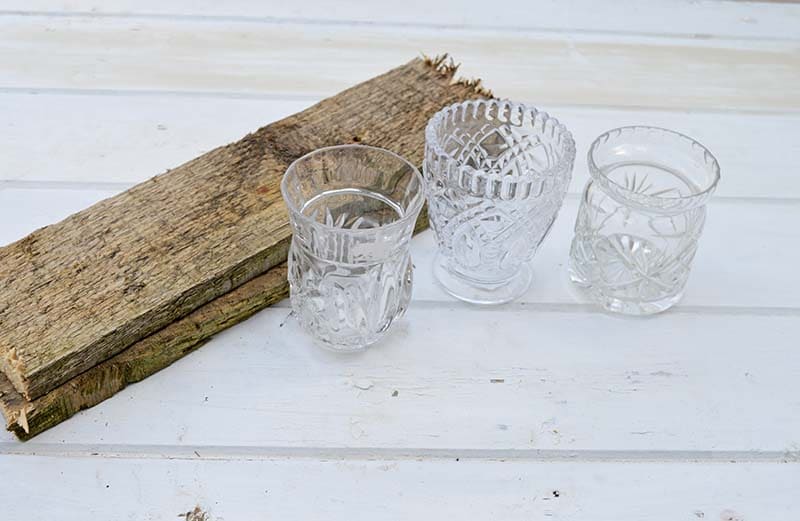
On a quick trip to my local junk shop, I found three cut glasses perfect for bud vases. They only cost me £1 for the 3. In fact, small-cut glasses are easy to find and pick up cheaply in charity/thrift stores.
It took me a while to work out how to
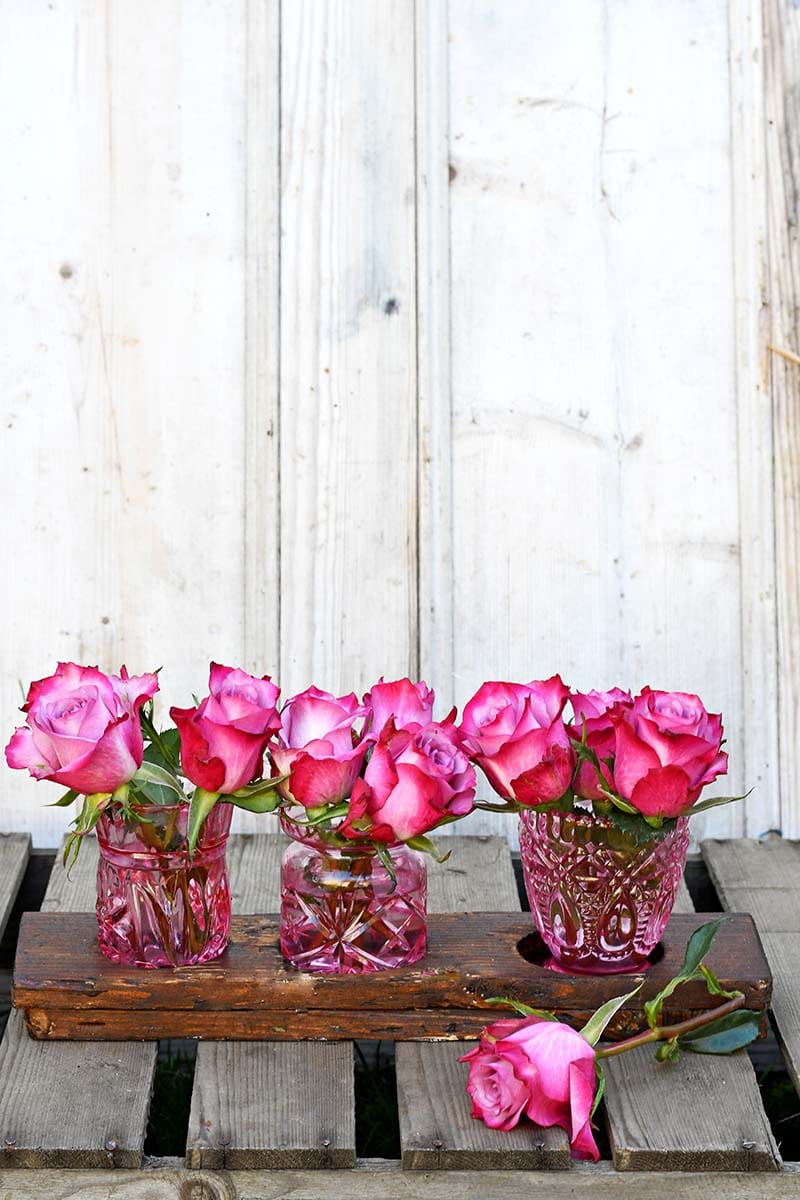
I made 3 of these glass bud vases and a tray for them out of scrap wood so they could easily be displayed together. These pretty pink bud vases would make a lovely affordable mothers day present.
We're a participant in the Amazon Services LLC Associates Program, an affiliate advertising program designed to provide a means for us to earn fees by linking to Amazon.com and affiliated sites. As an Amazon Associate, I earn from qualifying purchases.
What You Need To Make Painted Glass Bud Vases
- Three small cut glasses of similar sizes- These are normally picked up very cheaply from charity/thrift stores. I paid £1 in total for my 3 glasses.
- Scrap wood for the display tray - I used to pallet wood offcuts.
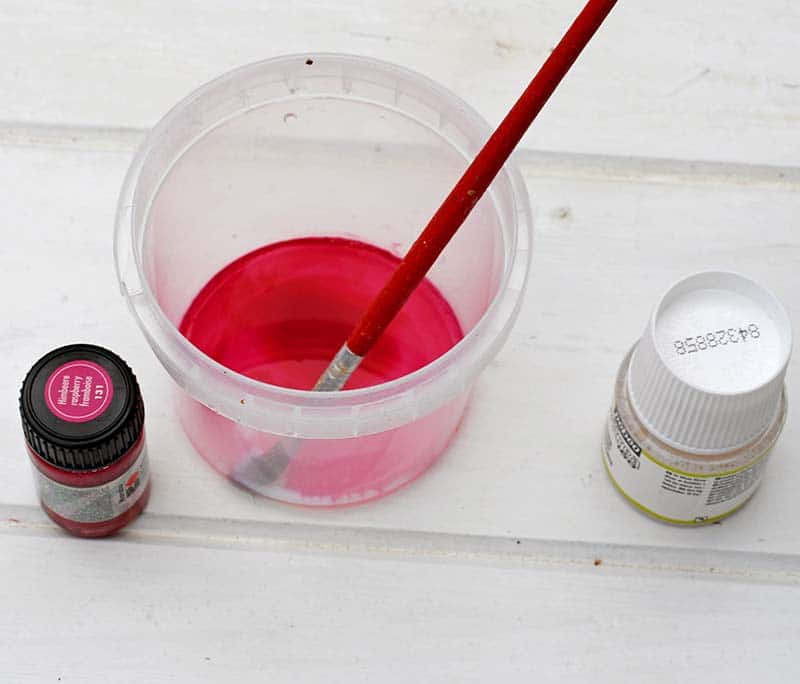
- Marabu Glass Paint raspberry
- Pebeo Glass Thinner
- Foam paint brushes
- Drill with a saw cutter attachment
- Sander and wood stain
- Gorilla glue wood glue and gripper tape.
How To Make Painted Glass Bud Vases
1. Before painting the glasses make sure they are clean and dry. You can either wash them in hot soapy water or use some rubbing alcohol.2. Next, mix the paint in a plastic pot. I mixed the paint in a ratio of 1:3 glass paint to thinner.
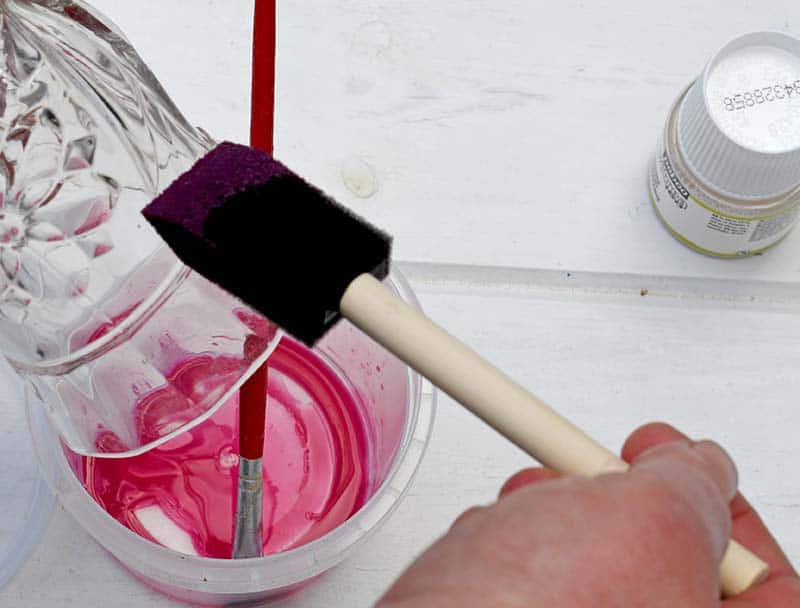
3. Then, using a foam brush apply the paint to the glass with even strokes. Make sure you get the paint in all the crevices and bumps. I placed the glass upside down on a plastic lid and painted the base too.
If you want a darker shade, you can always add a second coat of paint after about 1 hour.
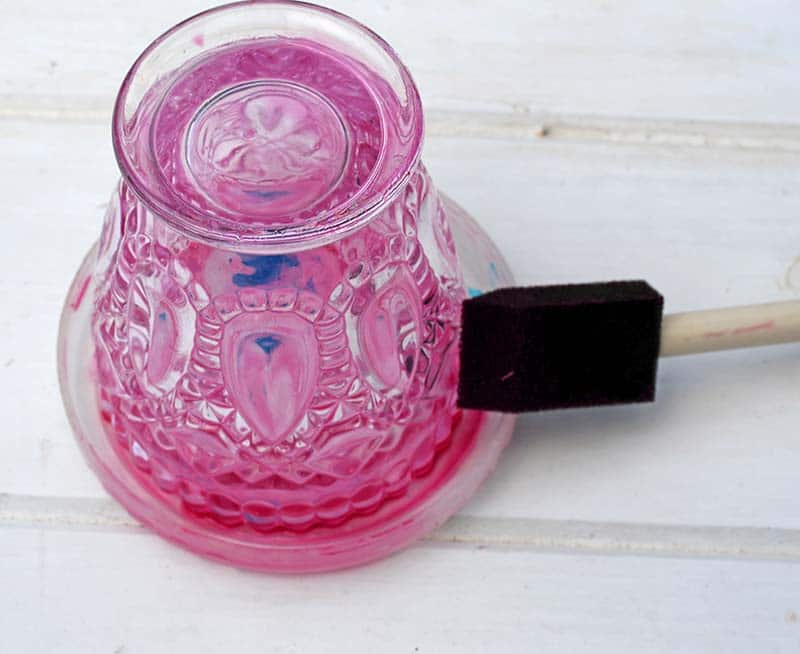
4. Finally, leave the painted glass bud vases for three days to cure. Don't worry if you don't have the time; you can speed up the curing process to 30 mins by placing the glasses in a 320f oven.
How To Make The Painted Glass Bud Vases Tray
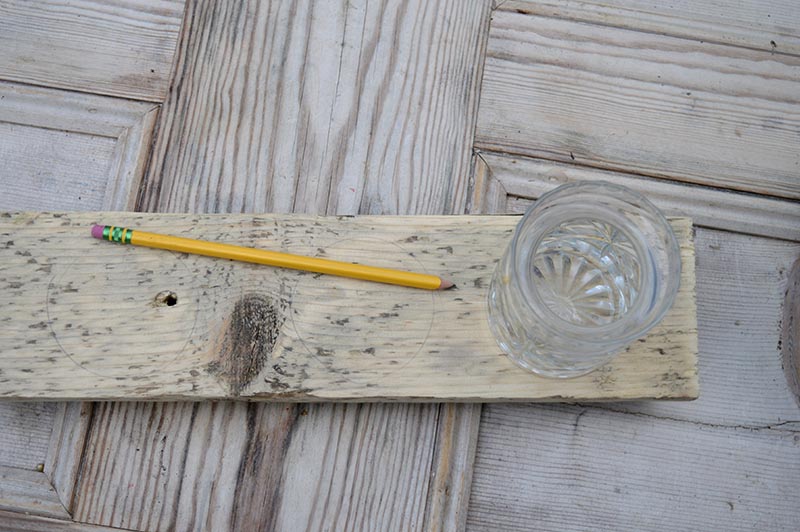
1. Firstly, cut and sand two identical peices of wood. Make sure the wood is long and wide enough to fit all three glass bud vases.2. Next, on one piece of wood, mark each bud vase's position using a pencil.
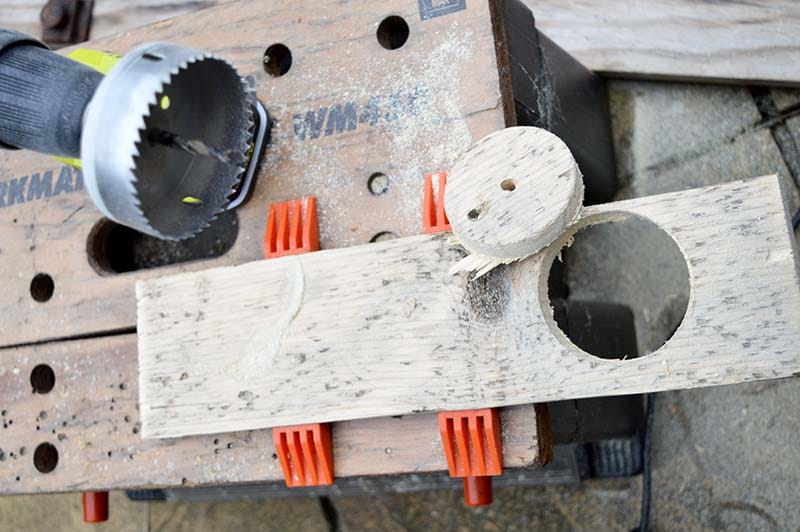
3. Then using a drill and hole saw attachment cut 3 holes into the wood. The holes should be big enough for the bud vases to sit in.
5. Next, sand the rough edges and then stain both pieces of wood. Apply wood glue the base of the cut board and then stick both boards together. Use gripper tape to hold the wood in position as it dries.
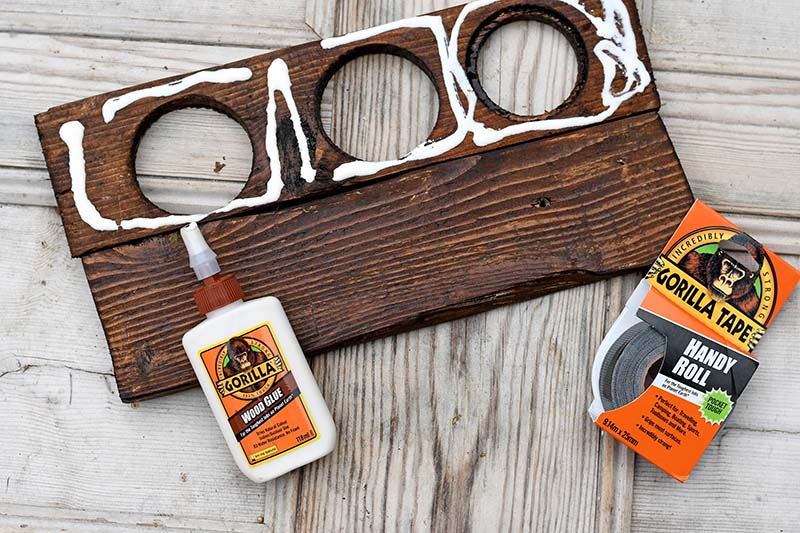
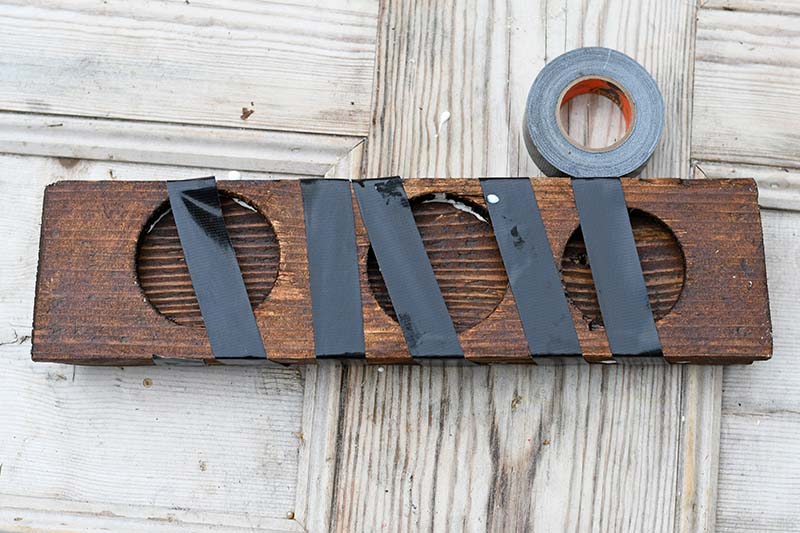
Once the glue is dry all that is left to do is add the painted glass bud vases to the tray and flowers.
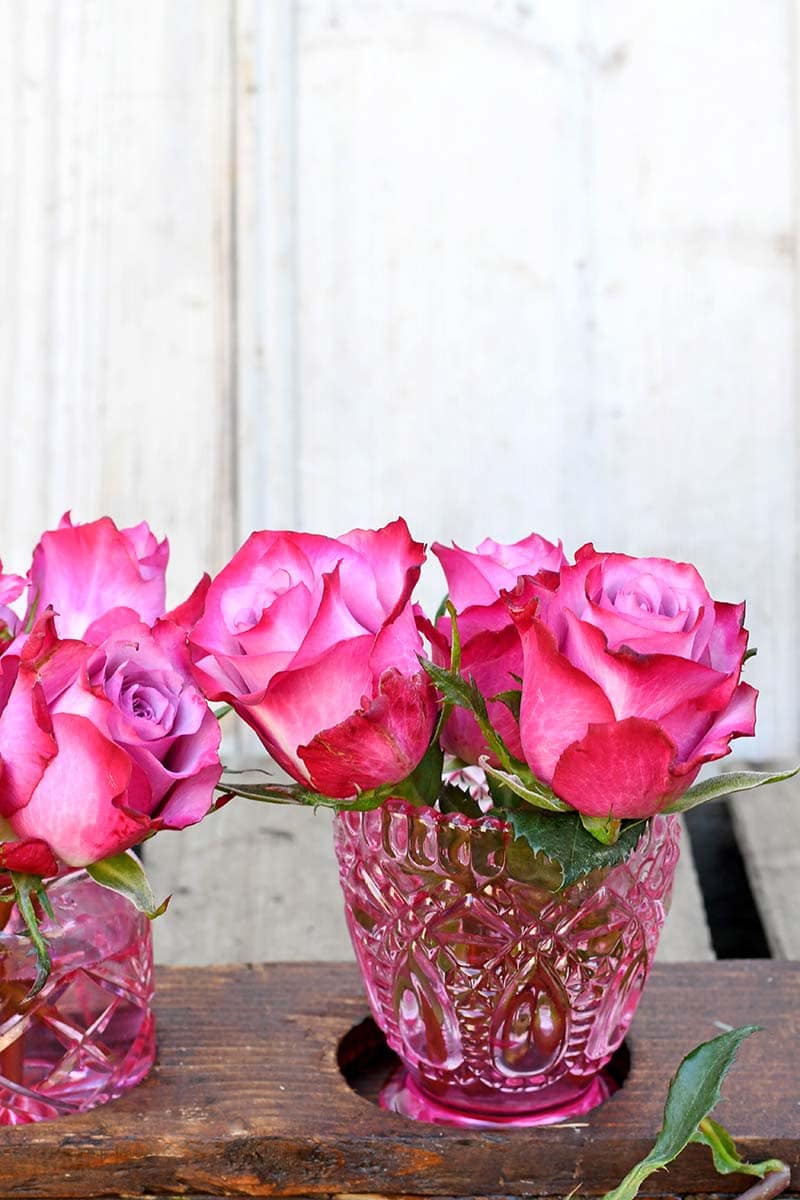
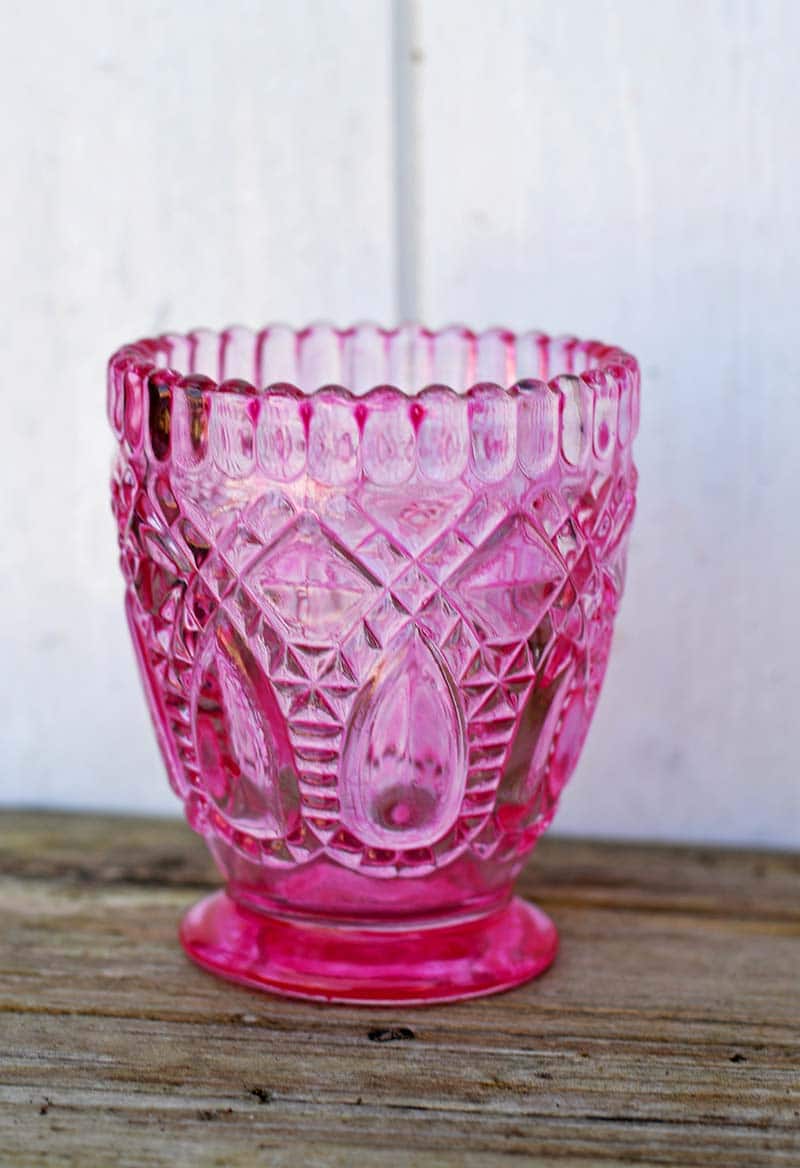
I'm pleased with this paint technique. The colour is very even, and the painted glass bud vases have turned out just how I wanted them to.
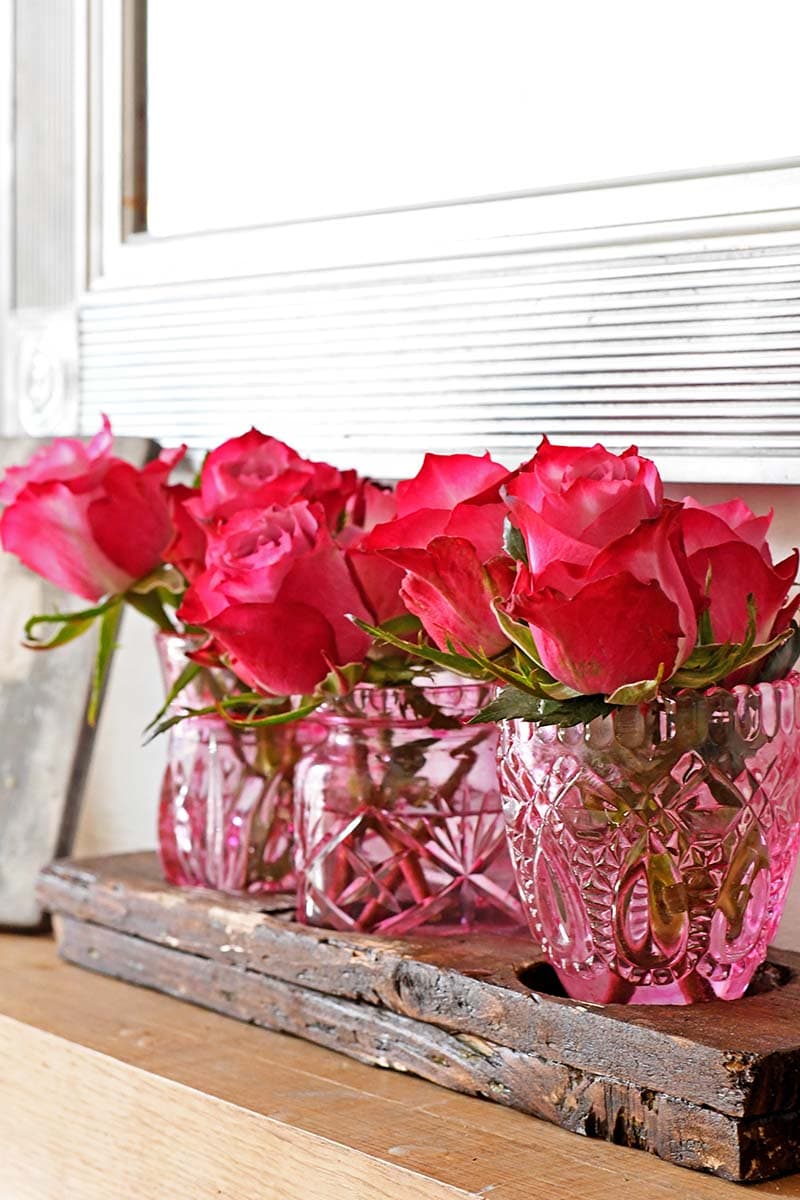
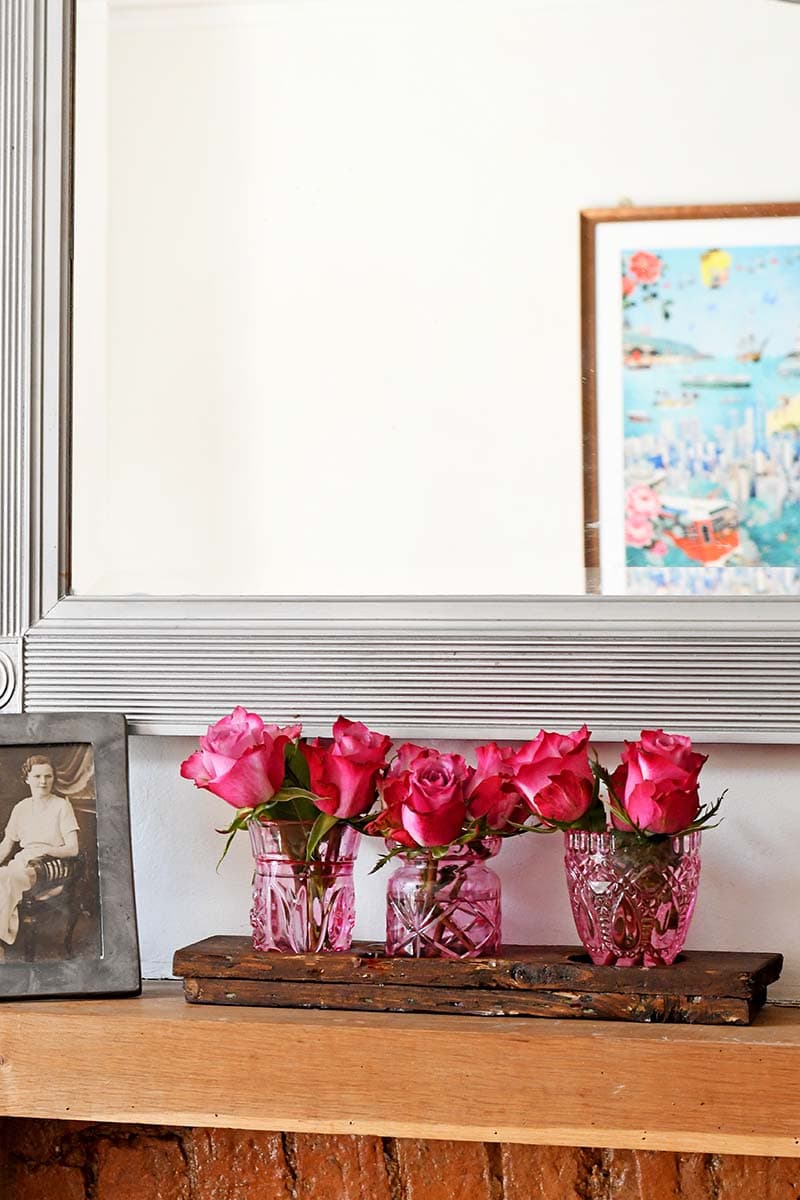
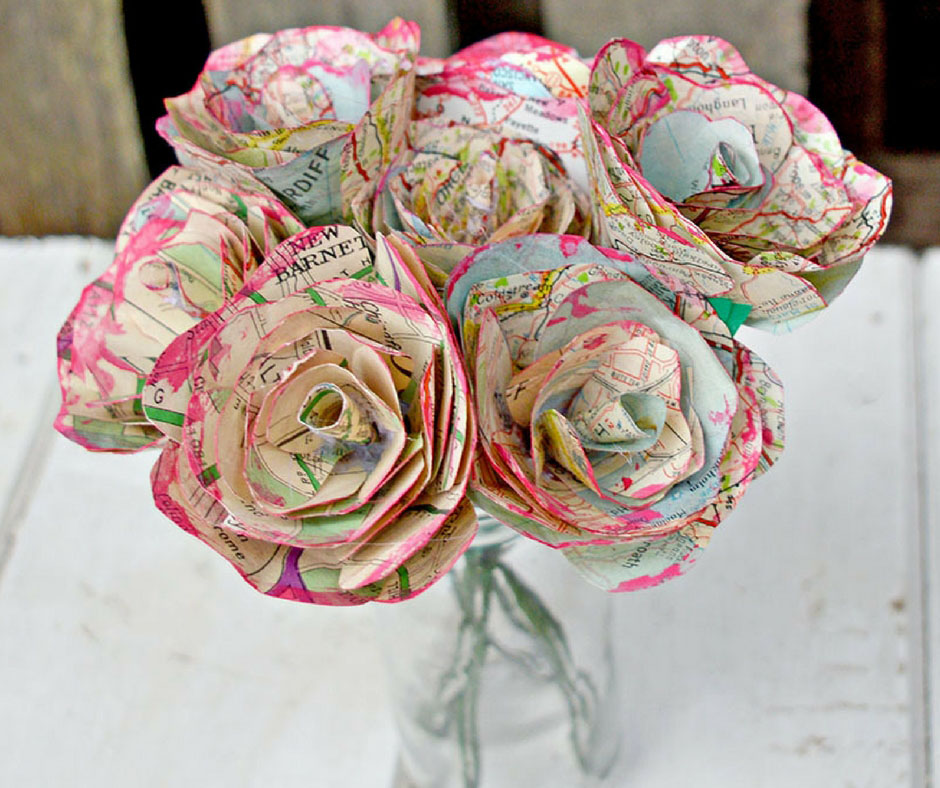
I've put fresh roses into my trio of glass bud vases. When they have died I will make some more upcycled map roses for them. Or some crepe paper flowers like the ones I made for this pineapple paper flower wall decoration.
There is another tutorial on the blog for mini Marimekko bud vases. Also, check out these wine bottle crafts many of them are bud vase ideas.
Another affordable way to make bud vases is to make paper vase Mason jar sleeves.
These glasses are upcycled and featured under G in the alphabet of upcycling resources.
If you liked this post, you might want to check out these other glass painting posts and these upcycled vase ideas.
For more recycled craft ideas visit Favcrafts.
These are beautiful. I do have glass paints but no thinner or foam brushes. When the pandemic is over I shall buy the necessary items and have a go. Thank you so much for posting and sharing your talents.
Deirre
Thank you so much they are very easy to do. Hopefully, the pandemic will be over before long. Keep safe.
These jars are just beautiful! Thank you for the how-to!
Thank you, you're welcome.
These are beautiful and are being featured on my blog tonight for Party In Your PJs!
That's awesome, can't wait to see it. Thank you!
These are gorgeous! You were my favorite pick for Waste Not WEdnesday this week.
Thank you, Deborah. I look forward to seeing the feature.
Thank you so much for coming up with a better way to colour thrifted glass. I spent two full days trying to colour glass with modpodge and it was to be it mildly awful. I can't wait to pin this.
Thank you, Leanna. It was really easy with the glass paint.
This, my friend, is genius!
I tried to get this effect a couple of years ago and ended up with a jam jar covered with a hot mess of sticky paint, glue mix which never dried and ended up all over my hands, my clothes and my table!
Not my finest crafting hour! Hot soapy water sorted it all out in the end but I've not plucked up the courage to try again, until now!!
Thank you, Julie. The thinned glass paint worked really well and was quite simple. If you want a deeper colour just add more layers of paint. It's supposed to be dishwasher proof too but I haven't tried.