
How To Make Trendy Upcycled Planters With Velvet
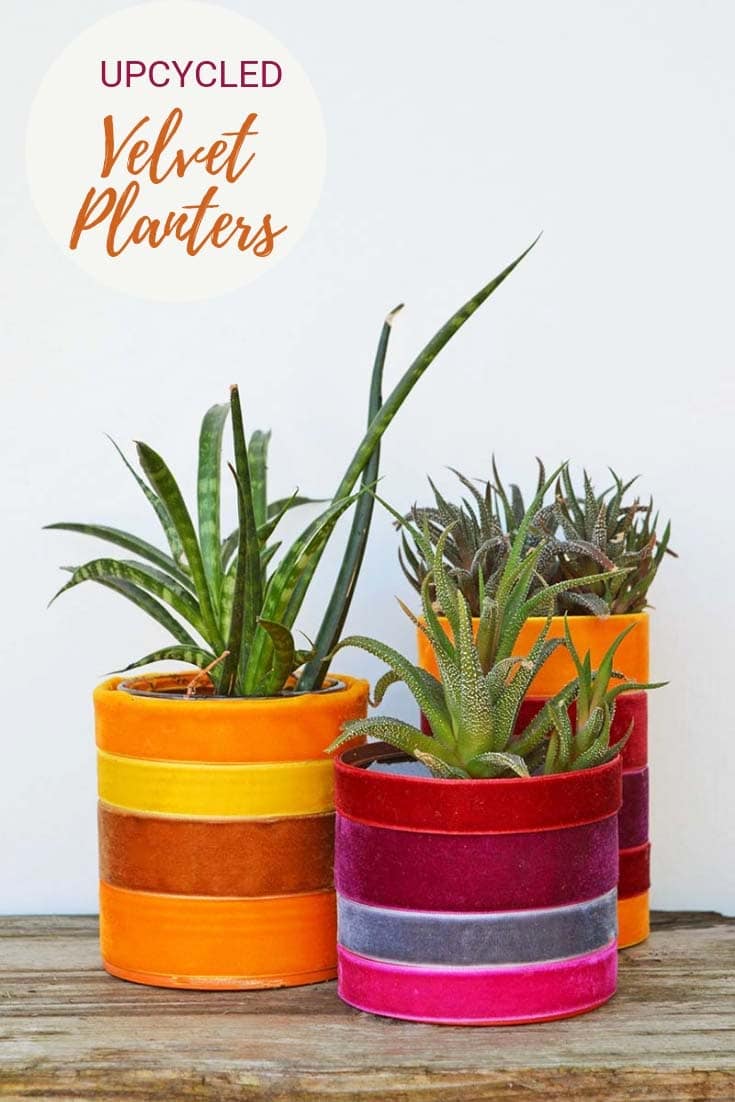
Velvet is one of my favourite fabrics. Last year, I had lovely velvet curtains made for my front room and I covert a velvet sofa. However, that is on hold for now. In the meantime, I have made some indoor upcycled planters in velvet for my home.
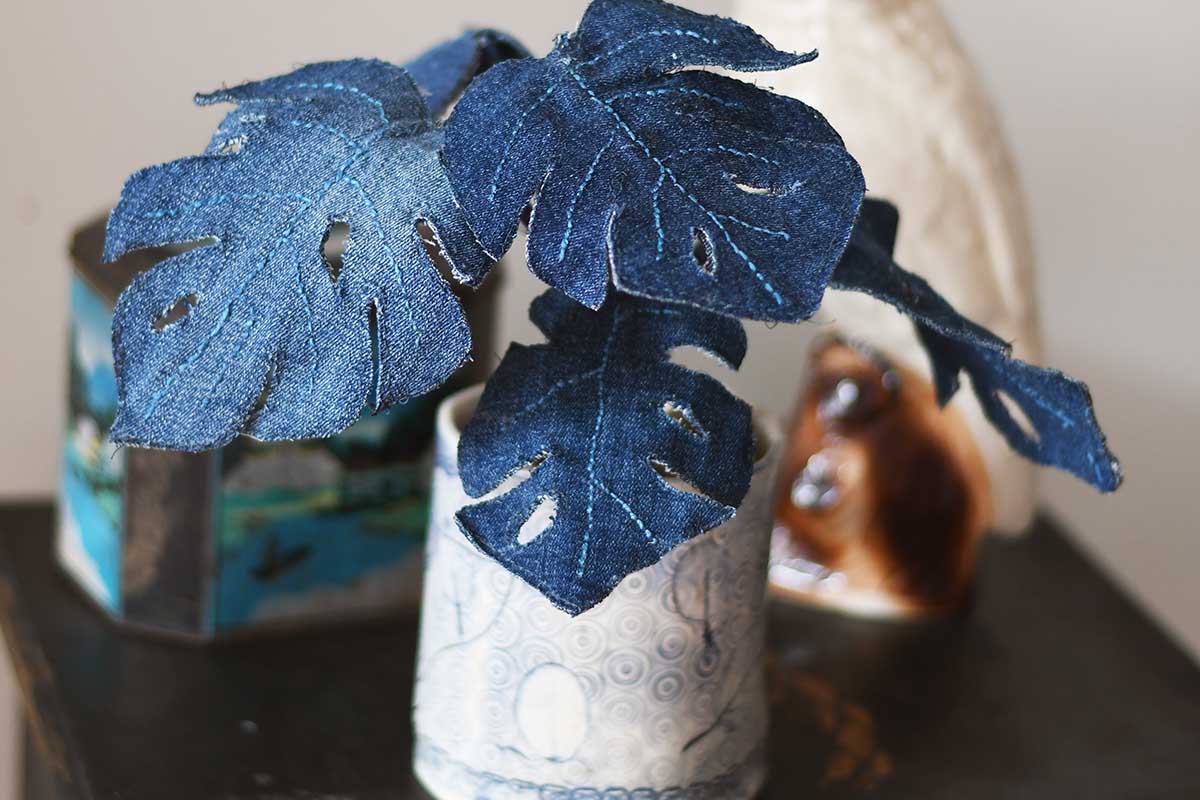
One of my favourite things to do with old tin cans is to repurpose them into planters. I've made Marimekko decorative tin can planters and a recycled jean planter in the past. This time, I used coloured velvet ribbon to make tin can upcycled planters.
DIY Boho Tin Can & Velvet Upcycled Planters
Velvet ribbon is very affordable and comes in lots of lovely colours in different widths. So it's easy to design and make velvet upcycled planters to fit your particular decor. These indoor planters look great with today's contemporary Boho interior trends.
This velvet upcycle is featured in the alphabet of clever upcycles.
We're a participant in the Amazon Services LLC Associates Program, an affiliate advertising program designed to provide a means for us to earn fees by linking to Amazon.com and affiliated sites. As an Amazon Associate, I earn from qualifying purchases.
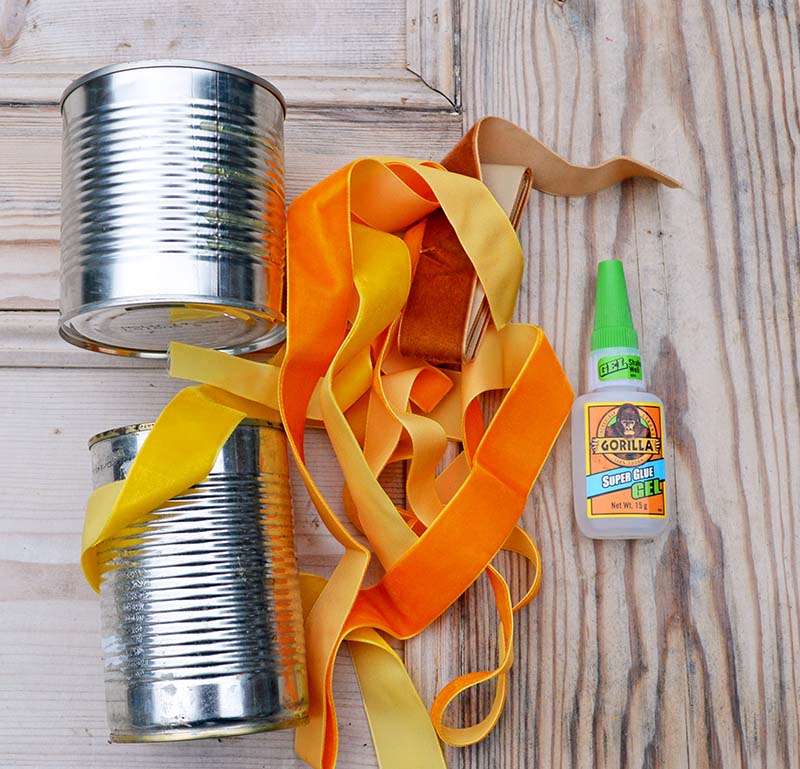
What You Need To Velvet Upcycled Planters
- Velvet ribbon in various thicknesses and colours. Can't decide on what colours Amazon sell bundles of ribbons in multiple colours.
- Gorilla Glue Superglue Gel - I used this glue as it doesn't run.
- Tin cans - Just use a can that is the right size for you such as soup cans, coffee cans, nut cans etc..
- Spray paint
How To Make Velvet Upcycled Planters
1. Clean the tin cans and spray paint them in a similar colour to the velvet ribbon that you are going to use. This is optional, however, I do think it gives the upcycled planters a better finish.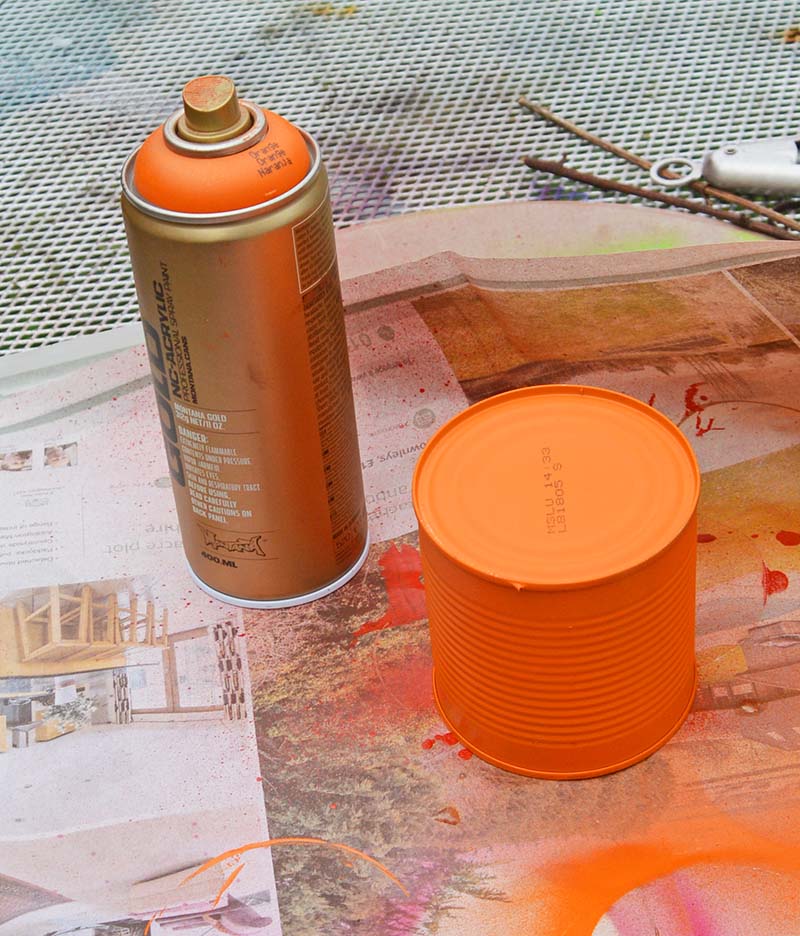
2. Next, measure the circumference of the tin can. I normally add a couple of mm to this measurement to allow for a tiny overlap. Cut the ribbon you are going to use to this length. Make sure you have enough strips of velvet ribbon to cover the height of the upcycled planters. I used thick and thin ribbons of similar shades.
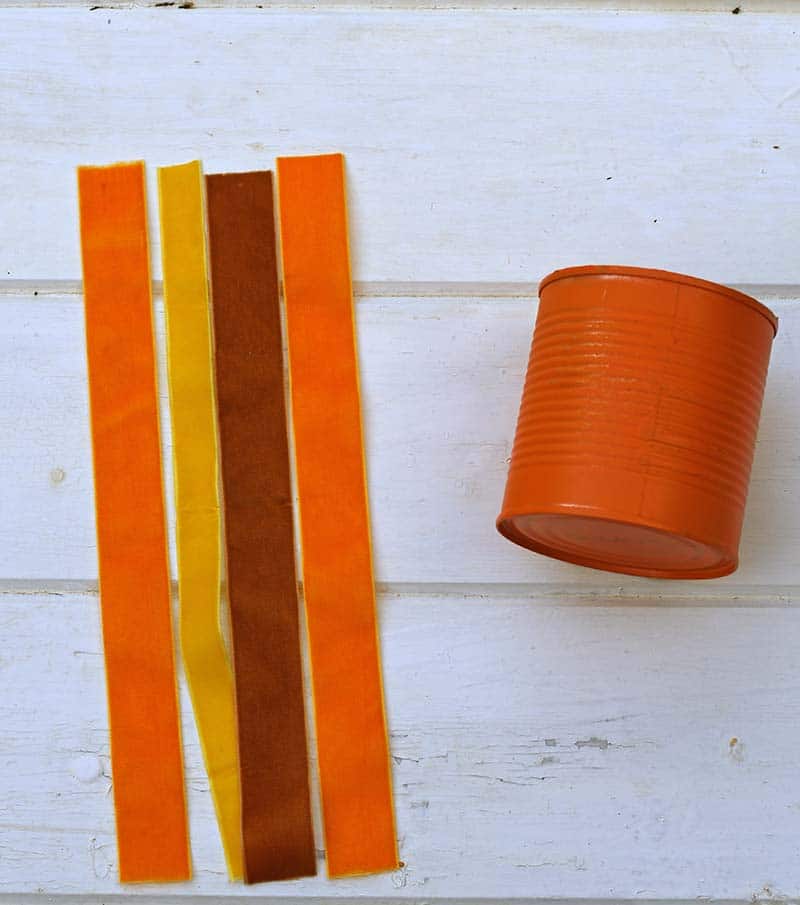
3. Next, take your first strip of velvet ribbon and using a small dab of the Gorilla Glue gel stick it to the tin can. Then wrap the ribbon around the can and stick the 2 ends of the ribbon together with the glue. Make sure that you pull the ribbon tightly around the tin can.
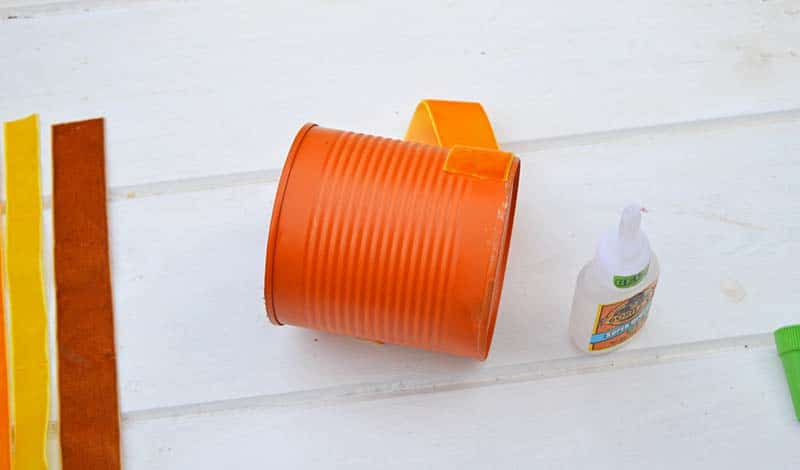
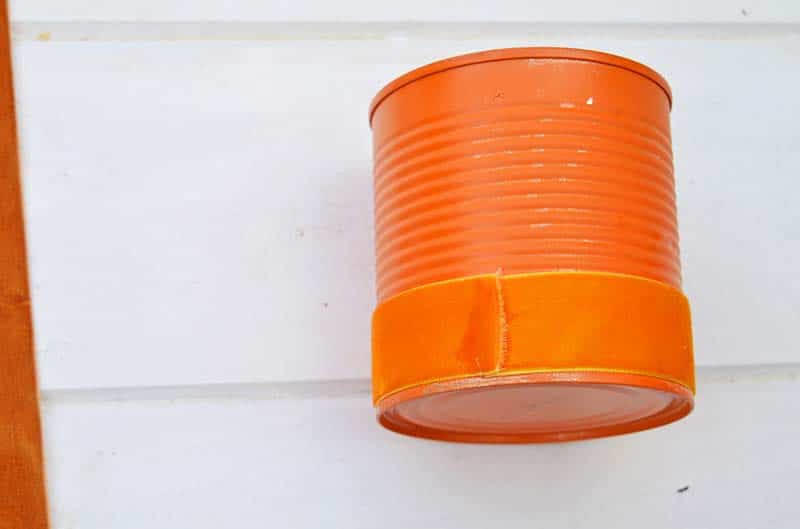
4. Carry on glueing strips of velvet ribbon until the whole of the tin can is covered. Depending on the size of your tin can you may end up with a bit of overhang on the top of the can.
If this is the case then simply fold the ribbon over the lip of the can and glue it down onto the inside rim. You may need to hold the ribbon in place with small craft pegs as the glue dries.
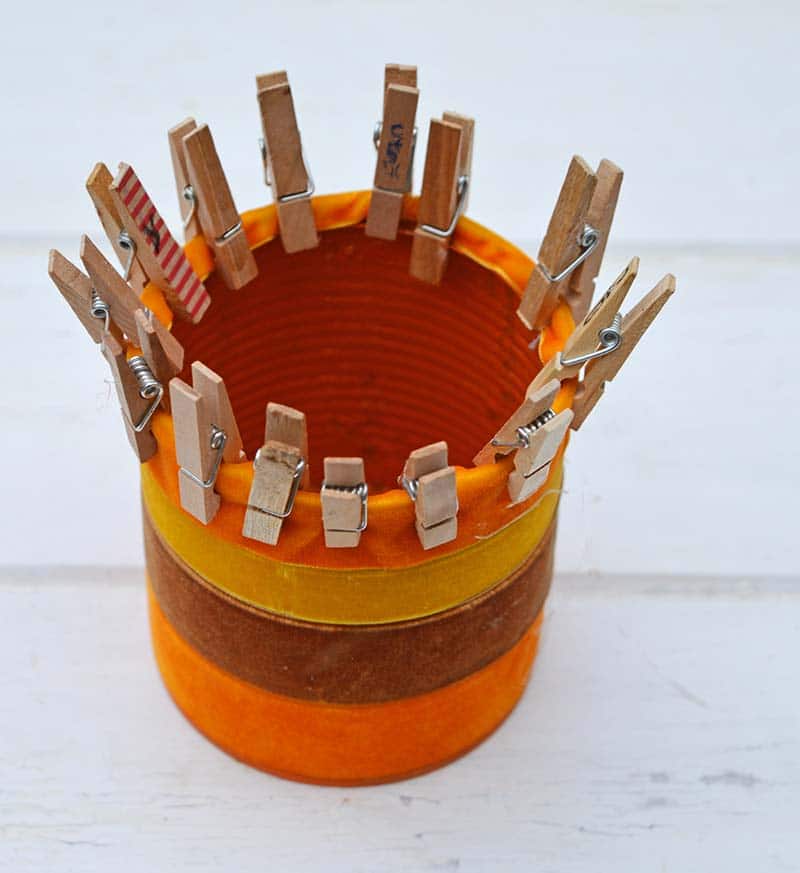
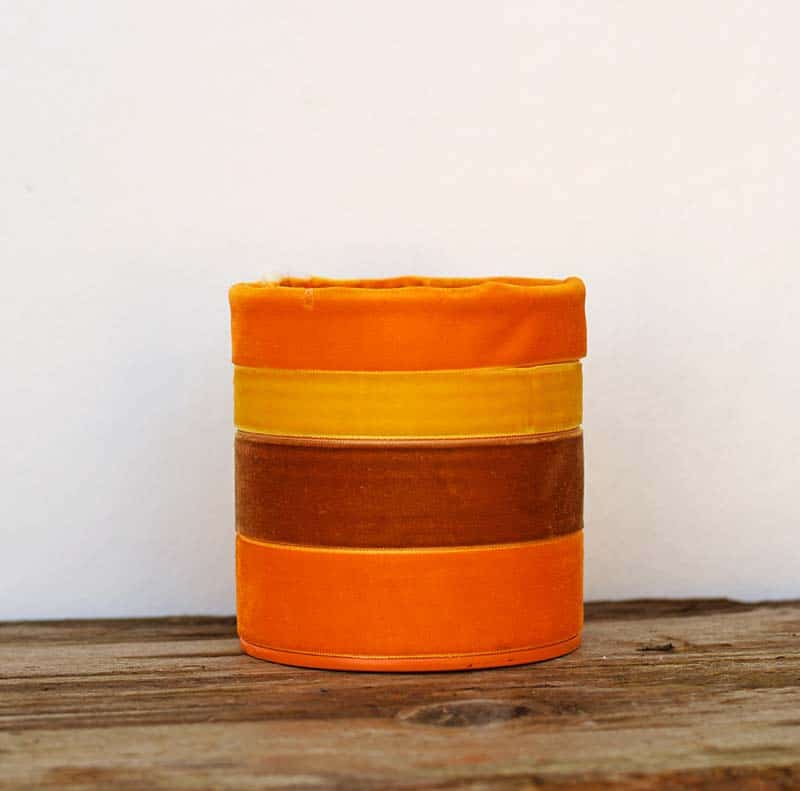
5. If you want to neaten up the back of the upcycled planters where the ribbons join, just glue a strip of ribbon down the length of the tin can. Like I did with the recycled jean planter.
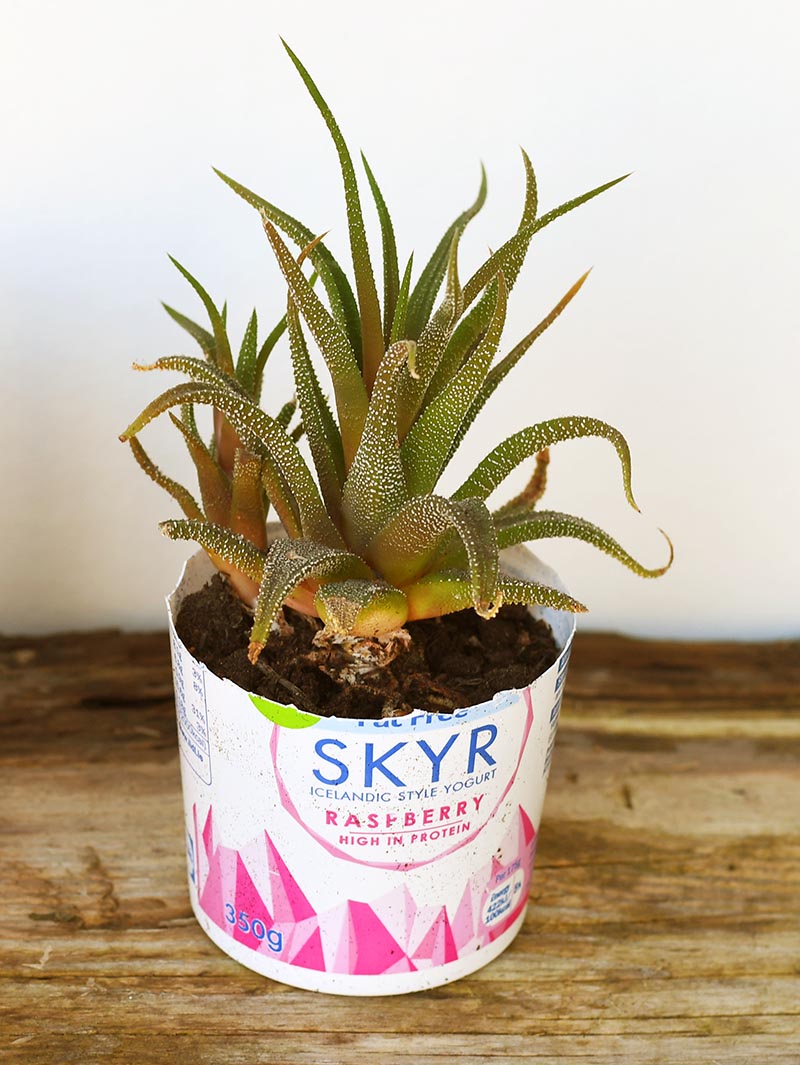
6. To help with drainage I actually plant my indoor plants in a plastic pot with holes in the bottom and then place this inside the velvet tin can. yoghurt pots cut down to size are great for this. A gravel layer in the pot also helps with drainage.
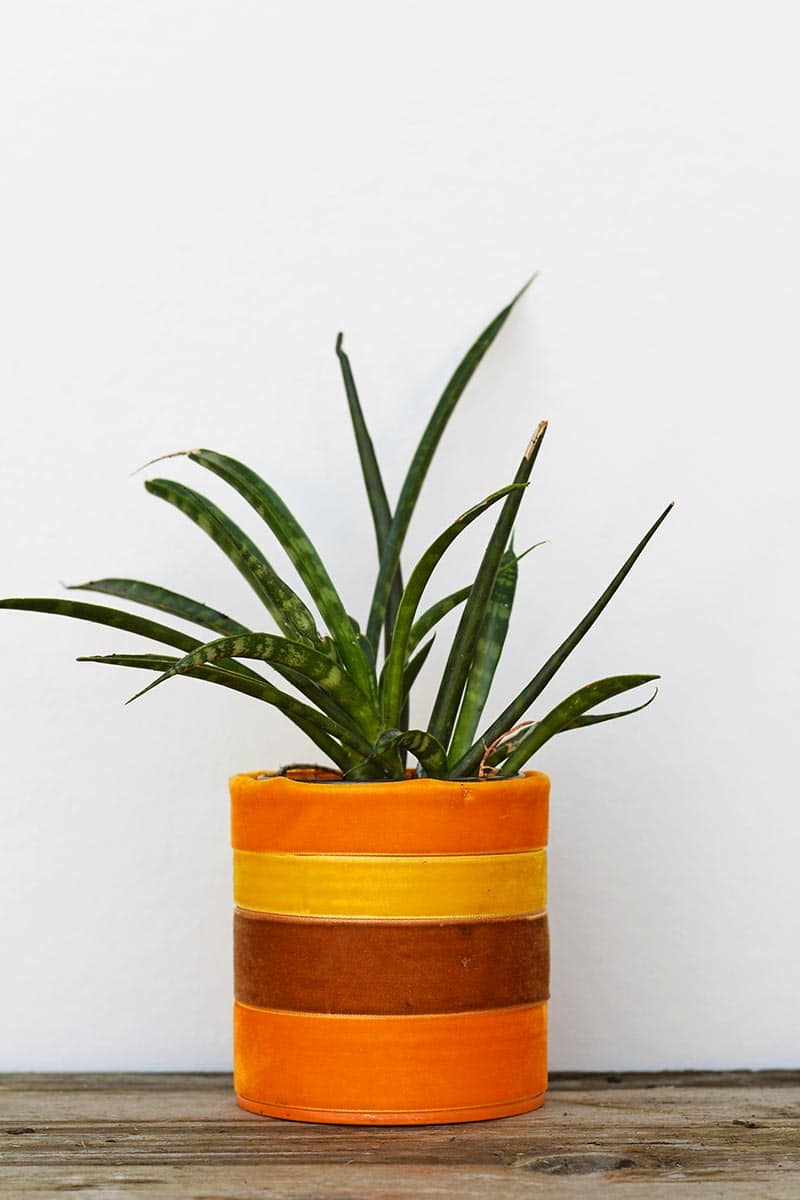
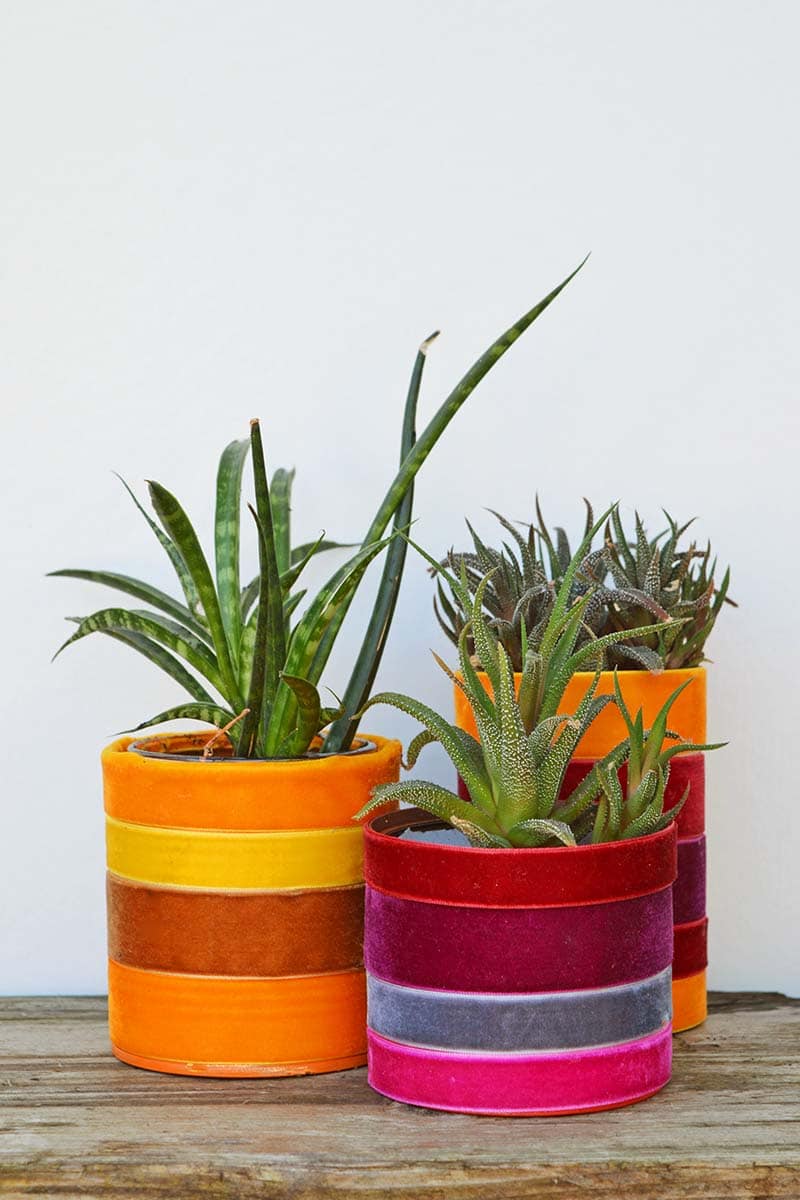
I had fun making these upcycled planters I made them in a variety of colours to match my Harlequin Amazilia velvet curtains. Not only do these upcycled velvet tin cans make great indoor planters they would make great desktop storage pots too.
If you have any scraps of velvet ribbon left you can use them to make some luxury DIY napkin rings.
I've also made a DIY floor pouffe in velvet to match my curtains.
If you liked this post you may want to check out these other indoor planter ideas too.
For more budget-friendly crafts visit Cheapthriftyliving.com
Just lovely, Claire! And such an easy DIY, too! Love me some velvet! Would love to have you at Homestyle Gathering!
Thank you, Julie. Don't worry I will be there!
This looks awesome 🙂 I love decorating planters & I have few tutorials shared on my blog as well.
Thank you so much. I’ll take a look.
I love the velvet ribbon! Thanks for sharing at Vintage Charm!
Thank you, Cecilia.
I love these, so cheerful and pretty.
Amalia
xo
Thank you so much ?
Great color combinations and what a fabulous way to recycle. Thanks for visiting us at Creatively Crafty Link Party #CCBG
Thank you, love those rich colours at the moment.
These are so pretty! The velvet is so rich and vibrant. I love hanging on to cans like this and reusing/upcycling them. Thanks so much for sharing at Sweet Inspiration!
Thank you. I just love the contrast of the humble tin can mixed with luxurious velvet.
My plants will take on a new glow. Thanks for the inspiration
Thank you, I’m sUre they will.
Wow! These planters are oh soooo pretty! Love the colors too. This is going to be my next diy project. Lovely blog you have. Shared! Best.
Thank you so much. I’m pleased you like the blog. Good luck with the planters.
Lovely Recycling Idea. I like the colors combination too. Thank you for inspiration.
Thank you so much. I'm into that colour combination at the moment and have it in my living room.
These are SO fun, Claire! I love the colors and textures of the ribbon...and you can't go wrong with a beautiful (and hearty!) succulent! Thanks for the great idea--and for linking up with us this week! xoxo
Thank you so much. They were fun to make.
And here I was thinking that you could never make a planter that was prettier than the denim ones you made last year. I was soooooo wrong Claire. OMW the velvet just adds a whole new dimension to them. They're gorgeous.
Thank you, Michelle. I do love rich velvets and have been crafting a few things in my home with them.
Super pretty! What happens if the velvet gets wet? Does it need to be sprayed with any protectant? Visiting from Funtastic Friday party.
Thank you. The planters are designed for indoors so shouldn't get wet. If you do splash the velvet whilst watering, it should just dry naturally. You could spray with Scotchgard if you want and then any splashed water would just run off.