
How to Make an Upcycled Window Herb Planter
Upcycle a discarded old window into an attractive garden feature of a wonderful window herb planter.
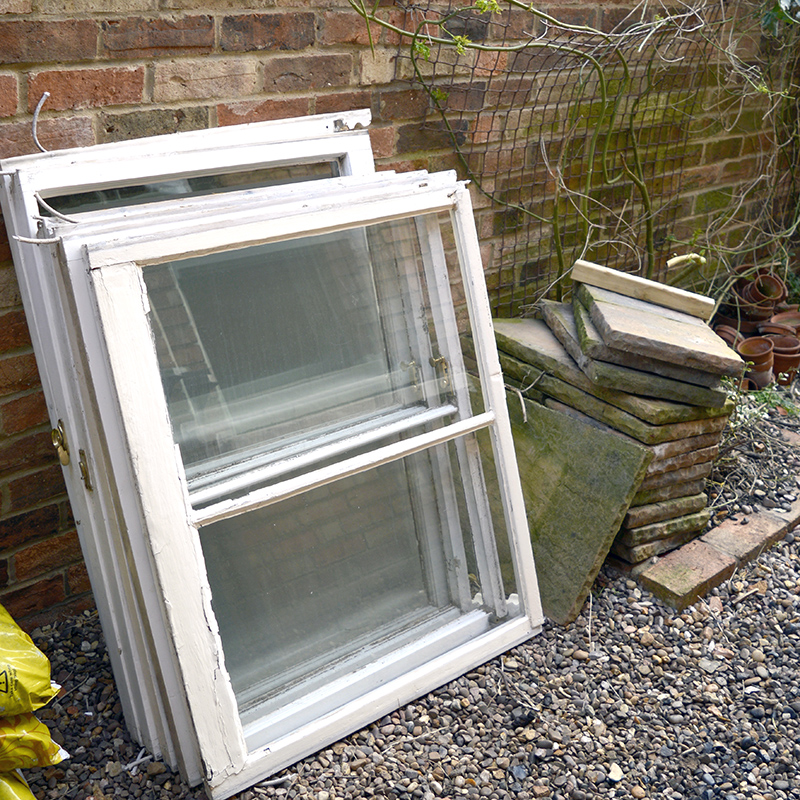
When a good friend recently had new windows, she would discard the hundred-year-old sashes she'd replaced. Luckily I managed to stop her!
A first, Wendy was sceptical about my plans to turn the old windows into a feature for the garden. However, in the end, she was delighted with the result. She said it was one of her favourite upcycles.
Not only does it look good, but it's practical too. The upcycled window herb planter looks fantastic. I now have a little herb garden.
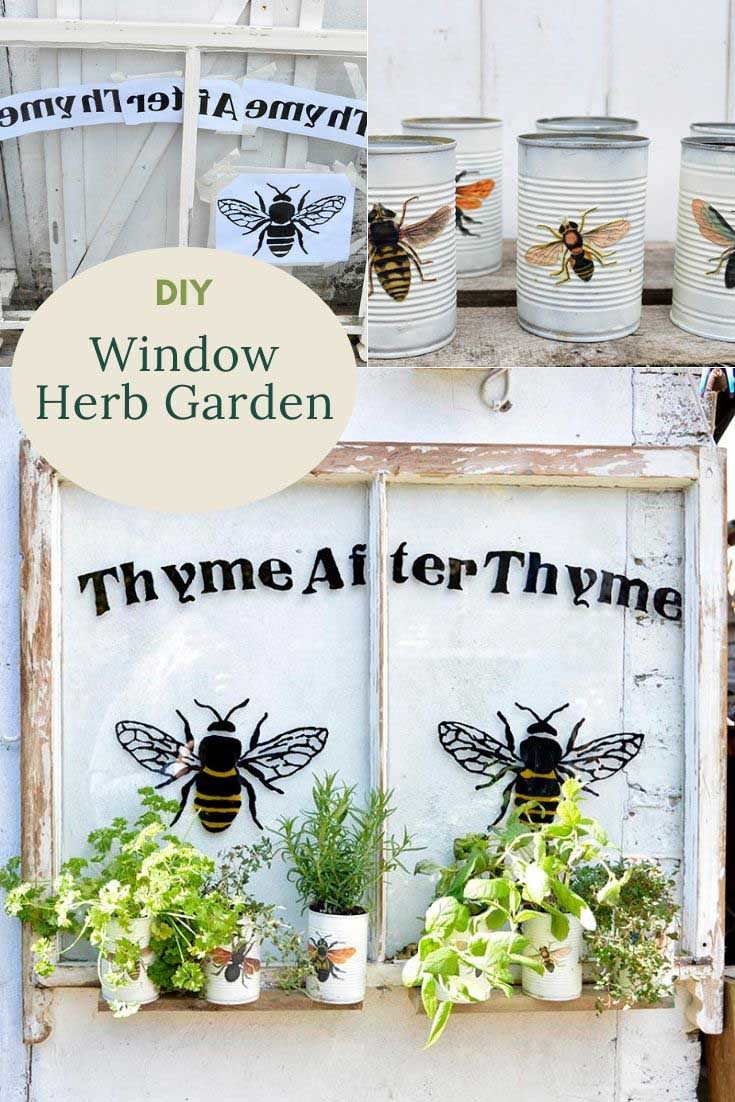
DIY Upcycled Window and Tin Cans Herb Planter
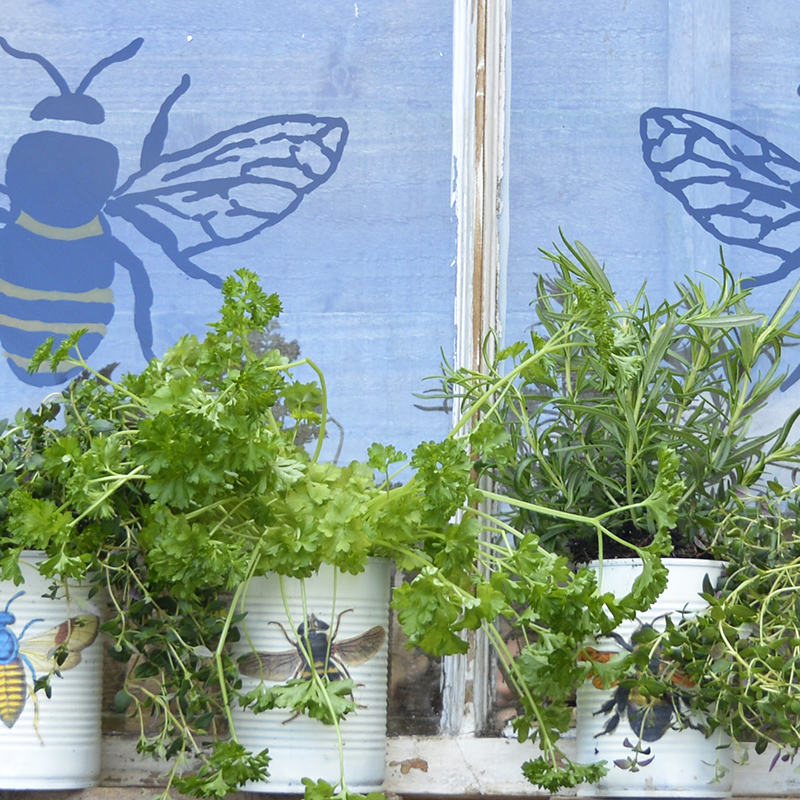
The herbs are in a handy portable upcycled tin can planters. These can be easily taken into the kitchen when needed.
I used tin cans as planters, as I had great success with them with the rainbow planter I made last summer.
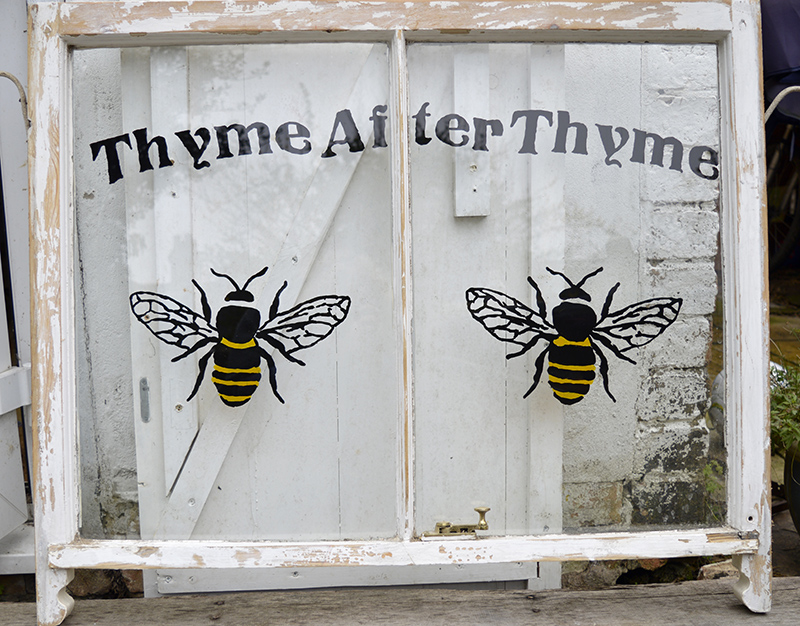
I can't resist a pun especially when it comes to song lyrics (see Sit Down cushion), so that's why I went for one of my favourite 80's classics Cyndi Lauper's "Time After Time" for my window sign.
This is a free tutorial and template. The sign was hand-painted without a stencil, so no specialist stencil printer was needed, just a normal printer.
It is a double upcycle as two things were repurposed, old windows and some tin cans. This project was featured in the alphabet of clever upcycling ideas.
We're a participant in the Amazon Services LLC Associates Program, an affiliate advertising program designed to provide a means for us to earn fees by linking to Amazon.com and affiliated sites. As an Amazon Associate, I earn from qualifying purchases.
What you need to make an upcycled window herb planter
- Old window - Any old wooden window would do. Just keep an eye out for skips or for anyone with new windows. Most people will happily give you their old windows for free. It saves them from having to make a trip to the dump.
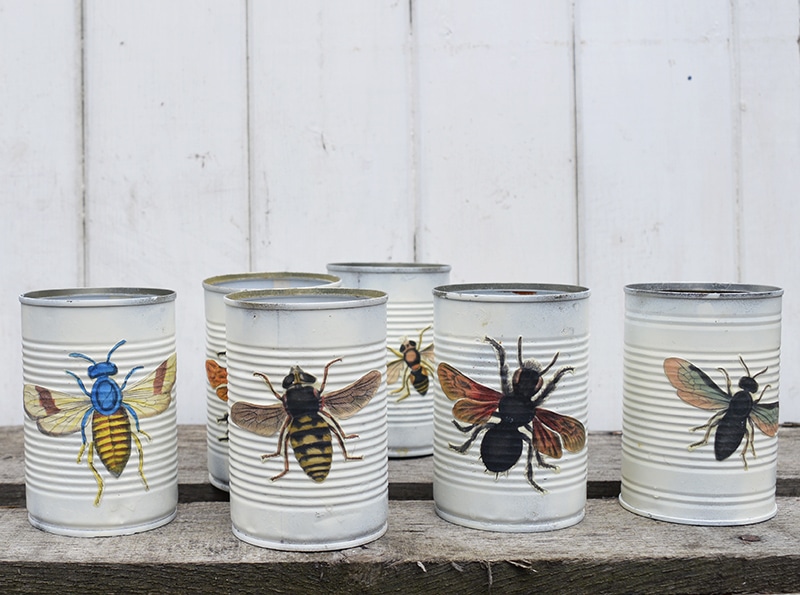
- Tin cans - I used six standard-sized tin cans for my window herb planter.
- Cream spray paint for the cans.
- Cavallini vintage insect wrapping paper for my images. There are some free dragonfly images here that would work well too.
- An old piece of pallet wood to make a window shelf.
- Six strong magnets (optional).
- Scissors, glue, spray varnish, hammer, nails, and a drill.
- Bee and sign template, which you can download here: Bee Template & Thyme Sign Template.
- Paints suitable for painting on glass and brushes. I used just two colours black and yellow.

How to make your upcycled window herb planter
PART ONE: Painting the Window
Step 1: Even though the sash windows were over 100 years old, they were still in remarkably good nick. They had been well looked after.
I prefer the more rustic look. I scuffed the window frames with a hot air gun and scraper. Then followed by a coating of dark wax.
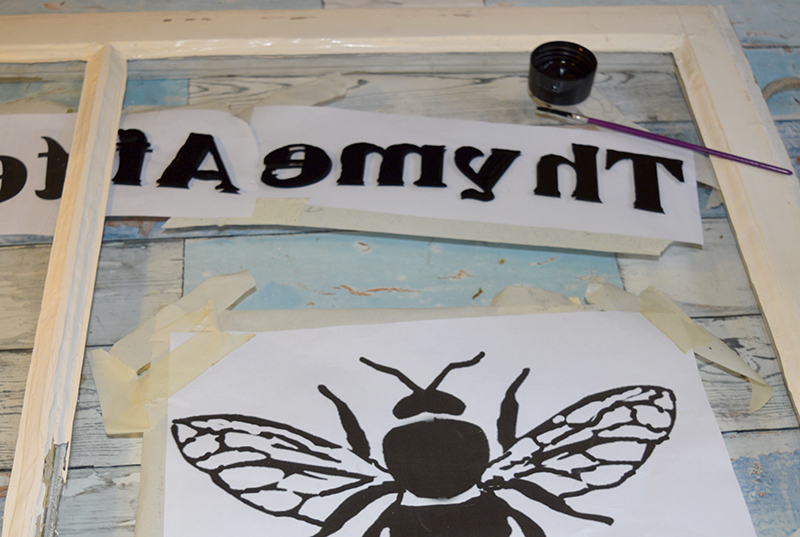
Step 2: Print the bee and word templates for the stencils (see above for pdf downloads). I painted them on the back of the window. This means that the images need to be printed as mirror images. Especially the text "Thyme after Thyme".
If you go into the advanced menu in your printer software, there will be a tick box to choose mirror image printing.
Step 3: Next, ensure the glass panes are clean and dust free. Then tape the printed stencils to the front of your windows so you can see the words on the back.
I wanted to paint the back of the window. It took me a while to work out where I placed my templates (I'm not very good at working back to front).
You don't have to paint on the back. Painting on the front would be easier, but you won't get such a smooth finish.
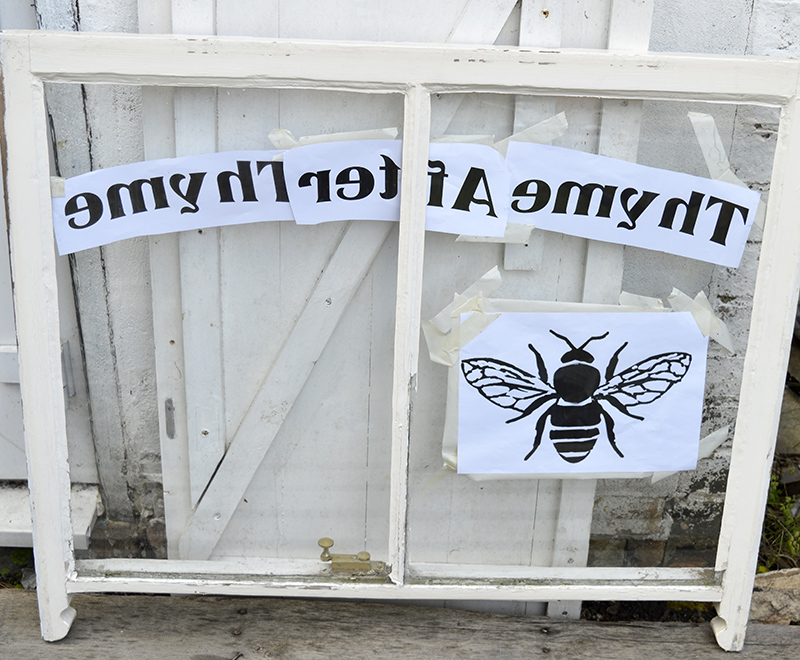
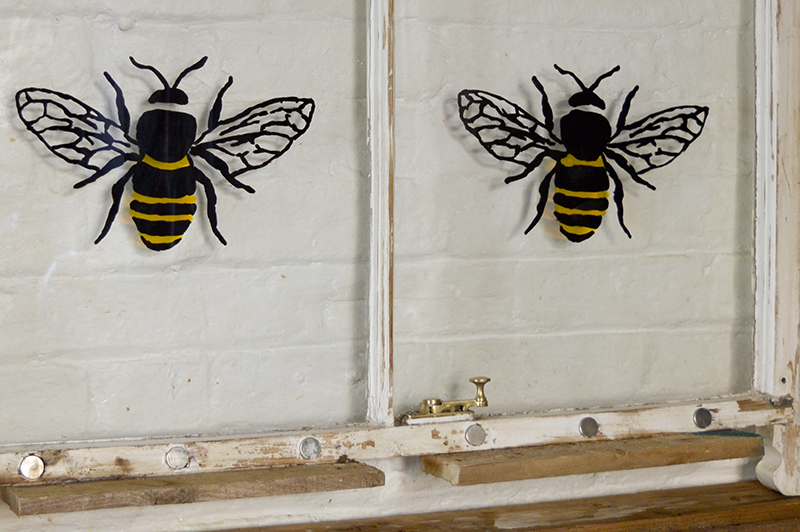
Step 4: Using the printed template as a guide, I just painted over the words and bee on the glass pane. I used specialist glass paints. You can use acrylic paints, but I don't think they give as nice a finish and will probably need a sealant on top.
Only two colours of paint were needed, black and yellow.
PART TWO: Making the tin can herb planters
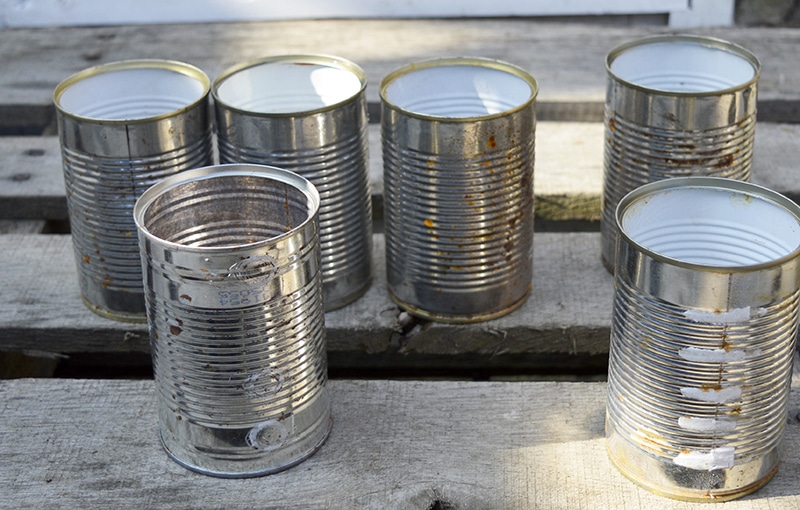
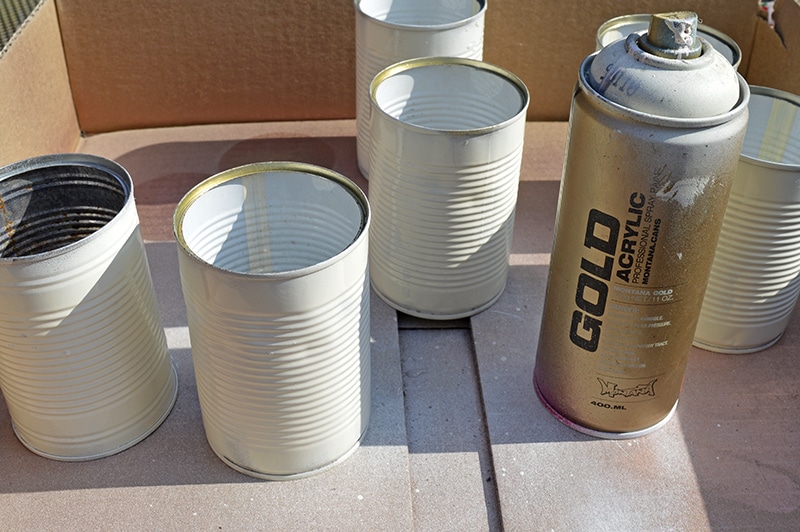
Step 1: First, spray paint the tin can planters a creamy off-white. One coat will do.
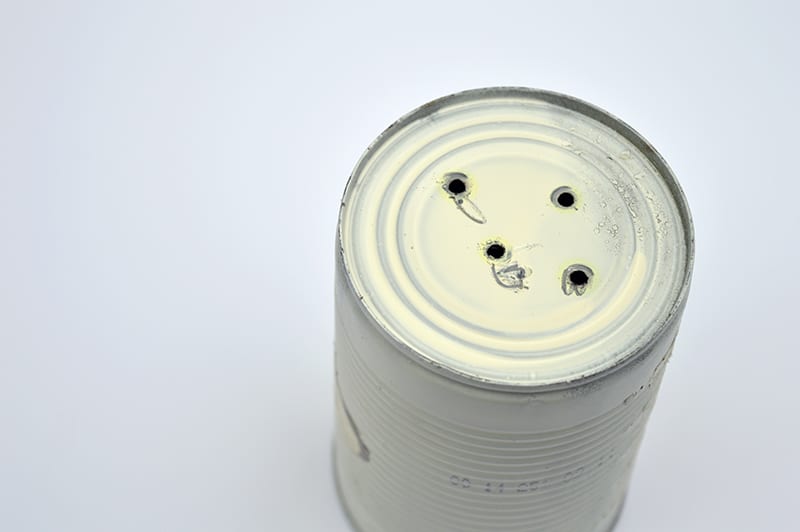
Step 2: Next, drill four small holes in the base of the cans. These holes are to allow for water drainage.
Step 3: Carefully cut out six insects from your wrapping paper. You can allow for a small border around the legs. The background of the wrapping paper should blend in with the tins.
There are hundreds of free vintage natural history images here that can be used to decorate your tin cans.
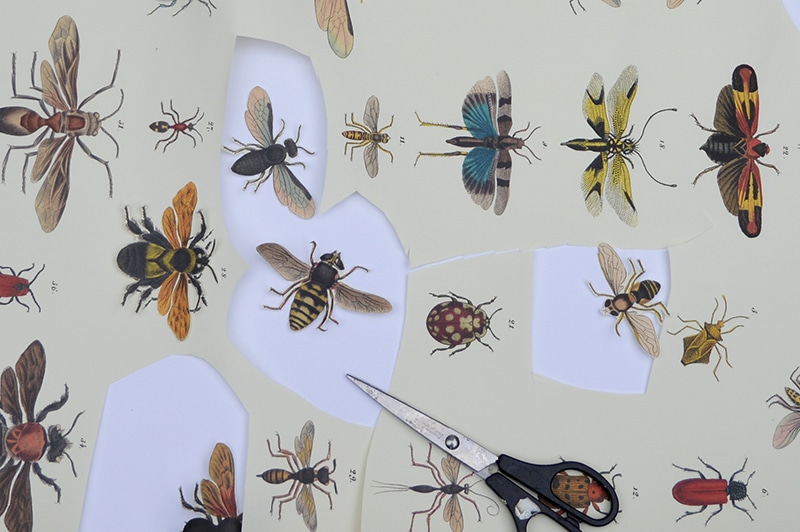
Step 4: Stick one paper insect to the front of each can using PVA or mod podge glue.
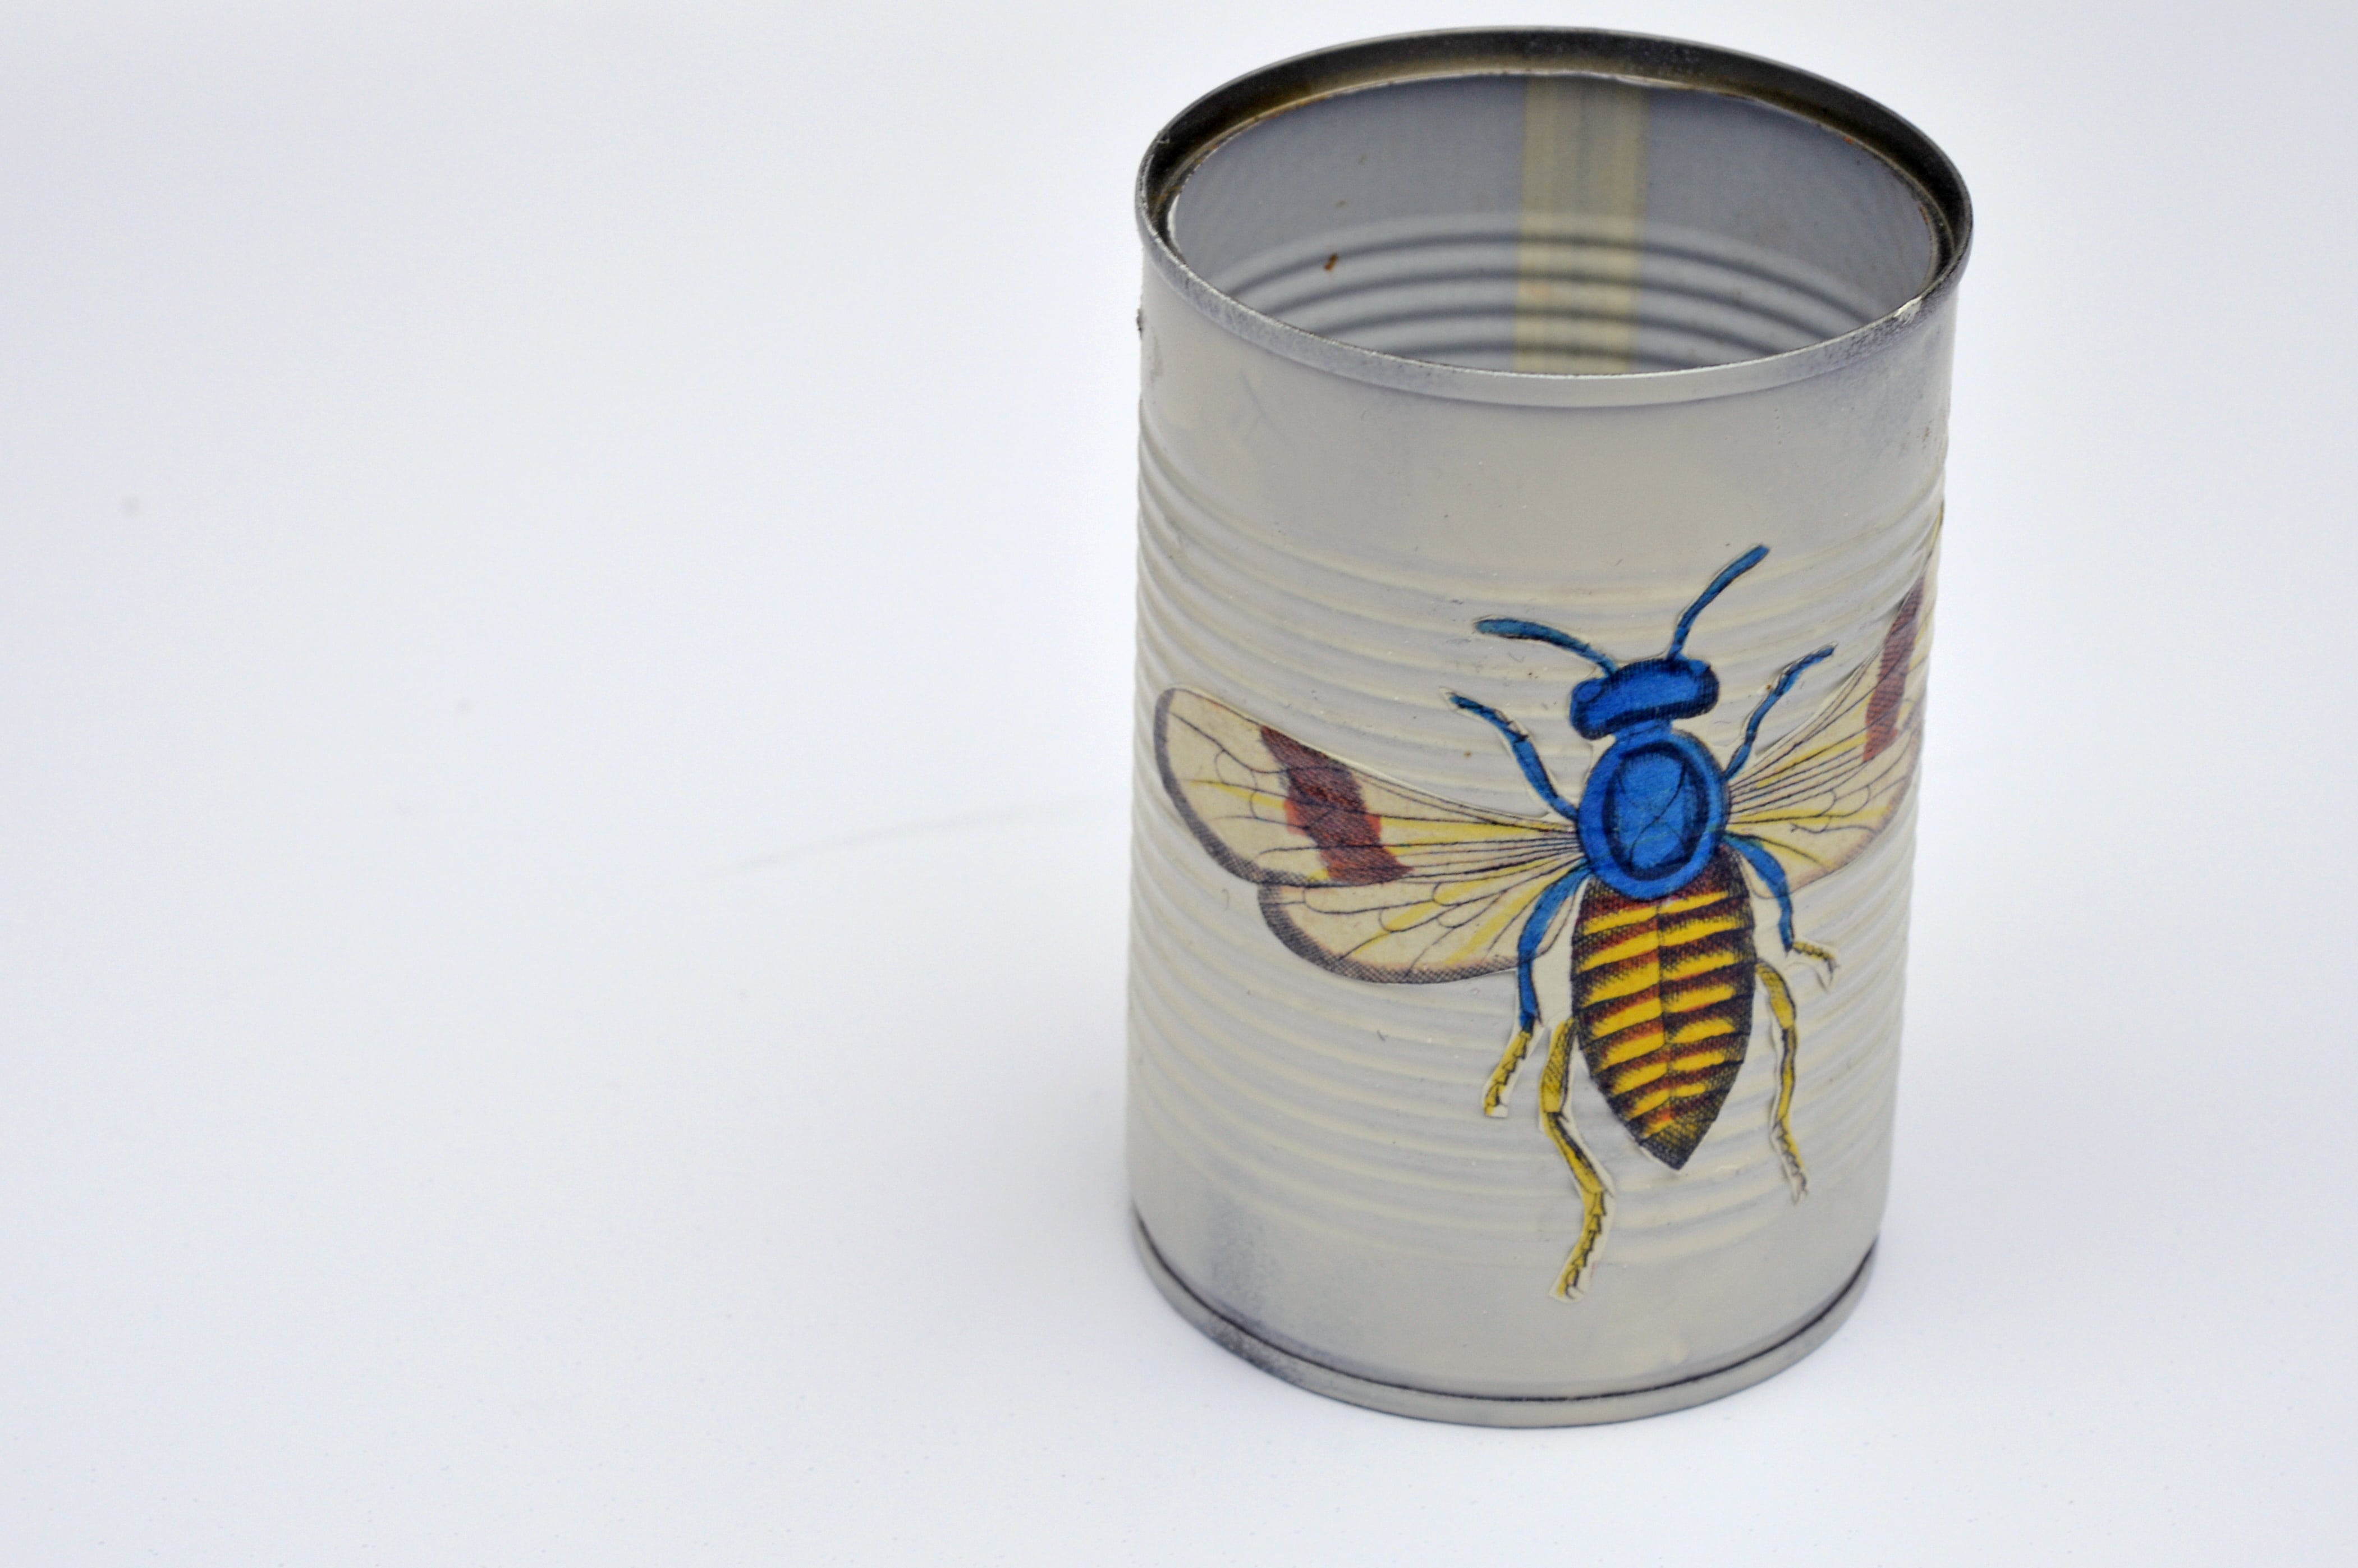
Step 5: Then seal the outside of the cans by covering them in an outdoor Mod Podge. They can also be sealed by spraying them with an acrylic varnish instead.
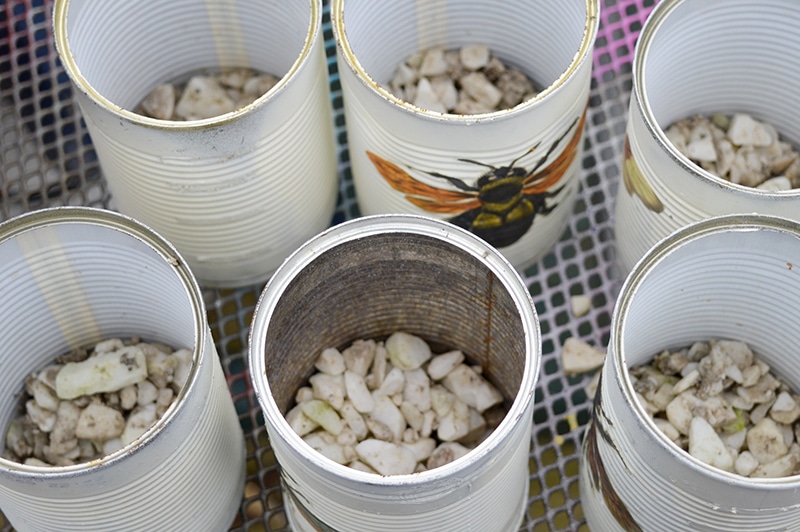
Step 6: Next, prepare the tin cans for the herbs. Place some gravel in the bottom of the cans. This is to provide a drainage layer before adding your soil and herbs.
PART THREE: Attach your herb planters to the window.
Originally, I thought I would attach the tin can planters to the window using magnets. I stuck six strong magnets to the bottom of the window frame. These magnets worked brilliantly with empty cans. However, when the cans were full of gravel and soil, they became too heavy and slipped down the magnets.
To solve this problem, I just got a bit of old pallet wood and screwed it to the underside of the bottom of the window frame to create a little ledge to help support the tins.
If you use super-strong magnets, you may not need the ledge. You could use the ledge without magnets, but the magnets keep the herbs tins in place. They stop them from being blown off on windy days.
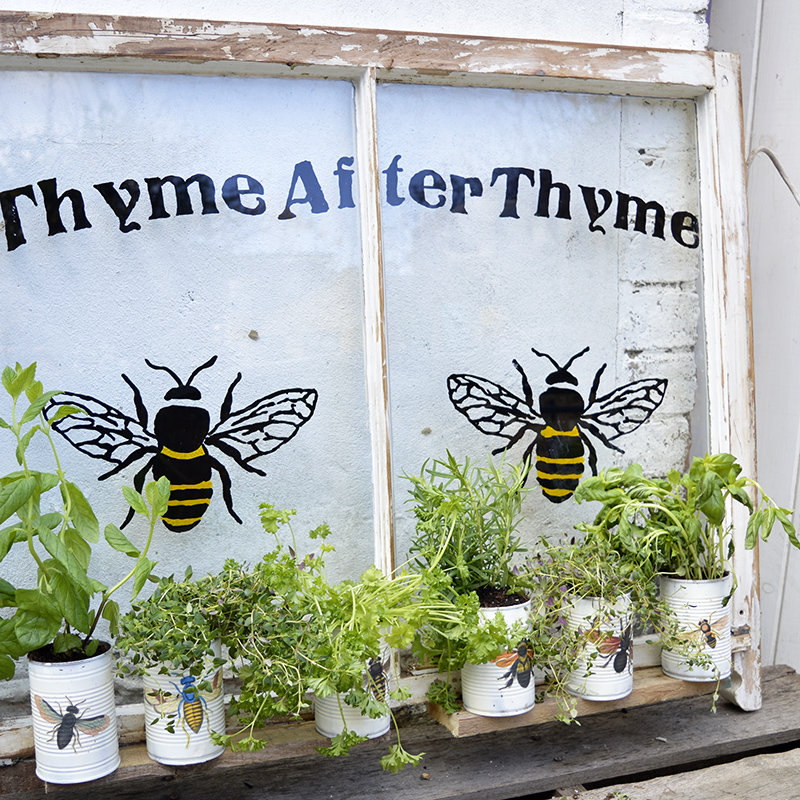
As originally, this was a sash window, I just replaced the existing sash cord with some new sash cord and used this to hang my window to the wall.
More Upcycled Ideas
China plates can also be upcycled with paint like these doily painted plates.
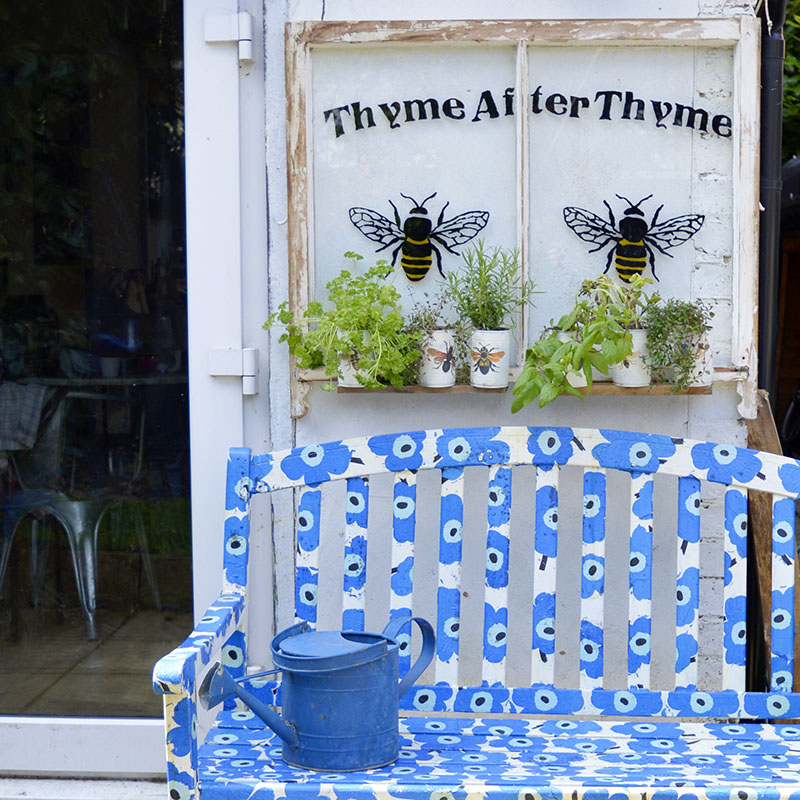
You can find the tutorial for the Marimekko bench upcycle in the photo above here.
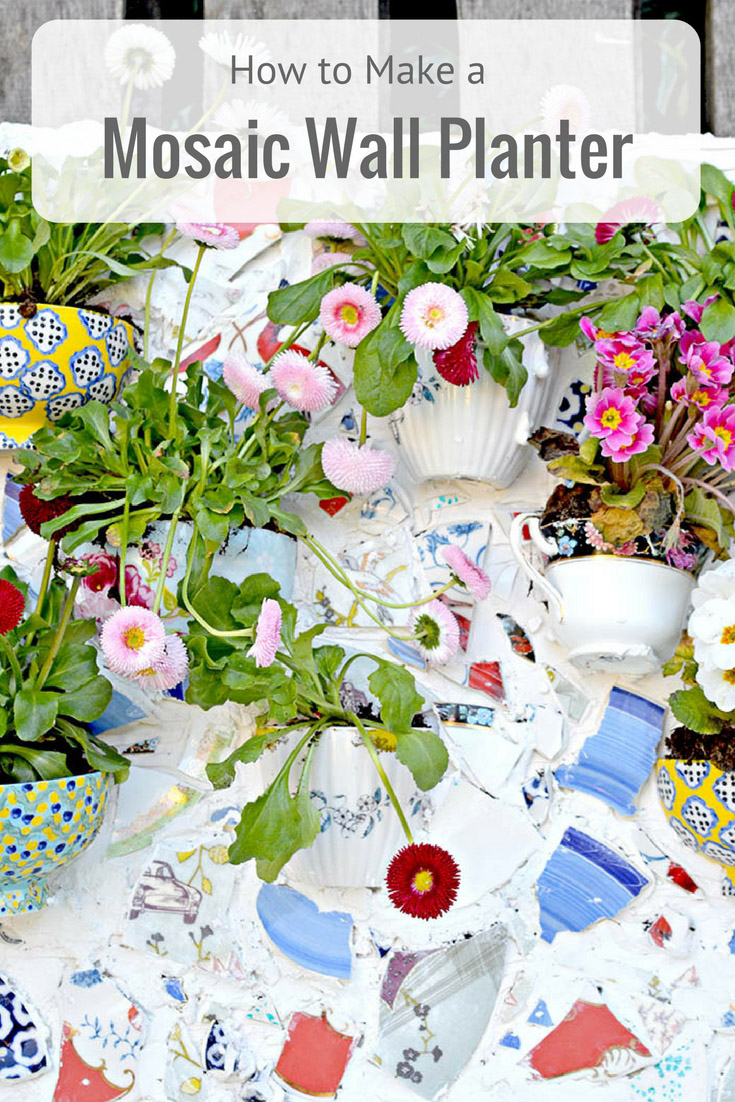
If you are looking for other planter ideas you should check out the mosaic wall planter I made from broken crockery or the Morrocaan pallet wall garden.
Alternatively, you can decoupage the tin cans with paper napkins, as I did with these decorative Marimekko planters. You'll find many more tin can crafts here.
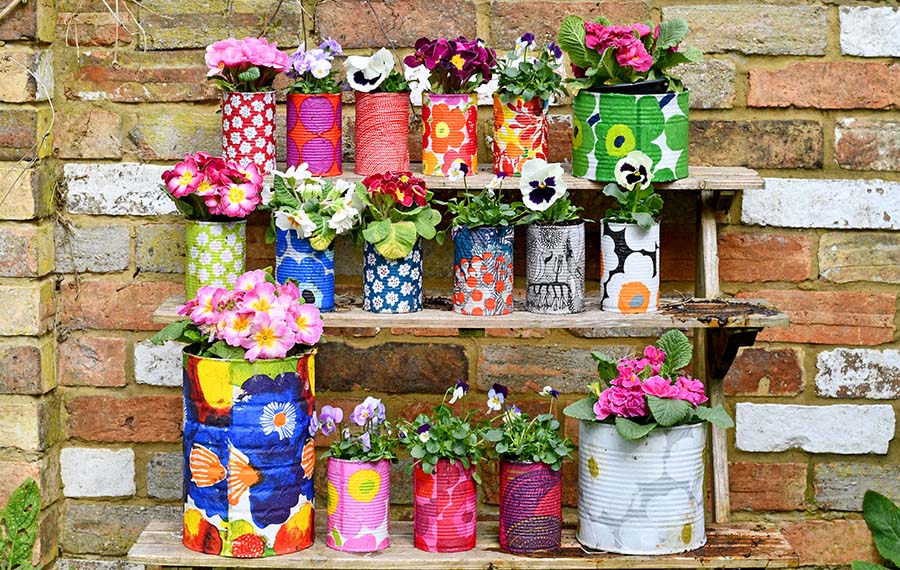
You could of course plant flowers instead of herbs in your tin cans. I'm sure there are loads of good songs with flowers in the title!
Other herb garden song pun suggestions are:
"I had the thyme of my life" - For the Dirty Dancing fans,
"Parsley, Sage, Rosemary and Thyme"
"Good Thymes"
I'm sure you can think of better ones, I'd love to hear them.
Since making this window herb planter, I have upcycled another two of the windows. One I repurposed into a cool Happy Hour cocktail window for the garden. The other I made it into a vintage mirror Christmas decoration for my mantle.
Other Upcycled Herb Planters
I love my fresh herbs and I have also made upcycled herb planters for indoors.
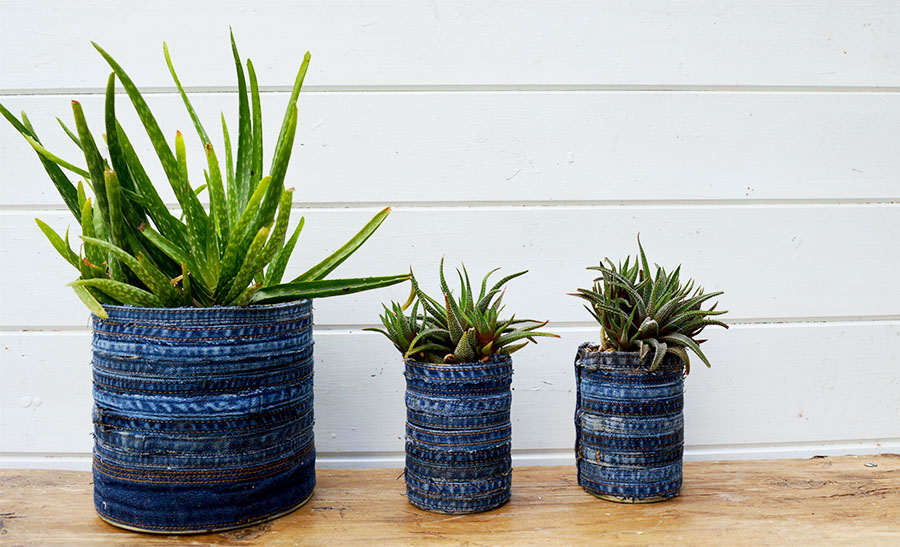
These are handy for the winter months when it is too wet and cold for the herbs outside. I've made a hanging indoor planter out of denim and also some cute upcycled Marimekko planters.
You can find many more clever garden upcycling ideas here.

Only Thyme Will Tell
Once upon a Thyme
Thyme Moves On
The Hands Of Thyme
What Thyme is it?
It's not your Thyme
It's not Thyme yet
What Thyme is Supper?
No Thyme like the Present
It's My Thyme
Thank you great suggestions, I like Once upon a Thyme best I think ?
There is also the line from the Byrds Turn, Turn, Turn. A thyme for all season(ings)
Thank you for that suggestion.
What is a skip? You frequently say you find something at a skip. I'm not familiar with that term. Love this project and all your planting projects. Keep them coming ?
Sorry, a skip is an English term for a dumpster. Thank you!
With using old Windows doesn't the lead paint concern you? You said over 100 years so they are most likely lead paint. The paint will chip and flake and contaminate your herbs. I have lead paint siding which is why I only grow flowers near my house because the ground is contaminated every time the paint chips.
Just because the windows where 100years old it doesn't necessarily mean that the paint is that old to. These windows had been sanded and painted a few times in their lifetime. However, you are right in that whenever using anything with old paint you should consider whether or not it's lead paint.
Thanks for linking up with Be Clean Be Green With Kids this week. What a great idea. I am pretty sure I have all the materials on hand, including the window - ah - from some renovations we did several months ago. Pinning this for later. Hope to see you back this week. 🙂
http://www.honestlymodern.com/category/blog-101/be-clean-be-green-with-kids-link-up/
Thank you! That's great you kept the windows.
Claire I'm crazy about these bug prints! I still haven't recovered from the red cabinet yet and now you've made this gorgeous herb garden I'm just flipping out about it like a frickin drama queen! I love love love all your bug stuff. xx
Thank you so much, Cavallini do a couple of bug papers you should check them out.
This is fab, now I just need a friend who is replacing some beautiful old windows! I love the idea that you can bring the tins with the herbs indoors with you.
Thanks Julie, it is handy it hangs on the wall outside my kitchen.
Hi Claire, just to let you know your fab planter is one of the features at this weeks Handmade Monday - congrats.
That's awesome thank you I look forward to seeing it.
This is beautiful Spring project. The tutorial breaks it down into manageable steps. Pinning for future reference. Love it!
Thank you Leanna, it sits outside my kitchen window full of herbs for cooking.