
How to Paint A Wooden Box with a Splash of Colour and Abstract Design!
Create a splash of colour in your kitchen. Using the squeegee method, learn how to paint a wooden box with an abstract design.
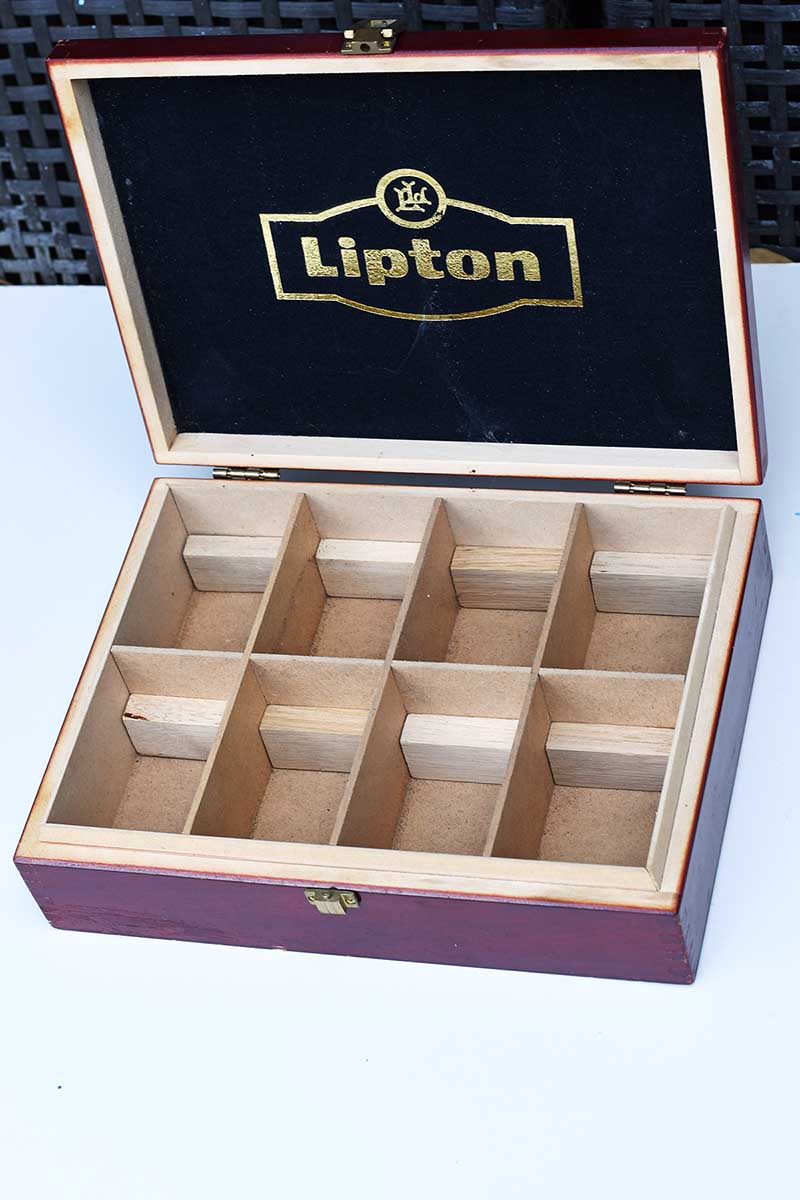
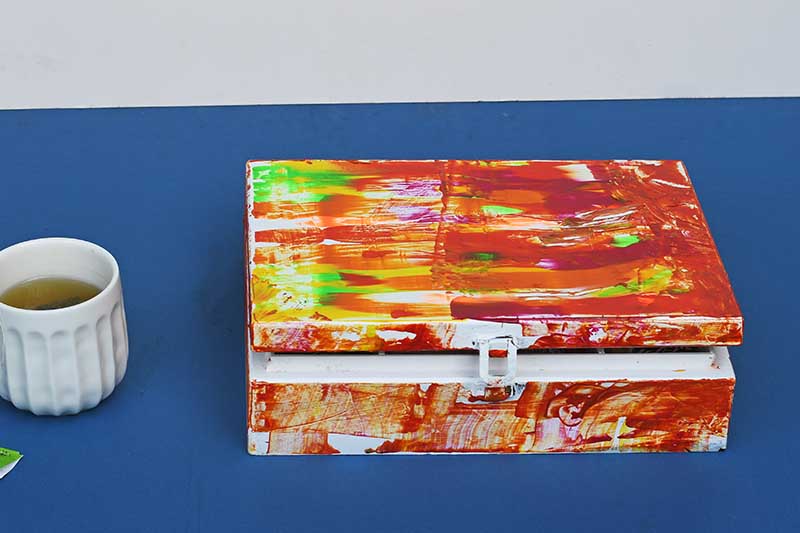
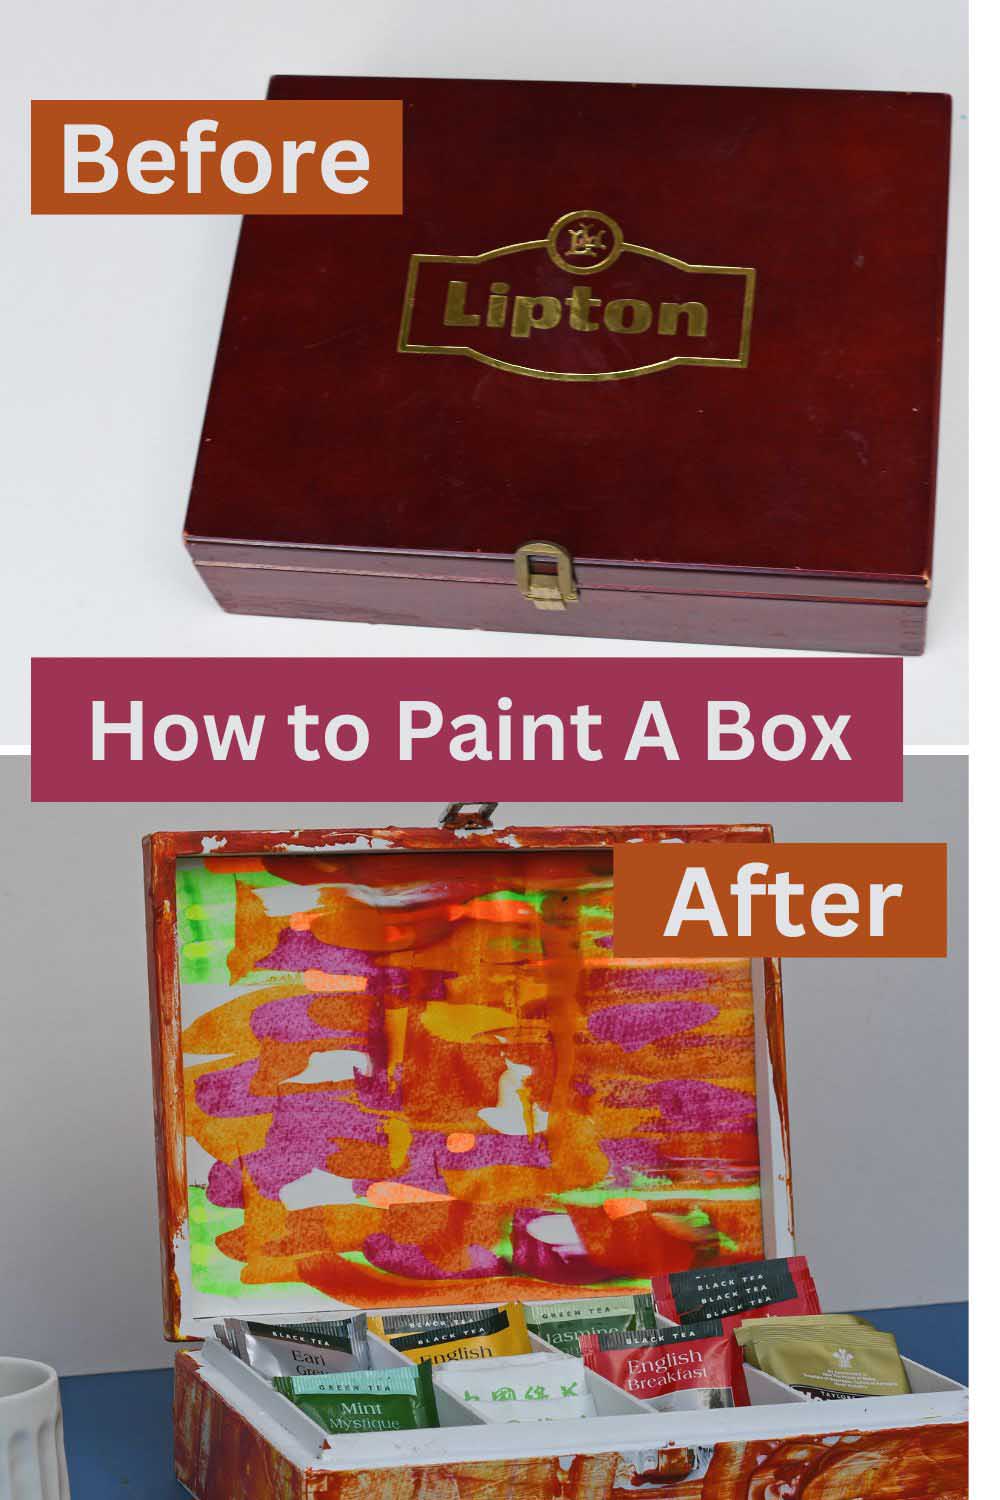
It may be a cultural stereotype, but I like a good cuppa tea as Brit. One of the focal points in the kitchen next to the kettle is my rather dull, wooden tea box. It was practical, sure, but it lacked that spark of personality that everything else in my lively kitchen.
Now, I thought, wouldn't it be fun to give this handy tea organizer box a bit of a makeover? So, armed with my squeegee, chalk paint, and vibrant acrylics, I transformed the humble wooden box.
Brits are rather tea-mad, and I'm no exception! Each of my sons was born in NHS hospitals, and right after holding my newborn, guess what came next? A cup of tea. They are the best ones I've ever had.
Anyone who graces our doorstep - plumbers, decorators, repairmen - is offered a brew. Even our politicians hand out tea when under siege by the media!
And there's moving day. Amid the commotion, one thing remains a top priority - the kettle. Our first mission in a new home? Brew up and hand out cups of tea to those hard-working removal men.
Tea isn't just a drink for us Brits - it's a way of life.
How To Paint A Wooden Box
When the idea to jazz up my wooden tea box popped into my head, a veritable whirlwind of decorative possibilities started spinning about (I've jotted these down for you at the end).
But in the end, I settled on a colourful abstract design. And the most straightforward, fun way to achieve this is with a squeegee.
We're a participant in the Amazon Services LLC Associates Program, an affiliate advertising program designed to provide a means for us to earn fees by linking to Amazon.com and affiliated sites. As an Amazon Associate, I earn from qualifying purchases.
What You Need
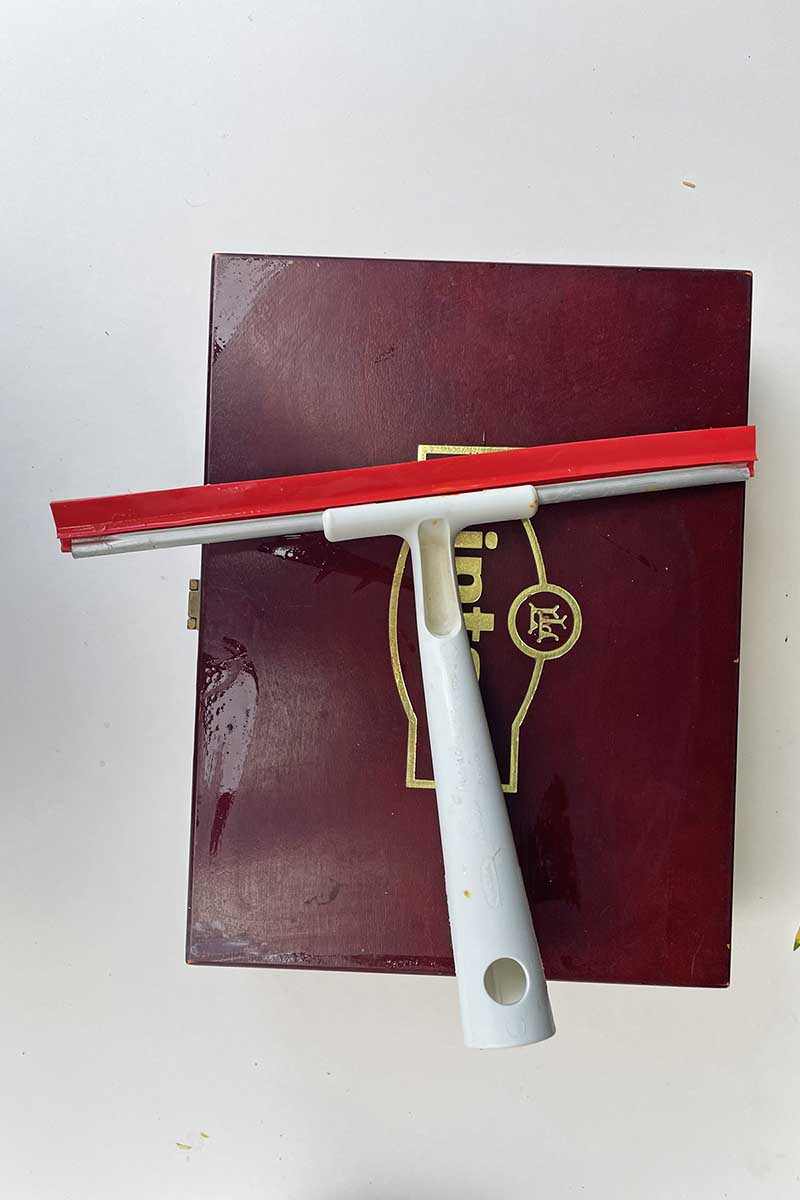
- A box to paint - This doesn't need to be a tea box; you can use this method on any box with a flat lid. I picked my tea organizer box up years ago from a thrift store.
- White chalk paint to use as a primer
- Paper for practising on.
- Acrylic craft paints in a variety of colours
- If you don't have a window-cleaning squeegee or a plastic ruler.
- Crystal clear acrylic varnish
Preparing the Wooden Tea Box
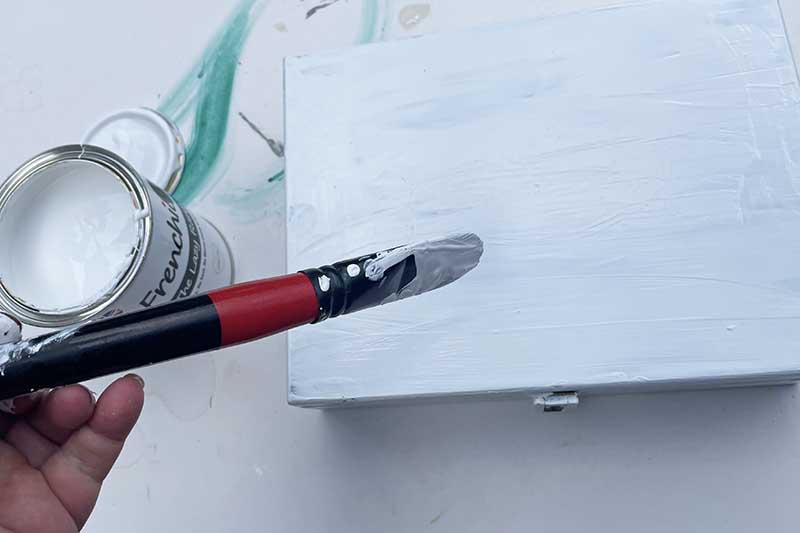
Step 1: I needed a blank canvas before embarking on my colourful abstract adventure. That's where chalk paint stepped in. Not only did it create a lovely white base for my design, but it also skipped the tedious sanding step!
With a quick clean and a coat of white chalk paint, my tea box was primed and ready to transform into an explosion of colour.
How To Abstract Paint With A Squeegee
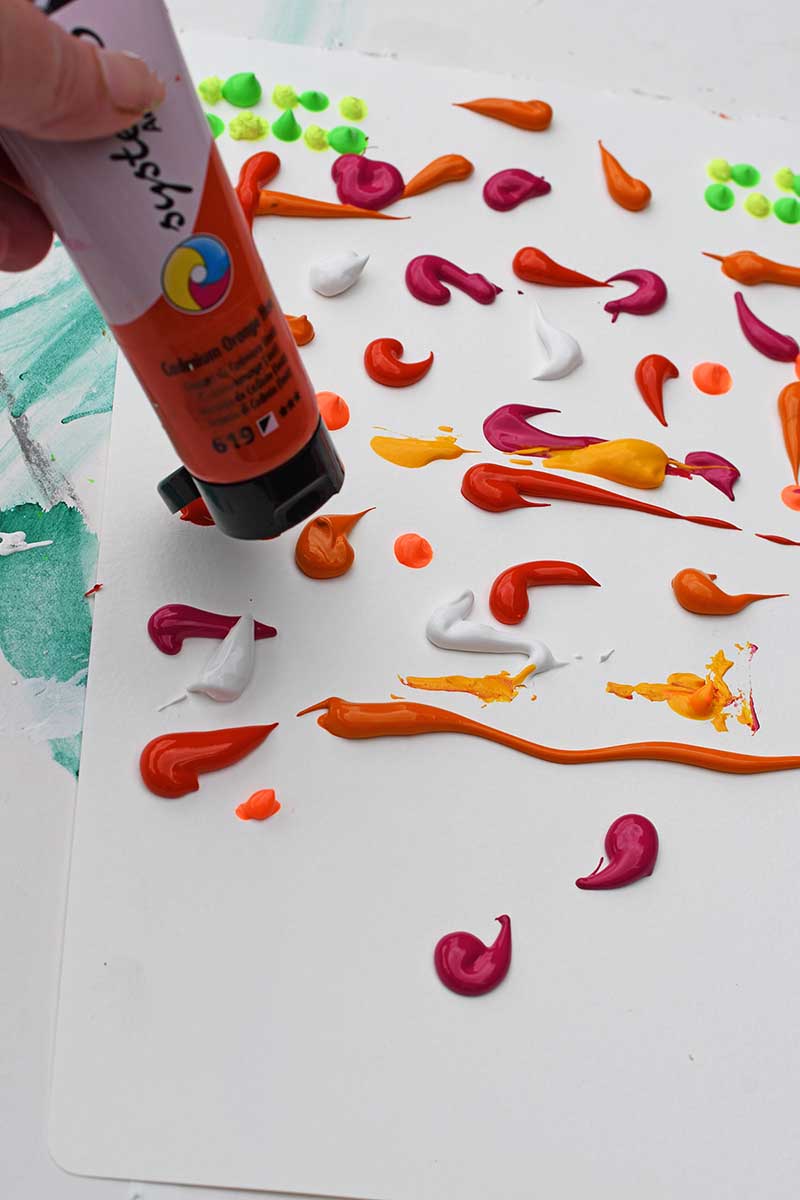
Before you get stuck into painting your tea box, give it a whirl on some paper first. A few practice runs can help you suss out the colours and designs you fancy for the final masterpiece.
Don't toss those trial sheets; they make for dashing decor inside your tea organizer!
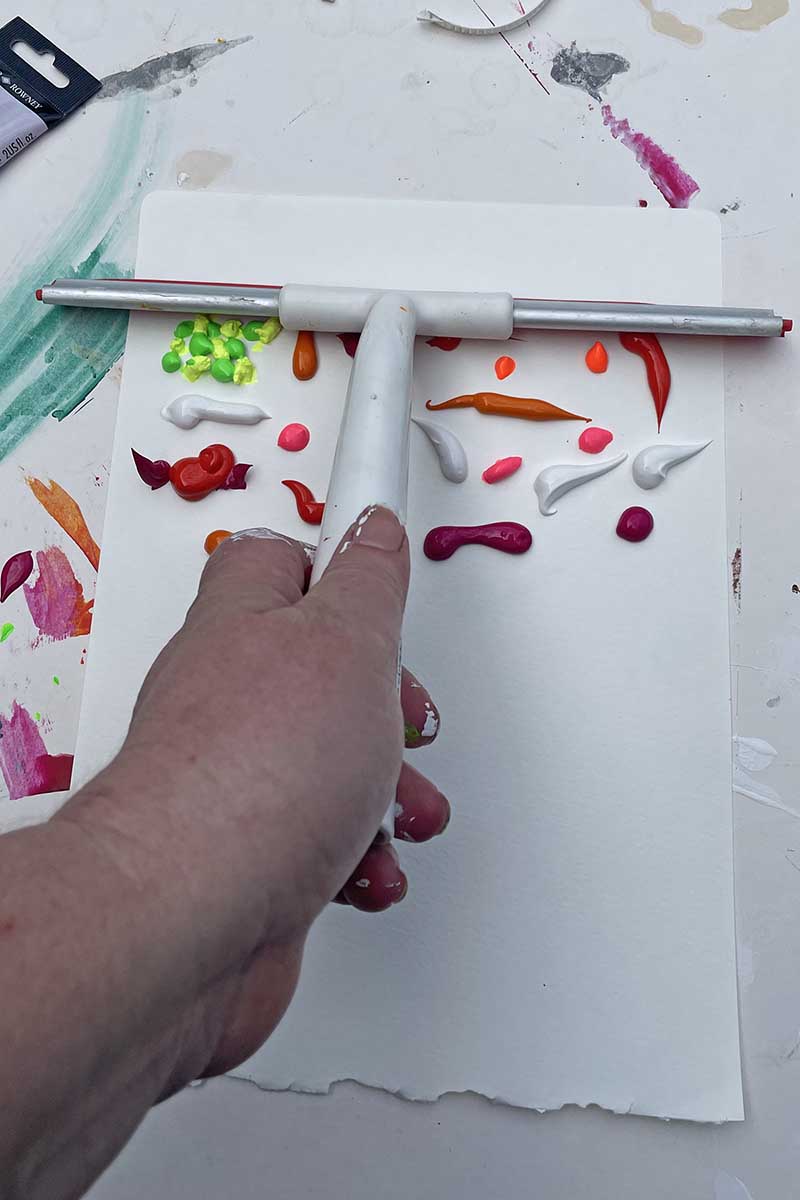
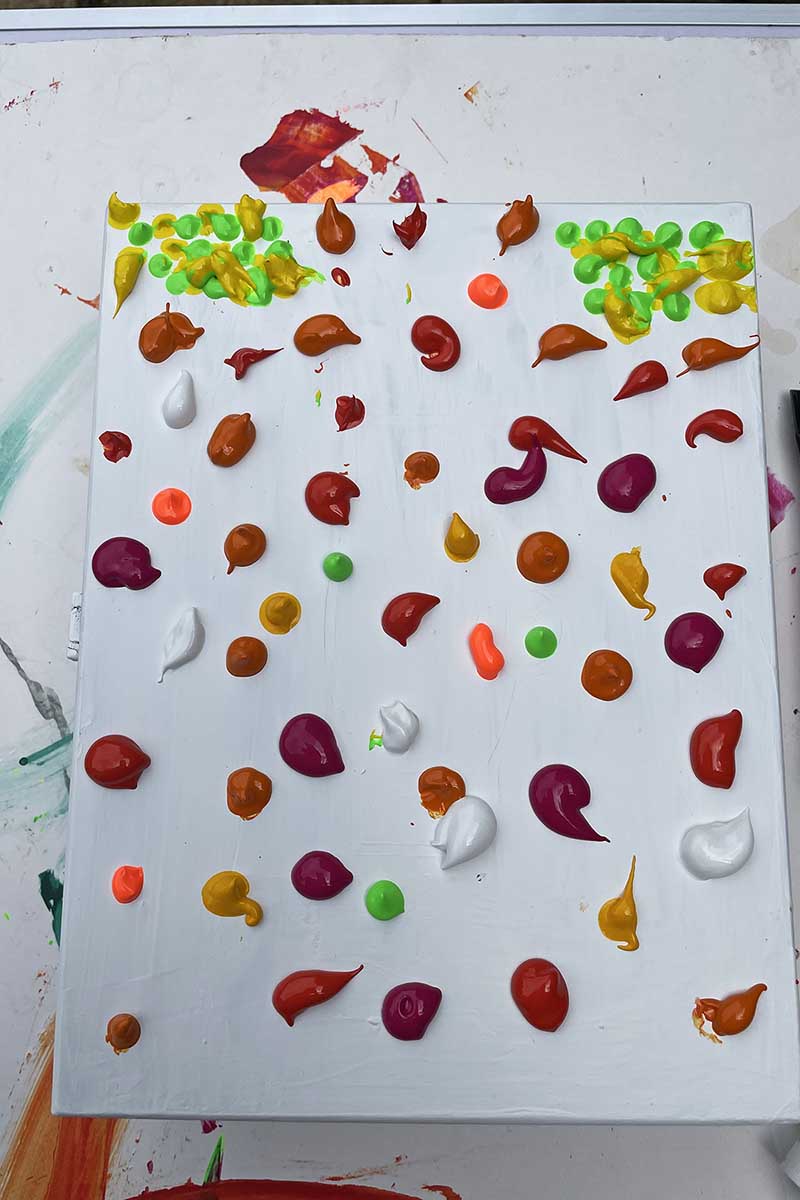
Step 2: Think of a squeegee as a flexible blade to spread and blend paint on a surface. You start by plopping blobs of our favourite acrylic paints onto the surface. No rules; pick what tickles your fancy.
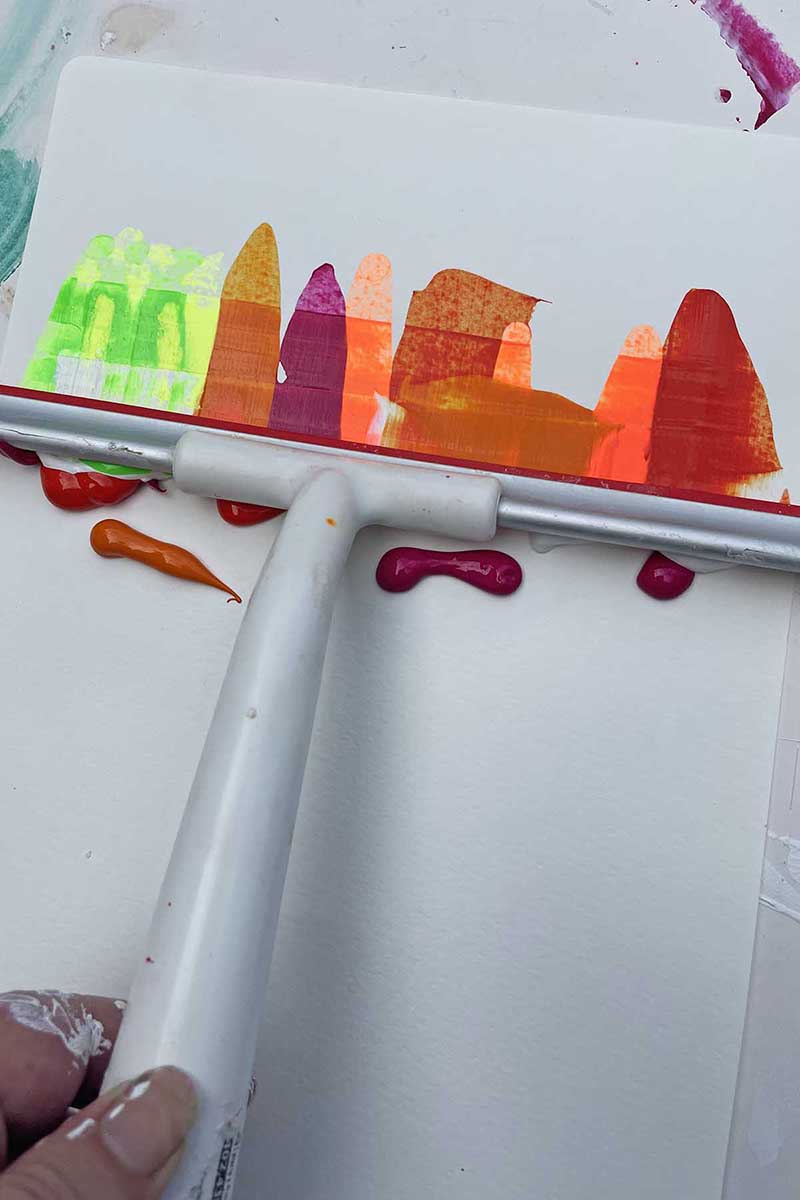
Step 3: Then, it's showtime! Place your squeegee on the top of the paper. Slowly but firmly pull it across the paper, letting it mix and swirl the paint into one-of-a-kind patterns.
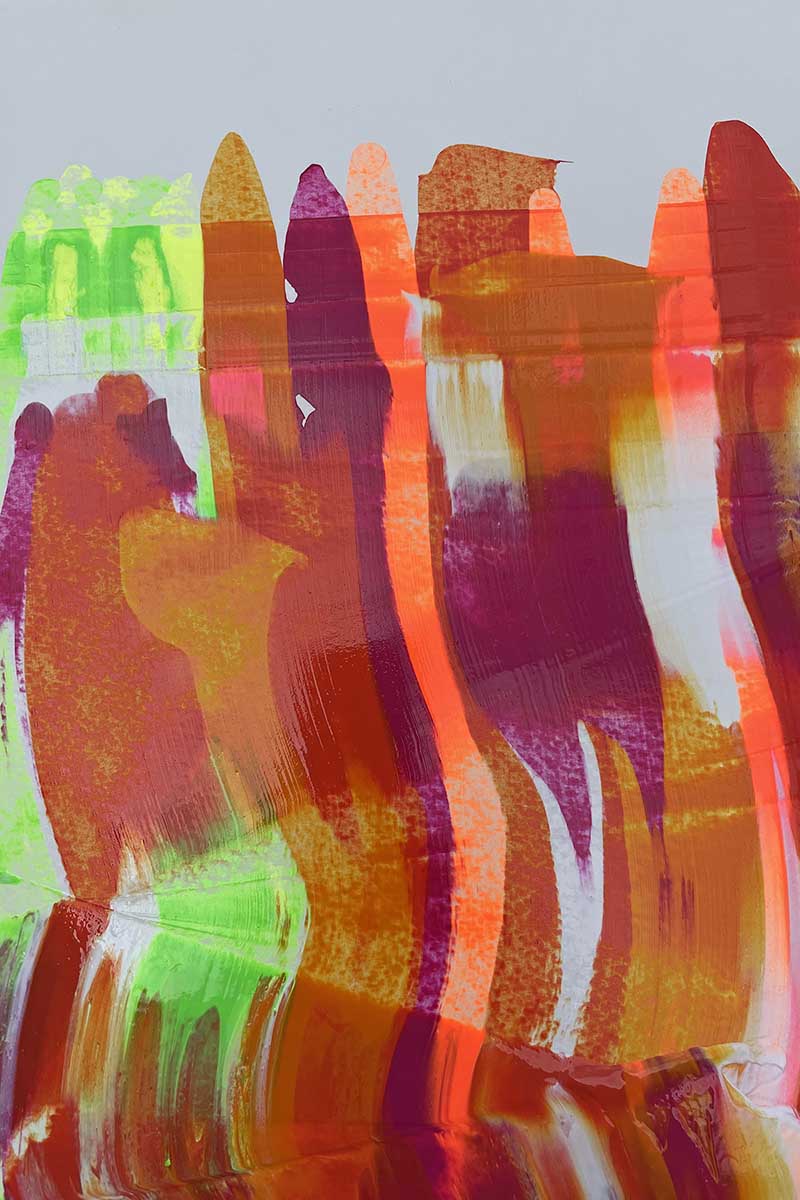
This is where the magic happens, as you'll see marbling effects and gradients appearing out of the blue.
Step 4: The surprise is you won't know exactly how your colours will dance together. Practice a couple of times with different colour paint patterns and work out the best pressure to apply to the squeegee.
Clean your squeegee between passes to keep your colours bright and distinct. Have fun with it!
Step 5: After a few practice runs on paper, you'll be ready to squeegee paint the top of the box. Dab the paint colours on the top of the box. And then pull the squeegee across the top. Allow the excess paint to drip over the edge of the box, and use this to paint the sides.
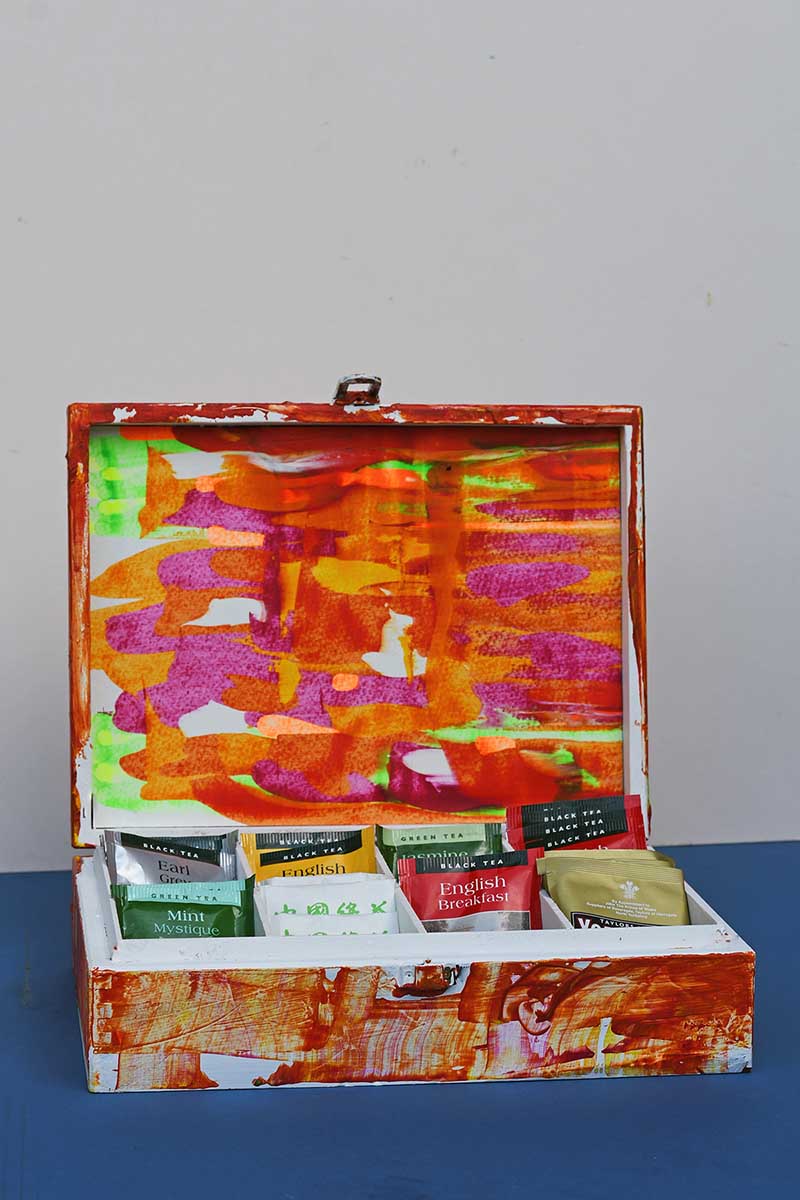
Step 6: To decorate the inside lid of the box, I decoupaged one of the practice sheets of squeegee painting, so the inside of the tea organizer matched the outside.
Step 7: Cover the finished wooden tea organizer box with a coat of acrylic varnish to protect it from knocks and scuffs.
FAQs Squeegee Painting On Wood
Yes, it's recommended to prime your box before painting. We suggest using a coat of white chalk paint as it provides a nice base and eliminates the need for sanding.
There's no right or wrong when choosing colours. Go for what appeals to you. Mixing contrasting colours can lead to stunning effects, as can a palette of similar shades. Practice on paper first to test out colour combinations
That's the beauty of squeegee painting - if you don't like the result, paint over it and start again! It's all about enjoying the process.
This can depend on the thickness of the paint and the type of paint used, but typically, acrylic paints can dry within a few hours.
Absolutely! Squeegee painting can be done on various surfaces, including canvas, paper, and walls. Experiment and see what works best for you.
The possibilities are endless! You could use it to store tea bags, jewellery, craft supplies, or even as a decorative piece. It could also make a thoughtful handmade gift.
Other Ideas on How To Decorate A Box
Beyond our smashing squeegee painting technique, there are other fun ways to spruce up a box.
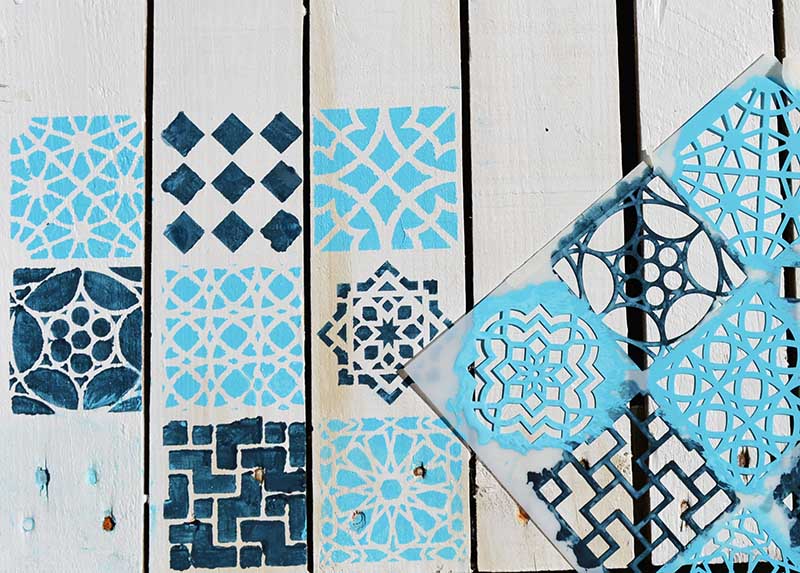
Stencilling: Perfect for those who love a good pattern but aren't too nifty with freehand. Secure your stencil, apply some paint, and voila, a masterpiece! These can be patterns like with this stencilled wooden pallet or words like this wooden crate.
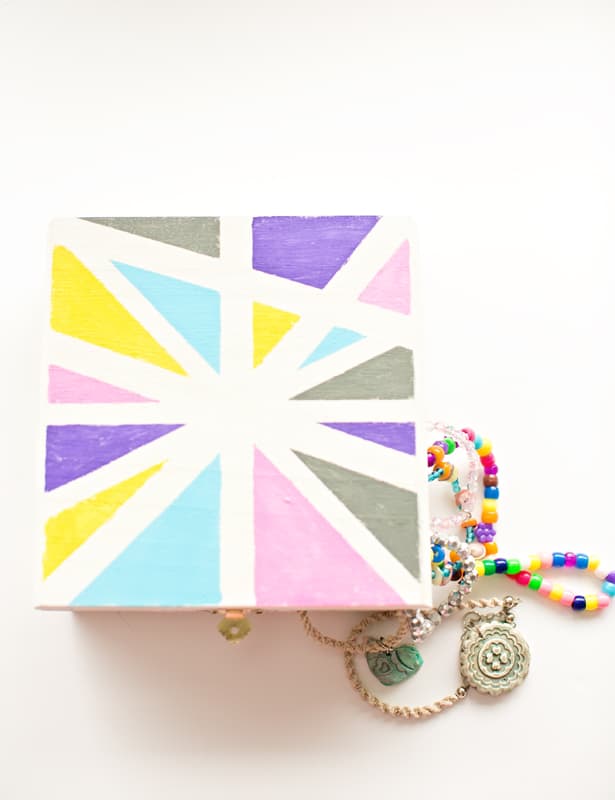
Colour Blocking: Can't settle on one colour? Use them all! Paint different sections in different shades for a bold, modern twist. For example, his box from Hellowonderful is painted in colourful sections with the help of masking tape.
Polk-a-dots & dotted mandalas: They look complicated, but they're a doddle with dotting tools. Start in the centre and work your way out for a mesmerizing design. There's an easy guide to painting polka dots here.
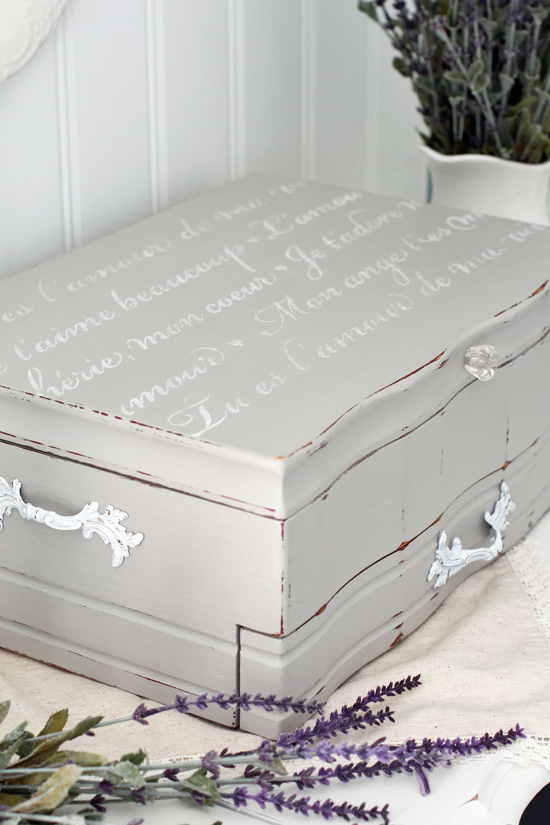
Distressed Look: For the lovers of all things vintage. With a lick of paint and sanding, your box will look charmingly weathered. The flatware box below combines stencilling with distressing.
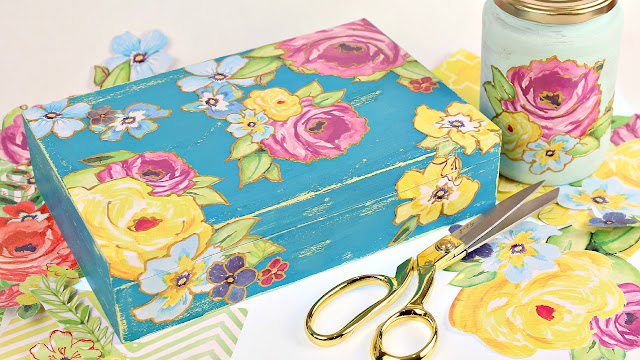
Decoupage: It's like hand-painting without the fuss! Cut designs from paper napkins or fabric, glue them on, and varnish for a professional finish. Mark combined decoupage with a distressed paint finish to make this floral beauty.
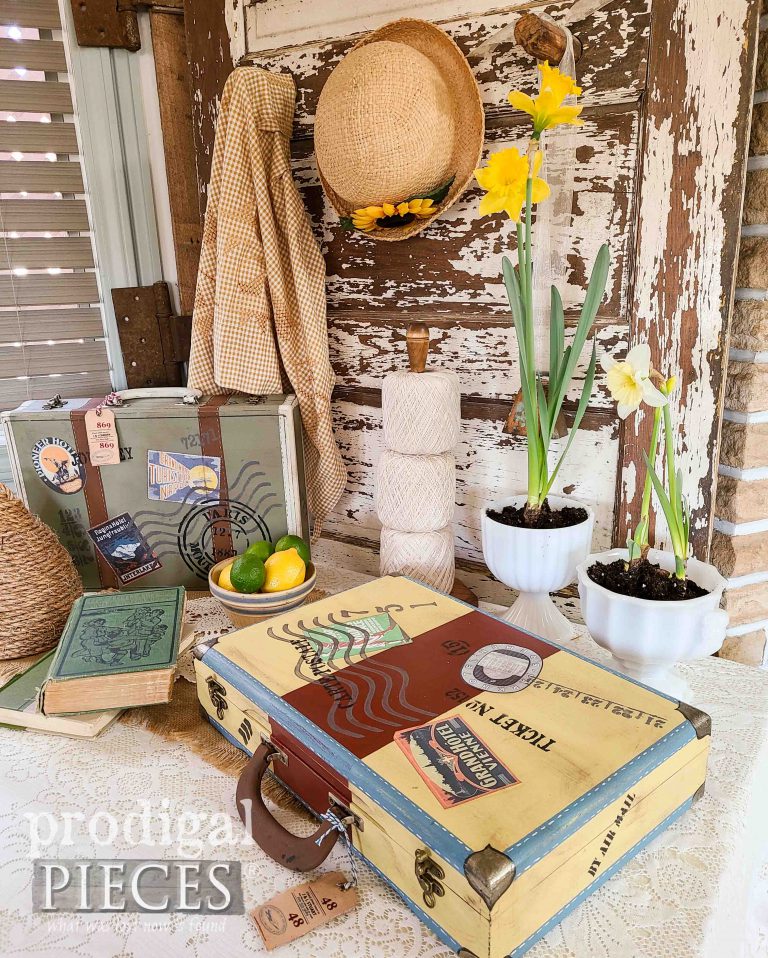
Limiting yourself to a single technique when upcycling your wooden box is unnecessary. The magic often happens when you mix and match, just like the stunning travel boxes Prodigal Pieces created from old silverware boxes using a cocktail of paints, stencils, and decoupage.
Other Related Posts
If you liked these ideas on painting a wooden box, check out all these fabulous wooden crates and wine box ideas, which include painting and decoupling a wine box into a DIY bathroom cabinet.
If you're a fan of tea boxes, then you might enjoy these teacup crafts.
I have never seen a tea box like this one Claire, I like it! I like the way you used the paint dollops to create a fun, new look. I have been wanting to try something with dollops of paint myself, you just inspired me to give it a try. Now to figure out what to do! LOL
Thank you, the tea boxes are quite common here in the UK. The squeegee painting is fun you never quite get the same result twice. Have fun trying it out.