
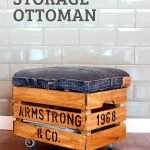

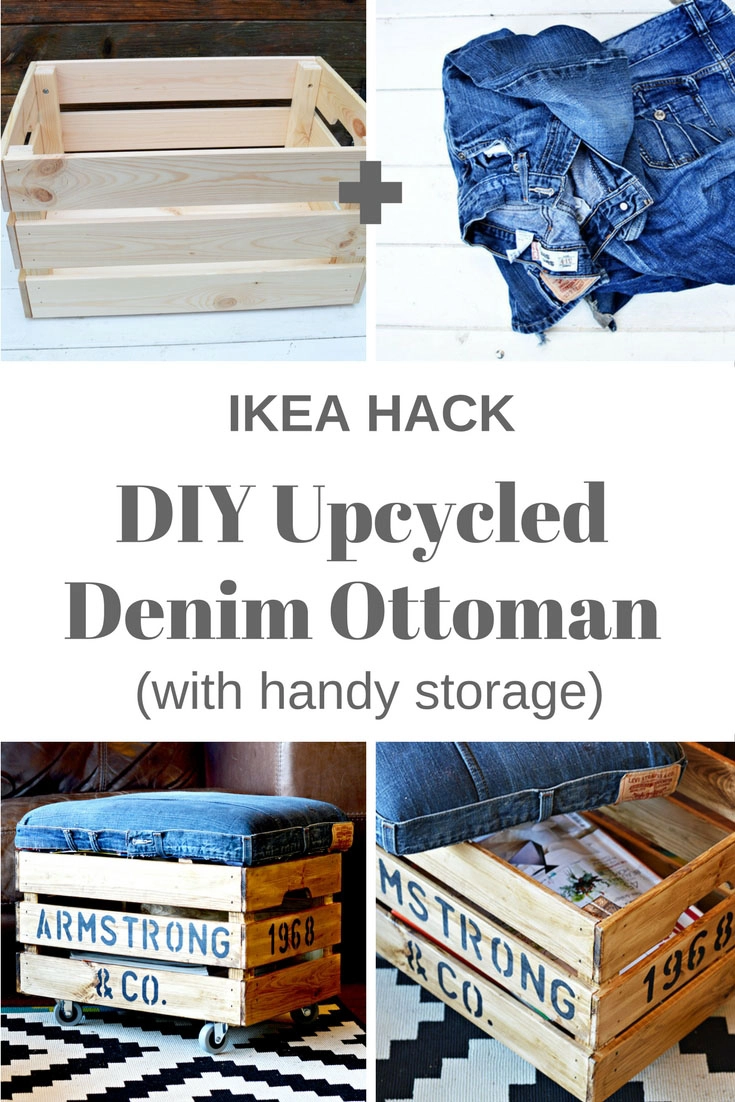
Transform your living space with this IKEA Knagglig hack! Create a denim upholstered ottoman with built-in storage that’s perfect for any home.
In my search for added storage and additional seating, I found the perfect fix with this rustic denim DIY ottoman.
The practicality and clever design of this rolling storage ottoman are truly commendable. It springs into action, providing an extra seat and a swift decluttering solution when unexpected guests drop by.
Moreover, the casters fitted on this repurposed IKEA crate make it effortlessly mobile. But a word of caution for those with wooden floors, like mine – keep an eye out as the kids (and yes, adults, too!) may be tempted to turn it into a fun ride around the house. Those wheels are quite agile.
DIY Storage Ottoman On Wheels
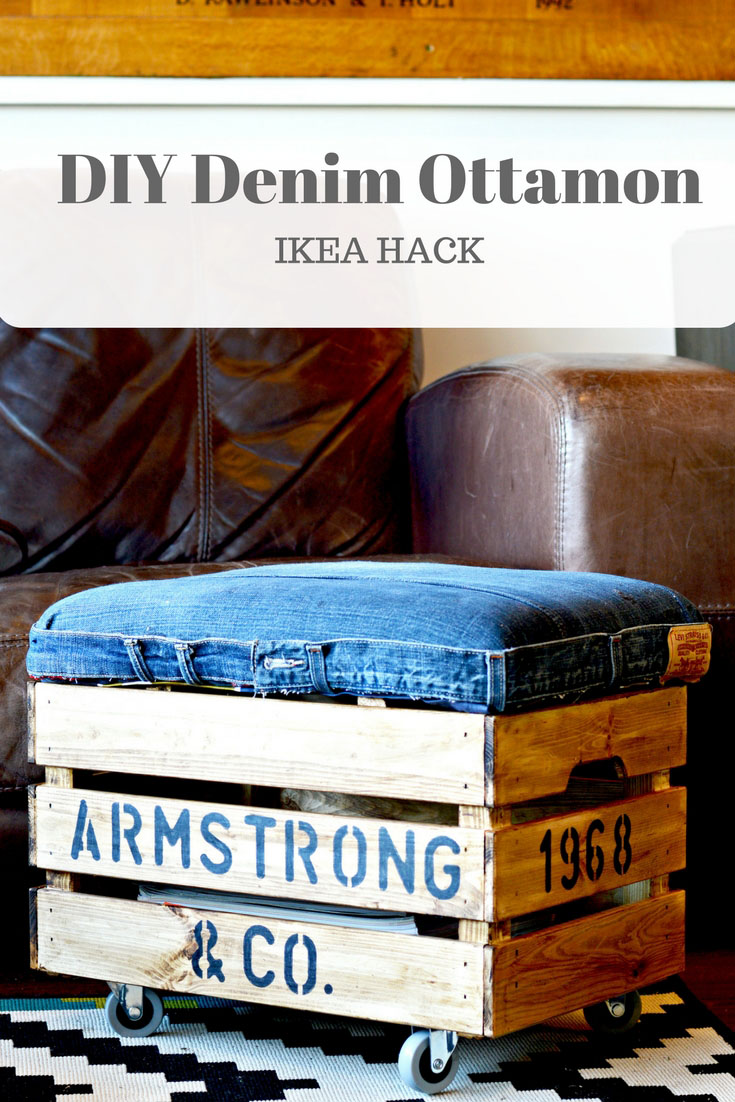
One of the unique aspects of this DIY rolling ottoman is its denim upholstery, repurposed from my old jeans. I’ve stencilled our family name onto the crate for that personalized touch.
This project was a joy, combining two of my favourite upcycling elements – denim and an IKEA hack.
Despite being an IKEA hack, the main body of the rolling ottoman was made from an IKEA Knagglig crate, and IKEA castors were used for mobility. This ottoman design could be replicated with any robust wooden box.
The top of the crate was upholstered in denim in a simple no-sew project using old jeans. This method is similar to a footstool I had previously reupholstered with a tea towel, entirely without sewing.

This ottoman is featured under O in the A to Z of denim crafts.
We’re a participant in the Amazon Services LLC Associates Program, an affiliate advertising program designed to provide a means for us to earn fees by linking to Amazon.com and affiliated sites. As an Amazon Associate, I earn from qualifying purchases.
What You Need
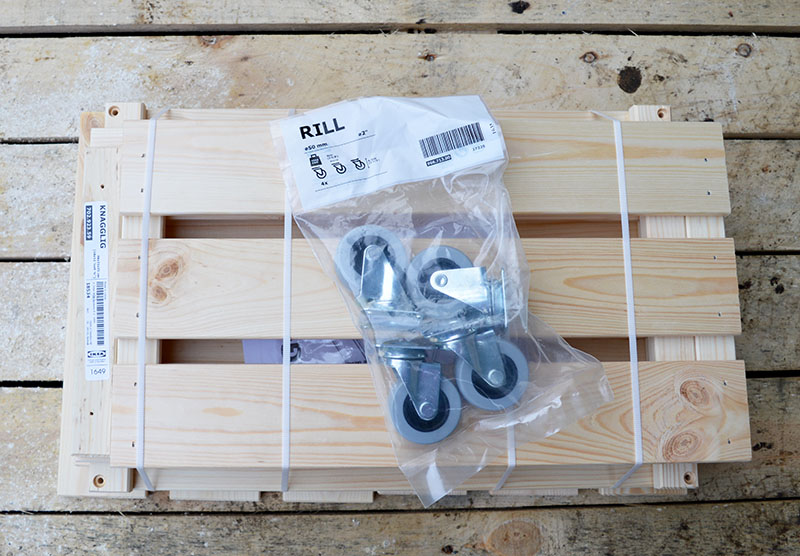
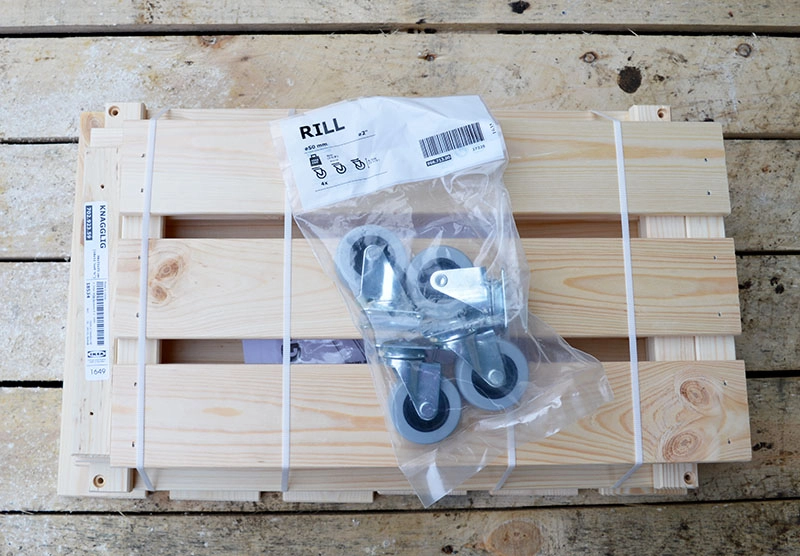
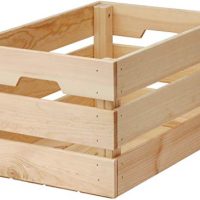
- Wooden Crate – Did I mention this was an Ikea Hack? It is, in that I used an IKEA KNAGGLIG box.
- IKEA RILL casters
- Dark wood wax
- Letter/number stencils 2″ high
- Sharpie Pen
For the Upholstered Denim Ottoman Lid
- Old pair of Jeans
- Scrap fabric the same size as the lid
- Fabric glue
- Chipboard/plywood is big enough to fit the top of the crate. Plus, some wood scraps for batons are approximately 2″ x 2″ and 12″ long.
- Upholstery foam for the top approx 2″ thick
- Spray adhesive
- Batting/wadding
- Staple gun


The IKEA Knagglig Hack
Step 1: First, assemble your IKEA KNAGGLIG crate according to the instructions. Or, if you are repurposing an existing wooden crate, ensure it is sturdy.
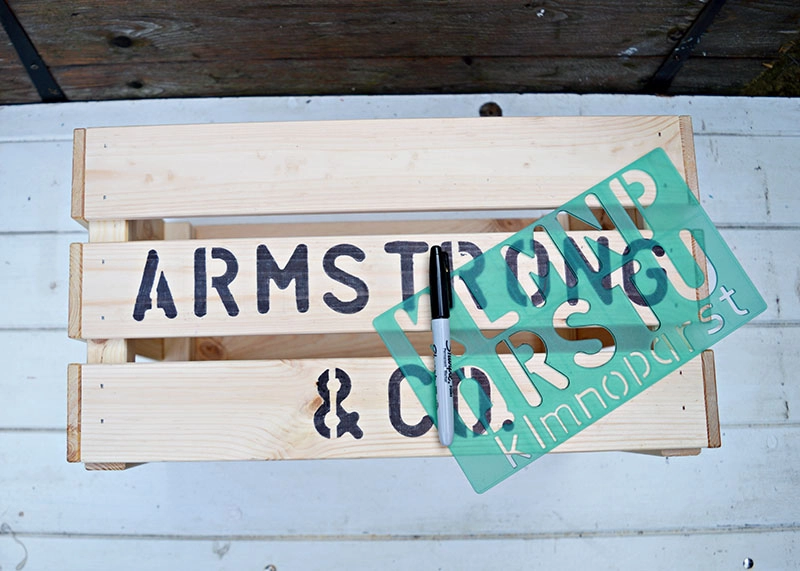
Step 2: Stencil the sides of the crate. This is so easy; I used a plastic letter stencil and a Sharpie.
You can personalize the ottoman by stencilling someone’s name on the crate. Our family name is Armstrong, so I decided to stencil that on my crate.
TOP TIP: Make sure you stencil the right way up; you may think that is obvious, but I still manage to stencil things upside down.

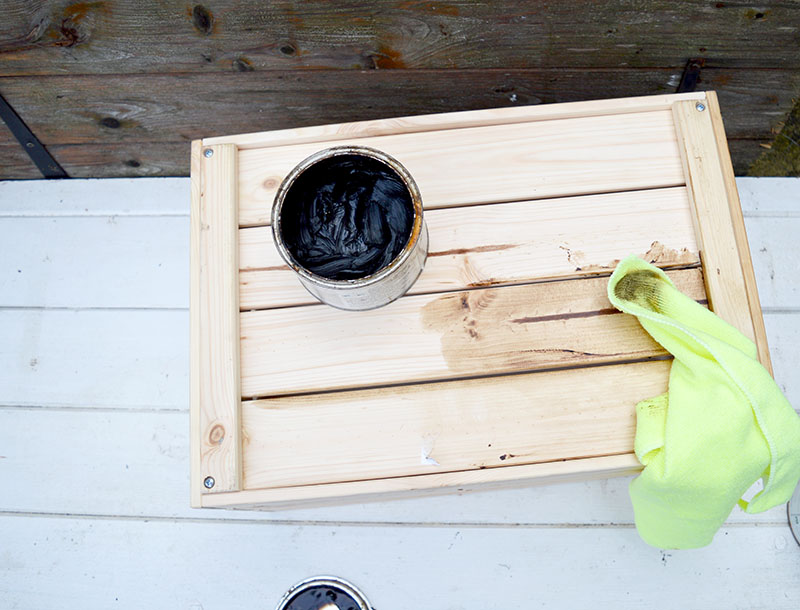
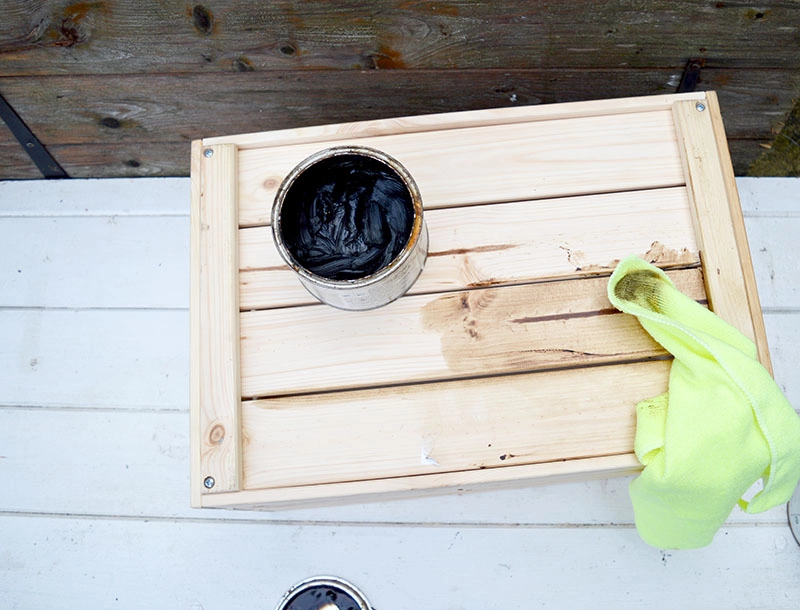
Step 3: The wood on the IKEA Knagglig crate is untreated. I rubbed the whole crate inside and out with some dark furniture wax to protect the wood and give it a more rustic and aged look.
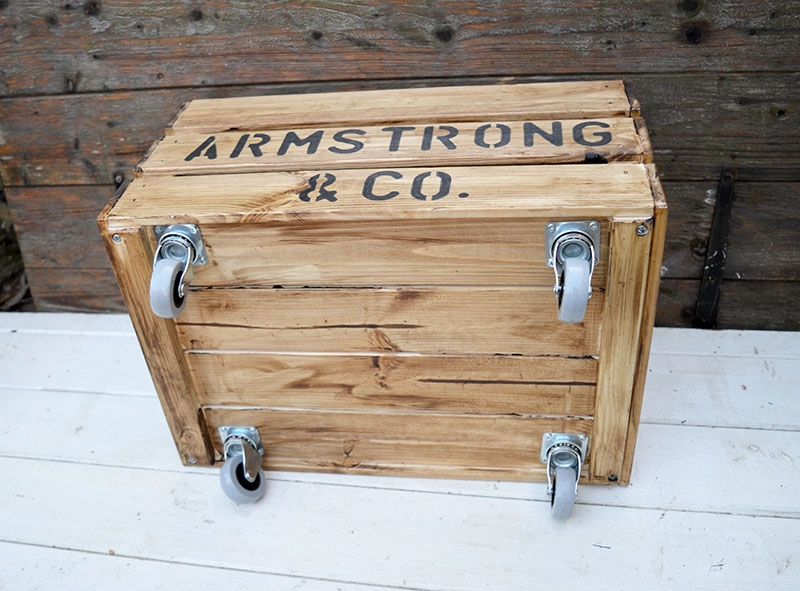
Step 4: Fix the IKEA RILL casters to the ottoman’s base. As the base wood is not very thick, you will need short wood screws.
Or even better, drill small holes and use screws with bolts to attach the casters to the rolling storage ottoman.

Making The Ottoman Upholstered Lid
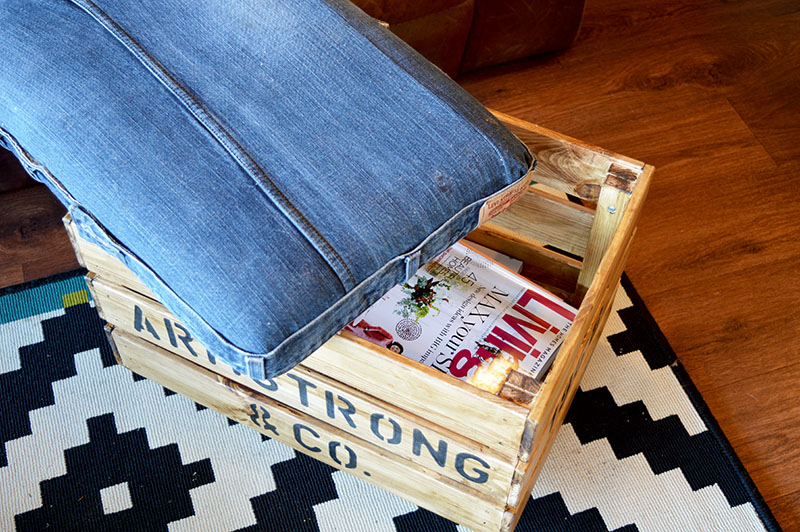
Step 5: To transform the lovely stencilled crate on wheels into a useful storage ottoman, you will need to add a lid.
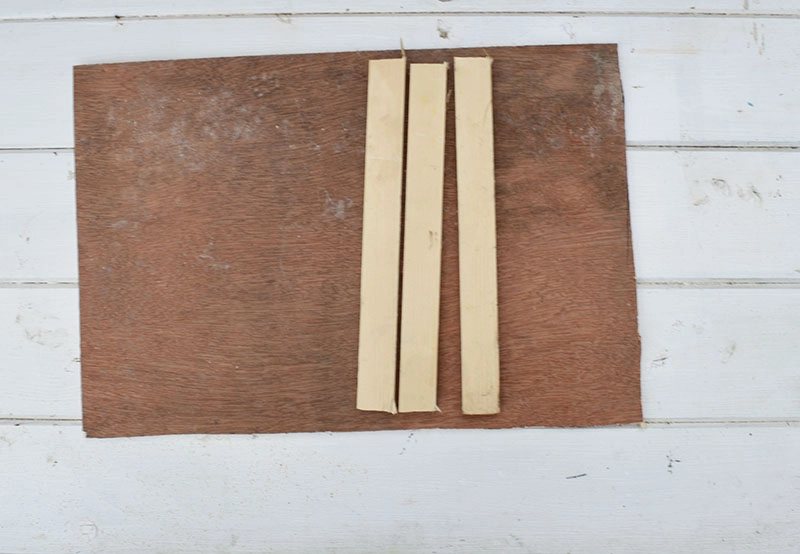
Firstly, measure the top of the crate. Then, cut a piece of plywood to these measurements so it sits nicely on the top of the crate.
At the same time saw two batons of wood about 1″ shorter than the width of the plywood lid.

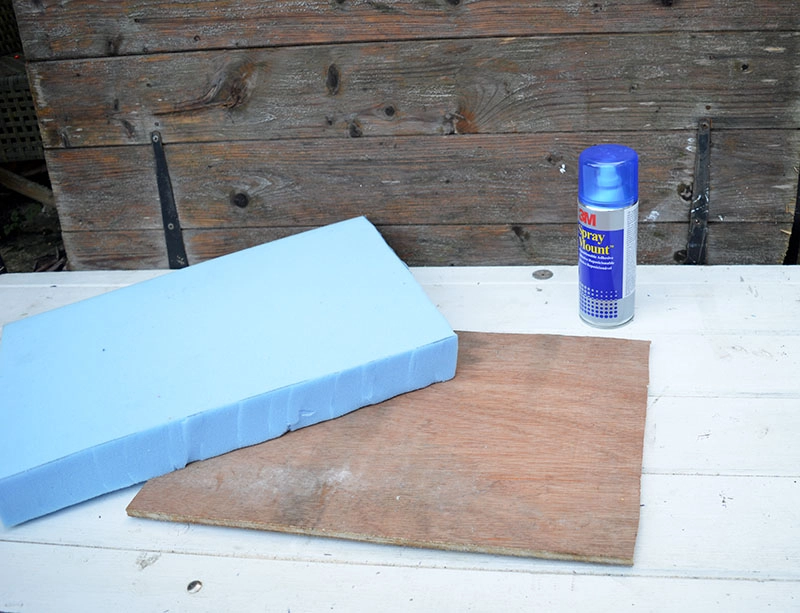
Step 6: Next, use the plywood lid as a guide measure and cut a piece of foam the same size. Then, use spray adhesive to stick the foam block to the plywood.

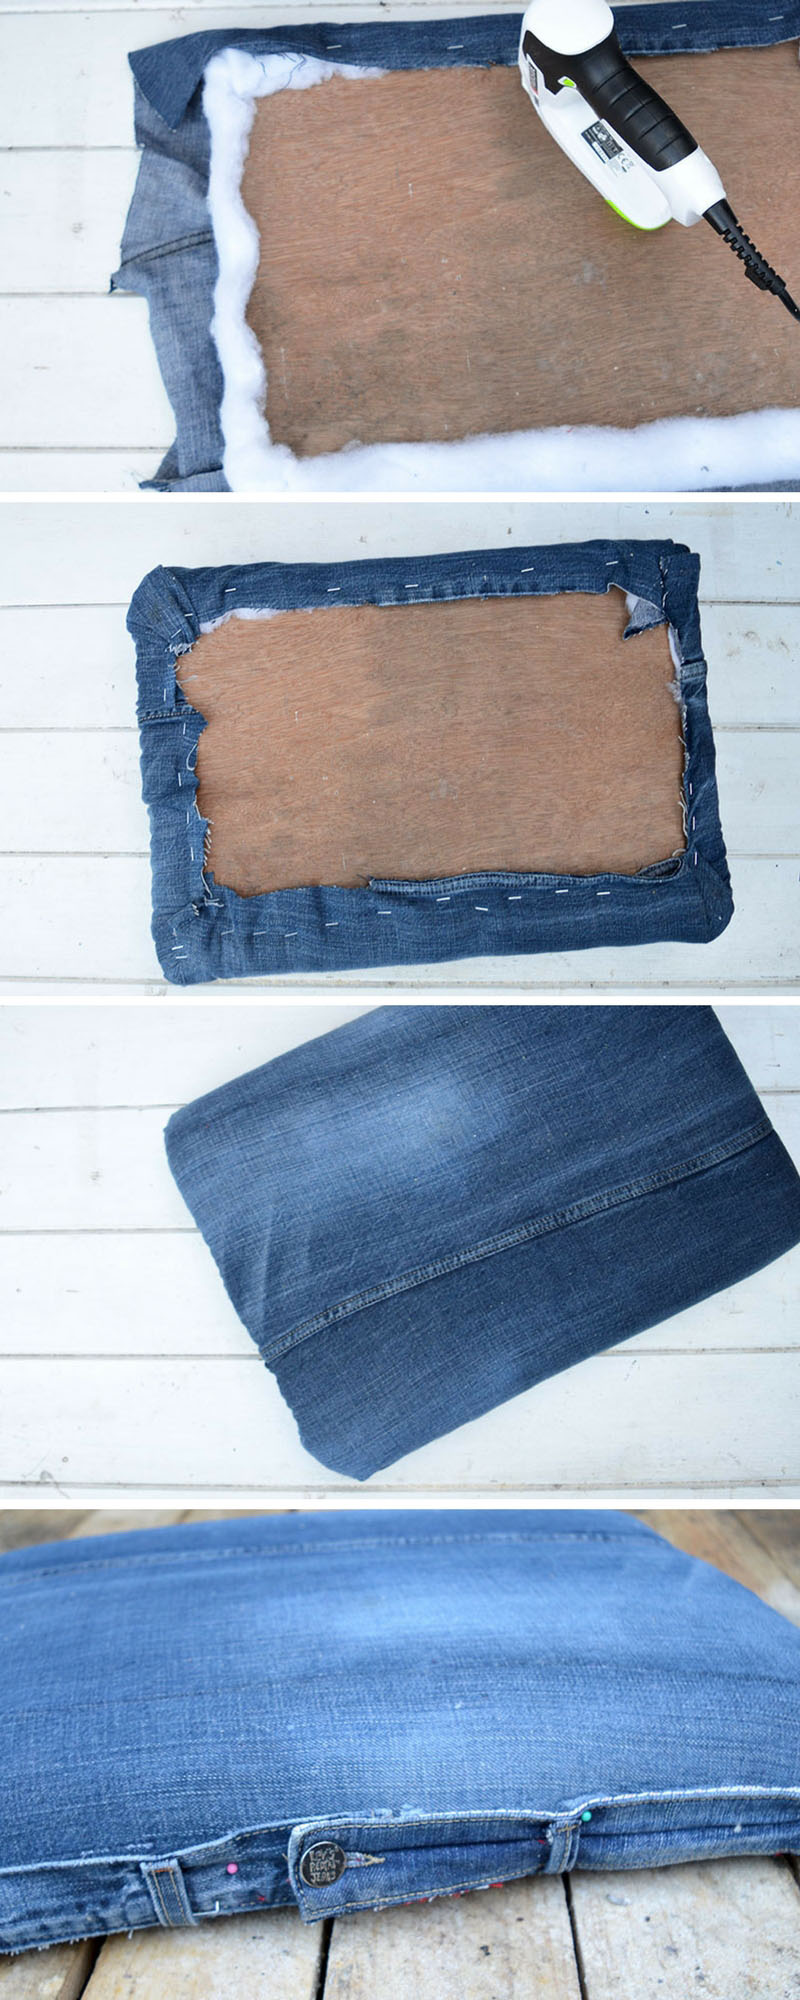
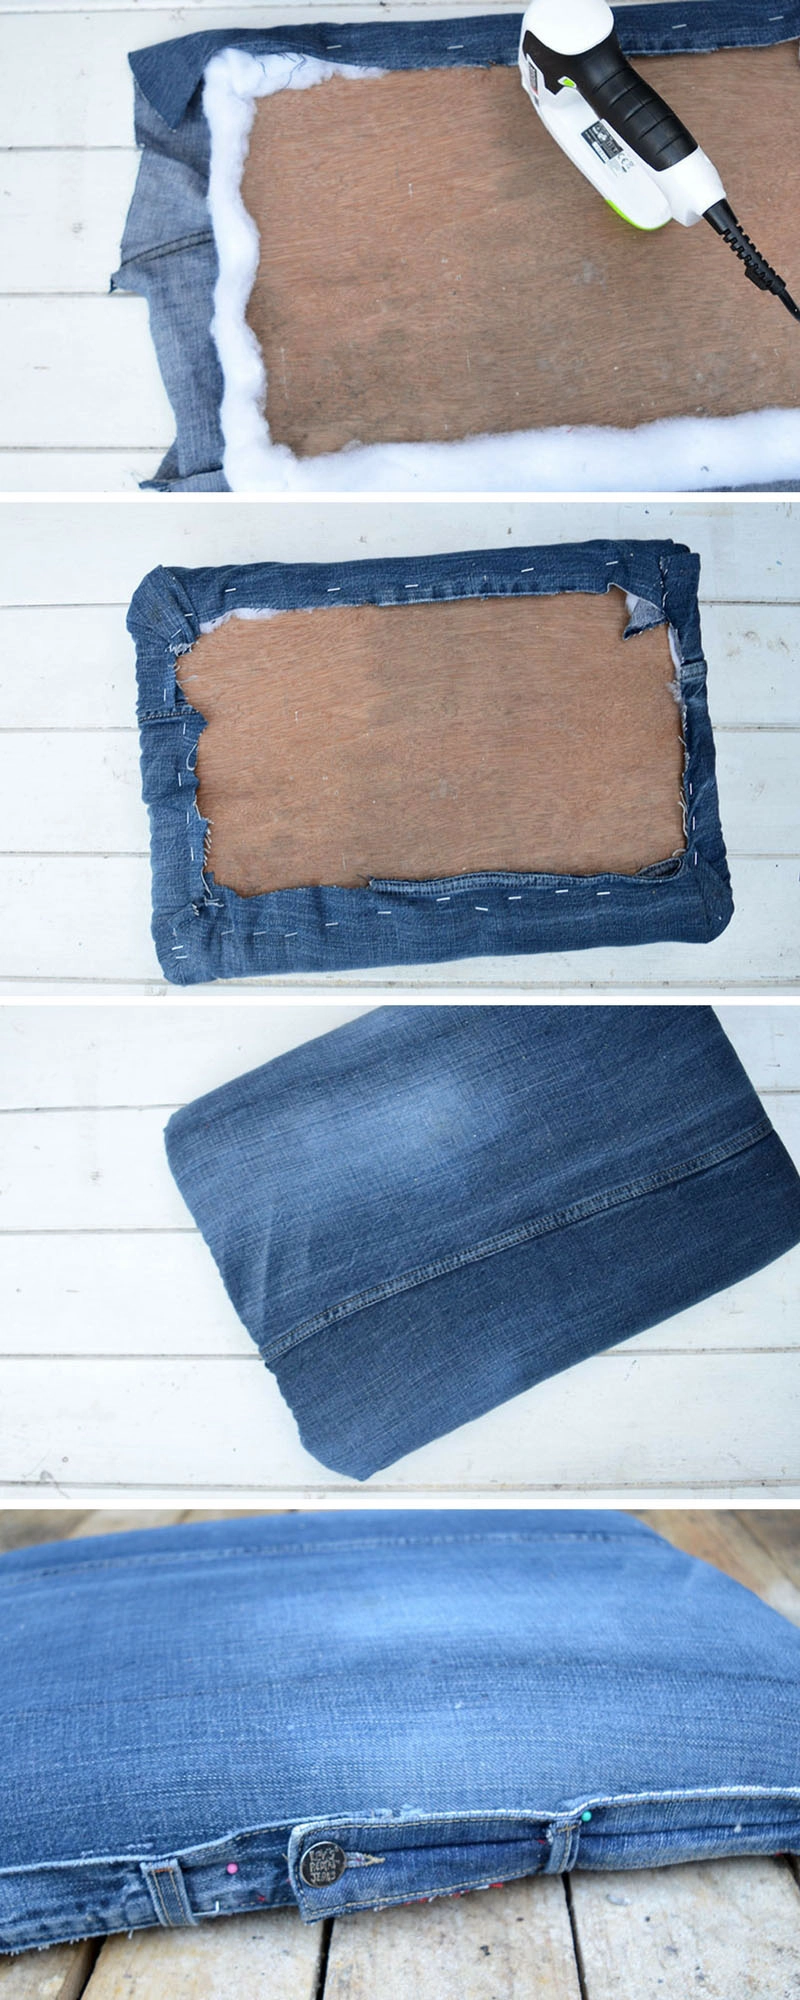
Step 7: Cover the foam and plywood lid on the DIY ottoman with batting/wadding. You will first need to cut a piece of wadding so that it is large enough to wrap around the foam.
The wadding is then secured to the underside of the lid by using the staple gun.


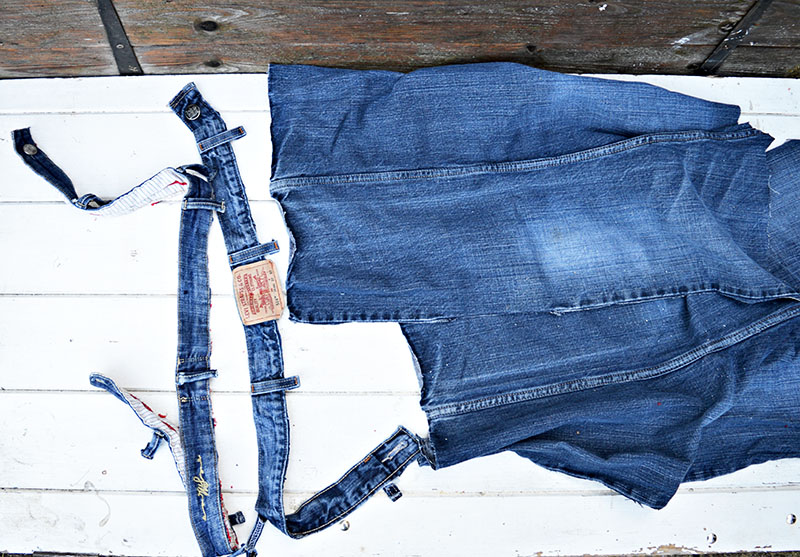
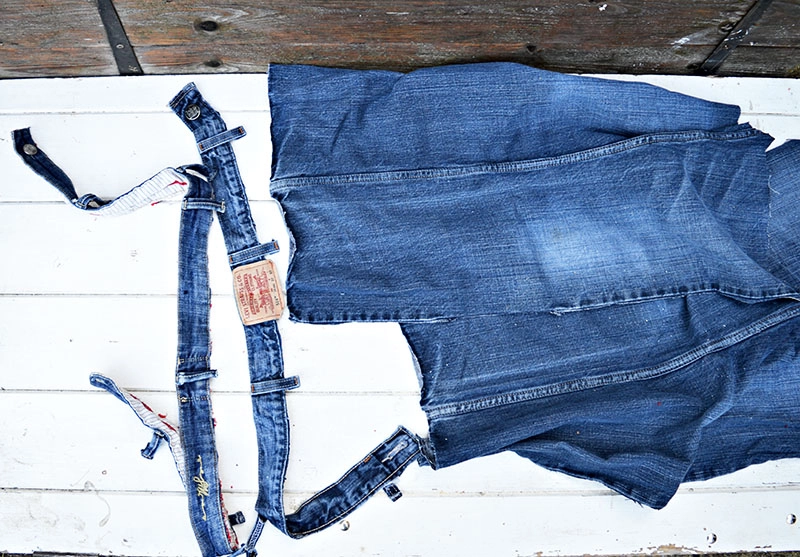
Step 8: Cut the waistband off the jeans and the legs at the crutch. Then, cut the leg of the jeans up the seam to open them up into one large piece of denim fabric.
Step 9: Next, wrap the large piece of denim around the batting and staple gun it to the underside of the plywood lid.
Then, glue the jeans’ waistband around the outside edge of the ottoman lid. Use pins to hold the waistbands in place whilst the glue dries. Depending on the size of the repurposed jeans, you may need to use the waistbands from 2 pairs of jeans to cover the circumference of the DIY ottoman.
The waistband edging is a little to add more interest and character to the storage ottoman.
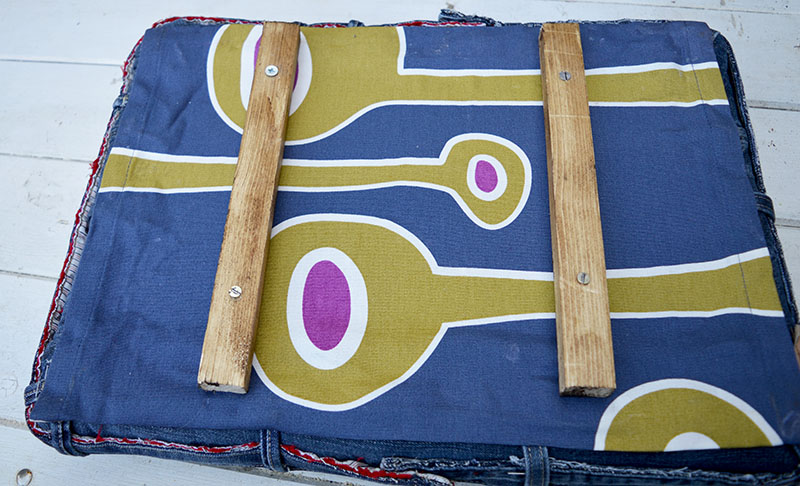
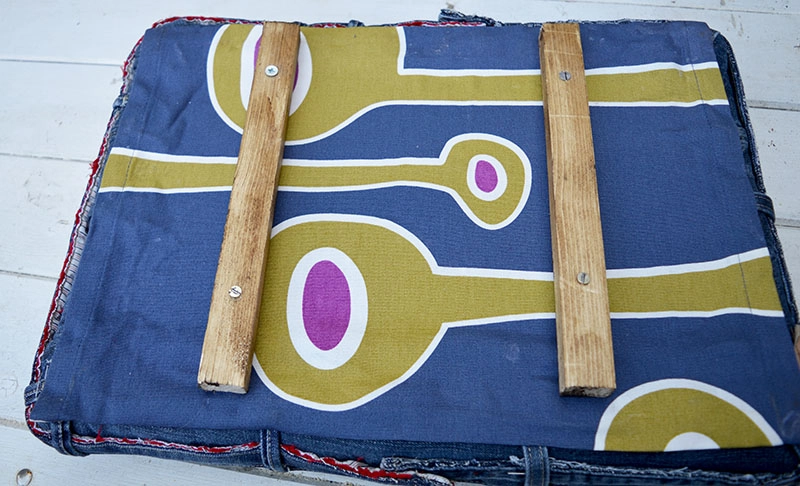
Step 10: I used a piece of fabric to hide the edges to tidy up the underside of the storage ottoman lid. I cut a piece of fabric to size and glued it to the underside of the top. I was again using pins to hold it in place whilst the glue dried.


Step 11: Finally, to finish off the rolling storage ottoman, add the battens to the underside of the lid. I used two wood screws to attach the battens to the lid underside.
The purpose of these battens is to stop the ottoman lid from sliding around.
The Finished Ottoman On Wheels

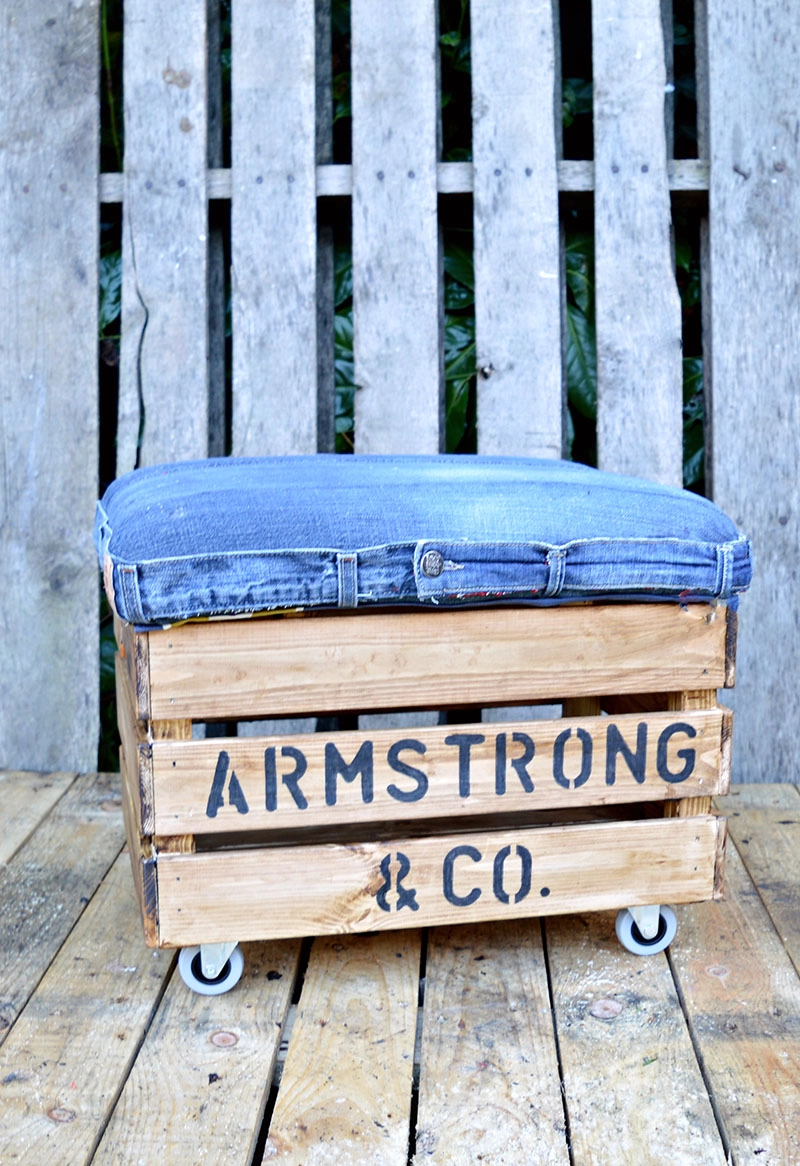

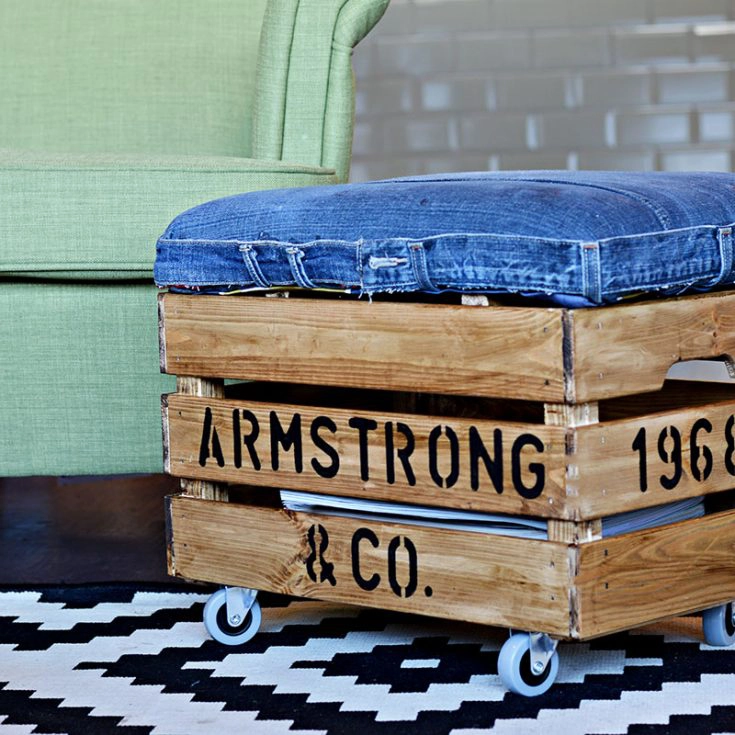
The denim upholstery and stencilled design lend this wheeled storage ottoman a rustic, industrial vibe. It’s a charming addition to my living room, but it could just as easily fit into a teenager’s bedroom or a man cave.
You can add a personal touch to this IKEA Knagglig hack by stencilling a name and year onto the wooden crate. I’ve found the storage space beneath the lid incredibly useful for stowing away magazines and miscellaneous items during a quick clean-up.
This multifunctional piece has found its home in our family room, providing convenient storage and additional seating during family gatherings.
Paired with the upcycled no-sew denim rug — made from repurposed waistbands — that I crafted for the same room, this footstool becomes part of a cohesive, rustic décor.


DIY Rolling Storage Ottoman

This is an IKEA hack that uses an old pair of jeans to make a unique DIY rolling storage ottoman. This ottoman is also personalized with some fun industrial style stenciling on the side. It looks fabulous in a teen bedroom or a man cave. Not only is it great for extra storage but it provides additional seating for unexpected guests.
Materials
- Old pair of jeans
- IKEA KNAGGLIG crate or a sturdy wooden crate
- IKEA Rill castors
- Foam block
- Wadding
- Plywood and wood battens
- Fabric glue
- Wood wax
- Letter Stencil
- Black Sharpie
Tools
- Saw
- Screwdriver
- Staple gun
- Scissors
Instructions
- Assemble the crate, stencil name on the side using sharpies and plastic letter stencil
- Cover the assembled crate with dark wood wax
- Attach the castors to the base of the storage ottoman crate using screws
- Measure the top of the crate and cut plywood to size
- Stick foam block onto the plywood lid and wrap in wadding. Secure the wadding to the underside of the lid with a staple gun.
- Cover the DIY ottoman lid in denim, using a staple gun.
- Trim the edge of the lid by gluing jeans waistbands around the circumference
- Tidy up the underside of the rolling storage ottoman lid with a piece of fabric glued to the underside.
- Finish off the DIY ottoman lid by adding to battens to the underside. Secure the battens with screws, this will stop the lid from slipping around.
Recommended Products
As an Amazon Associate and member of other affiliate programs, I earn from qualifying purchases.

Other Post Ideas
Check out my DIY nightstand from a wine box if you want to see more Knigglig hacks and crate ideas. I have also upcycled wicker basket storage for Christmas.
I also have a tutorial on making an easy DIY footstool with an old pair of jeans and hairpin legs.
If you are wondering what to do with the pockets left over from the repurposed jeans you used for this DIY ottoman lid, check out this tutorial for a great denim pocket organizer.
If you want something simpler, some individual hanging denim storage pockets or more handy denim storage ideas.
Many more IKEA hacks are on the site, including these Ikea Hemnes Dresser hacks and Moppe drawers.

Rebecca
Wednesday 26th of May 2021
I love this! Is there is a weight capacity for the crate if someone sat on it?!
Claire Armstrong
Wednesday 26th of May 2021
Thank you, I've had it for a while and it's still going strong. It can take the weight of an average adult but I wouldn't put anyone really heavy on it.
Multi-Use Storage Solution |
Saturday 14th of November 2020
[…] Nifty Denim DIY Storage Ottoman Crate an Ikea Hack Crate Seat […]
Claire Armstrong
Saturday 14th of November 2020
Thank you, your crate looks great.
Kathi
Thursday 12th of November 2020
I love this!!! I am using your idea but with leather for the seat instead of blue jeans. I will post pictures on my blog: www.craftykathi.com
Claire Armstrong
Saturday 14th of November 2020
Thank you, your leather crate looks fabulous.
Maria
Wednesday 18th of December 2019
Truly a perfect match the crates and denim
Claire Armstrong
Thursday 19th of December 2019
Thank you so much ?
Brenda Young @ Unique Junktique
Wednesday 21st of March 2018
I thought the upcycled spool to ottoman was creative, had to check out this one too! I have to steal this idea for my place! Pinning for later... it’s so cute!
Claire Armstrong
Wednesday 21st of March 2018
Thank you, Brenda. It’s also handy for magazine storage.