
How to Paint a Pallet and Transform it Into a Stunning Moroccan-Style Plant Wall
Discover a creative and eco-friendly DIY project. This step-by-step guide on how to paint a pallet will help you design your own Moroccan-style potted plant wall.
I adore my quaint, character-filled Victorian brick-walled garden, but its darker tones sometimes feel a bit gloomy. To lighten the mood and introduce a vibrant colour dash, I embarked on an artistic adventure - learning how to paint a pallet to create a colourful planter.
Recently, the mesmerizing patterns of Moroccan tiles have captured my imagination. Inspired by their intricate designs, I resolved to mirror this aesthetic in my garden using paint. Moreover, my love for the colour blue is flourishing - a sentiment reflected in my recent endeavour of adorning my outdoor sofa with the deep hues of indigo Shibori dyeing.
The Painted Pallet Planter
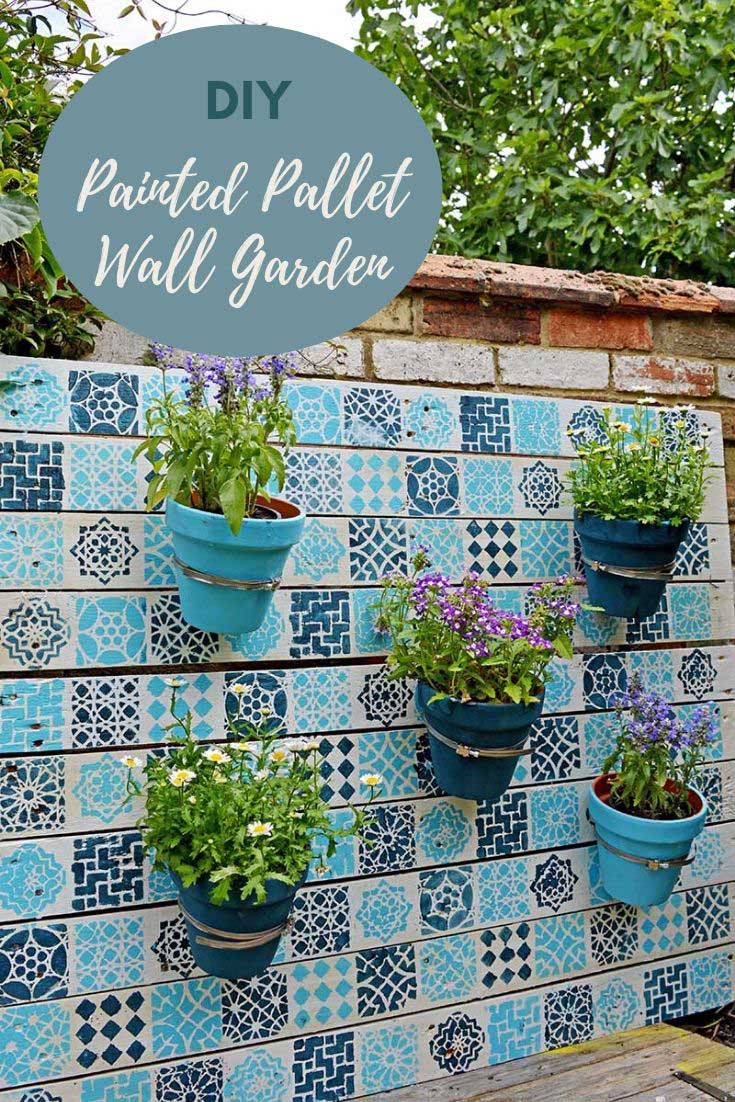
To encapsulate the essence of Moroccan tiling, I meticulously stencilled a wooden pallet, giving a first-hand experience on how to paint a pallet with a Moroccan-style stencil. Following this, I attached plant pots to the pallet, which resulted in a vibrant and summery wall planter. This freshly minted, colourful centrepiece has undoubtedly breathed new life into my garden, bestowing it with a warm, summery vibe.
With the unpredictable swing of British weather between sweltering sunshine and chilling rain, it's comforting to have this radiant reminder of summer. After all, if our weather were any more consistent, we Brits might be left searching for a new default conversation starter!
The project of learning how to paint a pallet and creating this planter was fun and a cheap way to revamp my garden. I managed to complete this project in just a couple of hours, and it was cost-efficient as I utilized a freely available pallet, repurposed pots, and used leftover paint.
Thanks to the durability of pallet wood, I'm optimistic that my vibrant Moroccan-style planter will continue to charm my garden for many years.
We're a participant in the Amazon Services LLC Associates Program, an affiliate advertising program designed to provide a means for us to earn fees by linking to Amazon.com and affiliated sites. As an Amazon Associate, I earn from qualifying purchases.
What You Need
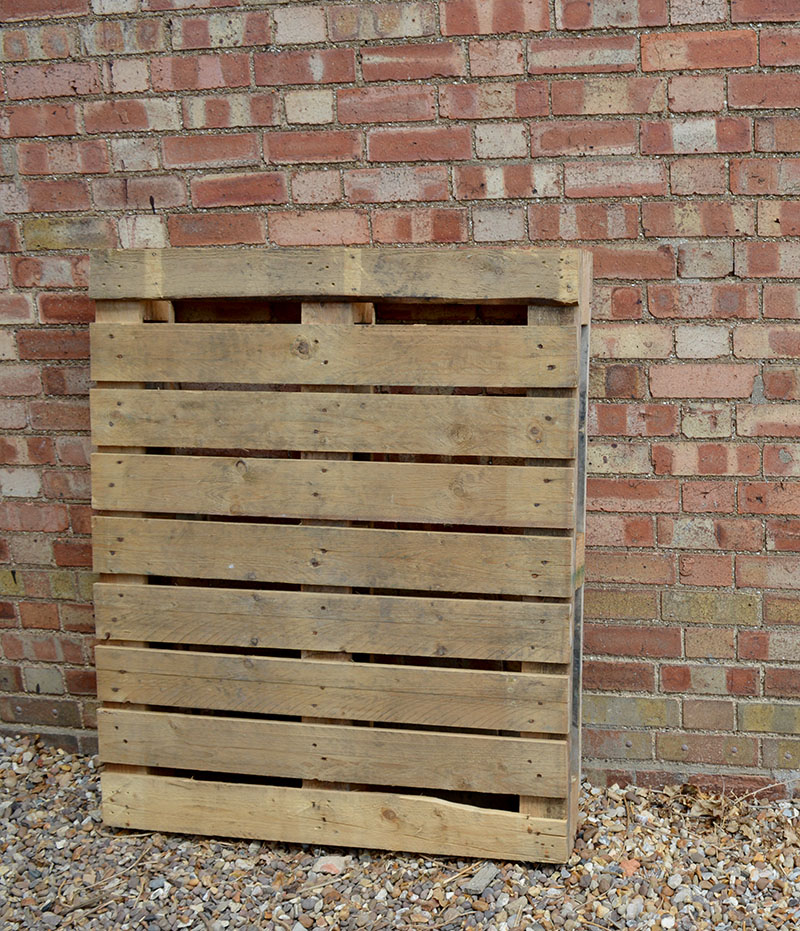
- Pallet - I pick mine up from skips(dumpsters).
- Moroccan Tile Stencil - This was a large 12" by 12" stencil, which made the stencilling quick.
- Paint - I just used paint leftover from decorating. White emulsion (latex) for the background and two different shades of blue paint for the stencil; one was latex paint, and the other was chalkboard paint. You could also use acrylic paints with stencils.
- Masking/painters tape
- Jubilee clips /hose clamps - large enough for the plant pots you use.
- Wood screws
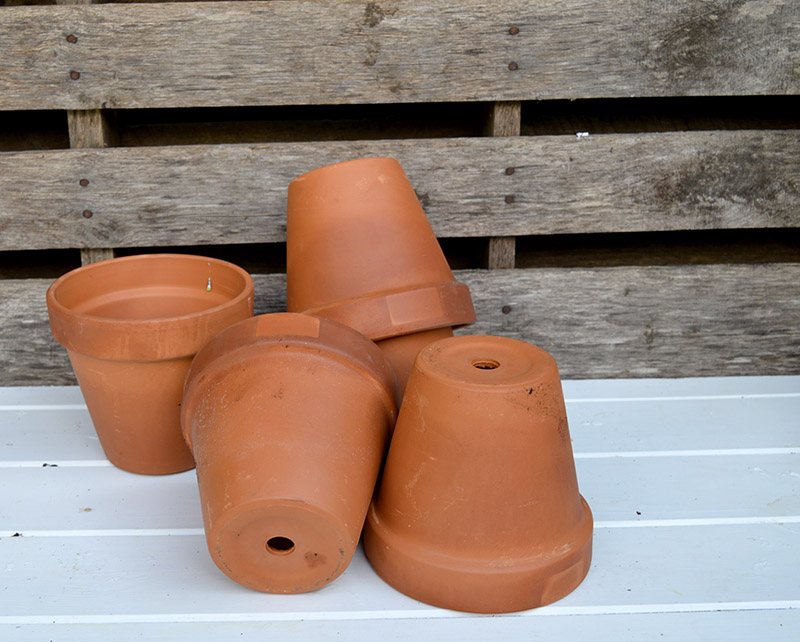
- Terracotta pots - I used five 17cm pots.
- A sealant for the paint, varnish or clear furniture wax.
- Paint brushes and stencil brushes.
How to Paint A Pallet
Step 1: Clean your pallet thoroughly to remove any dirt or grime. If there are any rough spots or splinters, sand them down using medium grit sandpaper, followed by fine grit for a smooth finish.
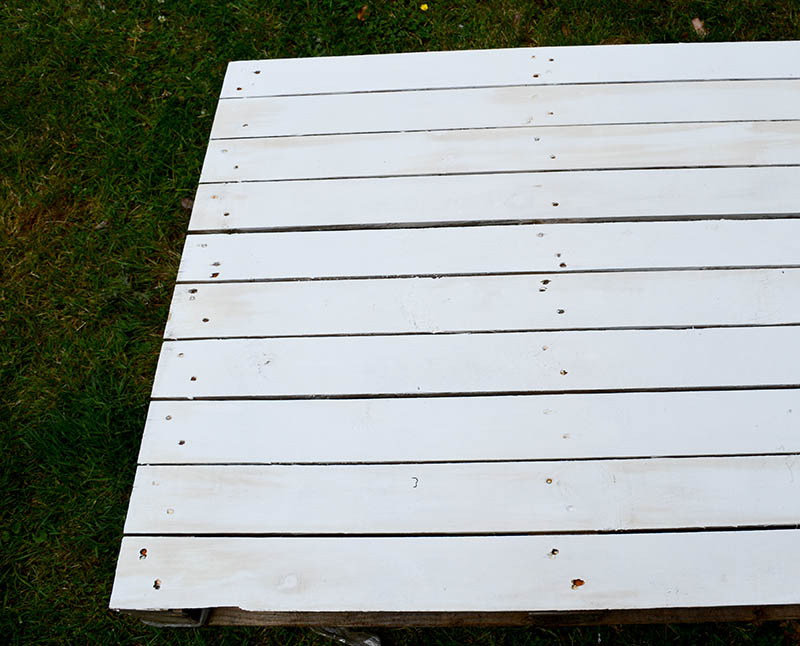
Step 2: Once your pallet is clean and dry, apply a coat of white primer. This will help the paint adhere better and make the colours stand out. Allow the primer to dry thoroughly as per the instructions on the tin. After the primer is completely dry, paint the pallet with white paint.
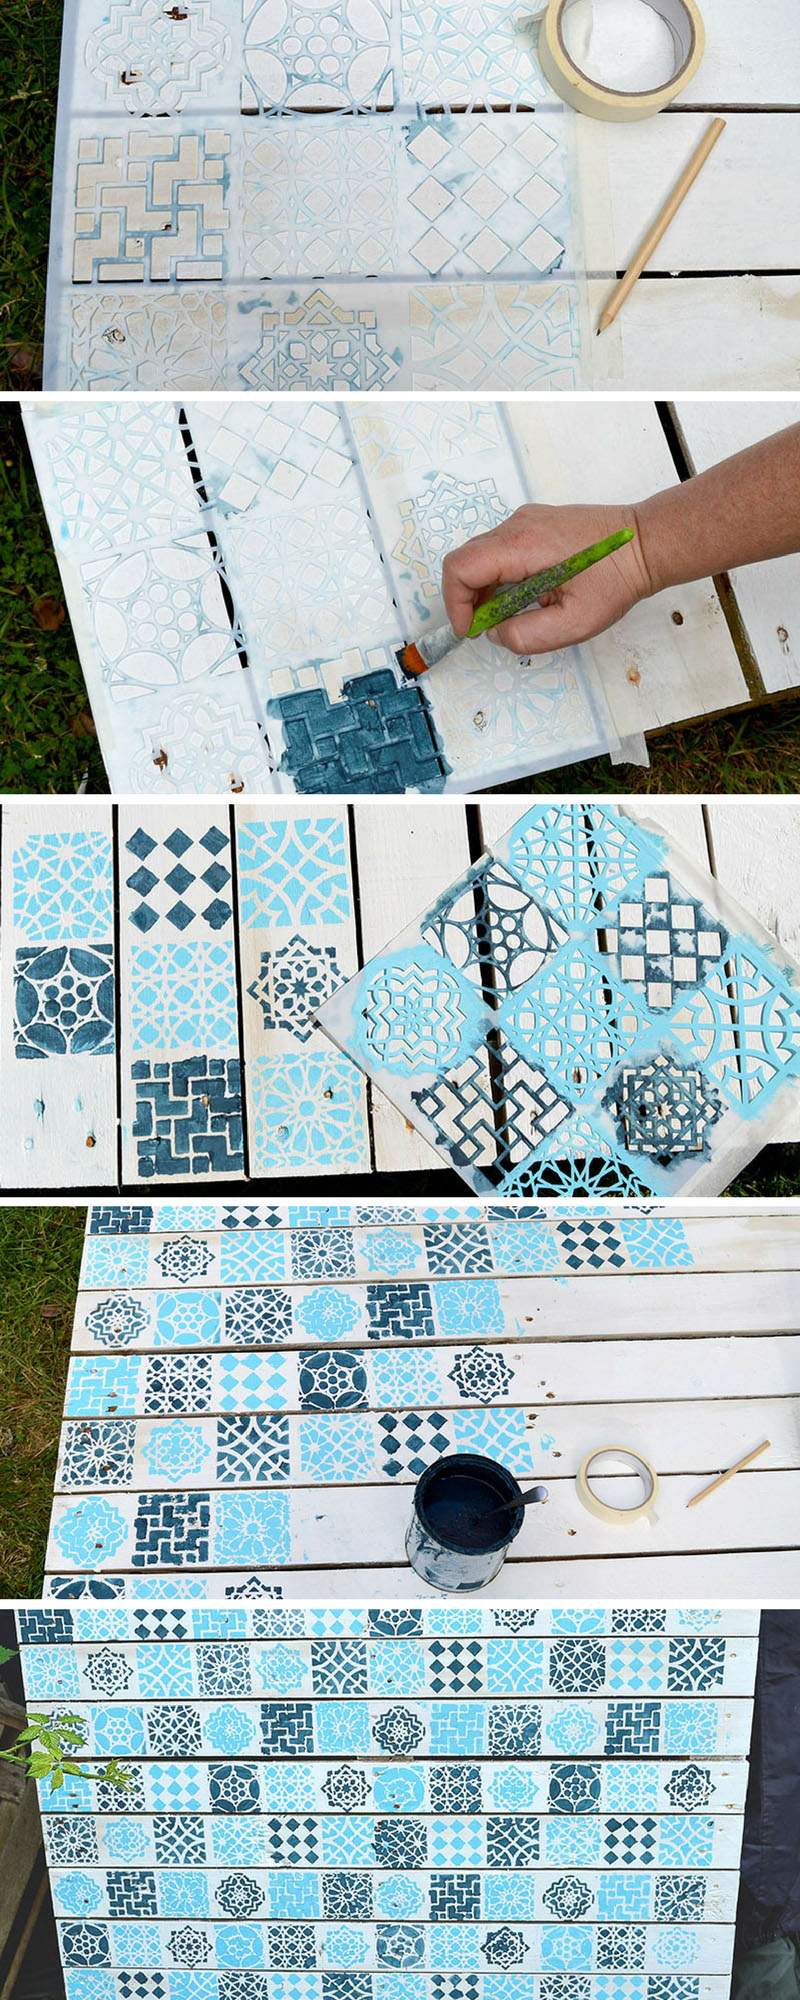
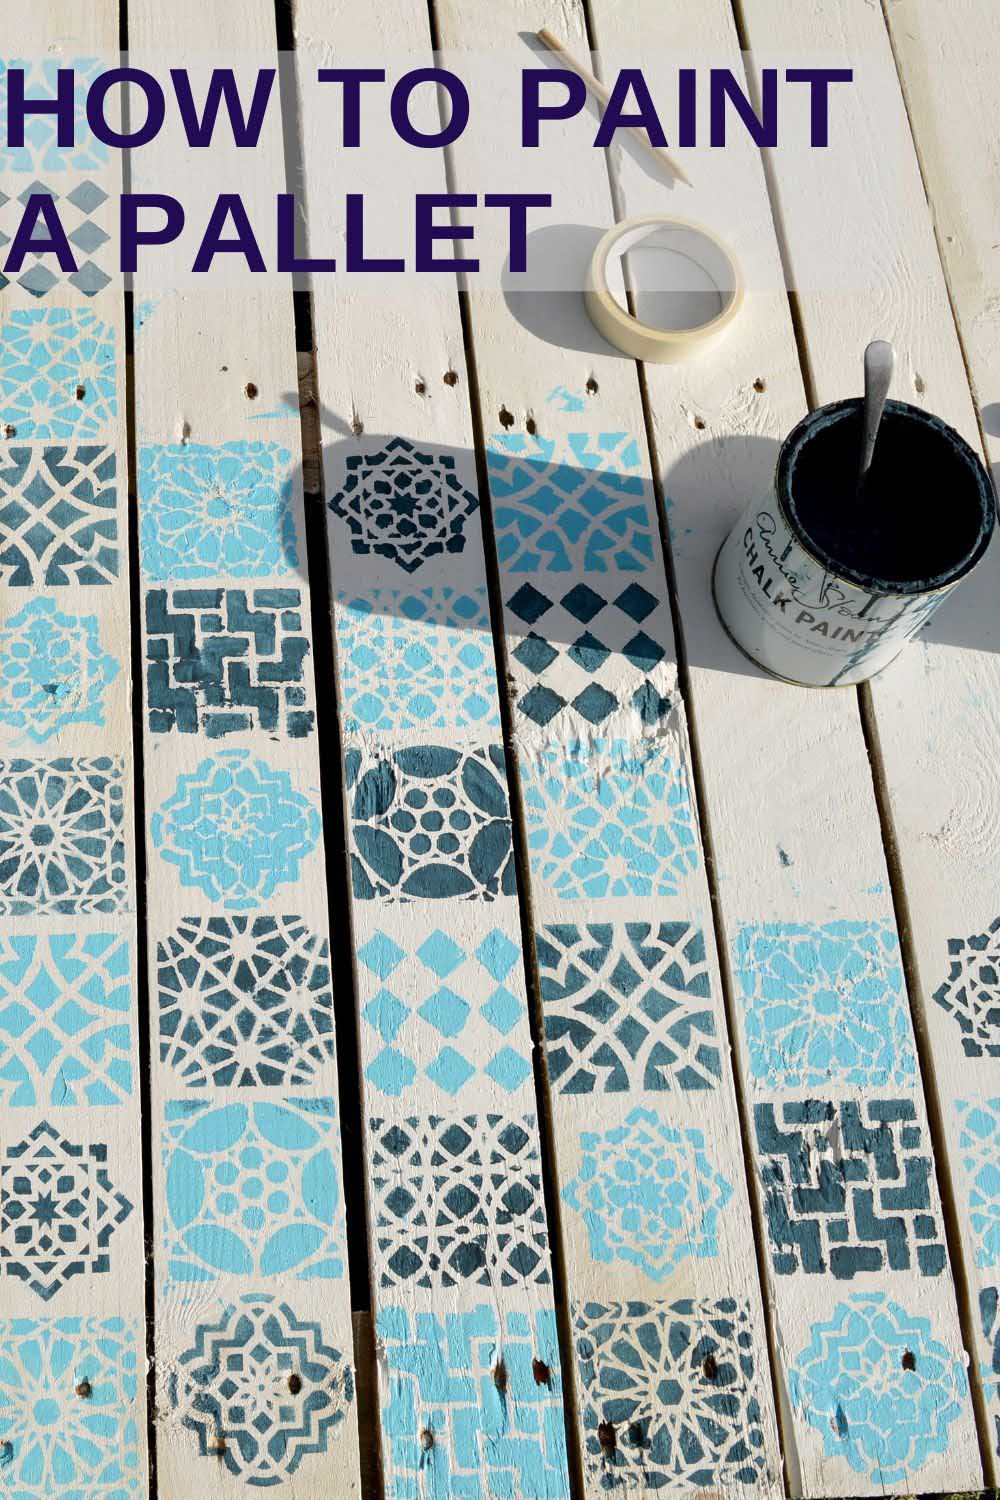
Step 4: Once your final coat of white paint is dry, it's time to apply the Moroccan stencil. Position your stencil where you want the design, and secure it with painter's tape. This prevents it from moving while you paint.
Using your stencil brush, apply your blue paint, being careful not to overload the brush as this can lead to the paint seeping under the stencil. If you want a more aged look, you can use a dry brush technique here, removing most of the paint from the brush before applying.
Step 5: Repeat the Pattern. Carefully remove the stencil, ensuring not to smudge the fresh paint. Allow the design to dry fully before repositioning the stencil to continue the pattern. Repeat this process until your pallet is covered to your satisfaction.
The stencil is divided into 9 Moroccan tiles. I painted the tiles in 2 different blue paints, one light and one dark. I alternated each tile to create a checkerboard effect.
Good tips when stencilling is not to have too much paint on your brush and to paint with a stippling motion. This will stop the paint from smudging and spreading under the stencil.
Step 6: Sealing: This step is optional, but if you want your design to last longer, especially if the pallet will be outdoors, it is recommended to apply a sealant or varnish. Follow the product instructions for the best result.
Making the Hanging Planters
Step 7: Whilst the stencilled pallet wood was drying. I painted the terracotta plant pots in the same colours I used for the stencilling Moroccan tile. I also sealed these with an outdoor varnish to protect them from the elements.
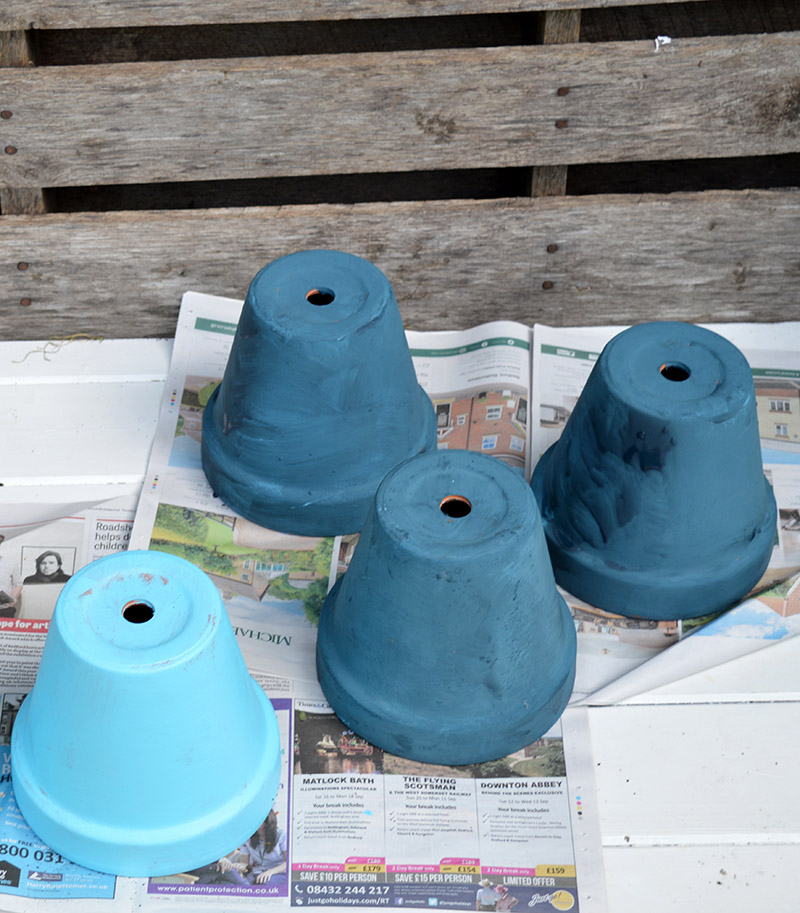
Step 8: Drill a screw hole into each of the jubilee clips. This will enable you to attach them to the painted pallet.

Step 9: I only used 5 for my planter because I had quite large pots. If you have smaller pots, you may want to use more. Each clip was screwed to the pallet wood in a 5-dot dice pattern.
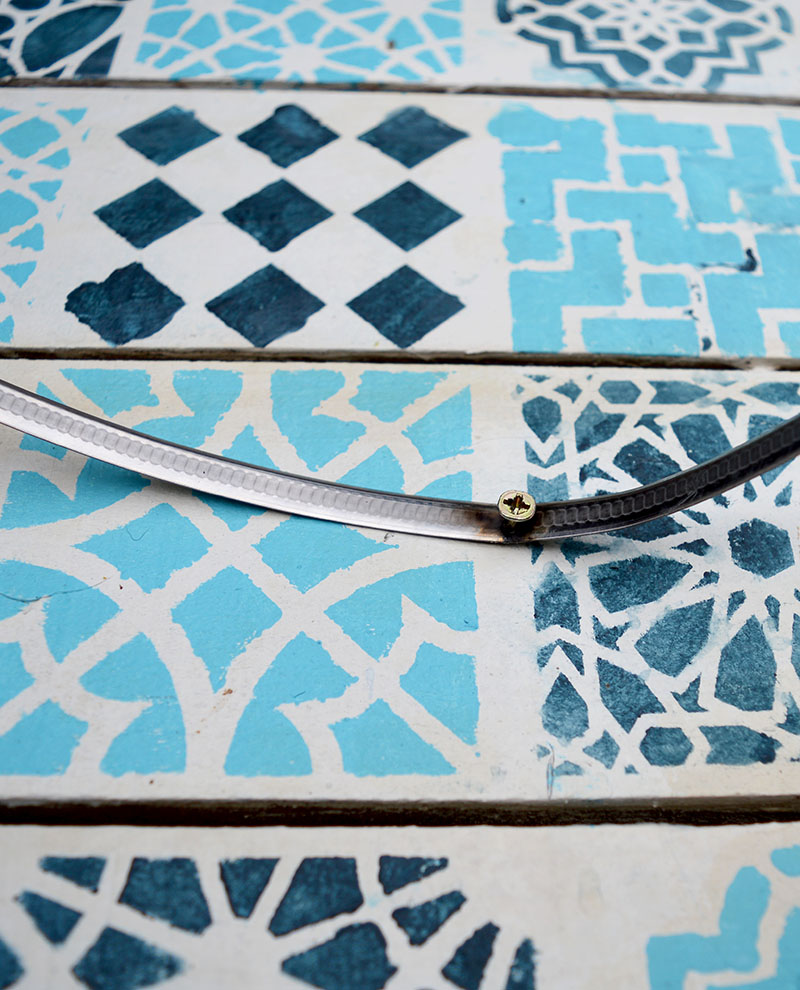
I closed the jubilee clips. As the plant pots are tapered, they slot into the jubilee clips. This makes them very easy to change and remove when needed.
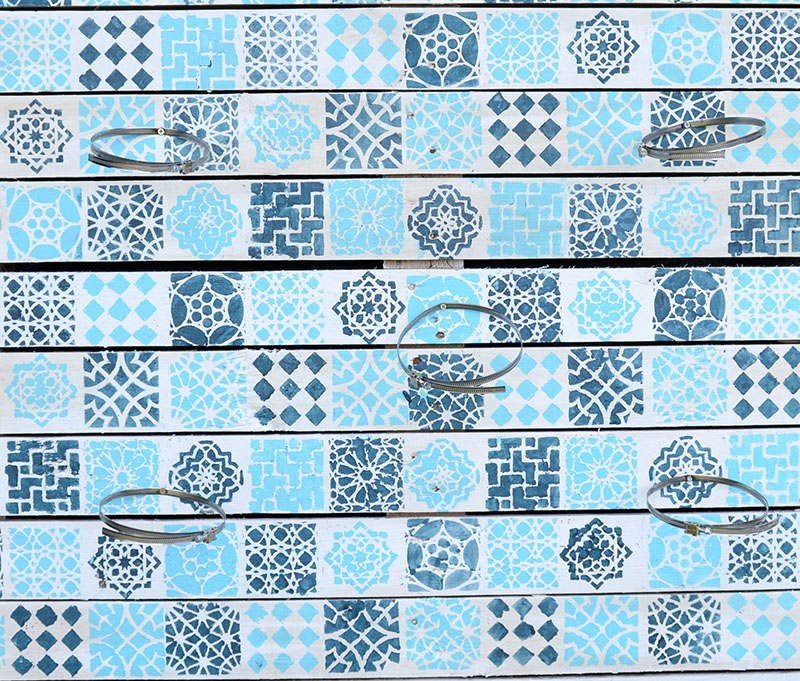
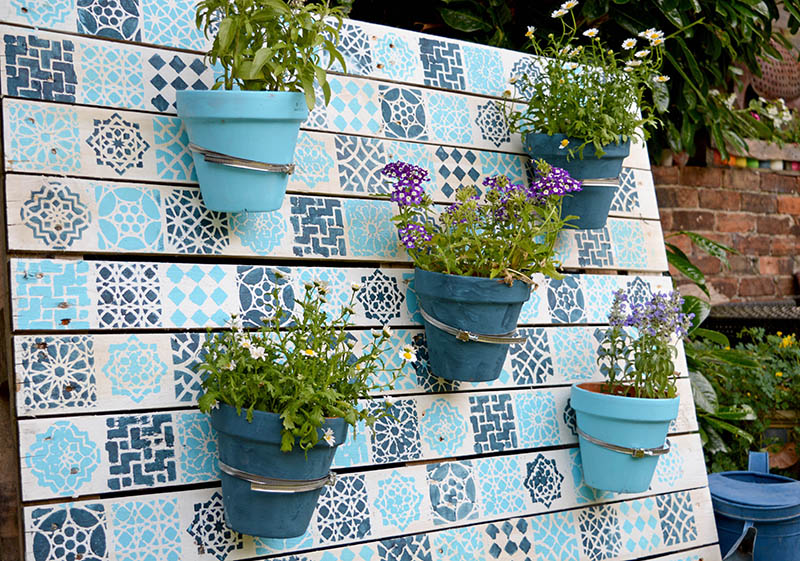
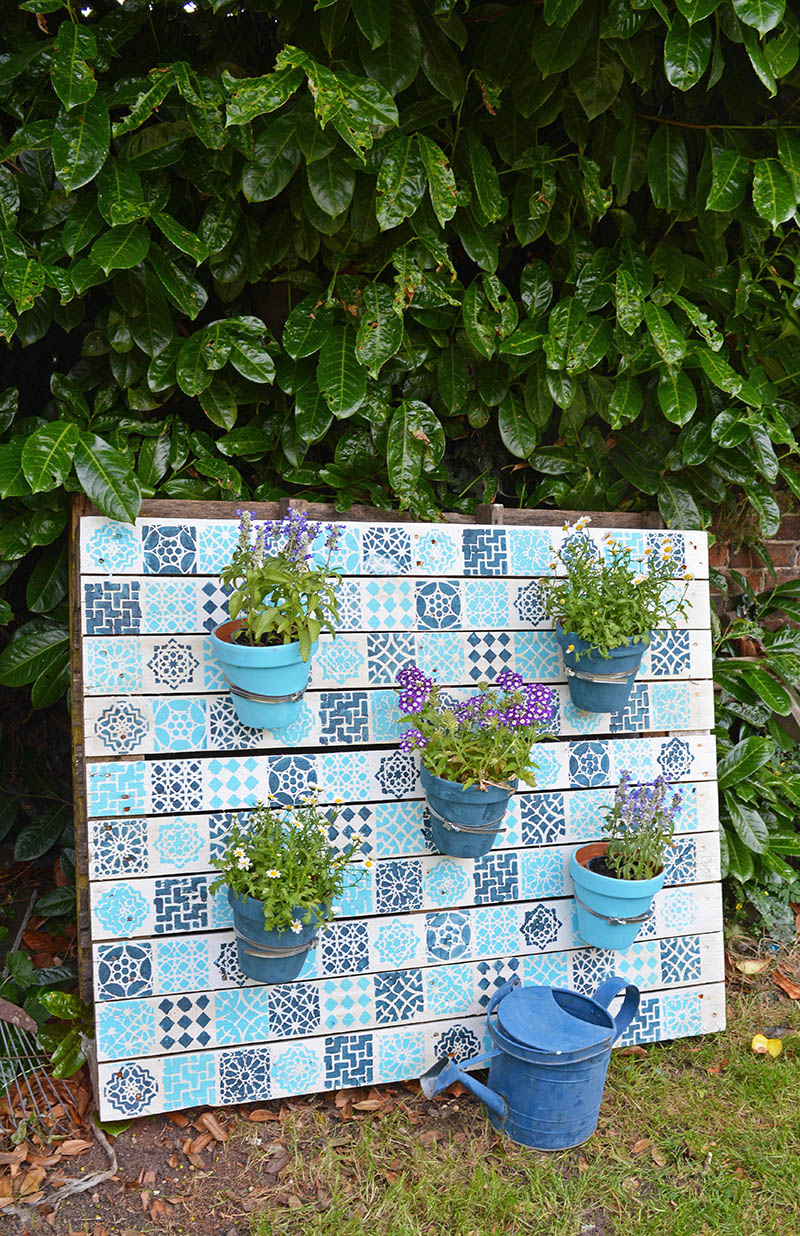
I'm pleased with how this painted wood pallet has turned out. It looks awesome in my garden, and I love the Moroccan feel that the stencil gives to the planter wall.
Update & FAQs
Three years on, I still have this painted pallet planter in my garden. The paint and pallet have held up well to all the British weather thrown at it over the years. However, I have changed the potted flowers a couple of times.
Use exterior-grade or latex paint for outdoor pallets and acrylic paint for indoor ones.
Yes, sanding removes rough spots and improves paint adherence.
A primer provides a smoother painting surface and enhances colour vibrancy, but it isn't always necessary.
Usually, two coats are enough, but it can vary based on the paint type and desired opacity.
Brush off loose dirt or grime. If extremely dirty, wash with a mild detergent and water, then dry before painting.
Secure the stencil with painter's tape and use a dry brush or sponge technique.
Seal with a varnish or sealant for outdoor use. For indoor use, sealing is optional.
Other Post Ideas
I fancy using paper doilies for a lace pattern next time, just like I did with these painted plates.
I love making upcycled planters to brighten up my garden often; I use tin cans to make planters. One of my favourites is the beautiful colourful Marimekko decorative tin can planters. Next to my second favourite garden, upcycle my unique Marimekko bench.
Since making this painted wood pallet planter, I have been inspired to paint my shed with colour and pattern, brightening up my garden even on the dullest of winter days.
I also have a post on how to paint a wooden box; many ideas can be translated to painting pallets.
I've used the same stencil again on fabric to make a cool DIY denim table runner.
This pallet planter was featured in the A to Z of clever upcycling ideas and resources and in the 50 garden upcycling ideas.
This post was update July 2023
What a great idea. I thought it was tiles at first.
Thank you, that was the idea they are supposed to resemble Moroccan tiles.
LOVE that! I need to do this for my living room that need a new look!
Thank you, and good luck with it.
I don't think this could be anymore beautiful! It just catches my eye and I want to look at it all day. Wonderful job, Claire! Thank you so much for sharing this with us at Funtastic Friday. Pinned & sharing!
Thank you so much, Angie and thanks for the shares. It really does brighten up my garden especially on a wet and rainy British summers day like today!
Wow! How pretty and creative. I also like how you painted the planters to coordinate with the tiles.
Thank you Lea, I thought it would look better with matching planters.
This looks fantastic Claire! I love that I wouldn't need to take apart the pallet. I hate doing that! 🙂
Thank you! Yes take pallets apart is a pain.
What a beautiful idea! I love the stenciling and the colors are wonderful!
Thank you Carolann!
Love how this project turned out. You really created something far more creative than your typical vertical planter with this Moroccan theme. Absolutely gorgeous!
Thank you so much Jesica. I do like the Moroccan trend at the moment.
Hello Claire!
Just saw this at the Vintage Charm Link Party and I LOVE it!! The blues are beautiful! Good job! Thanks so much for sharing!
Thank you Jan! I do like my blues.
At first, I totally thought you had put down individual tiles. Great stencil job! Very pretty vertical planter.
Thank you, Victoria!
This is a lovely planter. Would the colors get ruined if one overwaters the plants?
Thank you! ? I did seal it with wax and it hasn't happened so far, it's even been through a couple of thunderstorms so it should be ok.
Very nice pattern, I love the colours, great idea and work! Greethings!
Thank you ? I do like the Moroccan style stencil.
Claire ,You did a great job. They look like tiles. I painted a pallet with a white washed effect to give a beachy effect & used plant pots with hangers on.
Thank you, Shirley. I'm sure your beach pallet looks lovely.
That stencil is beautiful...love the whole look!
Thank you, Medina.
This is a fabulous vertical planter! I've seen photos of lots of pallet planters with the wood left natural. But, this one really goes above and beyond. I love the Moroccan tile look. So creative!
Carol ("Mimi") from Home with Mimi
Oh my Claire, that is absolutely gorgeous! I want it in my back yard.