
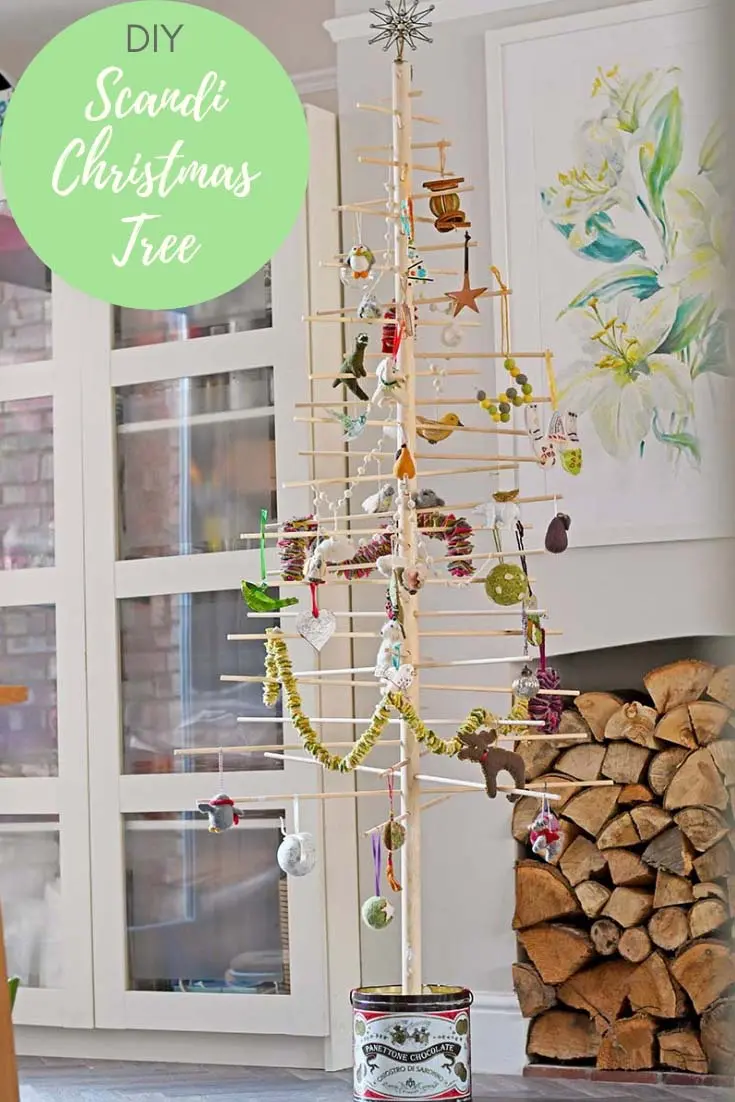
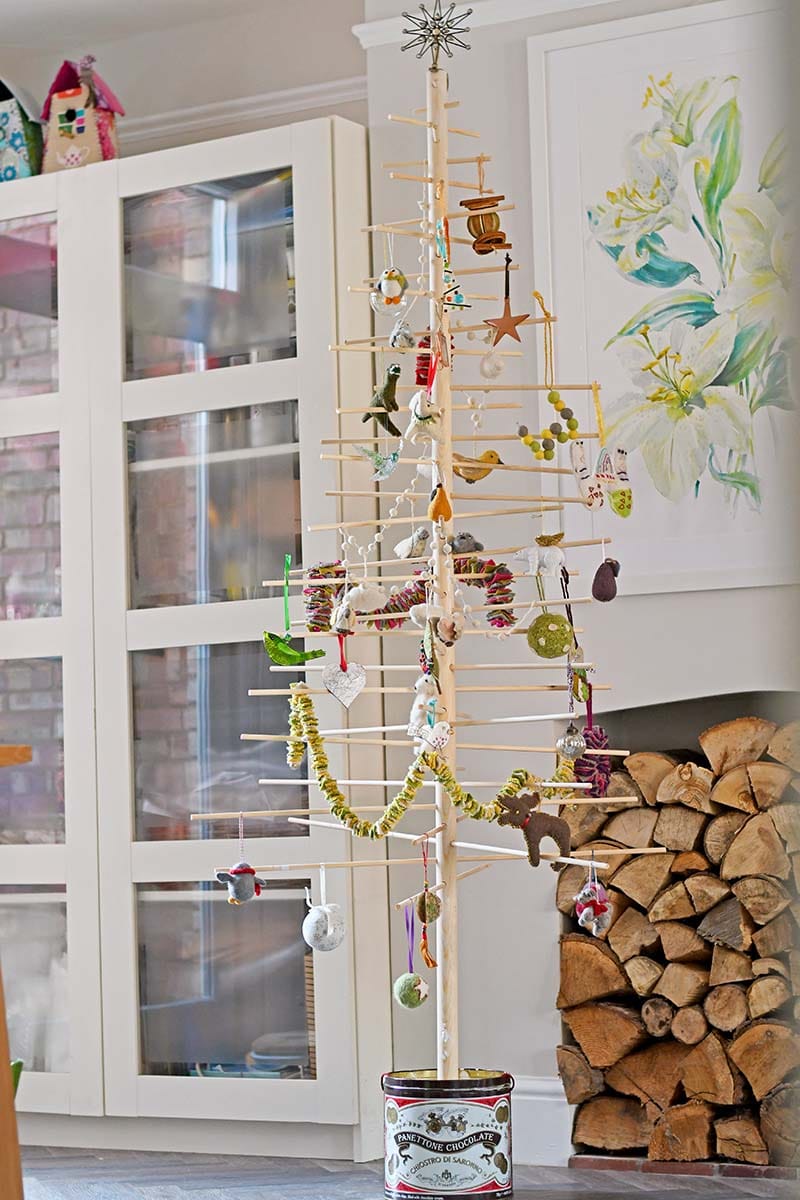
This simple but stylish Scandinavian Christmas tree is well worth the effort. It is designed to last for years and can be easily dismantled and stored away at the end of the festive season. Ready to be simply reassembled for many future Christmas’s.
I’d like to say that I personally made this Scandinavian Christmas Tree, but my friend Wendy made it with my help. Well, when I say help if holding the tape measure counts. I did give advice on various stages of construction whether Wendy wanted it or not! (I think that counts as help)
I would have made one of these wooden trees myself, but I’d already made my wire rustic Christmas tree for this season. I might make one next year! Both these simple trees are great for showing off your favourite ornaments.
Instructions For A Simple Scandinavian Christmas Tree
Making one of these Scandinavian Christmas trees is much cheaper than buying one from a trendy interiors store. Also, this tree can be made to your own personal specifications. It can be made as tall or as wide as you want, choose the dimensions to fit in with your home decor.
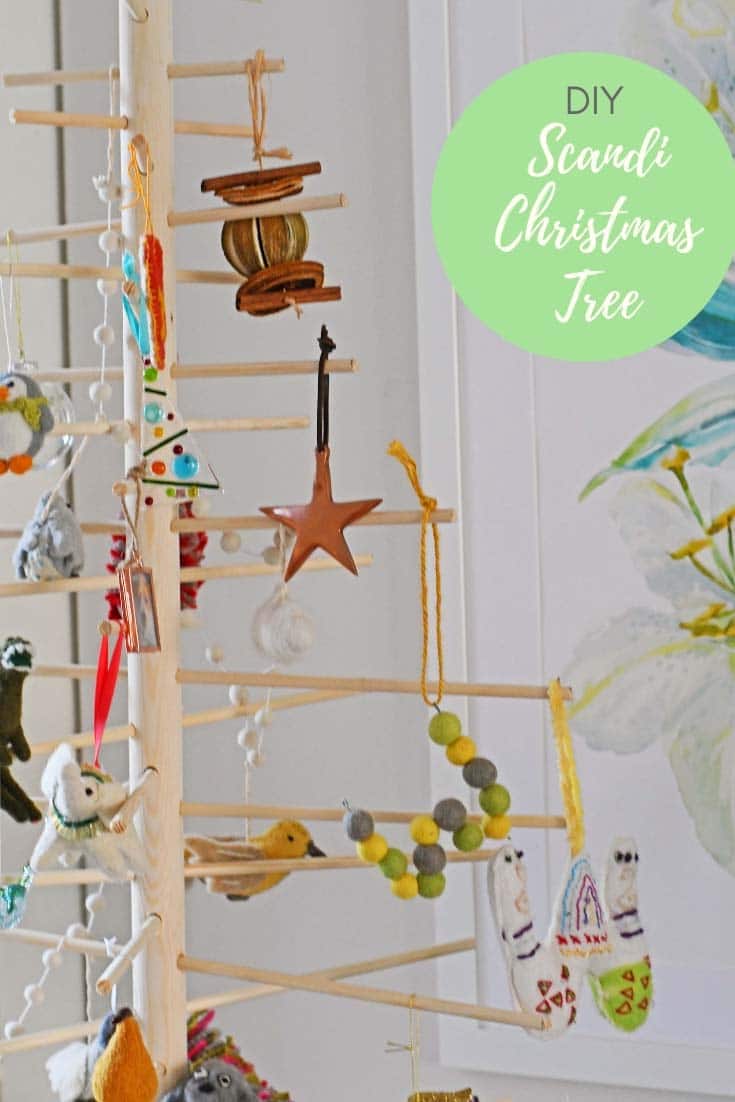
Don’t forget to make some DIY Scandinavian decorations too to hang from this fabulous tree. And all my other upcycled alternative Christmas tree idea.

This post contains Amazon affiliate links for your convenience. Click here to see my disclosure policy.
What you need to make a Scandinavian Christmas Tree
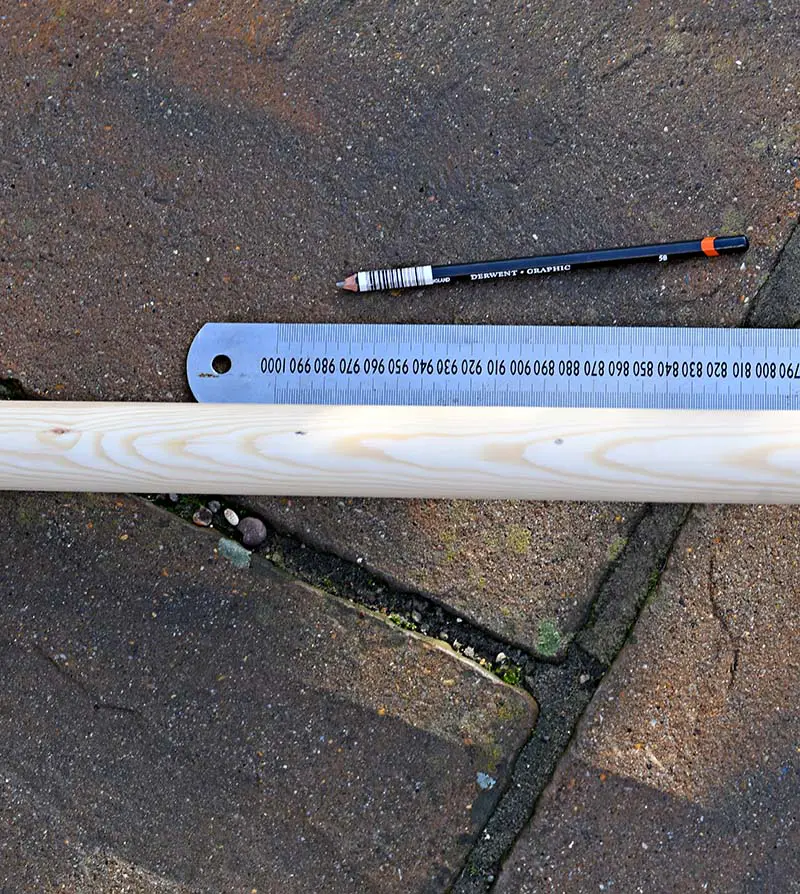
- Central wooden trunk – One wooden central pole 35mm in diameter and as tall as you would like your tree to be.
- Wooden dowels – 9mm in diameter. We used approximately 10 of these that were 2.4m long.
- Plaster of Paris about 4-5Kg
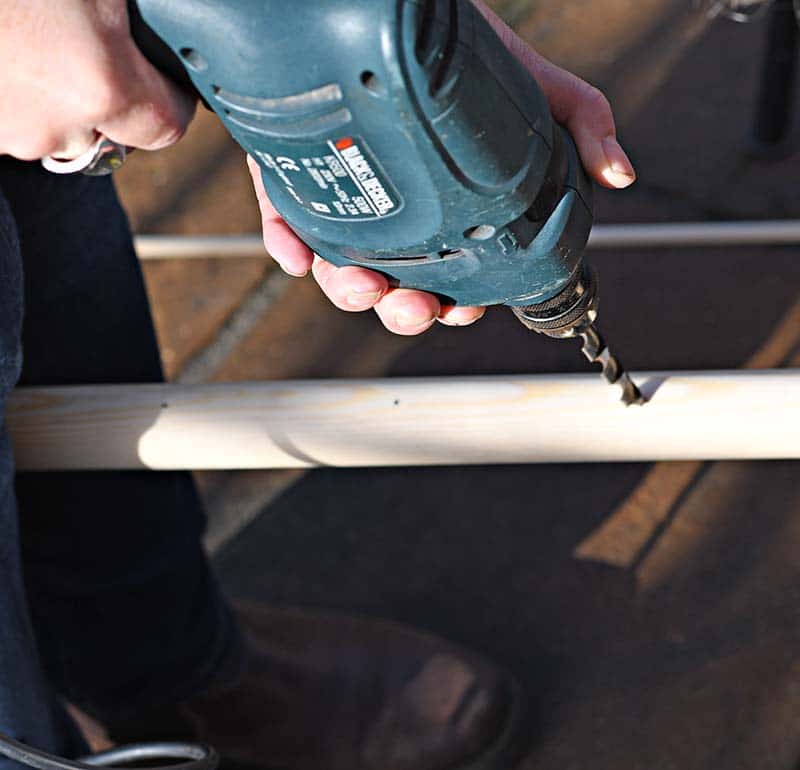
- Drill with a 10mm drill bit.
- Wood saw
- Large old Christmas tin like a Panettone tin
- Pencil, ruler and tape measure
How to make a Scandinavian Christmas tree
Step 1: Decide how tall you would like your Christmas tree and cut the central pole to that length. Starting approximately 30cm from the bottom of the pole mark with a pencil a drill hole every 10 cm.

Step 2: Drill a 10mm hole at each of these pencil marks. You may want to start with a small pilot hole so as to stop the wood from splitting.


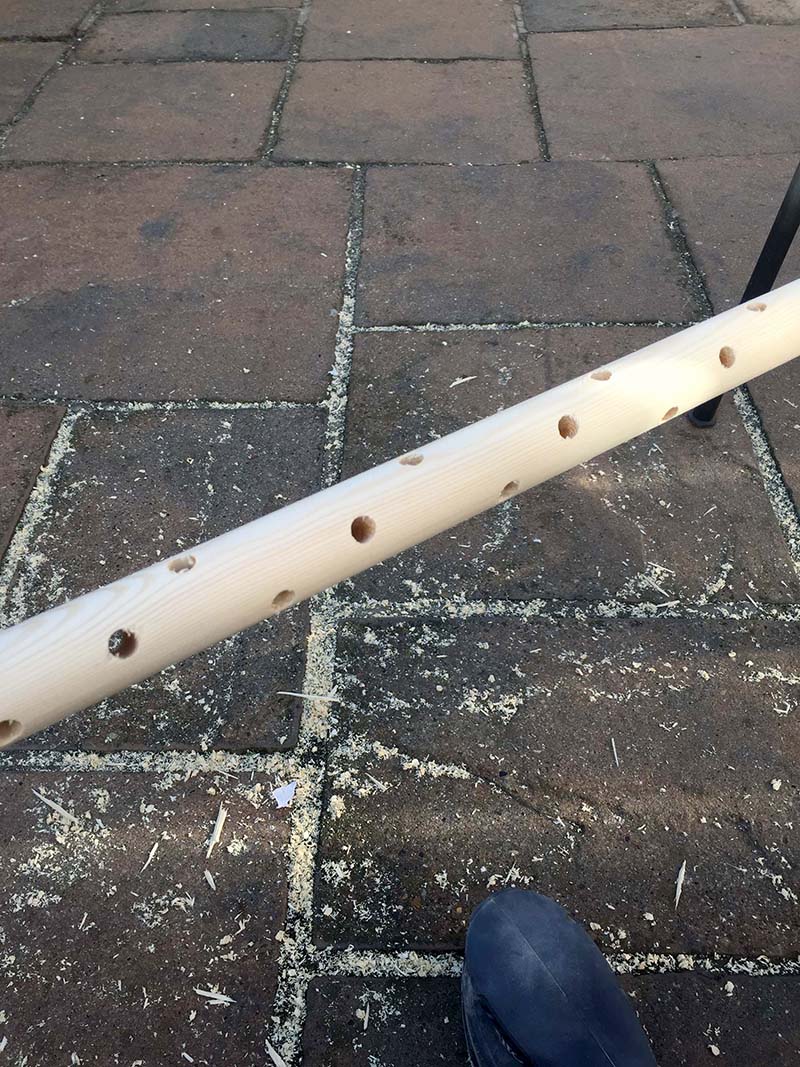
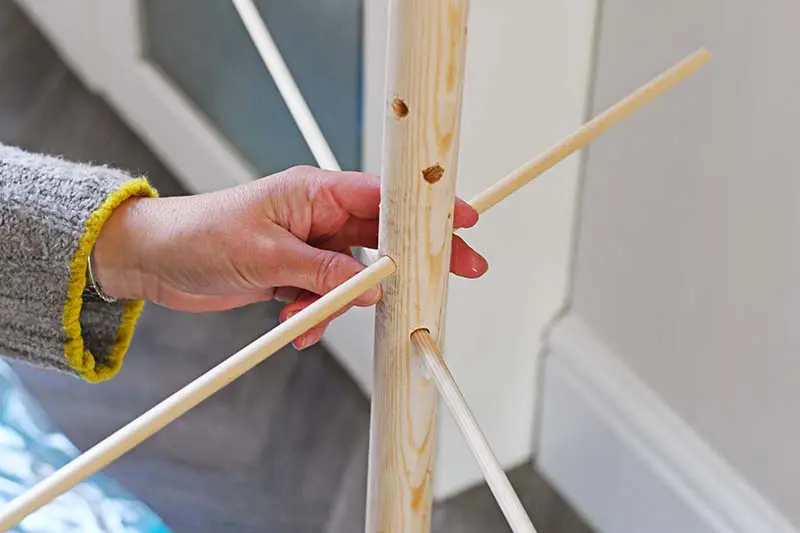
Step 3 Next, you want 2 more holes drilled between each pair of holes already driven. However, these holes will need to be staggered. Use a tape measure to work out the diameter and then turn the pole a third of a turn and mark another set of drill holes.
These holes are also 10cm apart but staggered so they are 3cm above the original holes. Then turn the pole another third turn and mark the third set of drill holes again 10cm apart and staggered by 3cm again. Drill all the holes with a 10mm drill bit.
I know this sounds complicated but if you look at the picture below you should see what I mean.

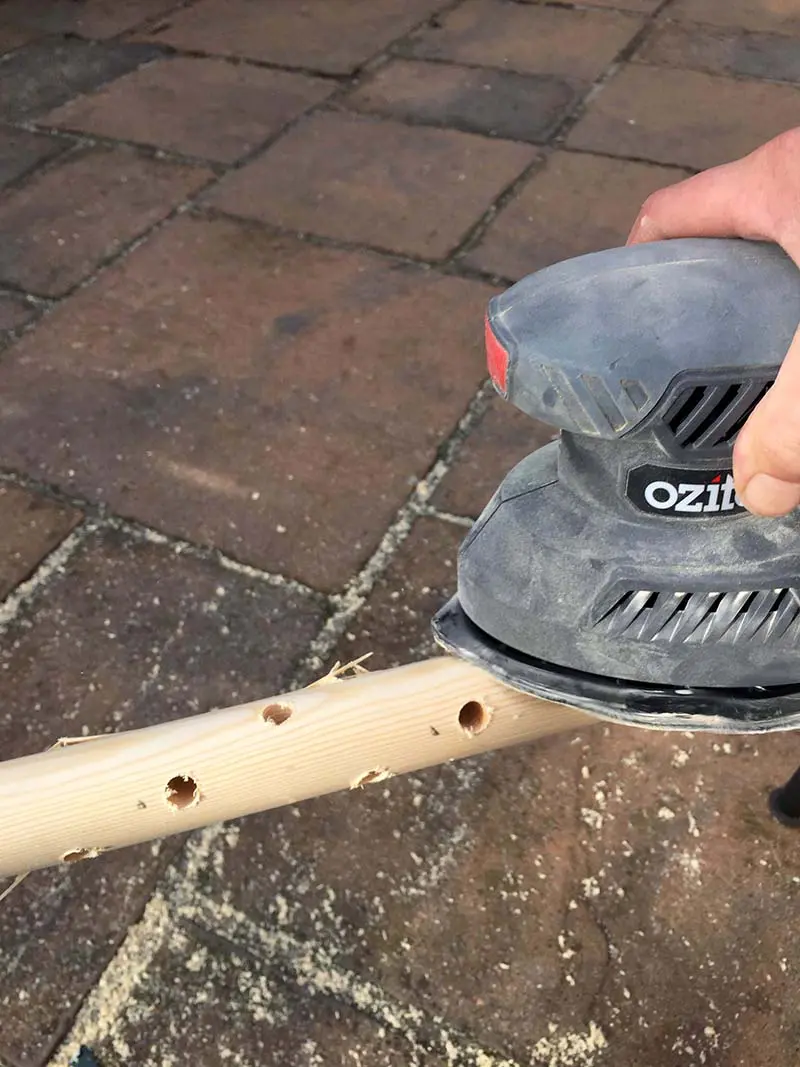
Drill one small hole into the top of the pole for a tree topper. Then sand the drilled pole to get rid of any splinters.

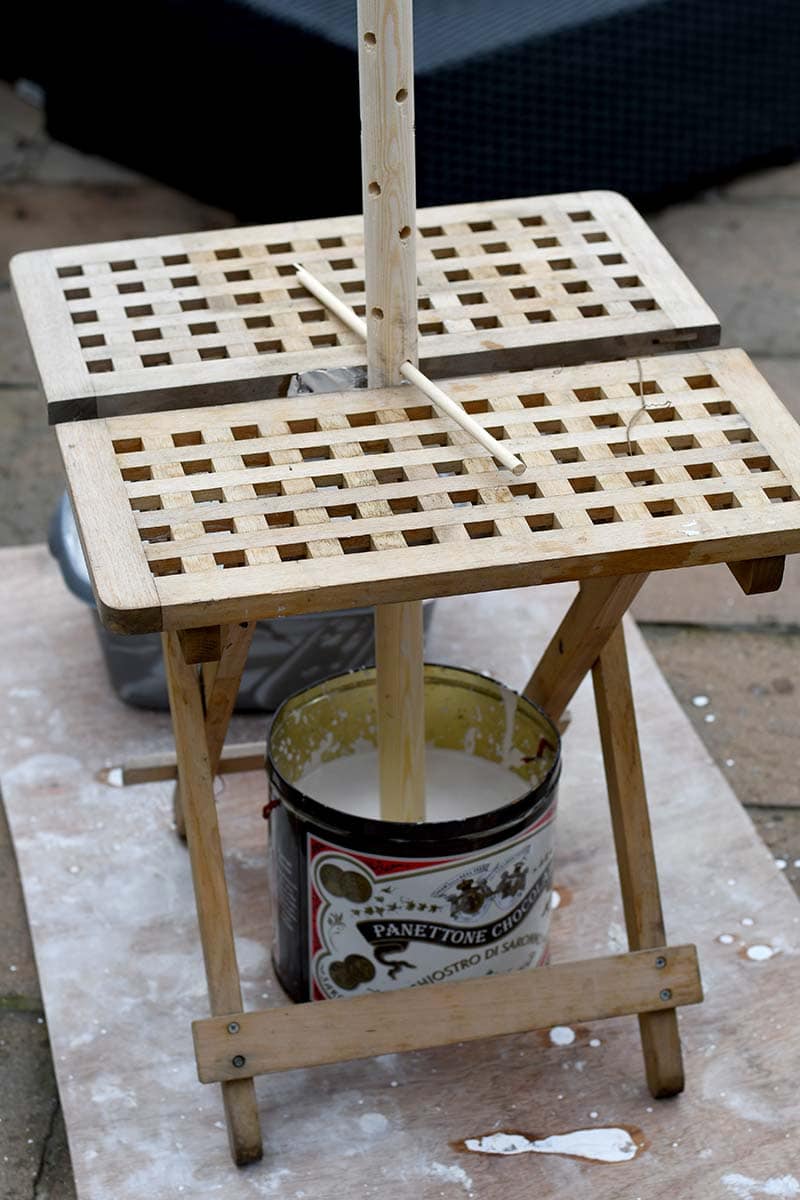
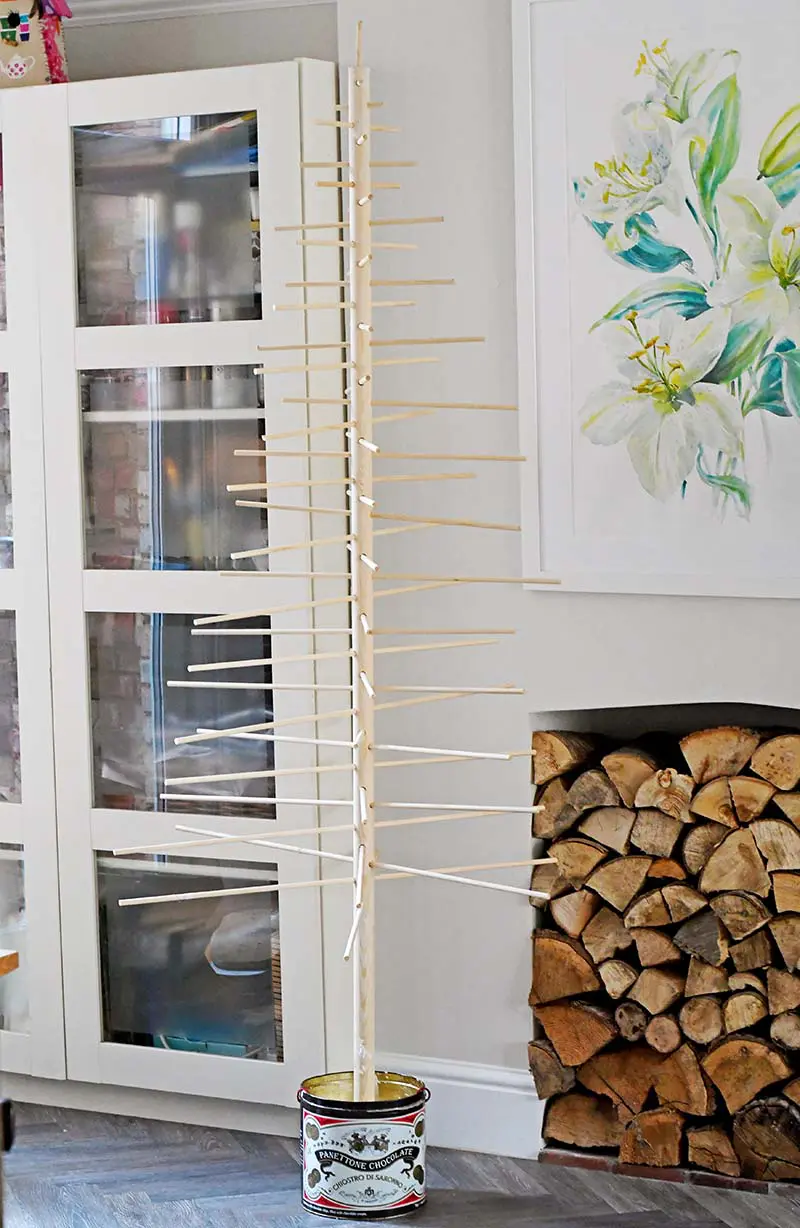
Step 5: Then, set the pole in Plaster of Paris in a Christmas tin. This was done exactly the same way as I did for the wire rustic Christmas tree I made. You will need to wedge the pole upright whilst the plaster sets. This time we used a table but in the past, I have used 2 chairs.

Assembling the Tree
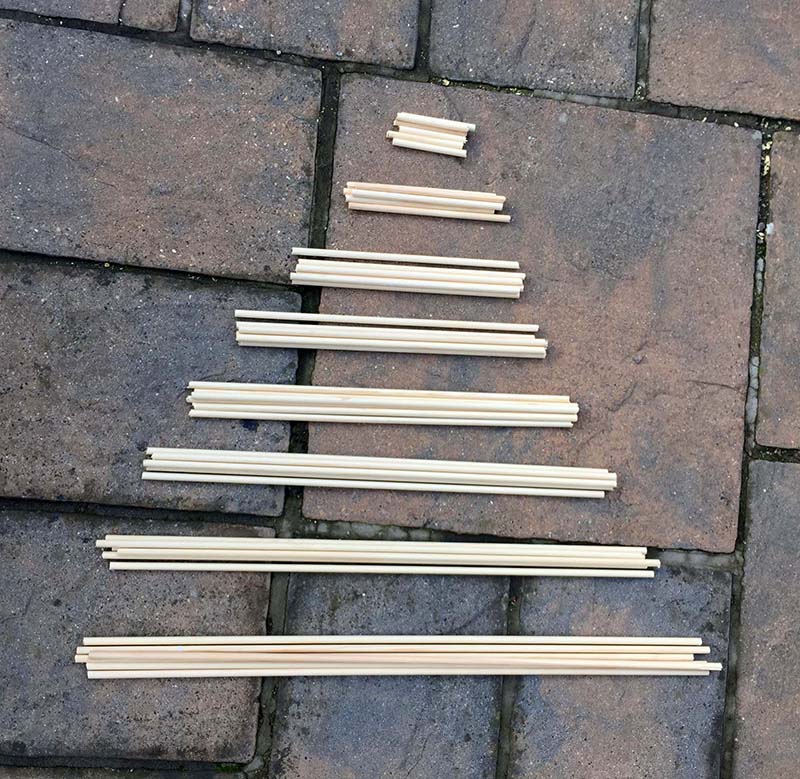
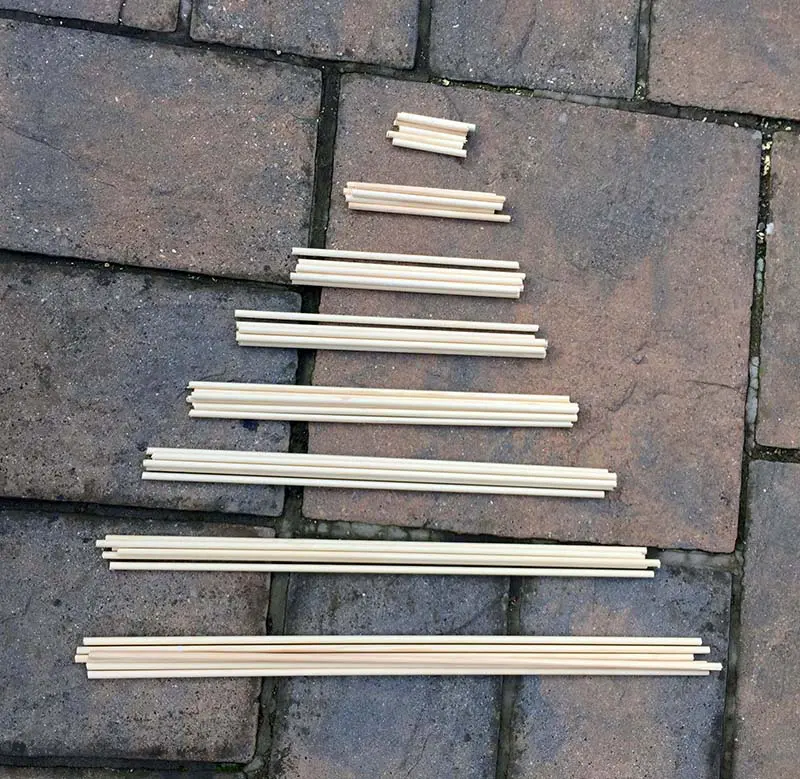
Step 6: Next, you will need to work out how many wooden branches you need (drill holes) and how long you want each branch. This tree was just over 5ft tall and we cut the wooden dowels into the following dimensions.
6 x 80cm
6 x 70cm
6 x 60cm
6 x 50cm
6 x 40cm
6 x 30cm
6 x 20cm
6 x 10cm
If you are clever you can work out how to cut your 240cm dowels down to these sizes in the most optimal way and reduce any wastage.
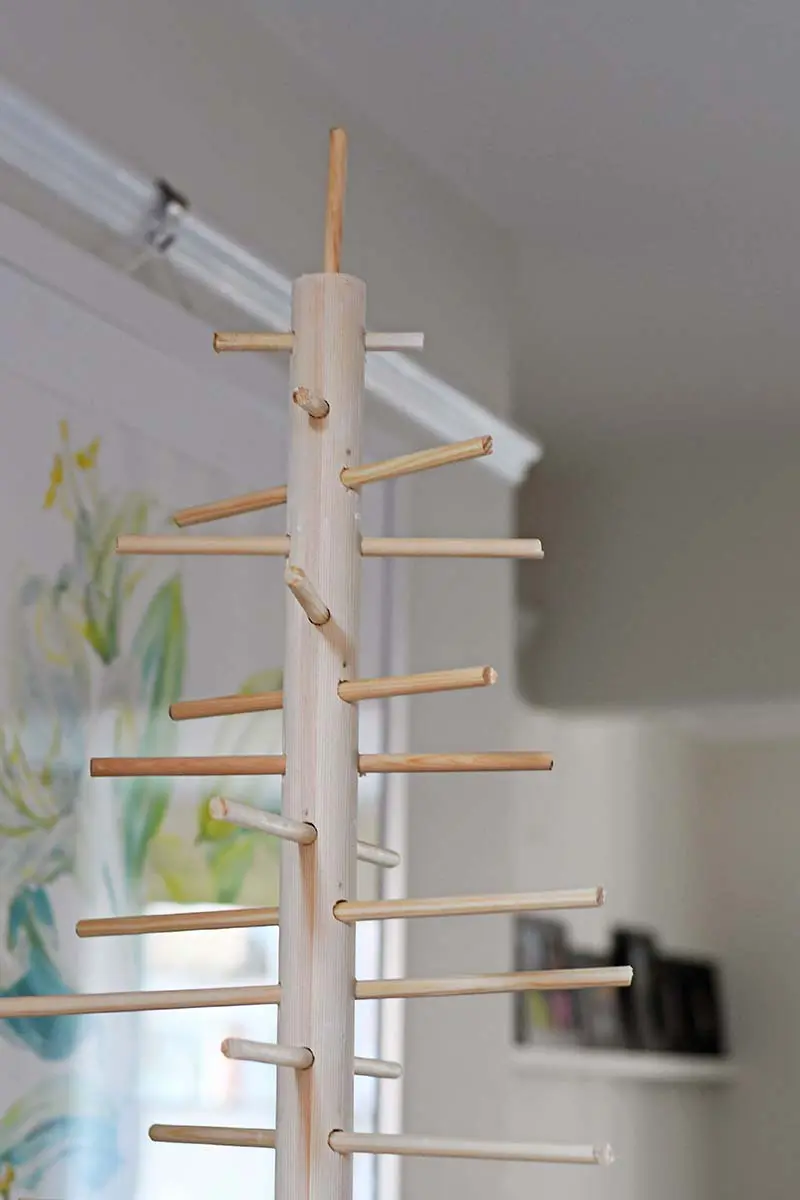
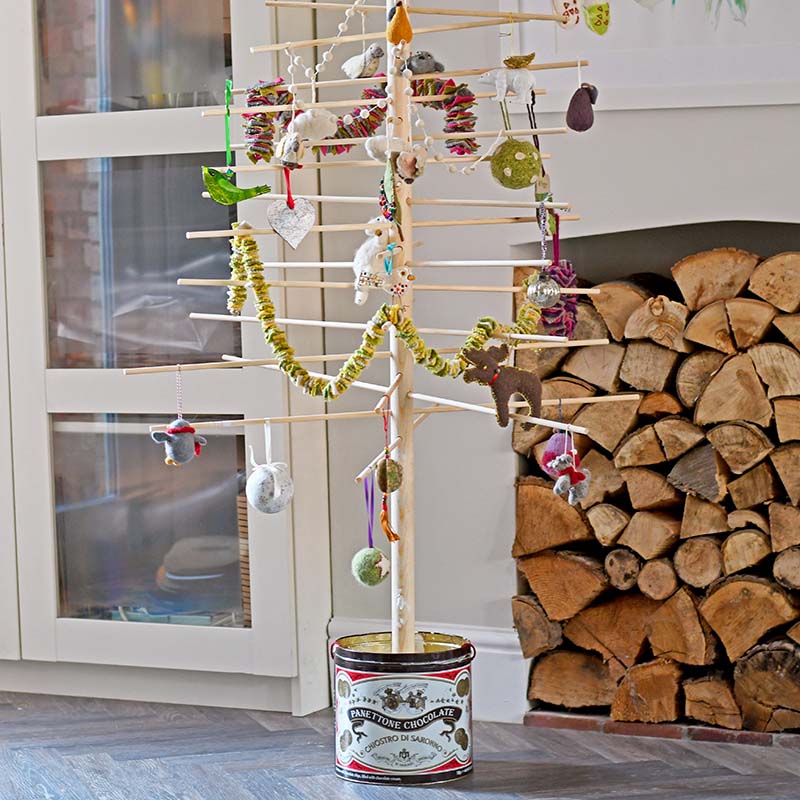
Step 7: Finally, to assemble the tree simply slot the dowels into the drill holes. Starting with the longest dowels at the bottom and the shortest at the top.


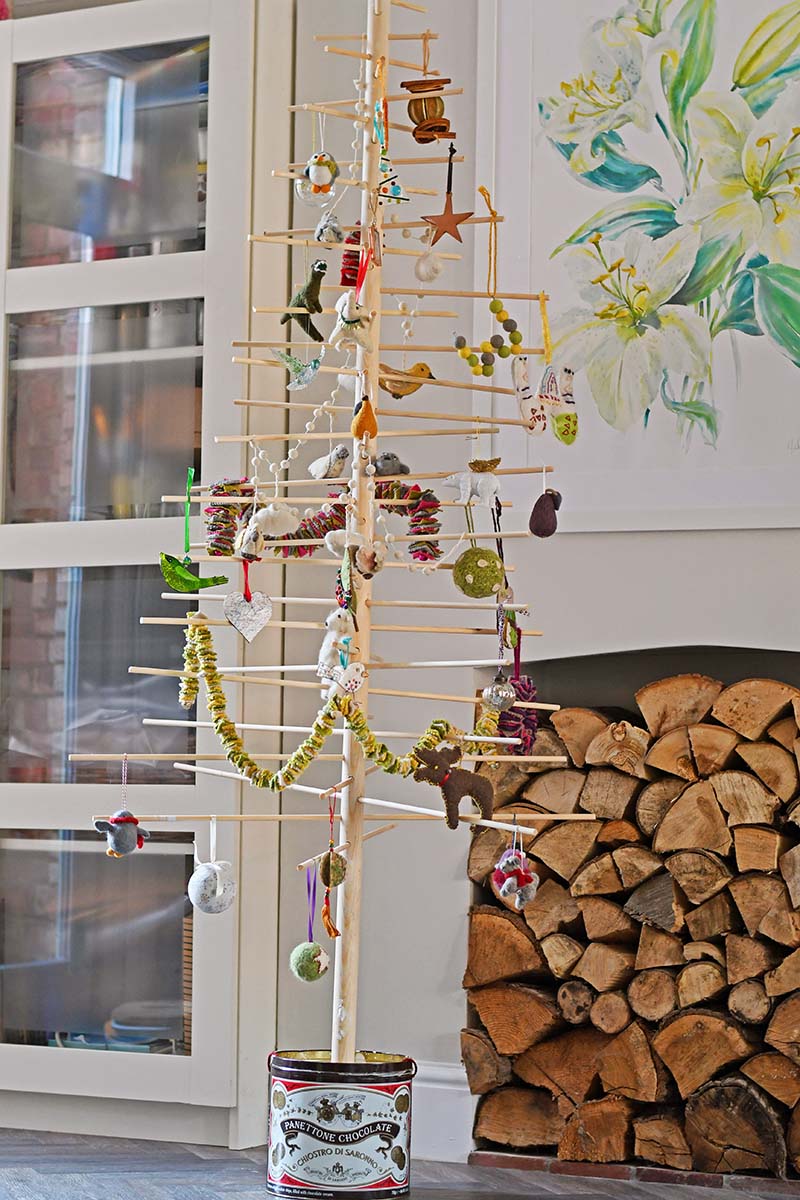
All that is left to do is decorate this Nordic Christmas tree. It is so easy to decorate as there are so many places to hang decorations from. The ornaments can simply be hung over the dowel branches. The tree also lends itself well to garlands.


As I mentioned this Nordic Christmas tree is so easy to dismantle and store away until next year. All you need to do is pull out the dowels one by one.
You should check out my other DIY alternative Christmas trees.
DIY Branch Christmas Tree
Rustic Christmas Tree From Old Lampshades
DIY Wooden Christmas Tree With Knobs On


25 Upcycled Christmas Tree Ideas - Dukes and Duchesses
Tuesday 19th of November 2019
[…] love the simplicity of Scandinavian style and this wooden dowel Scandinavian style tree is gorgeous. It’s also such a fun way to display small ornaments … the vintage […]
Cecilia
Monday 3rd of December 2018
So clever, Claire! Thanks for sharing at Vintage Charm!
Claire Armstrong
Tuesday 4th of December 2018
Thank you so much, Cecilia.
Velvet
Friday 30th of November 2018
This is such a treat! So nice and perfect if you live in a tiny apartment and a big bulky tree won't do it for you!!
Claire Armstrong
Friday 30th of November 2018
Thank you, Velvet. Also I don’t like dropped pine needles!
Chas Greener
Wednesday 28th of November 2018
What a great little tree and such a creative idea. Thanks for sharing.
Claire Armstrong
Wednesday 28th of November 2018
Thank you so much. We had fun making it.
Victoria @DazzleWhileFrazzled
Sunday 25th of November 2018
So fun! Great Christmas tree for young kids to make their own. Visiting from Happiness Is Homemade.
Claire Armstrong
Sunday 25th of November 2018
Yes they are easy to decorate so great for kids to hang all their handmade ornaments from. Thanks