
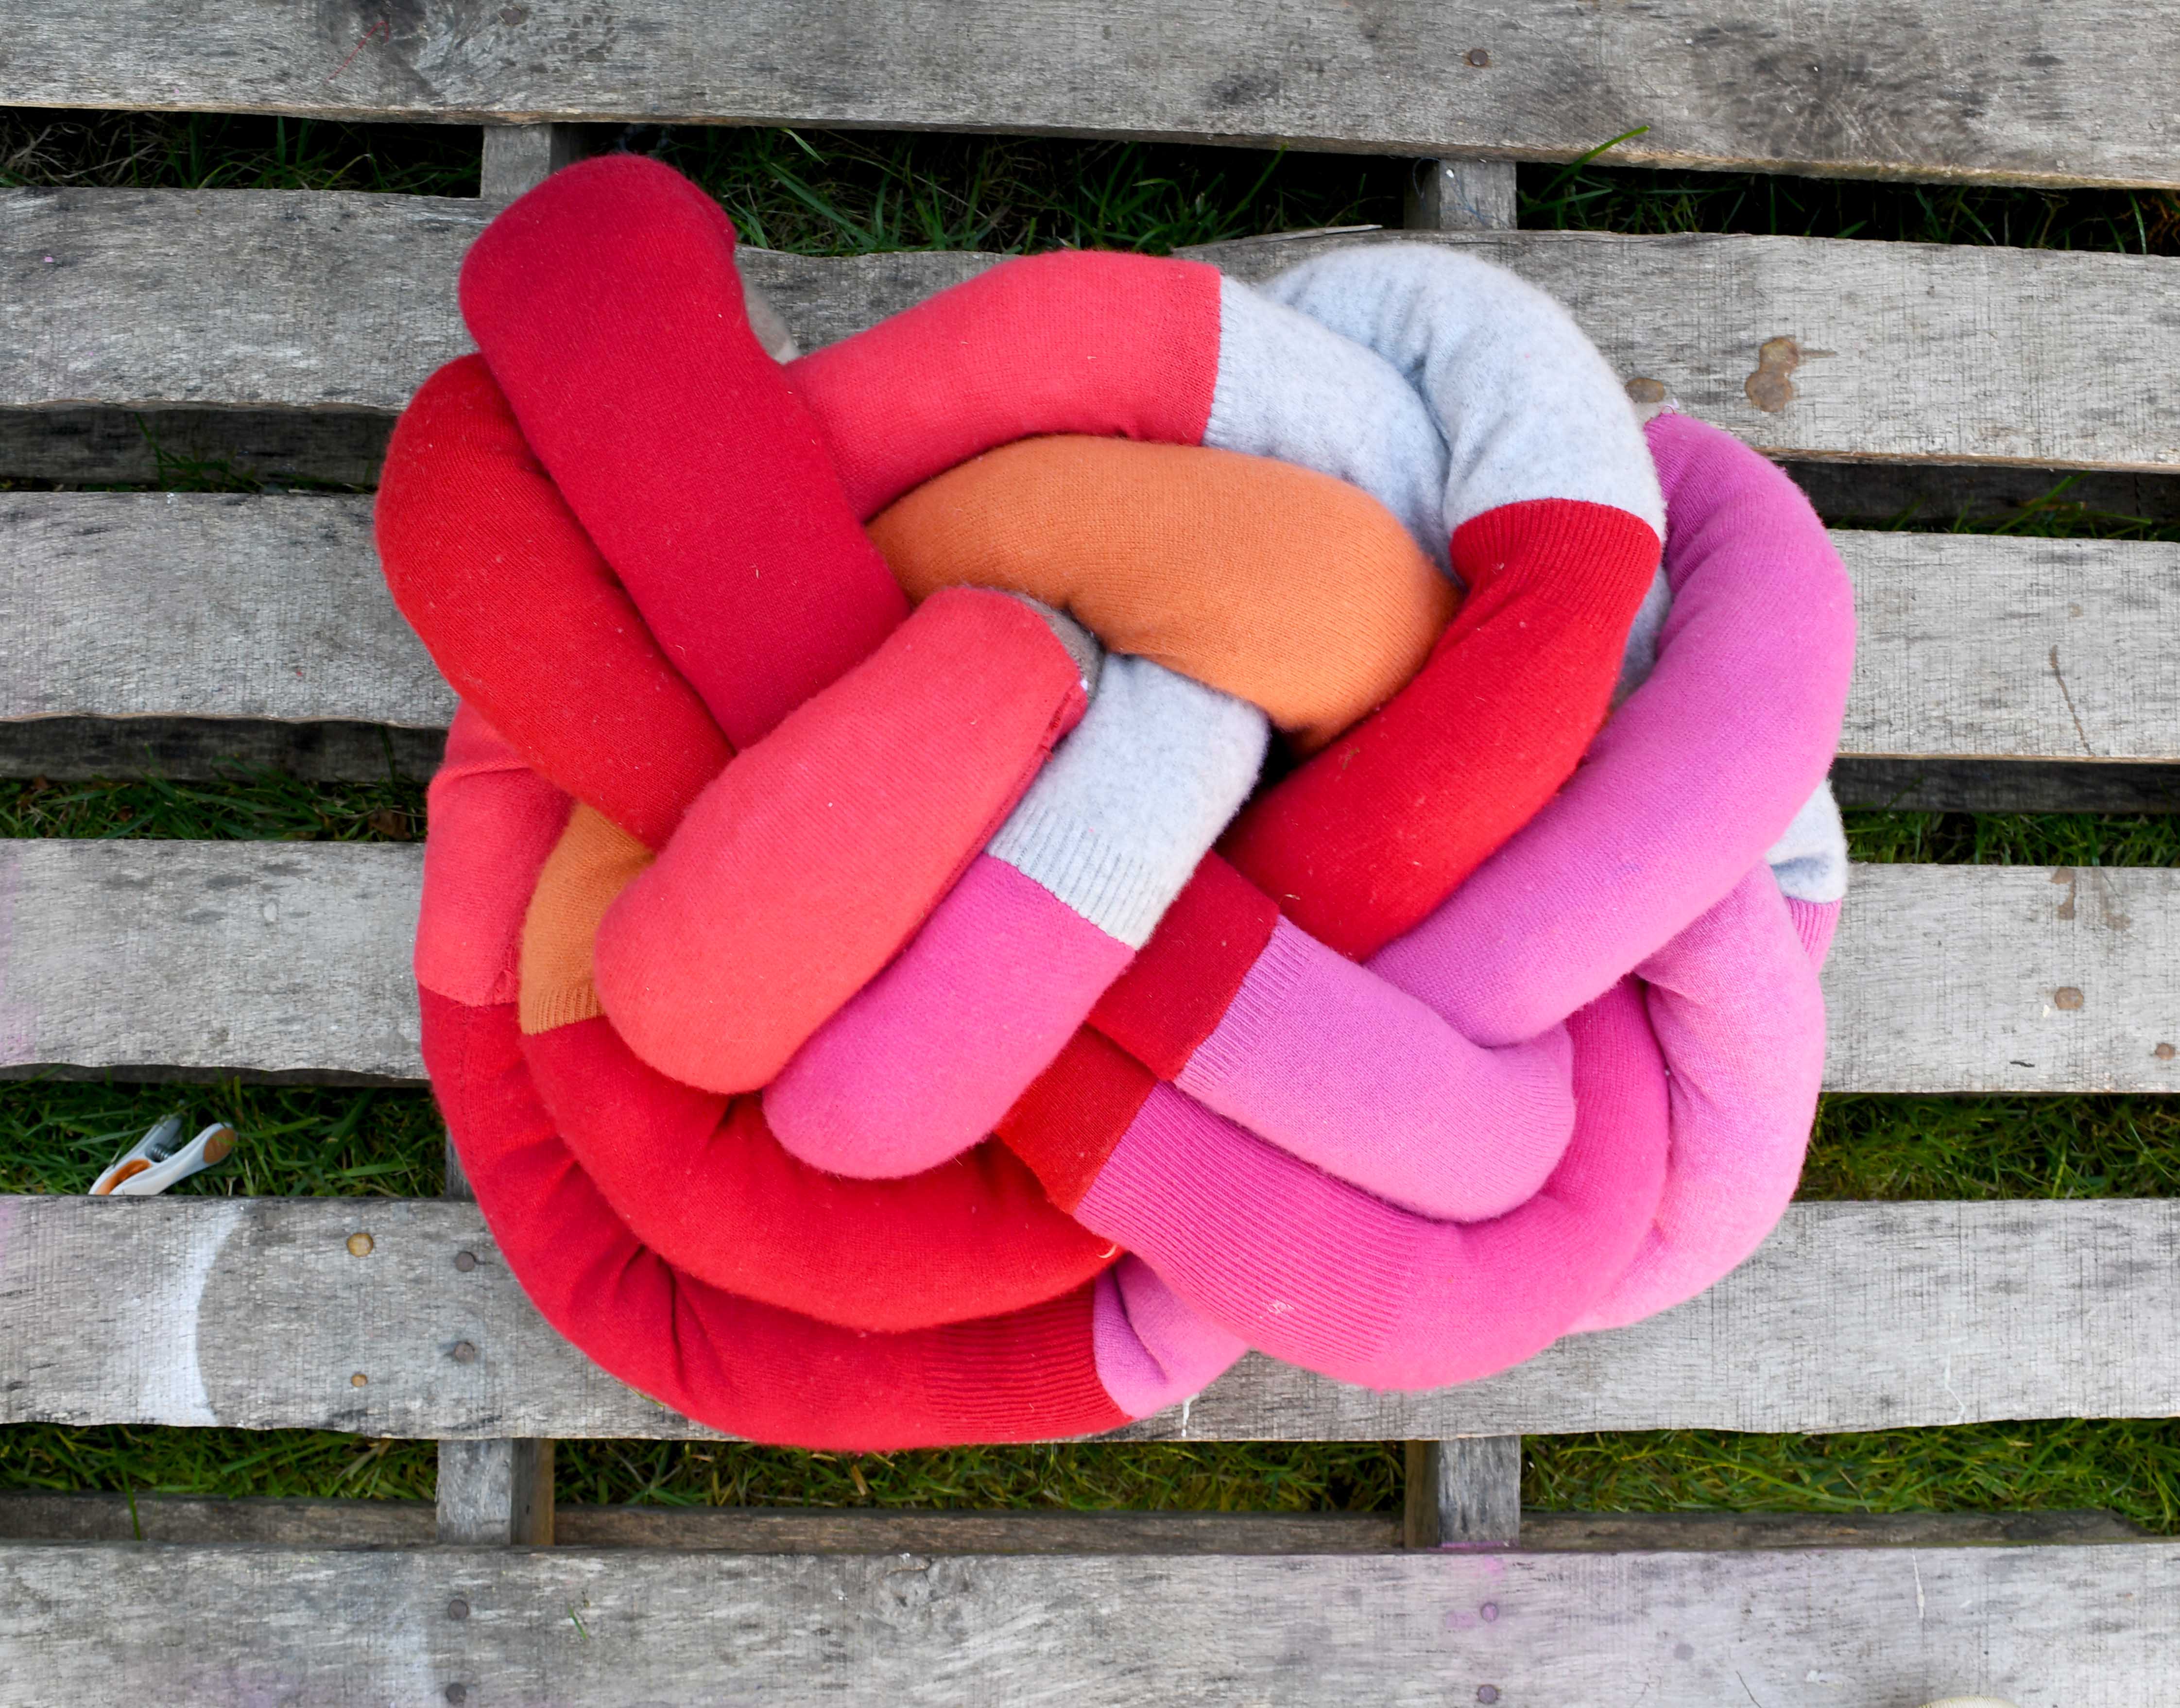
I have been planning to make this DIY knot pillow for a while. It is actually made from the leftovers of another upcycle. When I made a sweater felt rug, I cut the sleeves off the jumpers/sweaters and saved them for this project.
I have to admit making this DIY knot pillow wasn’t as easy as I thought it was going to be. Well, the pillow bit was very easy it was the DIY knot I struggled with.
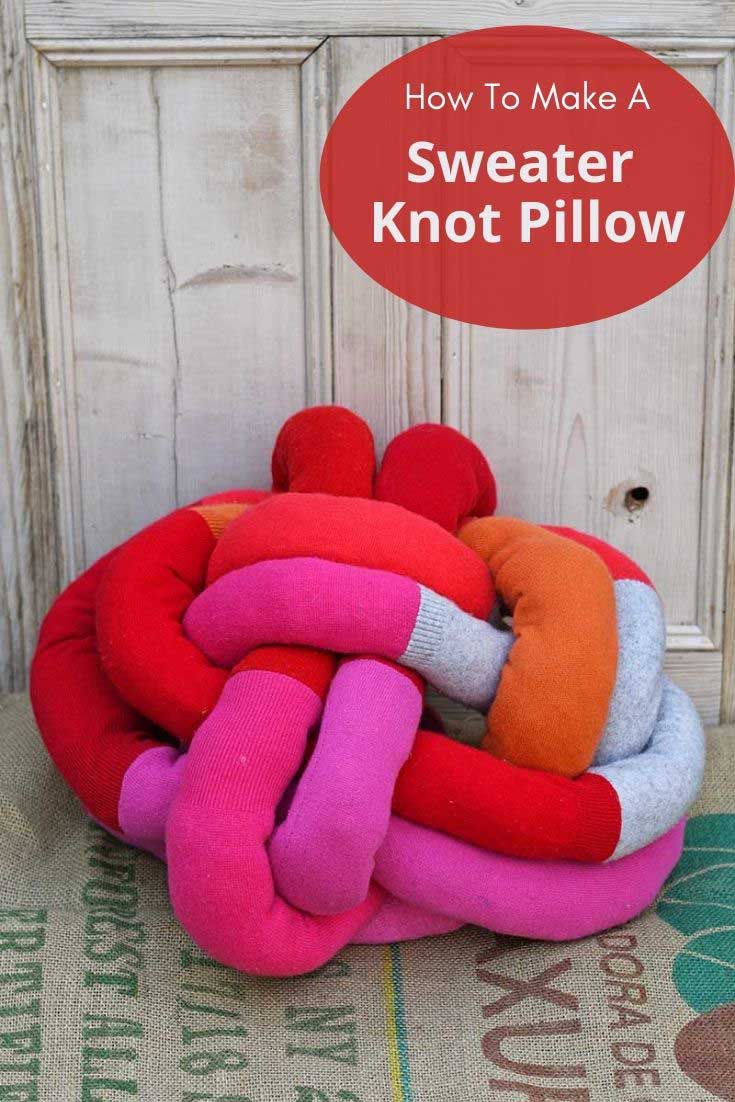
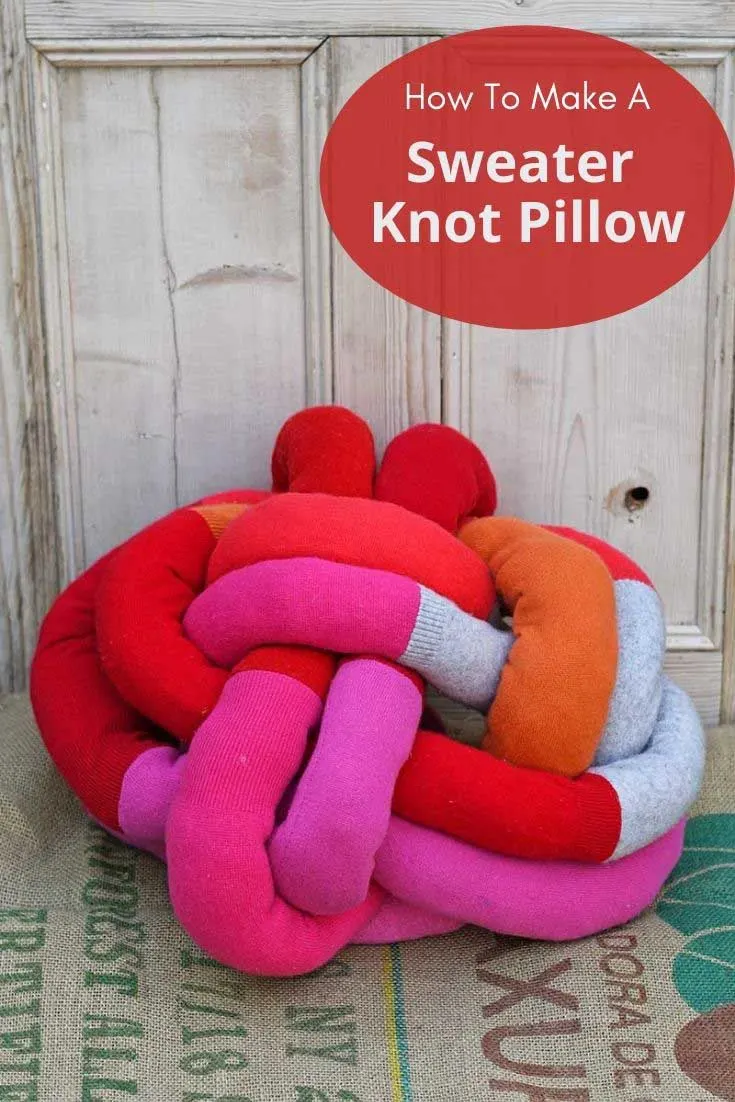
Repurposed Sweaters Celtic DIY knot Pillow
You’d have thought having been a Beaver Scout leader for 8 years combined with Celtic blood, that I should be able to tie a Celtic knot in my sleep. (Shh, don’t tell Bear Grills he’ll want me to return my wooden woggle!). It took me a while to get my way around this Celtic knot. However, once I had that Eureka! moment and cracked it, I think I could possibly now do it with my eyes closed. Or just one shut on a good day.
I actually got the idea for this DIY knot pillow when I spotted them in the Skandium. Skandium is a gorgeous Scandinavian interior shop in London that stocks lots of my favourite Nordic brands such as Marimekko.
We’re a participant in the Amazon Services LLC Associates Program, an affiliate advertising program designed to provide a means for us to earn fees by linking to Amazon.com and affiliated sites. As an Amazon Associate, I earn from qualifying purchases.


What you need to make a DIY knot Pillow
The repurposed sweaters
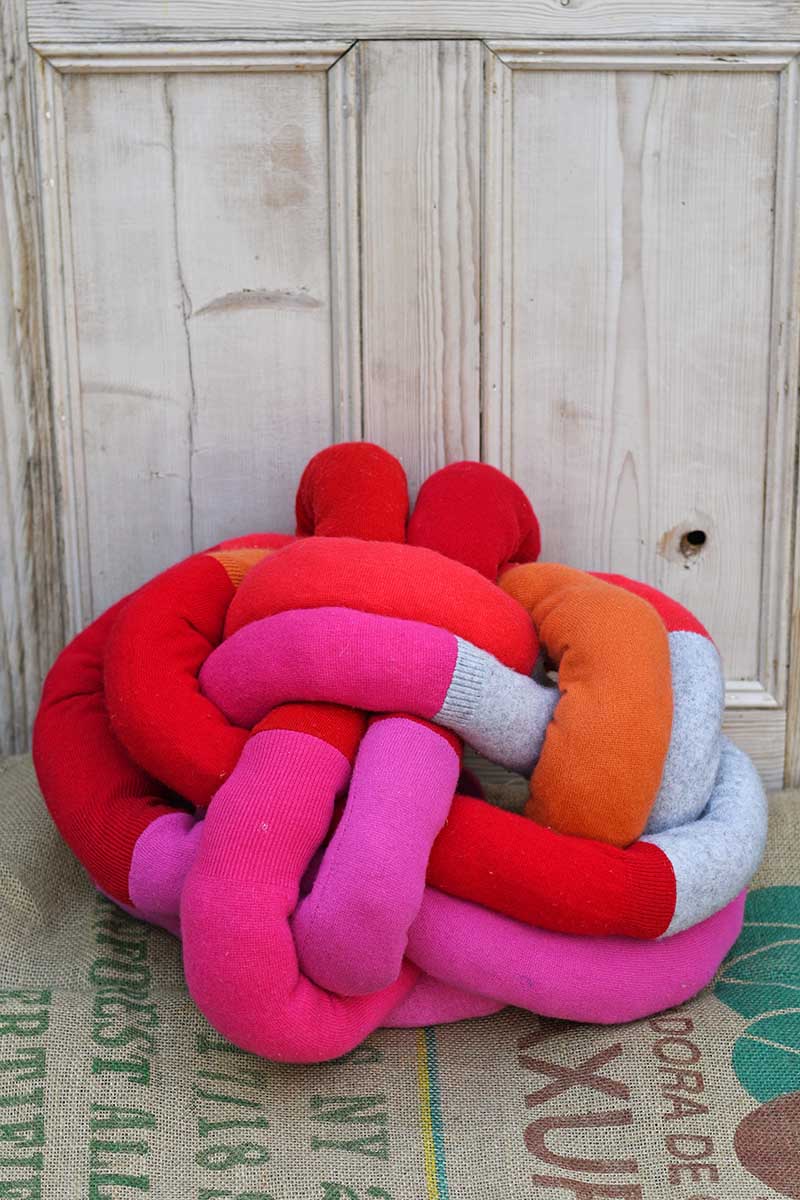
I used the sleeves of half a dozen wool sweaters leftover from another craft project. If you use handknitted wool sweaters then you will need to felt them in hot machine wash first. However, with most machine knitted sweaters these days if you cut the sweaters they don’t unravel. There is no need to felt them first.
The sweater sleeves I used were mainly from machined knitted soft lambswool and cashmere, which did not unravel when cut. So I did not felt them, which kept the fabric’s softness and stretchiness intact.
You can use wooly tights or jersey material instead. Basically, if you can sew the material into a long stretchy tube, then that will work with a DIY know pillow.
- Fiberfill – I use the stuffing from old pillows.
- Sewing machine or needle and thread if sewing by hand.
- Sharpie and a ruler
How to make a long sweater knot tube
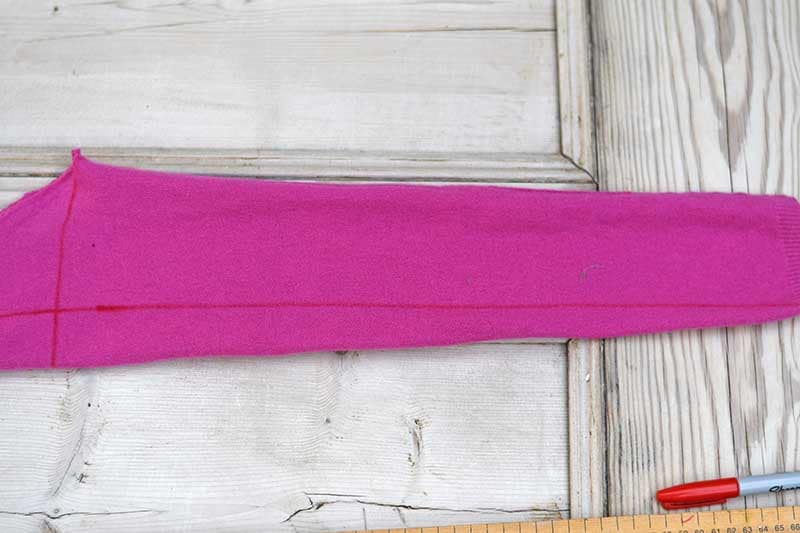
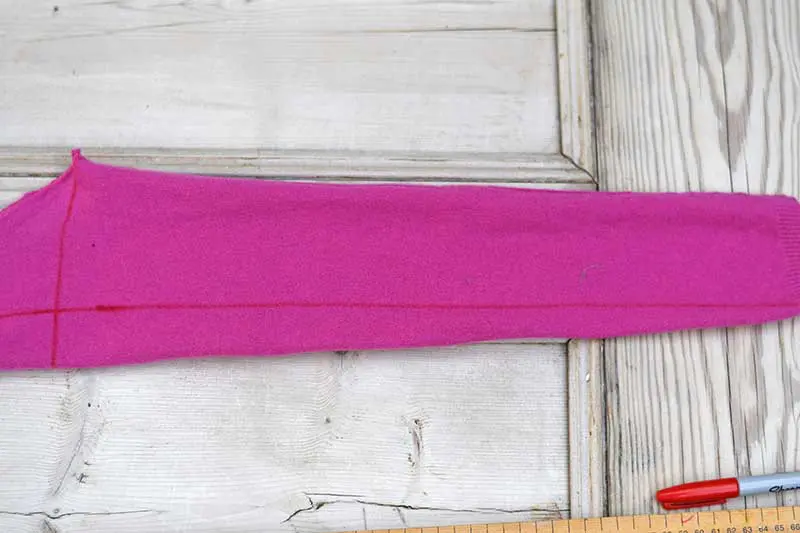
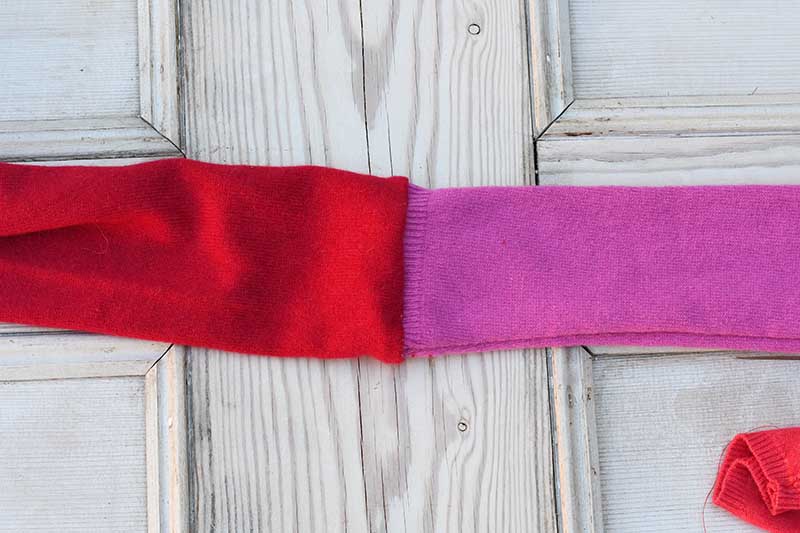
1.. The sleeves on sweaters are not uniform but tapered. For this fabric upcycle they need to be sewn and cut to form a uniform tube. To do this, first mark each sleeve with a ruler and sharpie, so that they are all the same width.
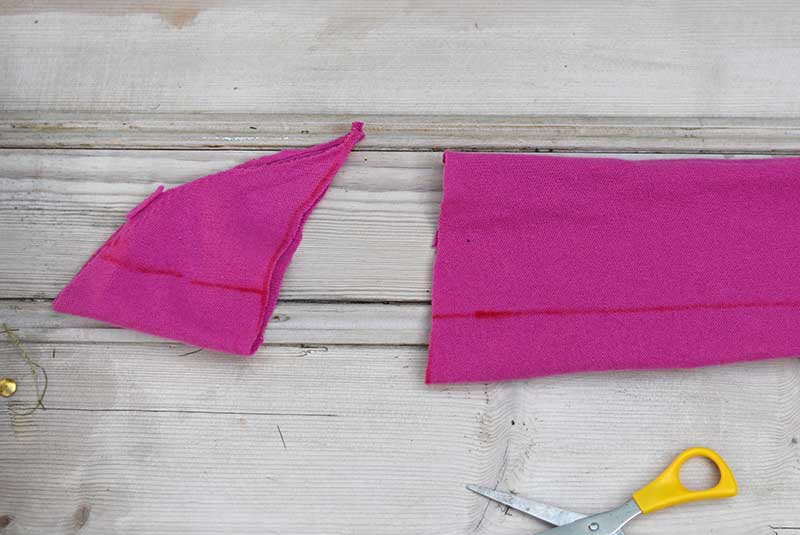
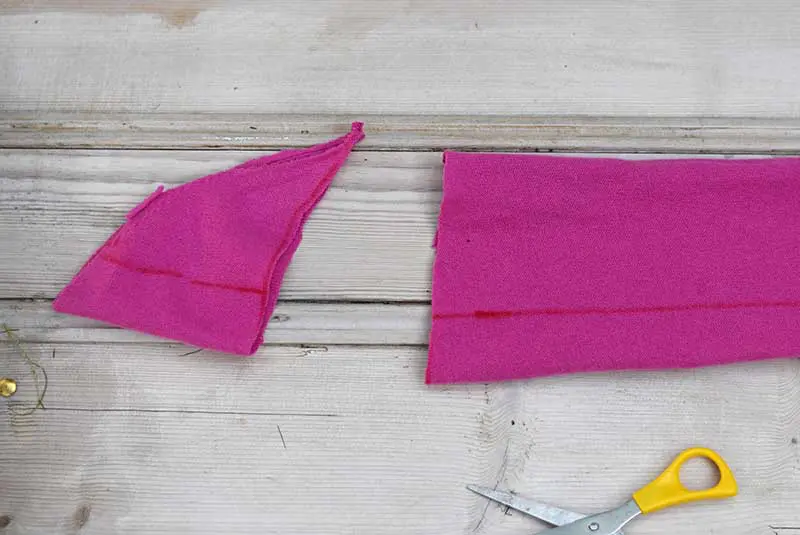
2. Next cut off any excess sweater at the shoulder and stitch along the line marked with the sharpie.
(Don’t throw away these small sweater scraps they can be used to make cute sweater felt balls or even sweater succulents.)
3. Repeat the last stage with the rest of the sweater sleeves. You want enough sleeves to form a tube 5-6 meters in length. I used the sleeves of 6 sweaters in total.
4. Next, the sweater tube was stitched and stuffed sleeve by sleeve. Turn the first sleeve inside out and then stitch up the end. Next, turn this sleeve right side out and then take the next sleeve and place this over the first sleeve so that both right sides are facing. Stitch the right sides together at the end. Then pull the 2 sleeves out.
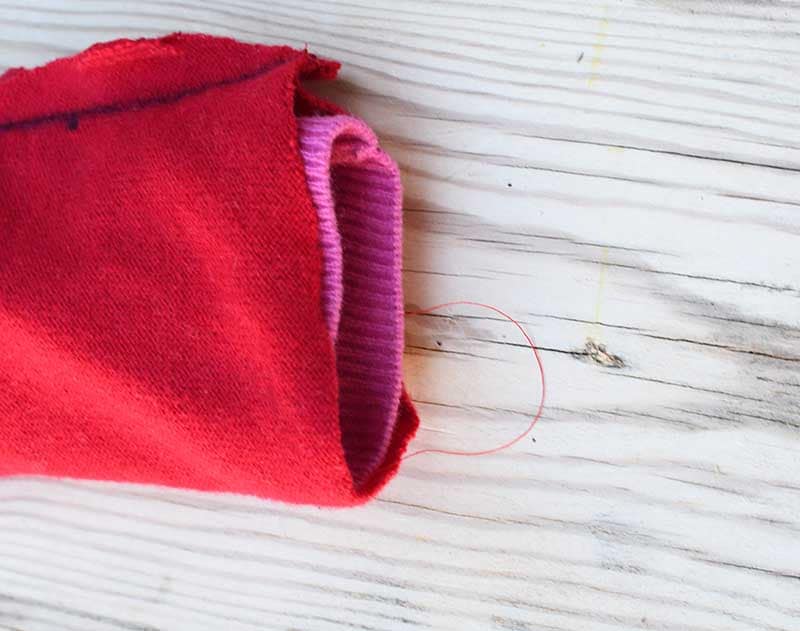


5. Stuff the first sleeve tube with fiber, before sewing the next sleeve onto the sweater tube in the same way. It is much easier to sew and stuff the pillow tube as you go along than to try and stuff one long tube at the end.


6. Carry on sewing and stuffing the sleeves together. Then stitch the last one closed. You should end up with one very long tube pillow (5-6 meters).
Tying The Celtic knot Sweater Pillow
I literally got myself in knots when first trying to tie my Celtic knot for this DIY pillow. But once you get it, it’s quite straightforward. I suggest you practice with some strings first. There are many different knots to try. I will try and explain how I tied my DIY knot pillow. However, if you are “knot challenged” like me, I suggest you look on youtube for a video or here for more visual tutorials.
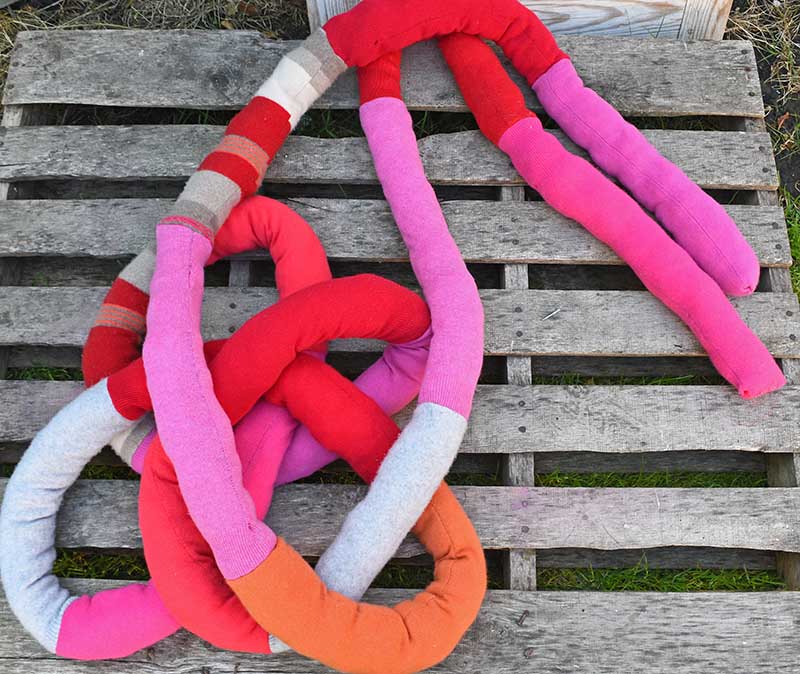
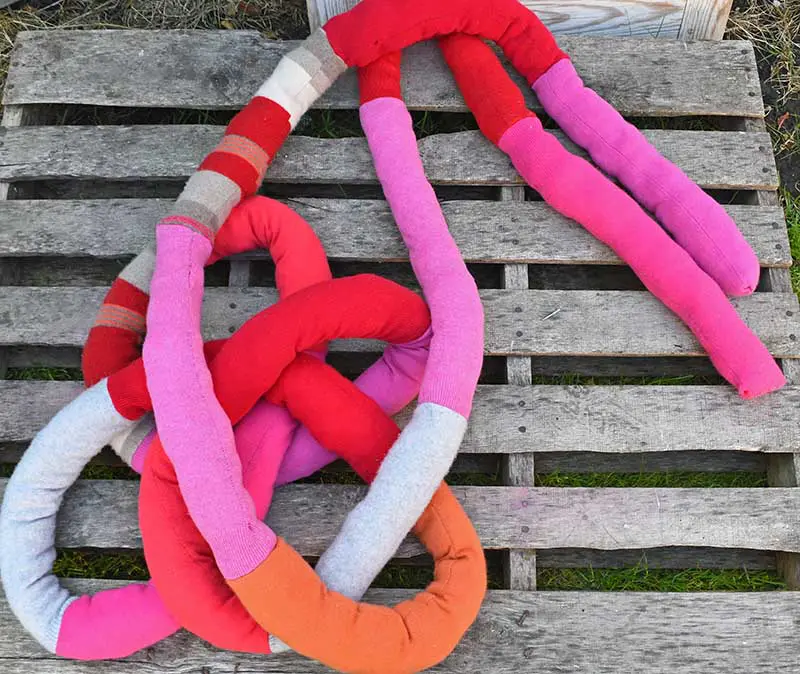
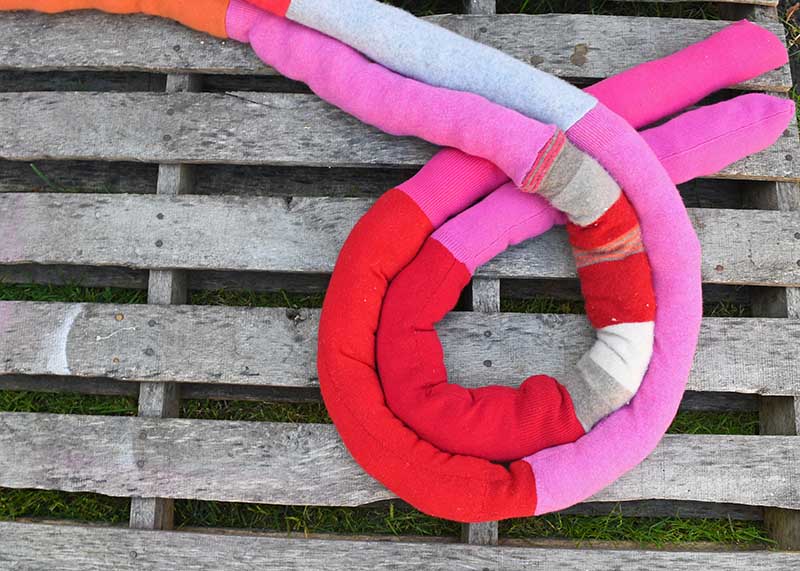
1.. First, double up the tube and half its length. You may want to peg the 2 loose ends together whilst tying the knot to stop them from moving apart. Then fold the tubing over itself to create a loop as in the picture below.

2. Next, the long bit of tubing on the left is your working tubing. Take it down through the left as in the picture.

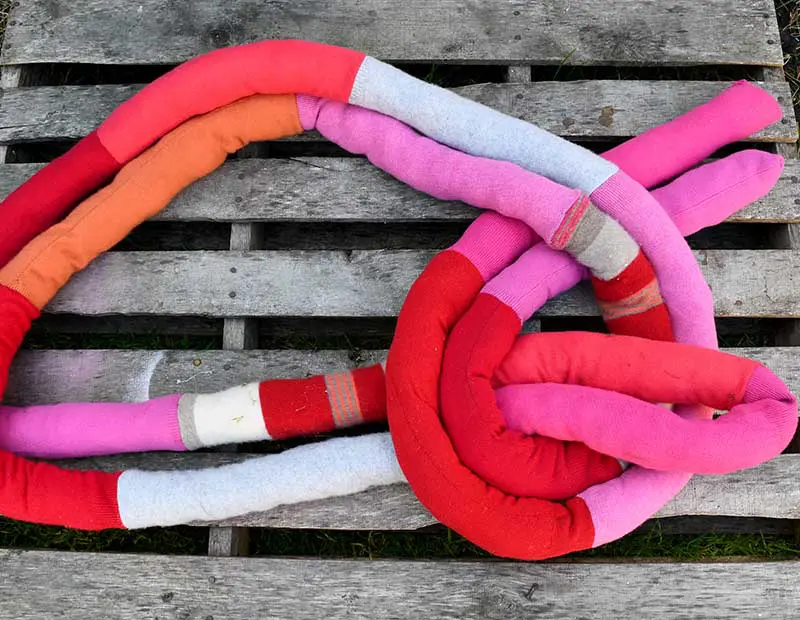

3. Next, bring the working end back down through the lower loop and then upwards through the top loop.


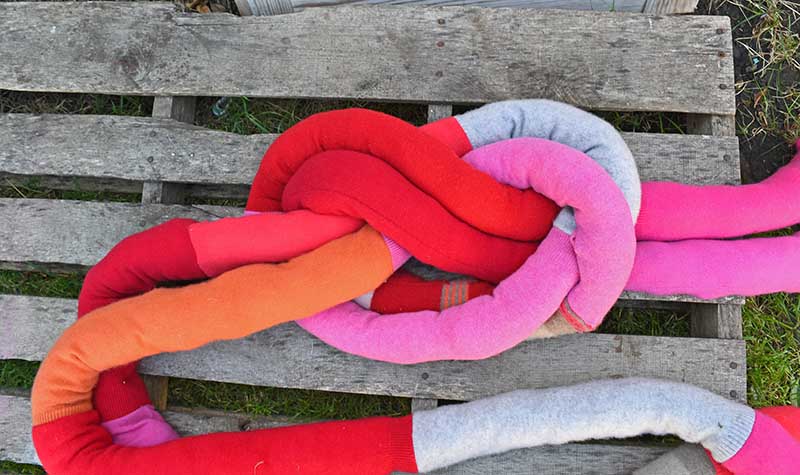
4. Next, take the working end of the tubing up through the back of the top loop and then. Then, thread the end up through the center loop and then back down through the bottom loop.

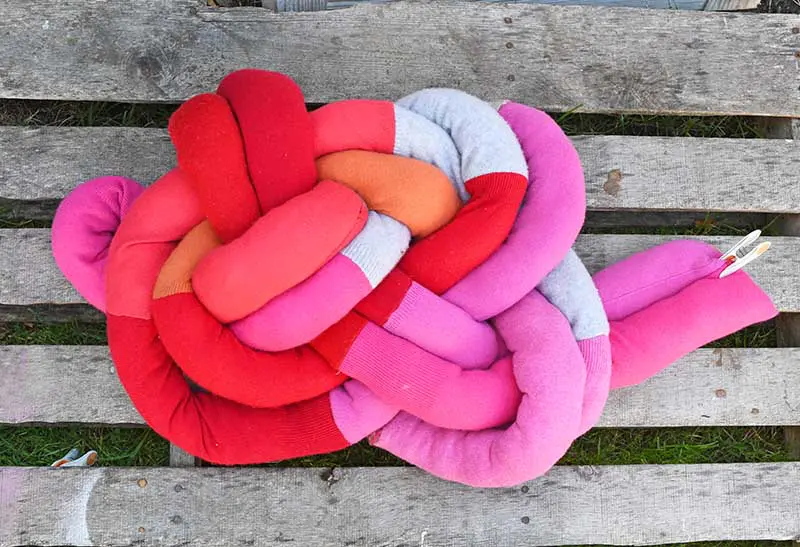
5. To finish off the DIY knot pillow, take the two ends and tuck them around the back of the pillow and stitch them in place.


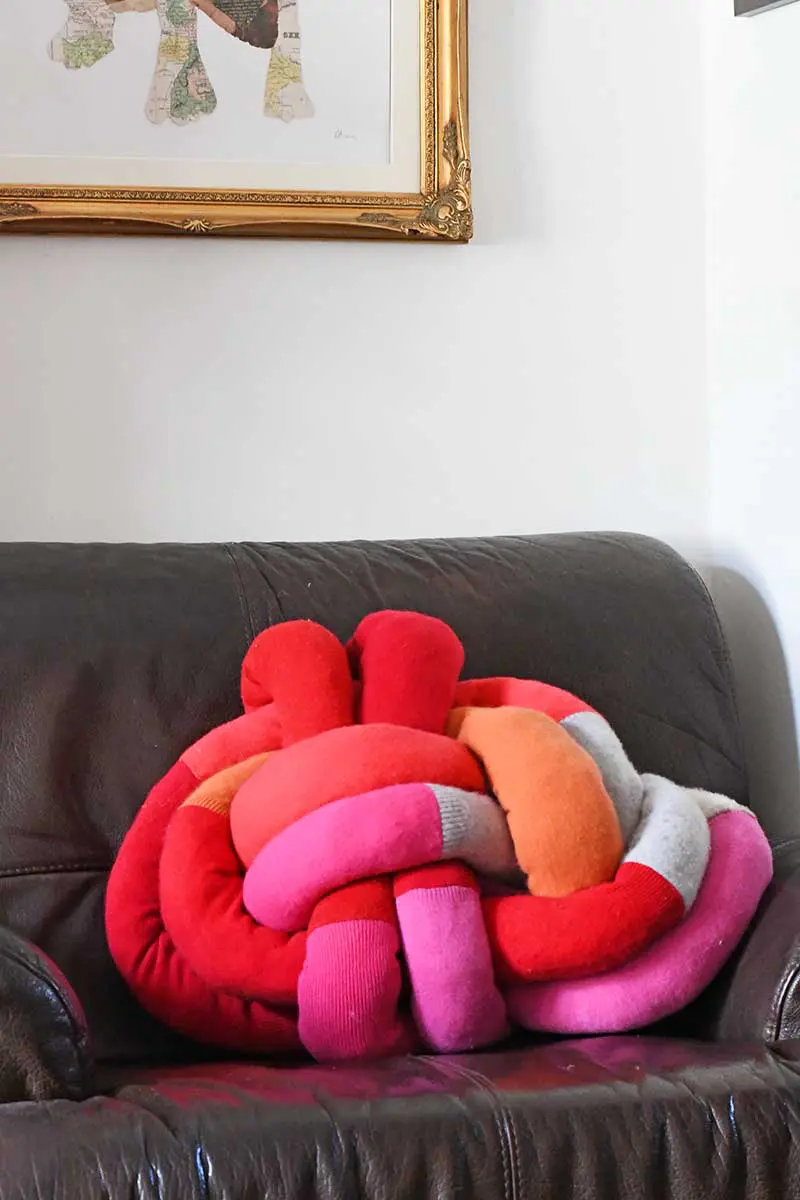
I feel like playing around with this sweater pillow and trying out a few more different knots. I’ve seen a Celtic heart knot which I fancy trying out for Valentine’s day.
If you like to upcycle sweaters you may want to check out some of my other old wool sweater pillow DIYs.
Upcycled Sweater Mountain Cushion
Hexagon Recycled Sweater Blanket
Frida Kahlo Cushion
For more ideas for upcycling old clothes and other materials check out the A to Z of clever upcycling resources.
For more home sewing projects, check out allfreesewing.com
13+ Interesting Ways to Make a Knot Pillow | Guide Patterns
Friday 10th of April 2020
[…] 2. Knot Pillow with Sweater […]
Rosie (@greenrosielife)
Tuesday 27th of November 2018
This has to be the funkiest thing I have seen for a while and by far the most colourful addition to the November #GoingGreen linky! Thank you for adding some much needed colour into my life today!
Claire Armstrong
Wednesday 28th of November 2018
You’re welcome Rosie, I love a bit of colour.
Sarah
Saturday 10th of November 2018
This is so cool! I don't know that I would ever have that many spare jumper arms though! #HomeEtc
Claire Armstrong
Sunday 11th of November 2018
Thank you. You can use oldwooly tights too.
Deborah
Tuesday 30th of October 2018
Love this! You are my favorite pick to feature this week on Waste Not Wednesday!
Claire Armstrong
Tuesday 30th of October 2018
That’s awesome I look forward to seeing it.
Julie
Sunday 28th of October 2018
This is such a clever idea, this could easily get in a right old mess but your instructions are easy to follow.
Claire Armstrong
Sunday 28th of October 2018
Thank you. It did make a few messy knots before I got it fight but it was fun.