
How To Make A Marimekko Easter Egg Wreath

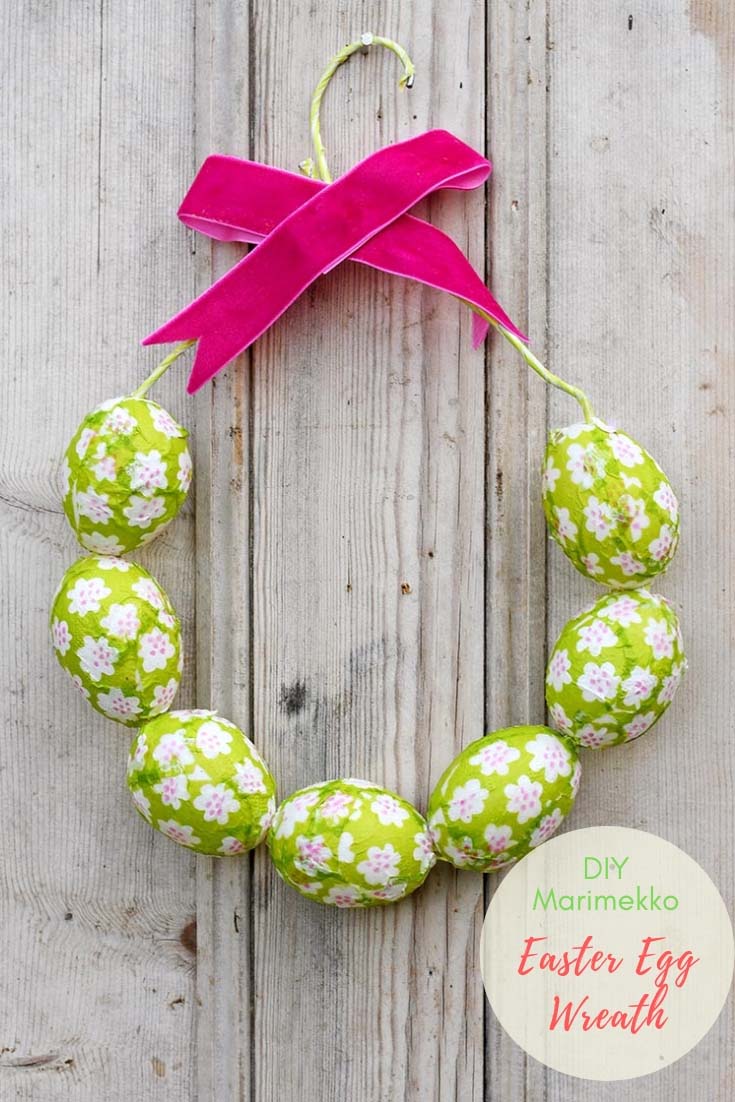
This DIY Marimekko Easter egg wreath is a beautiful way to bring colour and Scandinavian design into your spring decor. Made with real eggshells decoupaged in vibrant floral napkins and threaded onto a wire wreath, it’s a creative craft that looks stunning on a door or wall.
I don't go mad with Easter decorations, but I do like to have one or two subtle handmade Easter decorations in my home. I think this Marimekko Easter egg wreath fits that brief.
If you are a regular reader of my blog, you will know I'm a huge fan of Marimekko prints. If you are new to my blog, firstly, hello! Secondly, Marimekko is a Finnish design company that produces gorgeous, simple, bright colored prints for fashion and the home.
The Simplest Decoupage Easter Egg Wreath
Last year, I decoupaged Easter eggs with Marimekko napkins. This year, I've done the same but used a more
One of the great things about Marimekko is that they produce paper napkins in most of their fabric designs. Decoupaging with these napkins is an affordable way to craft some stylish Marimekko designs into your home.
The Marimekko print I used for this Easter wreath is called PUKETTI. Like many Marimekko designs, PUKETTI comes in lots of colourways.
I used the green
I used real eggshells for this craft as they are affordable and more environmentally friendly than craft eggs. White eggs are best, but if you can only get brown eggs, don't worry, you can always paint them white.
We're a participant in the Amazon Services LLC Associates Program, an affiliate advertising program designed to provide a means for us to earn fees by linking to Amazon.com and affiliated sites. As an Amazon Associate, I earn from qualifying purchases.
What You Need To Make A Marimekko Easter Egg Wreath
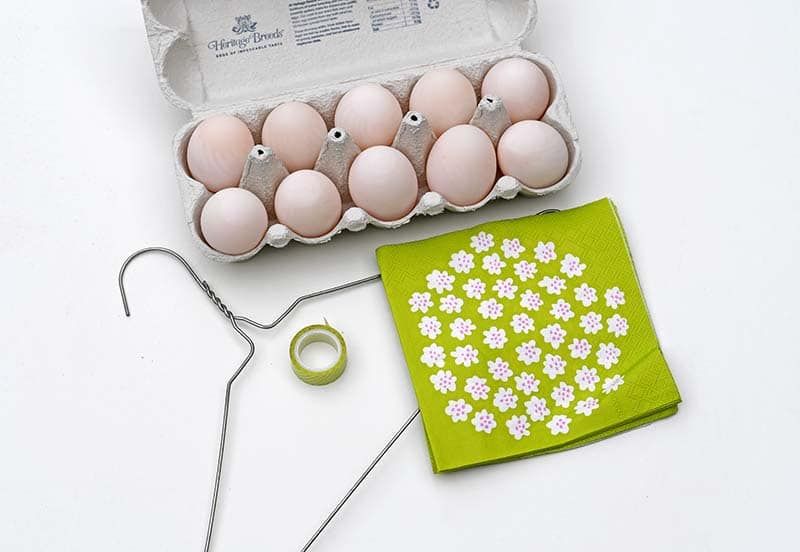
- Eggs - White if you can get them if not paint them white. I live in the UK and the only white eggs I could find were duck eggs. I bought these at Costco. Duck eggs are large so I used seven for this Easter wreath. If the eggs you use are small you may want to use 8-9 eggs for your wreath.
- Old wire coat hanger
- Marimekko paper napkins -
PUKETTI in green. You will only need 2-3 paper napkins. - Mod Podge or other decoupage glue
- Foam brush
- Washi tape in a
color to match the napkins A small bit of velvet ribbon.
How To Make A Marimekko Easter Egg Wreath
Step 1: Blow out the yolk and white from the eggs. Pierce holes in both ends of the egg (I used a nail). Use a straw if you want, asI did with these fabric patchwork eggs. Once the eggs are blown, put them under a running tap and rinse them out.
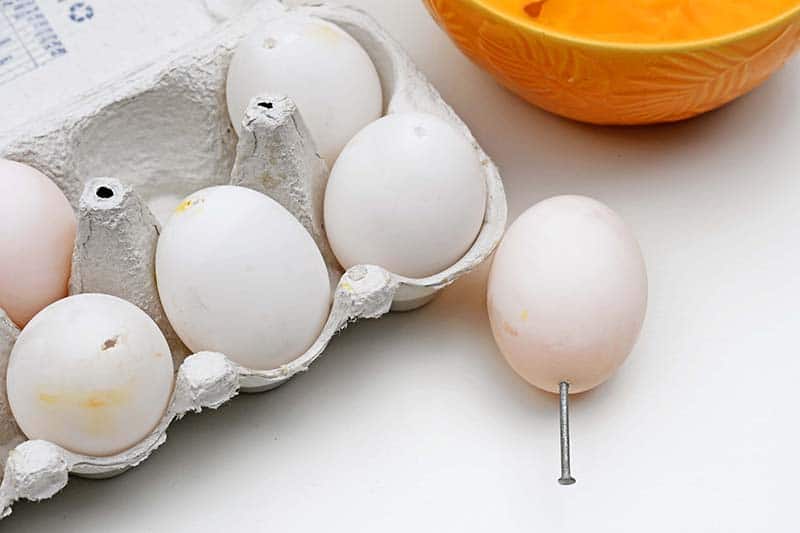
Don't worry about making the holes a little bigger. You can decoupage over them. Also, you will be threading the wire through them.
As for the bowl of raw egg, I made a rather delicious frittata with it. That was my lunches sorted for the next week.
Step 2: Separate out the paper napkins. Marimekko paper napkins are 3 ply. You will only need the top printed ply for the decoupage.
Then cut the napkin up into small shapes (2-3cm). Coat the egg with decoupage glue, then stick the napkin pieces to it using a foam brush.
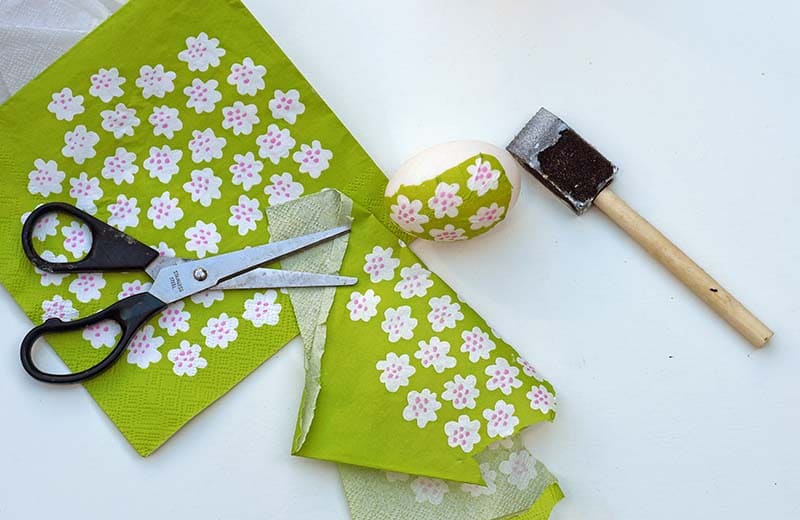
Step 3: Once the eggs are totally covered, thread them onto some wooden skewers and rest them so they don't touch anything. Then cover the outside of the decoupage egg with another layer of glue to seal it.
The combination of the paper napkin and decoupage glue will make the eggshells much stronger and less fragile.
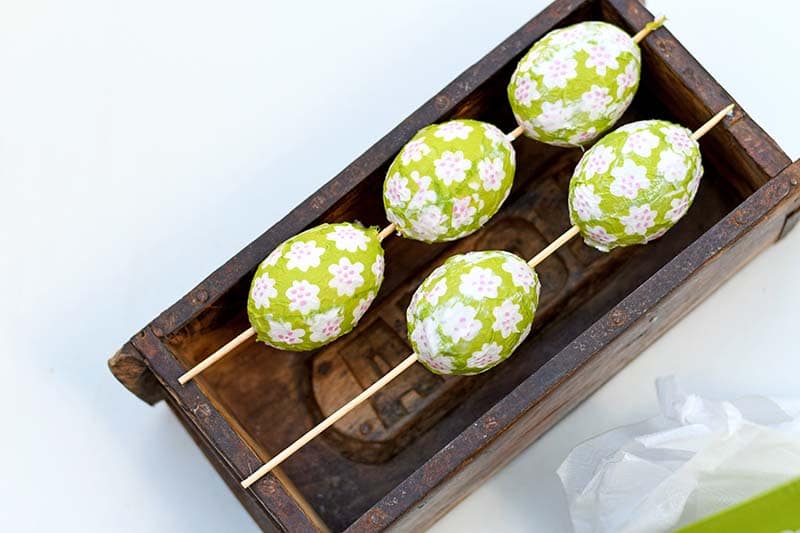
Step 4: Whilst the glue on the eggs is drying prepare the wire wreath. Cut the coat hanger and shape it into a round shape. I find that wrapping the wire around an object helps shape it. Don't close the wire wreath yet.
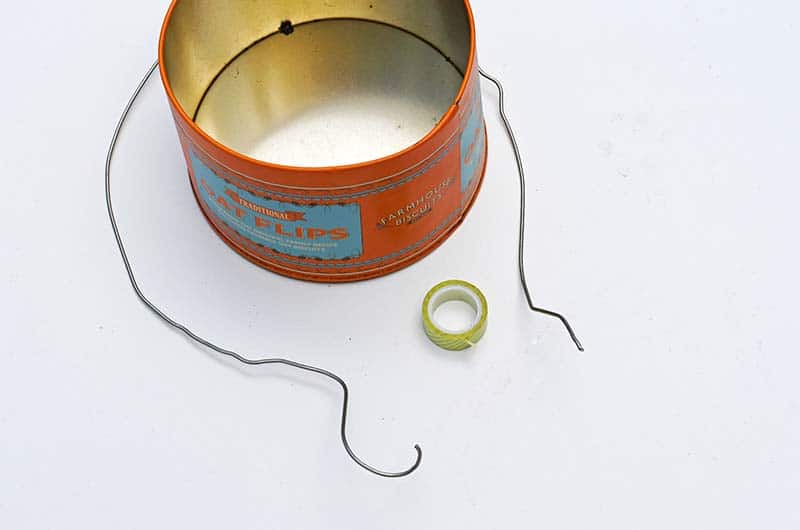
Step 5: Cover the wire wreath with green washi tape.
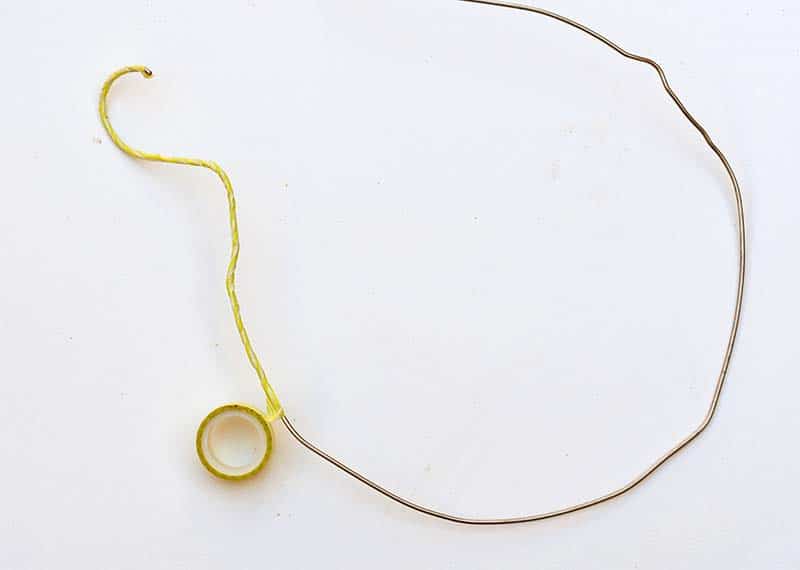
Step 6: Thread the eggs onto the wire one by one. Make sure all the eggs are facing the same way round.
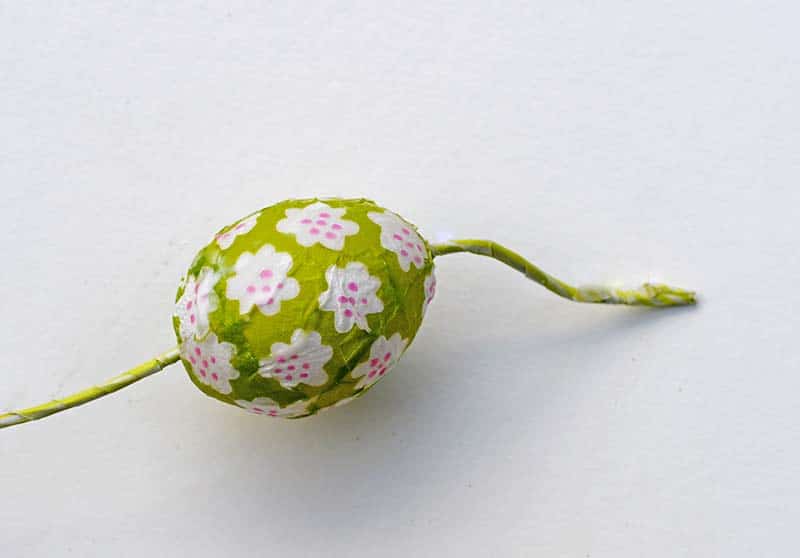
Step 7: Finish off the Easter egg wreath by wrapping the wire around the hook to close it. As a finishing
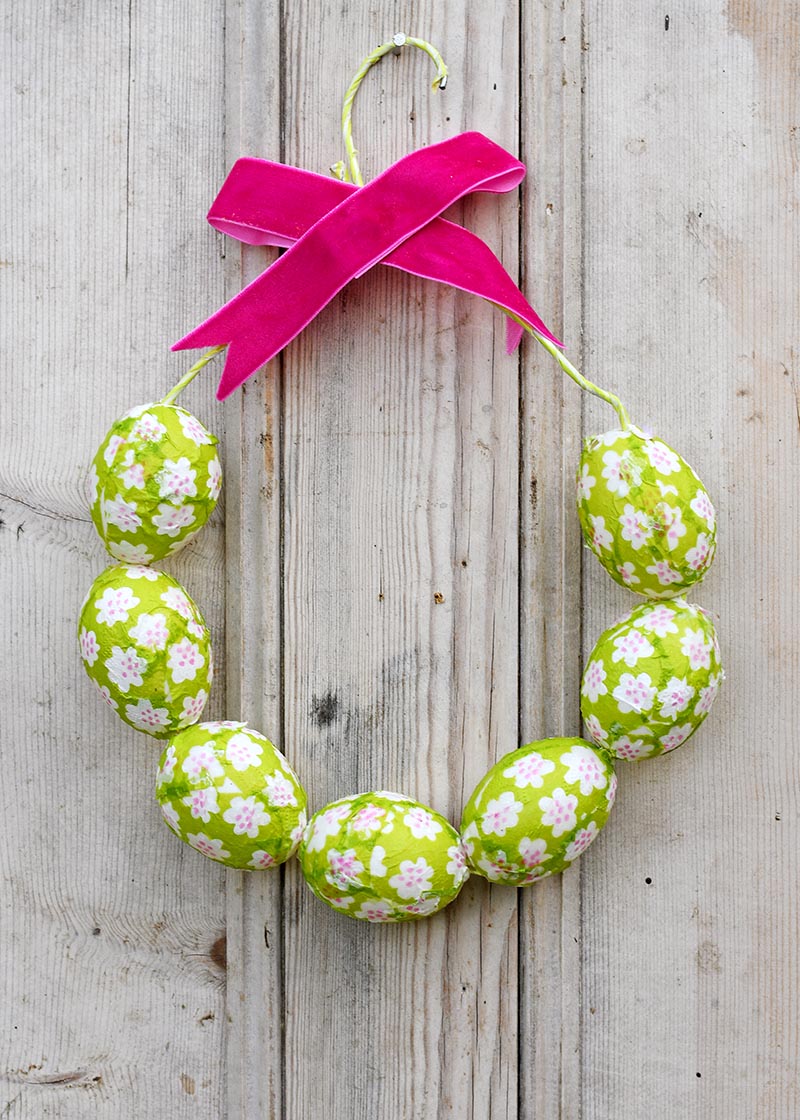
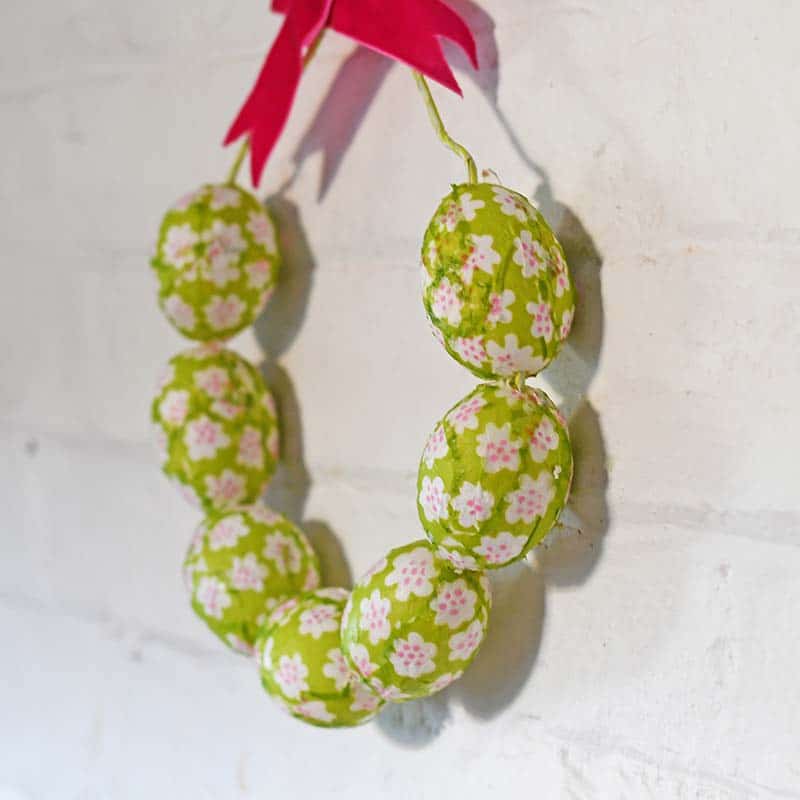
All that is left to do is to decide where to hang the Marimekko Easter egg wreath, the wall or the door! The wreath is very light but surprisingly robust, considering it's made with real eggshells. The decoupage strengthens it.
If you want a more traditional-looking wreath, check out this blue tit decoupage egg wreath. I also have a colourful spring wreath made from yarn scraps.
You might also want to check out some of these other Marimekko and Easter crafts.

What a pretty wreathe! Love your nail trick. I grew up (now 68) using the tip of a steak knife going tap, tap, tap. I will have to try your way! I have also found that breaking up the yolk in the egg with a skewer or cocktail straw seems to make it blow out easier!
Thank you. The tip about the egg yolk is a good one.
This is so cute and colorful, Claire! Thanks for sharing at Vintage Charm!
Thank you so much, Cecilia.
Love this tutorial! Pinned!
Thank you so much and thanks for the share.
Super Cute!
Thank you, Lora.
I grew up on a farm and I also raised chickens on my ranch in New Mexico and of course had all color of eggs. There is nothing like the taste of a fresh from the hen egg. I always find it amusing when the brown eggs sell for more money in our super markets when they taste exactly the same as white eggs. The only difference is as you said...the breed of chicken. Thank you for your DIY. Very helpful. And I want to thank you so much for linking up to our Celebrate Your Story link party. We hope we are providing a celebration of your post and perhaps yours will be chosen as a feature by one of the hosts.
Have a great and Blessed Day!
Kari @ Me and My Captain
Thank you so much. That's interesting that brown eggs sell for more because I'm sure it's the other way around here. White eggs cost more when you can find them.
This is adorable! I don't do a lot of Easter decorating, but this looks like a lot of fun to make (and display). 🙂 Thanks for sharing at Sweet Inspiration!
Thank you. They were very simple and straightforward to make,
Those Marimekko napkins/serviettes always make my little boho heart do a jiggly dance. The patterns are so gorgeous and I love how your wreath turned out Claire. The big pink velvety bow on top finishes it off so nicely.
P.S. Here in S Africa we also only get brown eggs. The first time I saw a white egg being used, I was like "what???" That can't be real 😀
Thank you, I have quite a collection of their napkins. Growing up in Hong Kong we had white eggs but here in the UK they are all brown. I thought the white eggs were bleached but it turns out it's down to the bread of Chicken.
I have only ever decoupaged on flat surfaces but you make an egg look like something I could manage. Great job on using real eggs and using the contents for your dinner! Love the lack of waste and creativity #handmademonday
Thank you. I try to always craft with the stuff around me and keep waste down to a minimum.
It does make a lovely and simple Easter wreath. I've painted and dyed blown eggs before, but I don't remember decoupaging them. This will be a fun one to do with the children. Thank you for sharing. I popped over from Craft schooling Sunday.
Thank you. It’s a great one to do with the kids. I’ve decoup eggs with fabric before with my young nephews.
My first thought was to use styrofoam or wooden eggs, but your illustration of how much easier it is to string real eggs changed my mind! Love the napkins, too. There are so many pretty Spring patterns available. Thanks for sharing with us at Creatively Crafty. We've just started a Facebook group called Creatively Crafty Showcase and you're invited to join us! It's another way to share this post and just about anything creative plus we'll have opportunities to interact/support each other. You'll find us here http://bit.ly/2TL8Pli. Hope to see you soon!
Thank you so much and thanks for the facebook invite.