


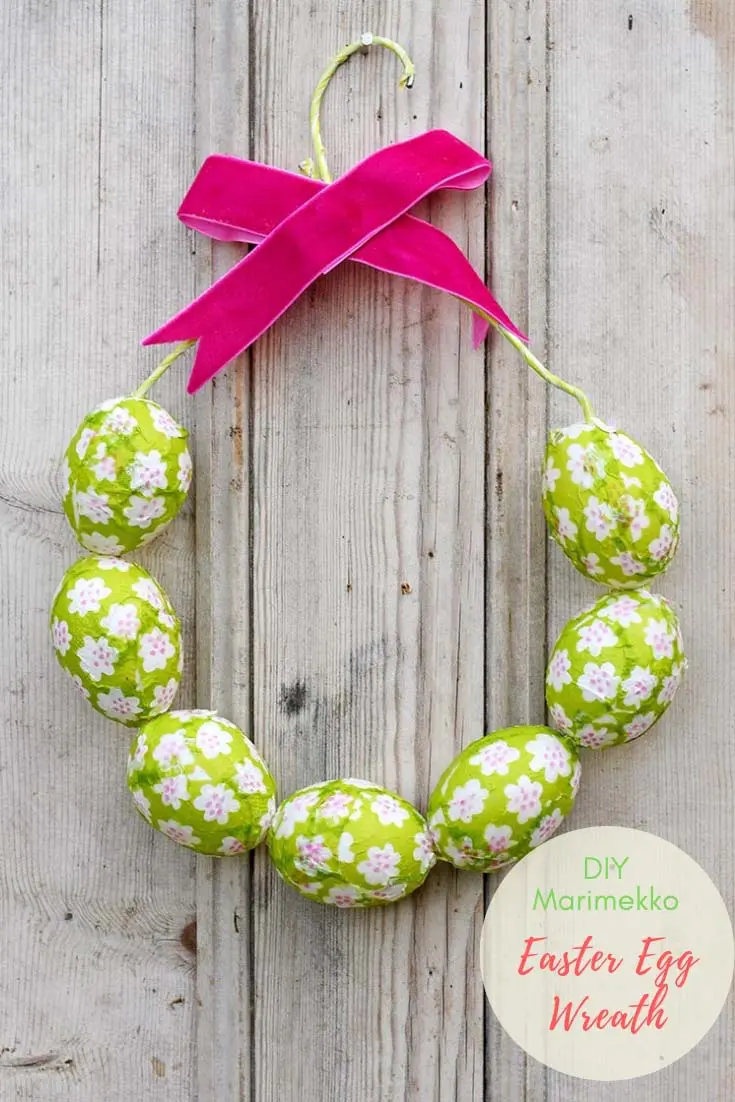
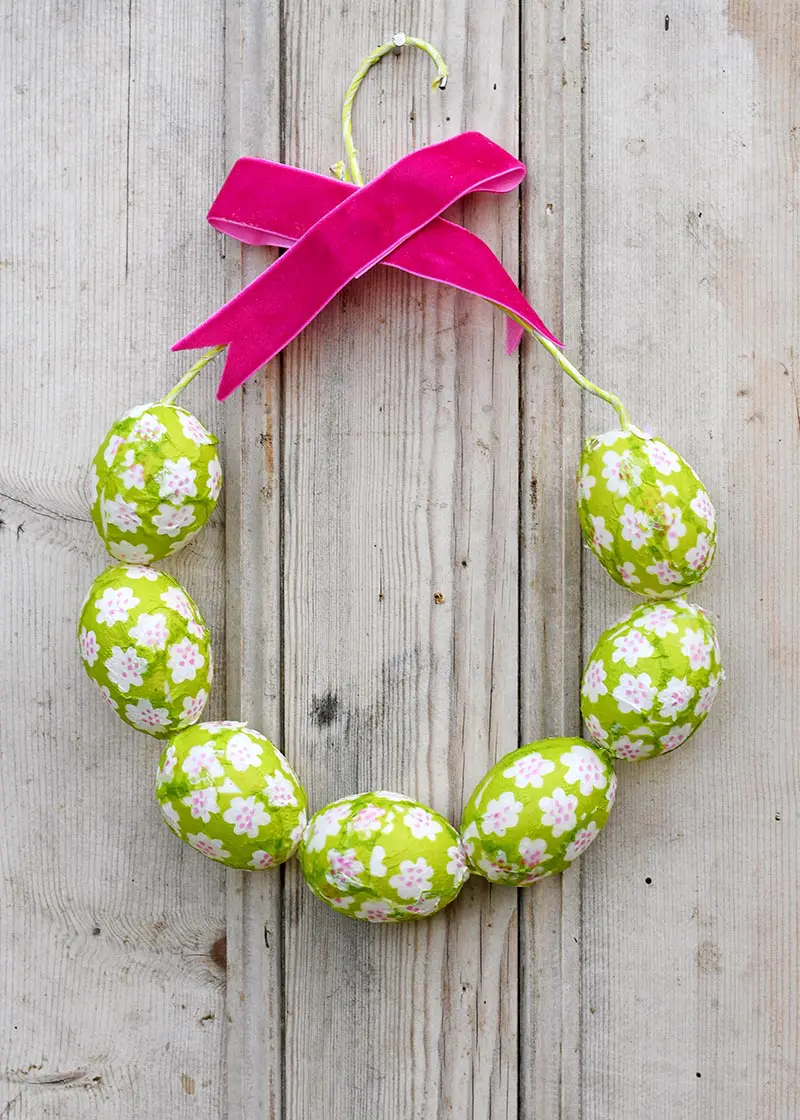
I don’t go mad with Easter decorations but I do like to have one or two subtle handmade Easter decorations in my home. I think this Marimekko Easter egg wreath fits that brief.
If you are a regular reader of my blog you will know I’m a huge fan of Marimekko prints. If you are new to my blog firstly hello! Secondly, Marimekko is a Finish design company that produces gorgeous simple bright
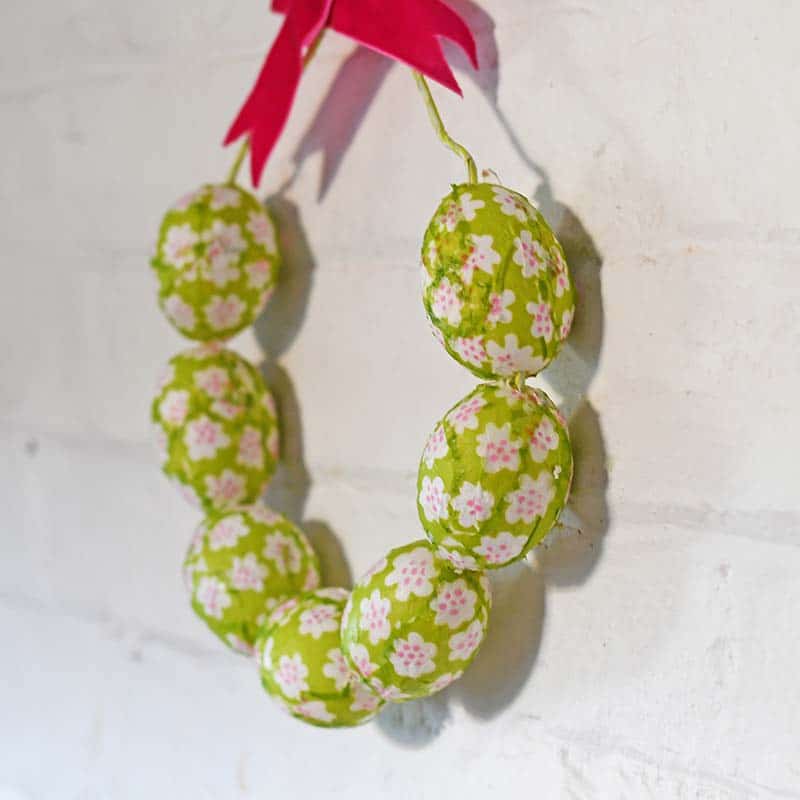
The Simplest Decoupage Easter Egg Wreath
Last year I decoupaged Easter eggs with Marimekko napkins. This year I’ve done the same but used a more
One of the great things about Marimekko is that they produce paper napkins in most of their fabric designs. Decoupaging with these napkins is an affordable way to craft some stylish Marimekko designs into your home.
The Marimekko print I used for this Easter wreath is called PUKETTI. Like a lot of Marimekko designs PUKETTI, comes in lots of
I used the green
I used real eggshells for this craft as they are affordable and more environmentally friendly than craft eggs. White eggs are best if you can only get brown eggs don’t worry you can always paint them white.

Brown Vs White Eggs
If you are living in the US you are probably thinking why can’t you get white eggs as the majority of eggs in the US are white.
In the UK the majority of eggs are brown it’s actually quite hard to find white eggs here.
The only difference between white eggs and brown eggs is the breed of chicken. Chickens with brown feathers tend to lay brown eggs and chickens with white feathers lay white eggs.
We’re a participant in the Amazon Services LLC Associates Program, an affiliate advertising program designed to provide a means for us to earn fees by linking to Amazon.com and affiliated sites. As an Amazon Associate, I earn from qualifying purchases.
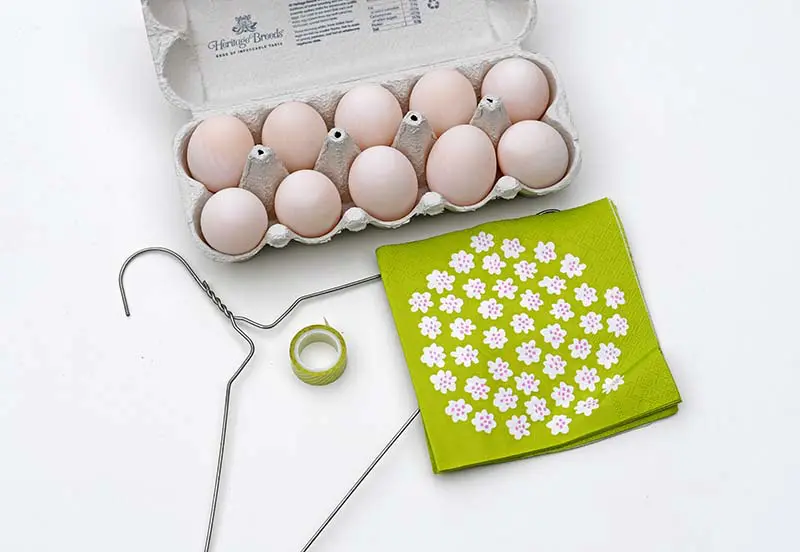
What You Need To Make A Marimekko Easter Egg Wreath
- Eggs – White if you can get them if not paint them white. I live in the UK and the only white eggs I could find were duck eggs. I bought these at Costco. Duck eggs are large so I used seven for this Easter wreath. If the eggs you use are small you may want to use 8-9 eggs for your wreath.
- Old wire coat hanger
- Marimekko paper napkins –
PUKETTI in green. You will only need 2-3 paper napkins. - Mod Podge or other decoupage glue
- Foam brush
- Washi tape in a
color to match the napkins A small bit of velvet ribbon.

How To Make A Marimekko Easter Egg Wreath
- The first thing to do is to blow the eggs. Pierce a hole in both ends of the egg (I used a nail for this). Then blow out the contents you can use a straw if you want like I with these fabric patchwork eggs. Once the eggs are blown put them under a running tap and rinse them out.
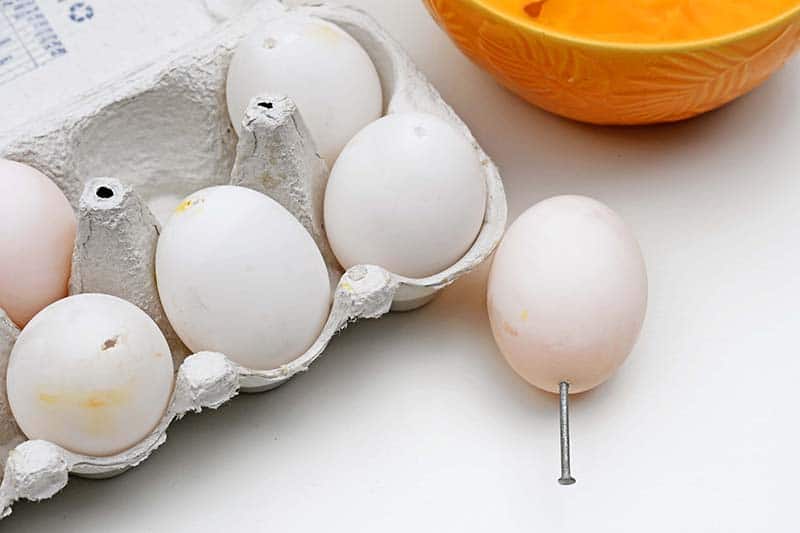

Don’t worry about making the holes a little bigger. You can decoupage over them. Also, you will be threading the wire through them.
As for the bowl of raw egg, I made a rather delicious frittata with them. That was my lunches sorted for the next week.
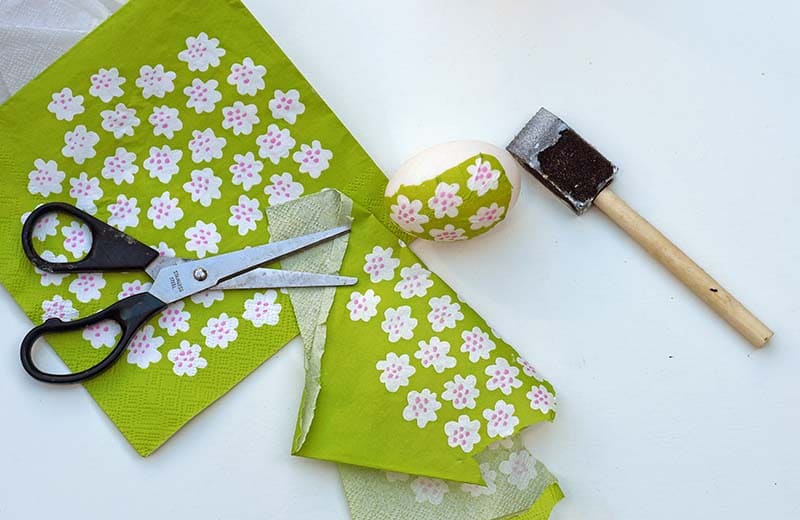
2. Next, separate out the paper napkins. Marimekko paper napkins are 3 ply. You will only need the top printed ply for the decoupage.
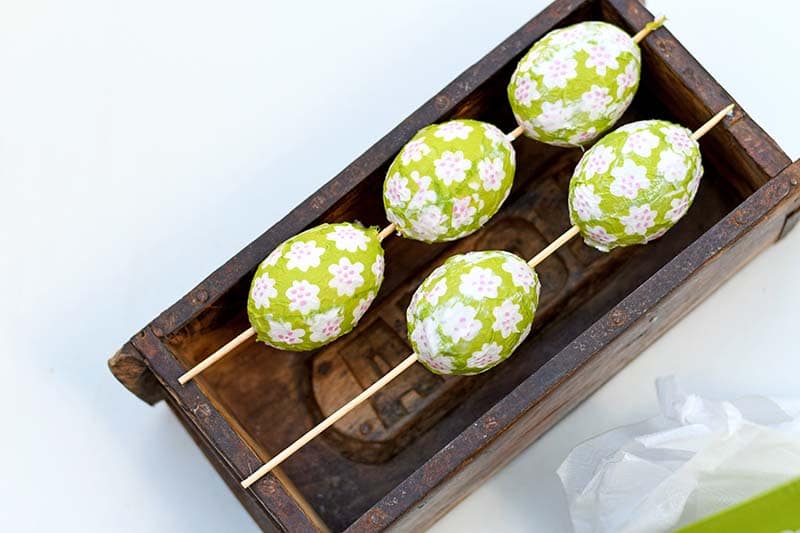
Then cut the napkin up into small shapes (2-3cm). Cover the egg in decoupage glue and stick the napkin pieces to the egg using a foam brush.

3. Once the eggs are totally covered, thread them onto some wooden skewers and rest them so they don’t touch anything. Then cover the outside of the decoupage egg with another layer of glue to act as a sealer.
The combination of the paper napkin and decoupage glue will make the eggshells much stronger and not so fragile.

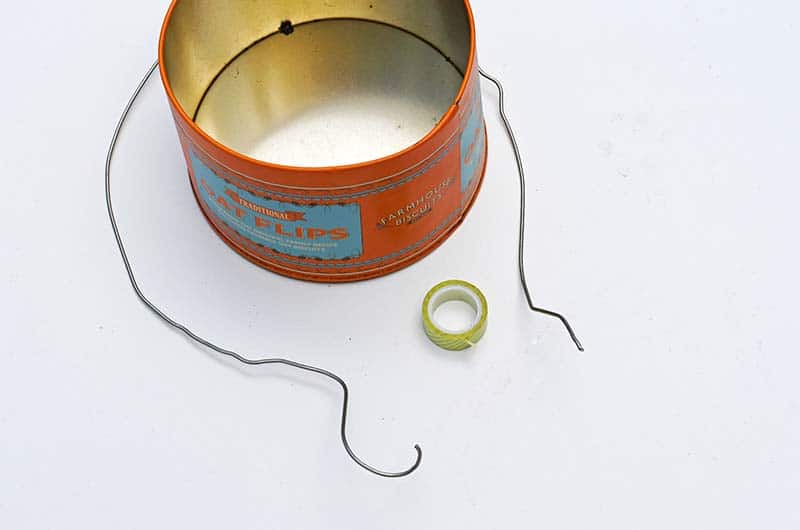
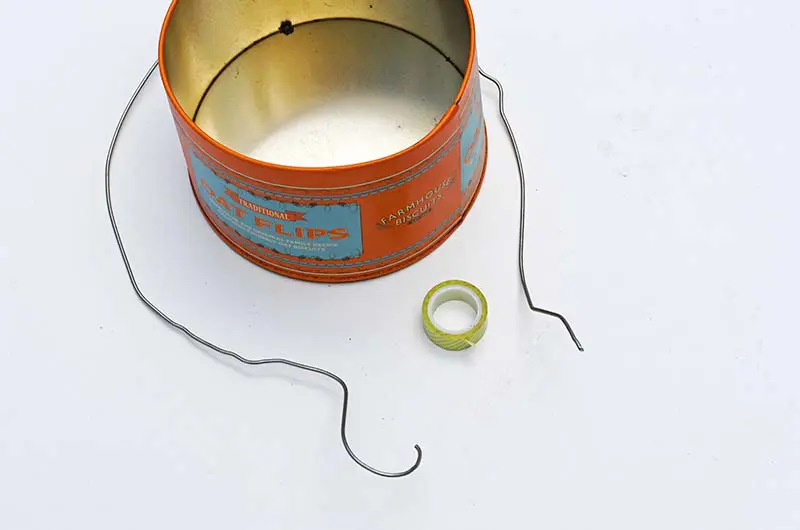
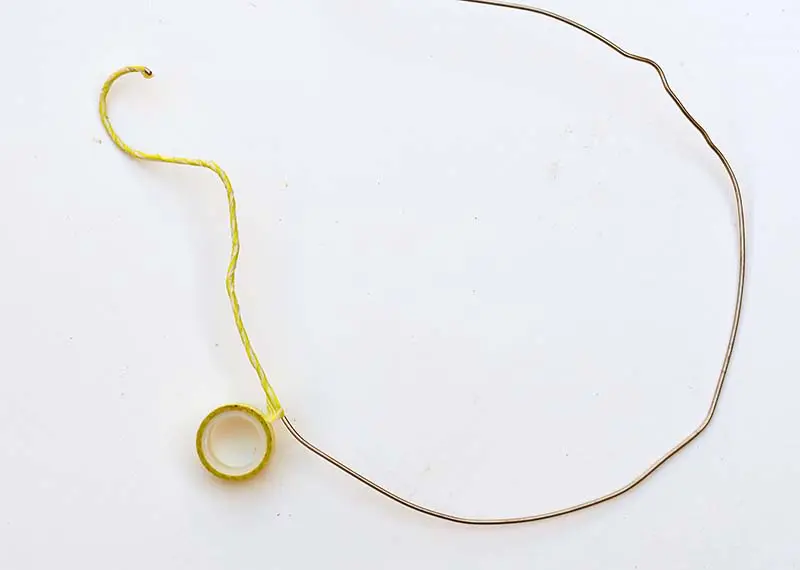
4. Next, whilst the glue on the eggs is drying prepare the wire wreath. Cut the coat hanger and shape it into a round shape. I find that wrapping the wire around an object helps shape it. Don’t close the wire wreath yet.
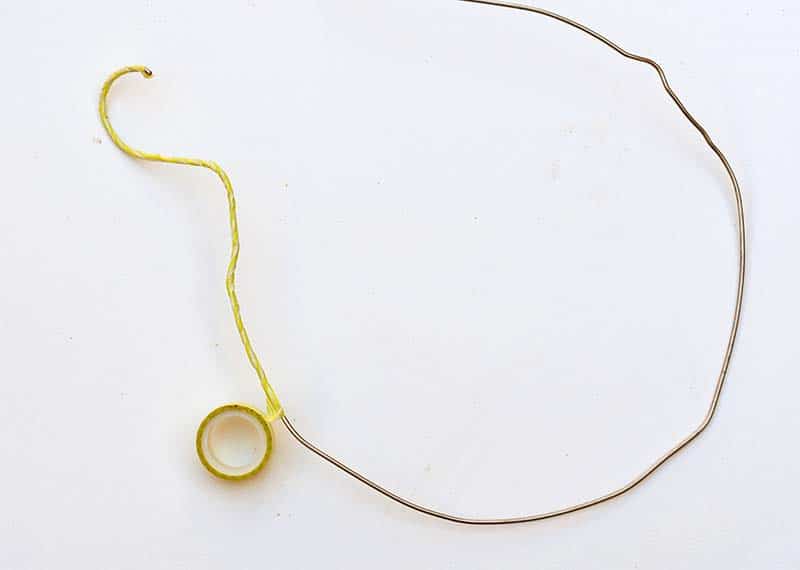
5. Then cover the wire wreath with green washi tape.
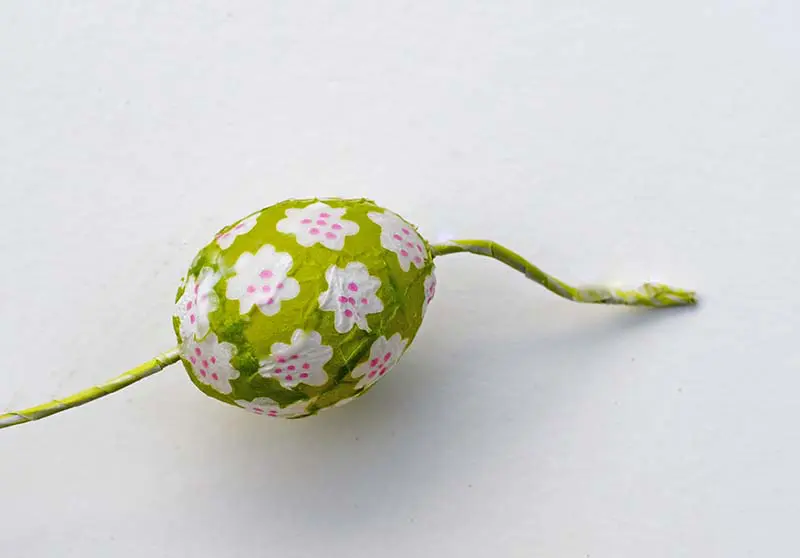
6. Next, thread the eggs onto the wire one by one. Make sure all the eggs are facing the same way round.

7. Finish off the Easter egg wreath by wrapping the wire around the hook to close it. As a finishing
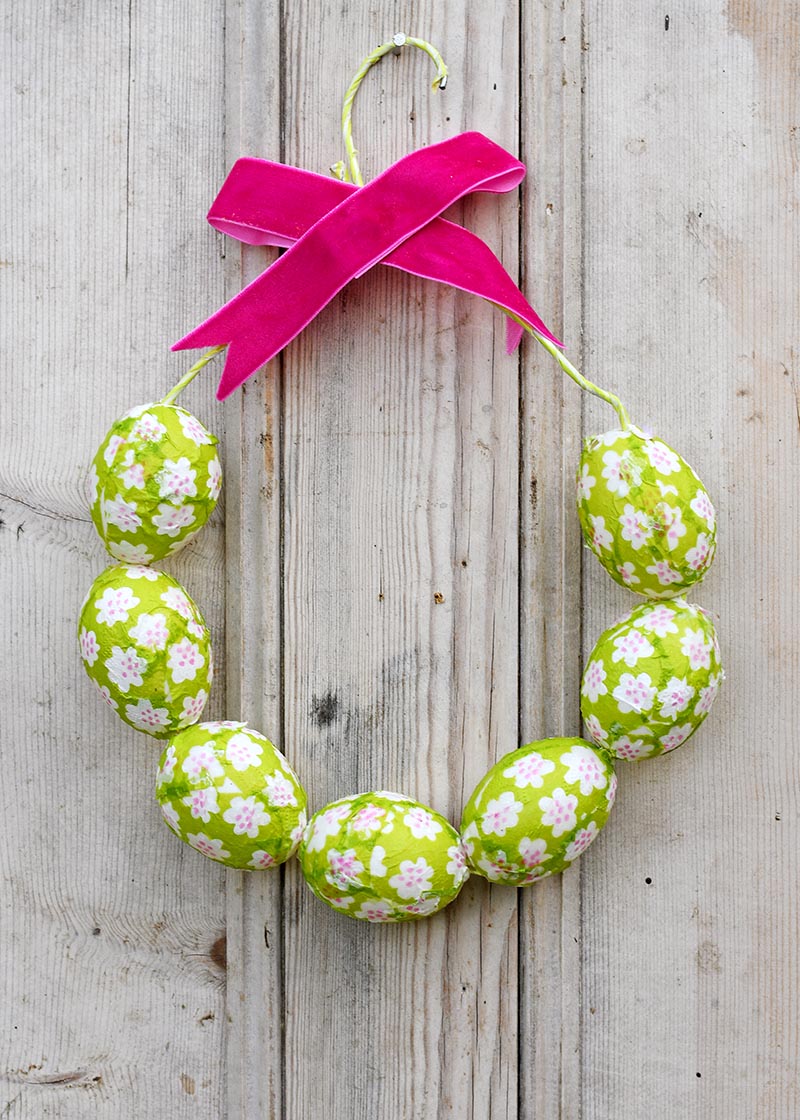

All that is left to do is to decide where to hang the Marimekko Easter egg wreath, the wall or door! The wreath is very light but surprisingly robust considered it’s made with real eggshells. The decoupage strengthens it.
If you want a more traditional looking wreath, check out this blue tit decoupage egg wreath. I also have a colorful spring wreath made from yarn scraps.
You might also want to check out some of these other Marimekko and Easter crafts.
- Marimekko Wall Hanging
- Marimekko Decoupage Wood Bowls
- Upcycled Denim Eggs
- Marimekko Decorative Tin Can Planters
For more Easter craft ideas visit allfreeholidays.com
Kathy A
Sunday 19th of April 2020
What a pretty wreathe! Love your nail trick. I grew up (now 68) using the tip of a steak knife going tap, tap, tap. I will have to try your way! I have also found that breaking up the yolk in the egg with a skewer or cocktail straw seems to make it blow out easier!
Claire Armstrong
Monday 20th of April 2020
Thank you. The tip about the egg yolk is a good one.
20 Bright and Colorful DIY Easter Wreaths to Decorate Your Door - Living La Vida Holoka
Tuesday 16th of April 2019
[…] A Simple Marimekko Easter Egg Wreath – Pillar Box Blue […]
Cecilia
Monday 25th of March 2019
This is so cute and colorful, Claire! Thanks for sharing at Vintage Charm!
Claire Armstrong
Monday 25th of March 2019
Thank you so much, Cecilia.
Julie Briones
Saturday 23rd of March 2019
Love this tutorial! Pinned!
Claire Armstrong
Sunday 24th of March 2019
Thank you so much and thanks for the share.
Lora Bloomquist
Wednesday 20th of March 2019
Super Cute!
Claire Armstrong
Wednesday 20th of March 2019
Thank you, Lora.