
How To Upcycle Tins With A Faux Marble Effect
One of the many things I love to do at Christmas is to make some gorgeous sweet treats, such as fudge and biscotti, to give as gifts. I'm a real sucker for great packaging, and I even like the things I make to be packaged nicely. That's when I came up with the idea of using upcycled tins for this year's Christmas sweet treats.
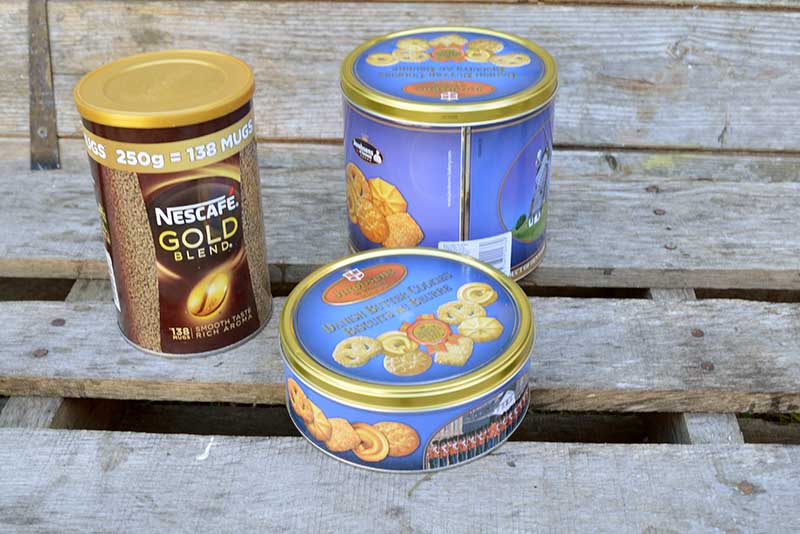
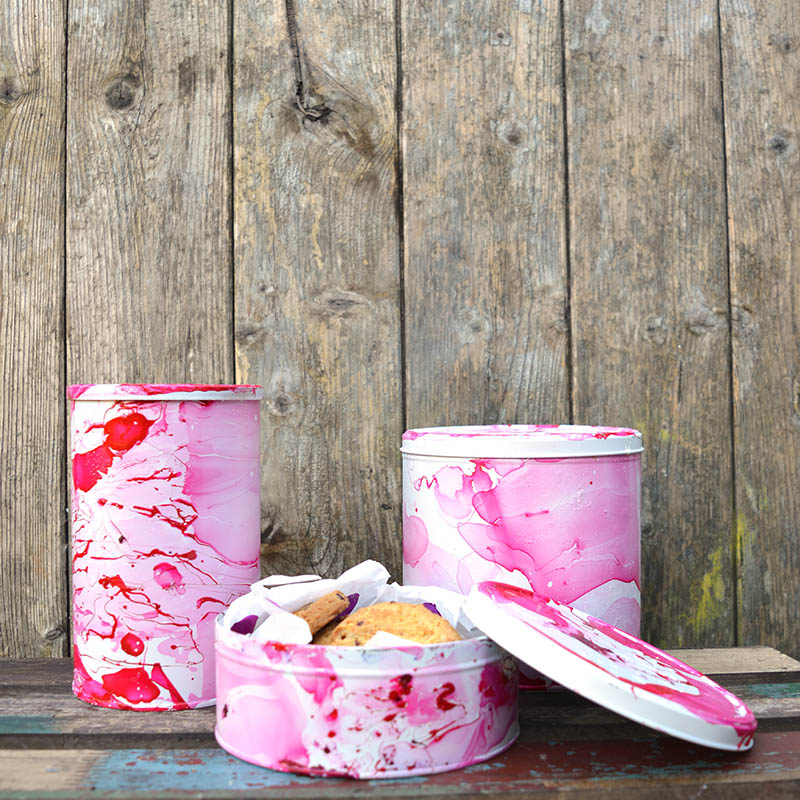
Over the years, I have amassed quite a collection of ugly tins, from coffee to Danish biscuit tins. I love the popular faux marble effect in home decor and decided to recreate this with my upcycled tins.
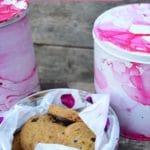
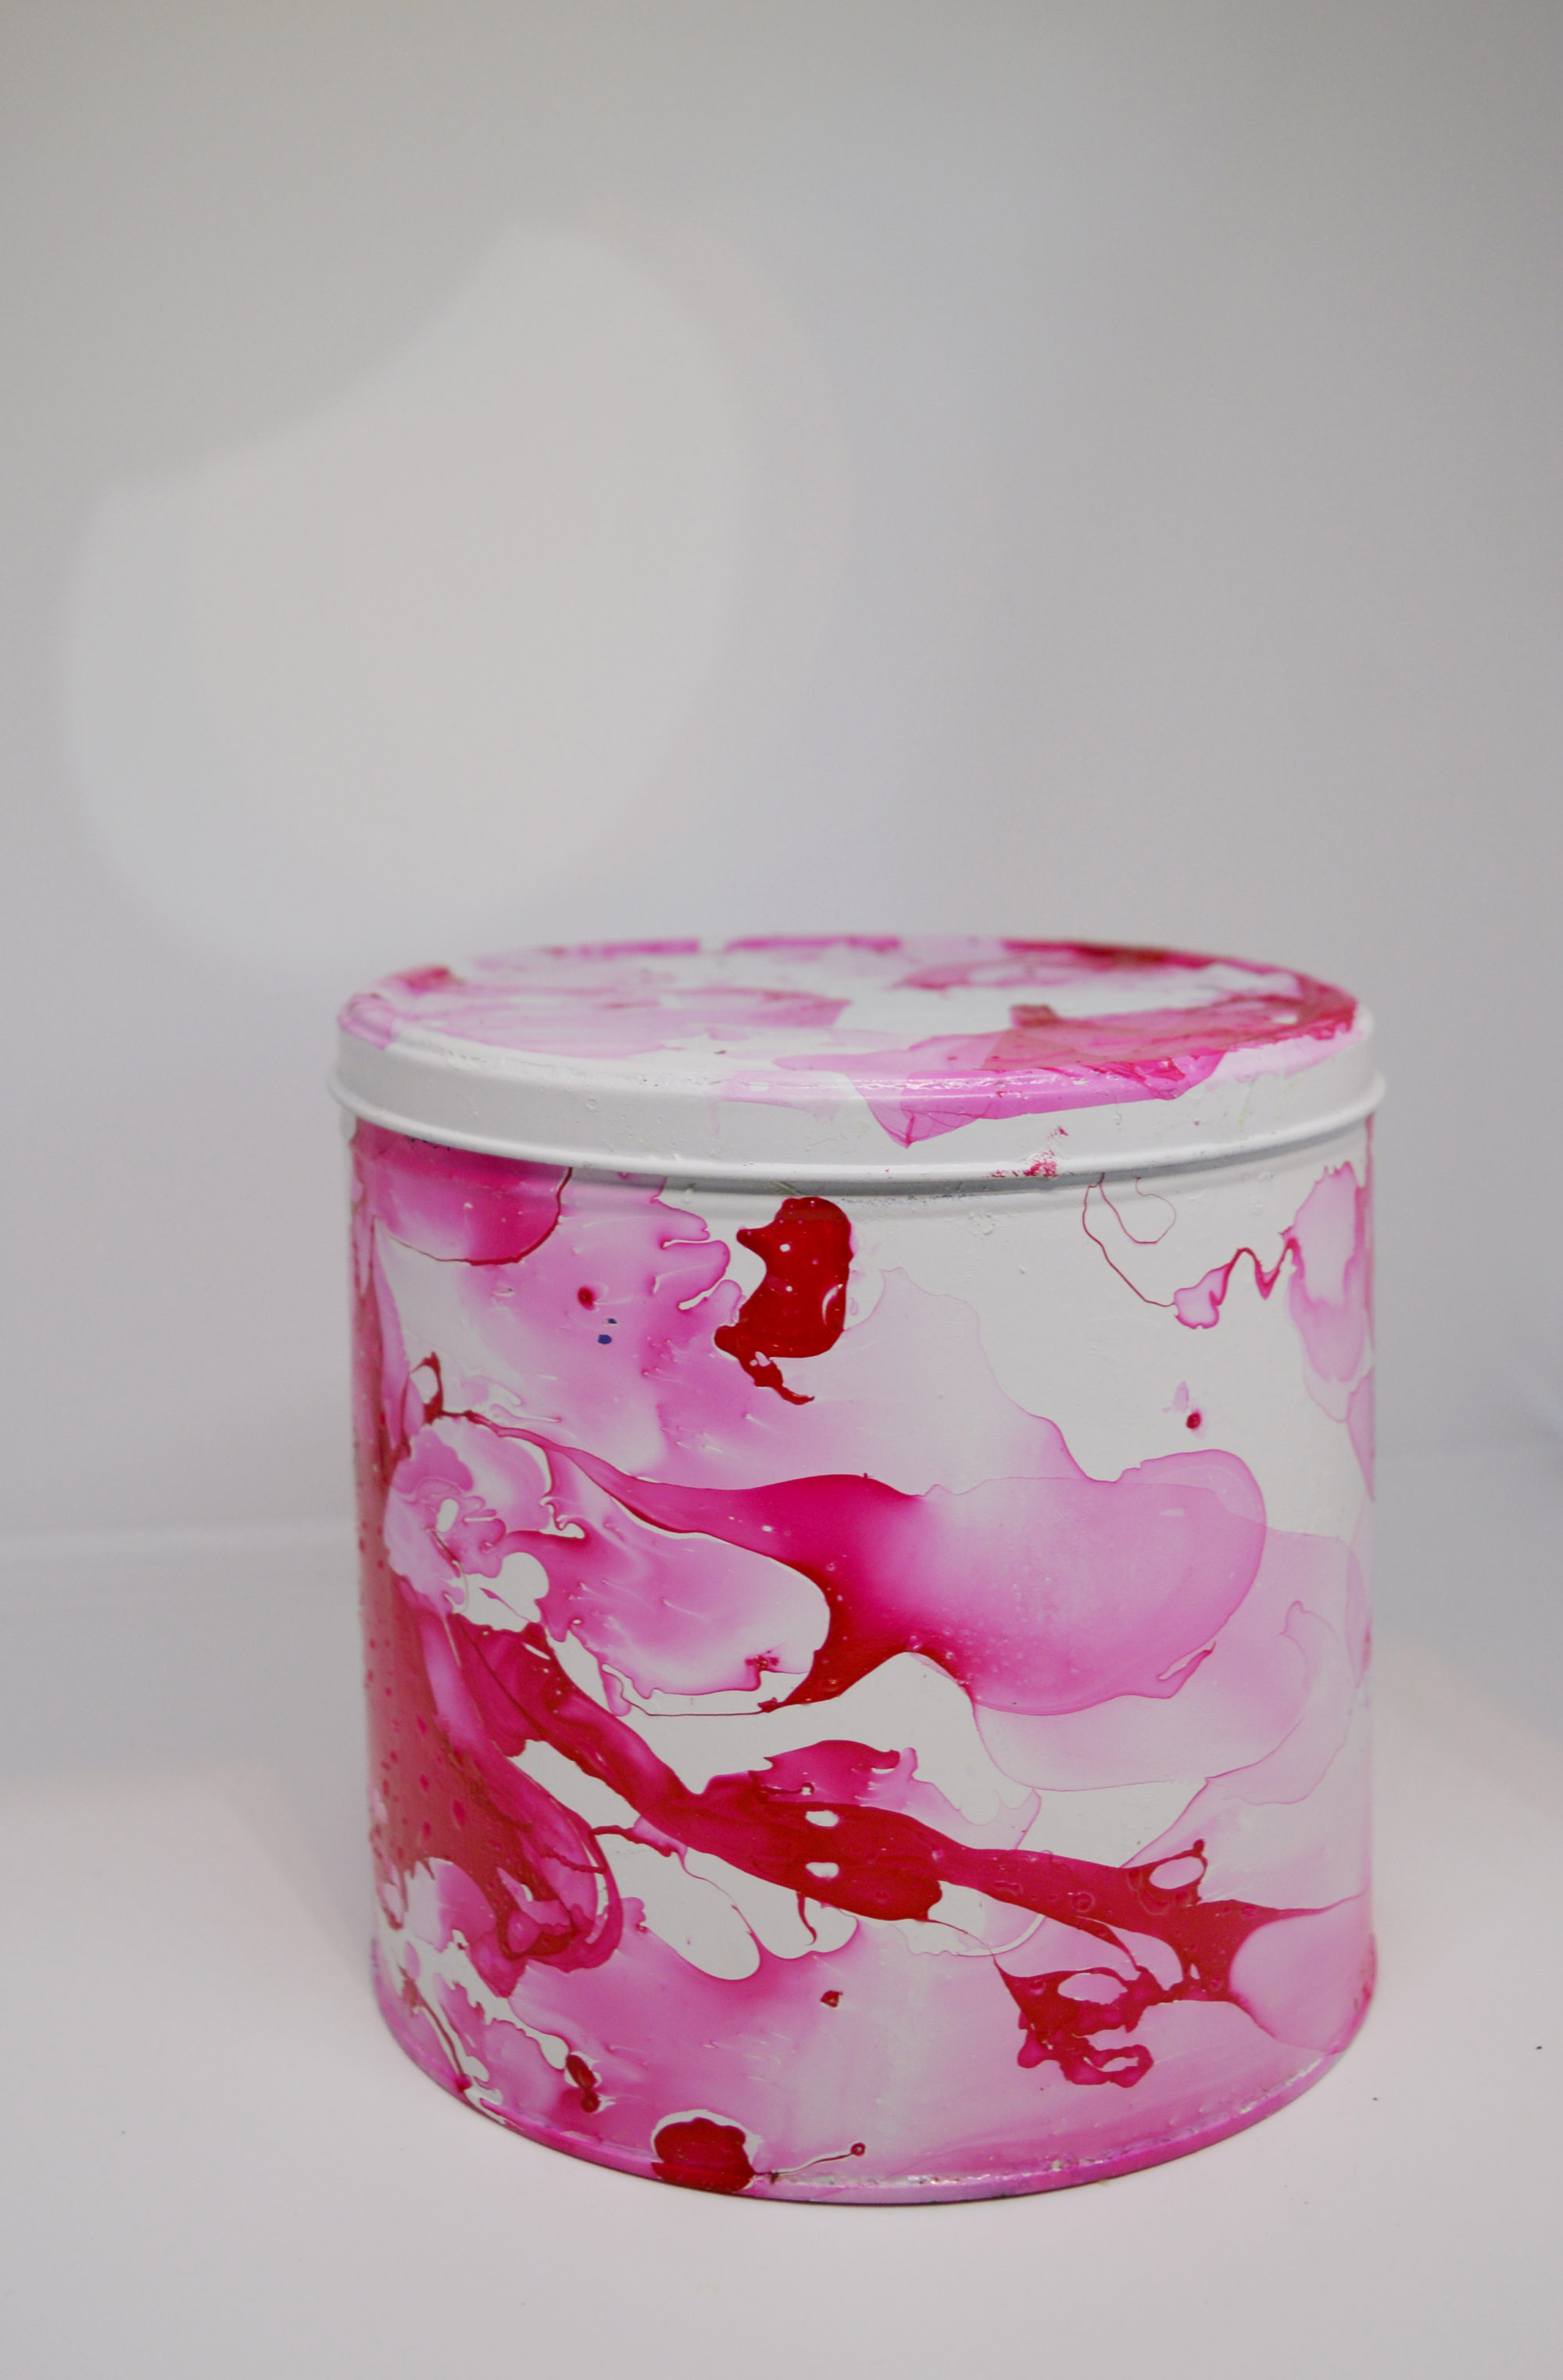
The finished faux marble effect is impressive, considering how simple it is to create. My upcycled tins are like a gift in themselves. I will use them for other things, not just as posh-looking cookie tins.
This very affordable craft gives a second life to all your old tins. I got this idea by making a marbled tin can base for my illuminated pine cone Christmas tree.
We're a participant in the Amazon Services LLC Associates Program, an affiliate advertising program designed to provide a means for us to earn fees by linking to Amazon.com and affiliated sites. As an Amazon Associate, I earn from qualifying purchases.
What you need to upcycle tins
- Old tins, such as coffee, cookie, and sweet tins. All shapes and sizes work well.
- White/cream spray paint.
- Nail polish (not fast drying). I used red nail polish.
- Large plastic container.
DIY Marble Christmas Upcycled Tins
Step 1: Firstly, remove any stickers or labels from the tins. Usually, a good soak in hot soapy water should make the labels easy to remove. You can also buy a sticky stuff remover that helps remove stubborn extra sticky labels.
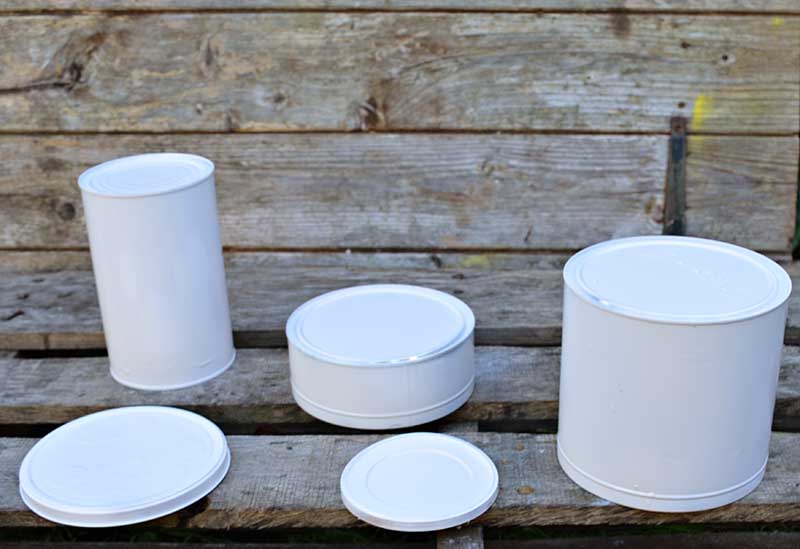
Step 2: Secondly, spray paint your tins and lids. I used a creamy/white spray paint and applied two coats.
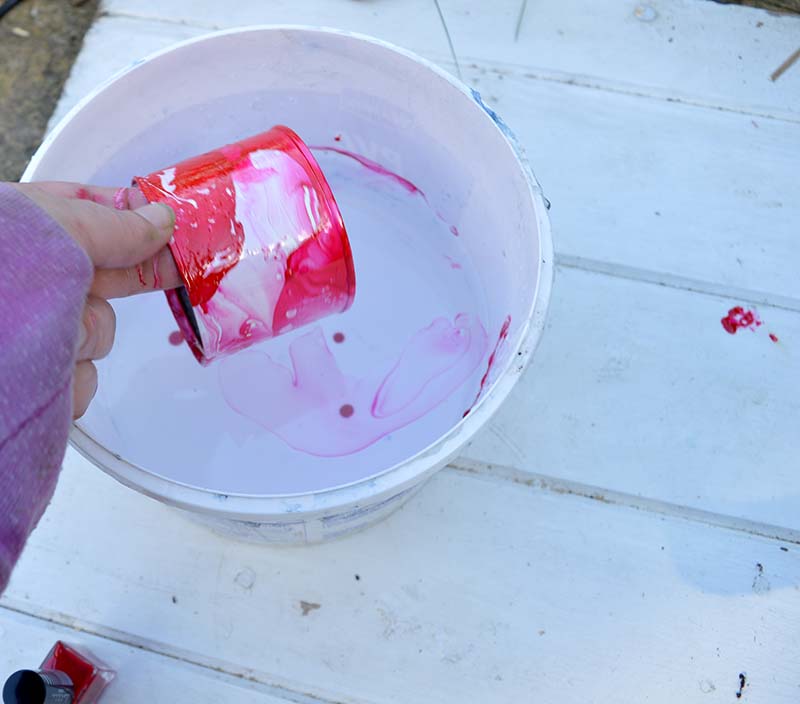
Step 3: To prepare for marbling the upcycled tin cans, fill the large plastic container with warm water. Then, pour the nail polish over the surface; you may want to use a cocktail stick to spread it out.

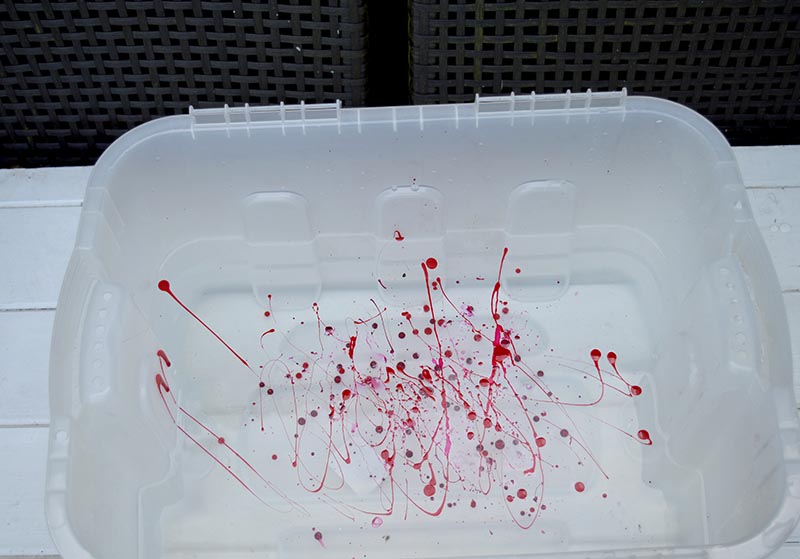
Step 4: This bit is fun; pick up your tin can and then gently roll it over the surface of the water. The varnish should cling to the surface of the tin can as you go, leaving a lovely marbled pattern.
Step 5: Add more nail varnish to the water and repeat with the tin lid. If you want to protect the marble upcycled tins, I recommend a final stage of spraying a protective acrylic varnish on the outside.
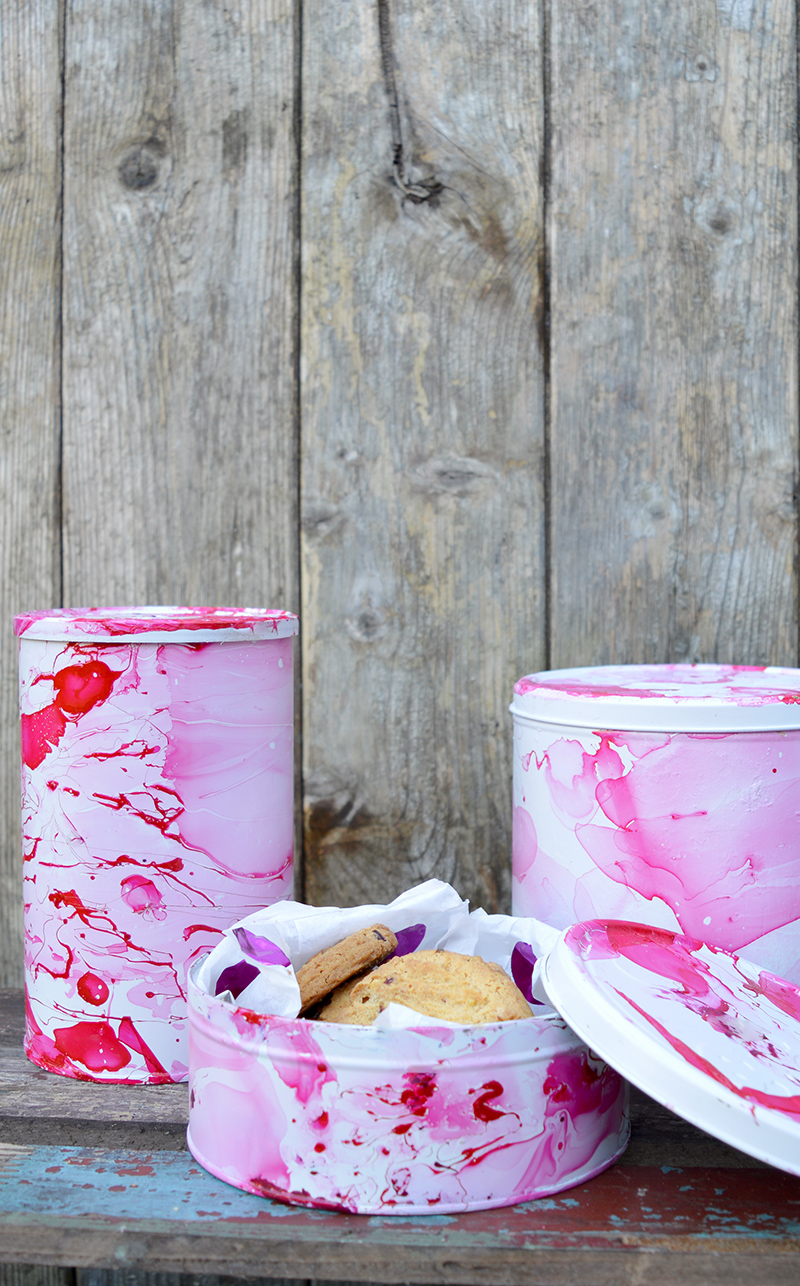
You can experiment with different nail polish colours and maybe add more than one colour at a time. I do find, though, that a white or cream background gives the most dramatic effect.
I love to upcycle tins into something much more lovely. You might want to check out some of my other tin can upcycles. I've made another set of fun upcycled empty tin can storage using old maps and leather; they look stylish.
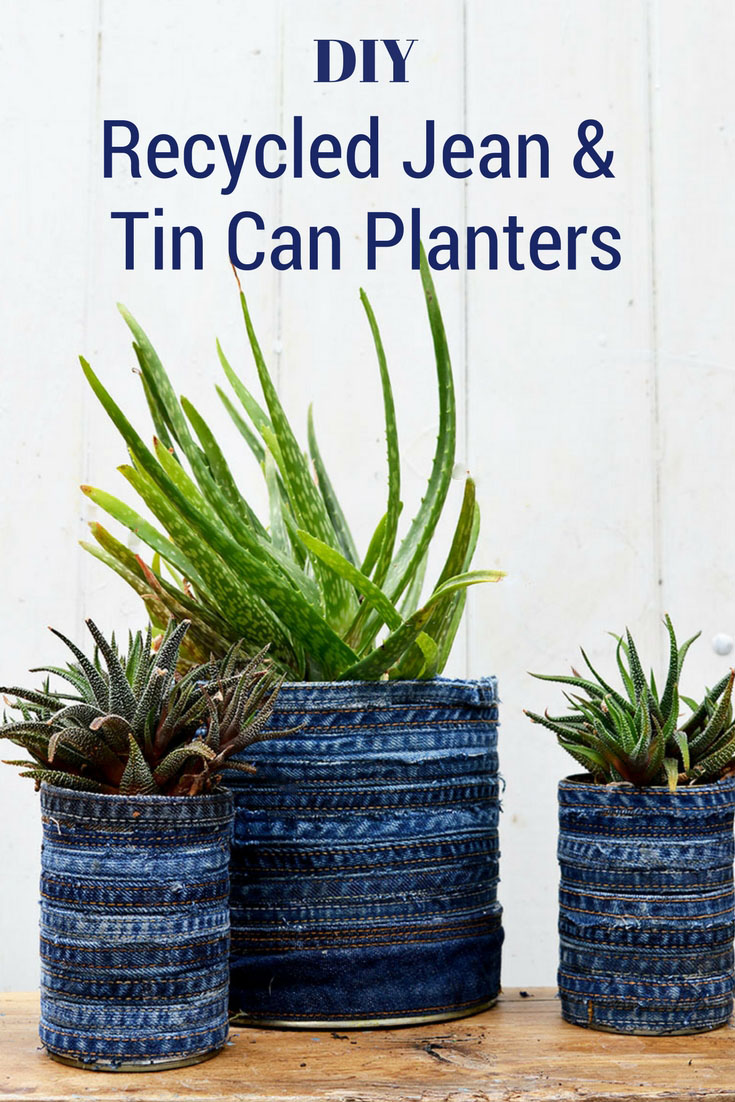
One of my favourite ways to repurpose old tin cans is into a tin can planter, like these jean planters and crushed gold planters.
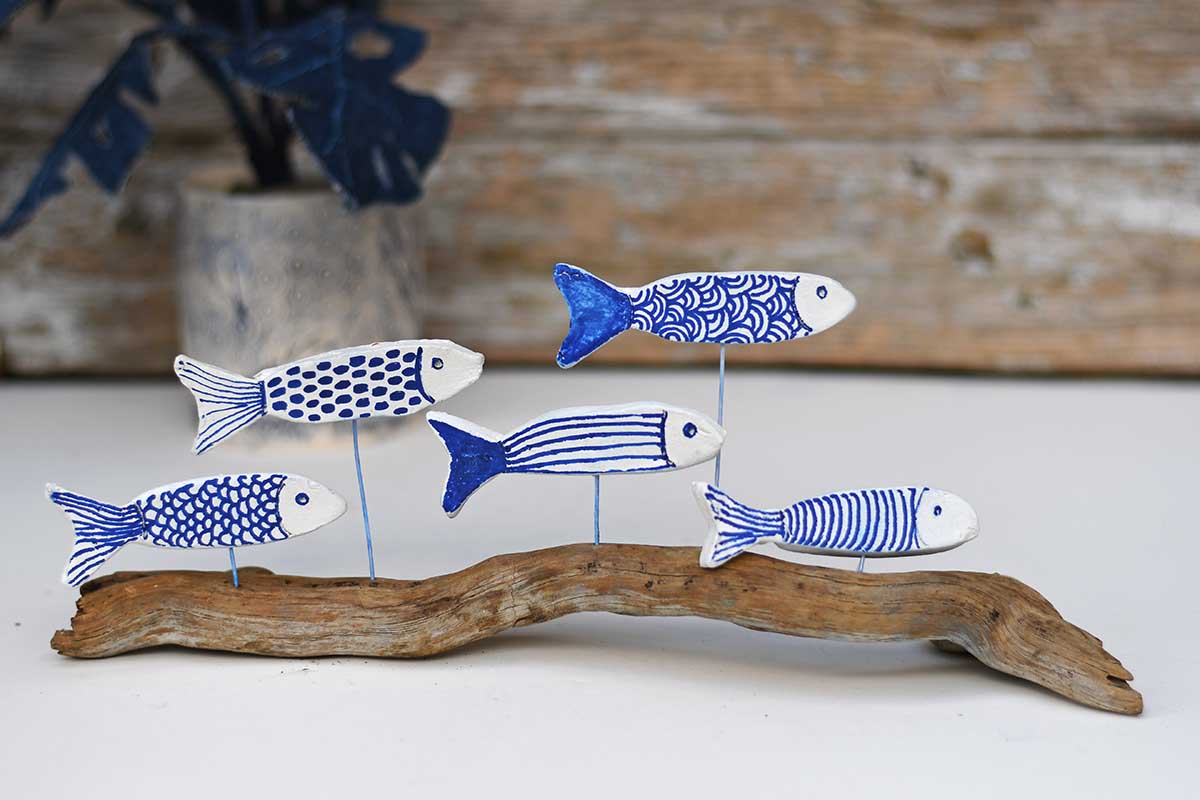
Even the smallest tin cans can be upcycled into something fun and beautiful. I have made a fabulous sardine tin can ornament and tuna can butterfly ornaments.


I lovd thisproject, but I am concerned about the paint because
there is usually a smell. Should I be concerned.
Linda
Nail varnish does smell so I do it outside. But once it’s fully dried the smell goes away.