
The Easy Way To Make A DIY Handy Washi Tape Holder
This is a tutorial on how to make a washi tape holder. I say washi tape, but the same craft storage design can be used for ribbon or twine.
Most of my craft supplies are stored in one fancy craft cupboard; I upcycled myself. It has glass doors at the front. Making a holder for all my fancy washi tape would be nice. I wanted a design that showed off all the tape patterns.
This DIY washi tape holder was straightforward to make. It cost almost nothing, as I used repurposed materials. I love to repurpose and upcycle whenever I can, especially when finding storage solutions for my craft supplies.
What Is Washi Tape
You might be wondering what exactly washi tape is. You might have already seen the tape in stationary and craft stores, not realising it was called washi tape.
Washi tape originates from Japan. It's a decorative adhesive tape made with traditional Japanese Washi paper.
Washi paper is made by hand, using traditional methods and local shrubs. It is used in many traditional Japanese arts. The tape is a pretty green product, made of highly renewable resources and is biodegradable.
However, not just the green credentials attract me to washi tape. But it's the range of colours and patterns that it comes in. I have a bit of a washi tape shopping habit. Whenever I go into a fancy stationery shop and see some excellent washi tape, I can't help buying a roll.
As well as the vast range of designs the tape comes in, it also comes in a range of widths. I use the tape for crafting; it's great to decorate with.
I make handmade cards and gift tags with washi tape. I've also used it to decorate the back of a wooden kitchen chair. I've even seen many IKEA Bekvam stools transformed with excellent colourful patterned washi tape.
We're a participant in the Amazon Services LLC Associates Program, an affiliate advertising program designed to provide a means for us to earn fees by linking to Amazon.com and affiliated sites. As an Amazon Associate, I earn from qualifying purchases.
What you need
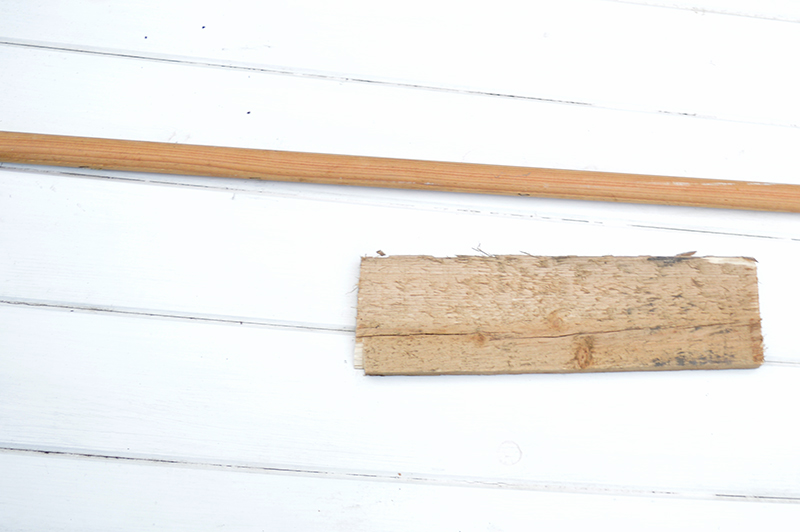
- An old broom handle is approximately 120cm in length. Any old wooden pole will do, you could use an old curtain pole, or parasol stand as long as the pole's diameter is small enough to fit a roll of washi tape. Buying wooden rods from your local DIY store is easy if you don't have an old broom.
- A piece of wood could be from a pallet or scrap skirting. The piece I used was 10cm x 30cm x 1cm.
- Drill
- Five wood screws 2cm long
- Dark wood stain
- Copper Spray paint
- Tape and newspaper
How To Make A DIY Washi Tape Holder
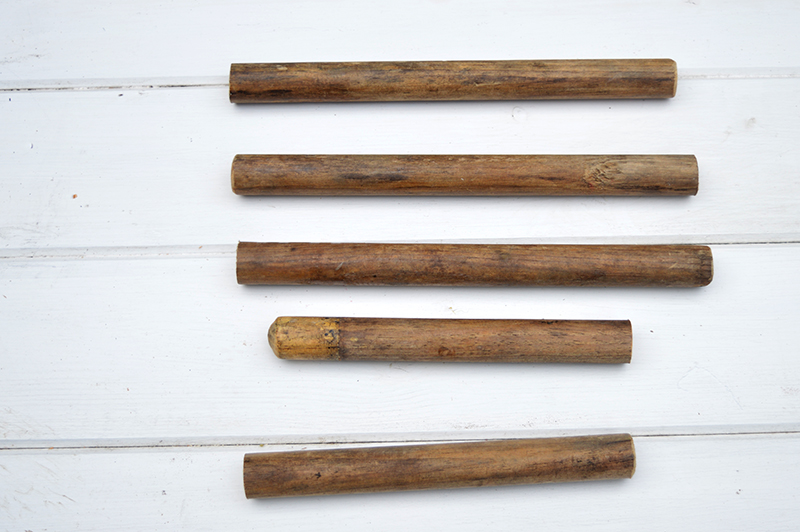
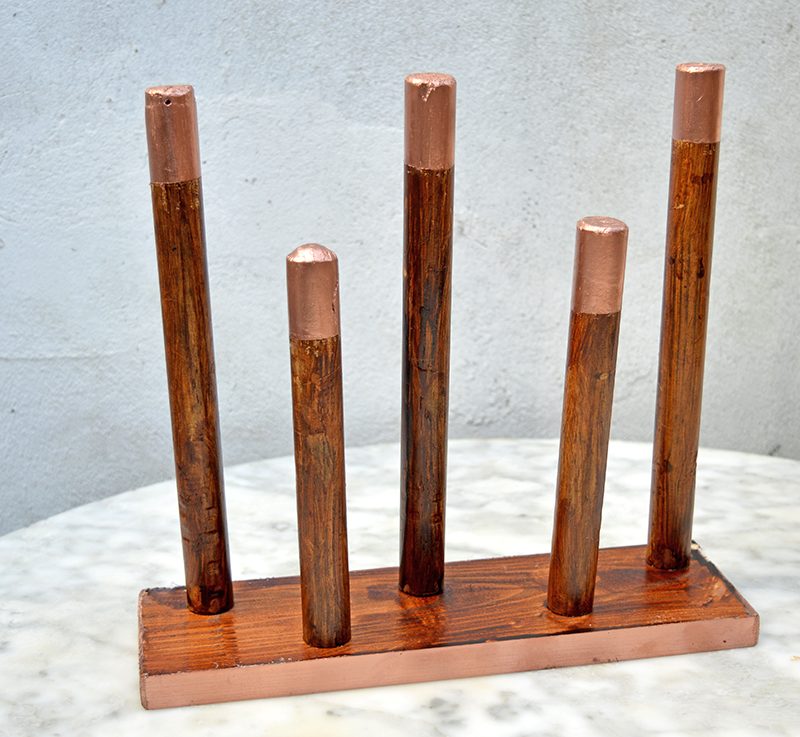
Step 1: Cut the broom handle (wooden pole) into five lengths. Three longer lengths are approximately 25cm in length. The other two lengths should be slightly shorter at 20cm.
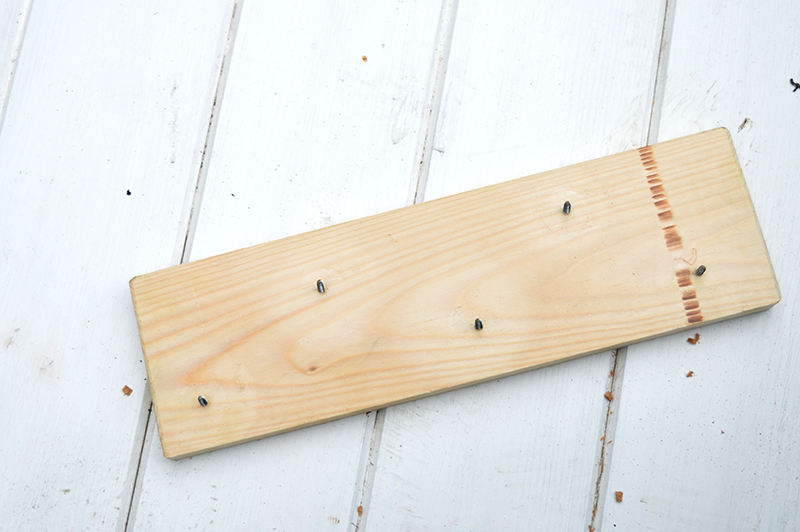
Step 2: Sand and smooth off the base piece of wood. Then drill five holes into it, three holes at the back and two at the front, evenly spaced. Then place the wood screws through the base so that they stick up through the drilled holes (see picture below)
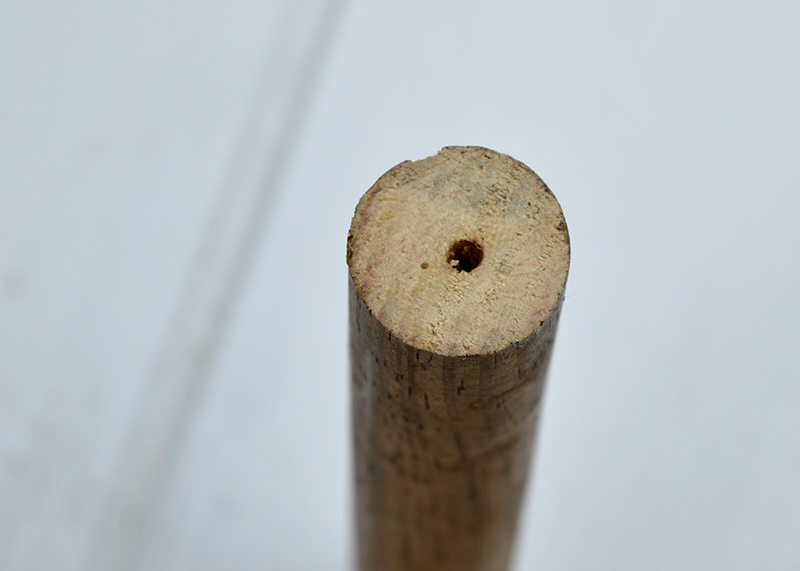
Step 3: Next, drill a small hole into the base of each wooden pole length. This is so that you can screw the poles into the wooden floor.
Step 4: I decorated the wood before putting together the DIY washi tape holder. First, I stained the base and poles with a dark wood stain. Then, I painted the top tips of the poles with copper spray paint. I also painted the edges of the base with copper paint.
This would match the cool denim and copper craft caddy I had already made from old tin cans for my craft cupboard.
When all the paint had dried, I screwed the wooden poles into the base.
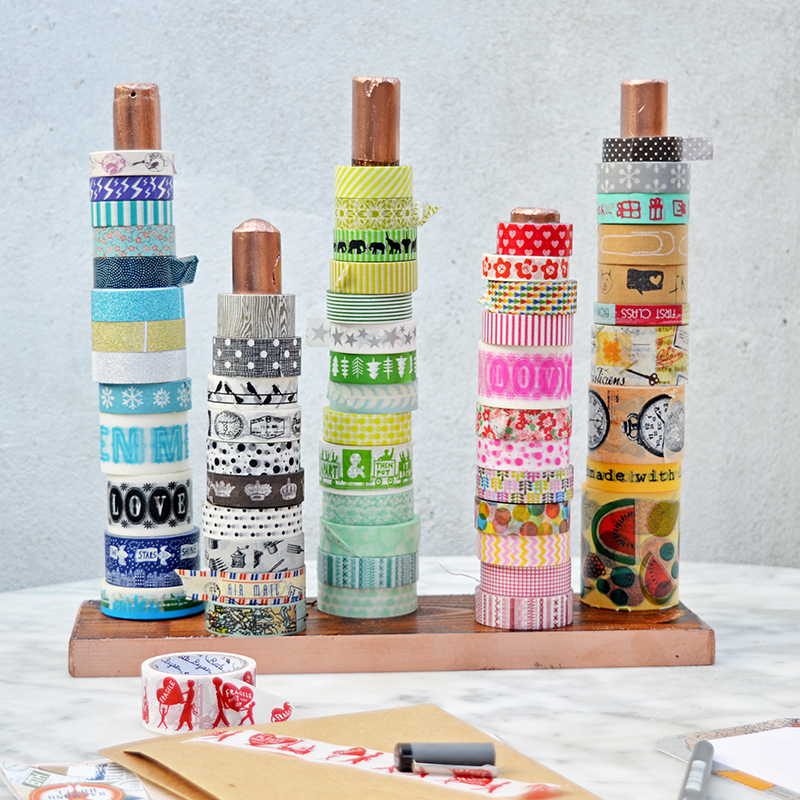
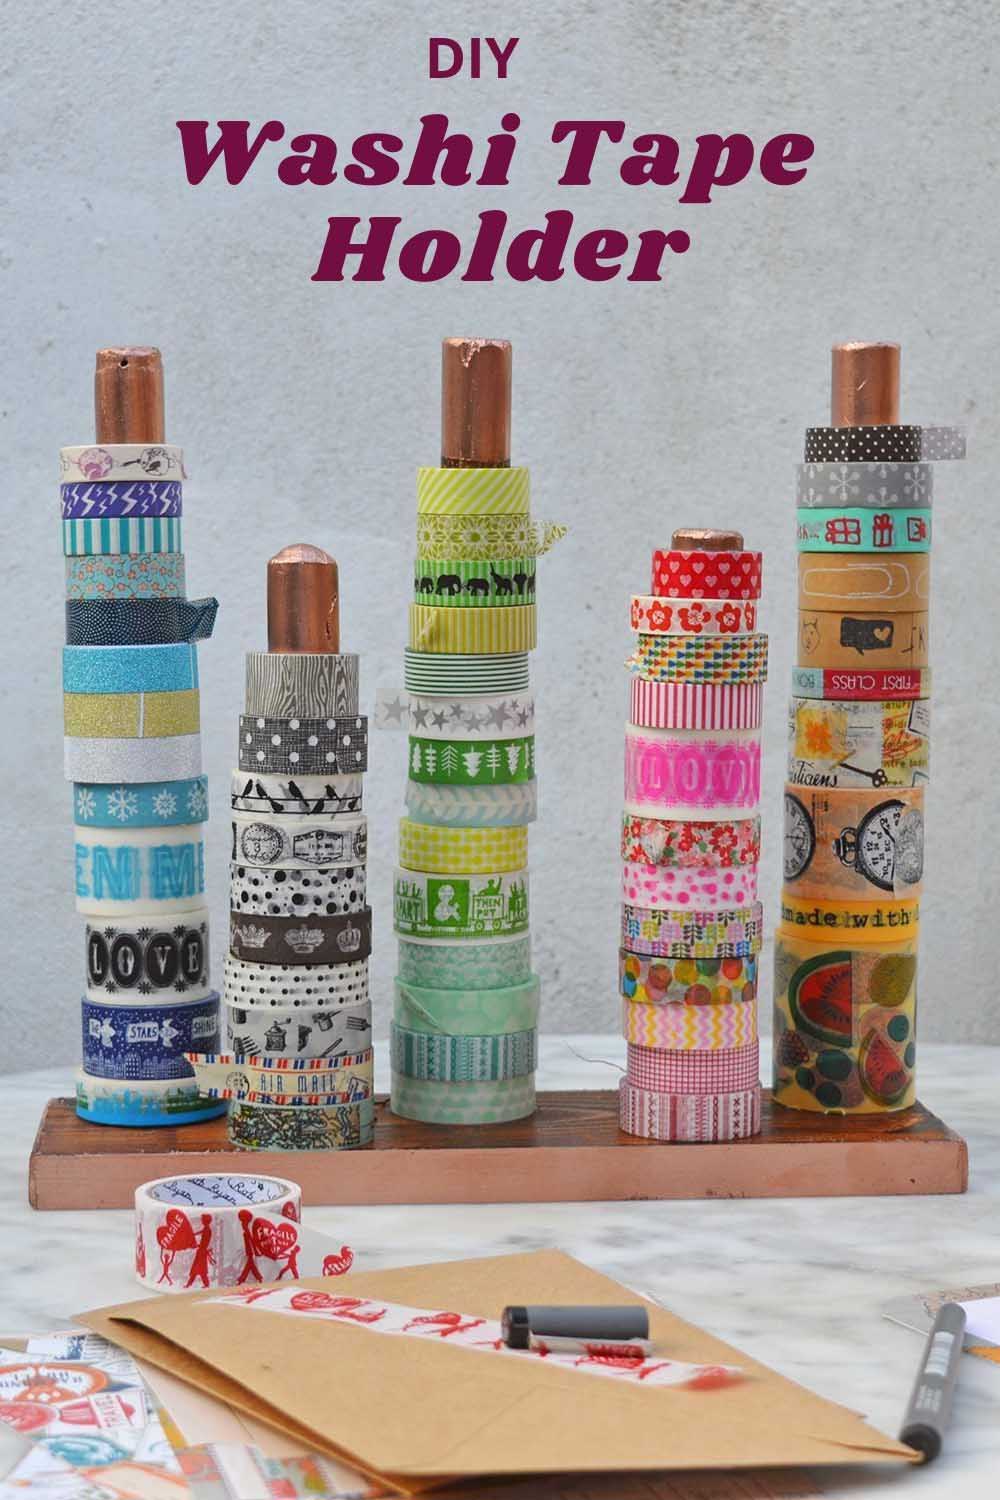
All that is left to do is to add the washi tape to the poles. I love storing washi tape this way as it makes it so easy to see all the patterns and designs simultaneously.
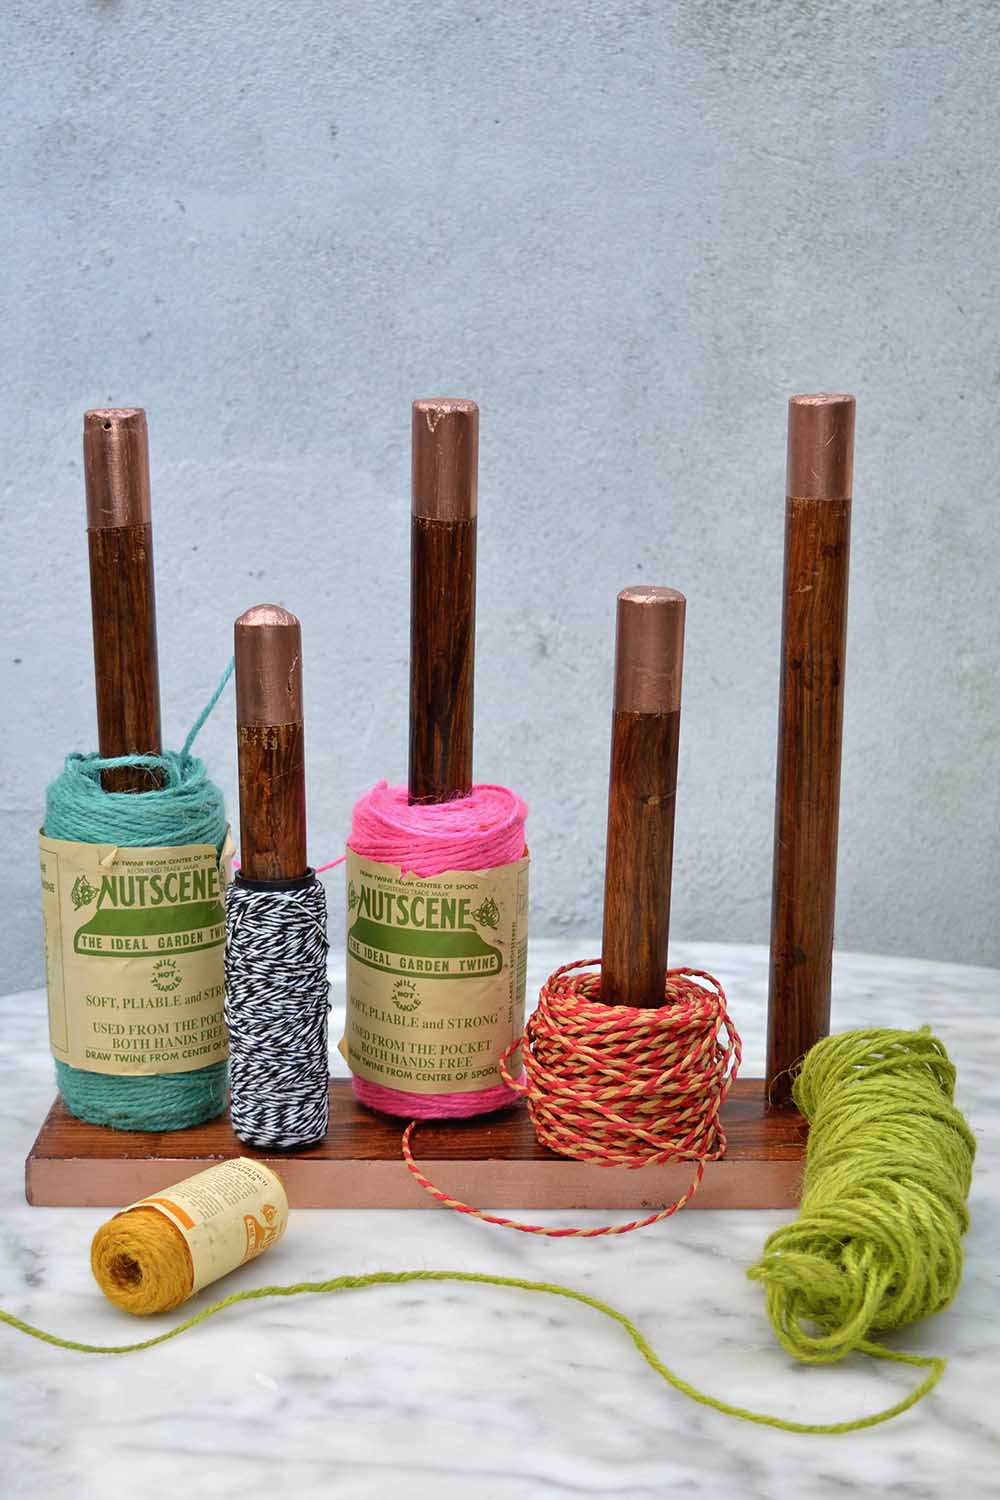
As mentioned, this holder could be used for twine instead of washi tape or both. I will make another one soon and collect washi tape; I'm also partial to colourful twines. They are all part of what I consider crafting essentials.
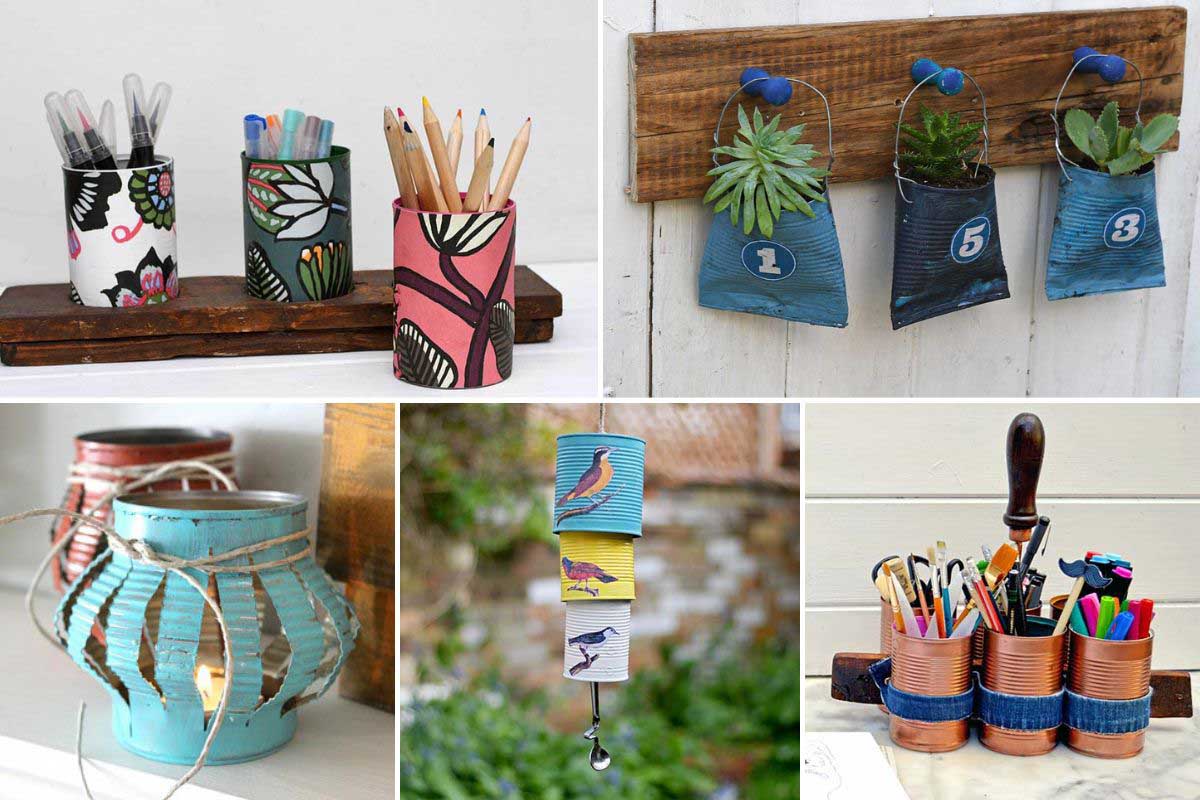
If you want more upcycle ideas for your craft room, check out all these DIY pencil holder ideas.


Another fabulous project, too funny that the cabinet is for cocktails and crafts, I guess it is an either/or situation, as the two together could get dangerous. all the best!
Thanks ! I regularly hold cocktail and craft evenings with my friends which work well excepting if any knitting is involved as there often ends up with a few dropped stitches, but crochet is fine.
Love this! Functional and beautiful! 🙂
Thanks it is really handy.
This is so useful and so fun! I can never find my washi tape when I need it and this would definitely solve my problem! Thanks so much for linking up at The DIY Collective! We hope to see you next week 🙂
Thank you ! Yes I like having my washi tape on view so I can easily see it all
love the upcycle thanks for sharing have a great day
Thank you very much !
Wow, how cute is that? I've only recently caught the Washi tape bug but I do think it's so fun to work with! My daughters love it, too. You're quite ingenious to come up with and assemble that storage piece. Love the copper accents on the tops of the poles! xo Kathleen
Thank you ! Washi tape comes in so many adorable colours and patterns it's hard to resist it.
What a cool way to store Washi tape. I love it. Thanks for sharing at My Flagstaff Home!
Jennifer
Thank you !
What a great idea!!! I don't have much washi tape but I have loads of twine! That cabinet is stunning too!
Thanks ! The cabinet is one of my favourite upcycles and is really handy as a cocktail and craft cabinet.
Oh wow Claire, this is beautiful! I love the metallic dip and your green cabinet is AMAZING!! It's making me crave my craft room....its still unfinished. Thanks for the super cute idea! Pinning and sharing.
Thank you ! I don't have a craft room as such so I share it with the dining room, hence the cocktail and craft cabinet. The cabinet is a junk piece I restored a couple of years ago, I love it too.
Love this idea!! I happen to have a collection of twine that I would love to display and your tutorial seems pretty darn easy. Too cute. Sharing an pinning!
Thank you ! Yes it works really well with twine as well.
So happy to have you join us in our Junk Revision Challenge. Great repurpose of a broom handle! I envy you your washi tape collection and need to get my supplies as organized as you have them! ;o)
Thank you ! Yes I can't seem to resist a bit of washi tape !
This is precious and I can think of a million things you could use it for. I'm lovin' the copper too - mice touch!!!
Thanks ! I can't resist a splash of copper.
WOW!!! This is sooo creative! I absolutely love this idea. I might just have to make one of my own. Thanks for the inspiration. 🙂
Thank you ! Glad you liked it.
Claire, this is a cool way to organize washi tape and twine!!! I like the copper accents you gave your broomstick organizer!! Great job!!
Thank you very much ! I can't resist a bit of copper.
Oh my! Now you have me wishing I could make a few of these today - they would be awesome for tape and ribbon too! LOVE the gold tips 🙂 Great job.
Thanks ! I'm sure there are loads of things that it can be used for, ribbon storage is a good idea.
Love your idea for washi tape storage. Great mind work in the same way, lol.... Cathy
Thanks very much !