
Easy To Make Colourful Tin Can Planters
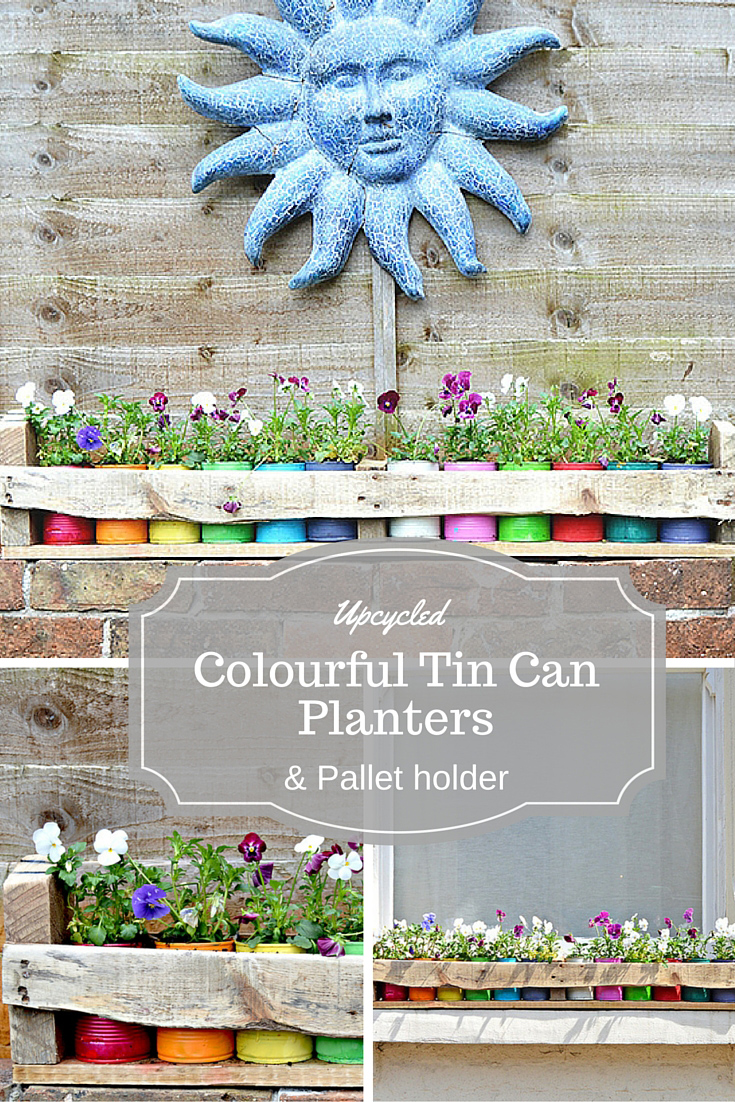
I live in a Victorian semi townhouse, so I just have a small town garden. When the sun is shining there is nothing more I like to do than to bask on my outdoor sofa. This year I decided to brighten up my little coffee corner in the garden with these colourful tin can planters.
They were really easy to make and cost me next to nothing. They were made from recycled items and stuff I already had in my DIY cupboard.
Colourful Tin Can Planters and Pallet Holder
I also used an old pallet to make a handy holder for all
This post contains Amazon affiliate links for your convenience. Click here to see my disclosure policy.
What You Need To Make Rainbow Tin Can planters
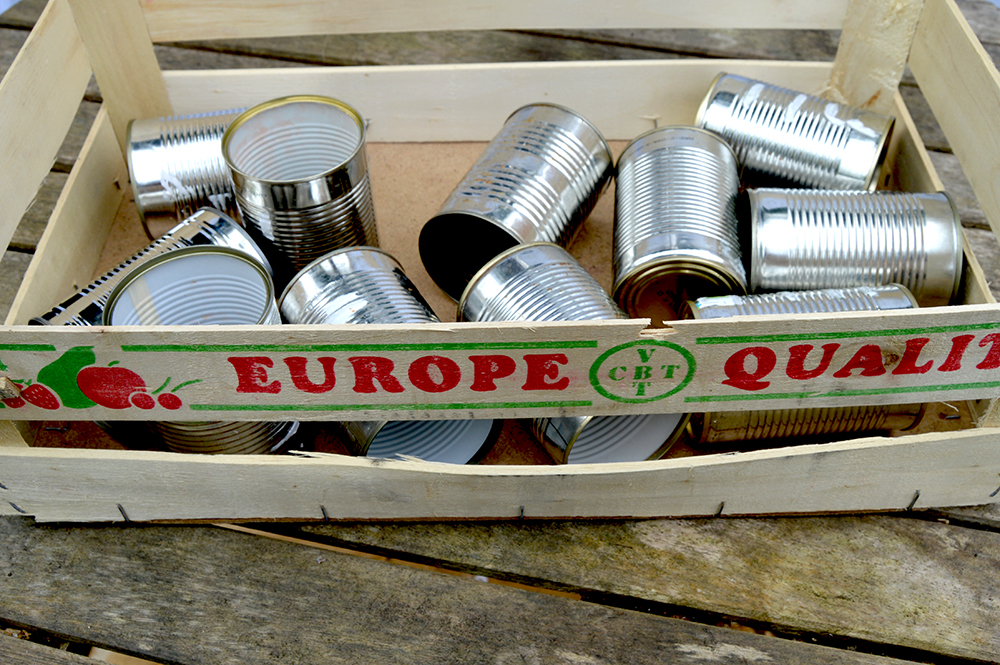
- 12 Empty tin cans
- Old paints in as many colours as you have
- Paint brush
- Acrylic varnish spray
- Old pallet
- Saw
- Nails
How to make the tin can planters
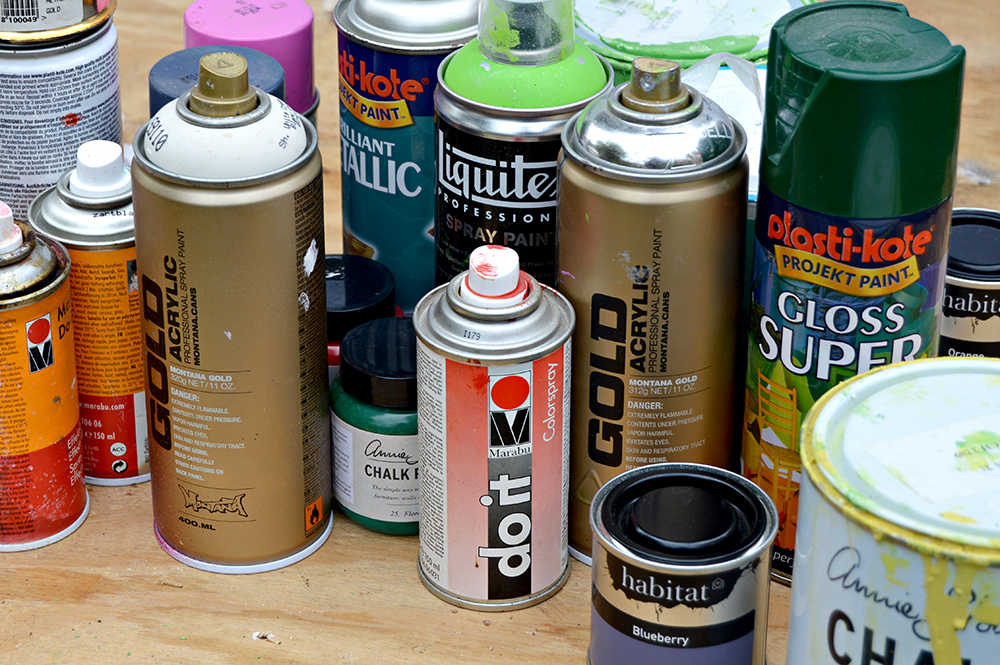
1.. First, gather your paints. I emptied out my DIY cupboard of all bits of paint I had. This was a mixture of emulsion/latex paints, chalk paints, spray paints and sample pots.
It doesn't matter what kind of paint you use, you are more interested in getting a variety of colours. Once you've got your paints just simply paint each tin can a different colour.
You can always mix paints to get more colours or use cheap sample pots. You don't need much paint to cover a tin can.
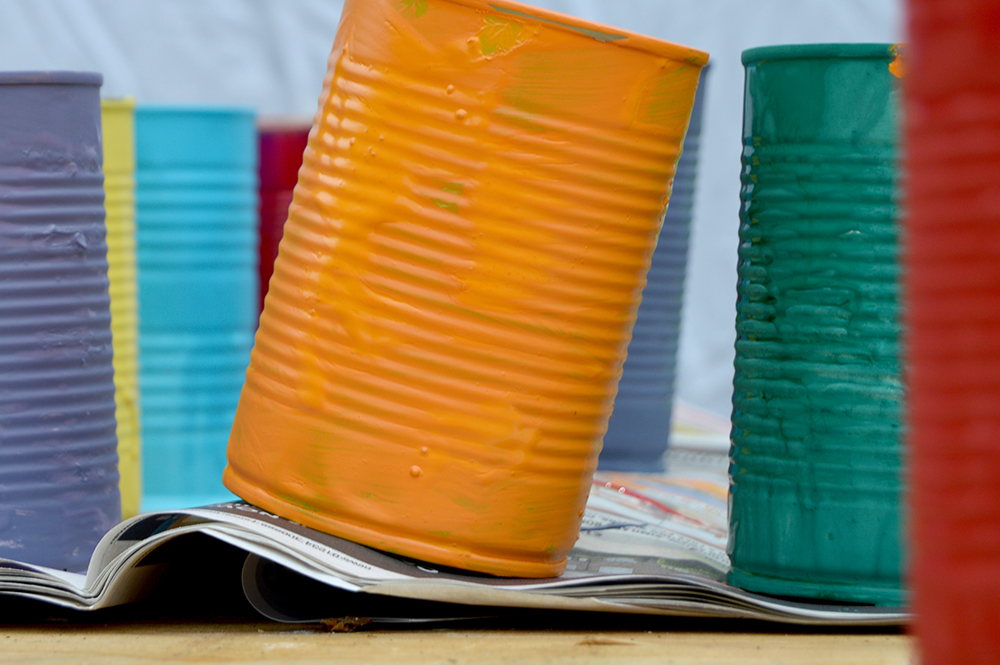
2. Once they are all painted and dry, carefully spray your painted tin cans all over with an acrylic varnish. This will seal in your paint and make it waterproof, that's why it doesn't matter what kind of paint your paint scraps are.
How to make the wooden plant holder
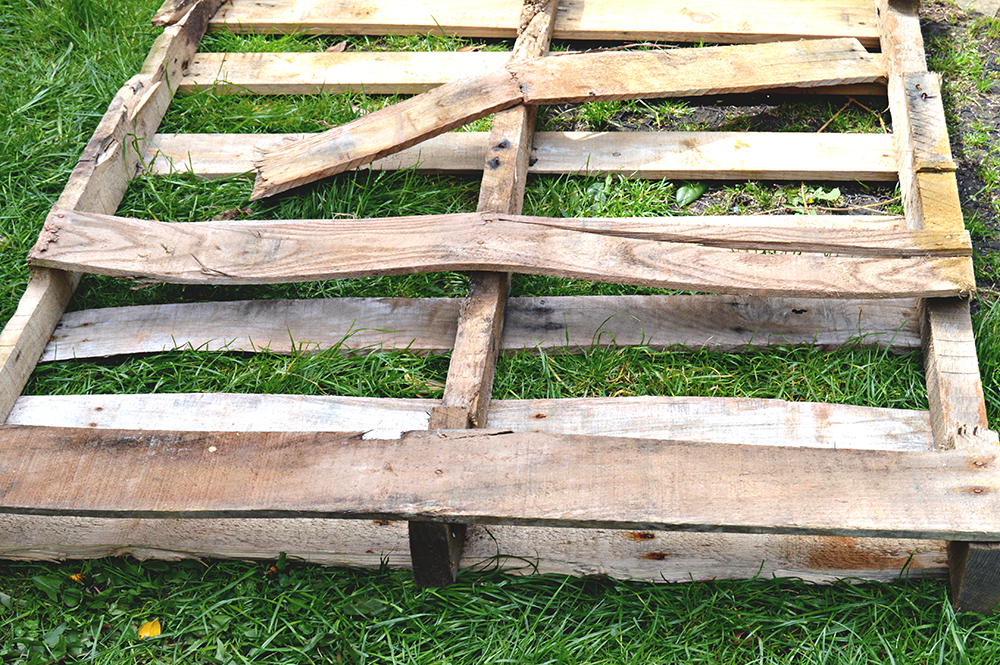
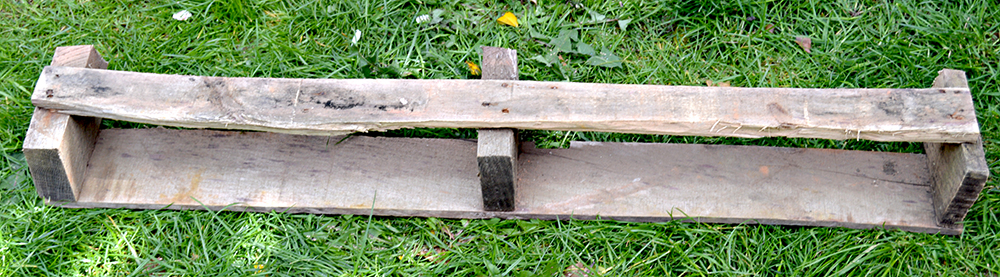
3. I found a wooden pallet in a skip (dumpster) on my road. Skips are a good place to pick up pallets, and as long as you ask most people will happily let you have them.
Saw the bottom rung off the pallet. Then remove a wooden plank from further up the pallet and nail this to the sawn-off piece to make a wooden trough. Then finish off the pallet tin can holder by sanding it smooth.
Filling the Rainbow tin can planters
What you need..
- Bedding plants (I used violas)
- Shingle or small pebbles or stones,
- Activated charcoal
- Sand
- Potting compost
I am by no means a green-fingered gardener. A few years ago I made some terrariums with my Beaver cubs, and as these terrariums are still going strong, I have decided that the planting method I used was a good one.
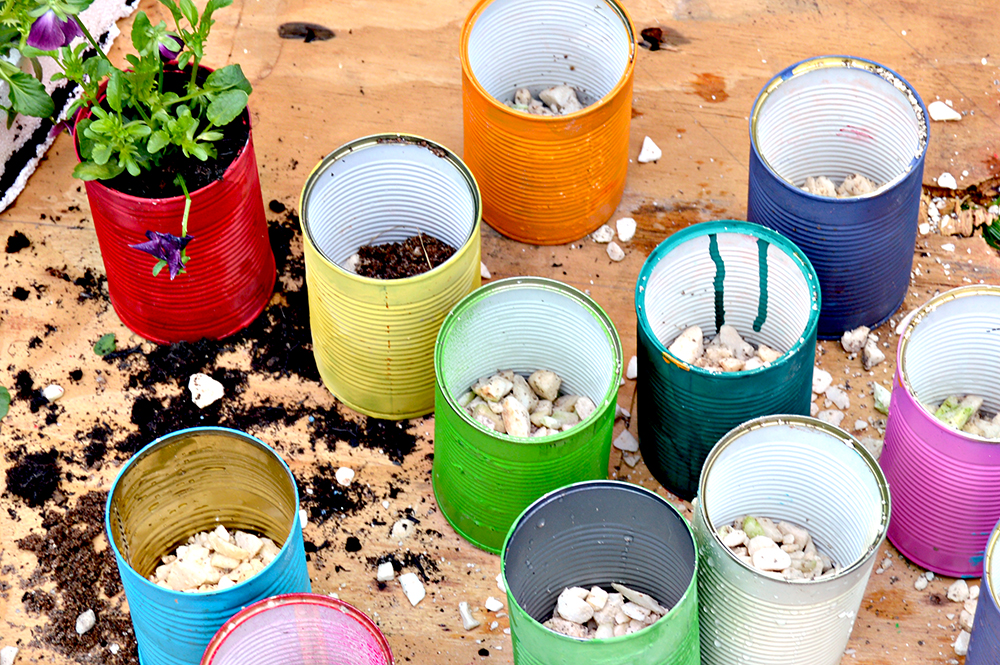
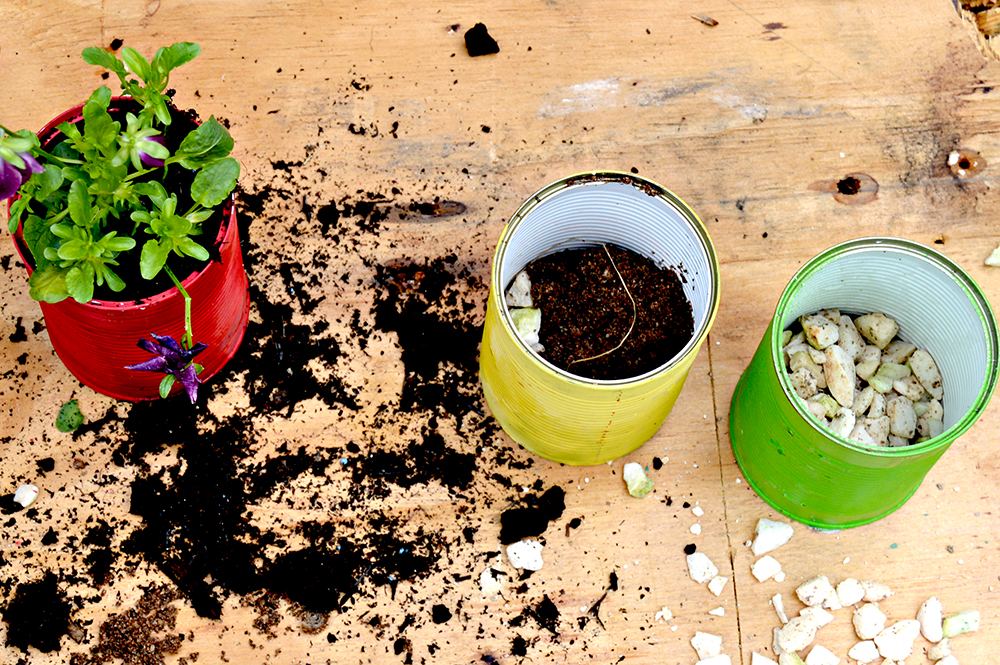
Firstly, fill the cans about a third of the way up with shingle, to provide a drainage layer. For the second layer, add some activated charcoal. This will also help with water absorption.
Then followed this with a small layer of sand and place the bedding plants in the top third of the cans with potting compost.
If you live in a wet climate I suggest that you drill some holes in the base of the tin cans before planting to aid with rainwater drainage.
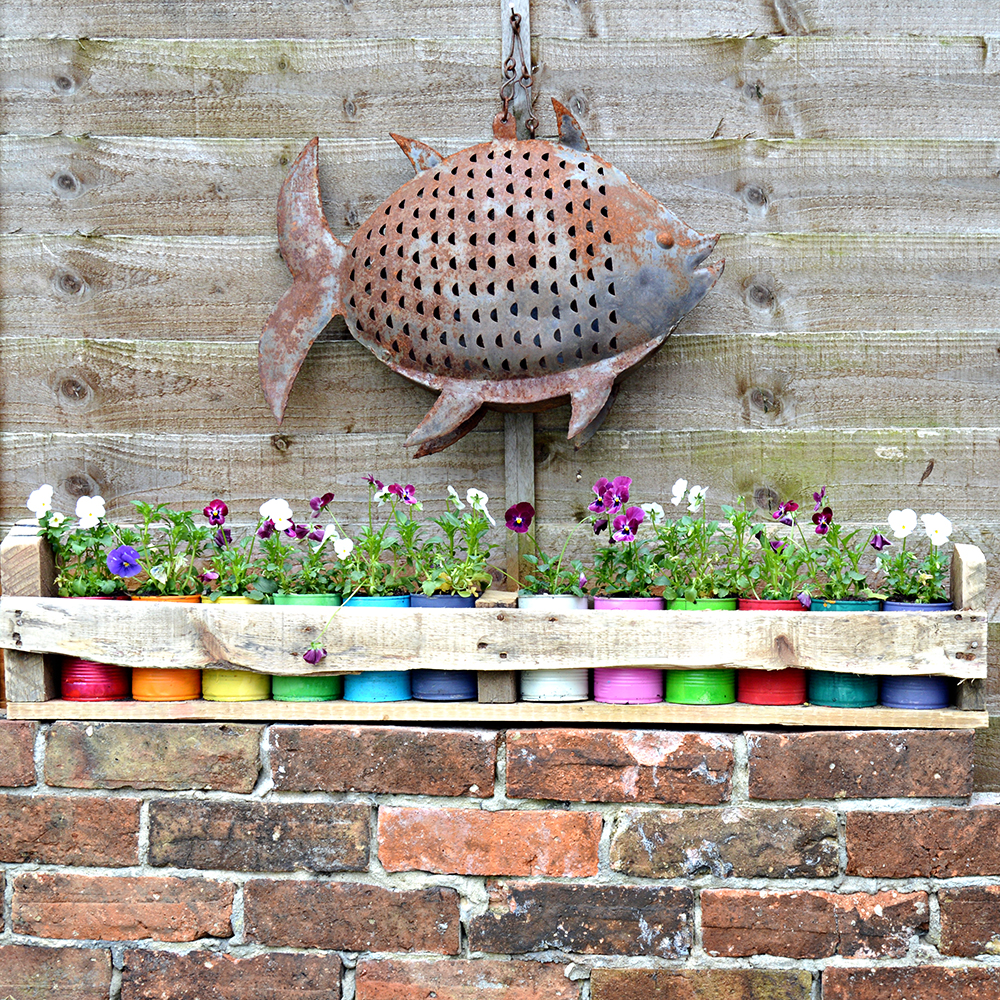
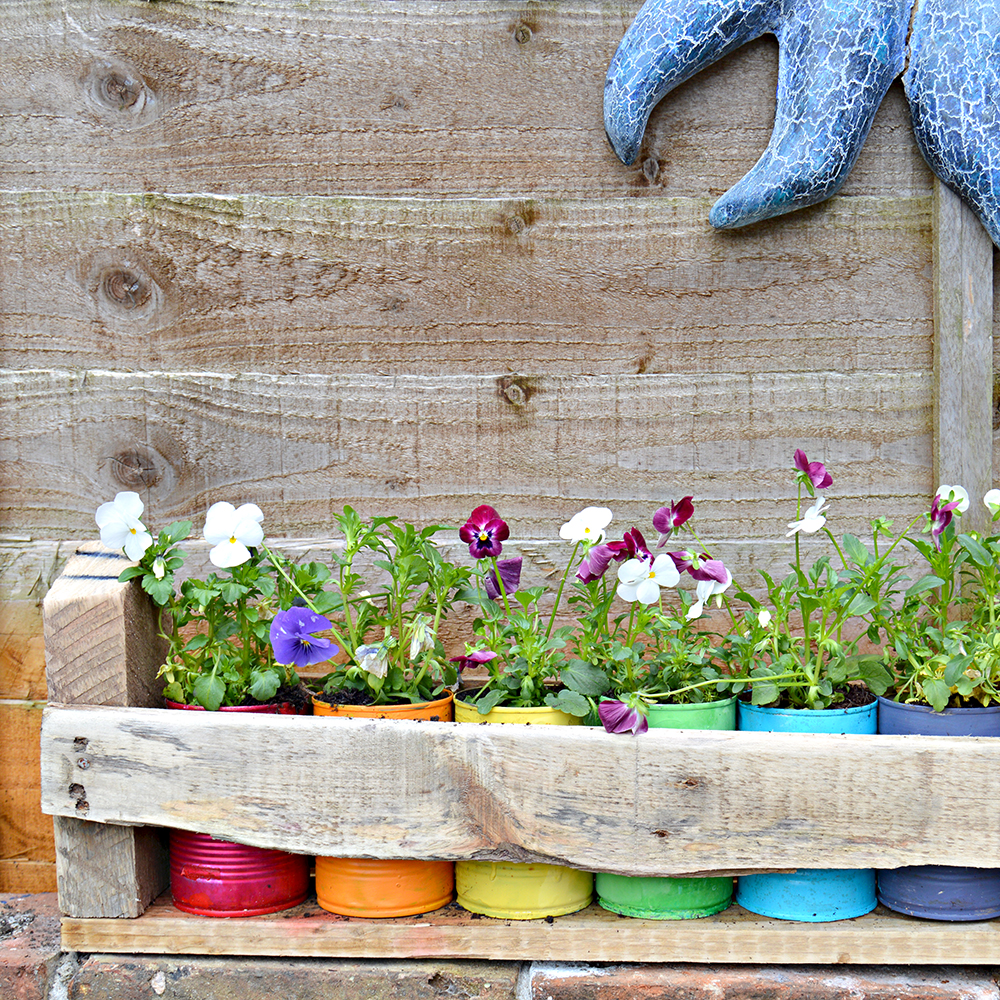
These upcycled can planters have really brightened up my little outdoor coffee nook. I'm so pleased with how they turned out. I'm still saving cans to make some more for my window sills and have some other ideas for upcycled cans in the pipeline.
The pallet holder makes it really easy to move the tin can planters around. Just lift the pallet holder and move all 12 planters in one go. I think the planters will also look great indoors with succulents and cacti.
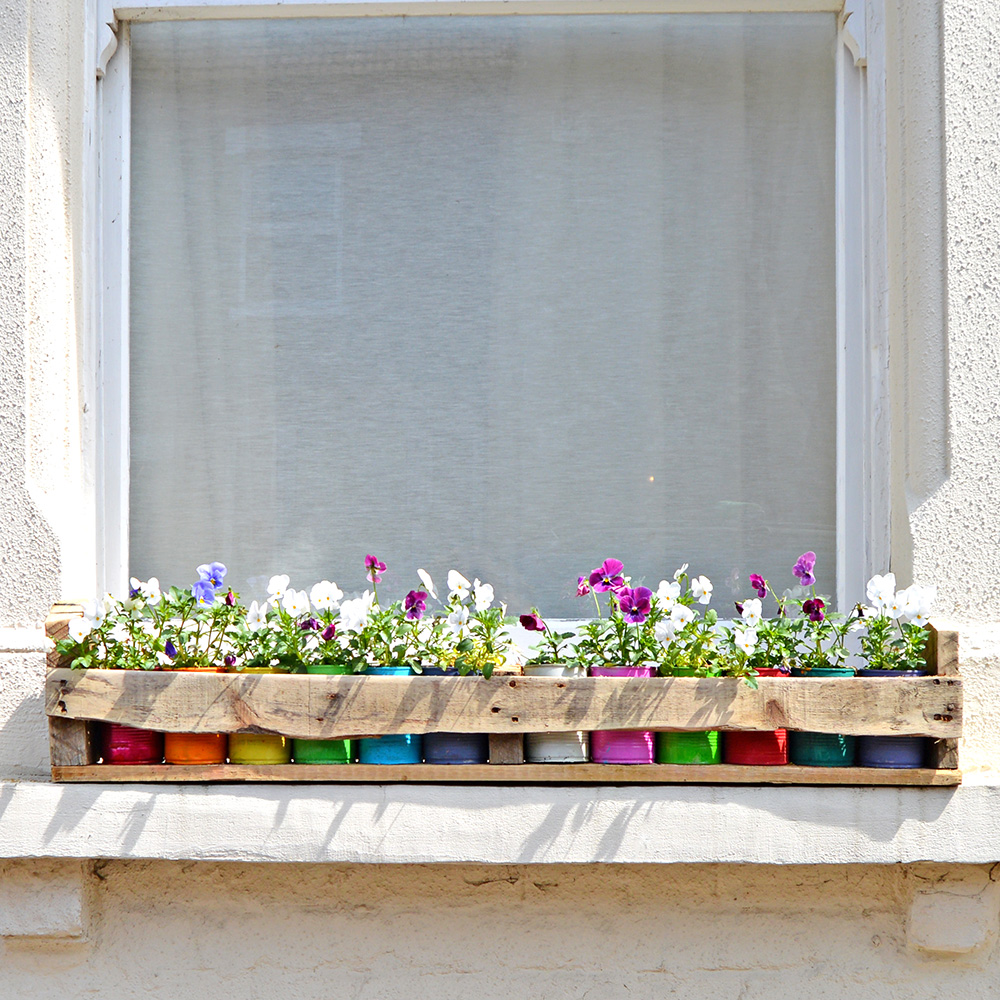
Since posting this, I have made some gorgeous even more
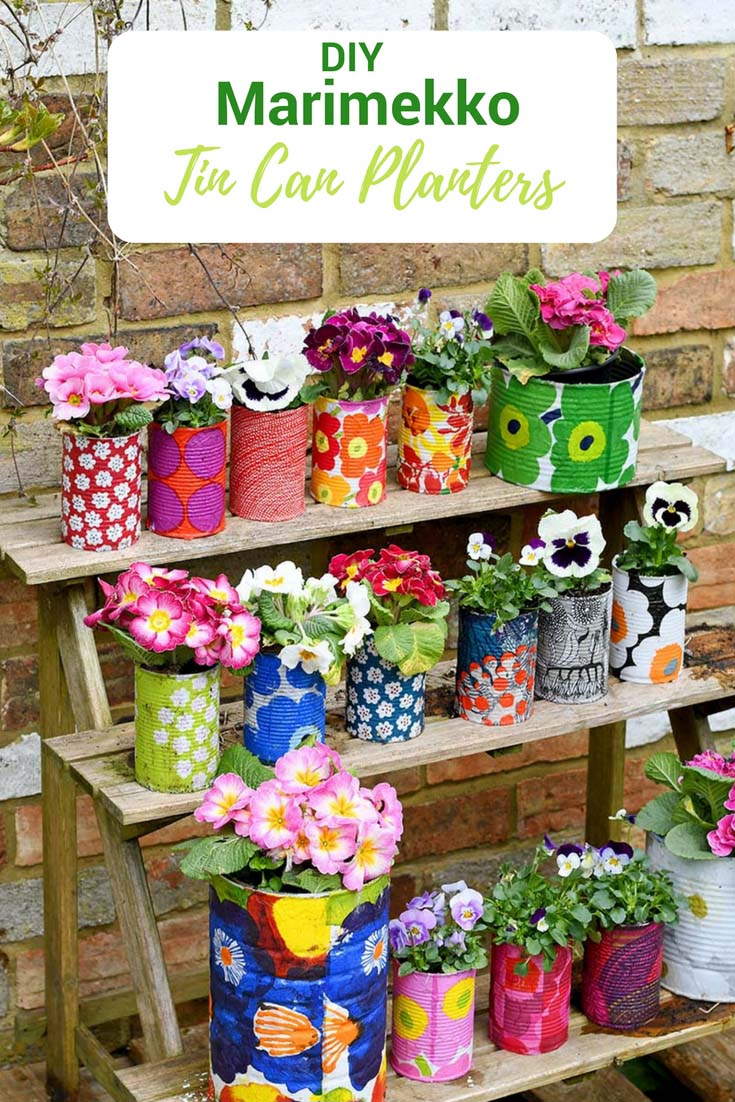
Check out some of my other outdoor tin can ideas.
Upcycled window herb planter
Happy Hour Upcycled Window
Copper and denim caddy
You can find this post and many wonderful repurposed garden ideas in this round-up of the best garden upcycles.




These are perfect for Spring Claire! I am famous for my brown thumb but I may just give it a try.
Thank you ! They do look lovely in the garden, I have made more since posting this.
I just love these - I did some one year but only in aqua - LOVE LOVE LOVE all the different colors.
I have a Monday post I do where I showcase color - would love to use your project ( one photo with a link and full credit to your blog ) let me know if that would be ok ( perfectly understand if it's not )
Now I'm off to pin this fabulous project !
Thank you ! Yes feel free to use a photo from my post and link. Thanks for asking.
Omgee, Claire, crazy simple and crazy beautiful!!!
Thank you very much ! Sometimes simple is beautiful !
Love love love! Especially together with that sun, perfect combo.
Thank you very much ! I picked the sun up in Mexico over 20 years ago.
Love this project too!! Pinned both your tin can projects 🙂 Thanks for sharing at the Create With Me party!! Get your "hanger" projects ready for next month!!
Thanks ! Glad you liked them.
Rustic and colorful, just sooo pretty. Love your pallet planter box, too. Pinning and sharing!
Thank you ! I just love splashes of colour.
so so beautiful! And I love that you picked a piece of split wood for the "railing" on the box. Adds more charm to an already charming project! Pinning.
Thanks, I agree the irregular wood adds to the project.
I need this in my life!! This tin can planter is AWESOME!! i love all the colors, it's like tie dye!! I have been planning a window box, now I know what I want it to look like for sure! or maybe along the fence line....or both! thanks for sharing the inspiration with us at the creative challenge!
Thank you and thank you for hosting
Incredible upcycling! Love the use of the pallets and the tin cans. Looks great! Thank you so much for sharing with us at the Creative Craft Challenge!
Thank you
Adorable! I love how the bright colors are played on the rustic. Oh, love the fish! Thanks for linking up to Choose Save Tuesday!
Thanks, the fish is actually a lantern it's so old I can't even remember when I first got it.
I think these are the cutest things, really would give a yard some extra color!!
Would love to have you stop by and share on my Friday Features!!
Hope you enjoy your weekend!
Karren
Thanks glad you like them and thanks for the invite
ok, first i am loving this font. second, i am loving your sun decor. third, i am loving the colorful plantings!
enjoy!
b
Thanks, I actually picked up the blue sun from a holiday in Mexico about 15 years ago.
This is a great way to brighten up an outdoor space, I love it! I've included your post in my Five on Friday roundup today. Have a great weekend 🙂
Thanks glad you like them
Hi! Just discovered your lovely blog - now following via Bloglovin!
I love this project - they look fantastic! I think I may need to do this for my garden!
Nic x
http://www.houseofnicnax.com.au
Thanks Love the fact that this projects uses old paint bits and tins so doesn't cost anything to do. Good luck with the project. X
Looks amazing! Bright and cheery just in time for summer.
Thanks, they really do brighten up my wall.