
DIY Gorgeous Scrap Fabric Birdcage - For Spring Decor
Transform an old wire coat hanger and fabric scraps into a charming spring fabric birdcage decoration with our easy-to-follow tutorial. Perfect for adding a whimsical touch to your spring decor.
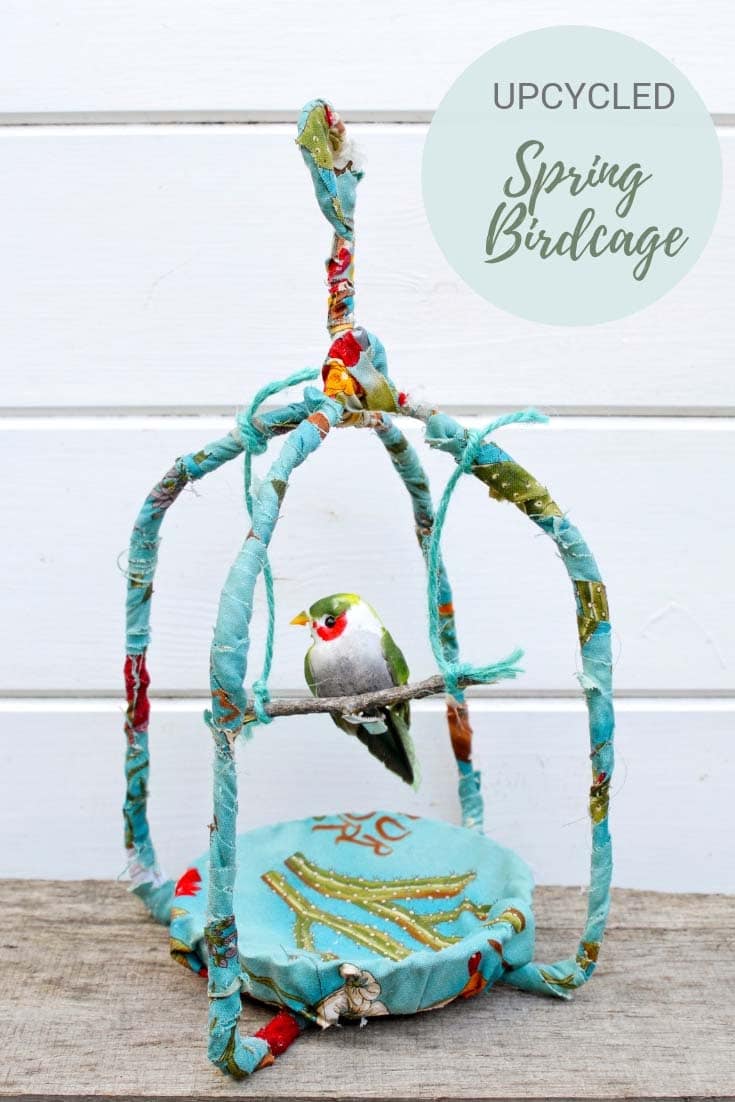
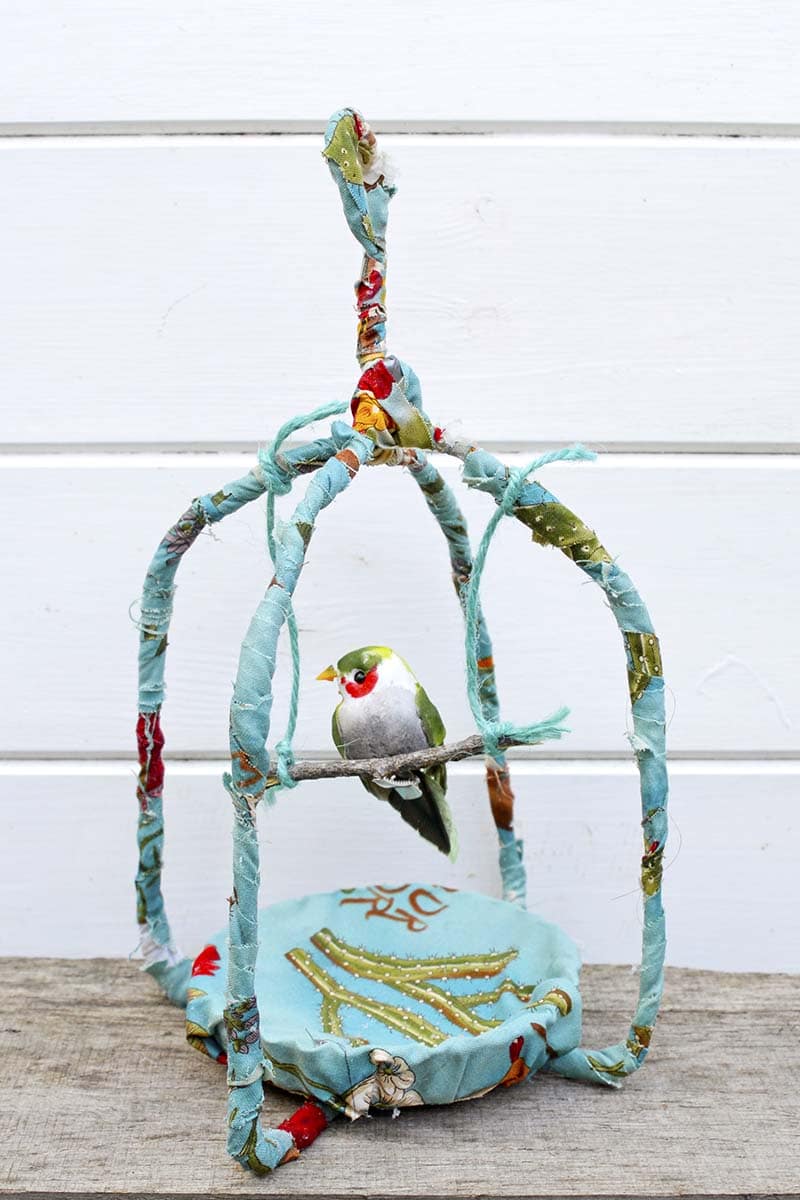
Maybe it's because I'm the daughter of an ornithologist; spring makes me think of birds. This gave me the idea of making a scrap fabric birdcage decoration for the home.
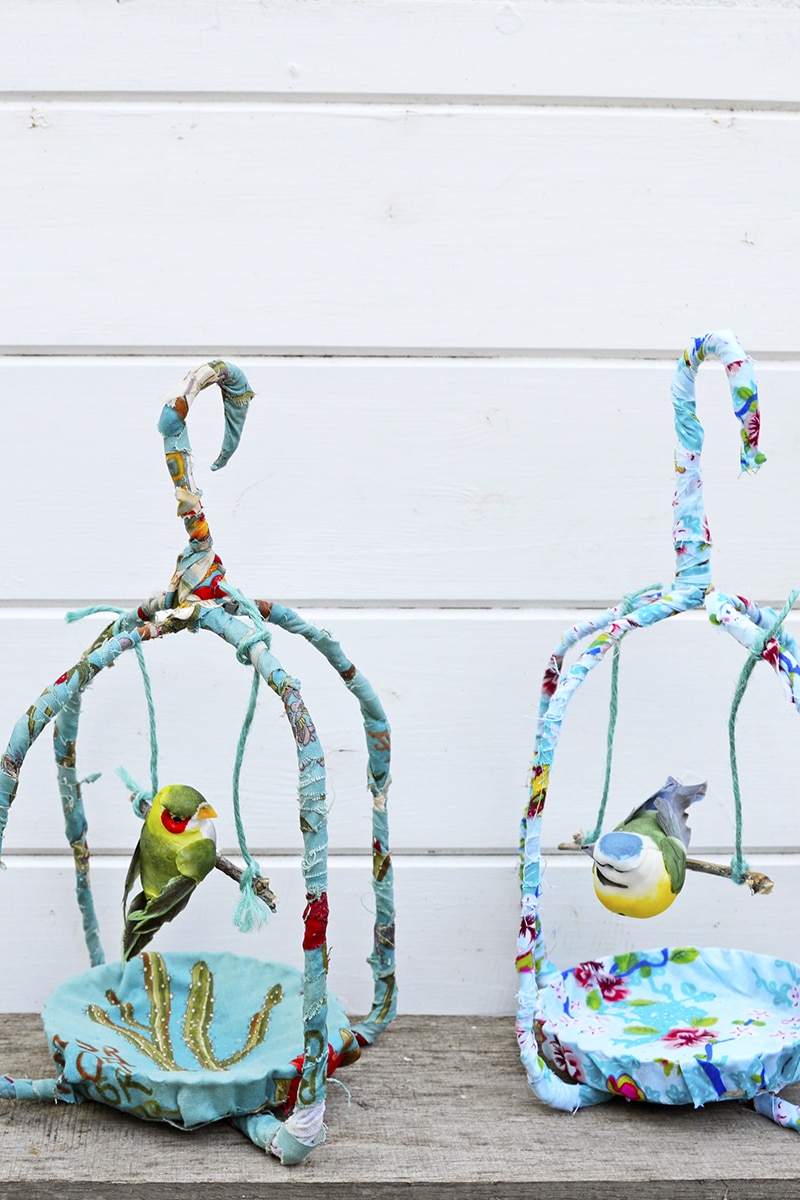
These upcycled fabric birdcages would make a lovely gift, and as with the fabric birdhouses I made, they can be personalized by using a favourite old shirt or blouse.
Any old fabric scraps will do for these gorgeous birdcage decorations. I've been eyeing up an old pink-striped shirt of my husband's, which I think I'll wear next.
DIY Fabric Birdcage Decoration For Spring
The fabric birdcage takes about 1 hour to make and costs almost nothing as you use stuff around the home.
We're a participant in the Amazon Services LLC Associates Program, an affiliate advertising program designed to provide a means for us to earn fees by linking to Amazon.com and affiliated sites. As an Amazon Associate, I earn from qualifying purchases.
What you need to make a fabric Birdcage
- Two wire coat hangers (like the ones you get from the dry cleaners)
- Small round metal flan case or any round object about 7-8cm in diameter. If you don't have anything like that, you can use a round bit of stiff cardboard
- Scraps of cotton fabric or an old cotton shirt.
- Pliers, wire cutters, glue brush, duct tape & glue
- Small twig and twine and feather bird
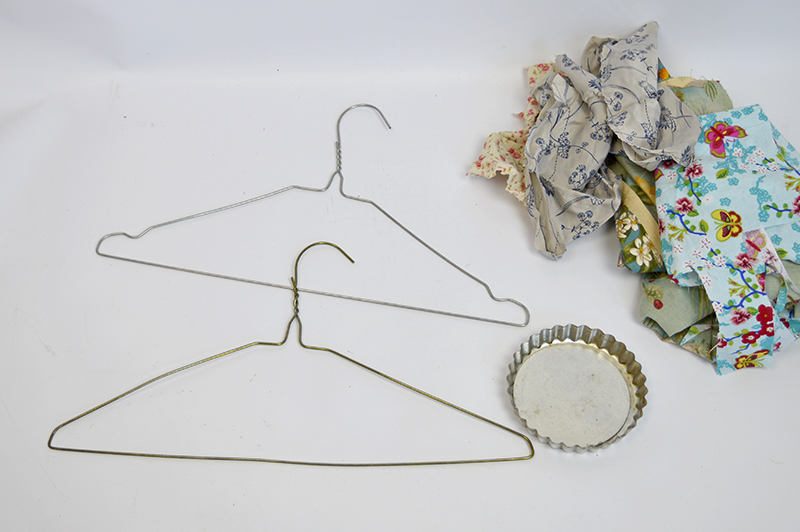
As I used a hanger for this craft, it has featured under H in the A to Z of upcycling resource ideas.
How to make a fabric birdcage
Making The Wire Frame
Step 1: Firstly, you need to make the birdcage frame. Cut the wire coat hangers with wire cutters in the two places shown in the picture below.
Step 2: Shape your hanger into the shape below using duct tape in the corner to hold it in place. Do this to both hangers, but cut the top hook off the second hanger.
Step 3: Slot your two hangers together to form a cross shape and secure in place with duct tape. Don't worry about how much duct tape you use; you will cover it all in fabric.
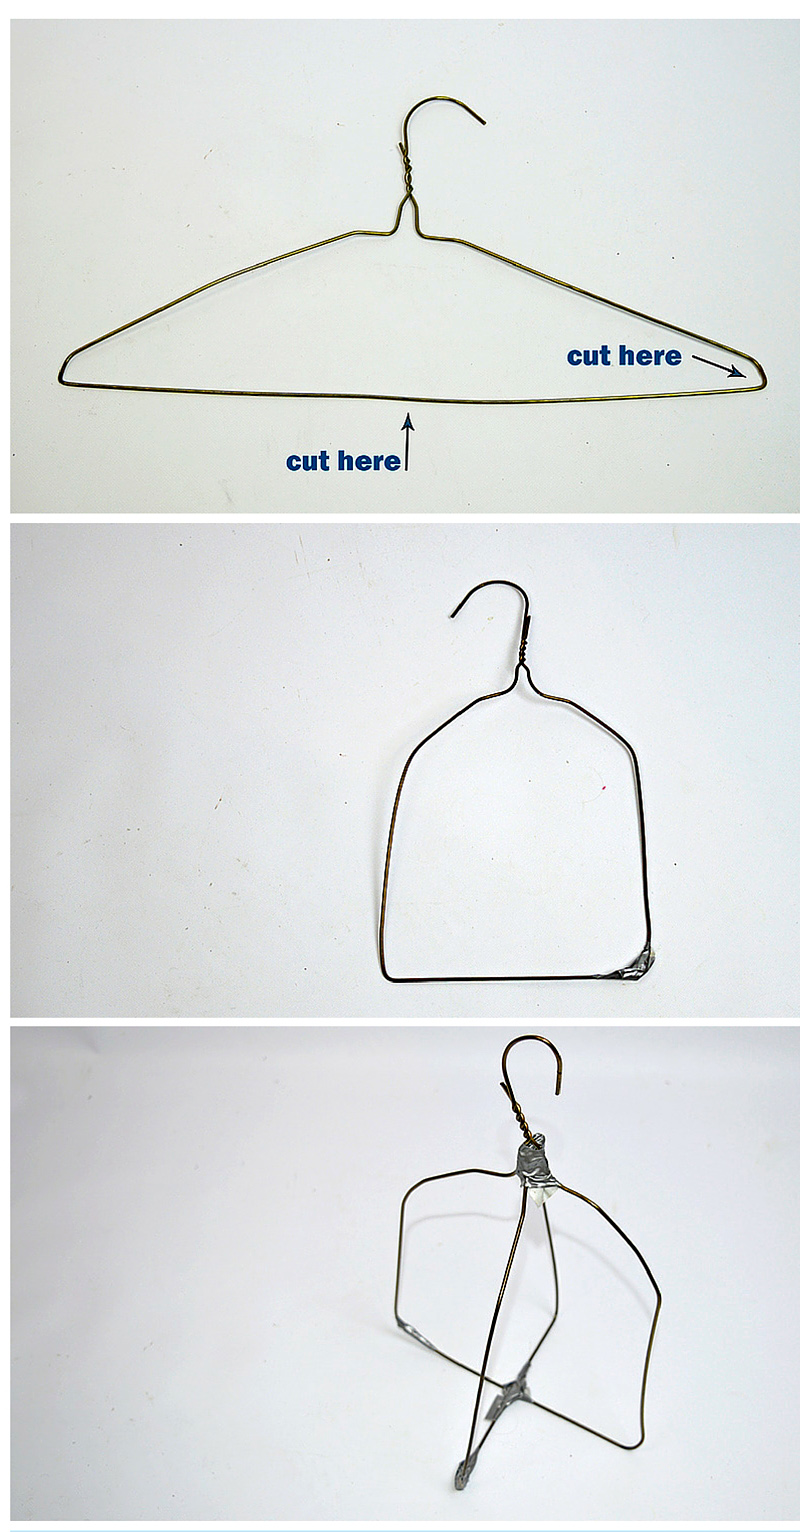
Now your frame is ready to cover in fabric.
Covering The Frame In Fabric
Step 4: Tear the fabric into strips about 3cm wide. Tearing gives a better effect than cutting. With a brush, paste the wrong side of the fabric with glue and then wrap it around the wire frame, overlapping as you go. Continue until the whole fabric birdhouse frame is covered.
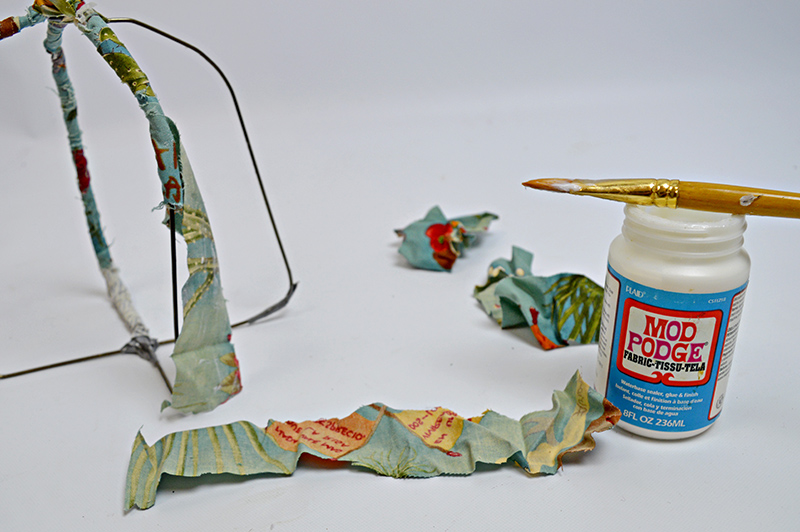
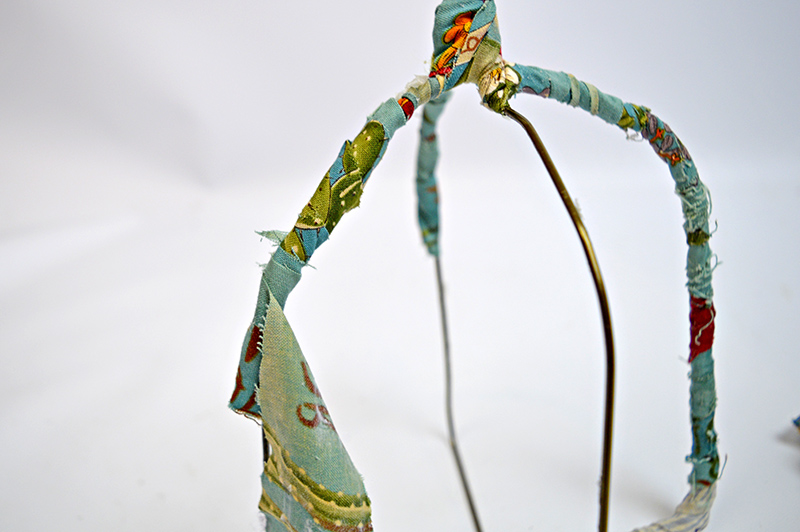
Step 5: Cover whatever you use for the base in fabric and stick this to the bottom of your cage. This is relatively easy to do as you are sticking fabric to fabric.
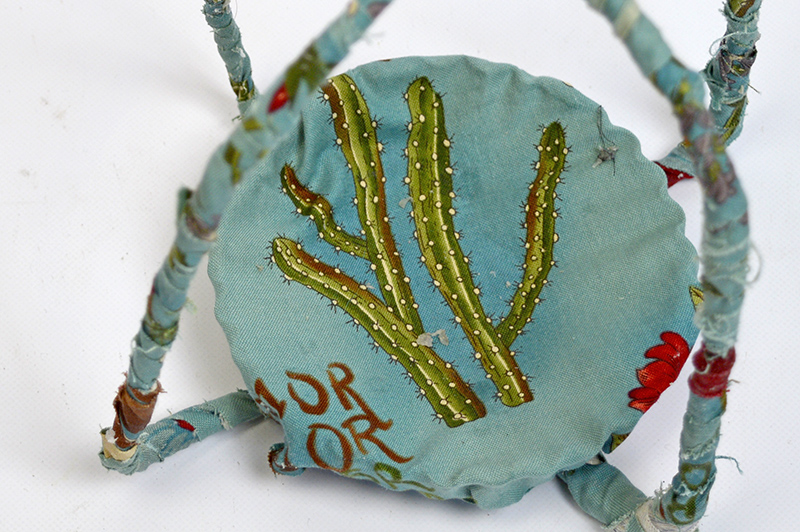
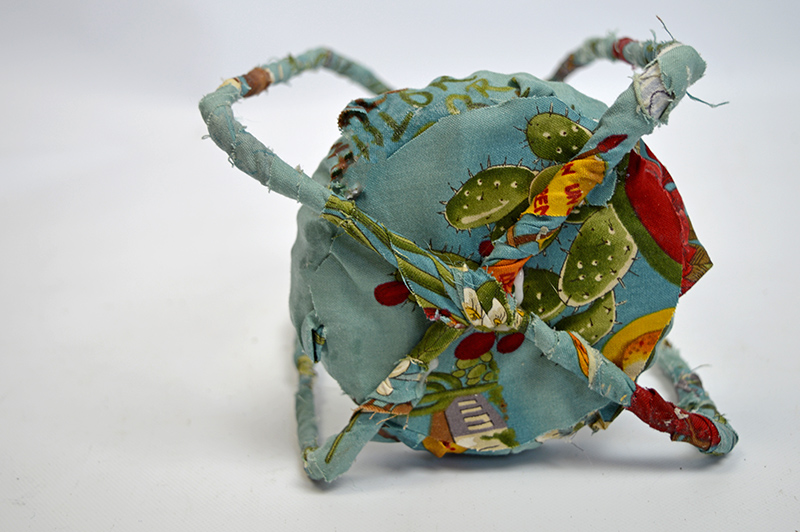
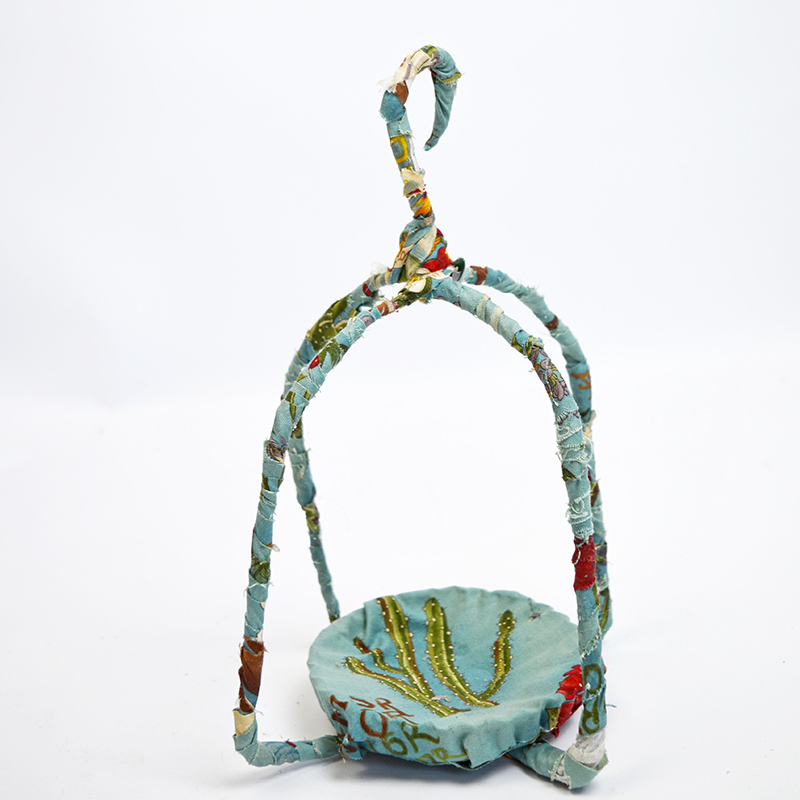
Step 6: Finally, the fabric birdcage is almost finished. You only need to hang a twig from the frame with some twine to make a perch and add your bird.
I bought by bird months ago on a trip to Brighton, but they are easy enough to find on Amazon. You could even make a fabric one yourself; there are loads of patterns on Pinterest.
You'll find lots more spring craft ideas here.
With mothers day around the corner, I think that one of these fabric birdcages would make for a lovely Mothers Day gift. You could make the gift even more special using an old favourite blouse or shirt.
You should check out these upcycled crafts for more Mother's Day gift ideas.


How fun and creative!! Love that they are made with hangers. My girls would love to make some with me. Thanks for the awesome idea!
Thank you ! Maybe they could use one of their old shirts.
I really would have never guessed those were coat hangers! Birds have been a huge topic lately with my daughter so I think I will show her this and see if she wants to make one. Thanks for the idea!
Thank you ! They are easy and fun to make so hopefully she'll enjoy making one.
Claire these are so bright and cheerful! I love repurposed clothing projects and these are definitely on my to do list! Thanks for the inspiration. ;o)
Thank you ! I love to make stuff with the bits I have lying around. Trouble is I can become a bit of a hoarder.
These are SO sweet, and I love that you repurposed clothes hangers...great idea 🙂
Thank you so much !
What a cute idea. Who would have thought you could make this with a hanger!!!
Thank you ! I like to use everyday objects.
I would have never guessed wire hangers! Very inventive.
Thank you ! It's amazing what you can upcycle !
What a creative idea! I love the fabric prints. Perfect for Spring.
Thank you !
Claire, this is a great way to use those old wire hangers. This project is on my to do list now. I can only imagine how beautiful they are going to look on our deck. Thanks for this creative idea!!
Thank you ! Happy to have inspired I'm sure they will look fantastic on your deck.
What a wonderful project! I love it!
Thank you ! glad you like it.
Hi Claire - I was like... how on earth did she make that?!?!? Coat hangers are you kidding me - so creative! Visiting as a fellow contributor to #DIYMySpring. Hope your week is full of sunshine! Hugs, Holly
Thank you very much ! They were so quick and easy to make.
They are adorable. I love that you have used bits and pieces you had in the house!
Thank you ! I love to craft with stuff that I have round the home.
Wow! I can't believe you made these using coat hangers! So clever!!
Thank you very much !
Great hanger upcycle project for spring!!!
Cheers and thank you !
Such a creative project! Love how you were able to re-use wire hangers. Thanks for sharing tutorial.
Thank you ! I do love an upcycle !
These are so charming! These are on my must try list- Love how you can use a favorite fabric to make them really personal! Linking up from DIY Spring
Cheers
Thank you very much ! I love to use fabric scraps for projects and keep any pretty old shirts for future projects.