


Learn how to make a chic paper mache bowl with our easy guide. Discover the art of paper mache using newspaper and decorative napkins to craft a unique home decor piece.
My shopping weakness is not handbags or shoes but fancy plates. Especially if they have pictures of animals and flowers on them. I have quite a collection of Lou Rota Nature Table plates from Anthropologie and Rachel Kozlowski ones from West Elm.
Most people use these plates as decorations, especially the Anthropologie ones. Not me, though; I eat off them and use them every day. The food tastes better off a fancy plate.
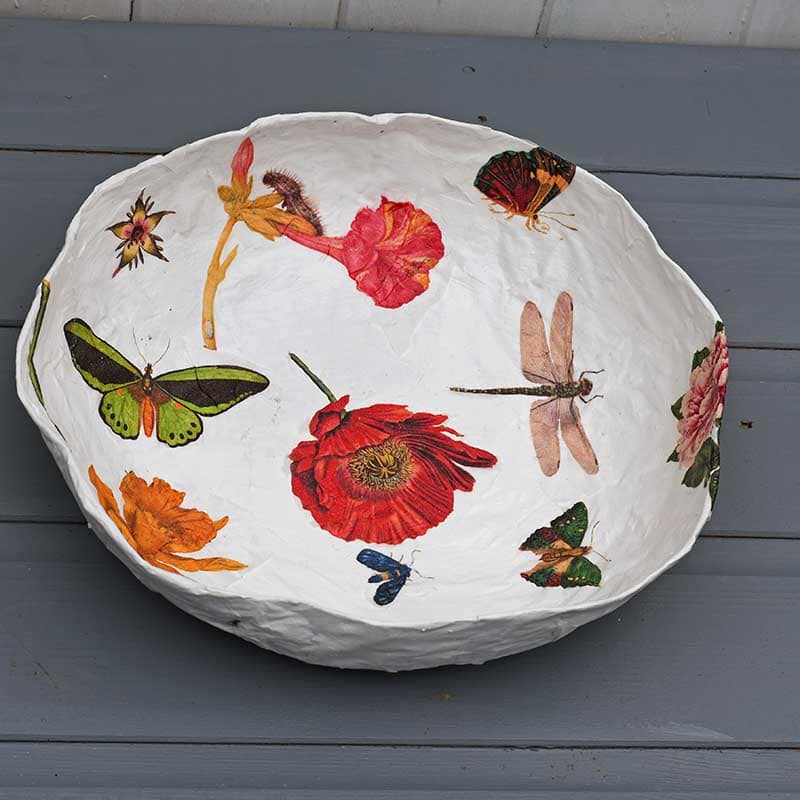
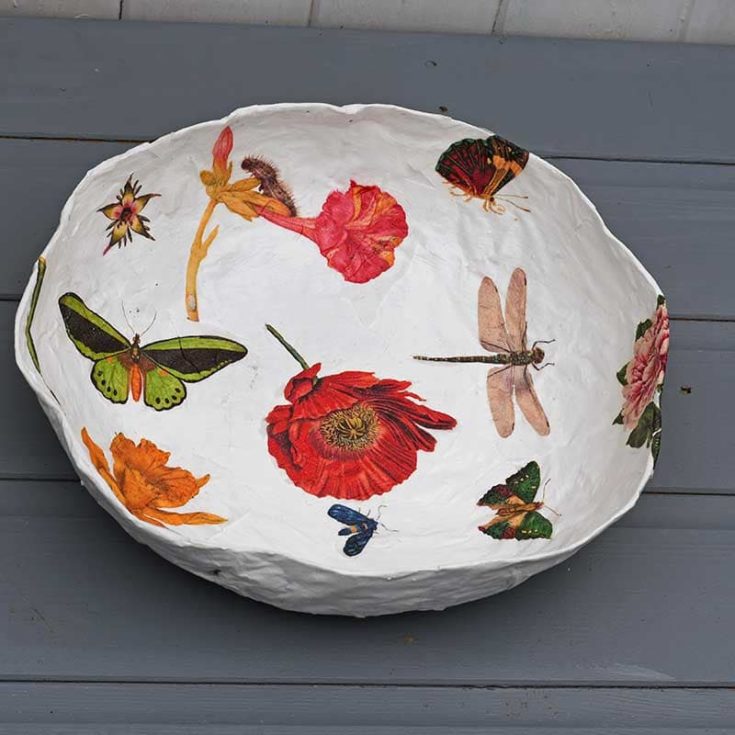
I also think that if you have lovely things, then enjoy them rather than saving them for special occasions. Life is too short to get the posh plates out several times a year! I decided to make my large paper mache bowl and decorate it to match my fancy plates. This decoupaged paper mache bowl can be used as a bread or fruit bowl to sit on the table.

I’m not only showing you how to make a paper mache bowl but also how to decorate it in the style of those lovely fancy plates from Anthropologie. At the end you will find a helpful FAQ about making paper mache bowls.
We’re a participant in the Amazon Services LLC Associates Program, an affiliate advertising program designed to provide a means for us to earn fees by linking to Amazon.com and affiliated sites. As an Amazon Associate, I earn from qualifying purchases.
What You Need To Make Paper Mache Bowls
This paper mache project takes a bit of time, but the results are worth it, and it’s a great way to make large decorative items for your table. You can use the same tutorial to make bowls in different sizes.
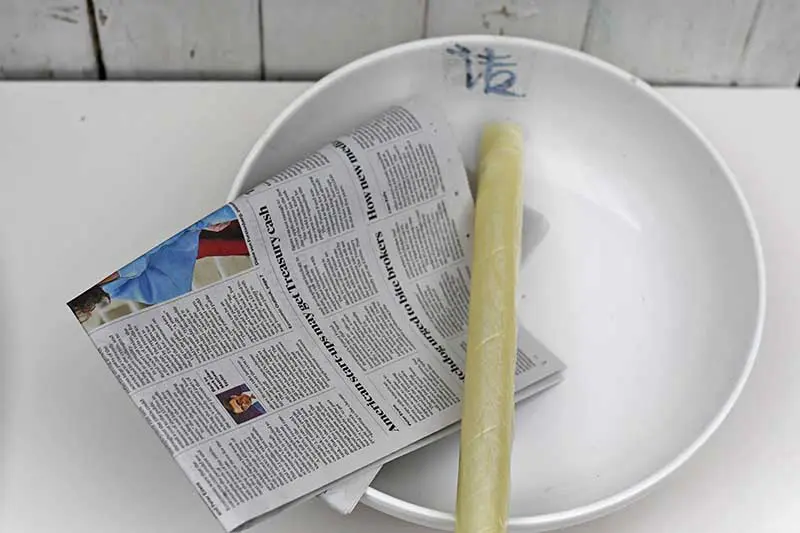
- Large bowl to use as a mould. Plastic, ceramic and steel bowls will all work well.
- Old newspapers
- Cling film/plastic wrap
- White glue or flour
- Gesso White Acrylic Paint Primer
- Mod Podge
- Plain white paper napkins or decorative napkins for your own designs
- Masking tape
- Printer paper
- Acrylic polyurethane sealer
How To Make A Paper Mache Bowl
1. Preparing the Mould.
Decide on the bowl size you want for your own paper mache bowl, and then find an appropriate size for the mould. The bowl can be made of wood, ceramic, metal, or plastic. For smaller bowls, you can use a balloon as a mould.
The mould needs to be firm. You also want a standard bowl shape. If the bowl is lipped, has an unusual shape, or is undulating, it may be hard to remove the paper mache afterwards.
Top tip: If making small bowls, you can use a balloon.
Decide whether you will paper mache the inside or outside of your bowl. I have done paper mache both ways, and they both work well.
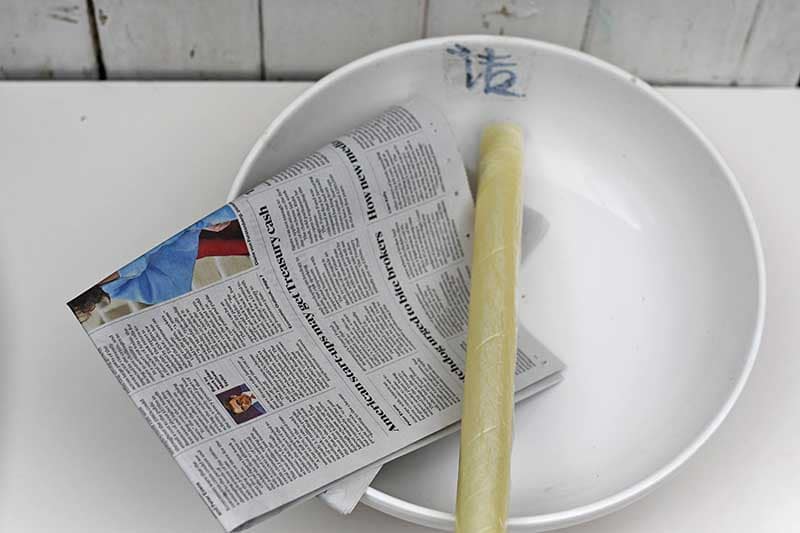
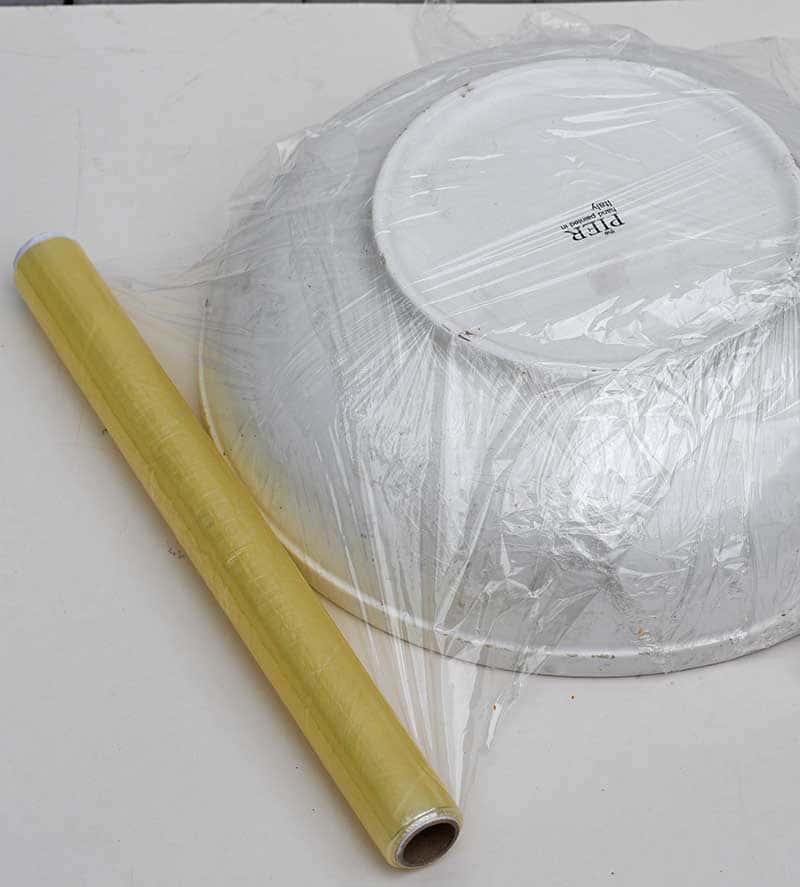
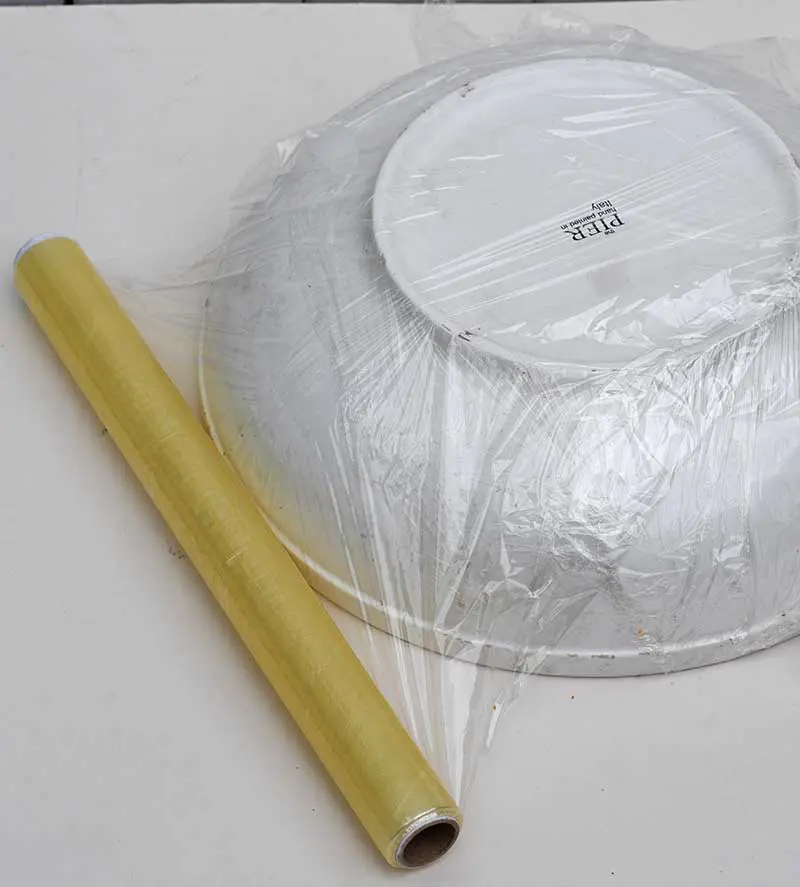
For this DIY paper mache bowl, I paper-mached the outside of the mould. First, I covered the outside of the bowl with a layer of plastic wrap (cling wrap) to stop the newspaper from sticking to the bowl mould.
2. What Adhesive To Use For Paper Mache
To stick the newspaper layers to the mould, you can use various things, such as paper mache paste.
- 50/50 mixture of flour and water
- 50/50 mix of white glue (PVA, wood glue or Mod Podge) and water
- Diluted wallpaper paste
My personal preference is the diluted white glue. The glue will strengthen the paper mache and is less likely to rot than the flour mixture.
3. How to Paper Mache The Bowl
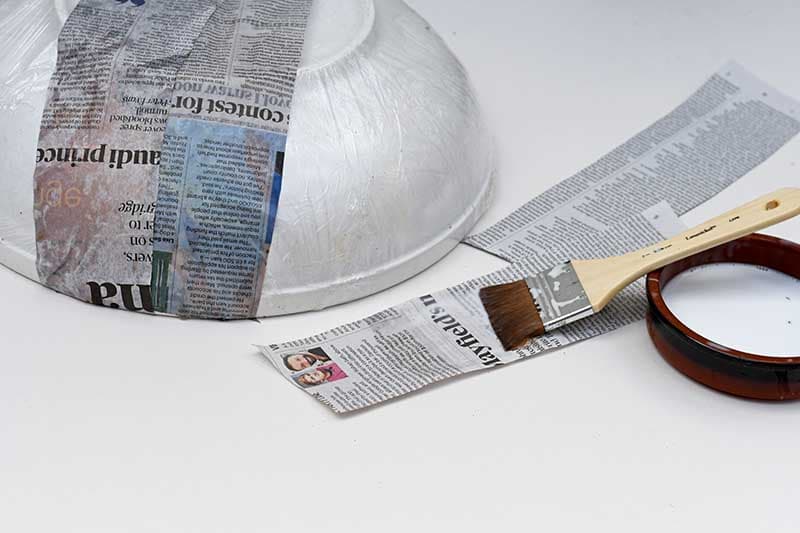
Tear the newspaper into long strips, about 4cm wide and 12cm long. I used newspaper as it is a cheap, strong and absorbent paper, which makes it well-suited to paper mache. You can experiment with other papers such as paper towels for different effects.
Cover one side of the newspaper strip in the diluted glue mixture and lay it across the top of the bowl.
Top tip: Use smaller strips of newspaper for smaller bowls.

Add layers of newspaper strips until the whole bowl is covered in paper.
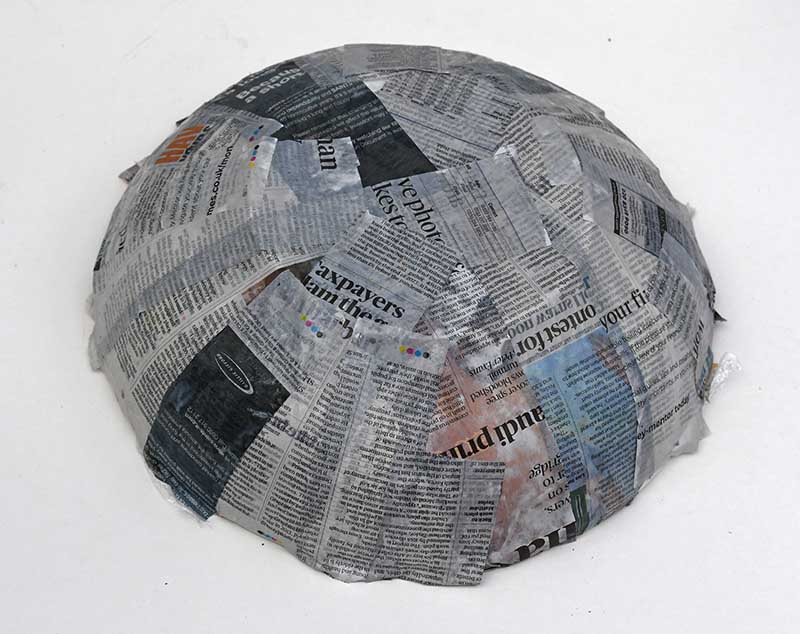
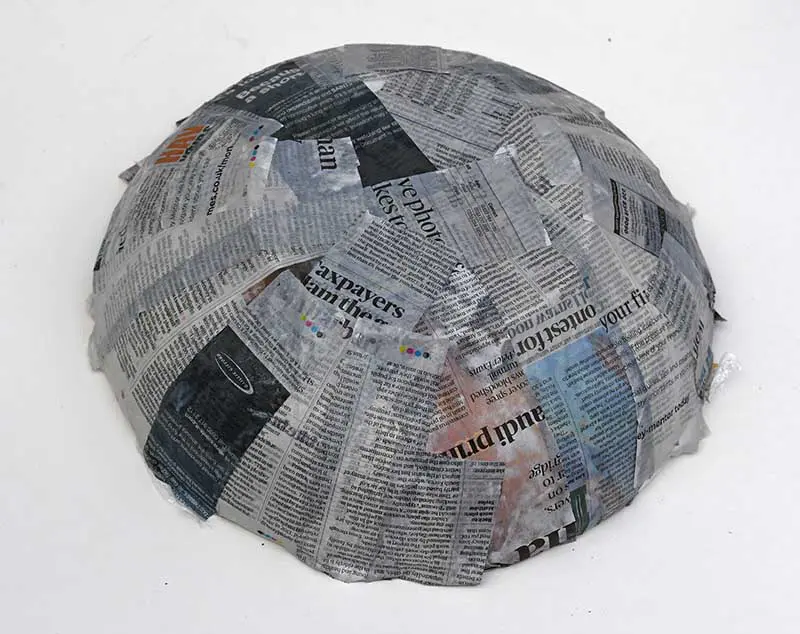
Leave the paper in a well-ventilated area to dry before adding a second coat of newspaper strips. Paper mache can’t be rushed; it takes time as you need to wait for the layers to dry.
I papered six layers of newspaper. For this particular craft, I wanted quite a sturdy decoupage paper mache bowl. The more layers of newspaper you add, the stronger the bowl.
4. Finishing off the Paper Mache Bowl
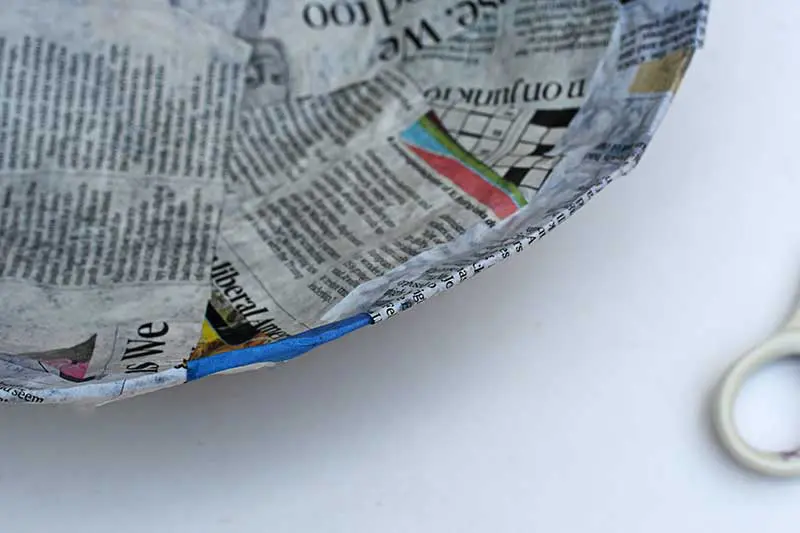
When the last layer of newspaper strips had dried, I carefully removed the paper mache from the mould. Then, with scissors, I trimmed the edge of the bowl to make it neater.
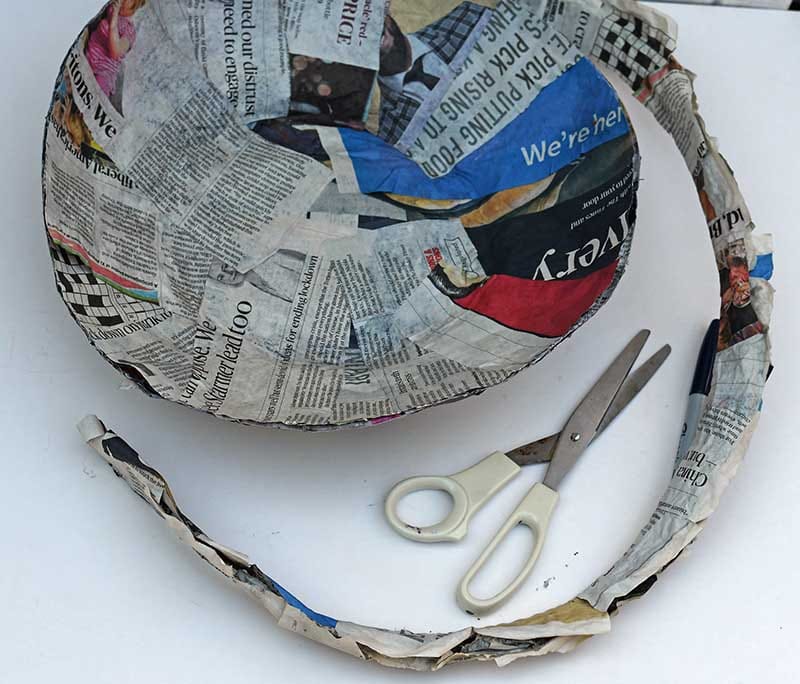

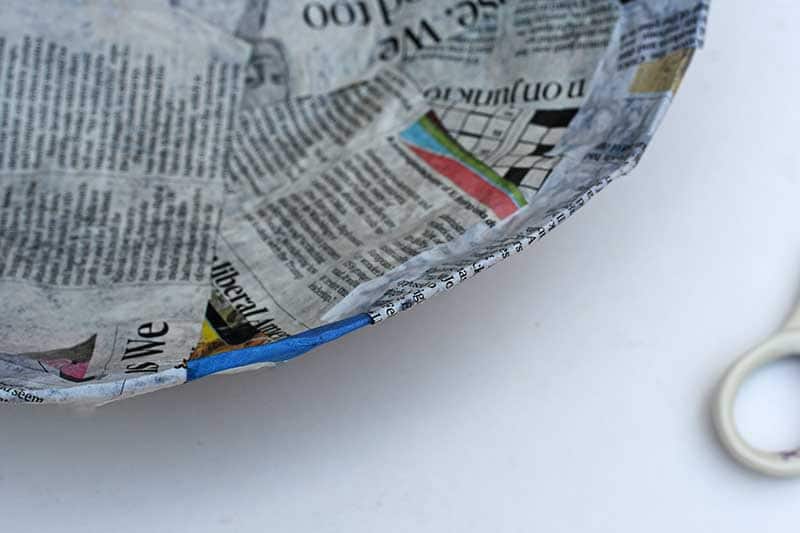
I paper mache one final layer of newspaper around the edge of the bowl. This was to smooth off the cut edge.
How To Decoupage The Bowl
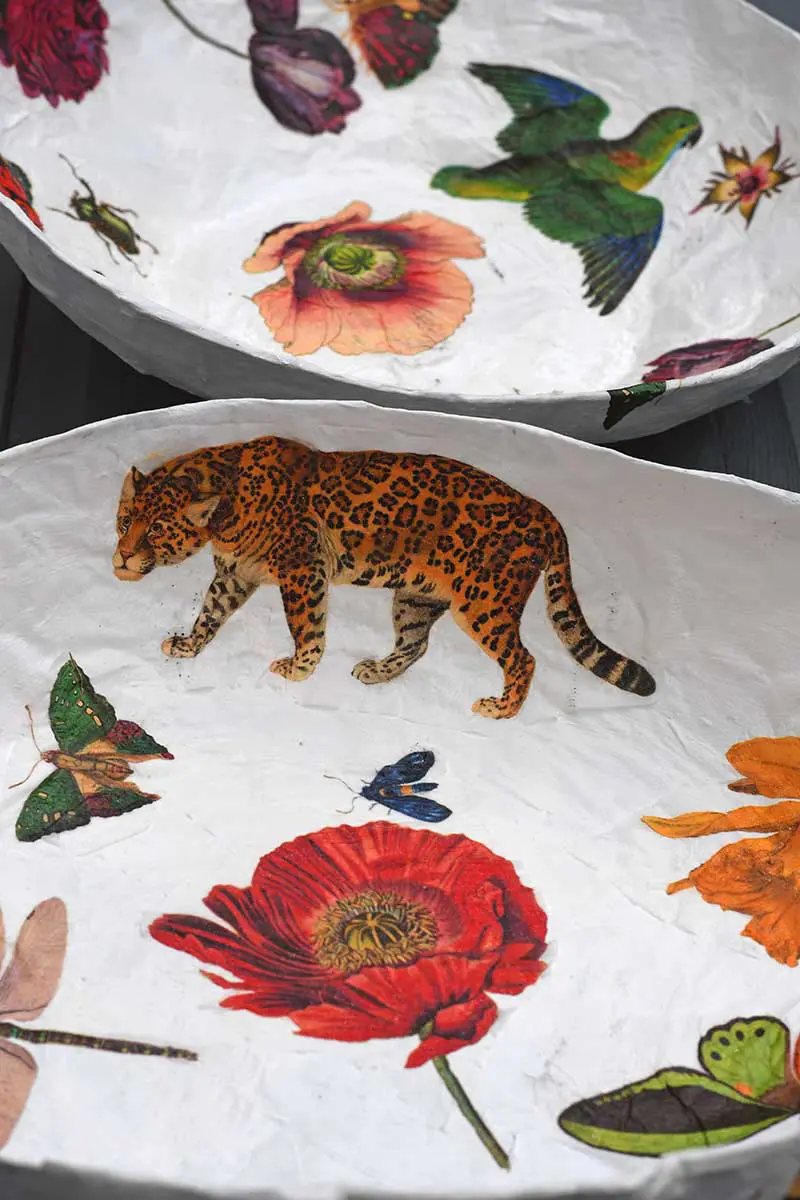
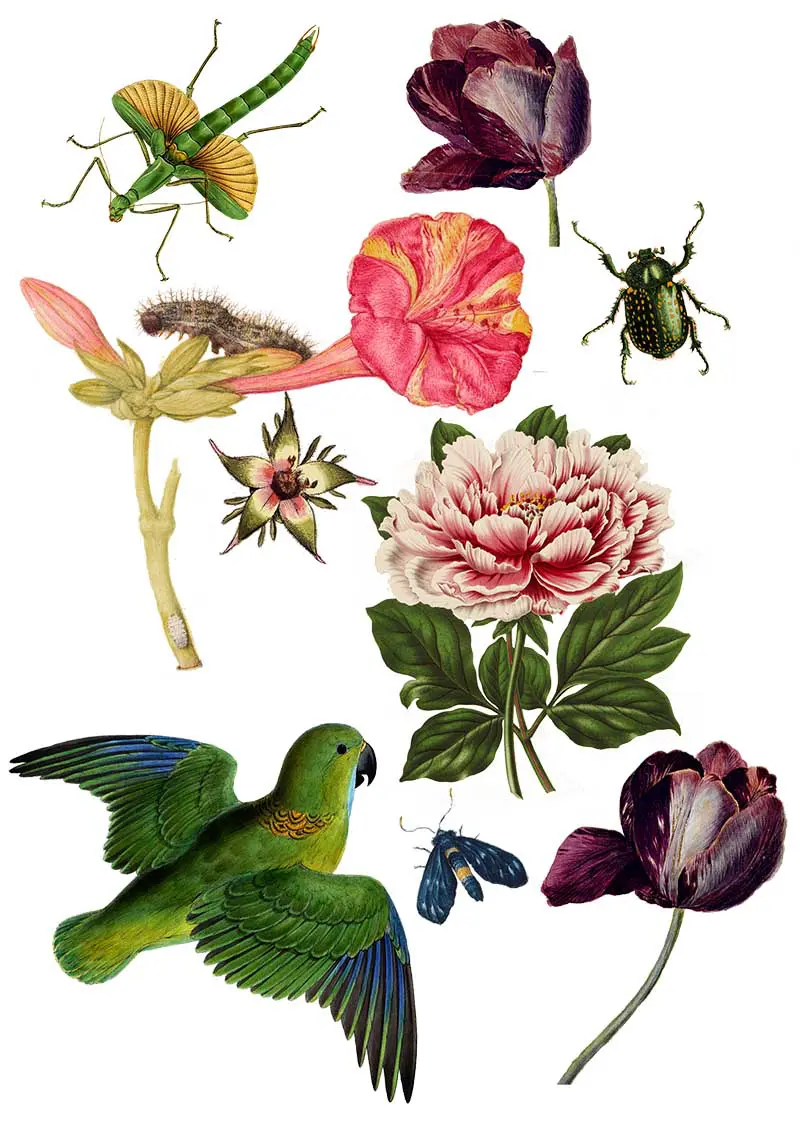
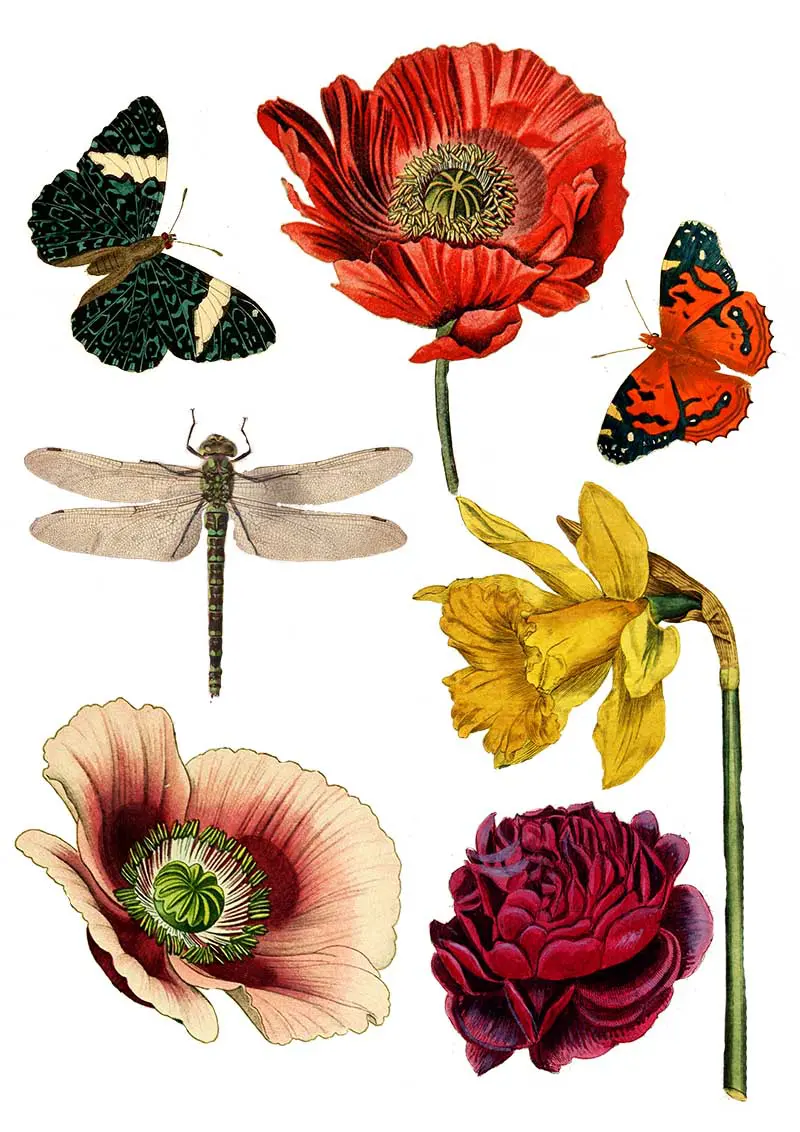
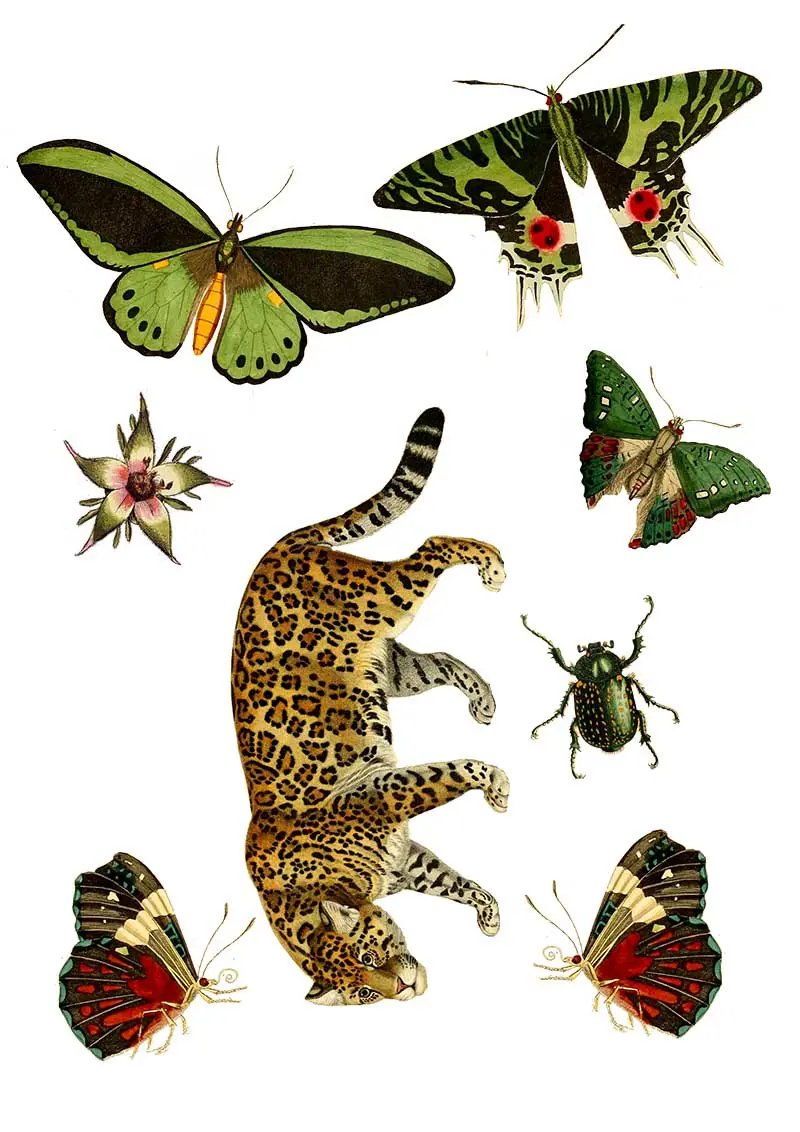
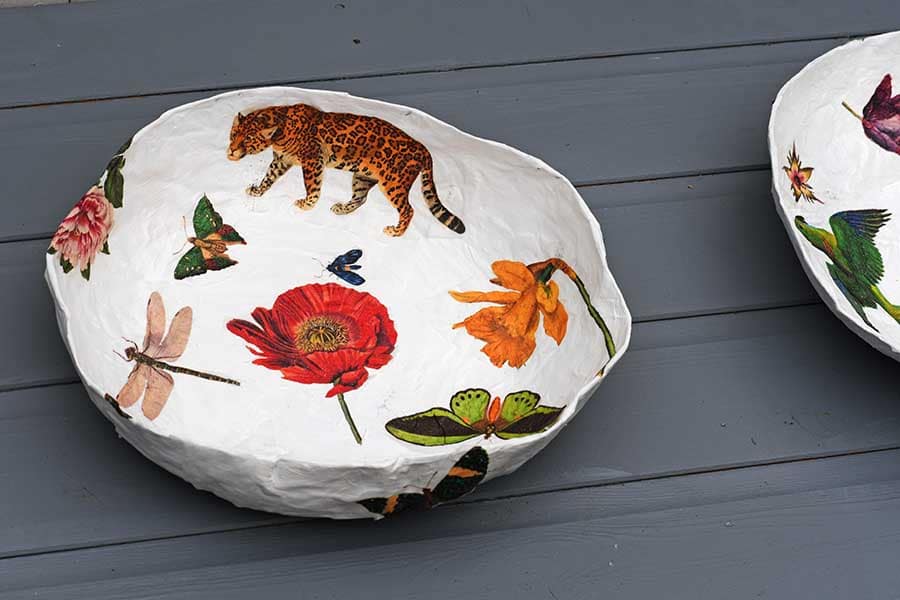
For the decoupage, I gathered vintage images from the natural history collections on Pictureboxblue.com. You can visit the site for thousands of free vintage images with the decoupage. For convenience, I have also provided the images I used for these paper mache bowls.
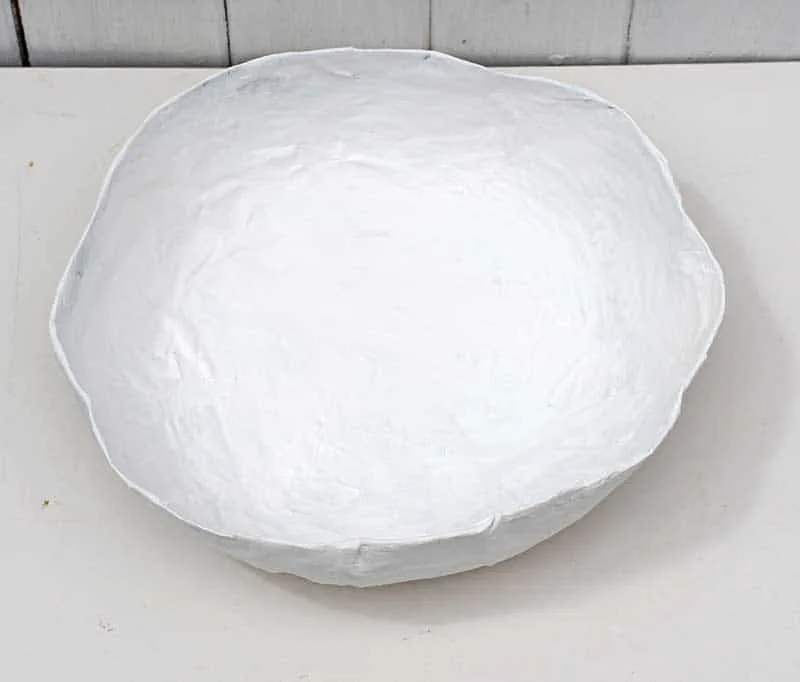
Once all the paper mache had dried, I painted the entire bowl with white paint to hide the newspaper print.

Use paper napkins to decoupage the bowl. If you can’t find paper napkins with the images you want, you can print your own. For full details, check out the paper napkin decoupage post.
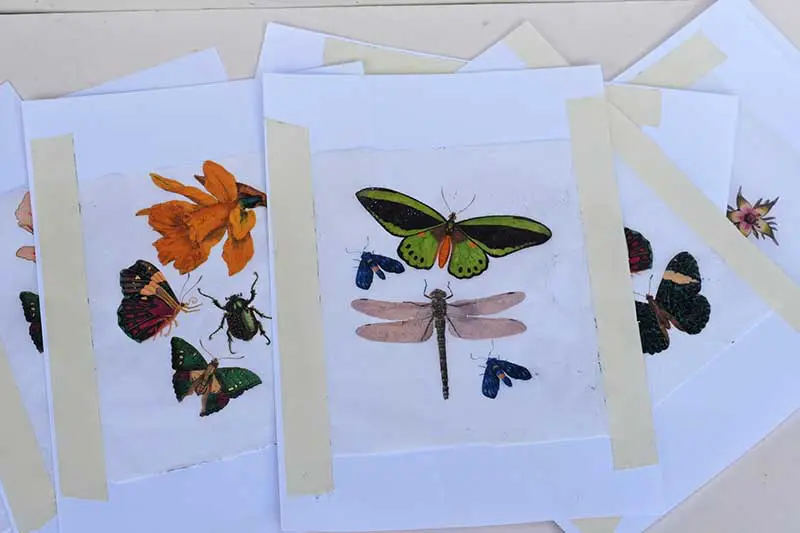
I selected the nature images I wanted and printed them onto paper napkins. If you’re going to use the same images as me, click on the title above the collection you wish to use. It should open as a new tab on your browser. If you right-click on the image, you can save it to your hard drive to print later.


To decoupage the paper napkin images onto the bowl, cut them out from the printed paper. Apply the decoupage medium to the bowl, not to the paper napkin. Then, gently press the image onto the bowl.

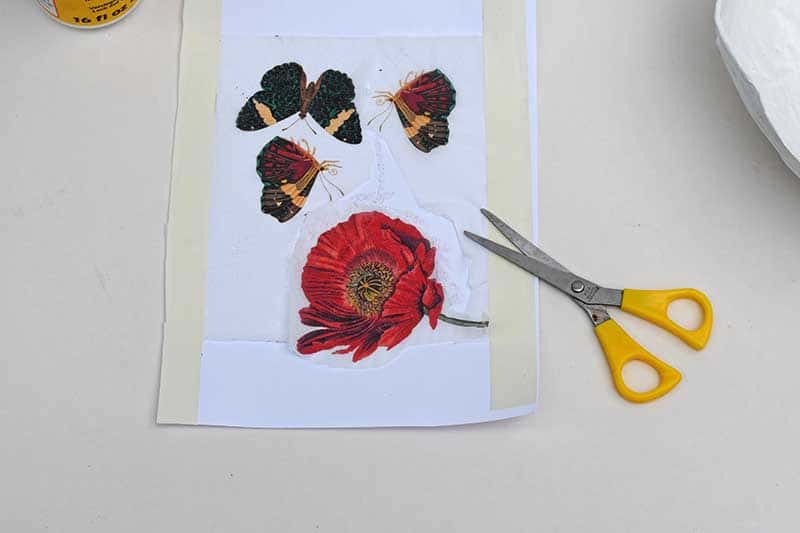


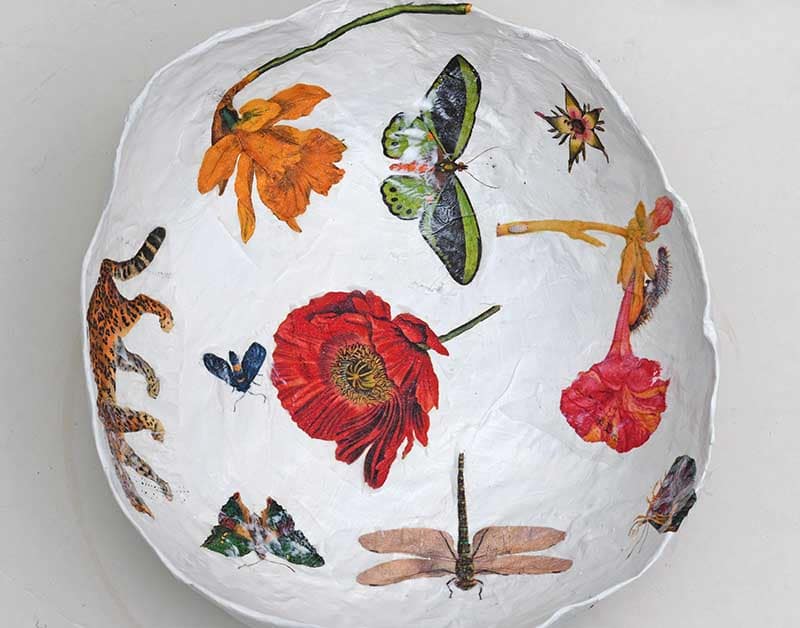
Try adding the images individually until you are happy with the design on the paper mache bowl. When you have finished adding all the images, add a layer of Mod Podge. This will act as a sealer. I decoupaged the inside of the bowl as well as the outside.

Once the Mod Podge has dried, seal the whole bowl inside and out with a spray of polyurethane varnish. After several days of thoroughly drying and curing, the varnish will make the bowl waterproof and food-safe.
When I say waterproof, I don’t mean you can put it in the dishwasher or a bowl of hot, soapy water. However, you will be able to wipe it clean.

I loved my Anthropologie hack paper mache bowl so much that I made another one. They sit on my dining table as decoration. I use them for bread at mealtimes.
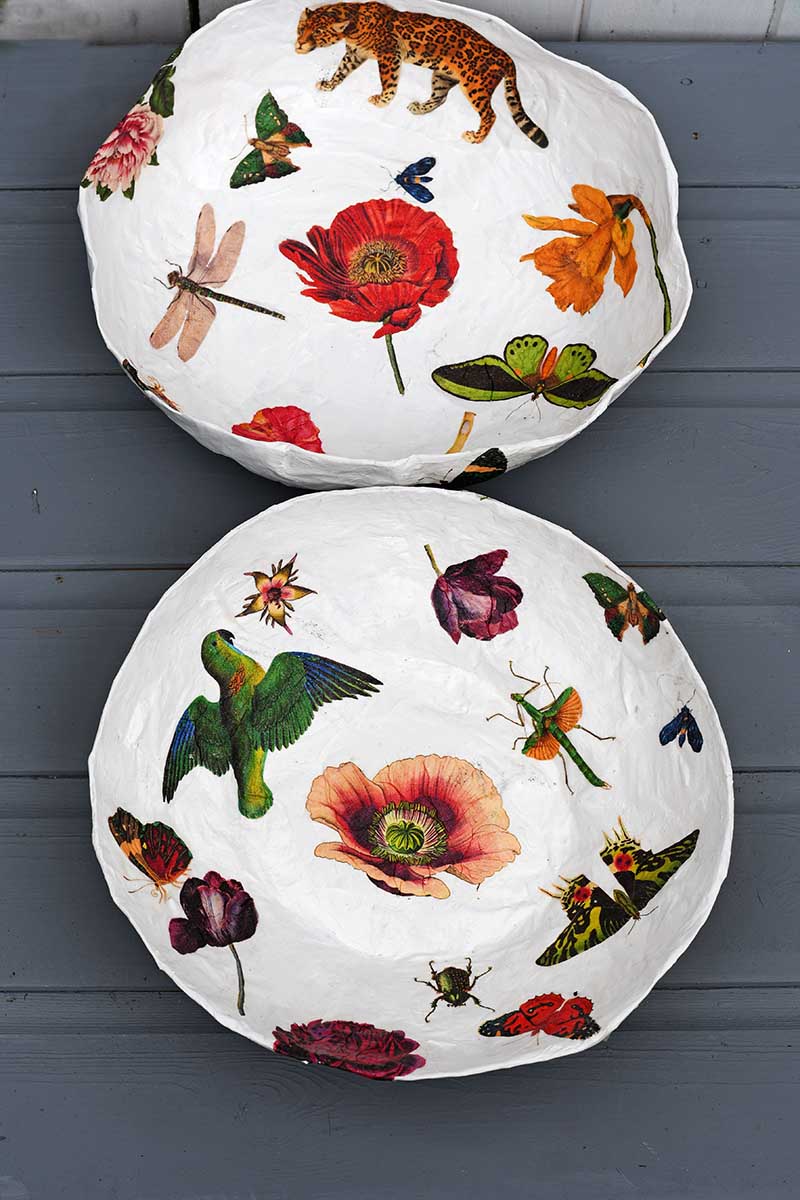
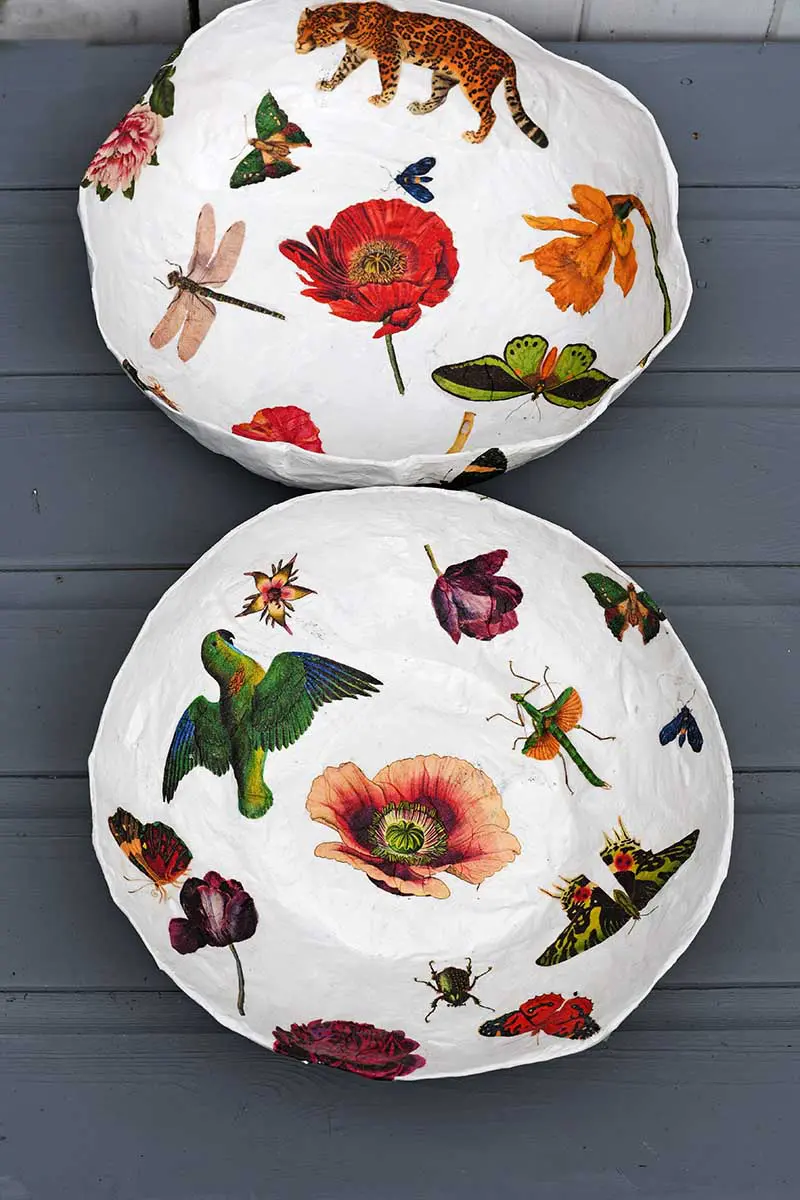
Now that you know how to make paper mache in a bowl, you can use the same technique to make some decorative Nature Table paper mache plates. These plates would be great to hang on a wall.

Paper Mache Bowl FAQs
Can I use any paper for paper mache?
You can use various paper types for paper mache, including newspaper, tissue, construction, or even recycled paper. However, thinner and more easily moldable papers tend to work best. Avoid glossy or coated paper, as it doesn’t absorb the paste.
How long does it take for the Paper Mache to dry?
The drying time for a paper mache bowl can vary depending on factors like the thickness of the layers, humidity levels, and airflow. Typically, it can take anywhere from 24 hours to a few days for the bowl to completely dry. It’s essential to ensure that all layers are thoroughly dry before proceeding to the next step.
Can I speed up the drying process?
Yes, there are a few ways to speed up the drying process. You can place the paper mache bowl in a well-ventilated area with good airflow. Using a fan or a hairdryer on a low or cool setting can also help expedite drying. Just be careful not to use high heat, which may cause the paper to warp or distort.
How do I achieve a smoother finish on the paper mache bowl?
To achieve a smooth finish on your paper mache bowl, you can sand the surface after it has dried. Use fine-grit sandpaper to gently smooth out any rough edges or bumps. Alternatively, you can apply a layer of primer or gesso to create an even surface before painting.
How durable is a paper mache bowl? Will it easily break?
While paper mache bowls are generally sturdy but not as durable as solid materials like ceramic or glass, they can be fragile and may break or crack if dropped or handled roughly. However, you can increase the durability by adding extra layers of paper mache or using a stronger adhesive in your paste recipe.
Are there any alternative methods to make a paper mache bowl?
Paper Mache Clay: Instead of paper strips, you can create a clay-like mixture using toilet paper, glue, and water. This mixture can be applied to a bowl-shaped form or directly sculpted into the desired shape. It offers a smoother finish and can be easier for certain designs.
Cardboard Base: Instead of using a balloon or another object as a base, you can cut and shape a bowl from cardboard. Once the form is ready, you can apply the paper mache layers. This method allows for more control over the shape and size of the bowl.


Other Related Posts
I’ve also made a beautiful mushroom motif paper mache tray and paper mache vases for my home. For these, I used the cardboard mould method.
Did you know you can also use Paper Mache with thin fabric scraps to make fabric bowls?
Almost any shape can be paper mache, like these cute 3D watercolour heart decorations. I’ve made giant paper mache cacti before using a wireframe. I’ve paper mache soda bottles to make some fun Marimekko herb planters. These images would also look great on the paper mache teacups I made.
You can use the images provided here to make some hand embroidered paper dictionary art too.
Here is a collection of affordable paper mache crafts, other paper crafts for the home and adult craft ideas.
How To Paper Mache A Bowl and Decoupage It

A fun craft that shows you how to make a large decorative paper mache bowl that is decorated with vintage images.
Materials
- Large bowl to use as mould
- Newspaper
- Mod Podge
- Vintage images free to download
- Plain paper napkins
- Cling film/plastic wrap
- Spray acrylic varnish
- Gesso acrylic paint
Instructions
- Cover the outside of the bowl in clingfilm/plastic wrap.
- Tear the newspaper into strips about 4cm wide and 20cm long.
- Dilute the glue with water 50/50/
- Brush the newspaper strips in the glue mixture and cover the outside of the bowl.
- Leave to dry and then repeat at least 5 times. Until there are 5 layers of paper mache.
- Once the final layer of paper mache has dried, carefully remove it from the mould.
- With a pair of scissors trim the edge of the bowl.
- Paper mache strips of paper over the edge of the bowl to neaten it up.
- Paint the paper mache bowl with Gesso paint on both the inside and outside.
- Print the vintage images on to paper napkins
- Cut out the vintage images and decoupage them on to the bowl.
- Once dried spray the bowl with the varnish both inside and out. This will protect the bowl and enable it to be wiped clean.
This newspaper craft featured in the A to Z of clever upcycling ideas.
Irina
Wednesday 16th of November 2022
Amazing, great taste of the artist. I will try to do that too but did not quiet catch how to print and on what those beautiful images. Not on paper napkins? Pls help if you get my comments.
Claire Armstrong
Thursday 17th of November 2022
Thank you, you can find all the info on printing and decoupage with paper napkins here https://www.pillarboxblue.com/about-paper-napkin-decoupage/
Style Scouting: Vol. 16 - In My Own Style
Friday 14th of January 2022
[…] am going to try to make one of these. A really big one for my coffee […]
Zainab aminu isyaku
Friday 16th of April 2021
Wow its so Amazon
Claire Armstrong
Friday 16th of April 2021
Thank you 😊
Jenna
Wednesday 22nd of July 2020
These bowls are awesome, Anthropologie would be proud to sell them! Thanks for the detailed tutorial, I would love to make one!
Claire Armstrong
Wednesday 22nd of July 2020
Thank you, so much Jenna. They are actually kind of handy too, I use them to collect up bits and pieces on the dining room table at the moment.
Kim | Shiplap and Shells
Tuesday 21st of July 2020
What a wonderful idea! I'm so happy to have you as one of our features on Charming Homes and Gardens this Wednesday!
Claire Armstrong
Tuesday 21st of July 2020
Thank you so much and I look forward to seeing the feature.