
Transform Your IKEA Side Table with a Personalized Printed Map Top
Learn how to use custom maps to enhance your IKEA side table, creating a unique centerpiece that reflects your adventures.
Recently, I discovered the most fantastic site: Mapbox.com. If you have an obsession with maps like I do, you will think it's a terrific site. I used Mapbox to create a map of my favourite place and then used it for a fun IKEA table hack.
What's so good about Mapbox? It's free. You can make a map of anywhere in the world in any style and any detail of your choice.
As I love to upcycle and craft with maps, I can use Mapbox to create and print a map of my favourite places worldwide to personalize my projects.
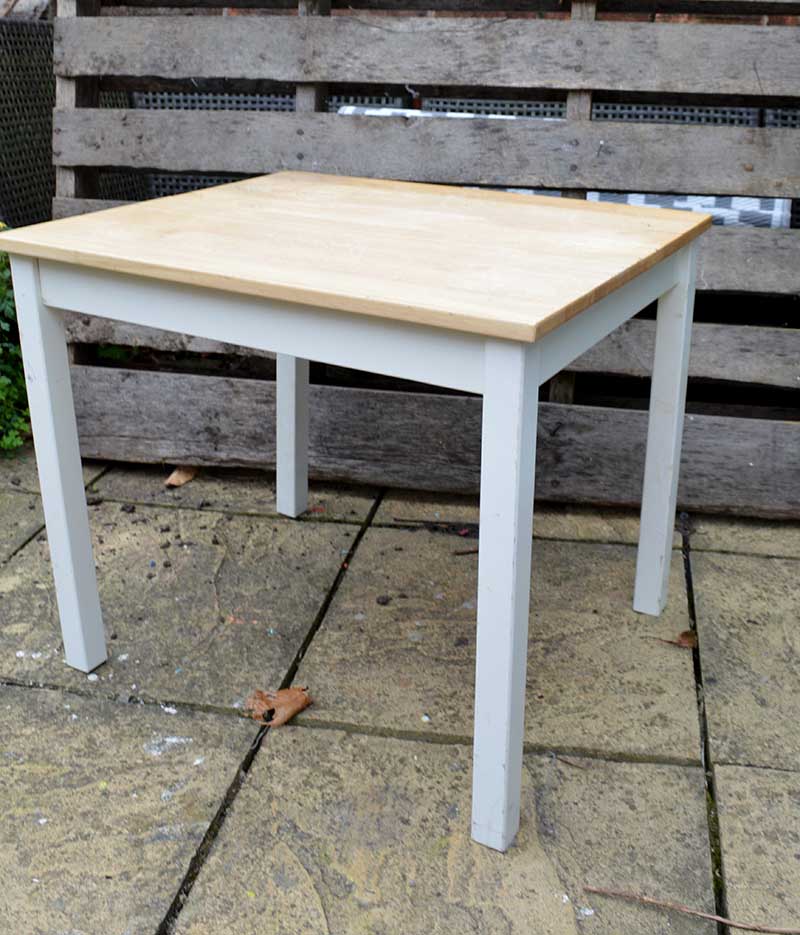
After discovering Mapbox, I searched the house for something to transform with maps. That's when I came across the much-neglected IKEA Lack kids' table in the games room.
I've had the table for over 15 years. It used to be a computer table, but now that the kids are just about 6 feet tall, they look ridiculous sitting around it. It was time for an IKEA kids' table hack to repurpose this old furniture.
Having recently discovered image transfer with Mod Podge with my map picture frame, I used this technique again for this table upcycle. I could have chosen a decoupage-like finish for my previous map table, but I prefer the finish with image transfer.
DIY IKEA Map Table Hack
We're a participant in the Amazon Services LLC Associates Program, an affiliate advertising program designed to provide a means for us to earn fees by linking to Amazon.com and affiliated sites. As an Amazon Associate, I earn from qualifying purchases.
- This is an Ikea kids' table, but this upcycle would work with any other small table, IKEA or not.
- I used Mapbox to generate my mirror-image inkjet-printed map (see below). However, you can print free maps from sites such as Remodelaholic. I got my local print shop to print my map for me.
- Mod Podge Matt finish
- Glue brush, sponge and water.
- Clear varnish
- Blue chalk paint
- White chalk paint
- Chalk paint brush
How To Use Mapbox
When you have decided where you want to create a map of and in what style, you will need to generate a static image of that map. A handy tutorial on Agusyornet that shows you how to do that.
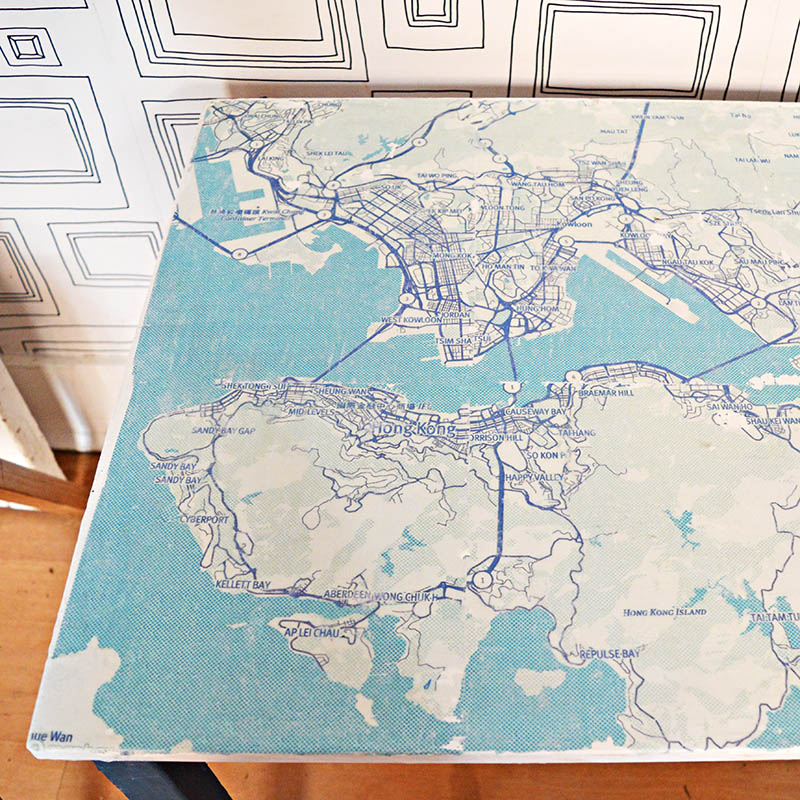
If you follow me, you will probably have learned that Hong Kong is my favourite city worldwide. It is where I was born and raised and where I recently took my kids back to visit. Therefore, that was the city map I used for this project. I generated a static map image on Mapbox using the STANDARD streets style. I zoomed into the city of Hong Kong until I had enough detail for this upcycle.
Step 1: Following Agusyornet's instructions, I copied this static image URL to create a new web page and then copied and pasted it into Photoshop.
In Photoshop, I made my canvas the same size as my IKEA Kritter tabletop and adjusted the map's colours to achieve a monochrome blue look. You can use other photo image software packages for your maps, such as PicMonkey, Canva, and Illustrator.
The tabletop was 50cm by 60cm, so the map was printed on six pages of A4 paper in mirror image on an inkjet printer.
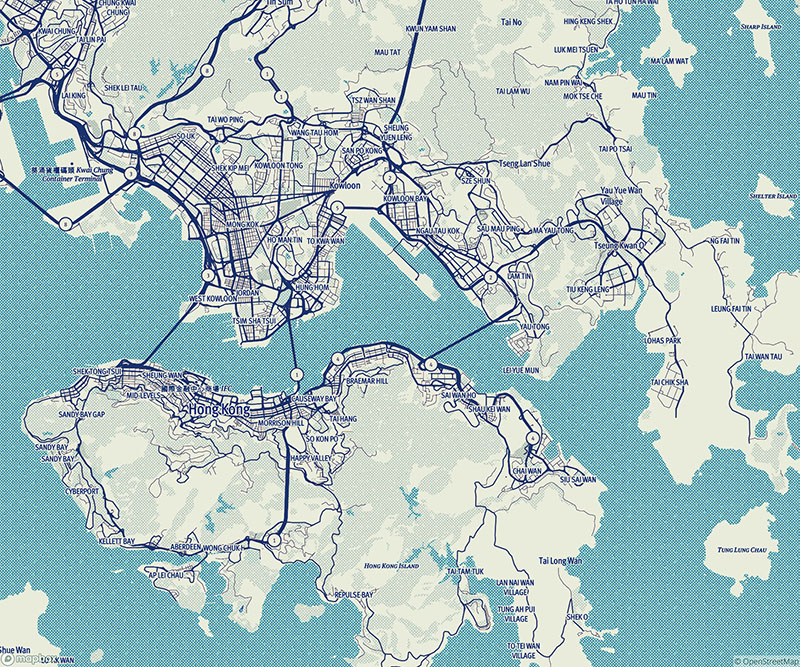
IKEA Table Hack With Maps
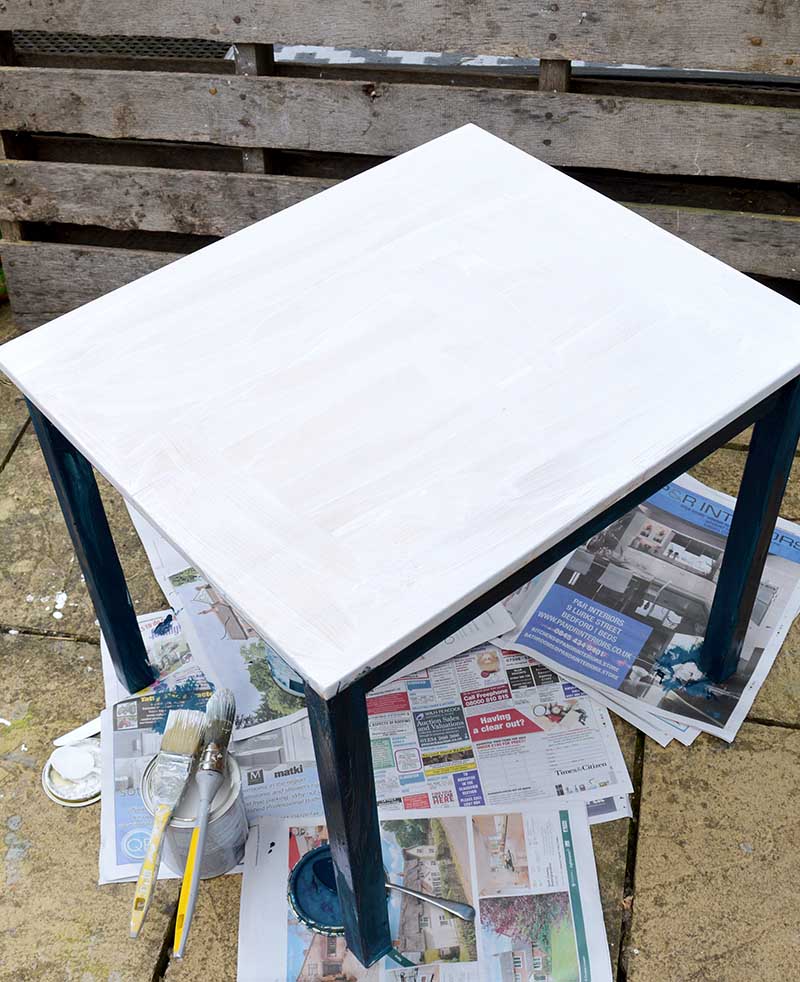
Step 1: Paint the Table: I hate prepping furniture for painting, so that is primarily why I use chalk paint. Also, I like the finish that chalk paint gives. I painted the legs of the table dark blue and the top white. I painted the top white because there was a lot of white on my printed map, and the white doesn't transfer, as there is no white ink on the page.
Step 2: Mod Podge & Maps: Once the chalk paint had thoroughly dried, I liberally covered the whole table top with Mod Podge. The front of every map page was also covered in Mod Podge and stuck face down onto the table.
I warn you, this bit can be tricky, as you have to make sure you have your map the right way round. I have to concentrate really hard when doing this, as the mirror image of the map is quite confusing. The first time I did this, I got it all back to front and had to print off another map and start again.
Step 3: Rubbing the Paper Away: Leave the Mod Podge to dry for at least a few hours. Now comes the fun part: Using a wet sponge, rub away at the printed paper. As the paper turns to mush and comes away, the ink map is left printed onto the table top. Carry on rubbing until all the paper is removed. This will take a little while and involve a lot of rubbing.
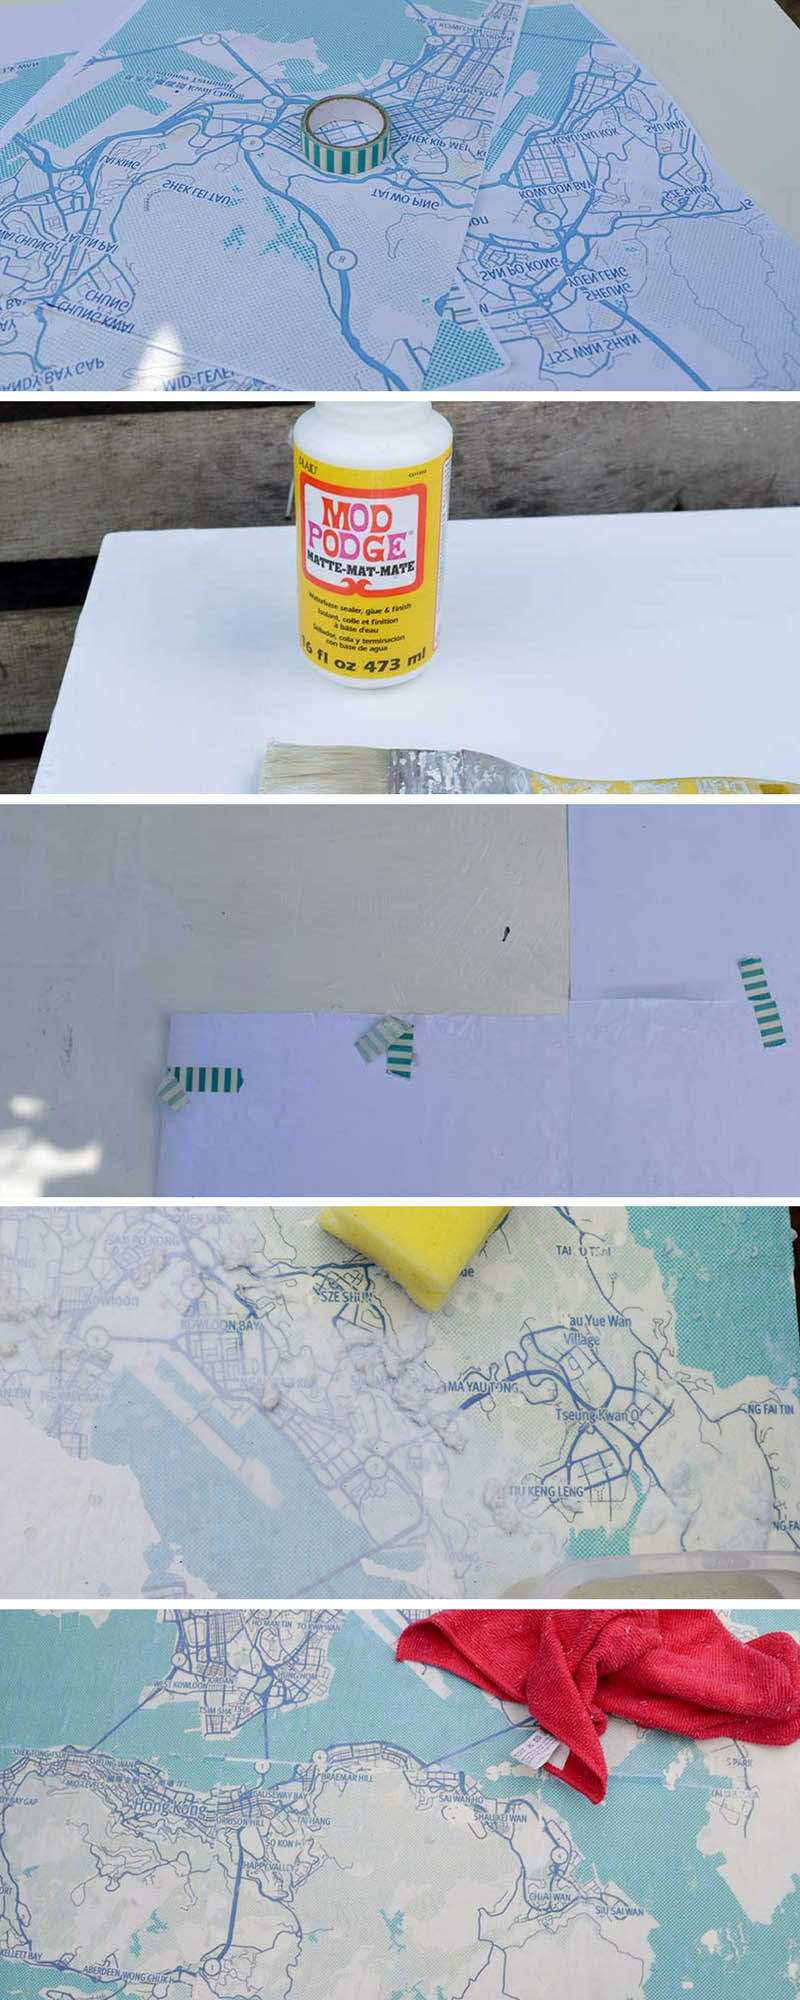
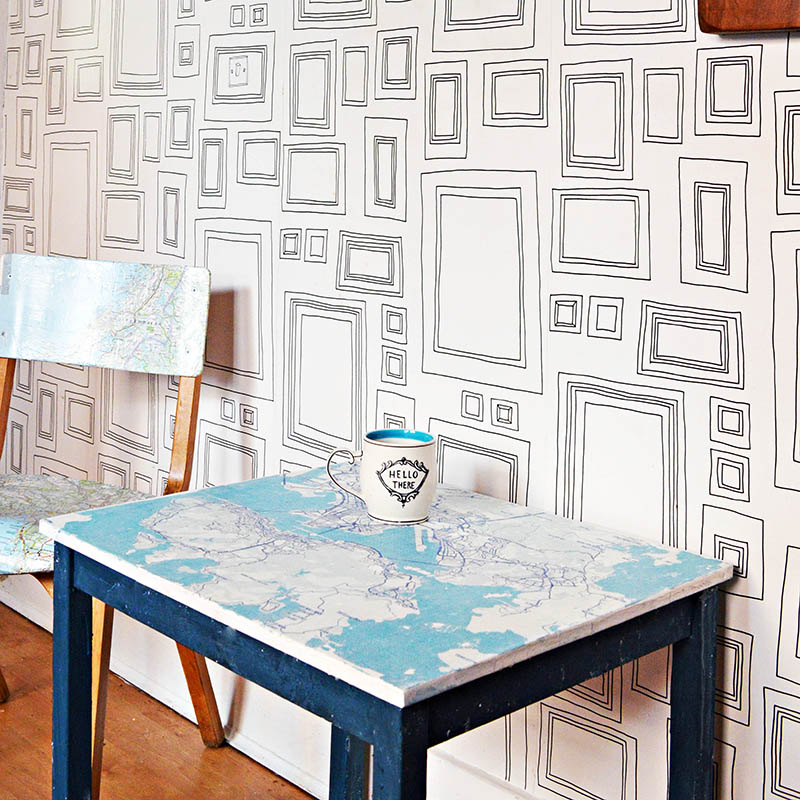
Step 4: To finish my table, I applied a coat of clear varnish to seal and protect the top.
Conclusion And Other Map Furinture Ideas
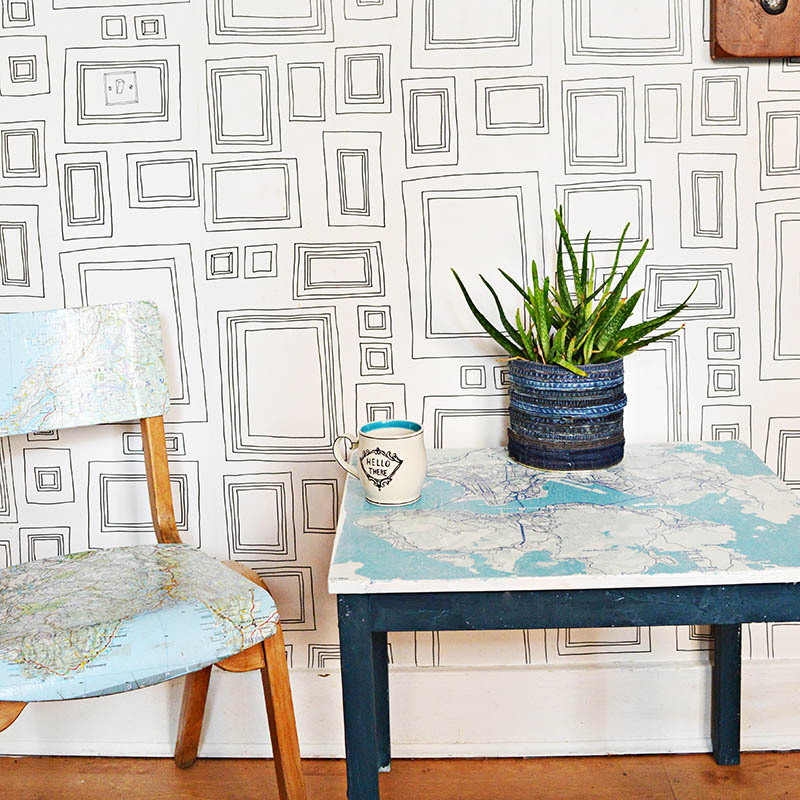
I'm really pleased with how my little IKEA kids' table hack turned out. I love the map's monochrome blue colour.
By customizing an IKEA table with a personalized map, I've created more than just a piece of furniture; I've crafted a functional keepsake that tells my unique story. This simple yet impactful hack is a testament to how creativity can transform everyday items into meaningful decor. So, whenever I sit down for coffee or gather with friends, I'll be reminded of the places you've been and the memories you've made.
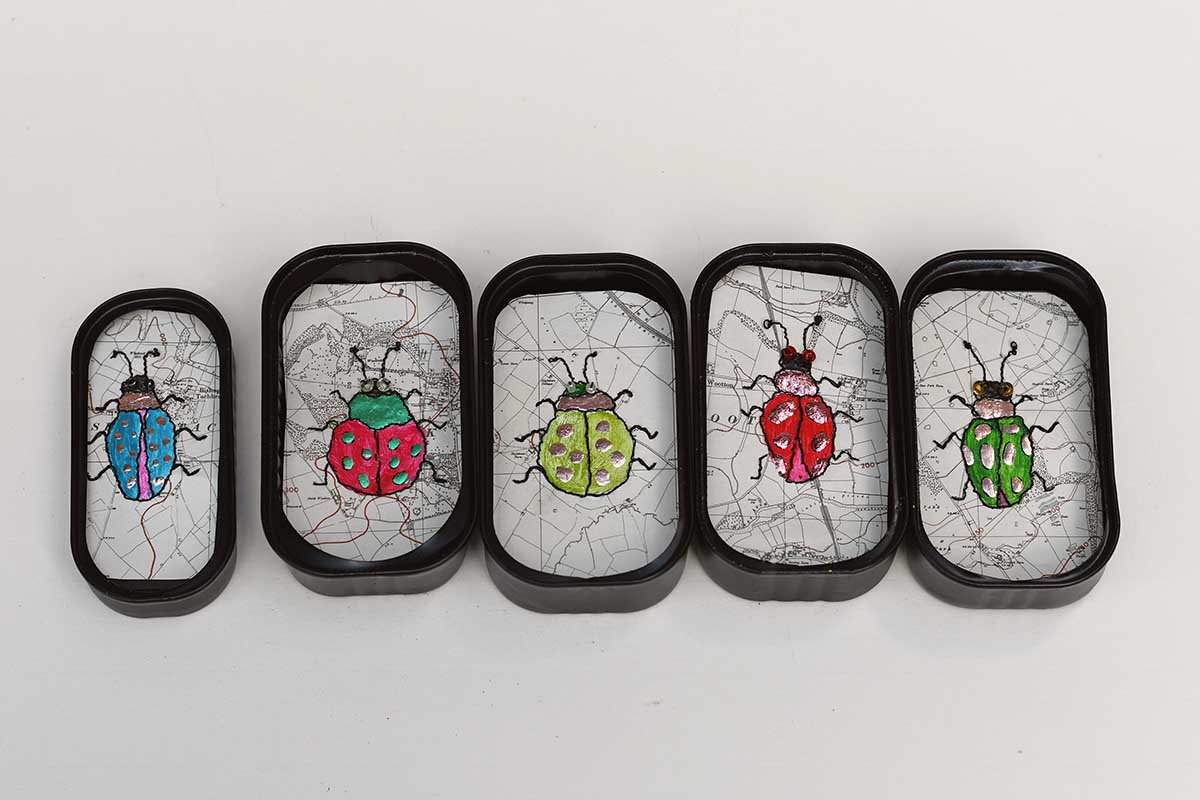
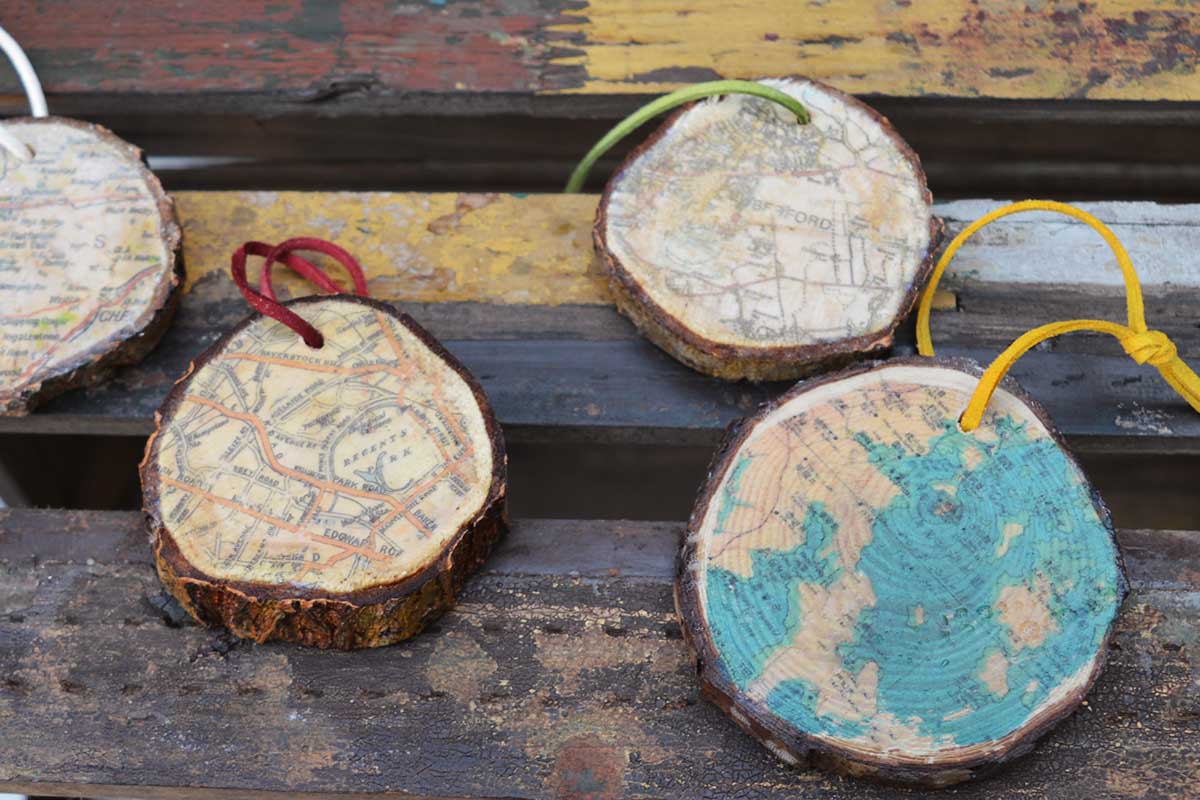
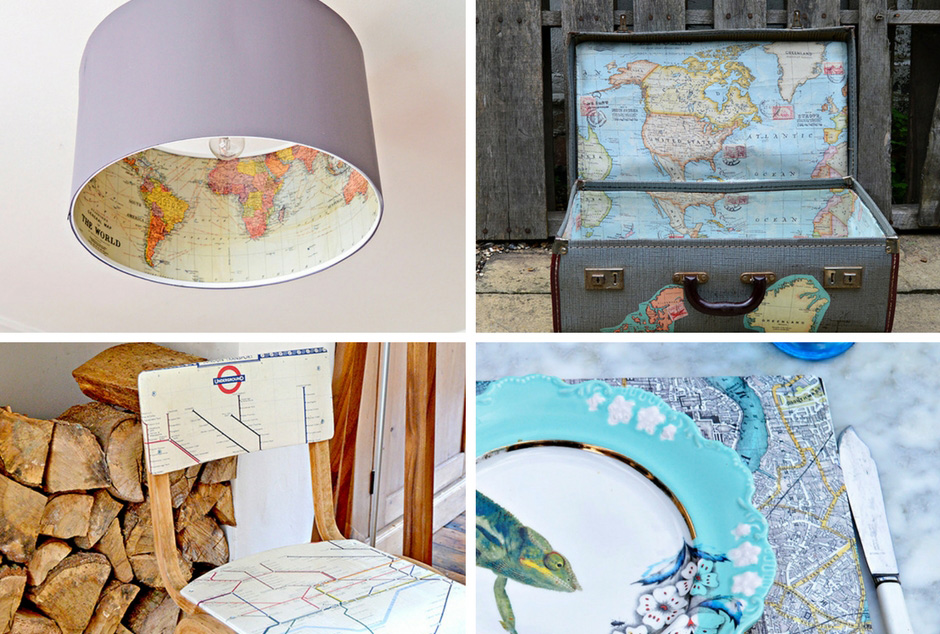
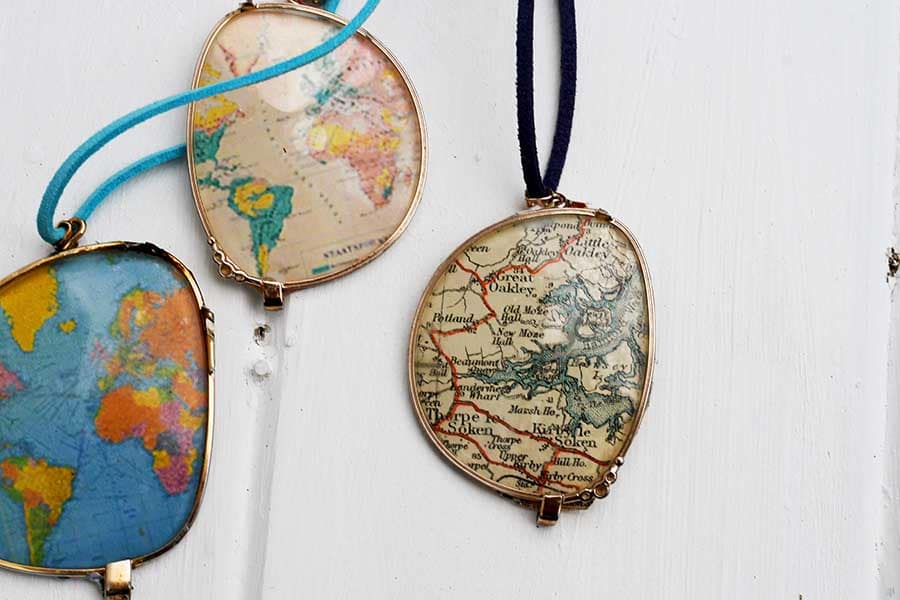
The table also fits with many of my other map upcycles like my decoupaged map chairs and IKEA lamp hack. If you want more ideas for incorporating maps into your home decor, check out all my other map crafts and DIYs here, including my map rock keyrings, which are made the same way as this table by printing maps directly onto stones.
Another fabulous map project Claire!! How fun for little ones to be sitting at that table and learning about the map while they are busy playing and having lots of fun!!! Fabulous idea!
Thank you for sharing your fabulous project with us over at Waste Not Wednesday!
Thank you Sam, I just can't get enough of crafting with maps.
I'm a huge fan Mod Podging with maps, this table and chair look AMAZING! Big fan of your blog, too!
Thank you so much. Give me a pot of Mod podge and pile of maps and I'm happy.
Brilliant idea to turn a plain table into something special
Thank you so much!
I love how you used Modge Podge to transfer the map to the table top. I love maps, I'll have to check out the Mapbox site. Stopping by from the #HomeMattersParty linkup.
Thanks, Nicole. Mod podge image transfer is my new favourite craft technique.
Mapbox sounds like a wonderful tool! This table turned out awesome and would be a wonderful gift too, especially for those who've got the travel bug 🙂 Thank you so much for sharing with us at Funtastic Friday! Pinned
Thank you! Mapbox is a fun tool, I've got lots of maps to make.
I love all of your map projects and this one was filled with so many great tips. Thanks for the inspiration.
Thank you, Denise. There are plenty more map projects to come!
So cute, Claire! Thanks for sharing @ Vintage Charm--pinned!
Thank you Cecilia.
What a clever idea for a fun kids' table! I've never heard of Mapbox and will definitely check it out. There are so many craft ideas that I want to try with this site! Thanks for the inspiration 🙂
Thank you so much, I'm glad you have found tings you want to try good luck with them.
Oh this is such a cool tutorial! I love maps in home design as well! I need to get my hands on one of those old nautical maps for my sons room! Perfect addition to his ship and Navy blue theme. Now I have instructions....thank you so much! Stopped by from Friday Furniture fix. Pinned
Thank you Kathleen. I do like nautical maps to they sound perfect for your sons room.
I love the table, and the map. So cute and whimsical. I'll have to check out that Map site because I've been wanting to try that transfer method as well.
Great job Claire!
Thank you Toni. I will be on Mapbox soon thinking of maps of more of my favourite places and crafts to do. Good luck with your image transfer.
I love how this turned out Claire and your tips on using Mapbox and Agusyornet are going to come in very handy. Thanks for sharing those too
Thank you Michelle. MApbox is fun but a bit daunting at first but if you follow the tips and have a play around you soon figure it out.
Thank you for introducing me to Mapbox! I am so excited to get started on some map projects of my own! Your ideas are so awesome!
Thank you, Helen. I'd love to see what you come up with. Mapbox is good fun for making maps.
Claire that is such a cool technique I thought you were just going to glue the maps on the surface but this has more of a lived in look. Very nice, pinning to try in the future.
Thank you, Mapbox is a great tool I bet you could make nice map of Greece using it.
When I first saw this, I thought you had decoupaged the map to the tabletop. I had no idea you could actually transfer the image to the surface using Mod Podge. This is a really cool project. I am imagining all kinds of ways I could use this technique. I will also check out Mapbox. Thanks so much for the idea.
Thank you! The image transfer is really easy and Mapbox is a cool tool.
I love map projects too. Thank you for sharing that link, Claire. It's good to know that you can create and style the map of your choice. I like the blue color scheme you chose for the table. Great makeover!
Thank you, Julia. I'm going to be making more maps in Mapbox.