

Illuminate your winter nights with the magic of DIY luminary bags and captivating paper bag lanterns that infuse your home with warmth and beauty.
Updated Aug 2024
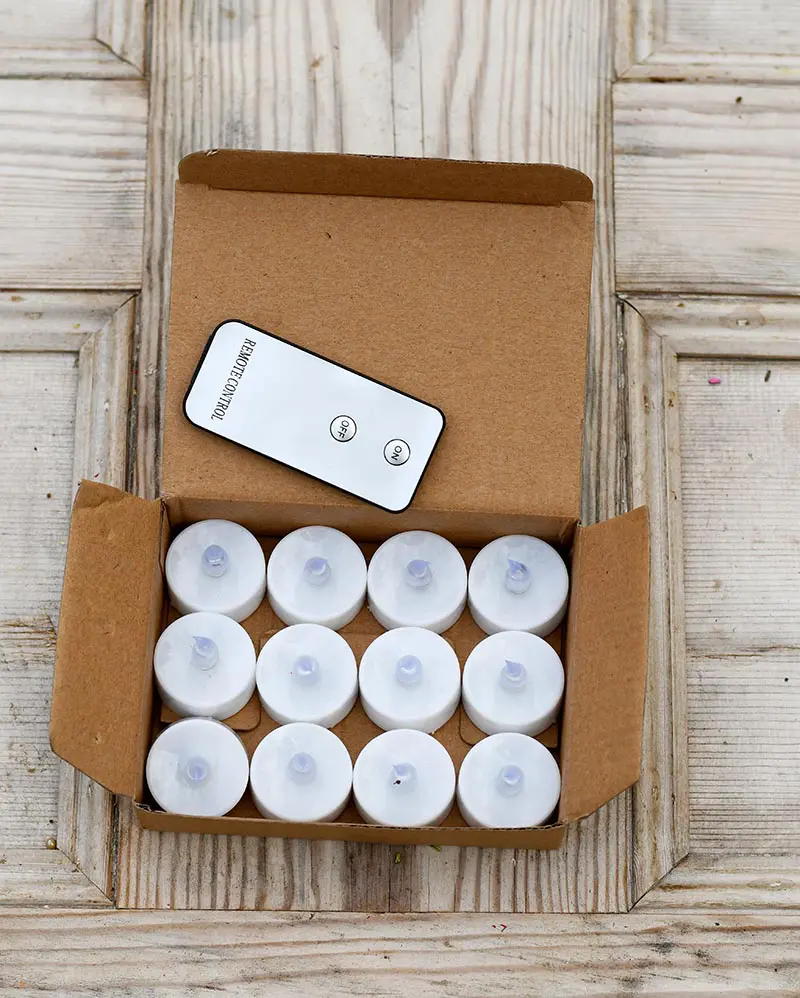
While I’ve always loved using copper string lights to embellish my home, especially around the holiday season alongside my LED deer decorations and heart string lights, I recently discovered a game-changer that took my lighting to a new level—remote-controlled LED tea lights. These tiny wonders are the easiest way to add a touch of magic to your home. With a simple push of a button, you can light up an array of luminary bags, creating a mesmerizing display without the hassle of real candles.
Gone are the days of fumbling inside the bag to ignite each light source. Now, with the convenience of flameless tea lights, I can step into my lounge, grab the remote, and “voila”—my home is instantly bathed in the golden glow of a candle-like ambience, thanks to these easy DIY paper bag luminaries. Join me on this fun DIY project journey and discover how you can effortlessly brighten your space with these delightful creations.
I’ve used the same tea lights with the rainbow postage stamp decoupage jars and Chinese paper lanterns.
Brighten Up Your Home With Paper Bag Lanterns
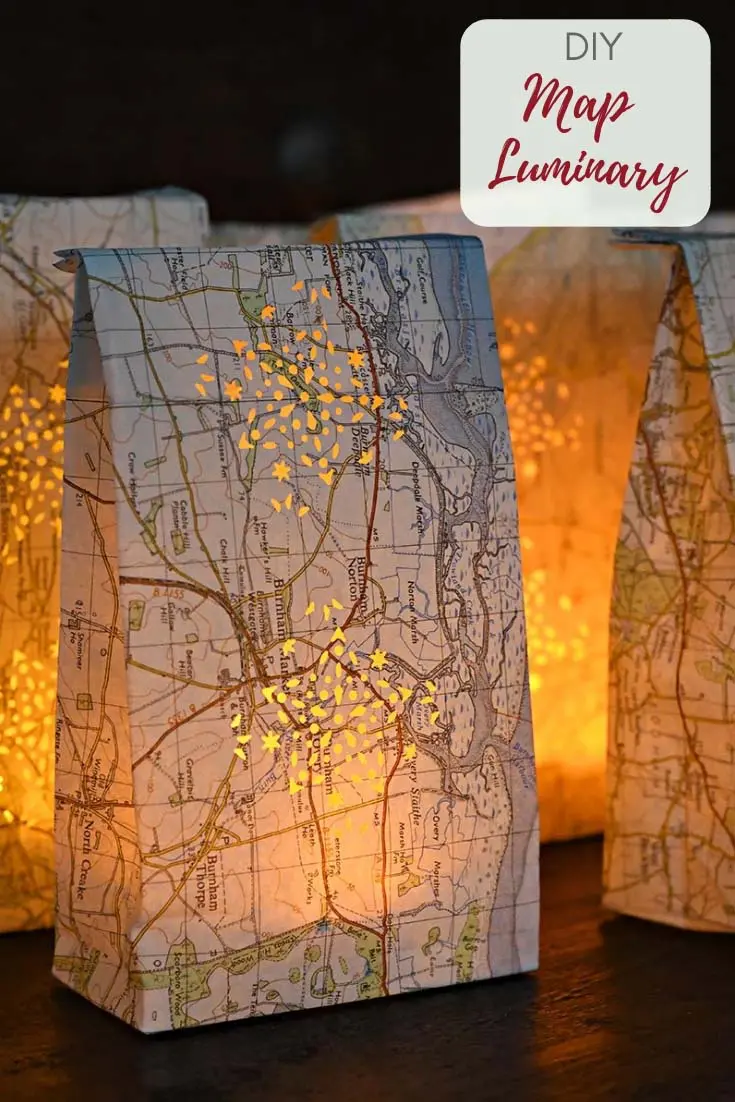
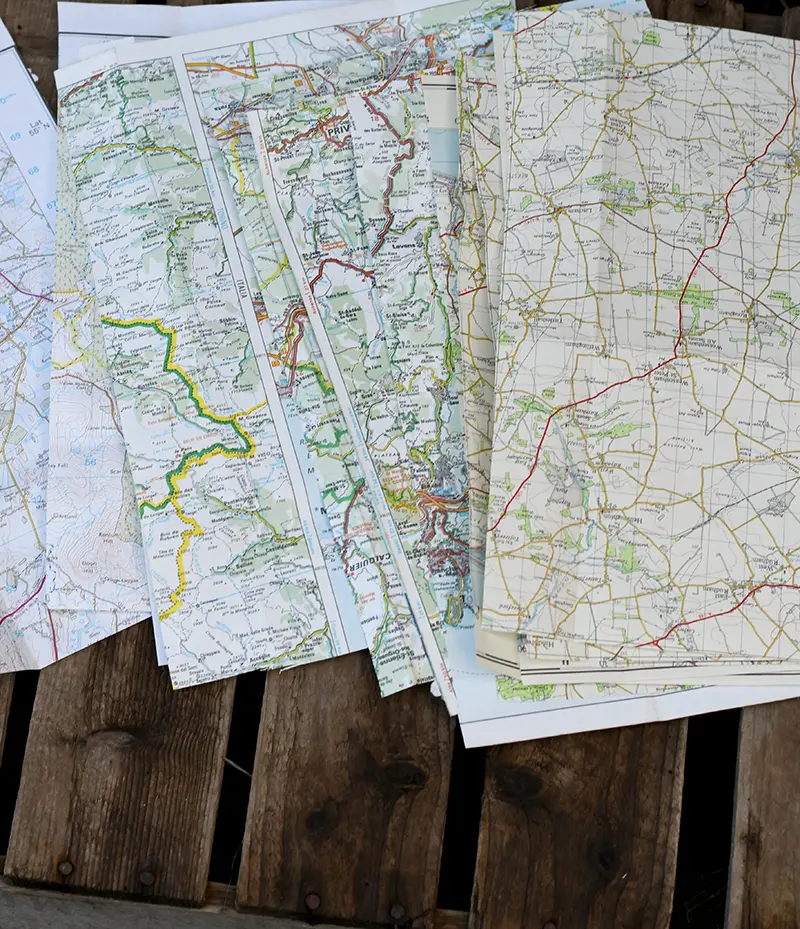
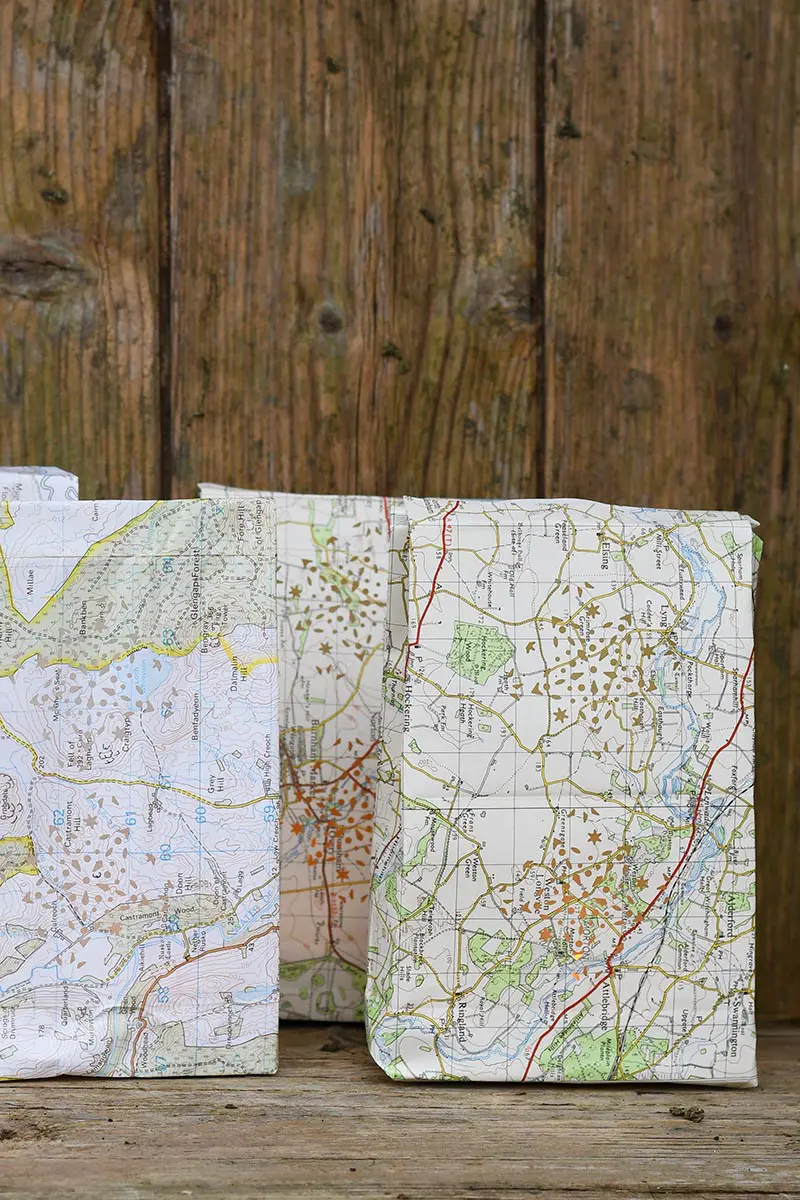
For my DIY paper bag lanterns, I decided to use old maps. There’s something nostalgic and thrifty about old maps—they conjure memories of past travels and places I’ve lived. The light shines beautifully through the patterns of your hole punches, creating a stunning visual effect.
Even if you don’t have a vast collection of old maps like me, you can easily find them at charity or thrift stores. I’ve found that old maps are often cheaper than craft paper or gift wrap! Plus, you can even print vintage maps for crafting.
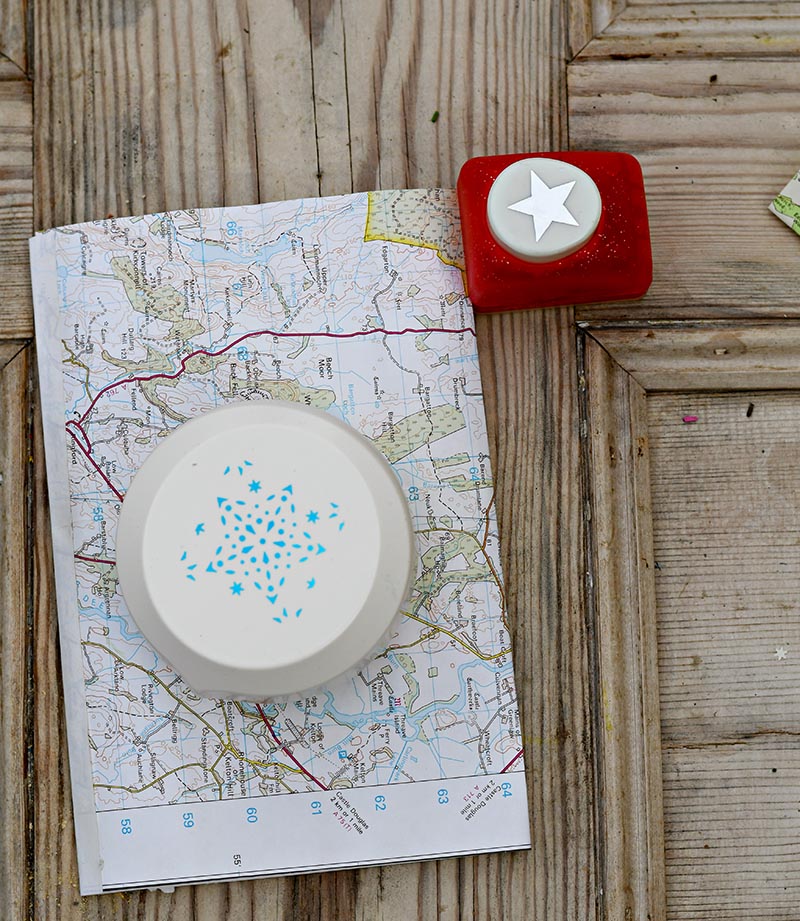
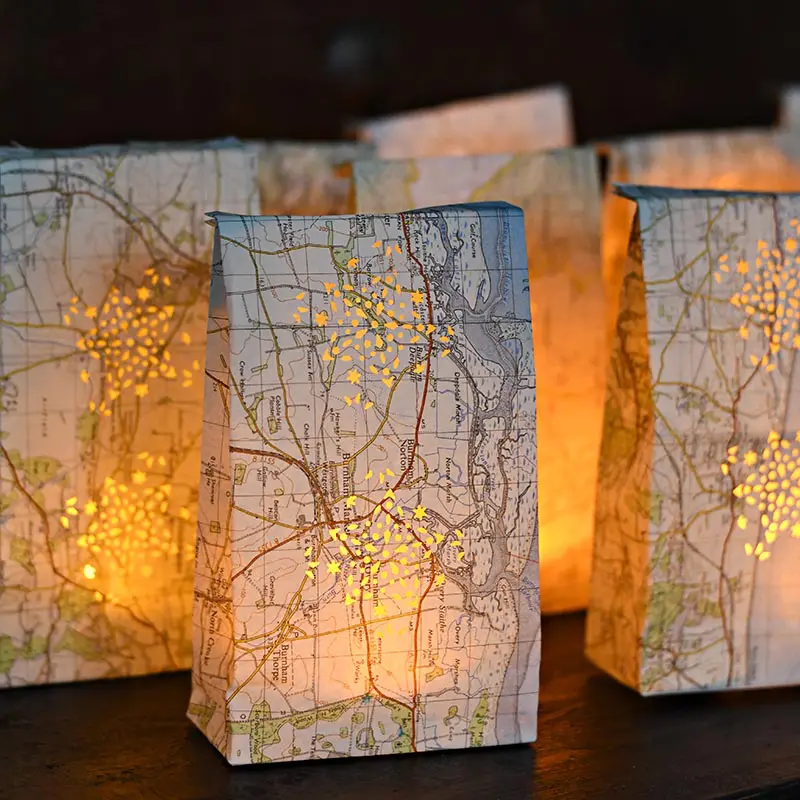
I used a star punch to create pretty patterns on the bags to add a personal touch. You can experiment with different shapes or even use a simple round hole punch to achieve the look of luminaries you desire. These paper lanterns are not just for winter nights—they are perfect for illuminating a garden path during a summer outdoor party or adding a warm glow to your holiday table.
To ensure the bags hold their shape, I recommend placing a piece of cardboard at the bottom of each bag. This simple craft technique helps stabilize the bag and makes it easier to add your light source. Whether you prefer battery-operated candles or LED tea lights, these magical luminaries are a fun way to light up your home without the fire hazard of real candles.
A Fun DIY Project for Any Season
These DIY paper bag lanterns are the perfect way to charm any occasion. Whether you are looking for an easy winter craft to brighten the dark evenings or a creative decoration for a summer event, these lanterns are a versatile and simple craft idea. The different colours and patterns of the maps, combined with the warm glow of the flameless candles, make these luminaries a beautiful addition to any space.
You can also get creative with the top of the bag—try folding it down, cutting it with decorative scissors, or even adding a ribbon for an extra touch of flair. These easy DIY paper bag luminaries are a fun way to personalize your decor and impress your guests.
They were made similarly to these DIY wrapping paper bags.

We’re a participant in the Amazon Services LLC Associates Program, an affiliate advertising program designed to provide a means for us to earn fees by linking to Amazon.com and affiliated sites. As an Amazon Associate, I earn from qualifying purchases.
Supplies For Paper Luminaries
- Old maps—You can pick these up from charity or thrift stores. The bags I made were A4 size, so you can print to A4 paper. This might be handy if you are looking for maps of a particular country or state. Pictureboxblue has lots of free maps to choose from and print.
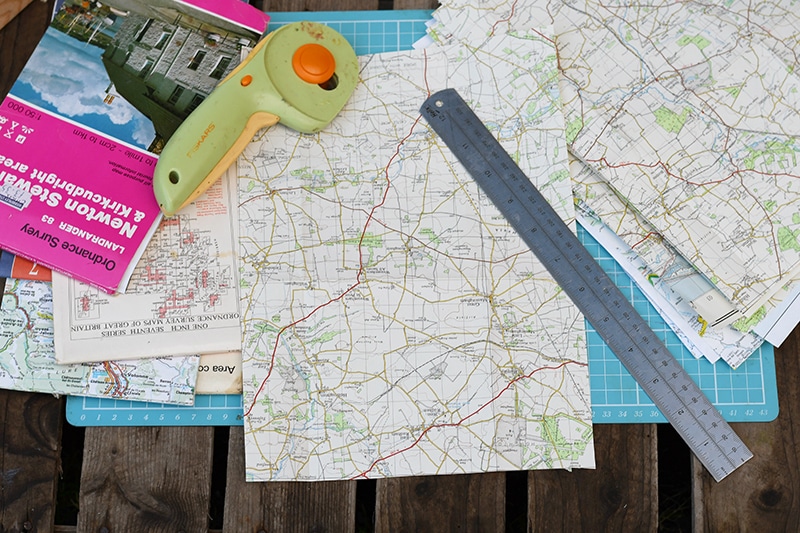


- Rotary cutter and mat if using old maps.
- Glue stick
- Paper punch: Magnetic pattern punches are good because they allow you to punch anywhere on the paper, not just the edge.
How to Make Paper Bag Lanterns
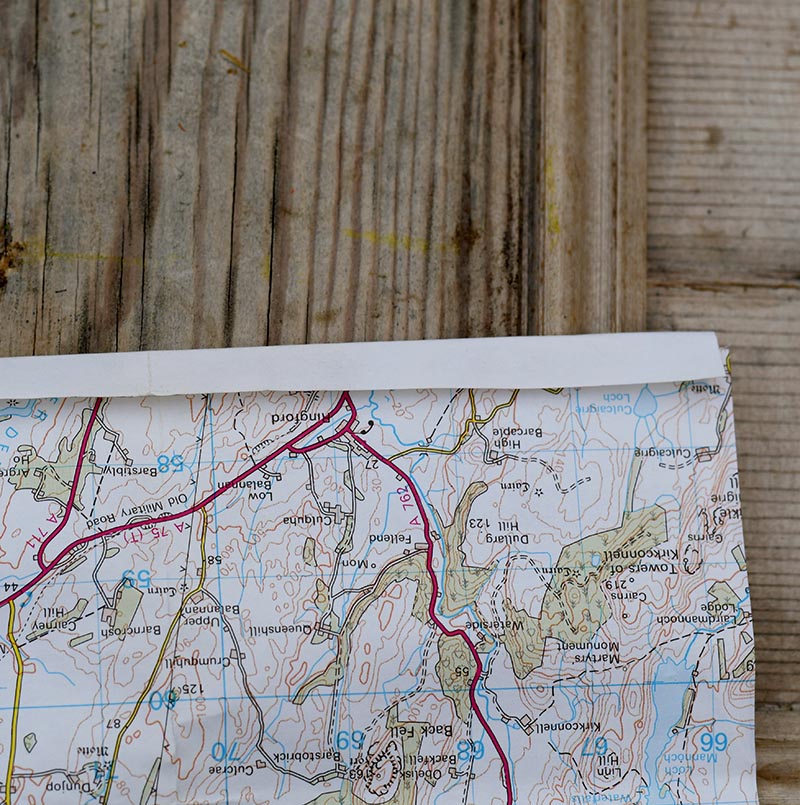
First, if using printed maps, cut them into A4-sized sheets. One standard roadmap generally yields 6-8 A4 sheets.

Step 1: First, fold one sheet of A4 paper lengthways to overlap 5-10mm on one edge. Make sure the map print is on the outside of the fold. Fold this flap over and glue it to the map to create a tube.

Step 2: I punch patterns into the map paper before moving to the next stage. I do this at this point because I have a better idea of where the punched designs will appear in relation to the finished luminary bag.

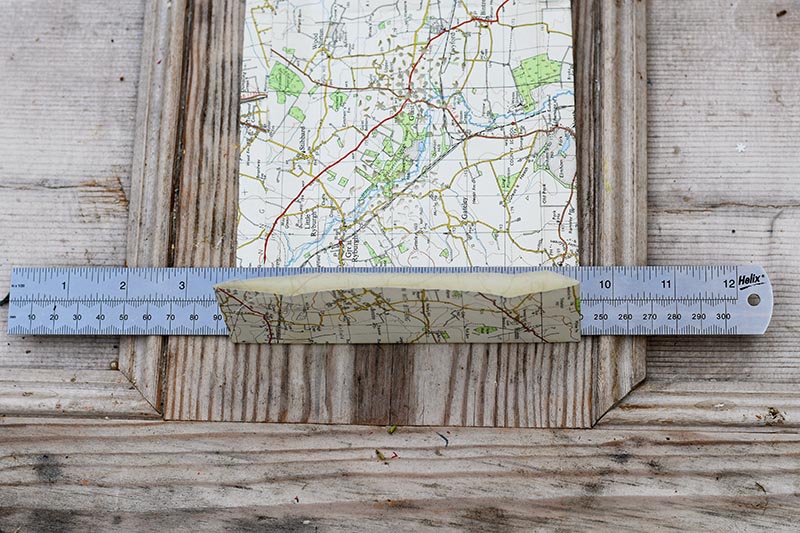
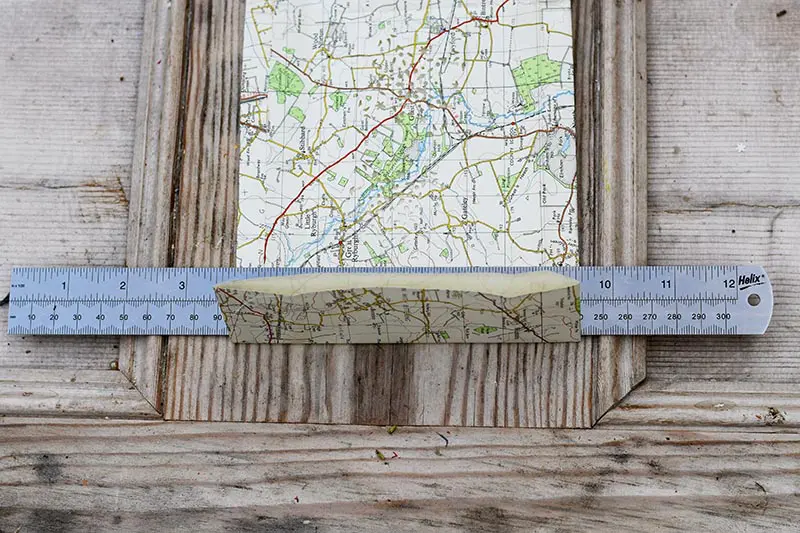
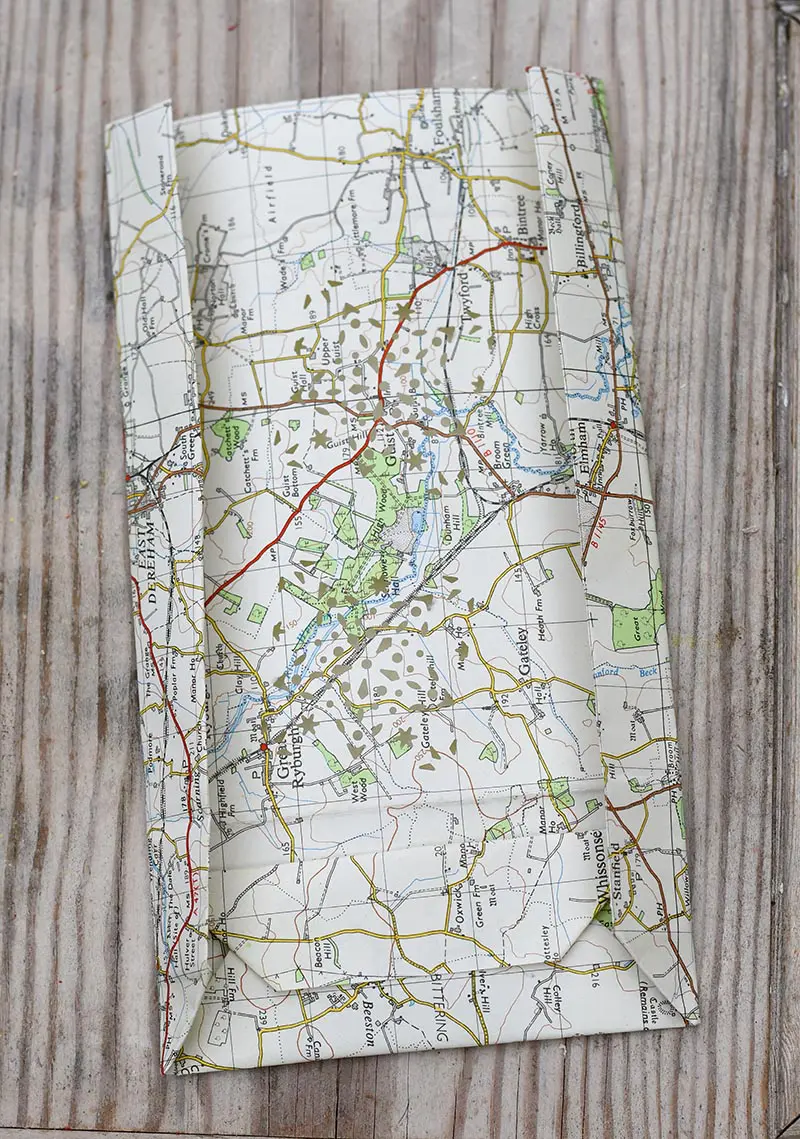
Step 3: Place the map paper lengthways and fold it 5-6cm from the bottom. Use a ruler to make a nice sharp crease as you fold.
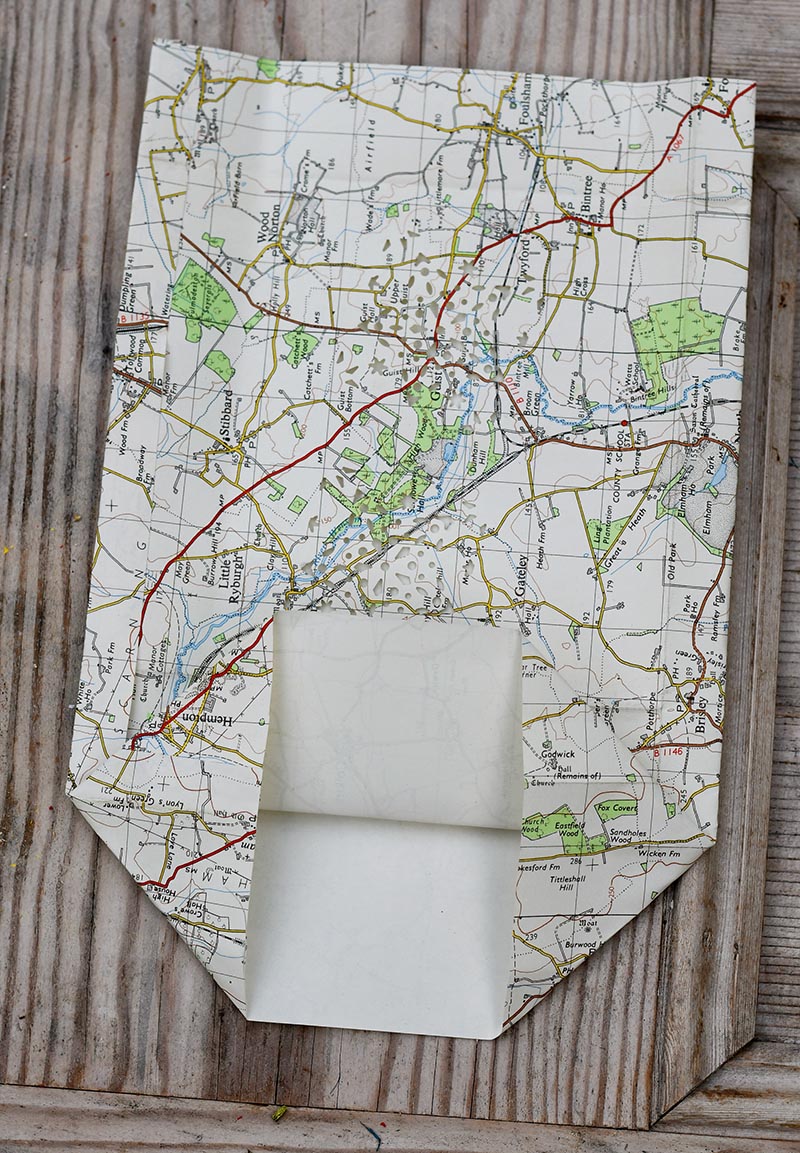
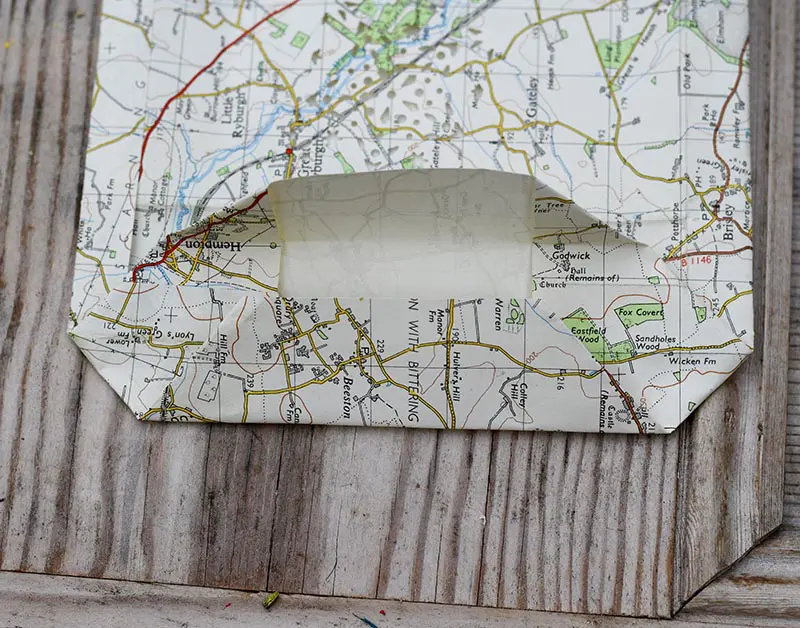
Step 4: Push in the sides of the map where you have folded so that the base of the bag opens out and lies flat, like in the picture below.
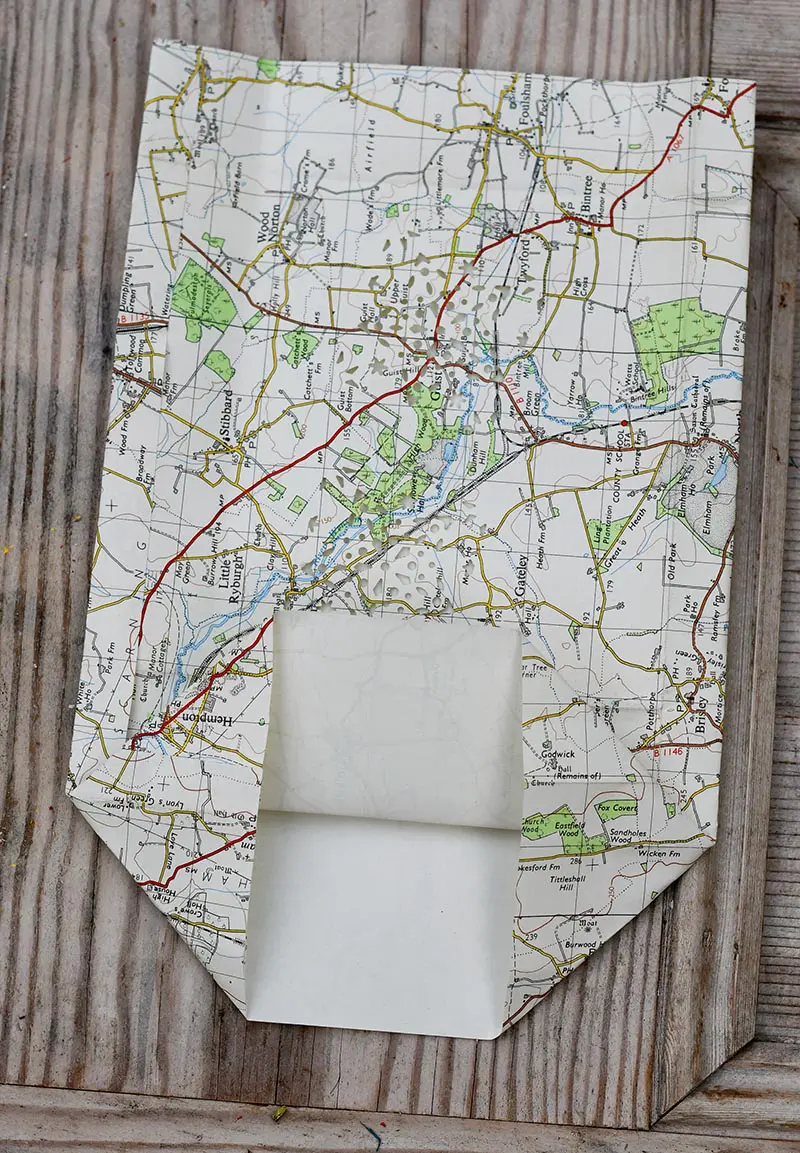
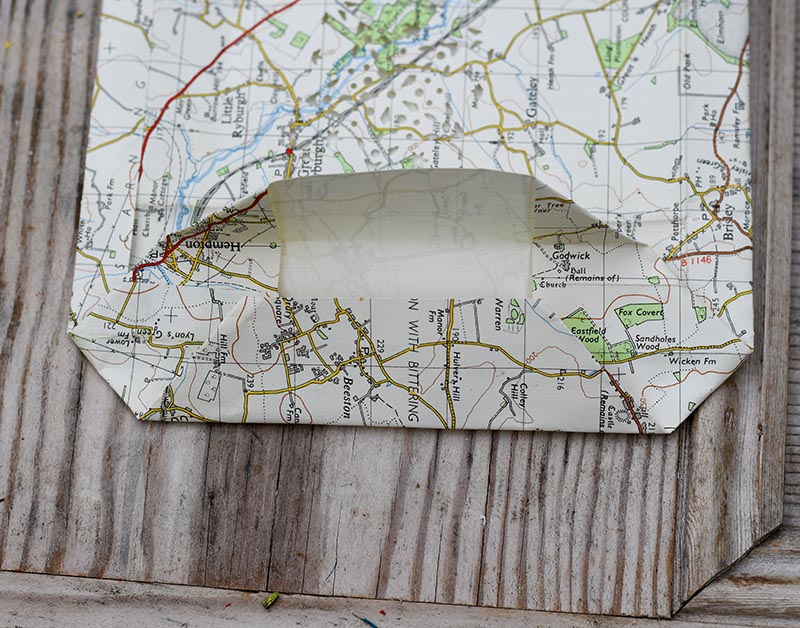
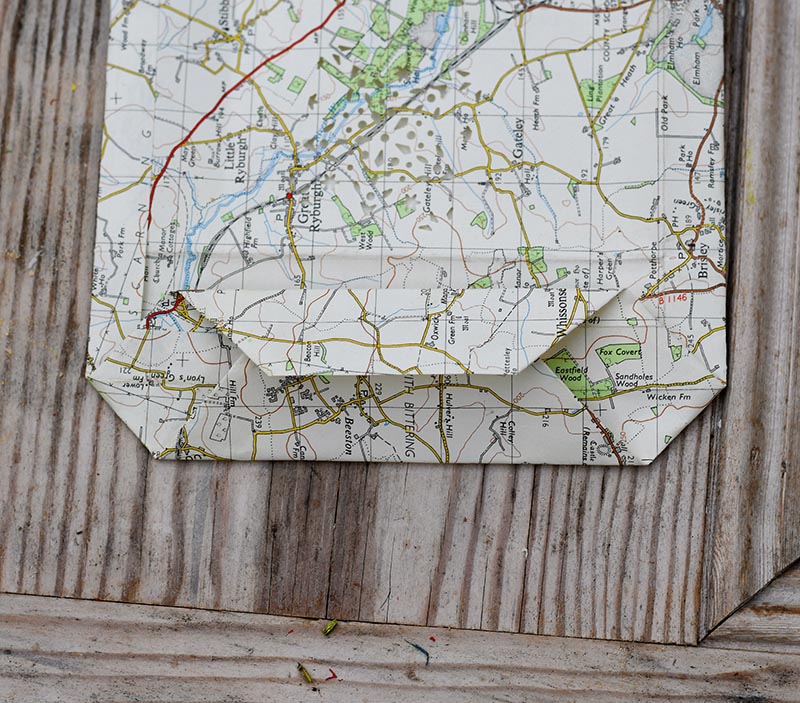
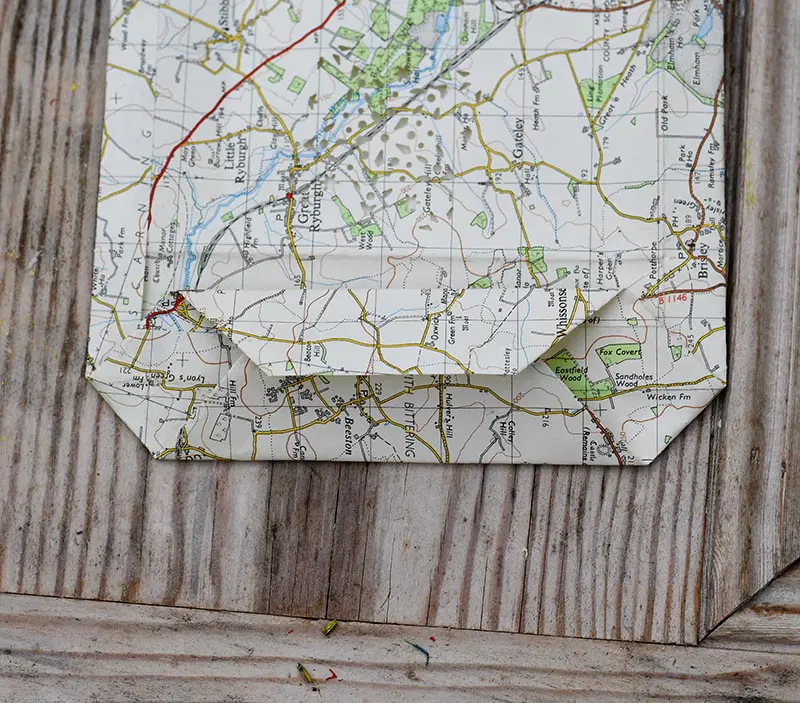
Step 5: To secure the base of the map luminary bags, fold down the top half of the base flap to just over halfway and glue it down.
Next, repeat with the bottom half of the base flat.
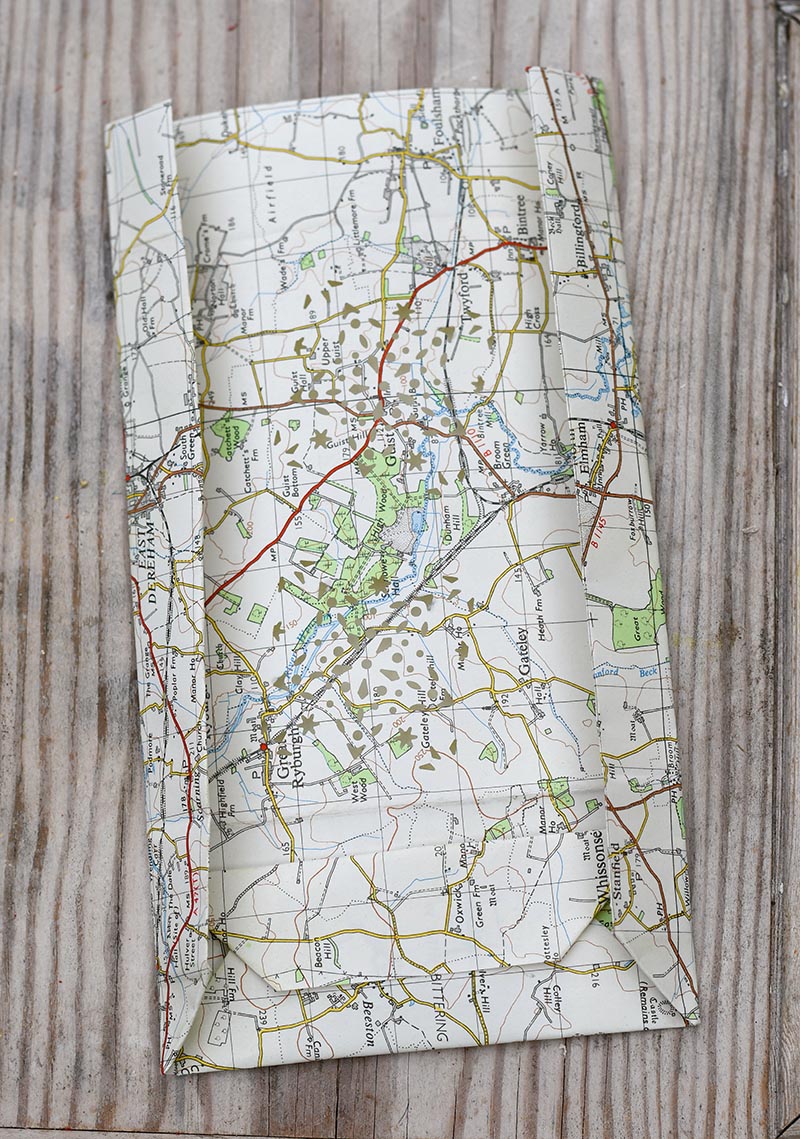
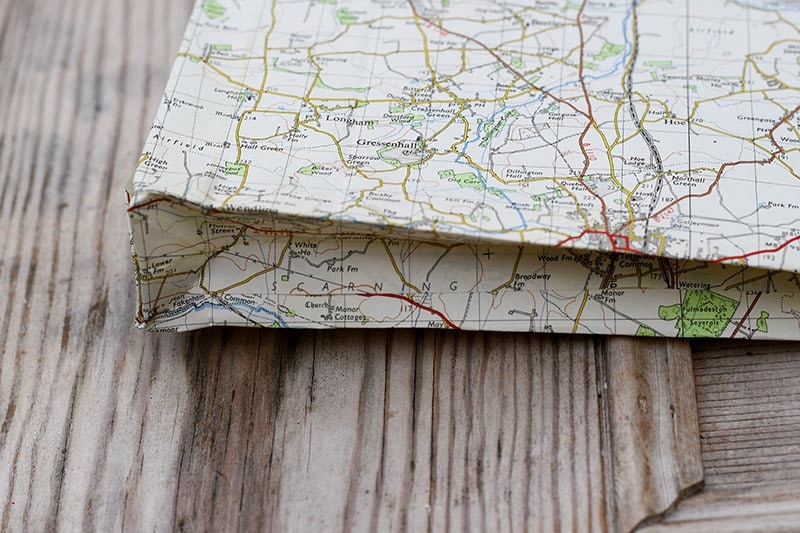
Step 6: Then, fold 3cm from the edge on both sides of the bag.
Step 7: The final step is slightly fiddly. You need to open the bag by putting your hand inside and then fold in the creases on the side to make the paper bag shape.

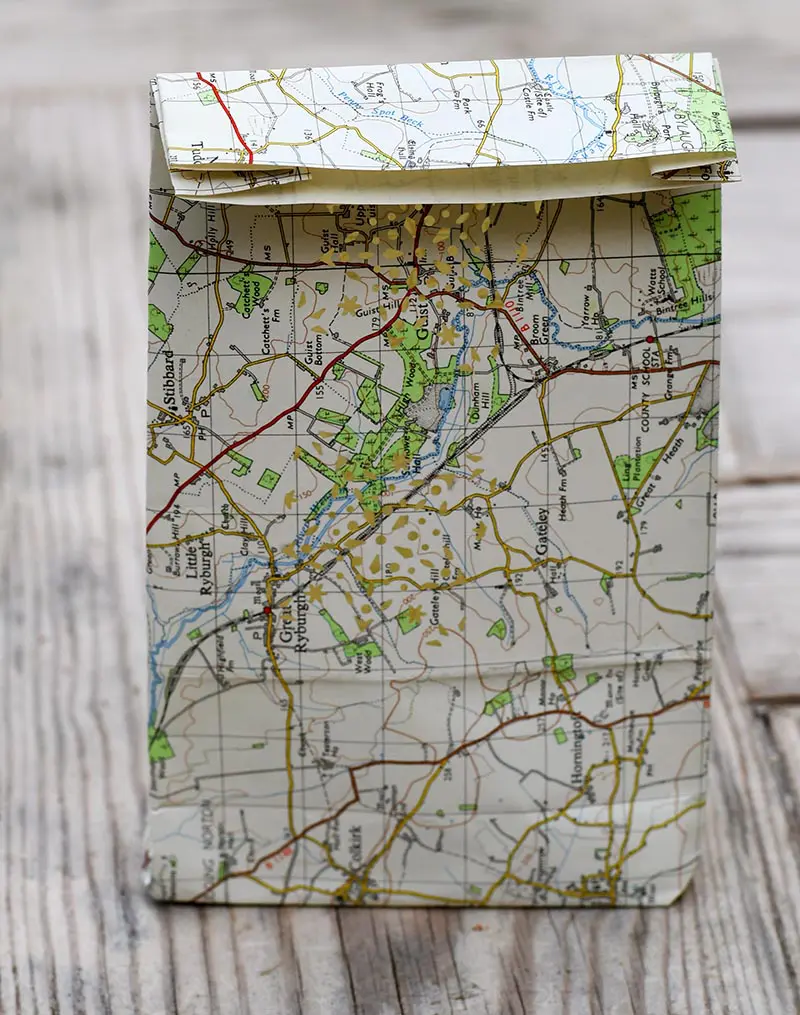
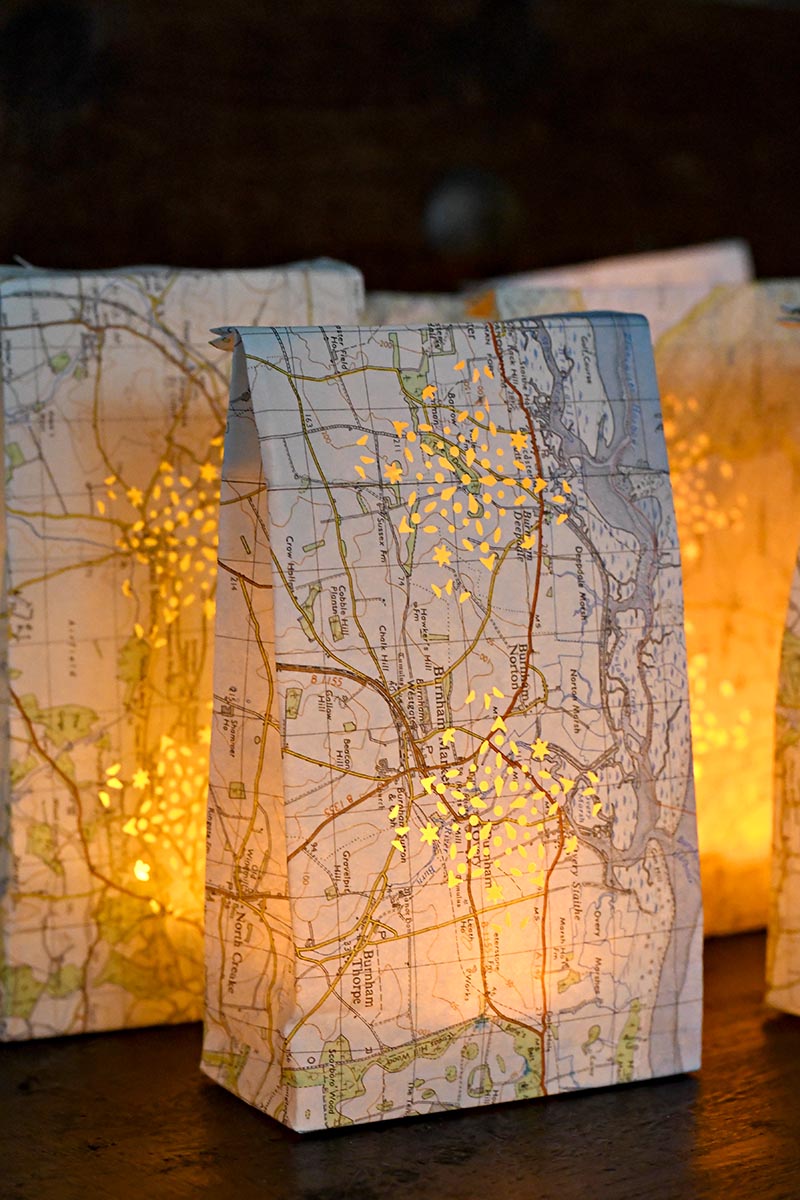
Step 8: Add a piece of cardboard to the base of the paper lantern inside to create a more stable bottom. Finish by popping a remote-controlled light into the bag and folding it over the top.
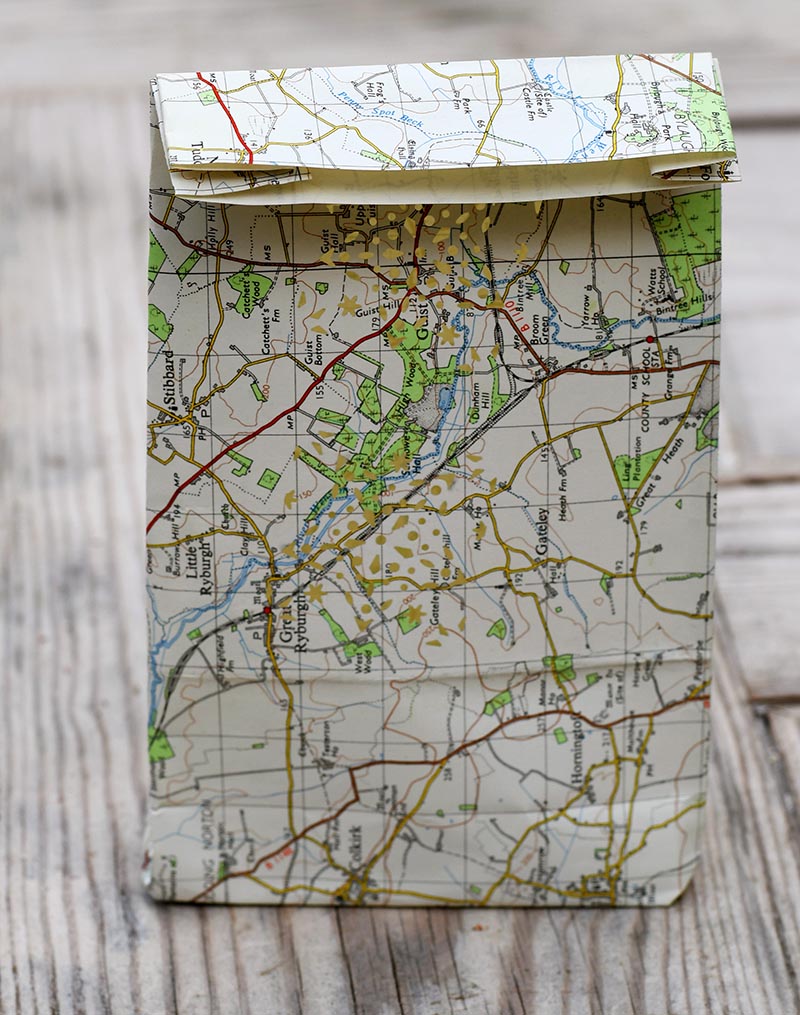
As the remote-controlled tea lights came in a box of 12, I made 12 paper lantern bags.
I think they look much more effective together in a big group. To give these bags that personal touch, you could always use maps of your favourite places. I’ve made waterproof versions of these map paper bags to use as cool plant pot covers.


Conclusion
Whether decorating your porch step for the holiday season or setting the mood for a cosy winter night indoors, DIY paper bag lanterns are an easy, affordable, and safe option. With the golden glow of flameless LED candles, you can enjoy the look of luminaries without worrying about a fire hazard. Plus, the possibilities for customization are endless, making this a fun DIY project for any time of year.
FAQs
1. Can I use real candles instead of LED tea lights? While real candles can create a beautiful glow, they also pose a fire hazard, especially with paper bags. Flameless candles, like LED tea lights, are a safer and more convenient option.
2. How do I keep the paper bag from tipping over? Placing a piece of cardboard at the bottom of the bag will help stabilize it and keep it upright, even if it’s windy.
3. What other materials can I use besides old maps? You can use wrapping paper, brown paper, craft paper, or even fabric to create different looks. Vintage maps add a unique touch but feel free to experiment with various colours and patterns.
4. Are these lanterns suitable for outdoor use? Yes, these lanterns can be used outdoors as long as you use battery-operated candles or LED tea lights. They’re perfect for illuminating a garden path or creating ambience at an outdoor party.
5. Can I reuse the lanterns? Yes, you can reuse the lanterns, especially if you reinforce the inside of the bag with cardboard and handle them with care.
6. Can I make luminaries in different sizes? Yes, you can make paper bag lanterns in any size. Just adjust the size of your starting paper. Remember, the larger the lantern, the sturdier your paper should be.
7. How can I hang my paper bag lanterns? To hang the lantern, you can attach a wire or string to the top (punch holes on both sides). Make sure to secure it well so it doesn’t fall.
With these tips and ideas, you’re all set to create your DIY paper bag lanterns, which will add a magical touch to your home, no matter the season!
Other Paper and Map Craft Ideas
Printable maps can also be used to make these charming DIY tea light lanterns, and also with these DIY hanging paper lanterns. Check out all these other fantastic paper lantern ideas.
If you have any leftover maps, you may want to check out some of my other map-themed gift ideas and paper craft decoration posts.
Vintage Map Heart Garland
DIY paper Christmas Trees with Maps
Map Paper Rosettes Decorations
Printable 3d Map Star Decorations

For more papercraft ideas, visit allfreepapercraft.com
Susan
Monday 23rd of December 2019
Claire these are so awesome!!! I love the tip about the hole punchers I had no idea there was a magnetic one that could be used in the middle of the paper! Also... remote controlled tea lights that's also new to me!!!? Thanks for that! These are gorgeous in map design, I'm pinning this idea for next year!
Claire Armstrong
Monday 23rd of December 2019
Thank you, Susan. They are a good all year round decoration, I've used them in the summer to light up the garden at night for a party.
Fall Lighting Ideas to Brighten Your Autumn - Backyardscape
Friday 2nd of August 2019
[…] How To Make Pretty Map Luminary Bags […]
Caro | The Twinkle Diaries
Saturday 2nd of February 2019
I LOVE these Claire!!!! They'd be a gorgeous way of lighting the garden at a summer BBQ! So lovely. Thanks so much for linking up with #HomeEtc xx
Claire Armstrong
Sunday 3rd of February 2019
Thank you, yes it would be a good way to llluminate the path.
MARILYN MCGUIRE
Sunday 20th of January 2019
Great idea! What brand is the magnetic punch? Does it saw somewhere on it? Thanks, for the link to the downloadable maps too! Marilyn
Claire Armstrong
Sunday 20th of January 2019
Thank you, the punch is "Star - Artoz 'Flying' Paper Punch"
Jodie Fitz
Tuesday 15th of January 2019
I absolutely LOVE this idea! I love all things maps...and, as you know I'm a fan already of your constant creativity. You were featured at this week's RTT Party: http://www.jodiefitz.com/2019/01/15/reader-tip-tuesday-weeks-craft-recipe-party-14-2-2-2-2-2-2-2-2-2-2-2-2-2-2-2-2-2-2-2-2-2-2-2-2-2-2-2-2-2-2-2-2-2-2-2-2-2-2-2-2-2-2-2-2-2-2-2-2-2-2-2-2-2-2/ Have a great week...
Claire Armstrong
Tuesday 15th of January 2019
Aww, thank you so much Jodie, that is awesome.