
How To Make Paper Rosettes Decorations From Old Maps
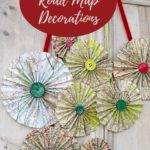
With our step-by-step guide, transform vintage maps into stunning paper rosettes. These eco-friendly crafts add a personalized touch to your home decor or festive celebrations.
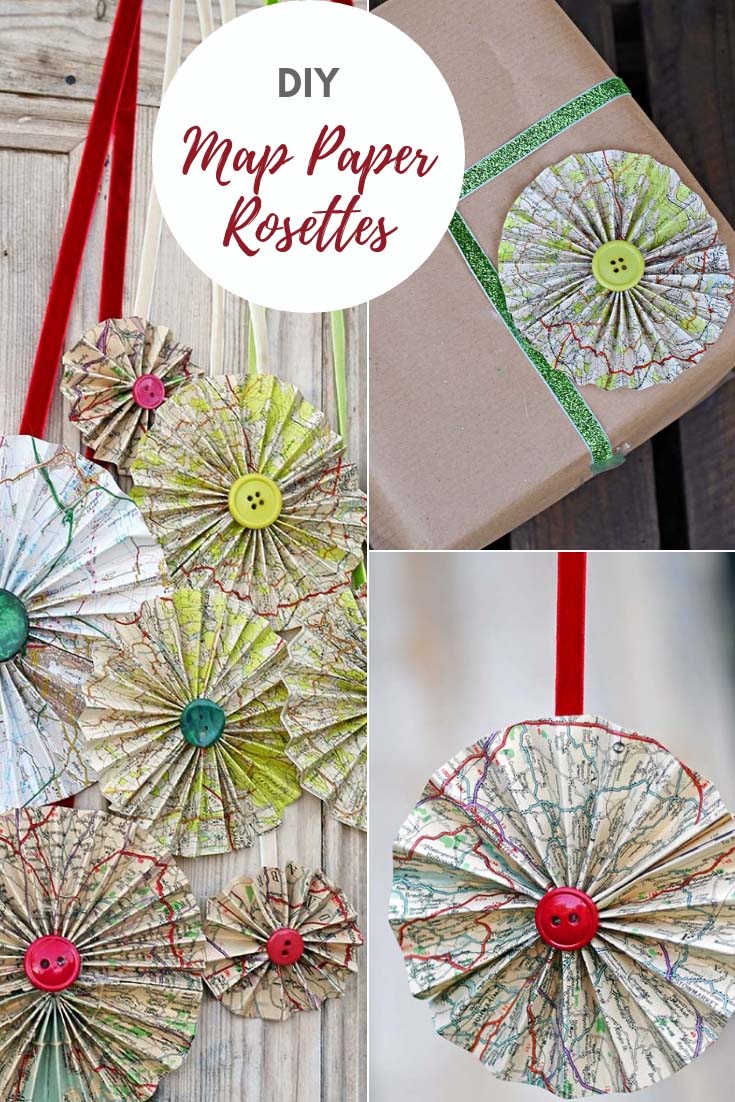
If you look at many old roadmaps, they are often printed in Christmassy colours (white, red and green)! The backgrounds are white, forests and open spaces are green and significant roads are printed in red. That's one of the reasons I decided to use them to make some Christmas paper rosettes.
What I love about these map paper rosettes is that they can be made in various sizes and used in multiple ways.
These map decorations look superb hung together in clumps as a wall or door decoration, hung individually on the Christmas tree as lovely ornaments, or stuck on a map paper rosette to the top of a gift as a beautiful decoration.
If you use maps of unique places, then that will make the decorations even more personal and unique.
DIY Map Paper Rosettes
These paper rosettes are so affordable, too! You only need a hot glue gun, old buttons, and old road maps.
If you don't have any old road maps, you can pick them up cheaply in charity and thrift stores. Buying old road maps for crafts is very economical as they are often cheaper than gift wrap or craft paper.
We're a participant in the Amazon Services LLC Associates Program, an affiliate advertising program designed to provide a means for us to earn fees by linking to Amazon.com and affiliated sites. As an Amazon Associate, I earn from qualifying purchases.
What you need to make Map Paper Rosettes
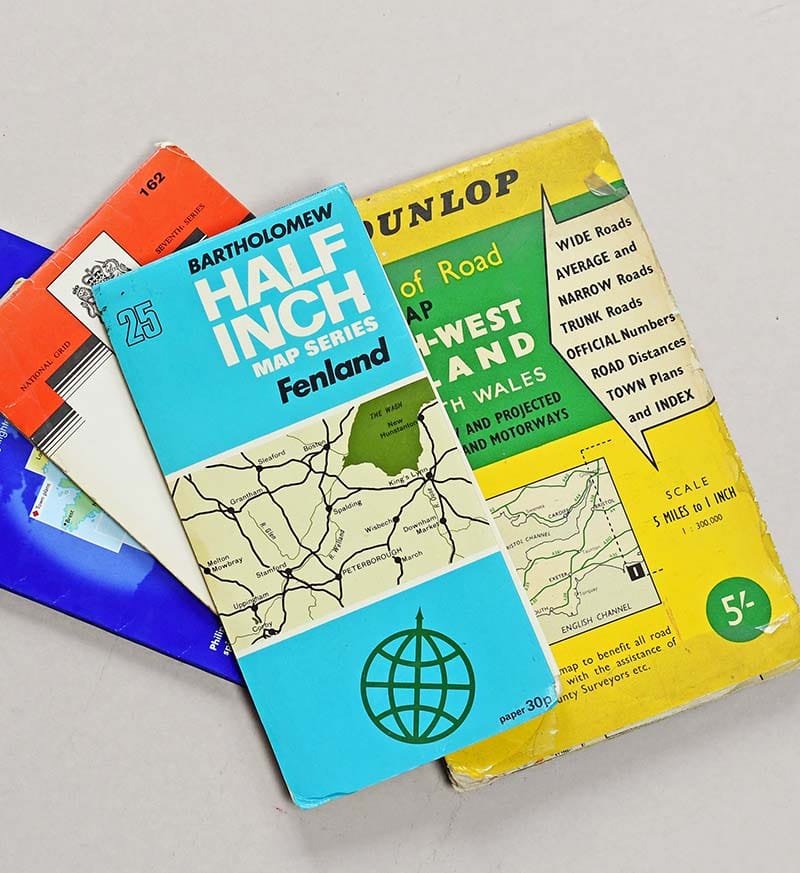
- Old road maps—If you don't have any, elderly relatives often have a stash with which they are willing to part. You can also try your local charity and thrift stores.
- Buttons or craft gemstones for the centre.
- Rotary cutter and mat
- Hot glue gun
How to make paper rosettes
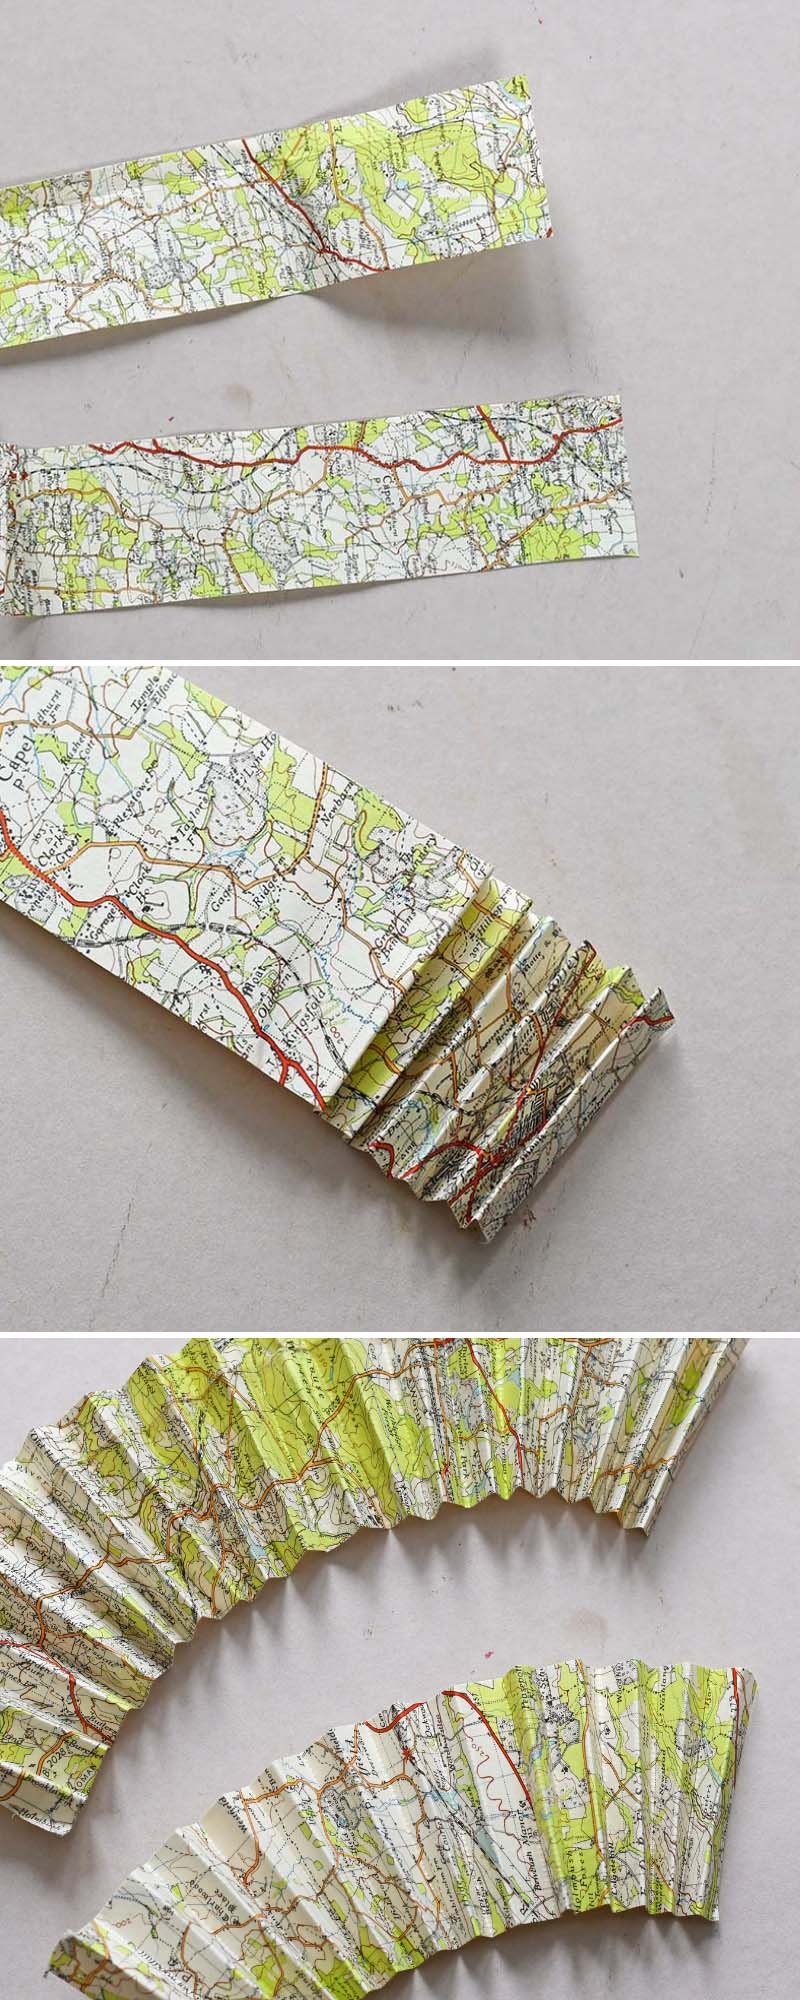
Step 1: First, you need to decide how large you want your paper rosette. I made mine in various sizes. Depending on how large you want the paper rosette, you will need a strip of paper five times the width.
To make a map paper rosette 10cm in diameter (5cm radius), you will need two strips of map paper 5cm wide by 25cm long. Similarly, to make a paper rosette 8cm in diameter, you will need two strips of map paper 4cm wide by 20cm long.
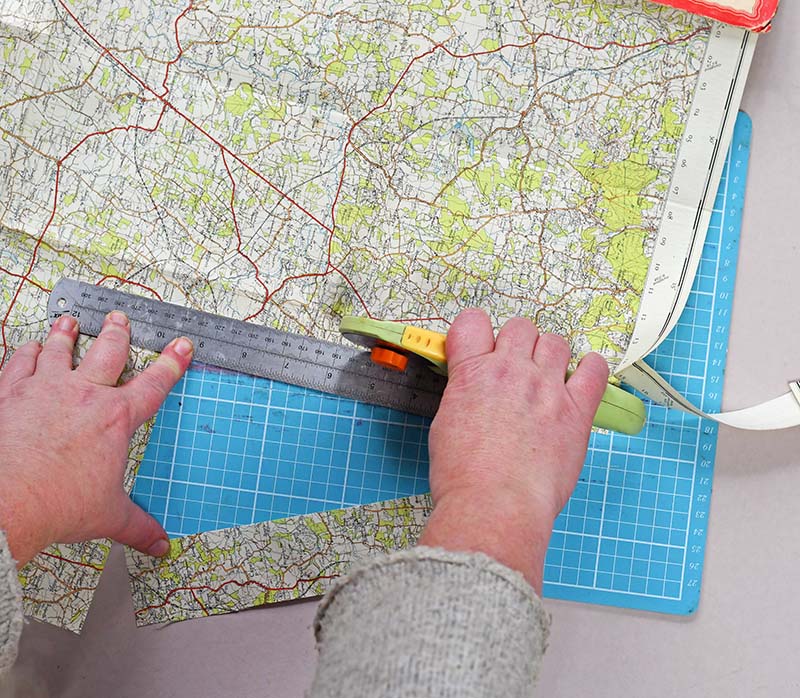
To ensure a nice straight edge, use a metal ruler, mat and rotary cutter to cut the strips of map paper. Cut two strips of paper for each paper rosette.
Step 2: Next, concertina-fold each map strip 7 to 10 mm apart (like you would for a fan).
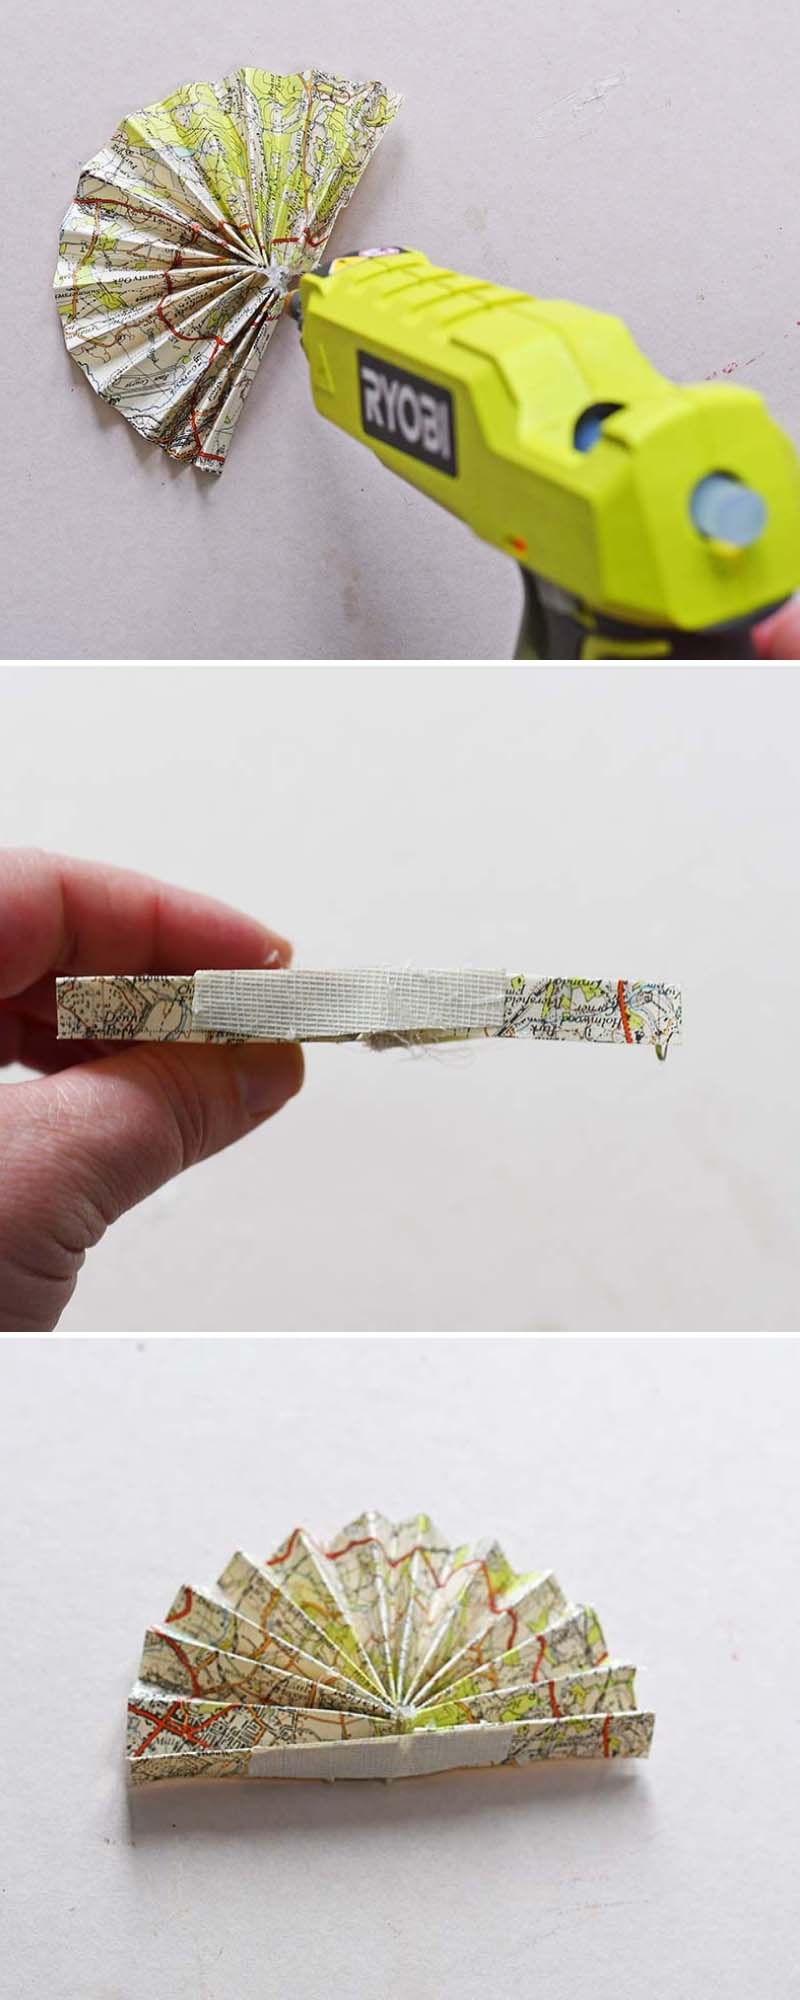
Step 3: Round each concertina map strip into a semi-circle shape. Use a hot glue gun to hold this shape in place.
Top Tip: If the map paper you have used is a bit stiff, sometimes it helps to glue a strip of paper across the semi-circle to help it keep its shape.
(Be careful when using a hot glue gun; the glue burns if touched with the naked skin.)
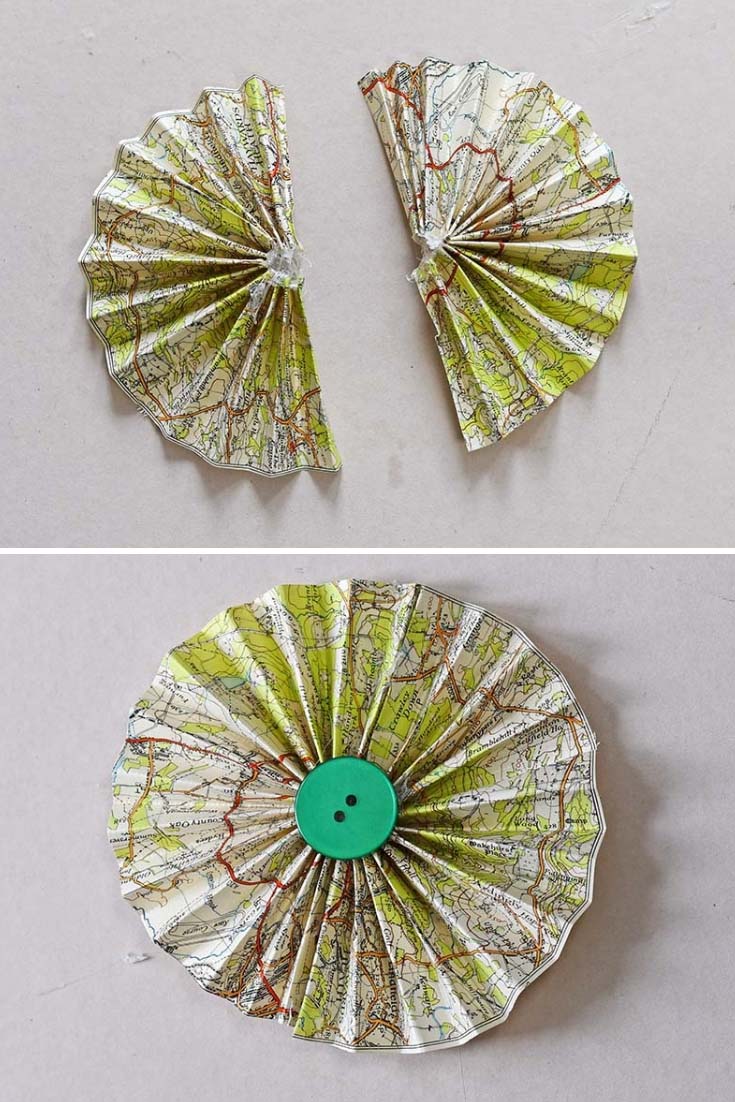
Step 4: You should end up with two map semi-circles. Again, glue the two semi-circles together using the hot glue gun to make a paper rosette.
Finally, finish and tidy up the paper rosette by glueing a button or craft gem to the centre.
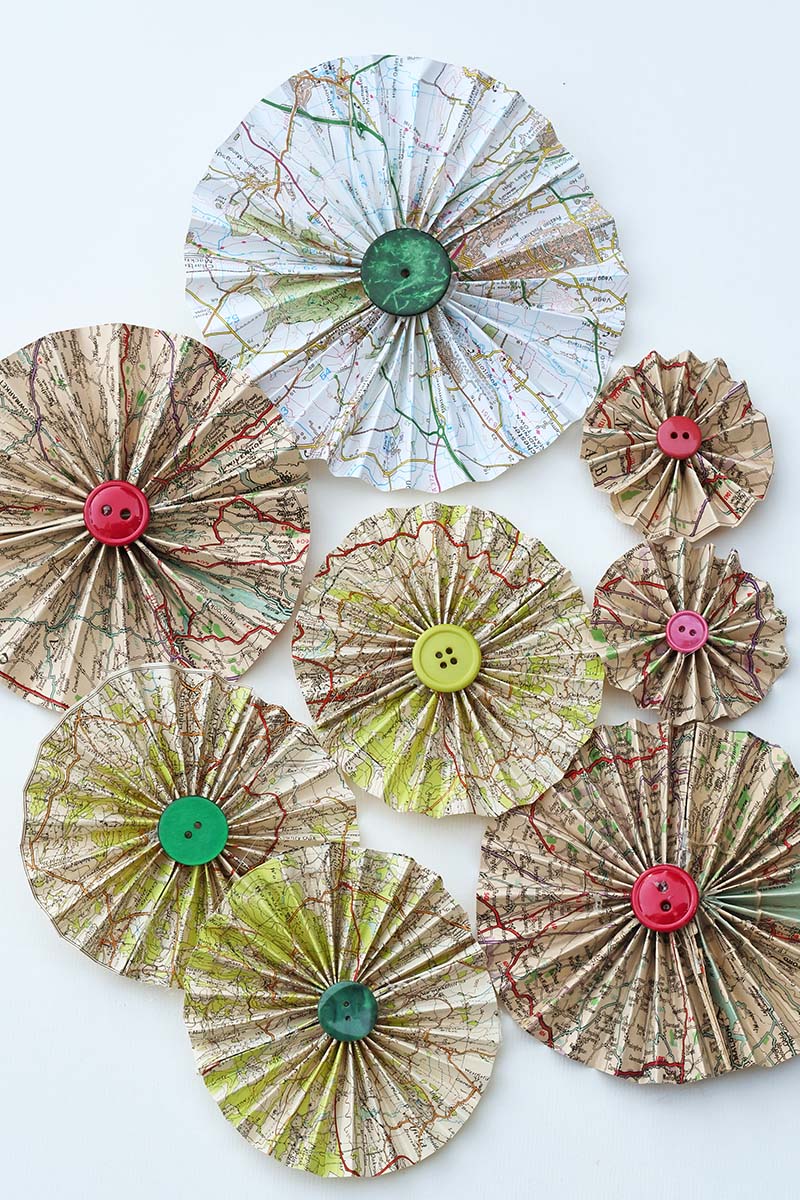
Step 5: I made many paper rosettes in different sizes using different roadmaps.
Displaying The Map Decorations
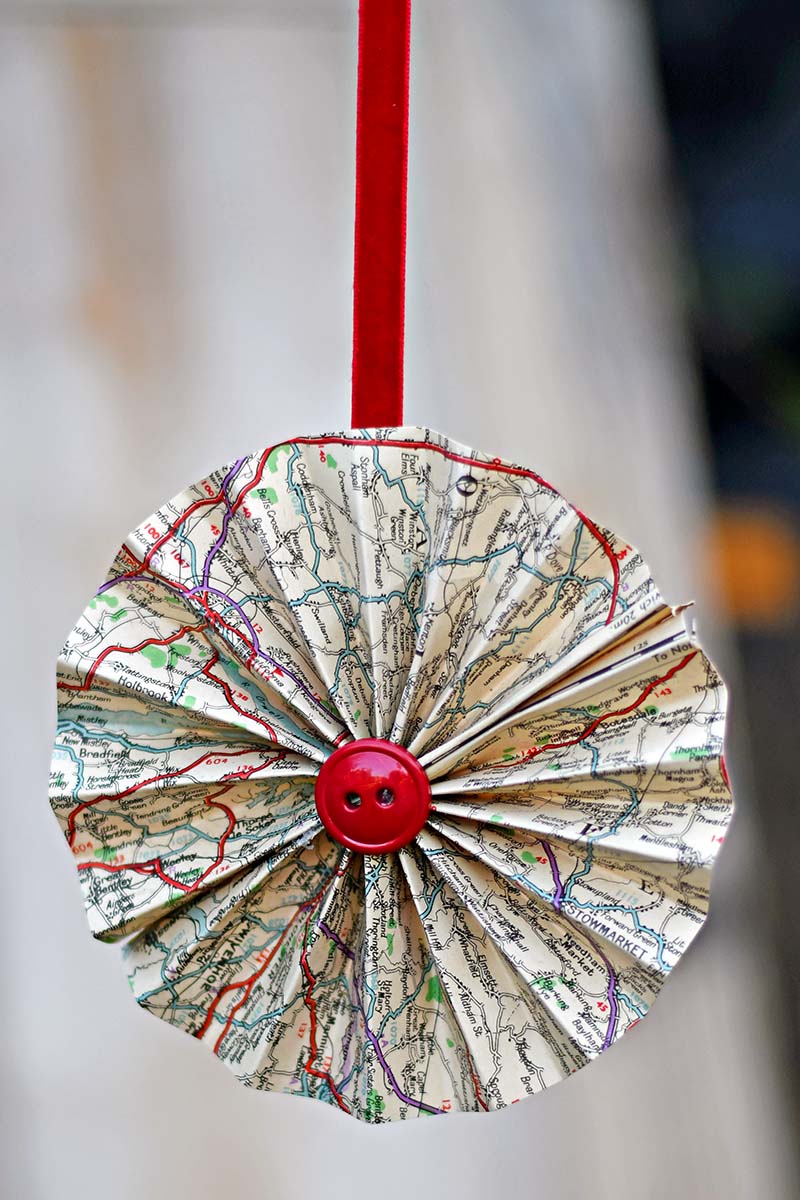
Now that you have made the map rosettes, there are several ways to use them. If made with Christmas map paper, add red velvet ribbon and hang them as ornaments from the Christmas tree.
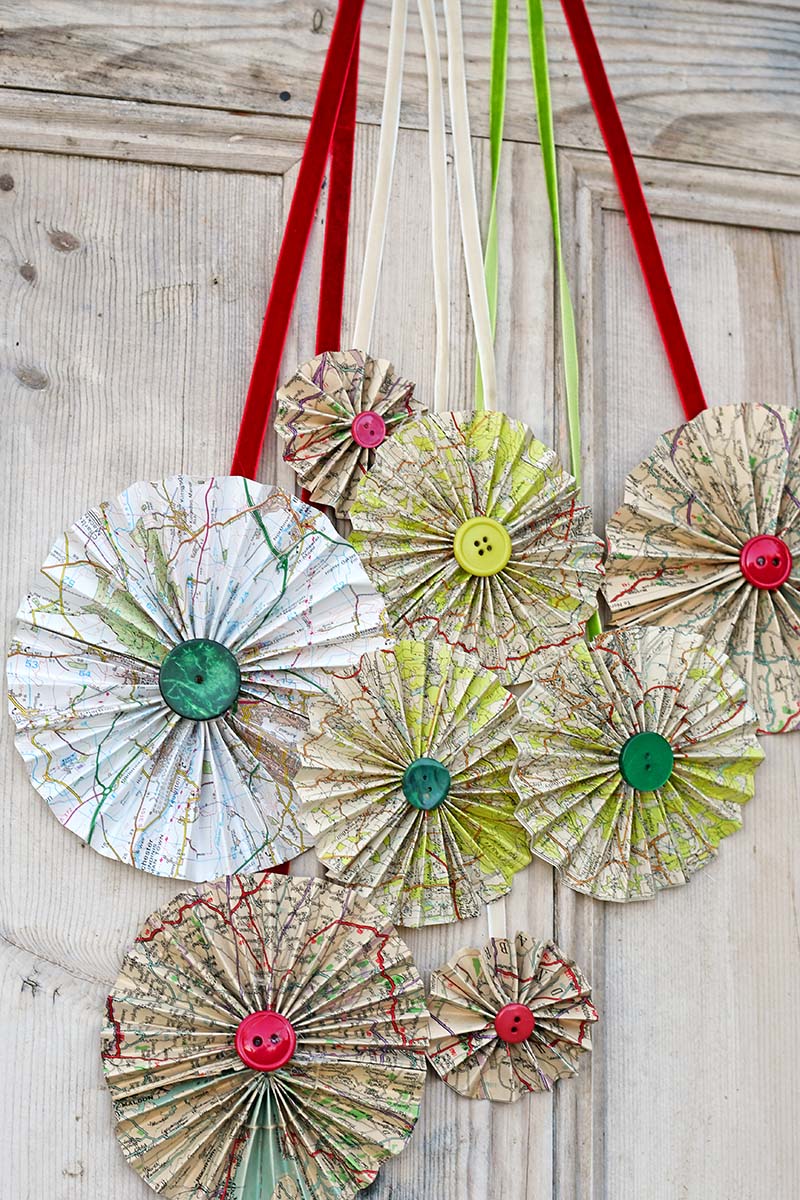
One of my favourite ways to use them is to hang a cluster as wall decorations. For this use, upcycled map paper rosettes in different sizes hung from ribbons of different lengths. This is not the only way I've used maps as a door wreath; I've also made an autumn leaf map door wreath.
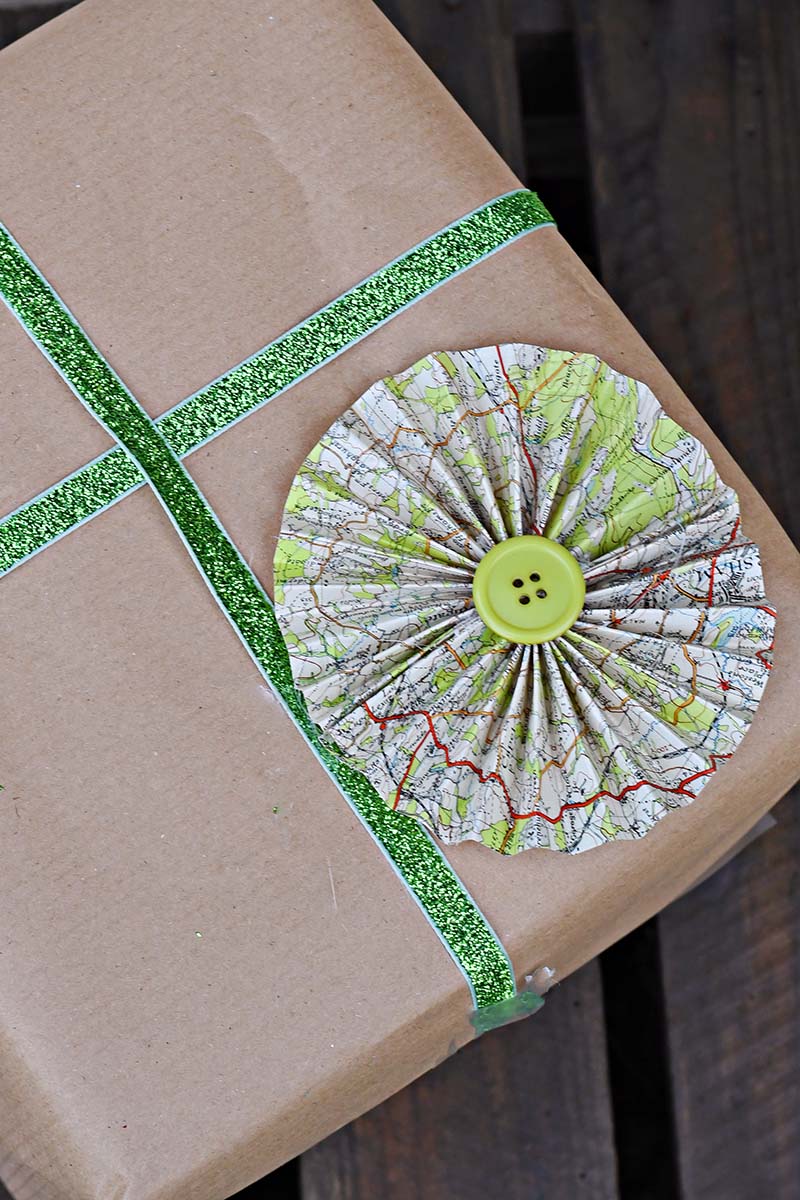
You can also use the map rosettes as gift toppers. The gift recipient could then hang them on their tree, which would be like a present.
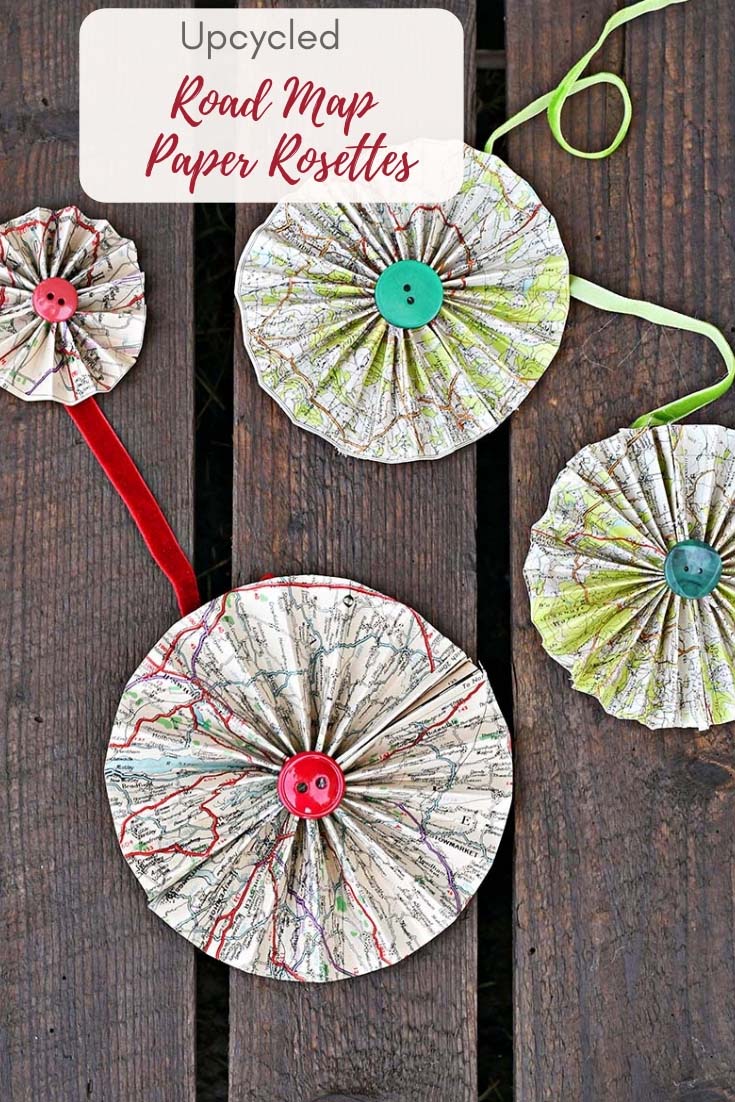
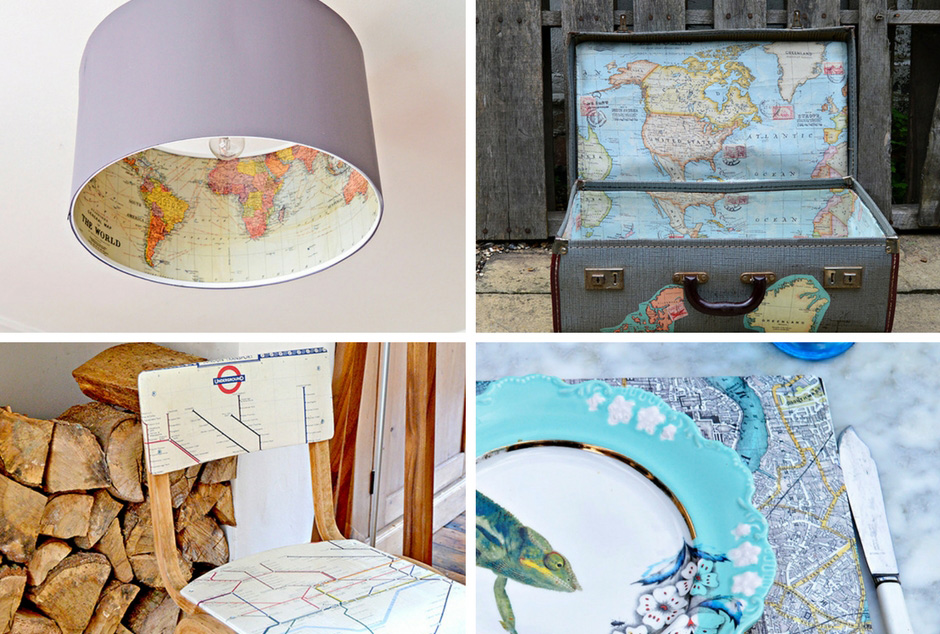
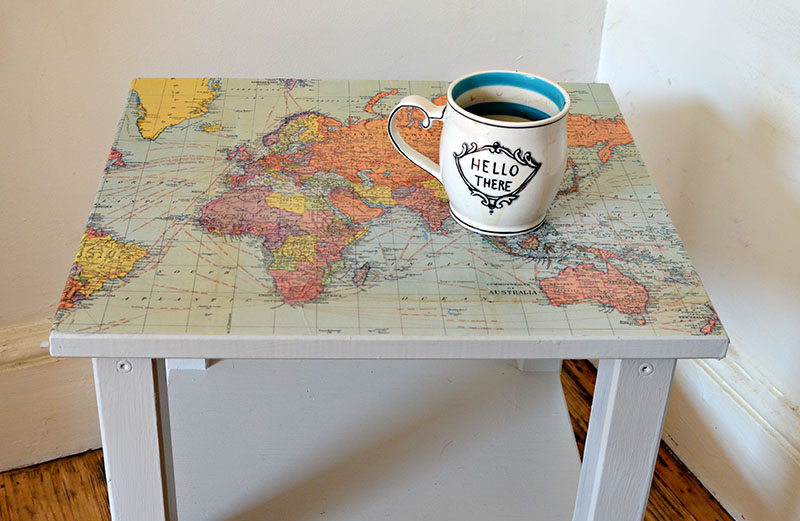
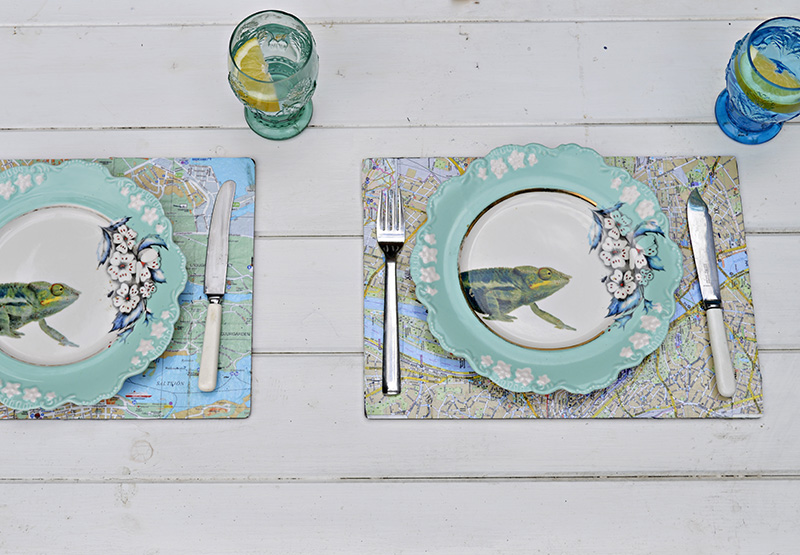
Old road maps are a favourite of mine to upcycle, especially into decorations and gifts, as they can be personalized. I've made map hearts and vintage map heart garlands for Christmas and Valentine's.
You can find many ideas for paper crafts for the home that can easily be made with map paper.
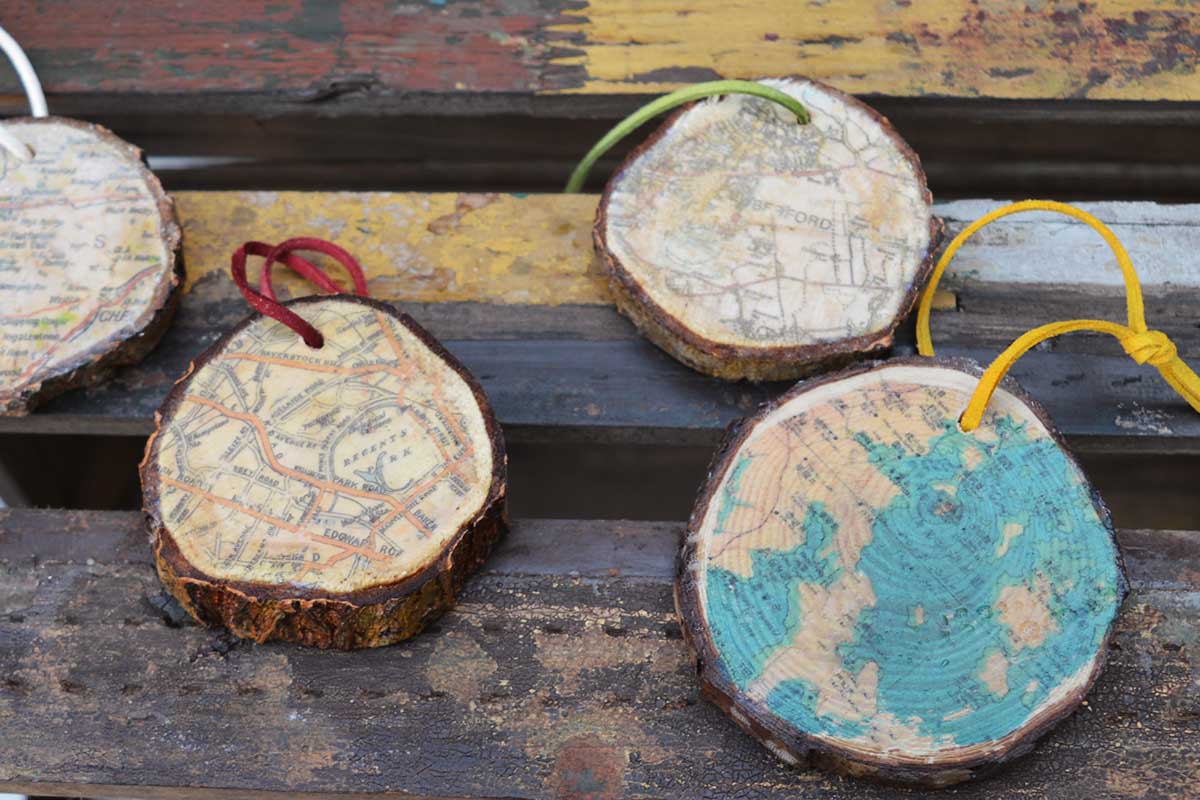
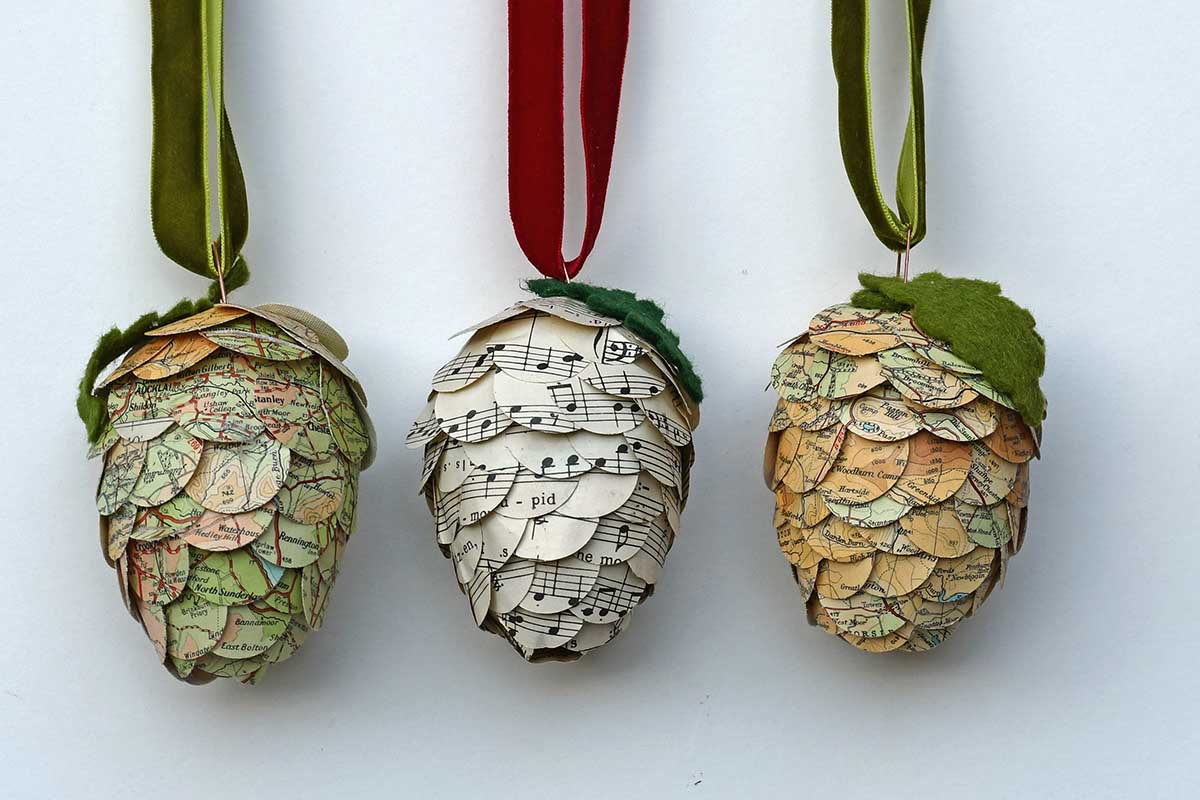
Other upcycled map Christmas decorations include paper pine cones, wooden ornaments, road map paper Christmas trees and road map Christmas crackers. My favourite is the cute cotton reel map ornaments I made.
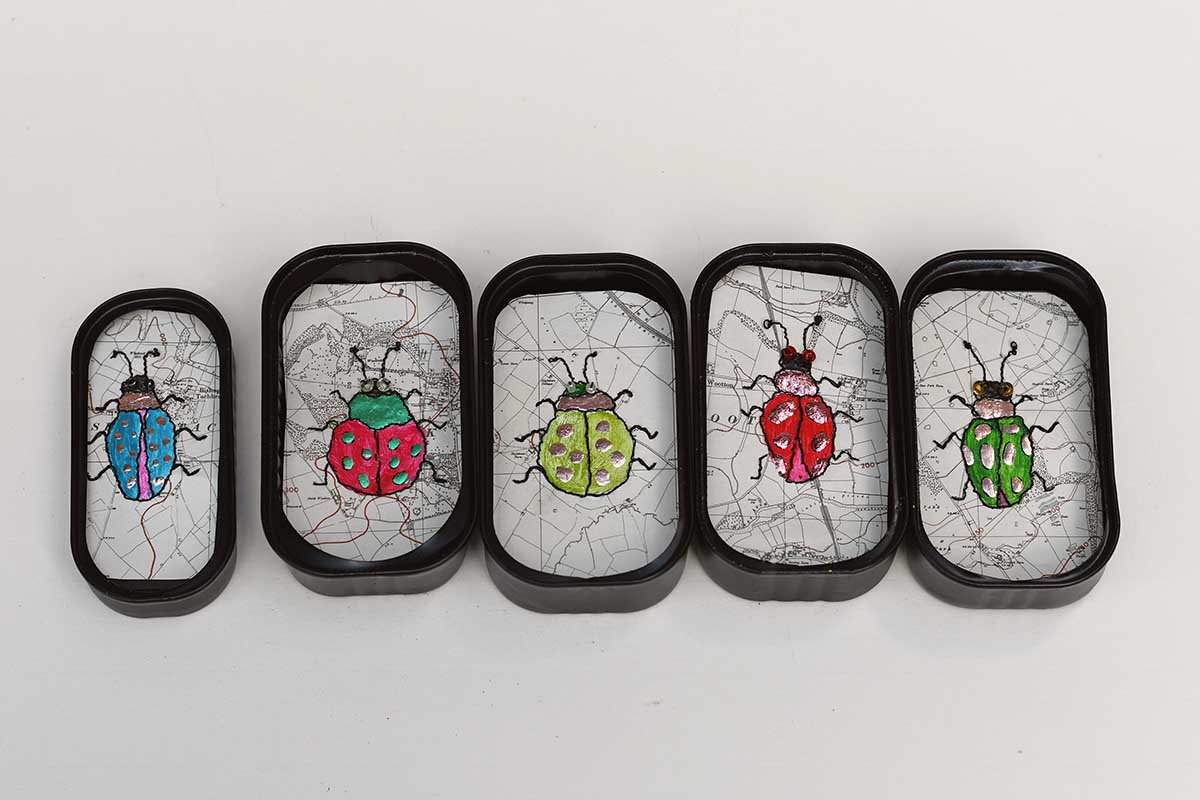
I've even used the road maps to upcycle old Christmas cookie tins. However, my beautiful map roses are for all year round and not just Christmas. Old road maps can be easily repurposed into cool, personalized map art.
Thank- you! I have a few family members who travel abroad. This will be an awesome gift.
Thank you, have fun making them.
Sweet idea. Thank you.
Thank you, they are fun and so easy to make.
make a few small ones put a magnet on back for holding notes on fridge. rena
Thank you that sounds like a lovely idea!
Now these would be something very different to top a present or decorate your house. Thank you for adding this post to #GoingGreen and I hope you enjoy some of of the other posts that are linked up.
Thank you so much. They do look great together.
What a lovely idea and so easy to make. They are perfect to embellish a gift :).
Thank you. I’ve been wrapping my Christmas presents today and have stuck a few on astoppers.
These are simply stunning. I am always on the lookout for old maps and atlases when I'm out at the thrift shops or garage sales. There is always something cute to make from them. I love what you have done here. I most definitely will be copying you for a roadmap rosette garland for my mantel! Love them!
Thank you so much. They are fun to make.
These are lovely, I like how full they are as you did them in 2 halves, if you know what I mean.
Thank you. I think they look better full too!
Beautiful! I love maps and geography. These would also be lovely lace-edged fans or fan ornaments.
Yes they would look love too. Thank you!
Love these, Claire! I love them en masse:) And would love to make a whole variety of sizes together for a party! Pinned!
Thank you. They do look great together on masse.
I love this idea, Claire! Thanks for sharing at Vintage Charm! Pinned!
Thank you, Cecilia.
These are so lovely. Definitely going to have a go at them. Gorgeous!
Thank you. They are addictive to make, I have made loads in different sizes. I gave a couple to a friend today as gift topper and she loved them.
These are adorable! I have a skinny tree for my vintage motorhome, I'm going to make a few of these for that tree!
Tania
Thank you, Tania. I'm sure they will look lovely on your tree.
This is such a cute idea!
Thank you, Maria. You know me and maps it's got to be done!